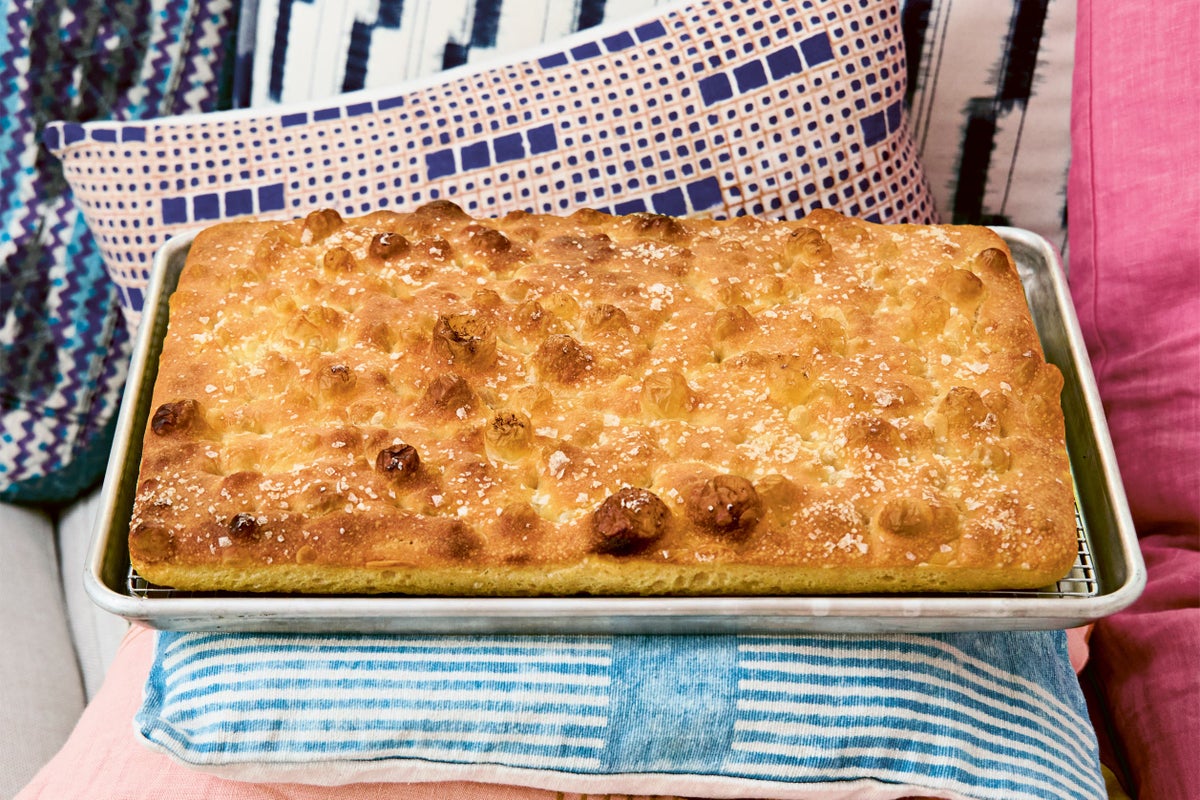
“I’ve spent years tweaking and perfecting this golden, chewy focaccia recipe, which I originally developed for the Salt, Fat, Acid, Heat documentary series,” says chef Samin Nosrat.
“Since then, I’ve replaced plain flour with strong white flour, whose higher protein content allows for more height and chew. I also added a few strategic turns, or folds, of the dough as it proofs, to aid in gluten development. All of that focus on structure and gluten in the method has yielded a focaccia that’s taller, airier, and chewier than ever before.
“The beauty of this one-bowl recipe is that it requires only patience to achieve perfection. There’s no stand mixer required, no endless kneading.”
Sky-high focaccia
Makes: a 46 x 33cm focaccia
Ingredients:
Time: 4 hours, plus 12 to 24 hours for proofing and another 4 hours for final proof and bake
Ingredients:
720g warm water
2¼ tsp (7g) fast-action dried yeast
½ tsp (4g) honey
800g strong white flour
2 tbsp plus ½ tsp (20g) kosher salt
46g extra-virgin olive oil, plus more for dough handling and tin
Flaky salt, for sprinkling
Method:

1. In a very large bowl, stir together 600g of the water, the yeast, and the honey. Let sit for 5 minutes, until frothy.
2. Use your hands or a large spoon to mix the flour into the yeast mixture until all the flour is incorporated. Cover with a clean, damp tea towel and let sit for 30 minutes.
3. Add the remaining 120g water, the kosher salt, and the oil. Use your hands to incorporate. As the dough absorbs the salt, it will behave sort of strangely, seeming to fall apart – this is fine. Just keep kneading and squeezing it with your hands – it’ll come back together eventually, especially once it has a chance to rest.
4. Cover the bowl with a damp tea towel and set it in a warm spot to continue proofing. Every 30 minutes or so for the next 2½ hours, turn the dough. (Note that each turn consists of four quarter-turns, or folds.) With wet hands, gently loosen the dough from the north side of the bowl. Stretch the dough up until it resists, then fold it towards the south side of the bowl. Give the bowl a quarter-turn and repeat. Repeat twice more to end up where you started. Cover with the damp towel. During this first turn, the dough may not yet be relaxed enough to tolerate all four folds, but do your best. As the dough relaxes, it’ll become more elastic, and each turn will be more gratifying!
5. After about 3 hours total, the dough should be billowy and have doubled in volume. If not, continue to let rise and turn for up to 1 hour longer, moving the bowl to a warmer spot if necessary. After the final set of folds, gather up the edges of the dough into the centre as if you’re making a massive dumpling, and then carefully flip it to tuck the join underneath. Gently coat the top of the dough with a little oil, seal the bowl with clingfilm or a lid, and refrigerate for 12 to 24 hours.
6. Generously coat the bottom and sides of a 33 x 46cm baking tin with nonstick cooking spray, then drizzle with 2 to 3 tablespoons oil. Gently transfer the dough to the tin, cover with clingfilm or a lid, and set in a warm spot to come to room temperature for 30 minutes. With lightly oiled hands, gently stretch the dough to fill the tin, then drizzle with another 2 to 3 tablespoons oil. Return the pan to a warm spot and allow to proof for 30 minutes.
7. Gently stretch the dough again to fill the entire tin. Repeat the stretching twice more over the next hour, then continue proofing the dough untouched until it’s jiggly, bubbly, and flush with the top of the pan, 1 to 2 hours longer, depending on the ambient temperature. (Don’t rush this step – it will make all the difference in getting the tallest, chewiest focaccia possible!)
8. Meanwhile, adjust an oven rack to the lowest position, place an overturned baking tray on the rack, and preheat to 230C. Once the dough is flush with the top of the tin, dip the pads of your fingers in any oil that’s pooled in the corners of the tin. Spread your fingers wide like a piano impresario and make dimples across the entire tin of dough, pressing firmly to the bottom of the tin (this is the fun part!). Sprinkle evenly with flaky salt.
9. Place the baking tin with the focaccia on the overturned baking tray in the oven and bake for 25 to 28 minutes, until the corners are pulling away from the tin and the top is golden brown and glistening. If the top needs a little more browning, transfer to the top rack and bake for 3 to 5 minutes longer.
10. Cool the focaccia in the tin for 5 minutes, then use a thin flexible metal spatula to gently loosen it from the tin. Cool completely on a wire rack before slicing. Store for up to 3 days wrapped in a paper bag inside of a plastic bag (this prevents the salt from dissolving). Bring back to life with a quick toast. Freeze for up to 3 months.
Recipe from ‘Good Things’ by Samin Nosrat (Ebury Press, £30).
Slimming World announces major change for 2026 as it says ‘goodbye’ to Syns
The key signs your child is addicted to junk food that you shouldn’t ignore
Samin Nosrat’s saffron and yoghurt roast chicken is a Persian-inspired comfort dish
Samin Nosrat’s curried carrot and coconut soup is the ultimate soup season fix
Weeknight cooking made simple: Six speedy, flavour-packed recipes with greens
From tortelli to ragù, these are the only 15 pasta recipes you’ll ever need