My number one landscape photography tip for those who want to improve their images is that you have to plan the perfect landscape shoot to capture the perfect image. Granted, you could head out right now with the best camera for landscapes, and if the location, conditions, and your gear all align, you could capture something truly special off the cuff. But these instances are few and far between.
If you want to capture great landscape photography consistently, you must get into the habit of planning the perfect landscape shoot. In this guide, I’ve broken the process down into bite-sized chunks, from packing to keeping an eye on the conditions, so you can make sure you tick each box before heading out on your next shoot.
Watch the video: How to plan the perfect landscape photography shoot
How to plan the perfect landscape shoot
1. Employ good hiking practice
Preparation should go beyond planning to capture a good photograph. Landscape shoots involve various degrees of hiking, and although this is a wholesome pastime, it can prove dangerous if taken lightly. I always ensure to employ good hiking practices when capturing landscapes. This may include, but is not limited to, the following.
Wear layers so you can remove/add clothing if you’re hot/cold. Prepare for inclement weather, should you encounter a flash storm or the temperature drops unexpectedly. Pack a first aid kit in your kit bag. Wear appropriate footwear. Bring a power bank, in case your phone runs out of battery. And always tell somebody where you’re going. Ideally, it’s a good idea to shoot with a friend, but if you must go out on your own, make sure somebody knows where you’re going and the time that you intend to return.
If you’re shooting seascapes, then it is imperative that you research tide times and that you always shoot with an exit route directly behind you so you can safely head inland when you need to, without getting cut off.
2. Download the right apps
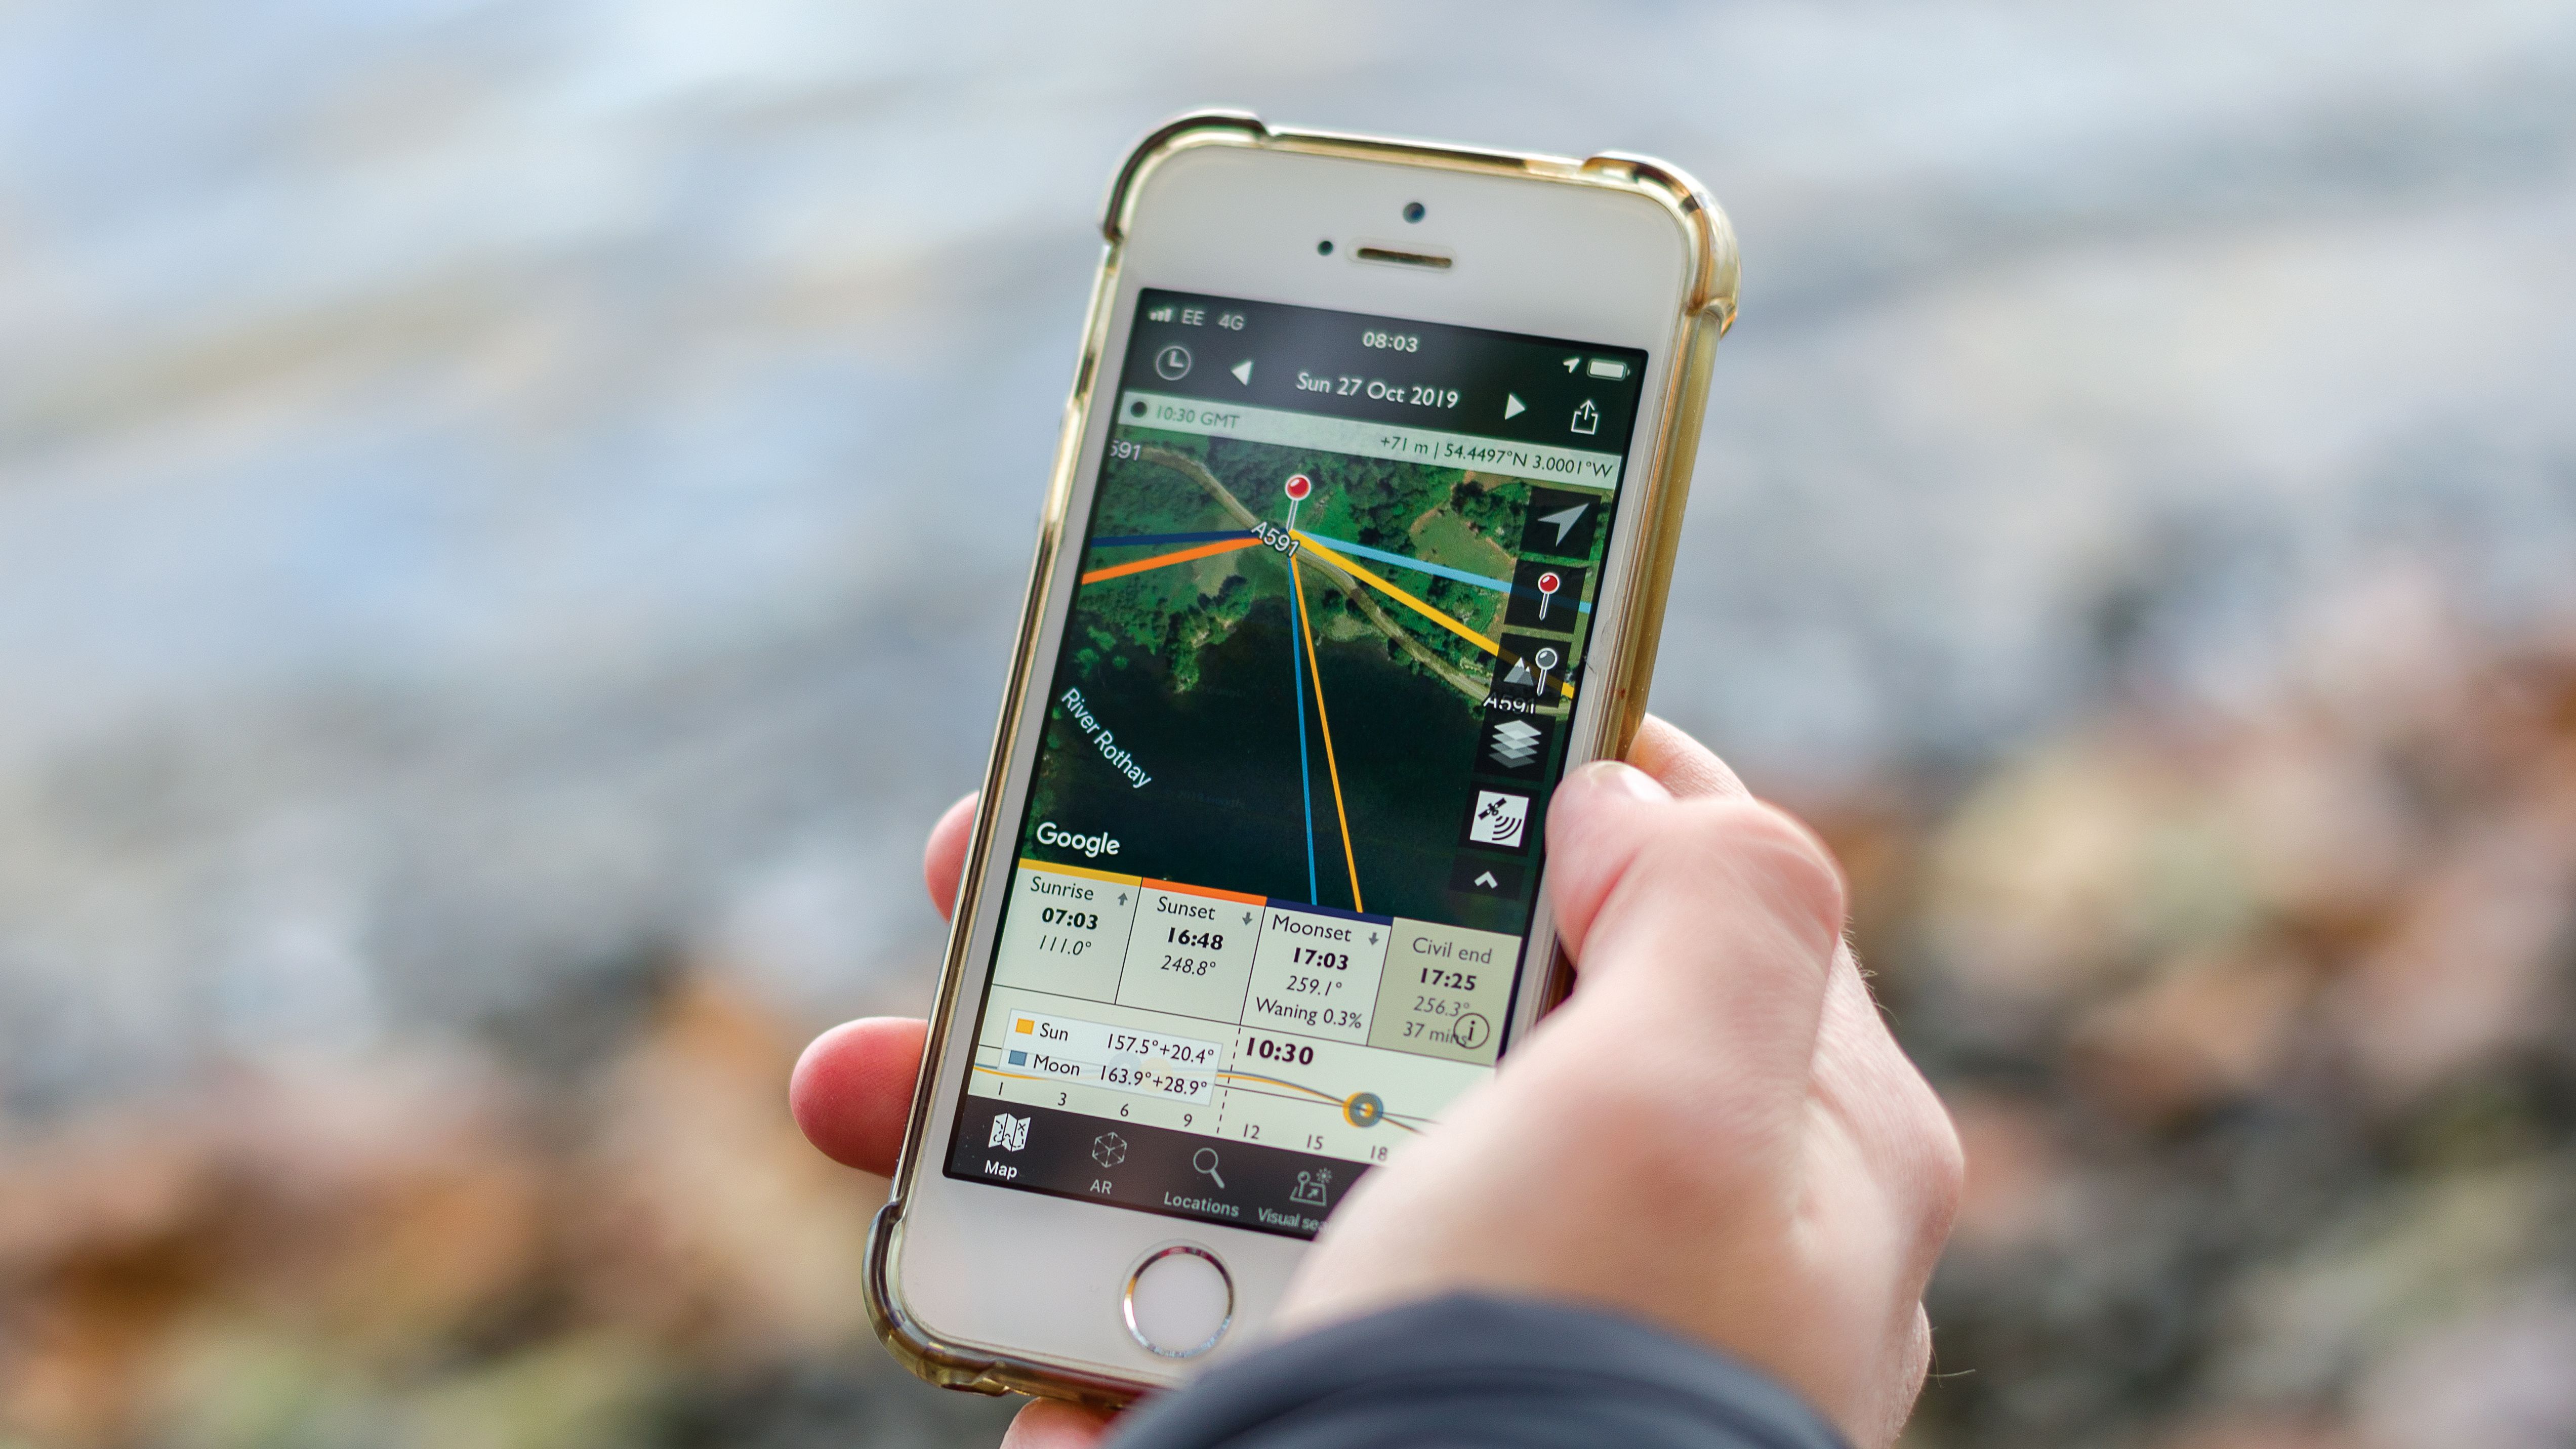
Photography planning apps such as PhotoPills and The Photographer’s Ephemeris (pictured) are absolutely essential when planning a landscape shoot. These useful apps will tell you the exact position of the sun and moon at a given location, day and time. They can also be used to work out key timings such as the golden hours and sunset.
Weather apps are another useful asset. Many photographers like to use two or three to be as sure as possible as to the conditions on a given day/time. Clear Outside is one of my favorites. You can also find apps to research tide times, like My Tide Times, identify mountains via augmented reality, like PeakFinder, and calculate long exposures when using an ND filter, like the Lee Filters’ Stopper exposure app.
3. Know where you're going

Knowing where you’re going and what time you need to get there is imperative if you’re aiming to shoot at a specific time, be it golden hour or at low tide. Once you’ve worked out your timings (using the aforementioned apps), spend some time plotting your routes.
Always aim to arrive at your subject location at least one hour before you intend to start shooting so you’ve plenty of time to set up your gear and frame your shot. As such, I always like to know exactly where I am, how long the drive will take, whether or not there’s likely to be traffic, and how long the hike to the location will take, too. Make sure you schedule in rest stops, too.
4. Pack light (and right)
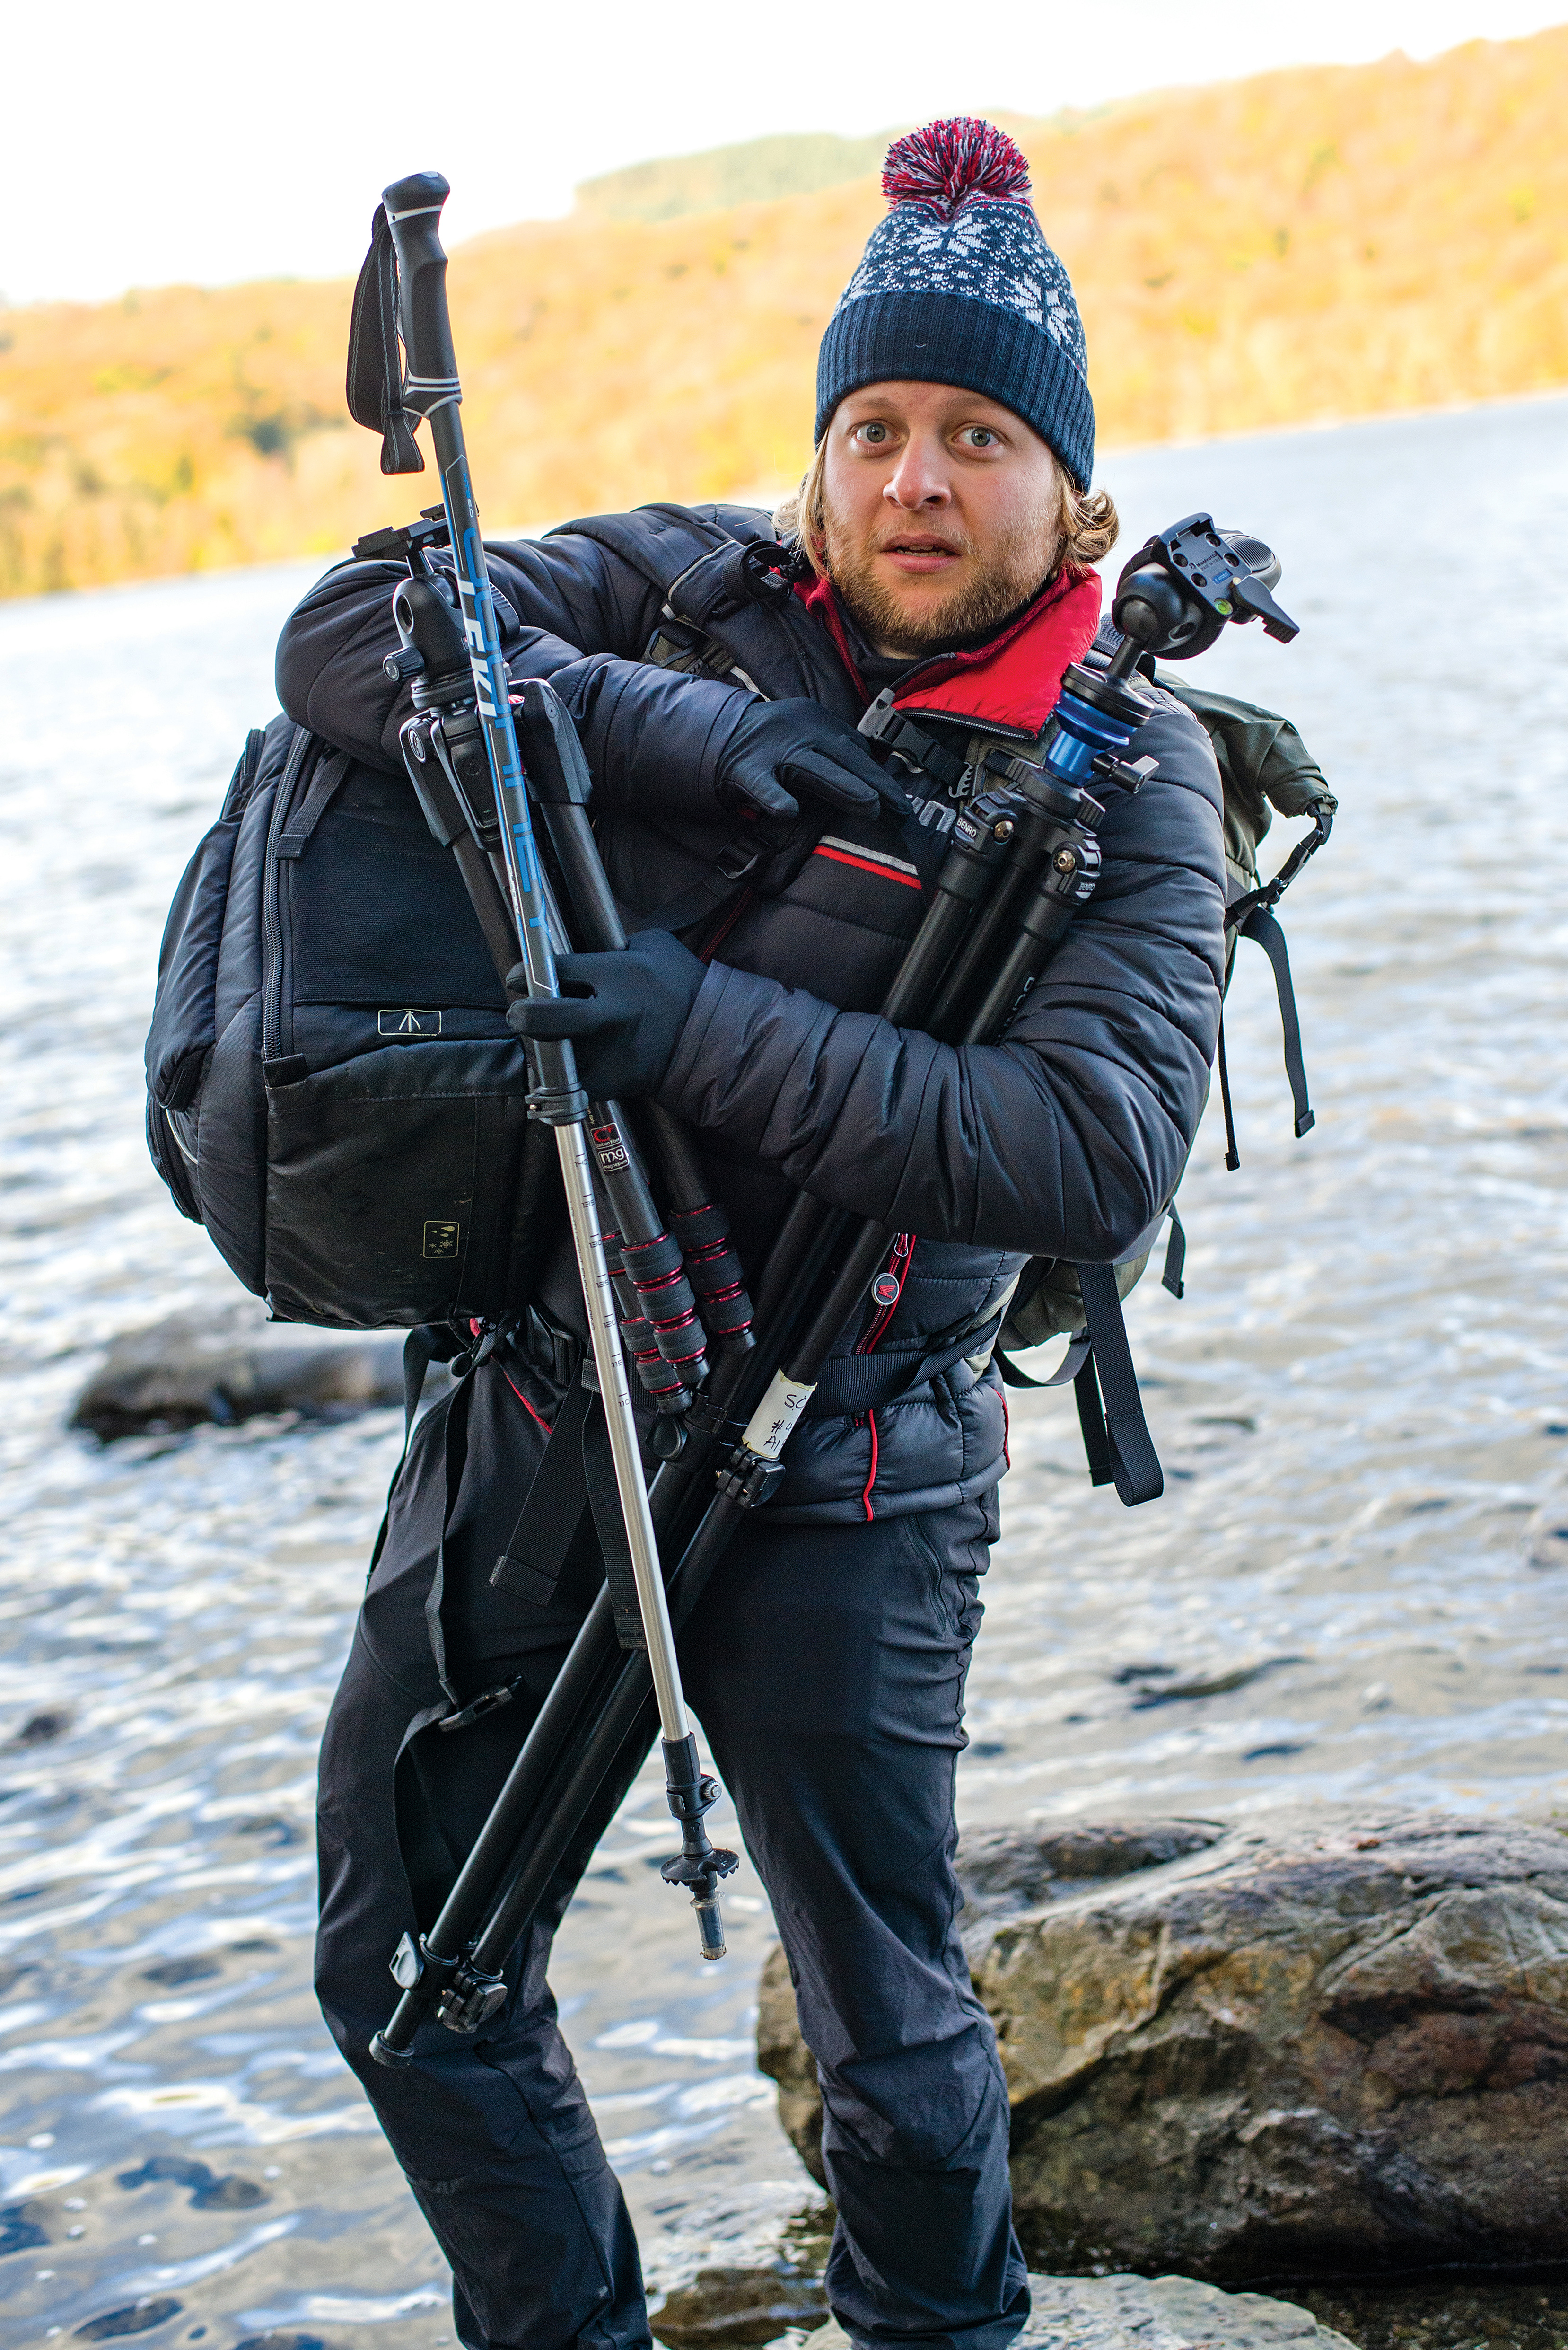
This really depends on how far you’re hiking. If your vantage point is only a few hundred yards from the car park, you can take as much kit as you like. But if your intended location requires you to hike any distance, make sure you pack a sensible load. On the one hand, you don’t want to reach your destination and not have the suitable kit, but on the other, whatever load you take is going to feel progressively heavier the further you walk.
If you’ve got a long hike ahead of you and you know you’re going to be using your wide-angle lens, it might be worth leaving your telephoto lens at home. And if you can do without your heavy geared head and take the lighter ball head instead, that might also be a worthy sacrifice.
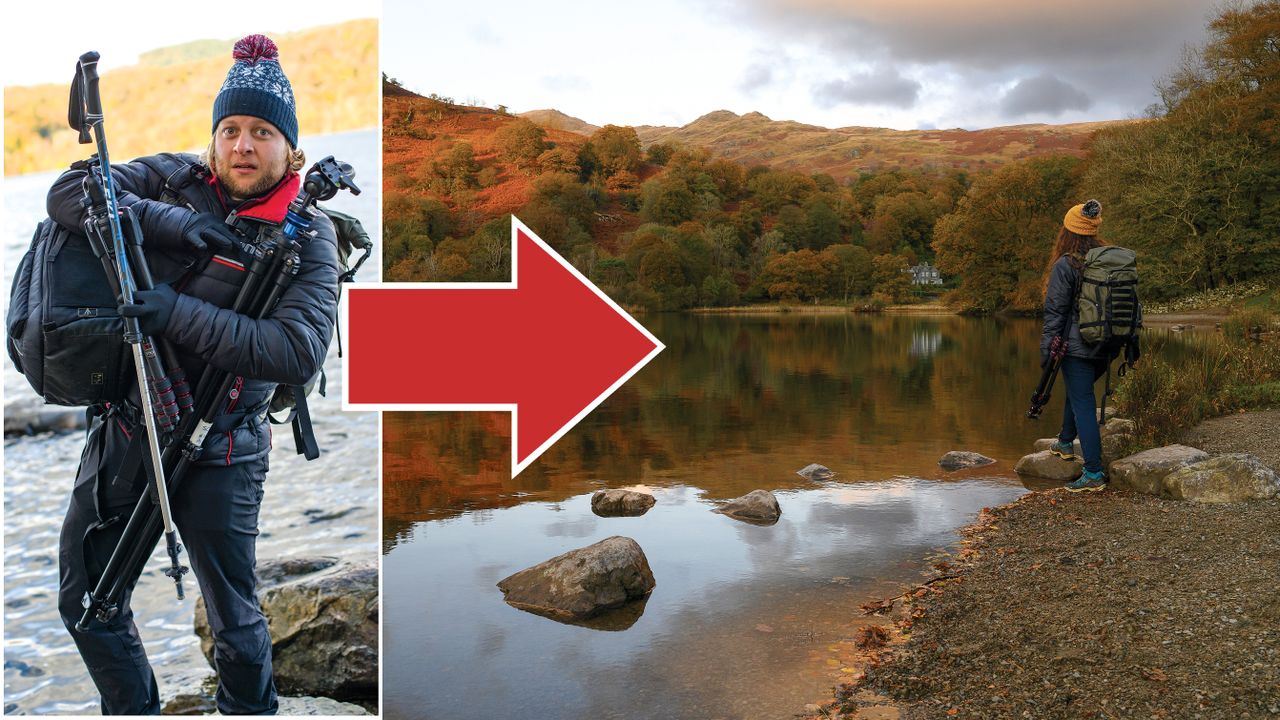
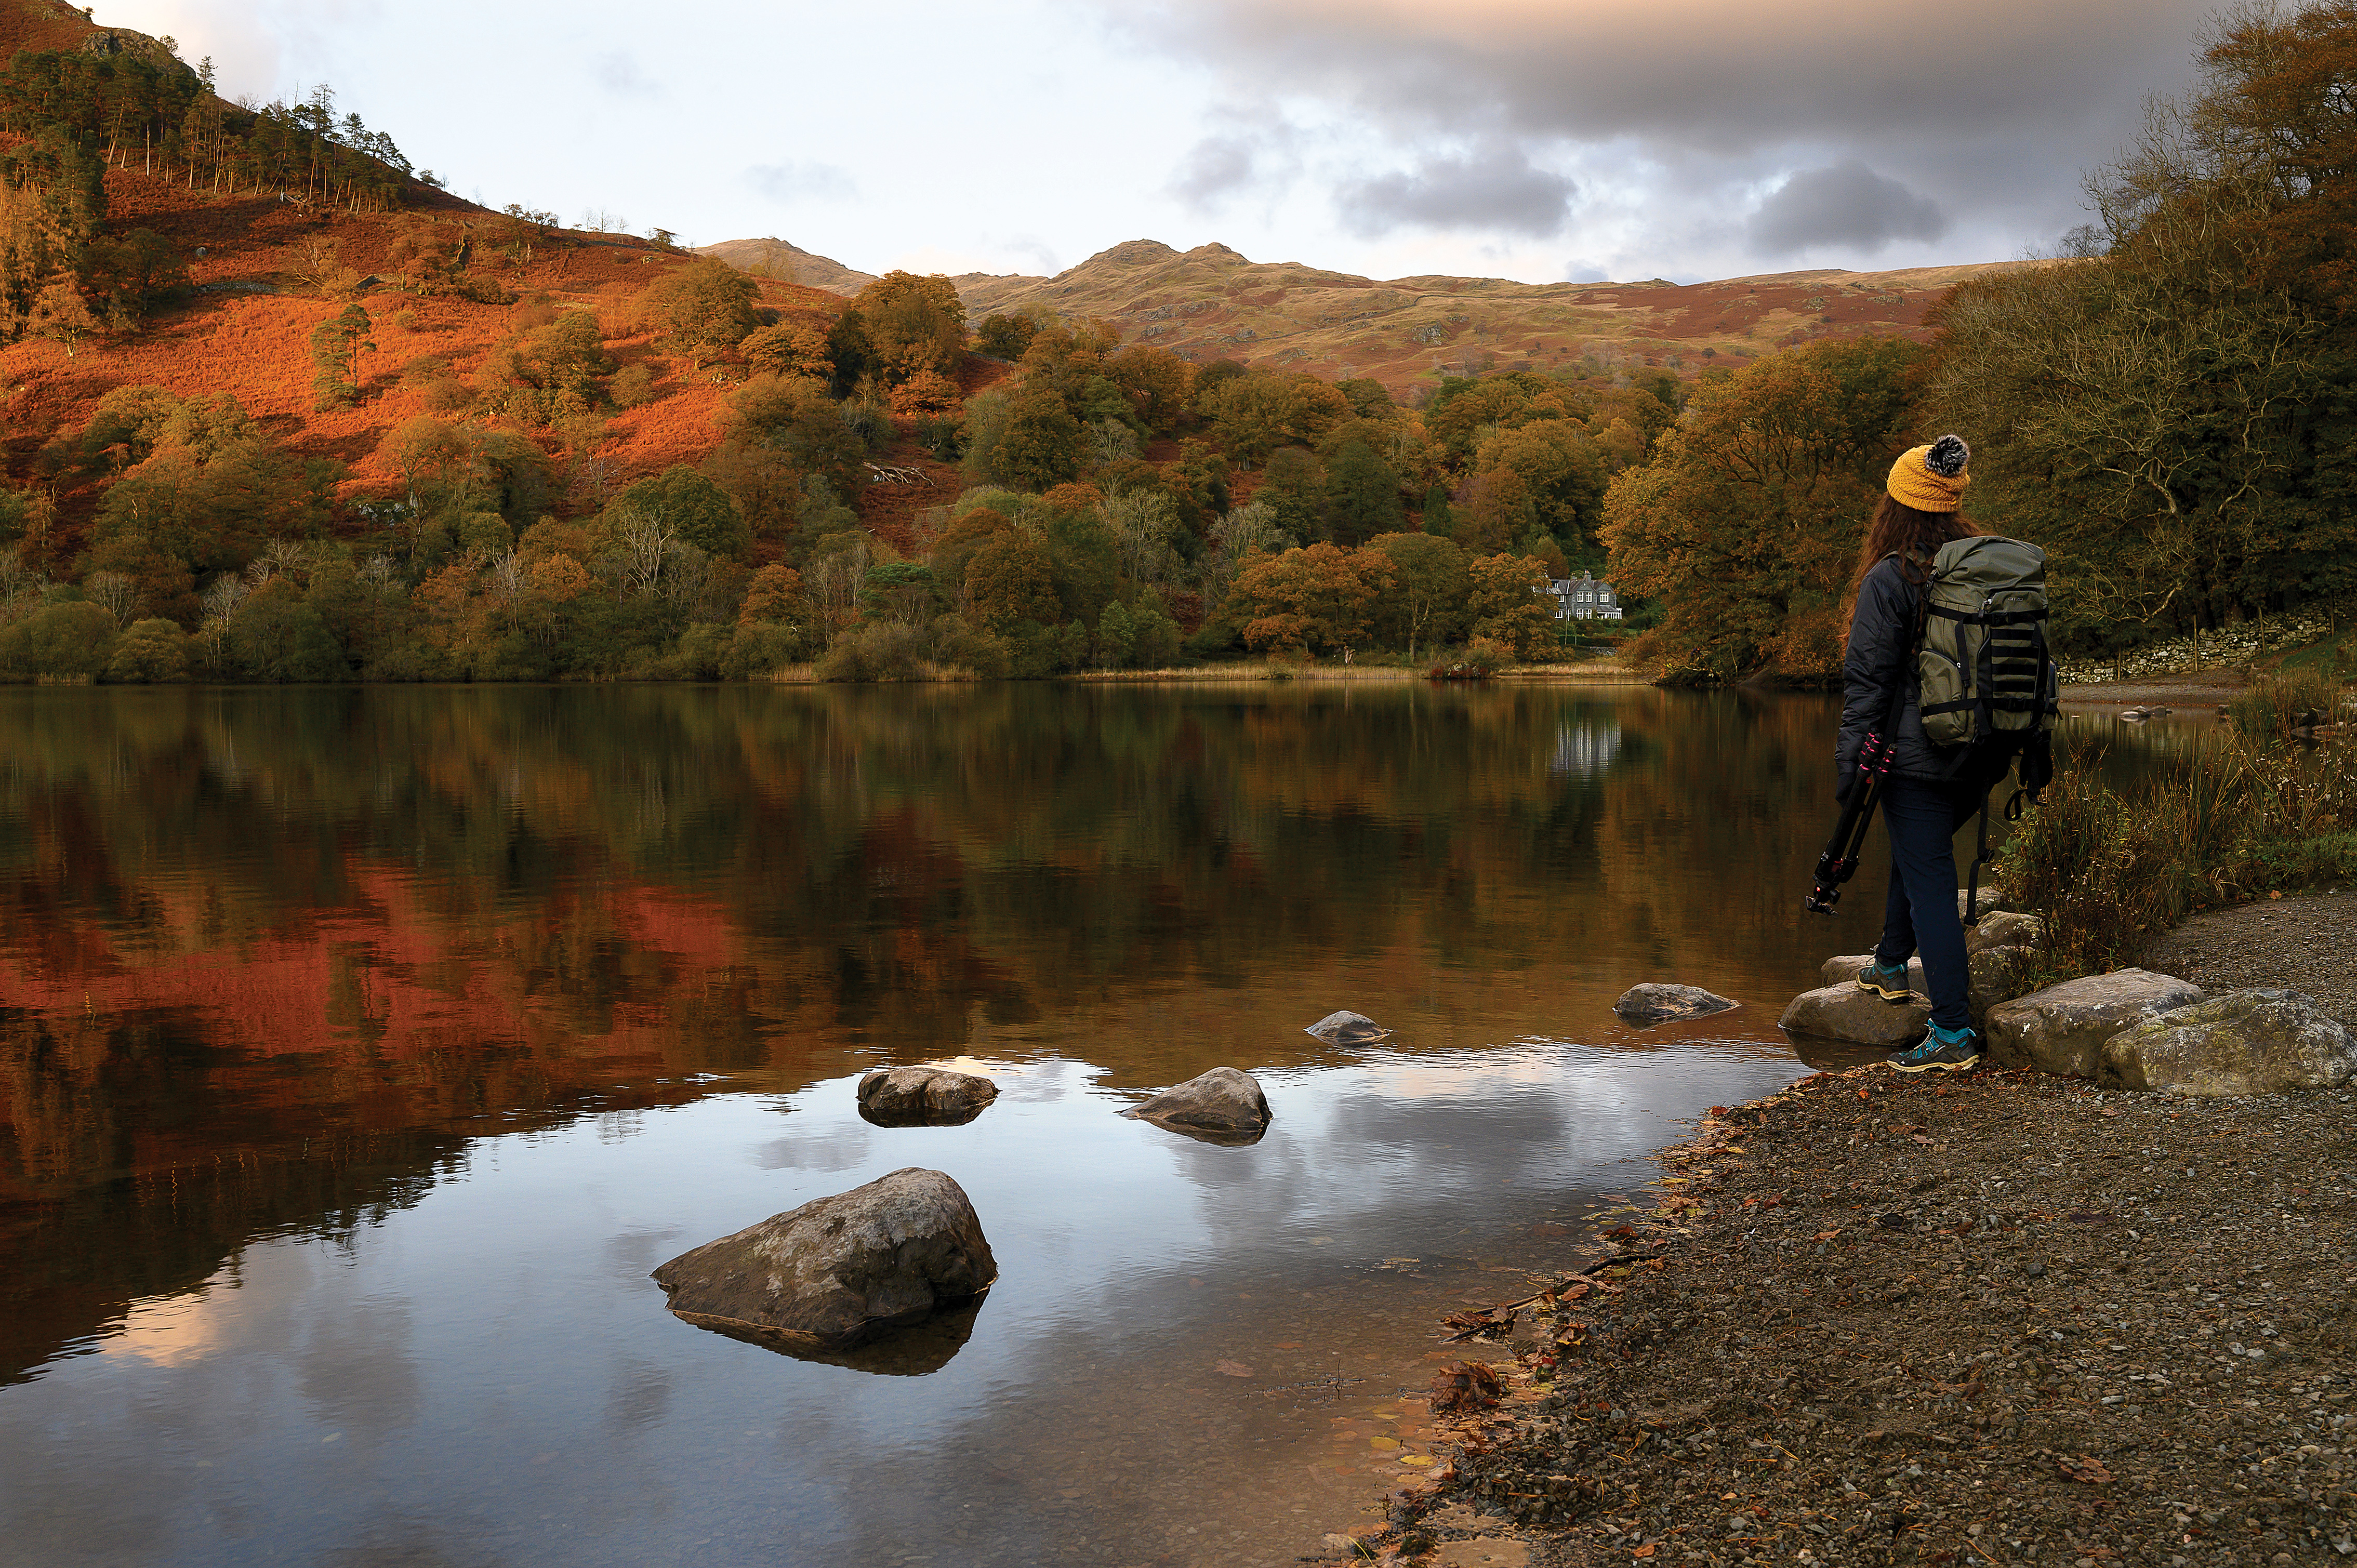
5. Take the right bag
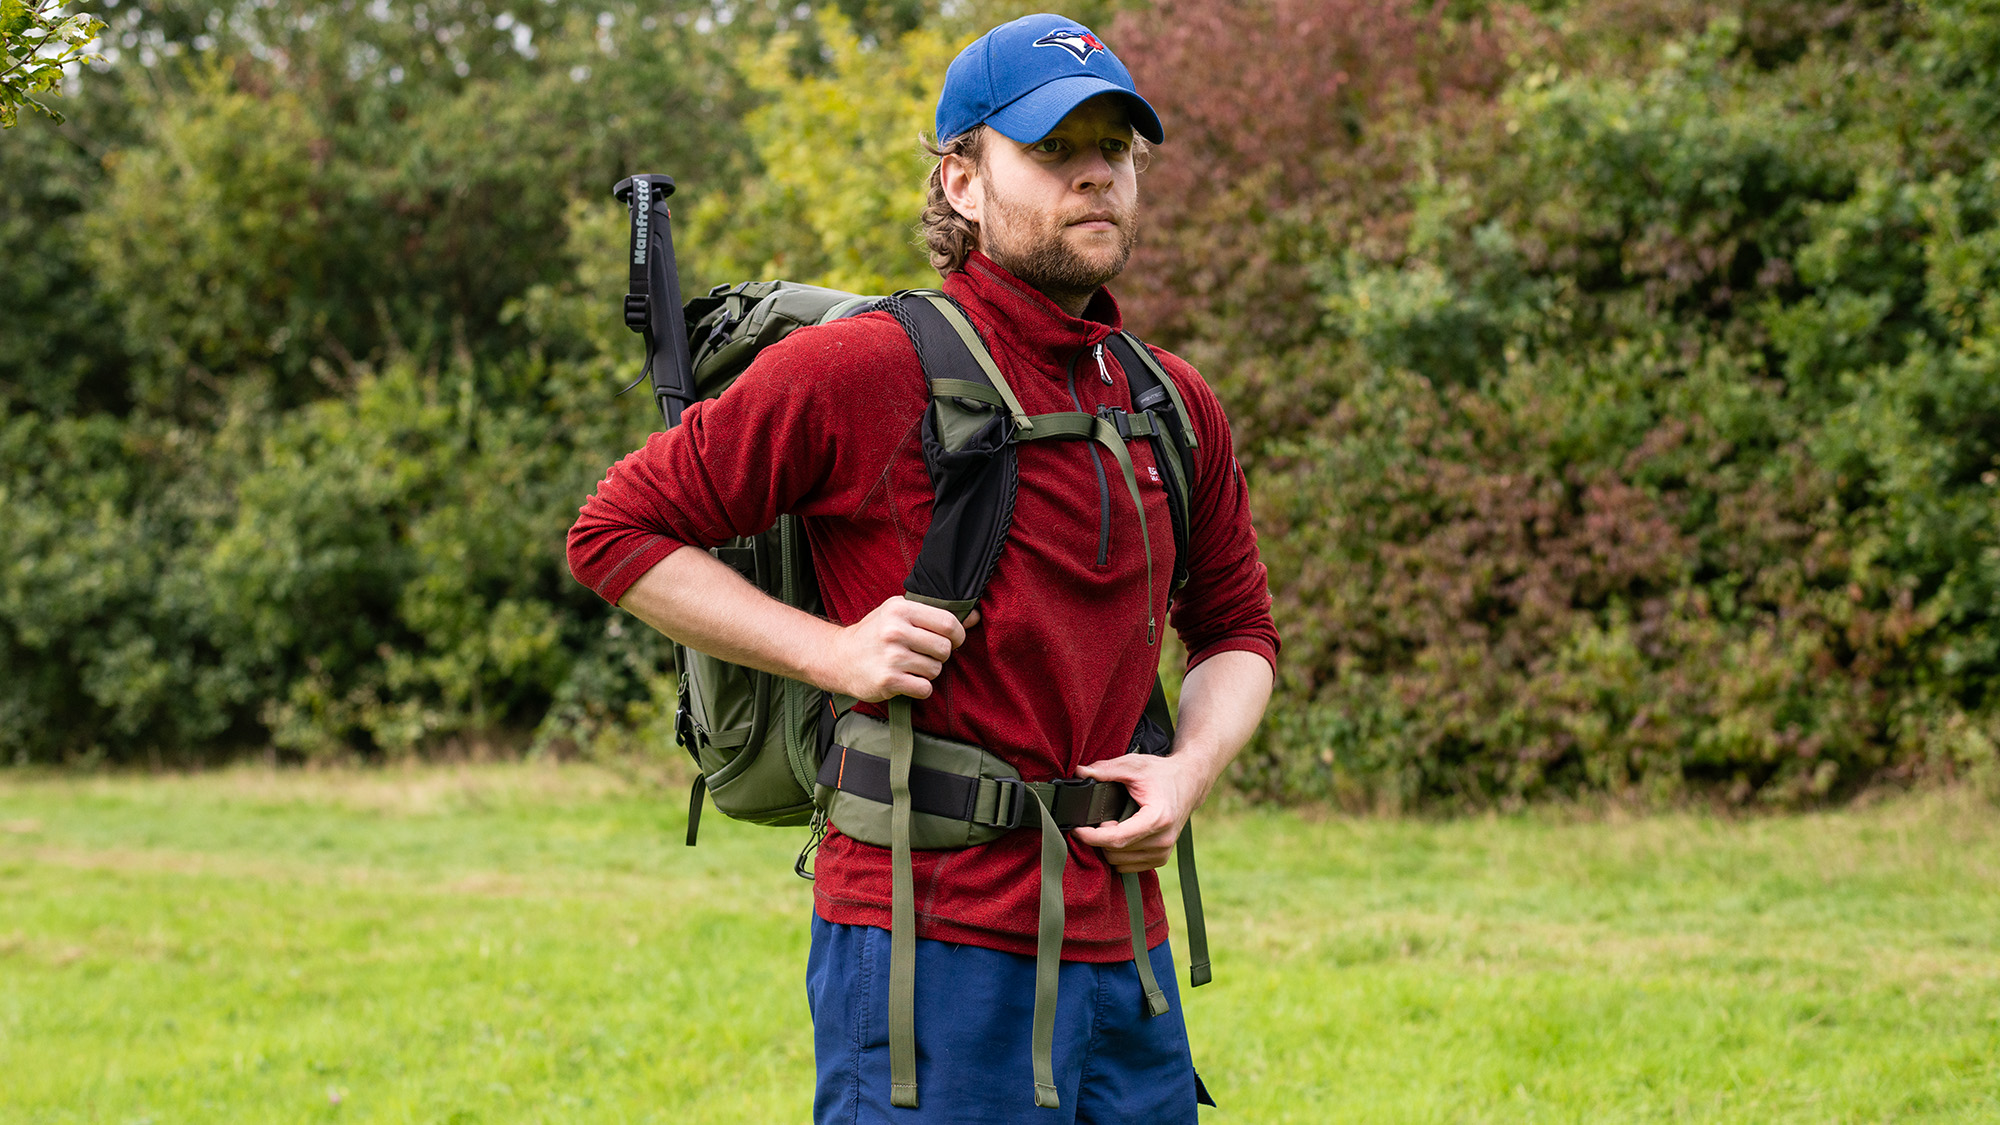
A comfy backpack is a must. The most comfortable backpack I’ve used is the PGYTech OnePro Focux Backpack (pictured). However, for longer hikes where I need storage for extra clothing and food, the Gitzo Adventury is a great shout, with its sizable roll top. Whatever you deem to be the best camera backpack for you, make sure it’s comfortable enough for longer hikes, large enough to fit all of your gear, yet not so big that you’re tempted to fill it to the brim with heavy gear.
6. Back up your data

Depending on where you’re shooting and the weather conditions, it’s not always possible to back up your data on location. However, if you get the chance, it’s always worthwhile, whether you’re transferring images wirelessly, via a laptop or an external hard drive with a built-in card reader, like my WD My Passport Wireless SSD. And of course, if your camera has a dual card slot, you can always back up to a secondary memory card to help mitigate card corruption.
7. Emergency wipes
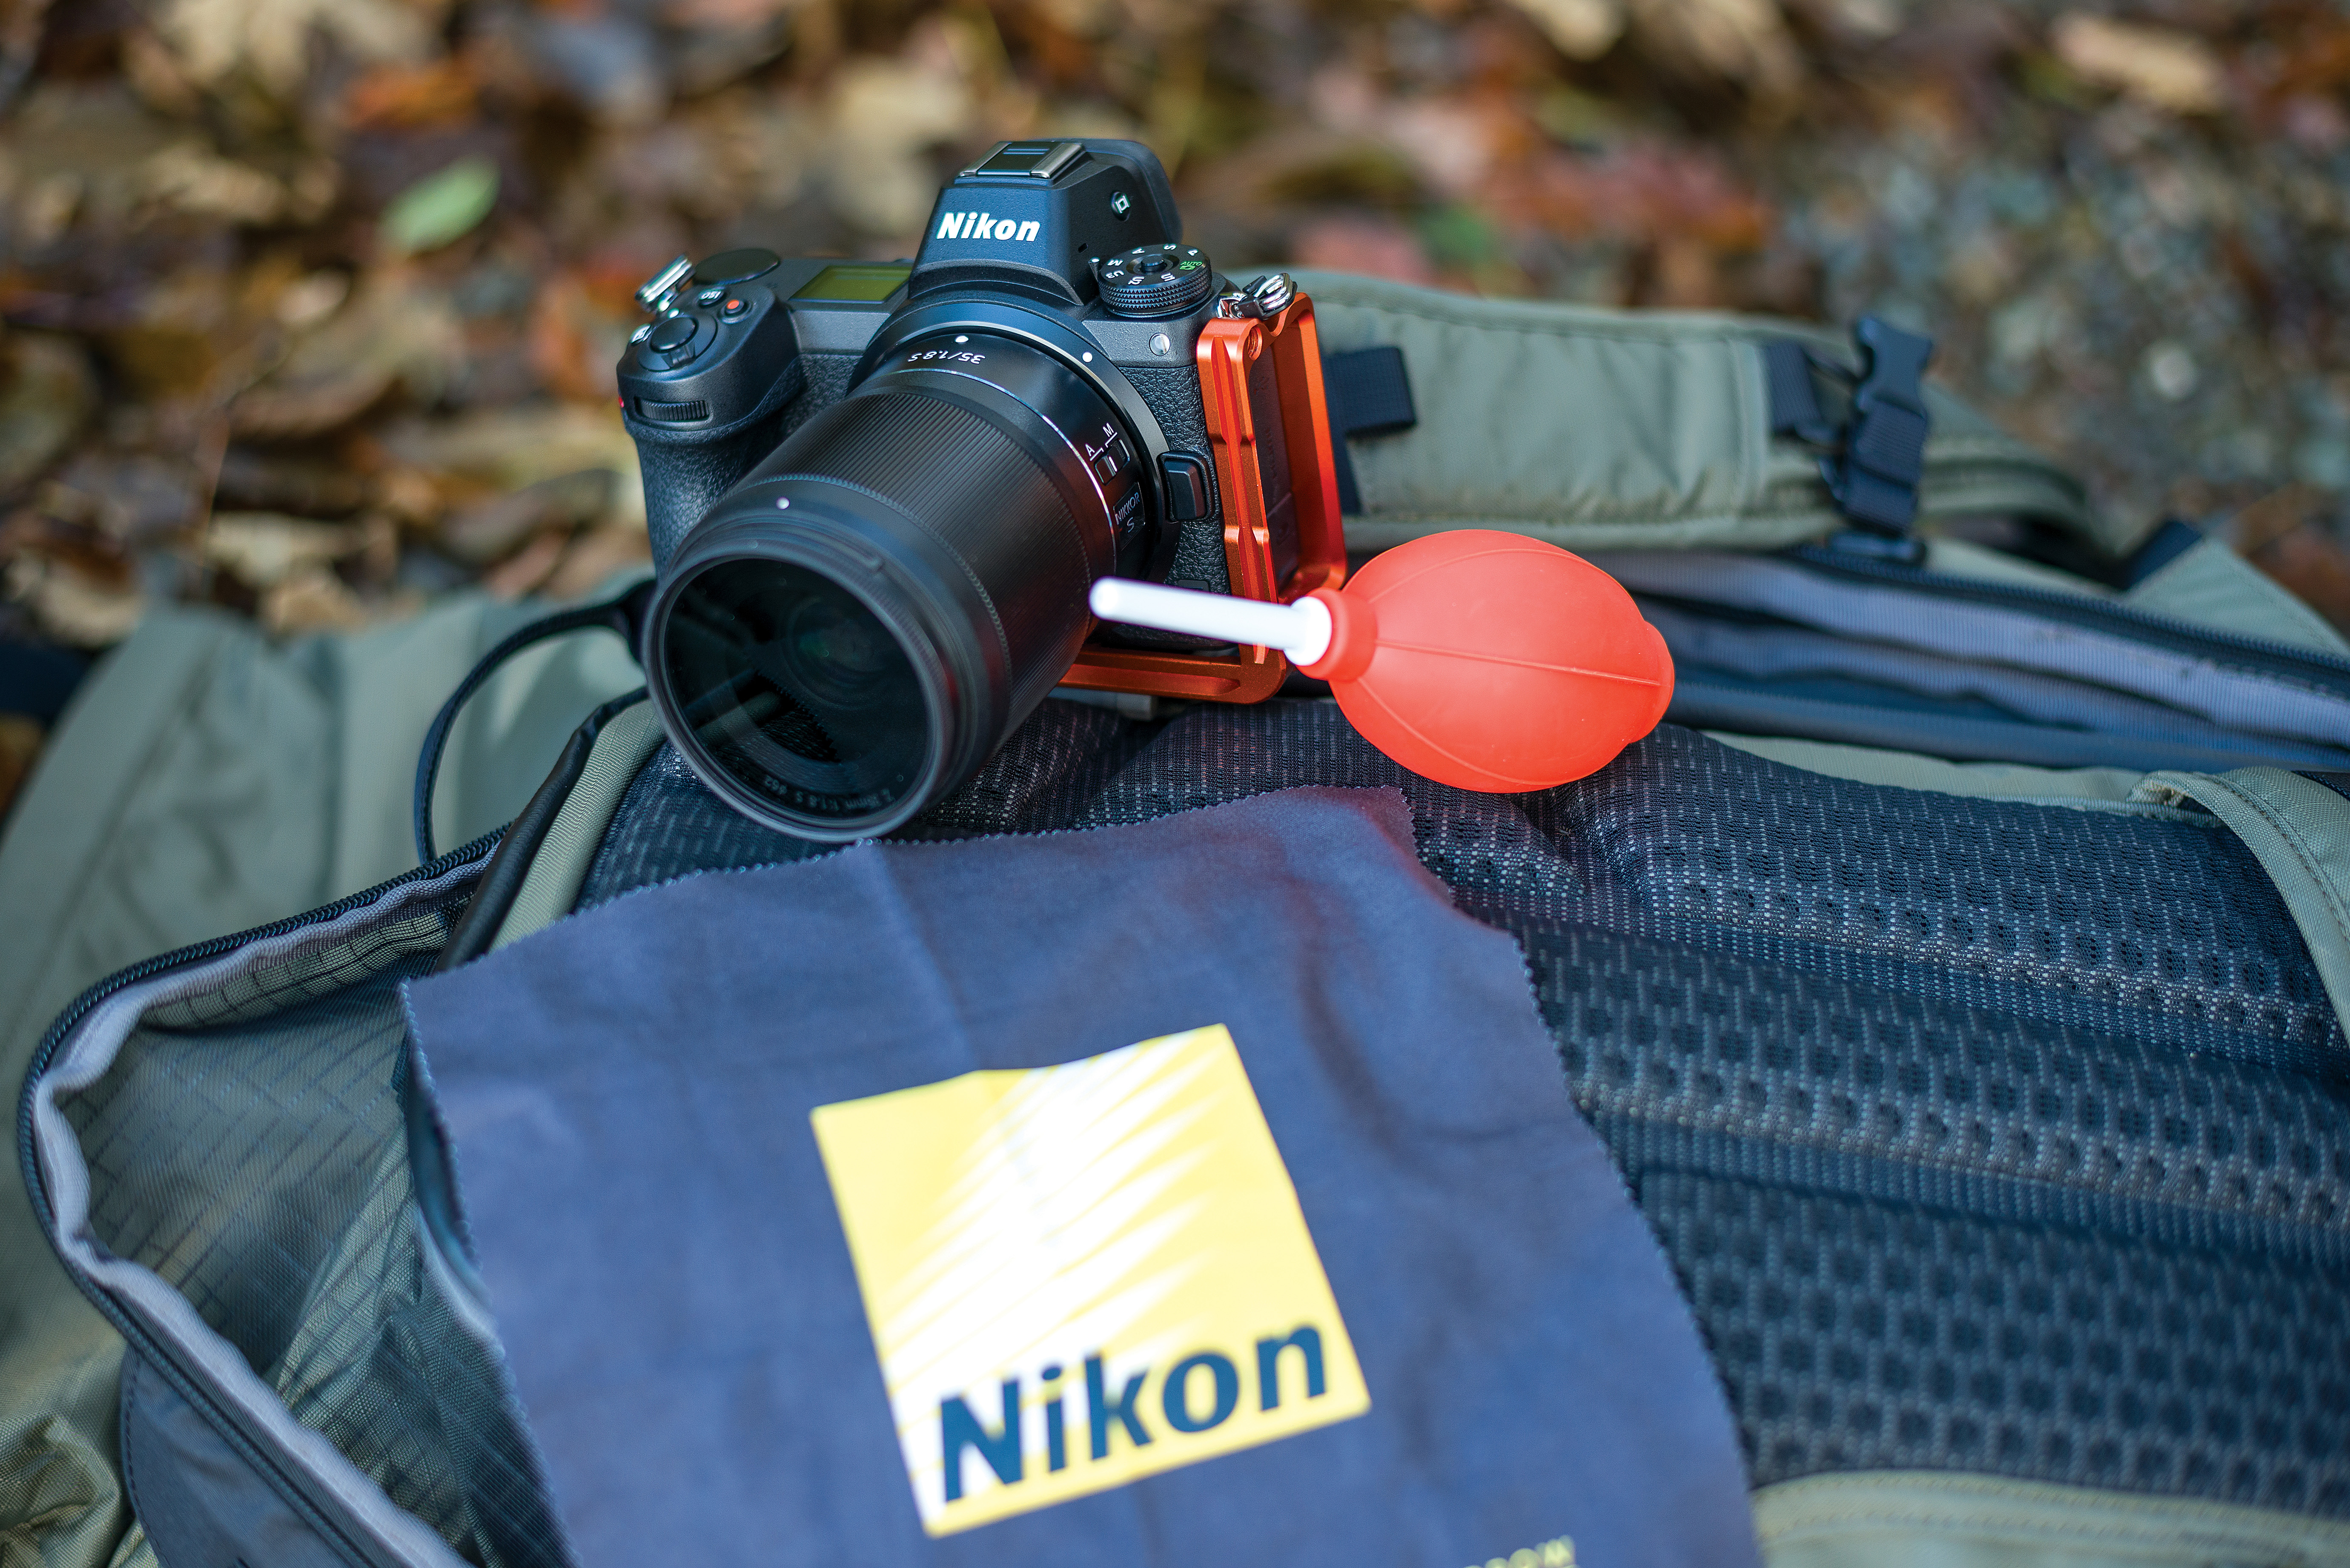
Whether it’s rain droplets or dust, you’re eventually going to have to deal with something unwanted finding its way onto your lens, or worse, inside your camera. That’s why I like to take an air blower and a lens cleaning cloth on every shoot. They’re quick to use, easy to stow, and helpful in emergencies. I also always make sure there’s a rain cover in my camera bag. Not only does it protect the camera from getting wet (and dusty), but it can also provide shelter while you swap lenses.
You might also like...
Want more landscape wisdom? Make sure you don’t make these landscape photography mistakes. Find out if you're using the right tripod head for landscape photography. And if you're a smartphone photographer, here's how to take landscape photos with a phone.