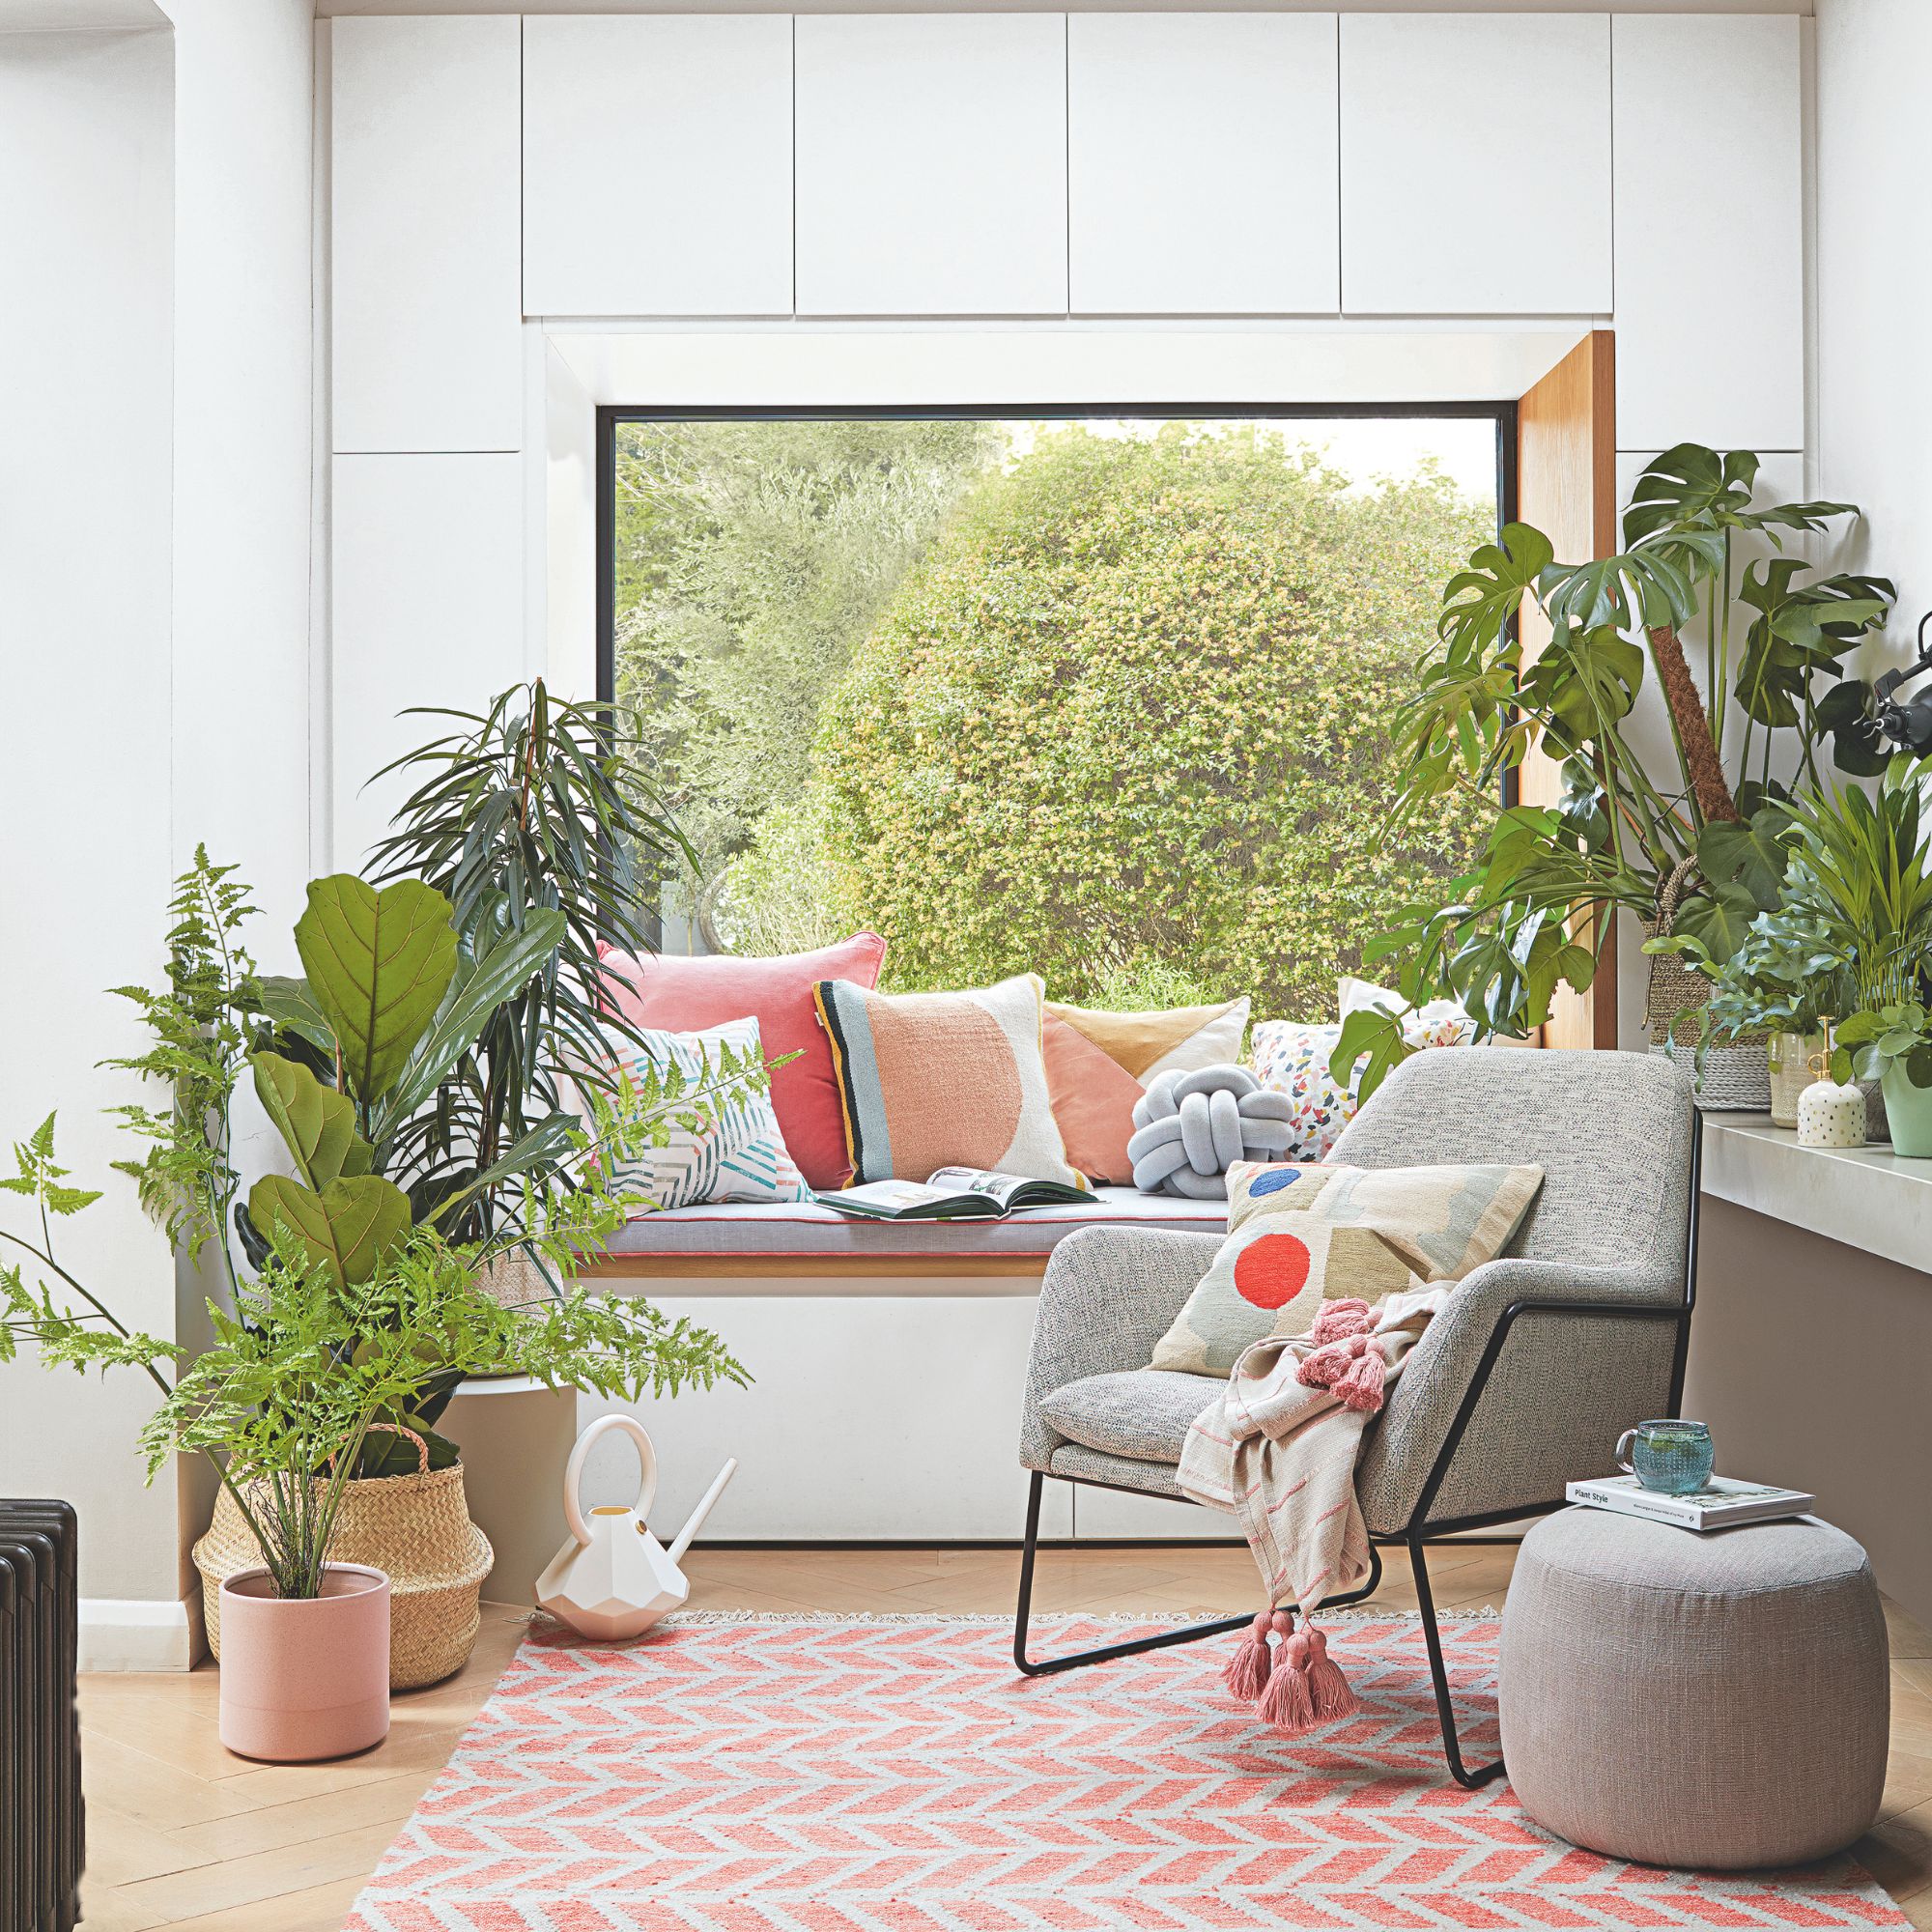
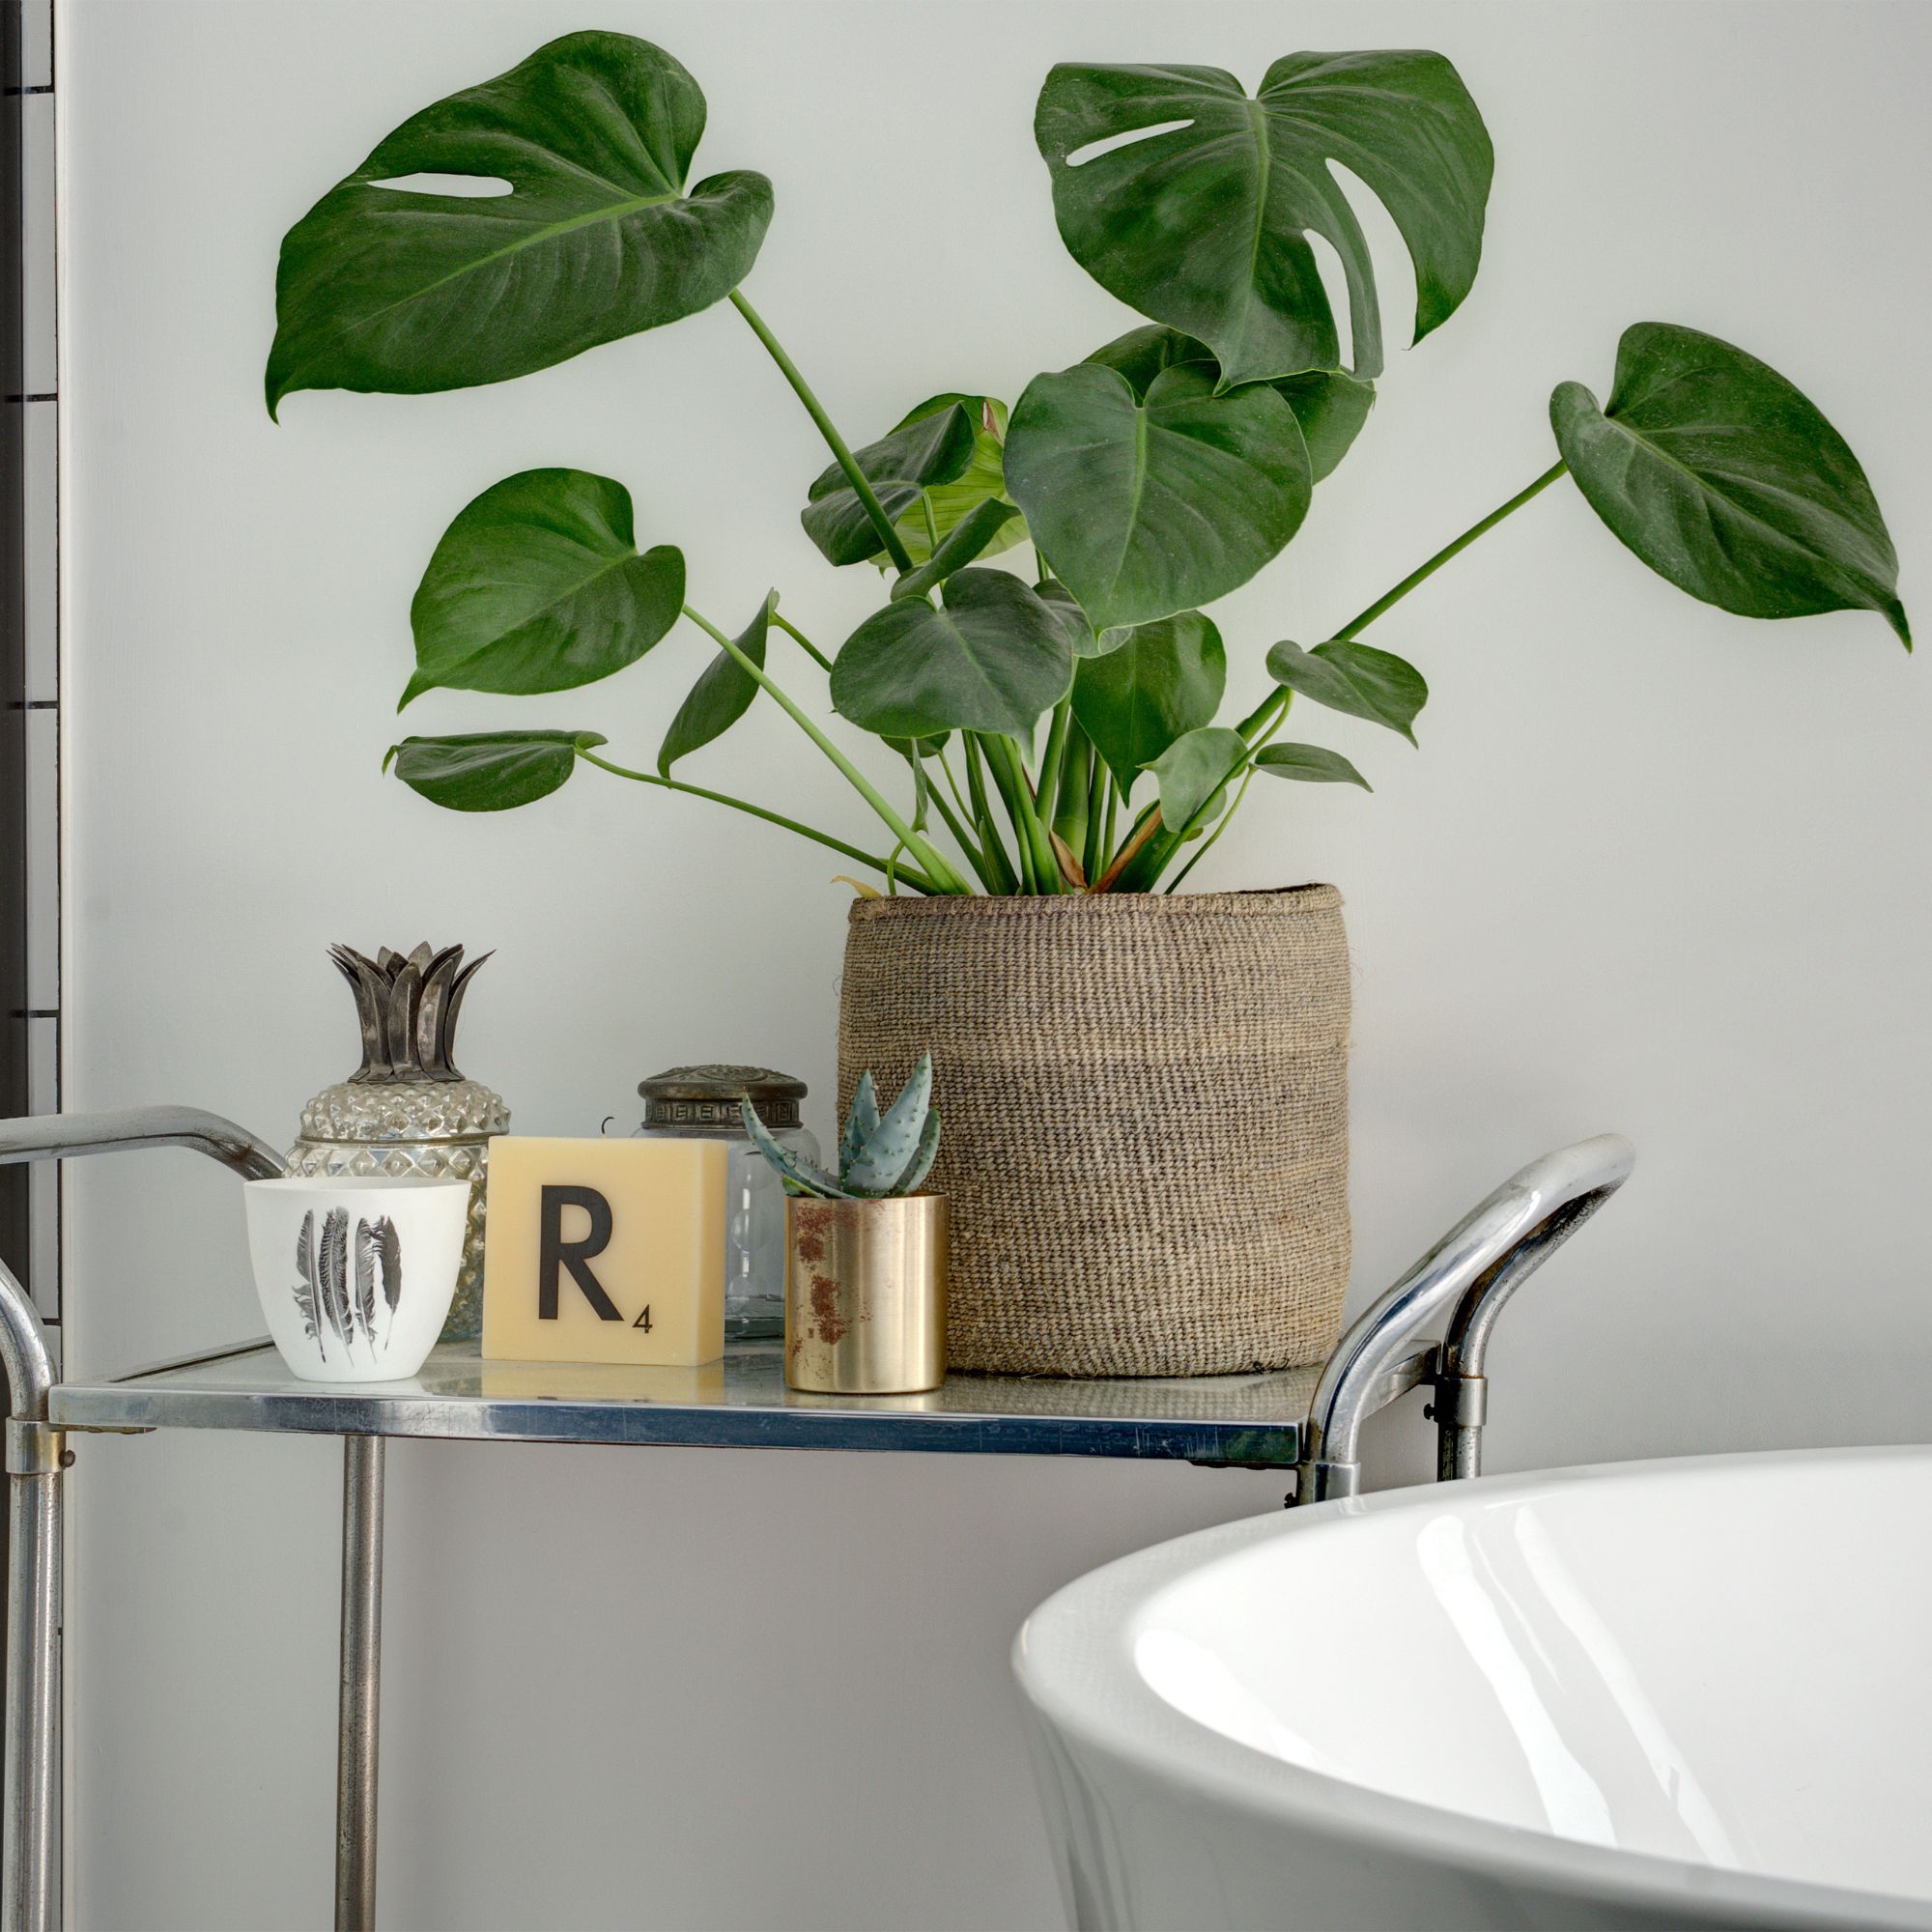
If you're an indoor plant enthusiast, knowing how to repot houseplants is one of the handiest skills you can learn.
Even the most unkillable houseplants need an upgrade now and then - and repotting could be the key to healthy, thriving indoor plants.
'We’re not the only ones who don’t like living in cramped conditions,' says Monique Kemperman, houseplant expert at The Joy of Plants. 'Houseplants need plenty of room to spread their roots, particularly if they’re young and actively growing.'
If you're wondering how to repot houseplants, we've put together an easy step-by-step guide to the when, how, and why you should be adding this important task to your to-do list.
When to repot houseplants
Before you learn how to repot houseplants, you’ll need to work out the best time to repot houseplants.
There’s no one-size-fits-all rule, but usually, your plants will give you clear signs they need an upgrade.
'If your plant exhibits significantly slowed growth, visible roots, tightly coiled roots at the base and a lack of repotting within the past year, especially for actively growing plants, it may be time to repot,' says Monique.
It’s usually safer to repot houseplants in certain seasons of the year. ‘Spring and early summer are the best times to repot, as plants are going through their growth stage,’ explains Jo Lambell, founder of Beards & Daisies.
If you’re wondering how to repot houseplants, take a look at our guide…
What you'll need
- A new plant pot — we love this Ridged Ceramic Planter from M&S
- Some sharp, clean pruning scissors like the FLORA GUARD Micro-Tip Pruning Snips from Amazon
- A hand trowel like the Kent & Stowe Hand Trowel from B&Q
How to repot houseplants
1. Select a new pot and partially fill it with potting mix
First, you’ll need to choose a new home for your plant. It can be tempting to jump to a much larger pot than the previous one, but upscaling too much can do your plant more harm than good.
‘When repotting houseplants, choose a pot that’s only slightly larger than the current one to avoid overwhelming the roots,’ advises Jo. 'Avoid using a pot that’s too big for the plant, as excess moisture can lead to root rot.’
Then, you can start partially filling the new pot with fresh potting mix. You can also reuse some of the soil from the previous pot, as long as you're sure it's disease-free.
2. Remove the plant from its old pot
Taking your plant out of its current pot can be daunting, but there’s a knack to it, according to Monique.
‘Support the base of the plant and carefully invert it, gently easing it out of the pot to minimise root disturbance,’ she says.
If your plant refuses to budge, Monqiue recommends sliding a clean knife around the soil to loosen it. ‘Or, gently tap the side of the pot against the edge of a table,’ she adds.

3. Prune away dead or rotten roots
Before you put your plant into its new pot, you’ll need to prune away any dead or rotten roots.
‘This will stimulate new root growth and ensure successful establishment in the new pot,’ explains Monique.
Make sure you use a clean, sharp pair of pruning scissors to do this — and check out our guide on how to clean garden tools to ensure you aren’t infecting your plants with disease.
Monique says you should also use your fingers or a fork to gently loosen the root ball and straighten out any coiled roots.
4. Position the plant in its new pot and backfill
Now, your plant will be ready for its new pot.
'Position your plant in the centre of the pot so that you can backfill soil evenly around the root ball, and so that it looks good,' says Kelly Dyer, plant doctor at Patch Plants.
Think about the level of the soil, too. 'Repot your plant to the same soil level that it was at before - you don’t want exposed roots,' Kelly explains. 'In most cases, this will mean first putting a layer of soil at the bottom of your new pot to get the plant to sit at the right height.'
Then, you can firm the soil around your plant. ‘Gently press down on the soil surface with your fingers to ensure good contact with the roots, taking care not to over-compact the potting mix,’ says Monique.
Don't backfill all the way to the top of the pot -— leave a bit of space. 'Leave a good 2cm gap between the soil level and the top of your pot so there is room to water,' advises Kelly. 'If the plant is potted to the very brim of your pot, the water will run off before it has a chance to soak through.’
5. Water it in
There we have it — you’ve successfully repotted your houseplant! Now, you’ll just need to water it in.
‘Watering the plant after repotting will help it settle,’ explains Jo from Beards & Daisies. ‘Avoid fertilising immediately — give the plant a few weeks to adjust first.’
Just make sure you don't give your freshly potted plant too much water, or you'll be scurrying around learning how to save an overwatered plant instead.
FAQs
What soil do you use to repot houseplants?
The right potting mix will vary between plants — the best soil for a monstera could be different to other houseplants, for example — so check your plant's requirements. Generally, though, you'll want to use a light, airy mix.
'Tropical houseplants do well in a light, airy mix with peat or coco coir and some perlite for drainage, while succulents and cacti need sandy, fast-draining soil to stop any root rot,' says houseplant expert Jo from Beards & Daisies.
'Orchids grow best in a bark mix that allows plenty of airflow around the roots, while moisture-loving plants like ferns prefer rich soil with added organic matter to help keep the moisture in.'
So, now you know how to repot houseplants! Find out whether you can repot your houseplant in winter before you jump straight to the task, though.