
Want to create a stunning creative portfolio or business website for free? Google Sites could be your answer. It’s a part of Google's free web tools, launched as JotSpot in 2006. But, Google Sites has changed a lot since Google bought it and re-launched it in 2008.
While not very feature-heavy, I find Google Sites very easy to use. You don’t need any coding skills to make a professional-looking website. You can showcase your art, photos, writing, or achievements easily. It also works well with other Google tools you might already use.
If you’re a freelance designer, artist, or a small business looking for an online presence, Google Sites is a great way to start. It offers free hosting, customizable templates, and a drag-and-drop interface. You can have your small business website ready to launch very quickly, turning your showcase into new leads and opportunities.
1. Access Google Sites
You can access Google Sites by heading to sites.google.com.
There you’ll find Google’s website builder, sporting a familiar interface almost identical to Google Drive. You will need to sign up for a free Google account if you don’t have one already – but who doesn't these days?
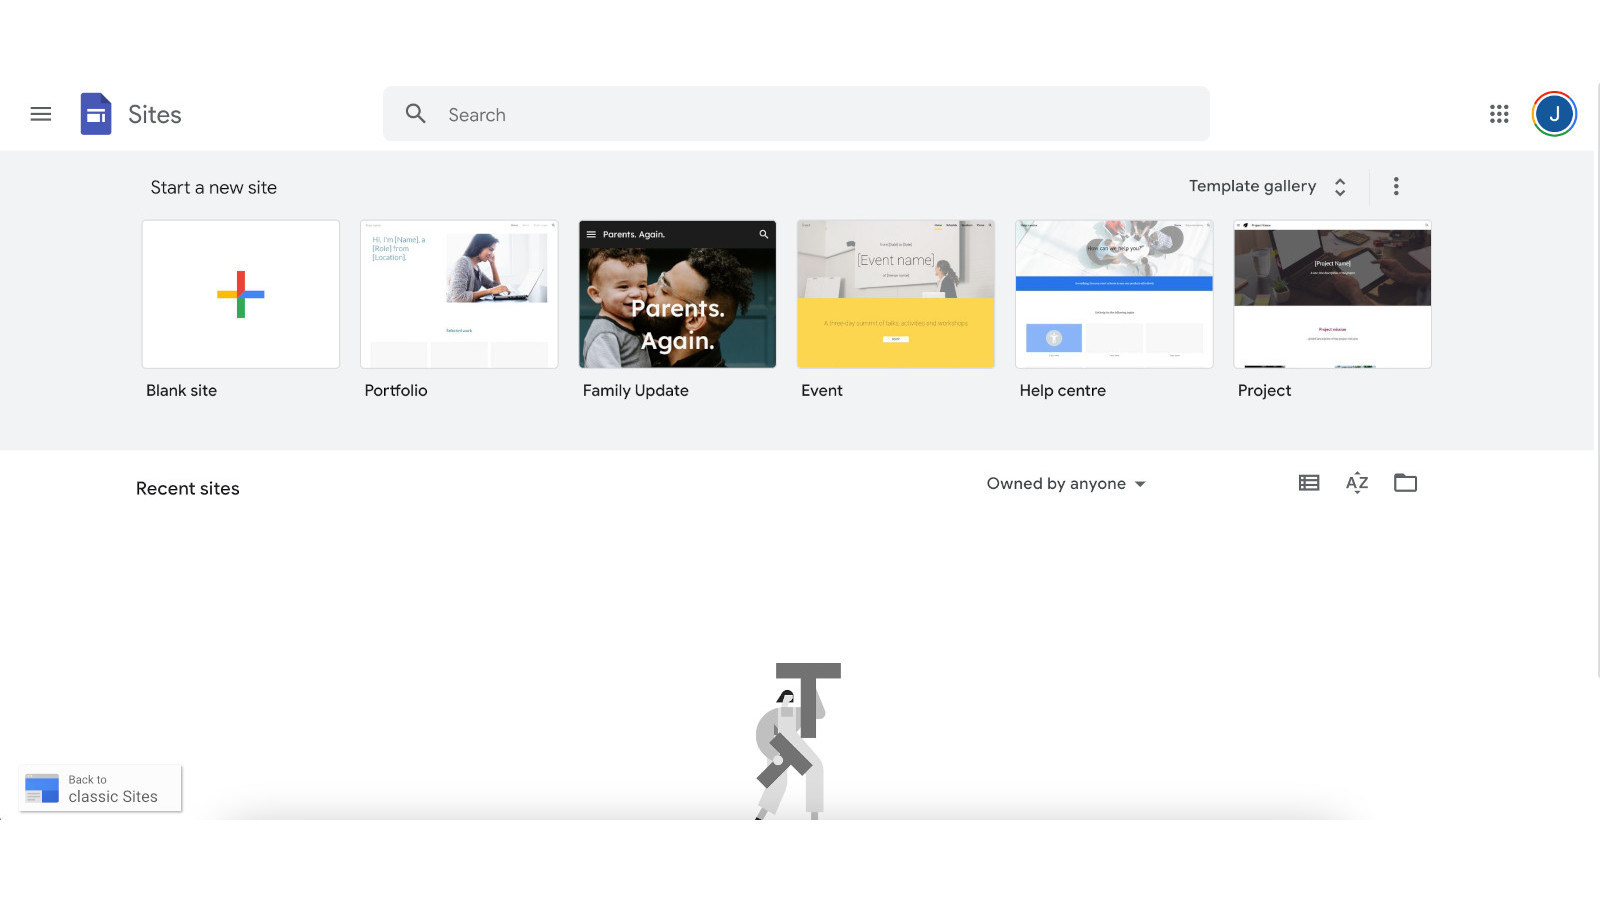
2. Select a template (or don't)
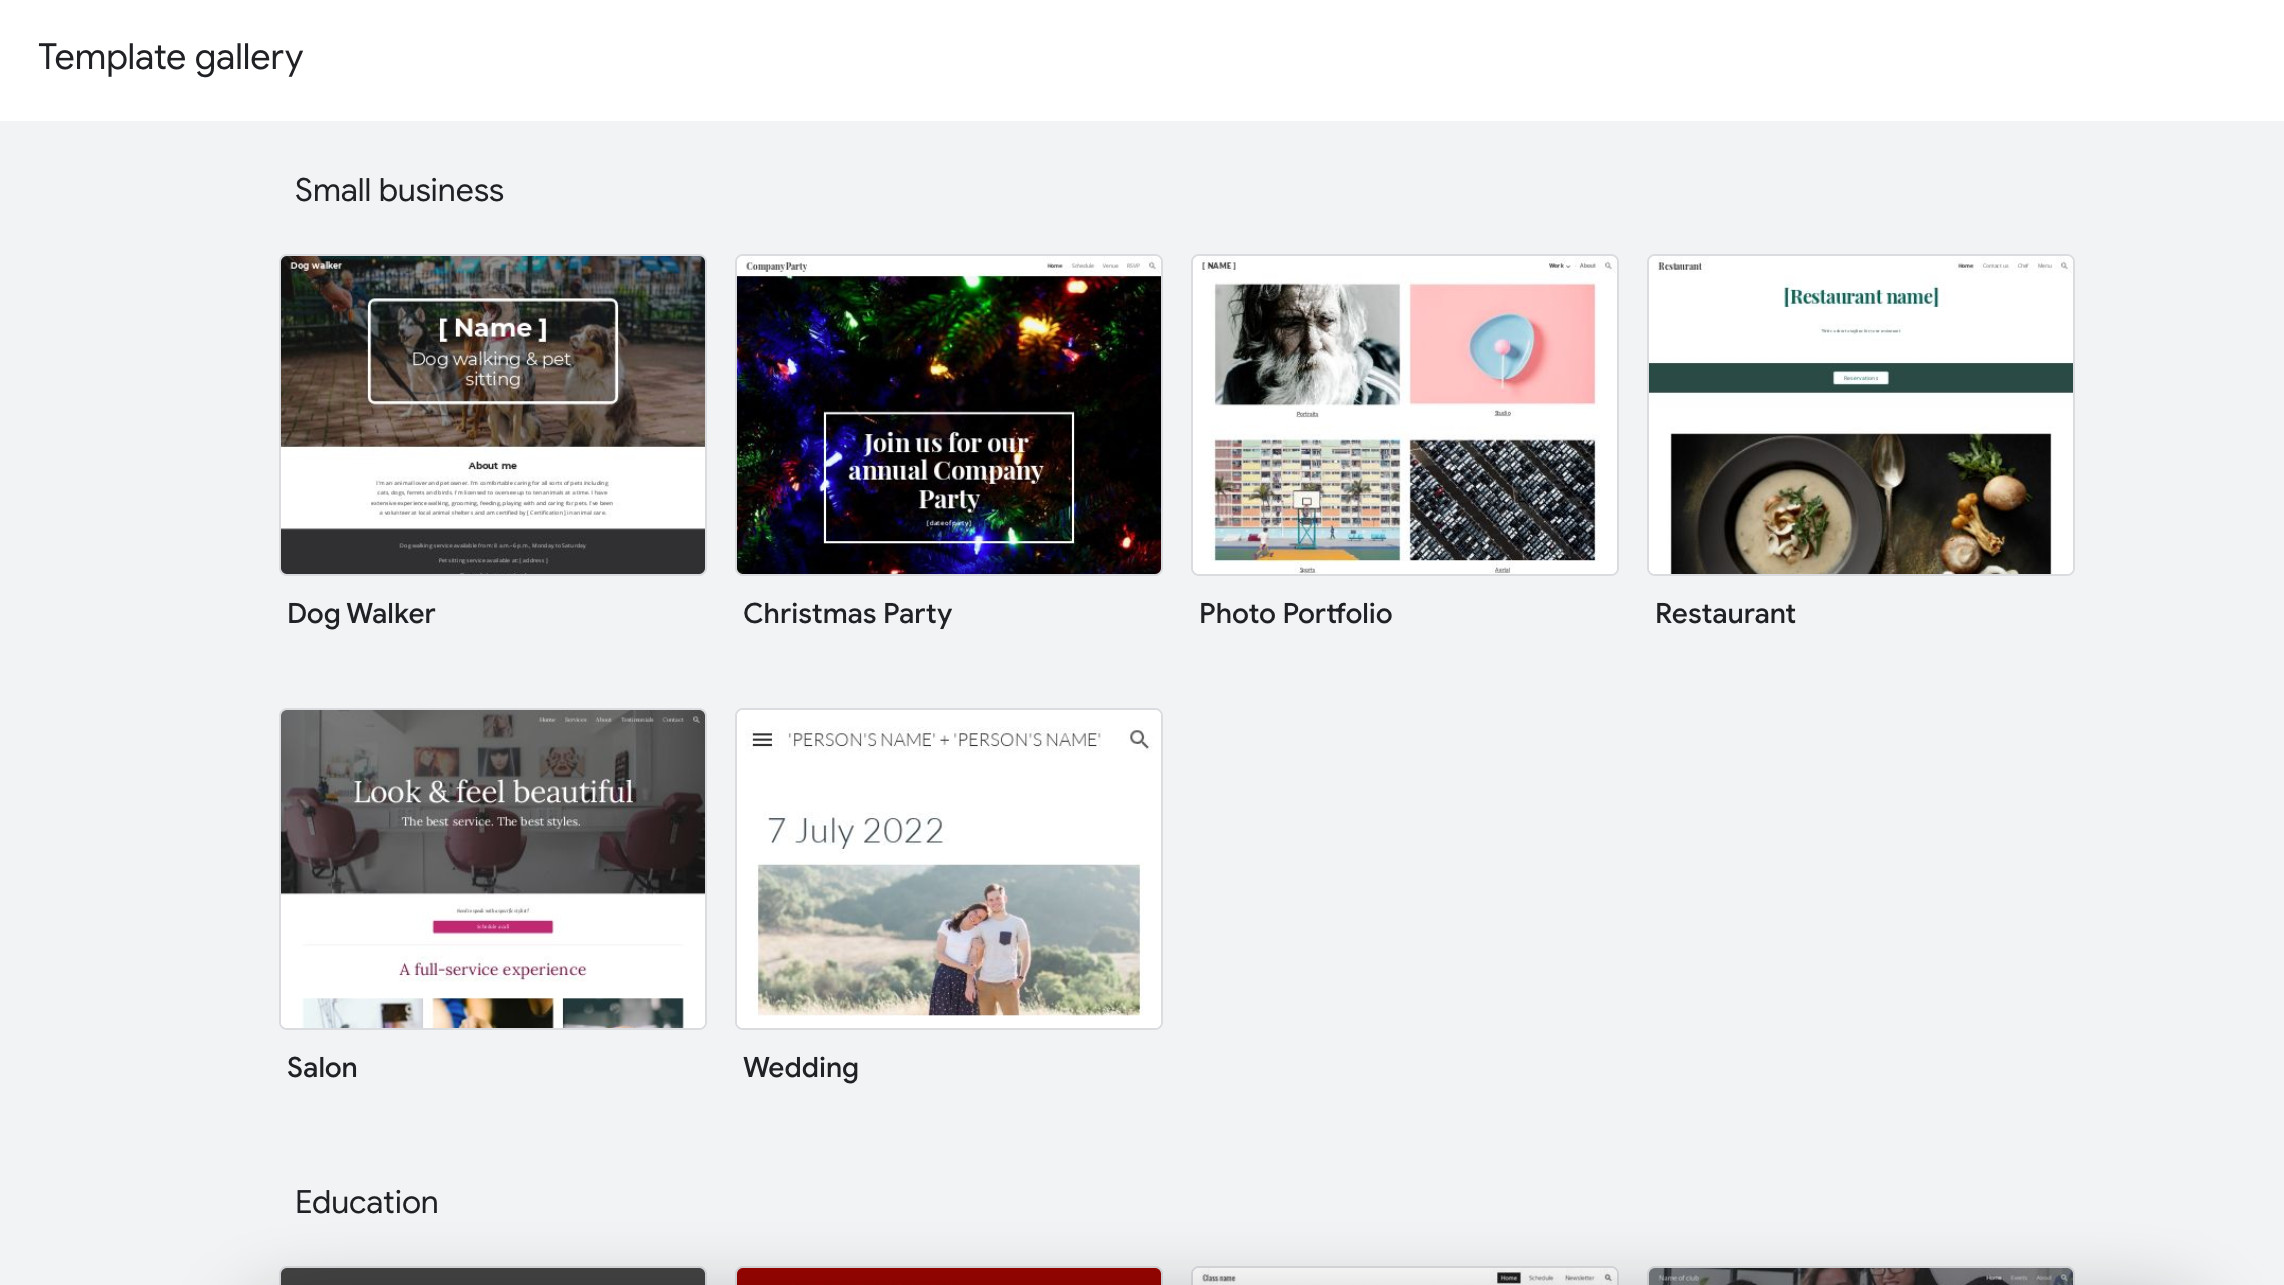
Once you’ve got your account, you’ll be presented with the main dashboard to start a new site. It’s worth looking through the selection of templates Google Sites offers, in case there’s one that’ll suit your purposes better. Click ‘Template gallery’ on the right-hand side to expand the list.
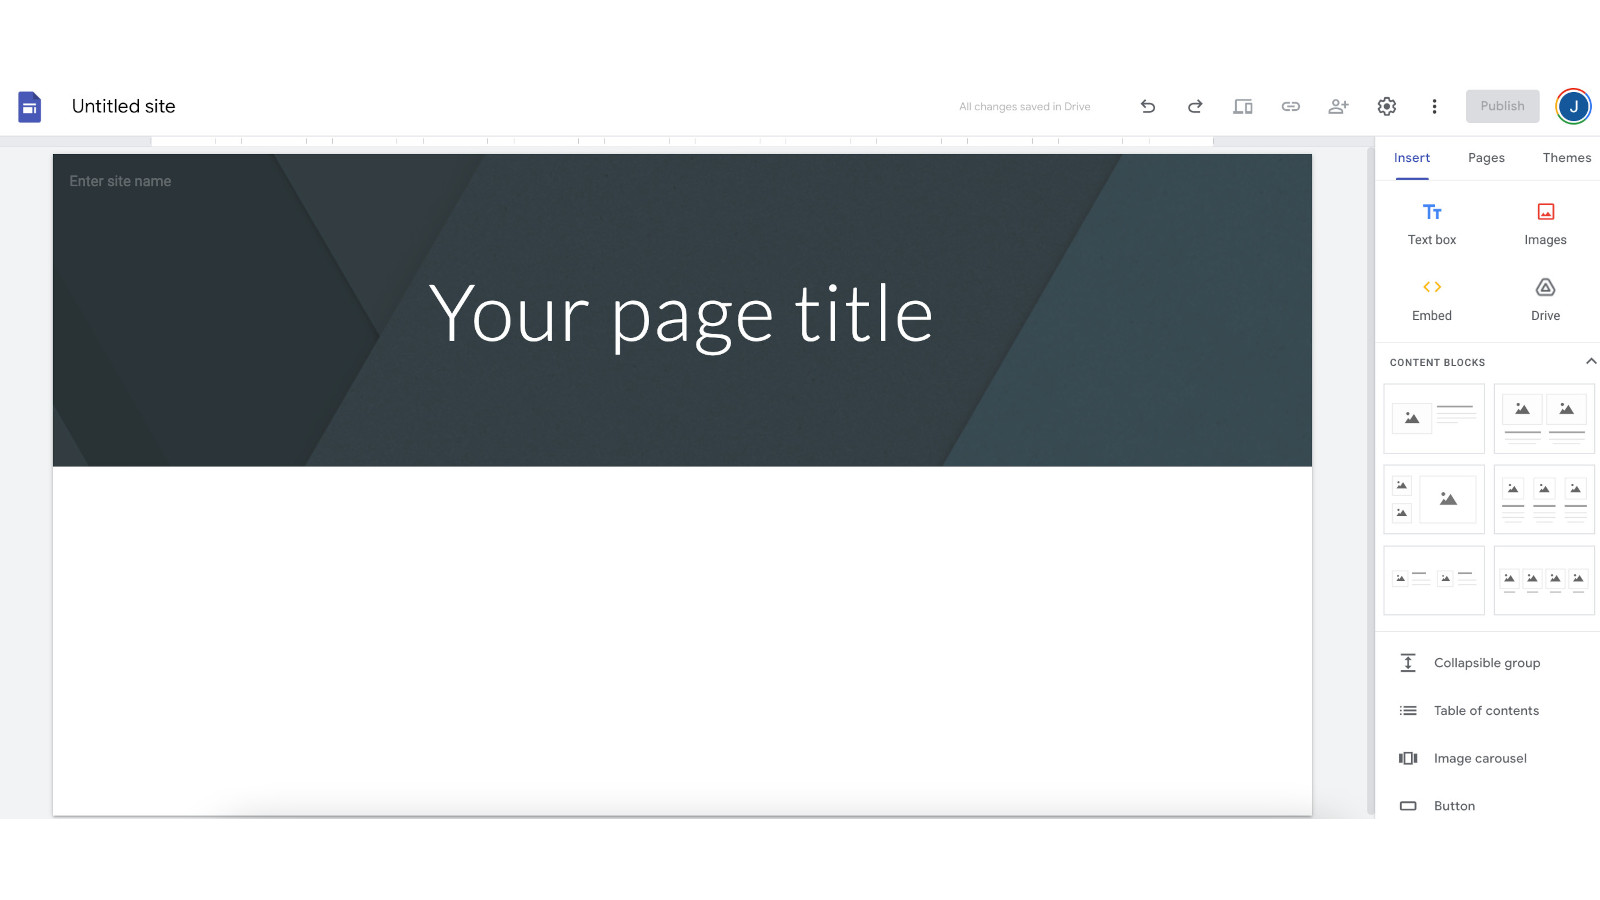
For the purposes of this example, I’ll create a photography portfolio website. While there is a dedicated template for this purpose, I’m going to create one from a blank template, so I click the ‘+’ symbol to create a blank site.
Whatever you choose, you’ll be thrown straight into the main site editor. The first thing to do now is name your site, which you can do in the top-left corner.
3. Add pages and sub-pages
A good thing to establish at this point is how many pages you’re going to need on your site, which will depend on what you’re using it for. If you’re providing information for wedding guests, for example, you’ll probably only need one. If you’re opening a site for a restaurant, you’ll probably want a few more – menu, hours, reservations, etc.
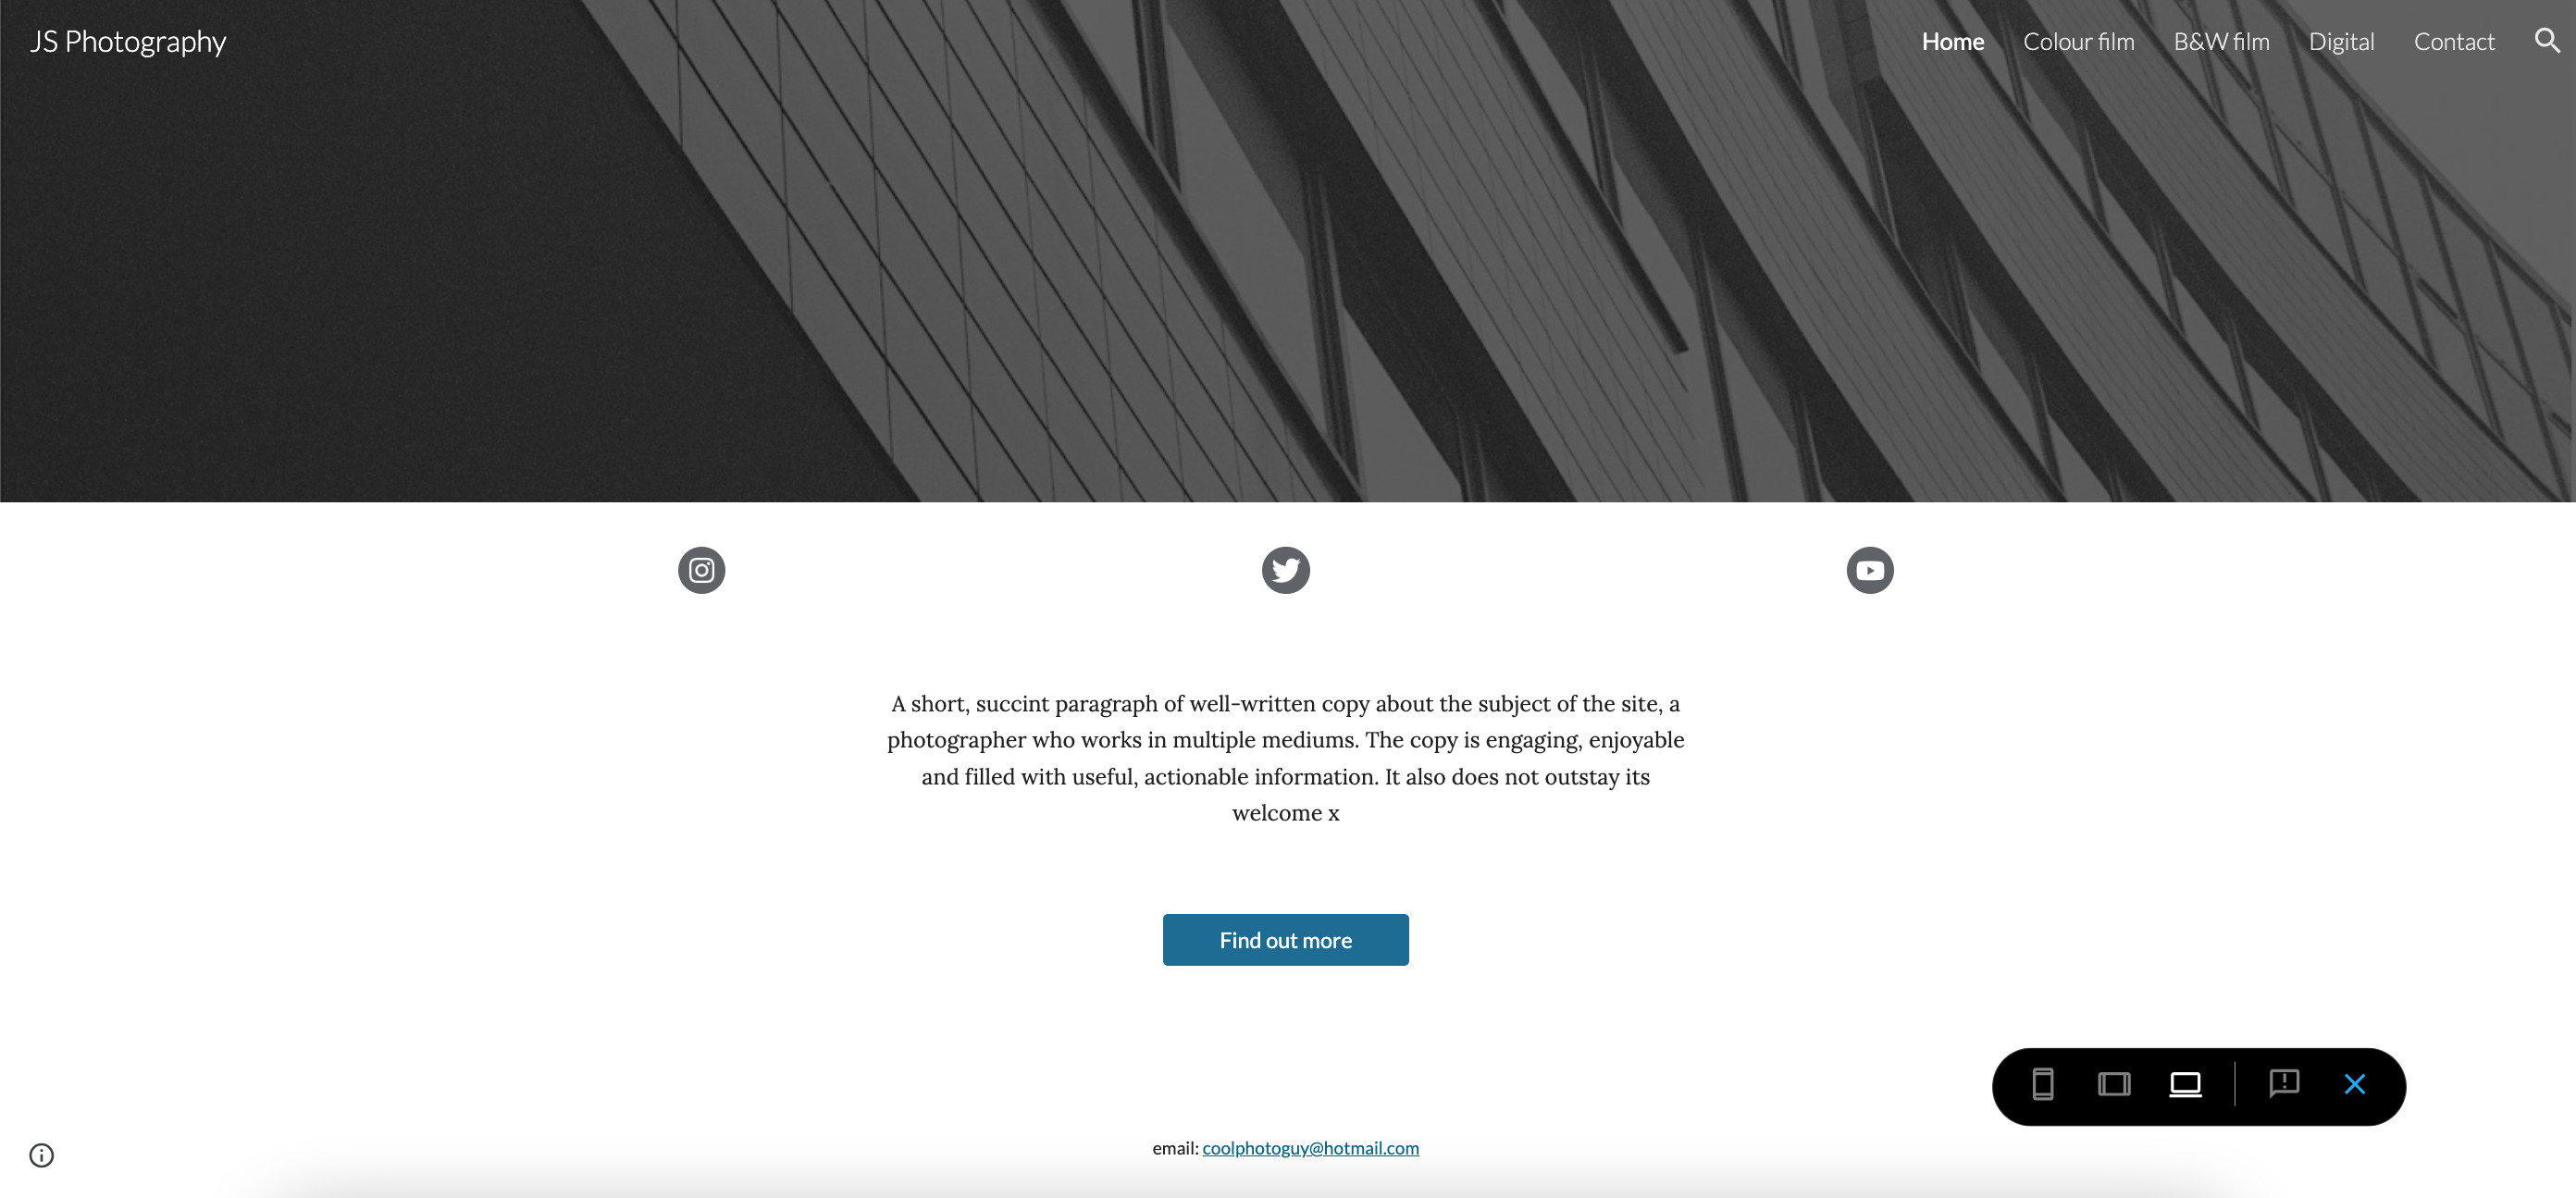
For my photography portfolio, I want to split my images into the following categories: colour film, black & white film, and digital. I also want a contact page so people can get in touch to hire me, or to buy prints (keep dreaming, one day it’ll happen).
Click ‘Pages’ in the right-hand menu, then click ‘Add page’ at the bottom for each of the pages you want to add.
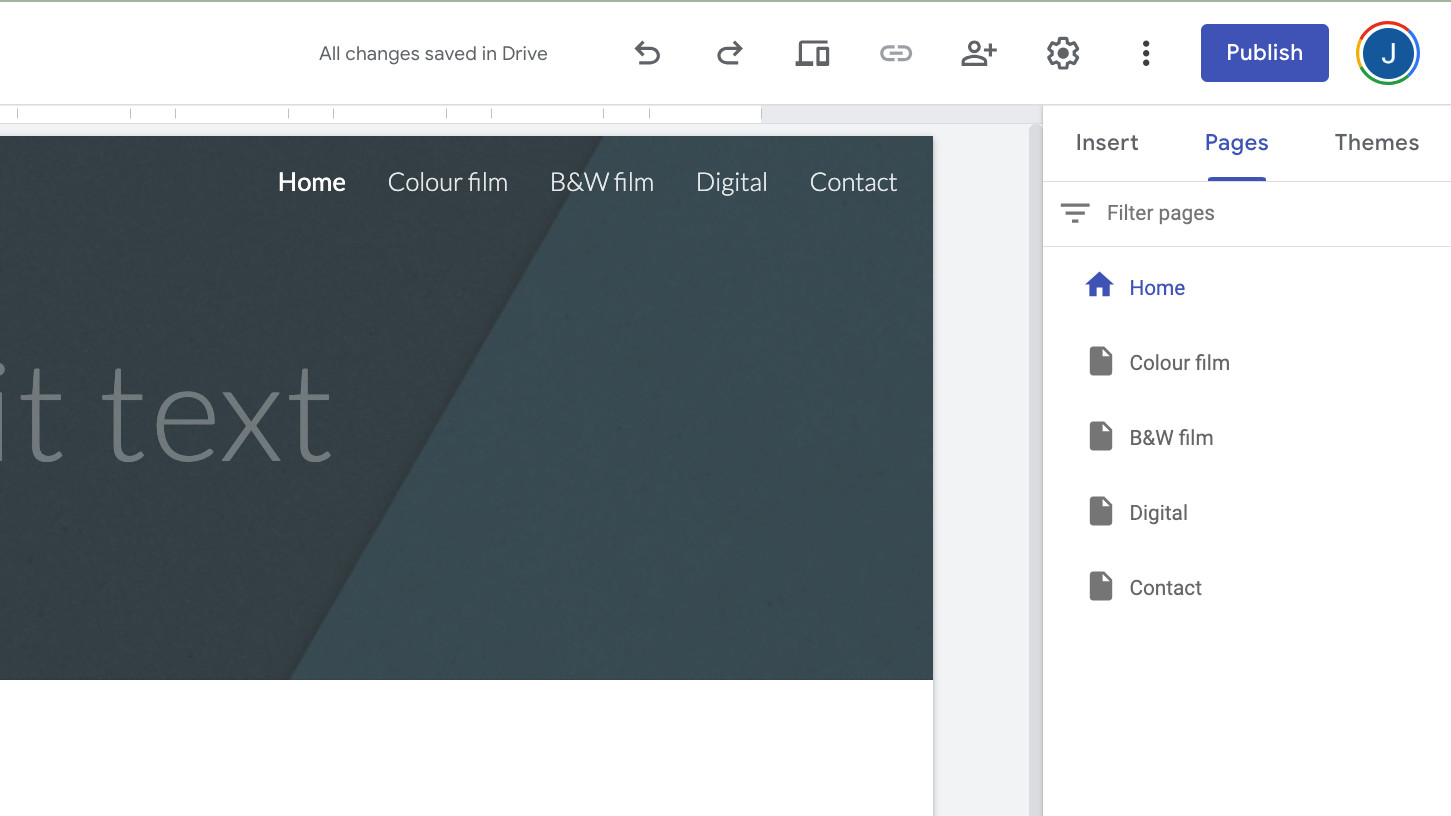
You’ll notice that the page titles have been automatically added to the top nav bar of my site. If you need to, you can add sub-pages within pages, meaning they won’t show up in the top menu – click the three dots next to any page name, then select ‘Add subpage’ (here you can also duplicate pages).
The header currently has a generic image – we’ll get to replacing that in a moment, but if you’d like to change the size of the image, or not have one there at all, you can select ‘Header type’ below to change it.
4. Populate with text and images
Now it’s time to add the actual content of our site. As I’m making a photography portfolio, I have plenty of imagery to choose from already. If you don’t, you may want to consider stock imagery – check out our guide to the best stock photo libraries, which includes options for free images.
As mentioned, Google Sites uses a block-based system for populating content which makes things easy. Click ‘Insert’ on the right-hand menu, and you’ll be presented with options of the different types of content blocks you can create. There are singular text and image blocks, as well as pre-made blocks that provide combinations of the two, and you can also embed content from other sites or import it from Google Drive.
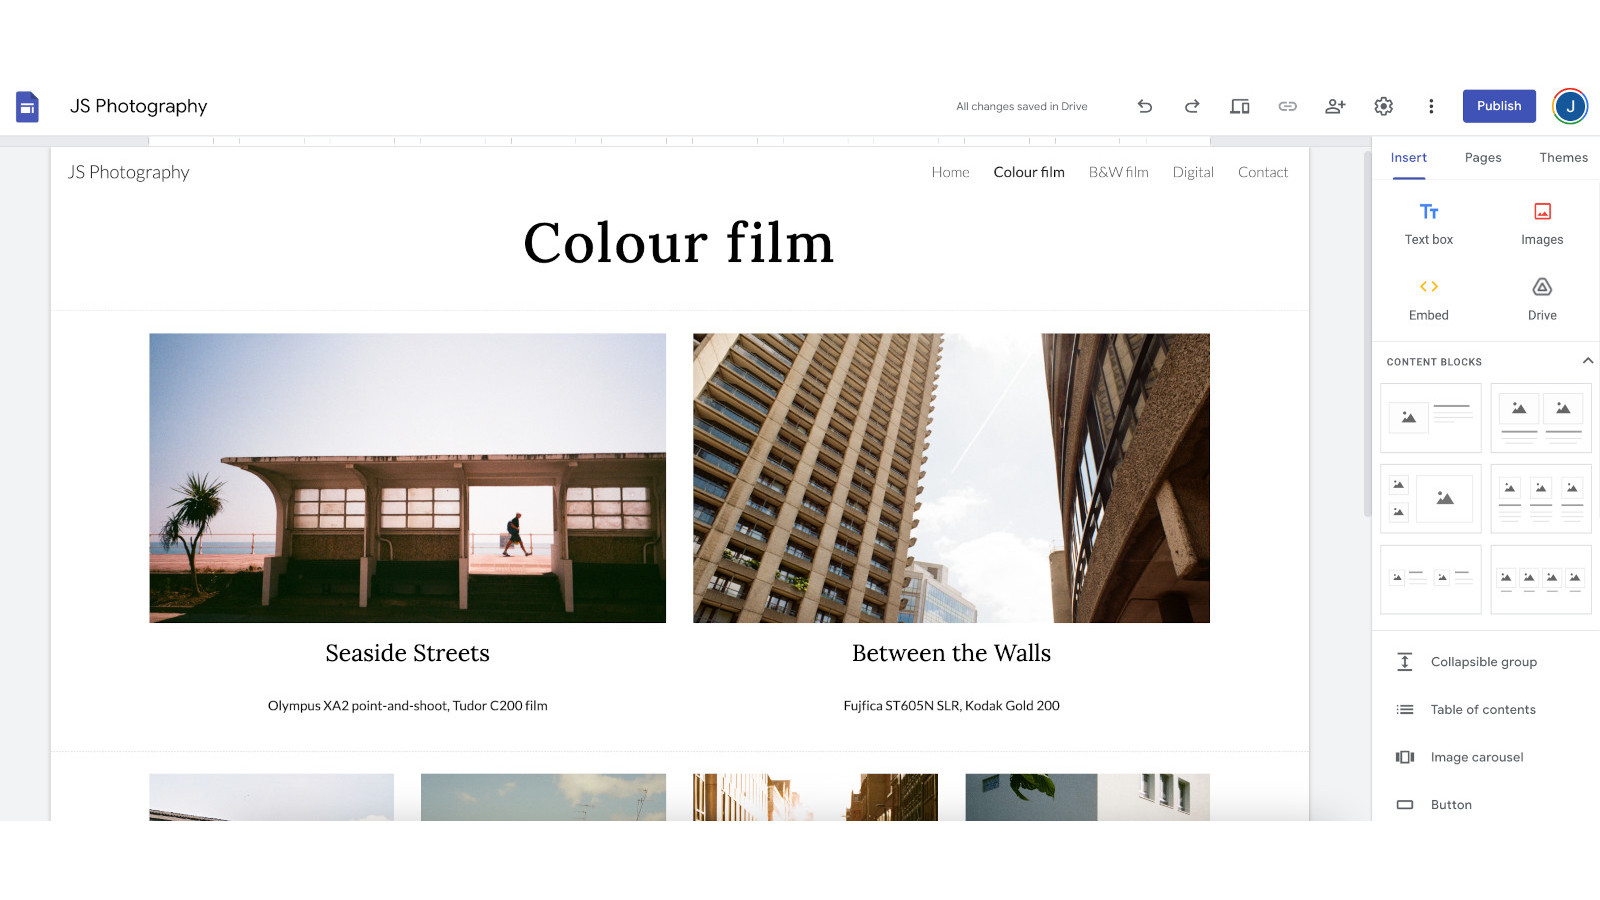
The editor allows you to drag and drop content across the grid as you see fit – so experiment with how things look. You can also simply double-click on any blank area of the website to insert something directly.
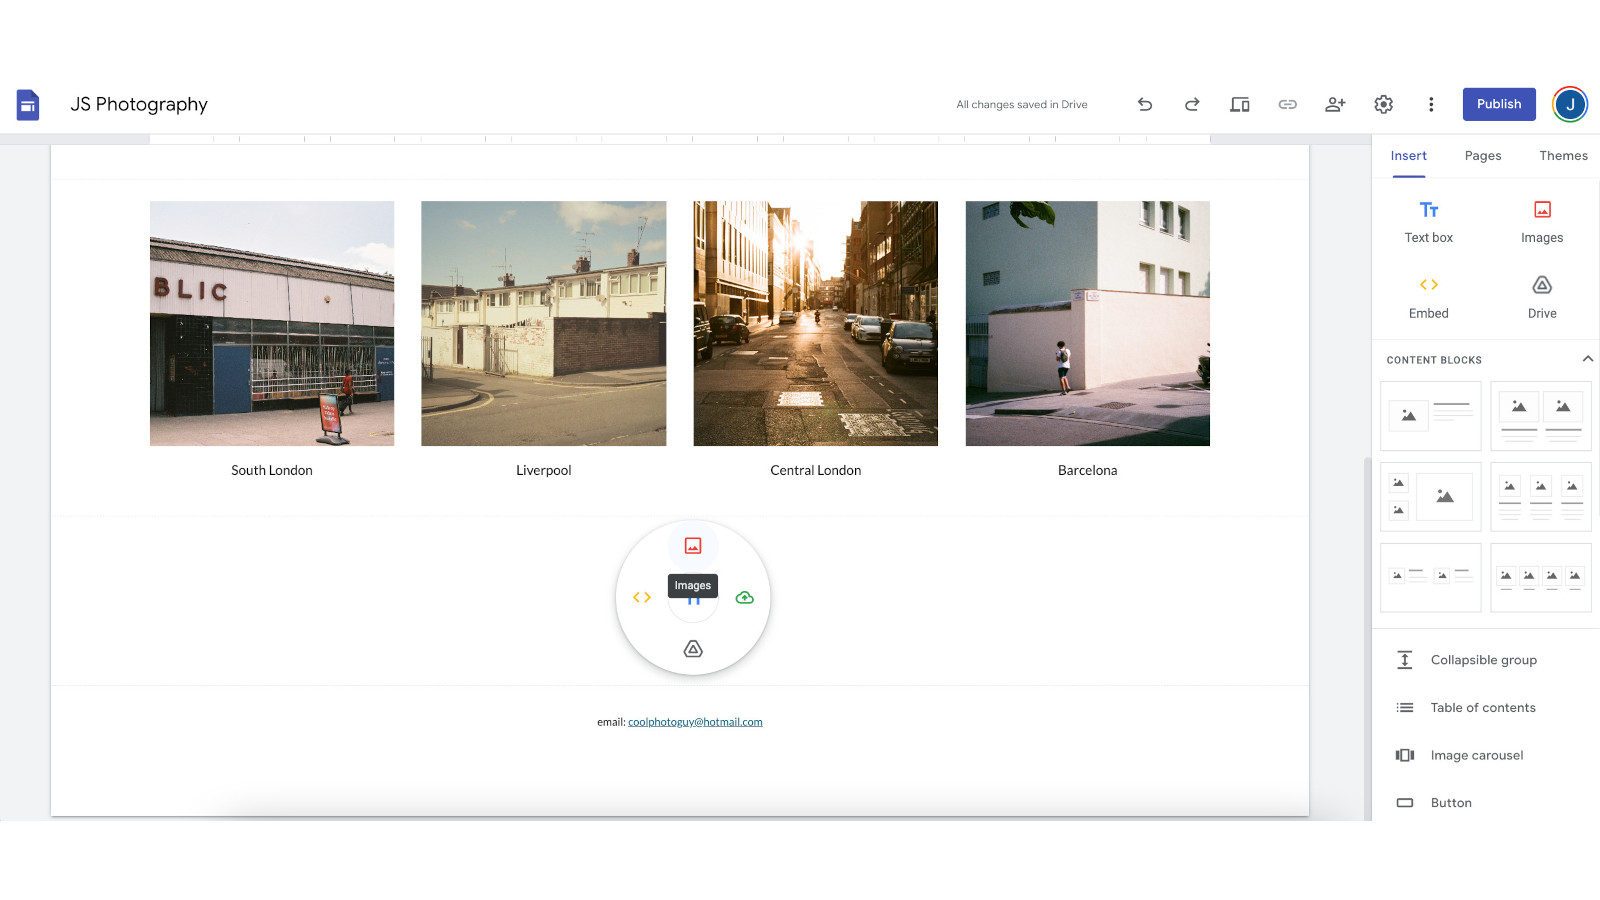
5. Add other functionality
In the ‘Insert’ menu, Google Sites offers many other functions and blocks you can insert, depending on the information you need to convey. You can use other Google products to embed different functions, such as interactive Google Maps, YouTube videos, Google Calendars, Docs, Sheets, Forms and more.
There’s also the option to insert collapsible text, image carousels, and buttons that can link to specific pages on your site or elsewhere. You can also use the ‘Social links’ function to pull in your social media profiles – simply insert the link and Google Sites will display a button with the relevant logo.
6. Preview, peer review and publish!
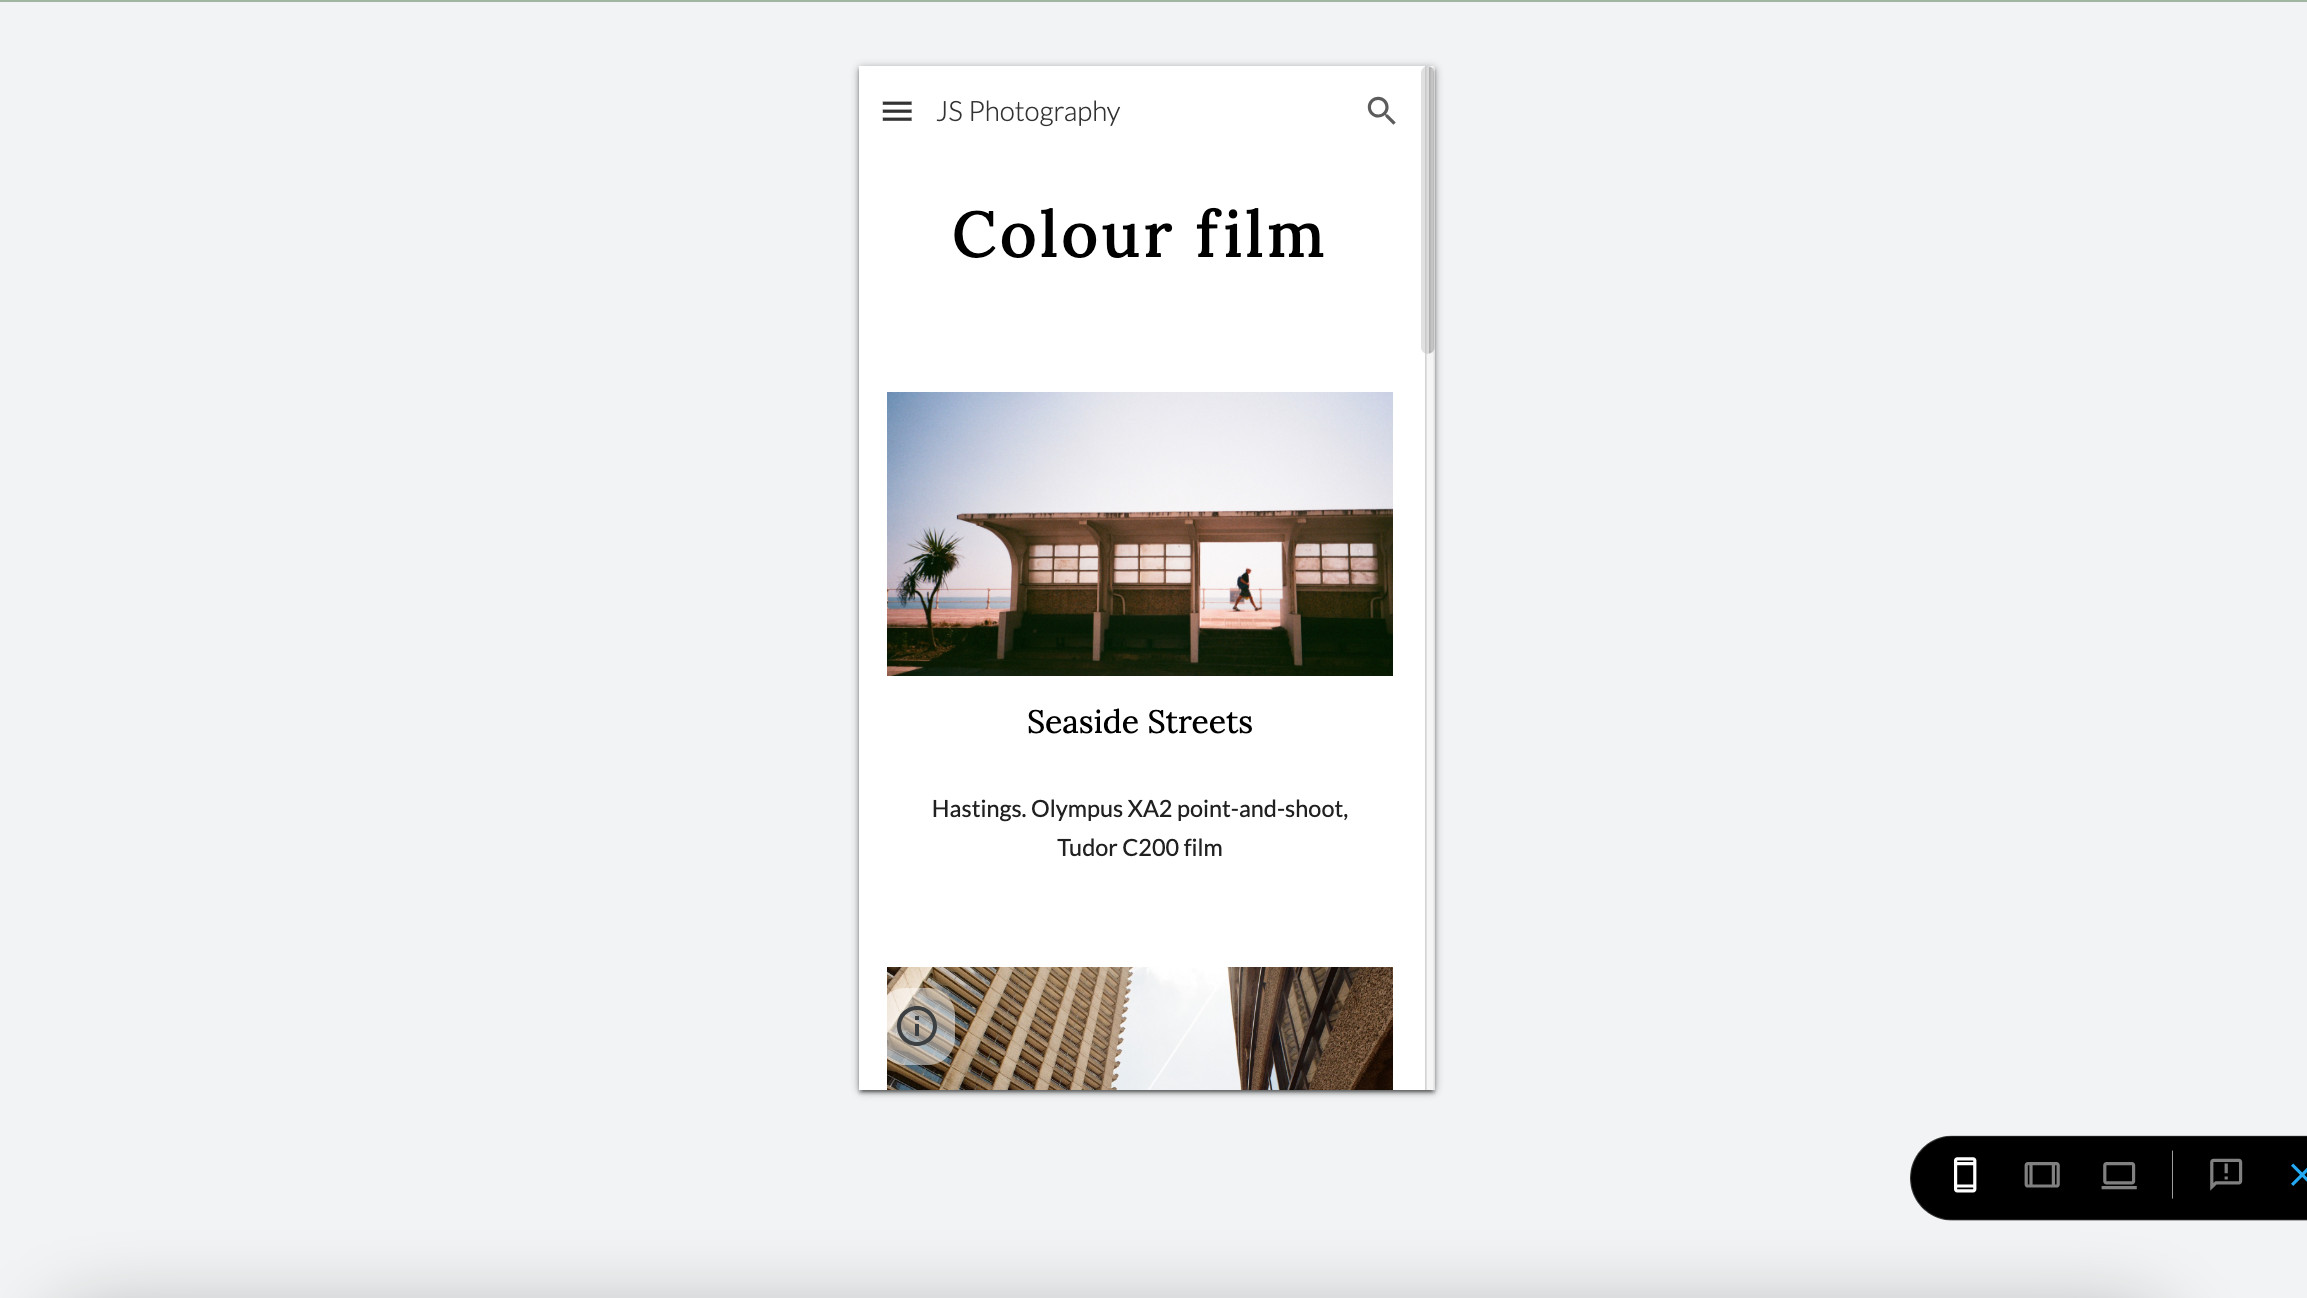
Using the preview button in the top right of the editor, you can view how your site will look on mobile, desktop and tablet. Once you’re happy with it, click the ‘Publish’ button – but don’t worry, this won’t just dump your site onto the web for anyone to find. First you’ll be able to specify your domain name. This will take the form of sites.google.com/view/yoursitenamehere, unless you have a domain of your own already, in which case you can link it up in this menu (see our guide to the best web hosting services if you need one).
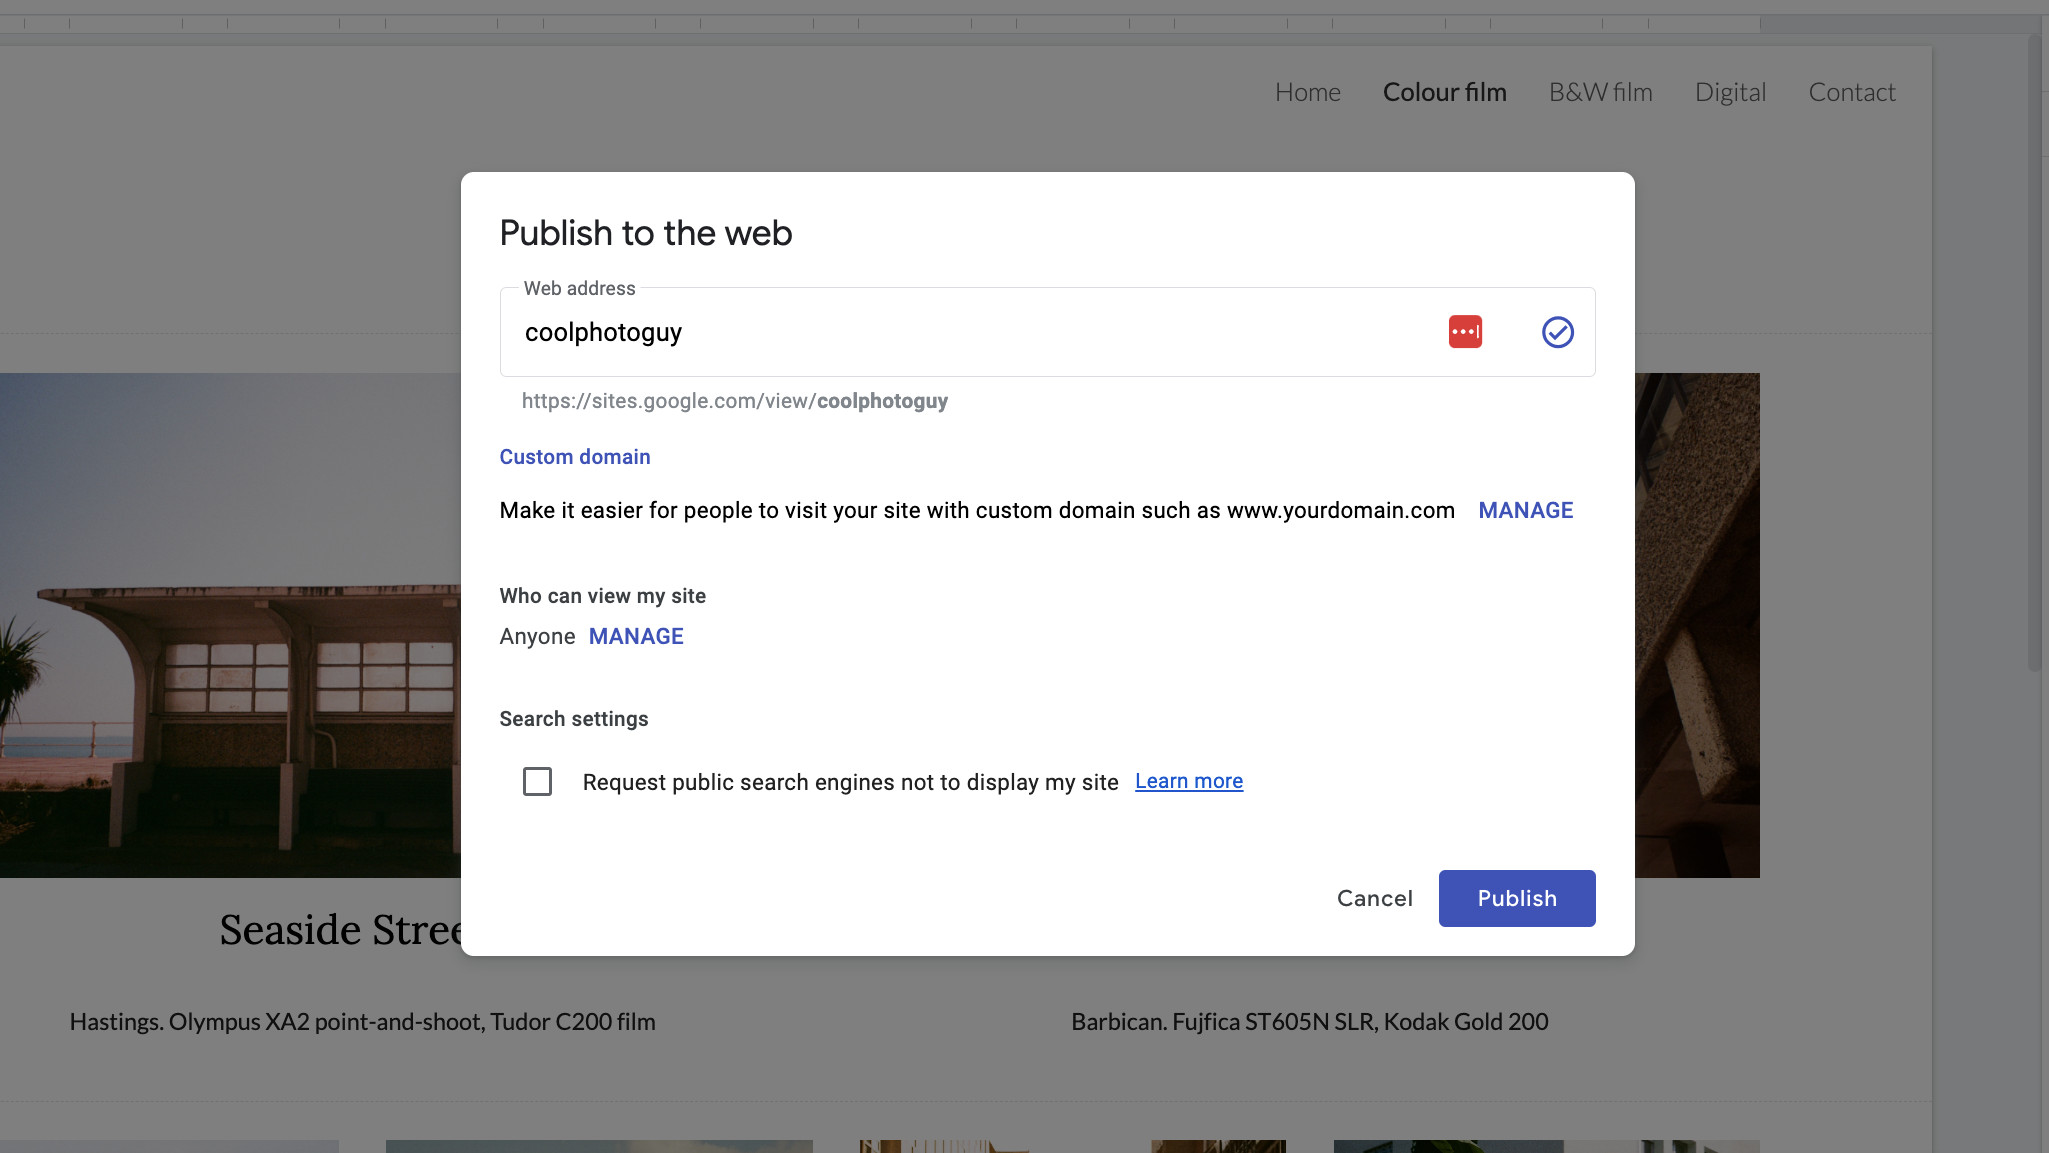
If you like, you can also specify your site to only be viewable to certain people, or only to people who have the direct link. This can be hugely useful for getting feedback on your site through peer review from people you trust.
And once you’re done, all that’s left to do is hit ‘Publish’!
FAQ
Is Google Sites really free to use?
Yes! Google Sites is free with any Google account. You can use either a personal Gmail or a business Google Workspace account to create and host websites at no cost. There are no hosting fees or hidden charges for basic website creation. The platform allows up to 10,000 web pages per site and 15,000 images, which works well for most projects. This makes it great for creatives, small businesses, or anyone wanting an online presence without spending money.
What types of websites work best with Google Sites?
Google Sites is great for informational websites, portfolios, and team collaboration spaces. It's perfect for small business websites, online portfolios, club sites, wikis, and simple landing pages. It excels with intranet applications because it integrates smoothly with other Google tools like Drive, Calendar, and Docs. While it's not the best for large e-commerce sites due to limited database features, you can connect tools like Ecwid for basic online store capabilities. For creatives and professionals showcasing their work, it offers an easy way to build a professional-looking portfolio.
What are the main limitations of Google Sites?
I appreciate Google Sites for its simplicity, but it has some limitations. Customization options are limited compared to other builders, with fewer than 20 themes and templates available as of 2025. You can't modify the HTML, CSS, or JavaScript code, which limits advanced customization. SEO features are basic, allowing only site titles, page titles, heading tags, and image alt tags for optimization. The platform isn't ideal for e-commerce without third-party tools, and some users find it hard to achieve high search rankings. Still, these limits are reasonable for a completely free, user-friendly platform that requires no coding knowledge.