There is a piece of upcycled furniture in nearly every room of our home – from our chest of drawers and bedside tables to the dresser in the kitchen and desk in the home office – so it's safe to say I'm no stranger to a paint brush and a tub of chalk paint.
However, when creating something for your home, you want it to be perfect. Thankfully, with a few expert tips, it is easy to achieve a professional look when upcycling furniture – family and friends will be amazed that you didn't buy it.
One of the reasons I love this sustainable decorating idea is that it's an affordable way to fill your home with high-quality furniture. Having invested in low-quality budget furniture in my early 20s, discovering the wealth of wooden, quality furniture on Ebay and Freecycle changed the way I furnish our home.
Our solid wood, drop-leaf dining table cost me less than £15, and my pine desk (with six drawers) totalled £35 – including paint! Six years and a house move later, both are still going strong.
1. Don't skimp on the preparation
Whether upcycling secondhand pieces or painting IKEA furniture, the secret to achieving a professional paint finish lies in the preparation. Taking time and care at this stage lays the foundations for a smooth application and a long-lasting finish, and will help you avoid the most common paint problems.
‘If there are holes or cracks, fill them with a good wood filler – like this Ronseal multi-purpose wood filler from Amazon – and let it dry completely before sanding smooth. If you’ve got loose veneer or lifting edges, use a strong wood glue to stick it down and clamp if possible,’ advises Elliot Small, founder of Small & Co Furniture Paints.
Once repaired, turn your attention to cleaning. ‘Clean the entire piece with a good degreaser or sugar soap – like this from Amazon – ensuring it is thoroughly dry before the next step,’ says Emma Irving, senior product manager at Rust-Oleum. ‘If wax has previously been used, clean with white spirit and thoroughly sand.’
The need for sanding depends on the paint used; however, in most cases, lightly sanding the piece – using a 120-grit sandpaper, available on Amazon – just enough to take off the sheen of the previous finish, will help paint adhere to the furniture.
2. Choose the right piece
When you are looking for an upcycling project for beginners, getting the right piece of furniture is essential – something I realised when I tried painting some old garden furniture, only to find out that it was rotting underneath, resulting in a waste of time and money on paint.
‘Look for good bones,’ advises Elliot. ‘Check for signs of woodworm – tiny holes and powdery dust – and avoid anything with severe water damage that warps the surface.'
'Wobbly legs or drawers that don’t run smoothly are often an easy fix, but if a piece is warped or falling apart, it might be more hassle than it’s worth,’ he adds.
Charity shops and online auction or marketplace sites are awash with quality pieces of furniture, just waiting for a coat of paint and a new lease of life. If you are hesitant about investing in the project, Freecycle has plenty of pieces you can acquire for free that are full of potential, or try shopping in your own home for easy DIY projects.
3. Invest in the right brushes for streak-free finish
When purchasing a brush, ensure the bristles are soft and malleable and check for loose bristles – ‘there’s nothing worse than picking them out of wet paint,’ notes Elliot – something I can confirm from experience.
When painting wood furniture, the paint can be applied by brush or roller. ‘For most projects, my go-to is a 2-inch angled brush, and I’ll often use a mini microfibre or a nap mohair roller for big flat areas if I want a flawless finish,’ advises Elliot. Round brushes are ideal for more intricate or curved elements.
When painting, always follow the grain and use a light touch. ‘Most brush marks are caused by pushing down too heavily on the brush when painting,’ says Karen Jones, creative artisan at Frenchic Paint.
Just like when painting a room, climate is important, too. ‘Do not paint in direct sunlight or in a very hot room as the paint will dry too quickly, which could affect the finish,’ advises Karen. Always stir the paint using a dedicated paint stirrer to ensure the perfect formula.
Drips are an enemy of upcyclers – they often hide from view when painting. ‘A quick once-over with a light hand at the end of each coat usually catches them before they dry,’ says Elliot.
With six different-sized slanted brushes, you'll definitely be able to find the size for the details in your project.
A mini microfibre roller is a must for smoothly apply the paint over large flat areas.
Perfect for detailing, round-ended brushes are ideal for intricate edges or curved parts of the furniture.
4. Not all paint can be used
For my first upcycling project, I used a tin of emulsion that we already had in the cupboard – big mistake. It quickly peeled off and chipped – meaning I then had to re-sand the whole cupboard and repaint it with a paint designed for upcycled furniture.
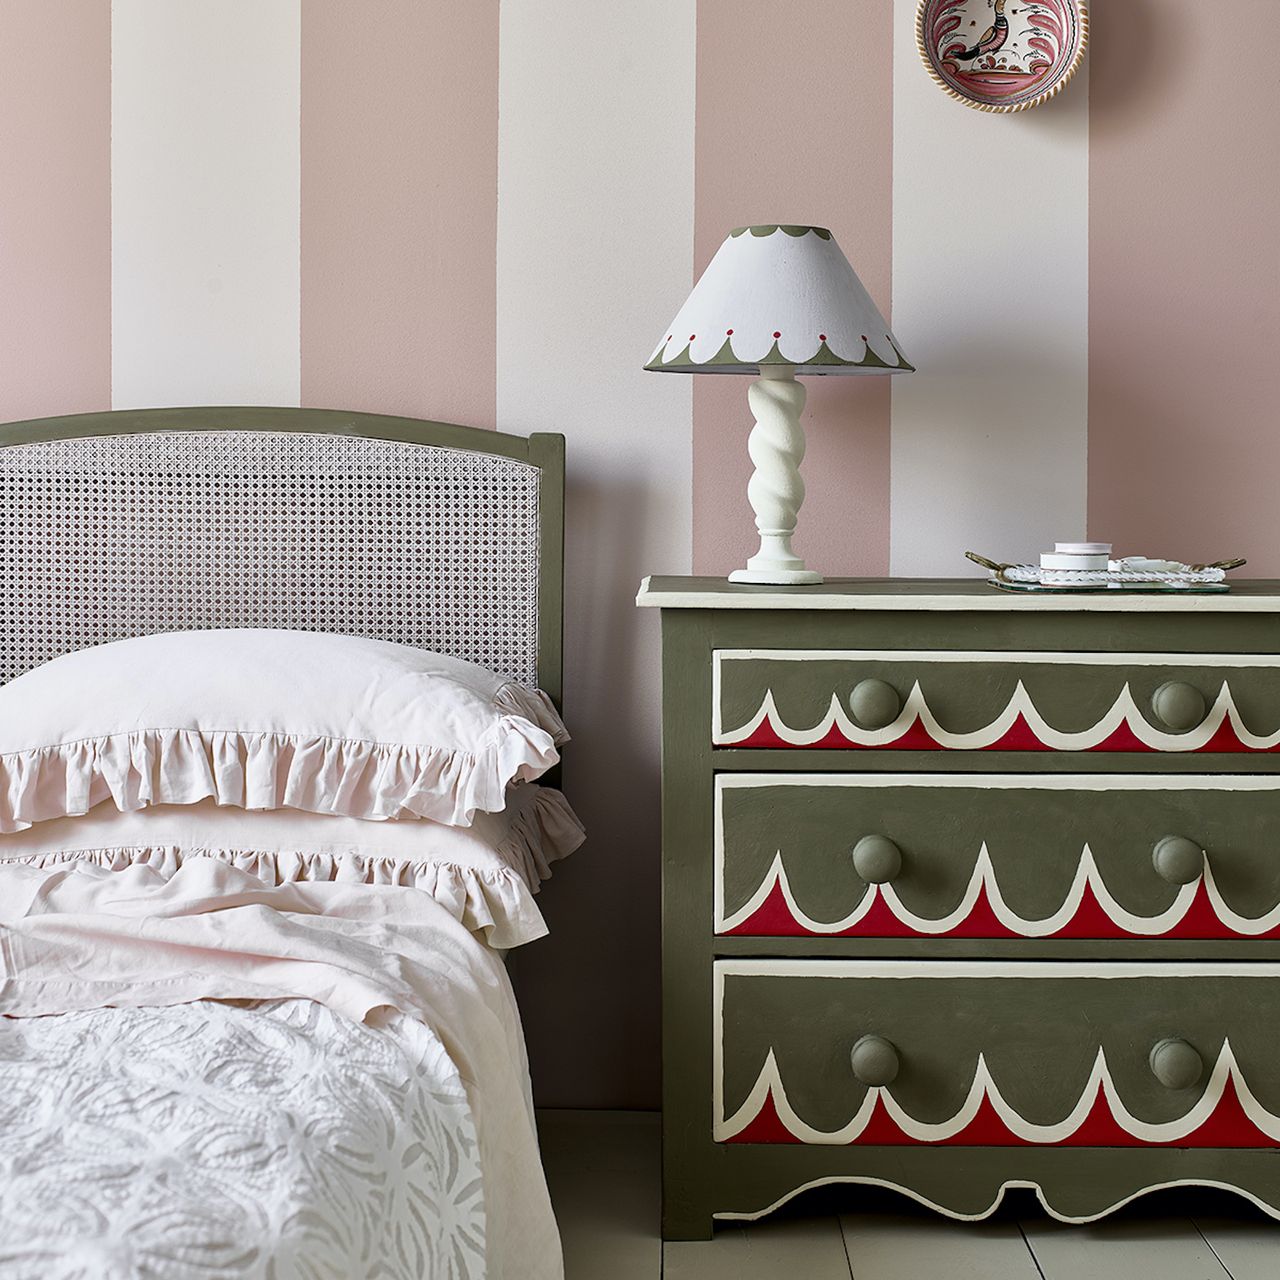
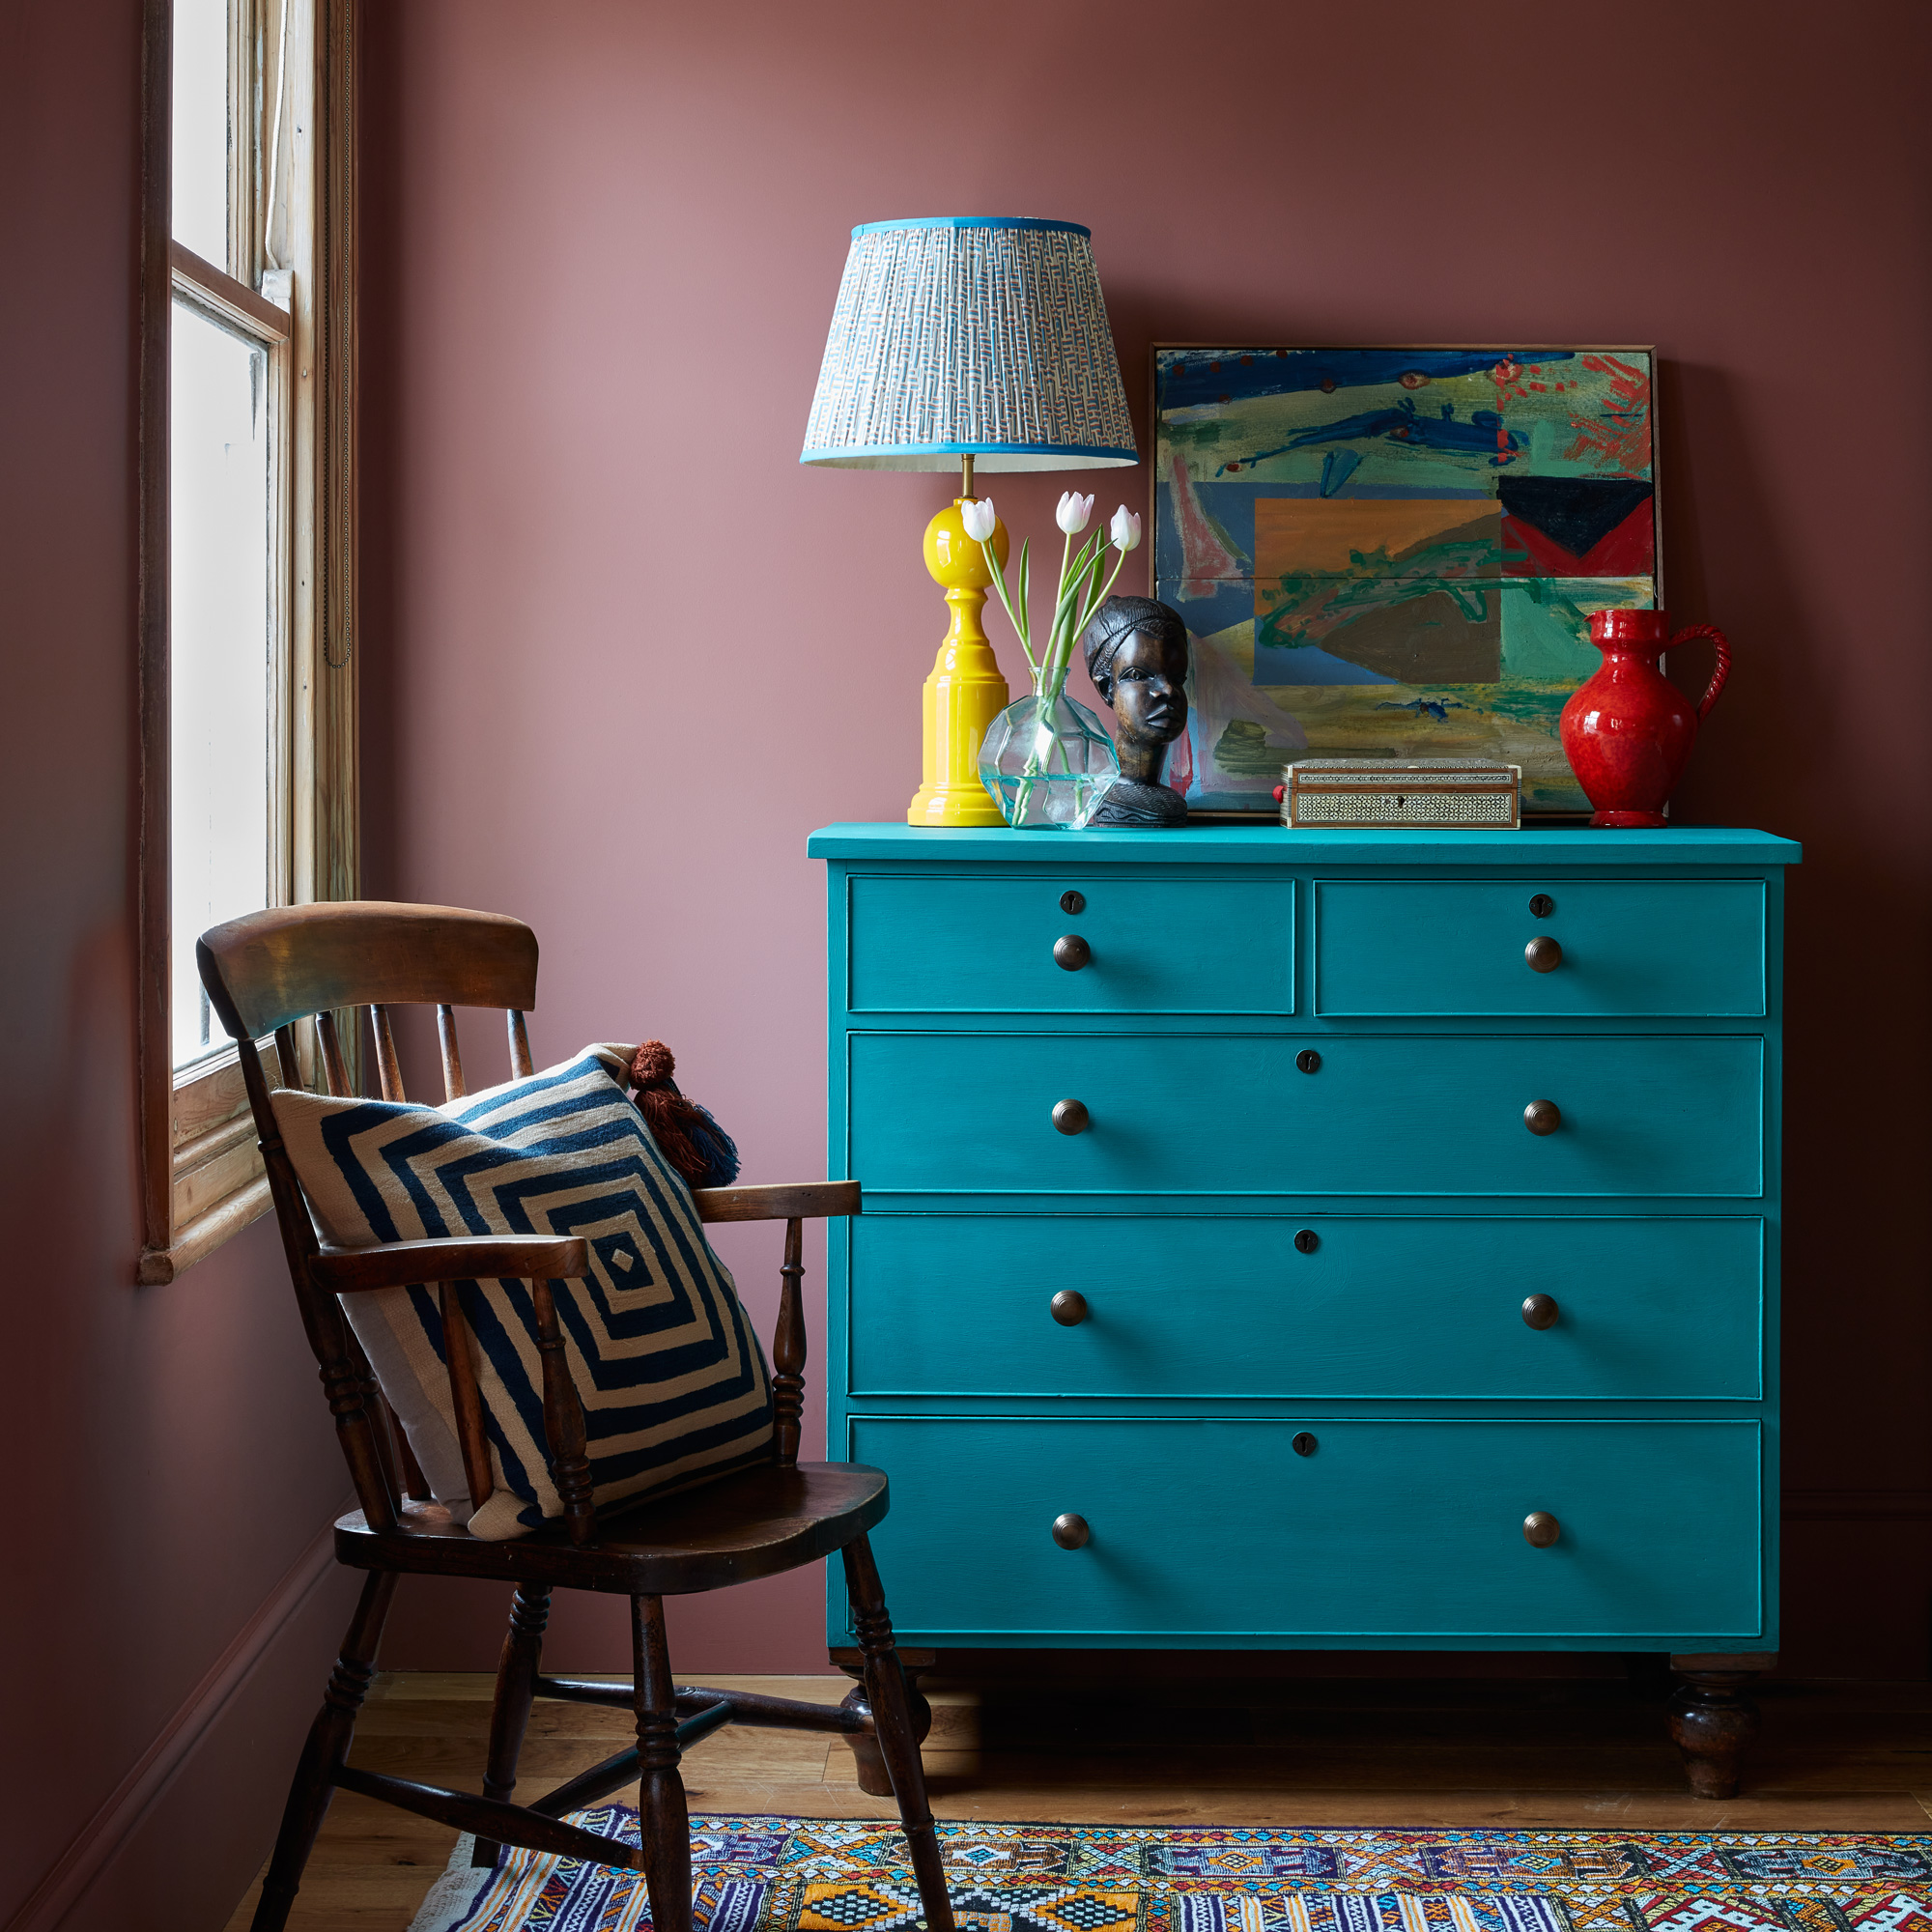
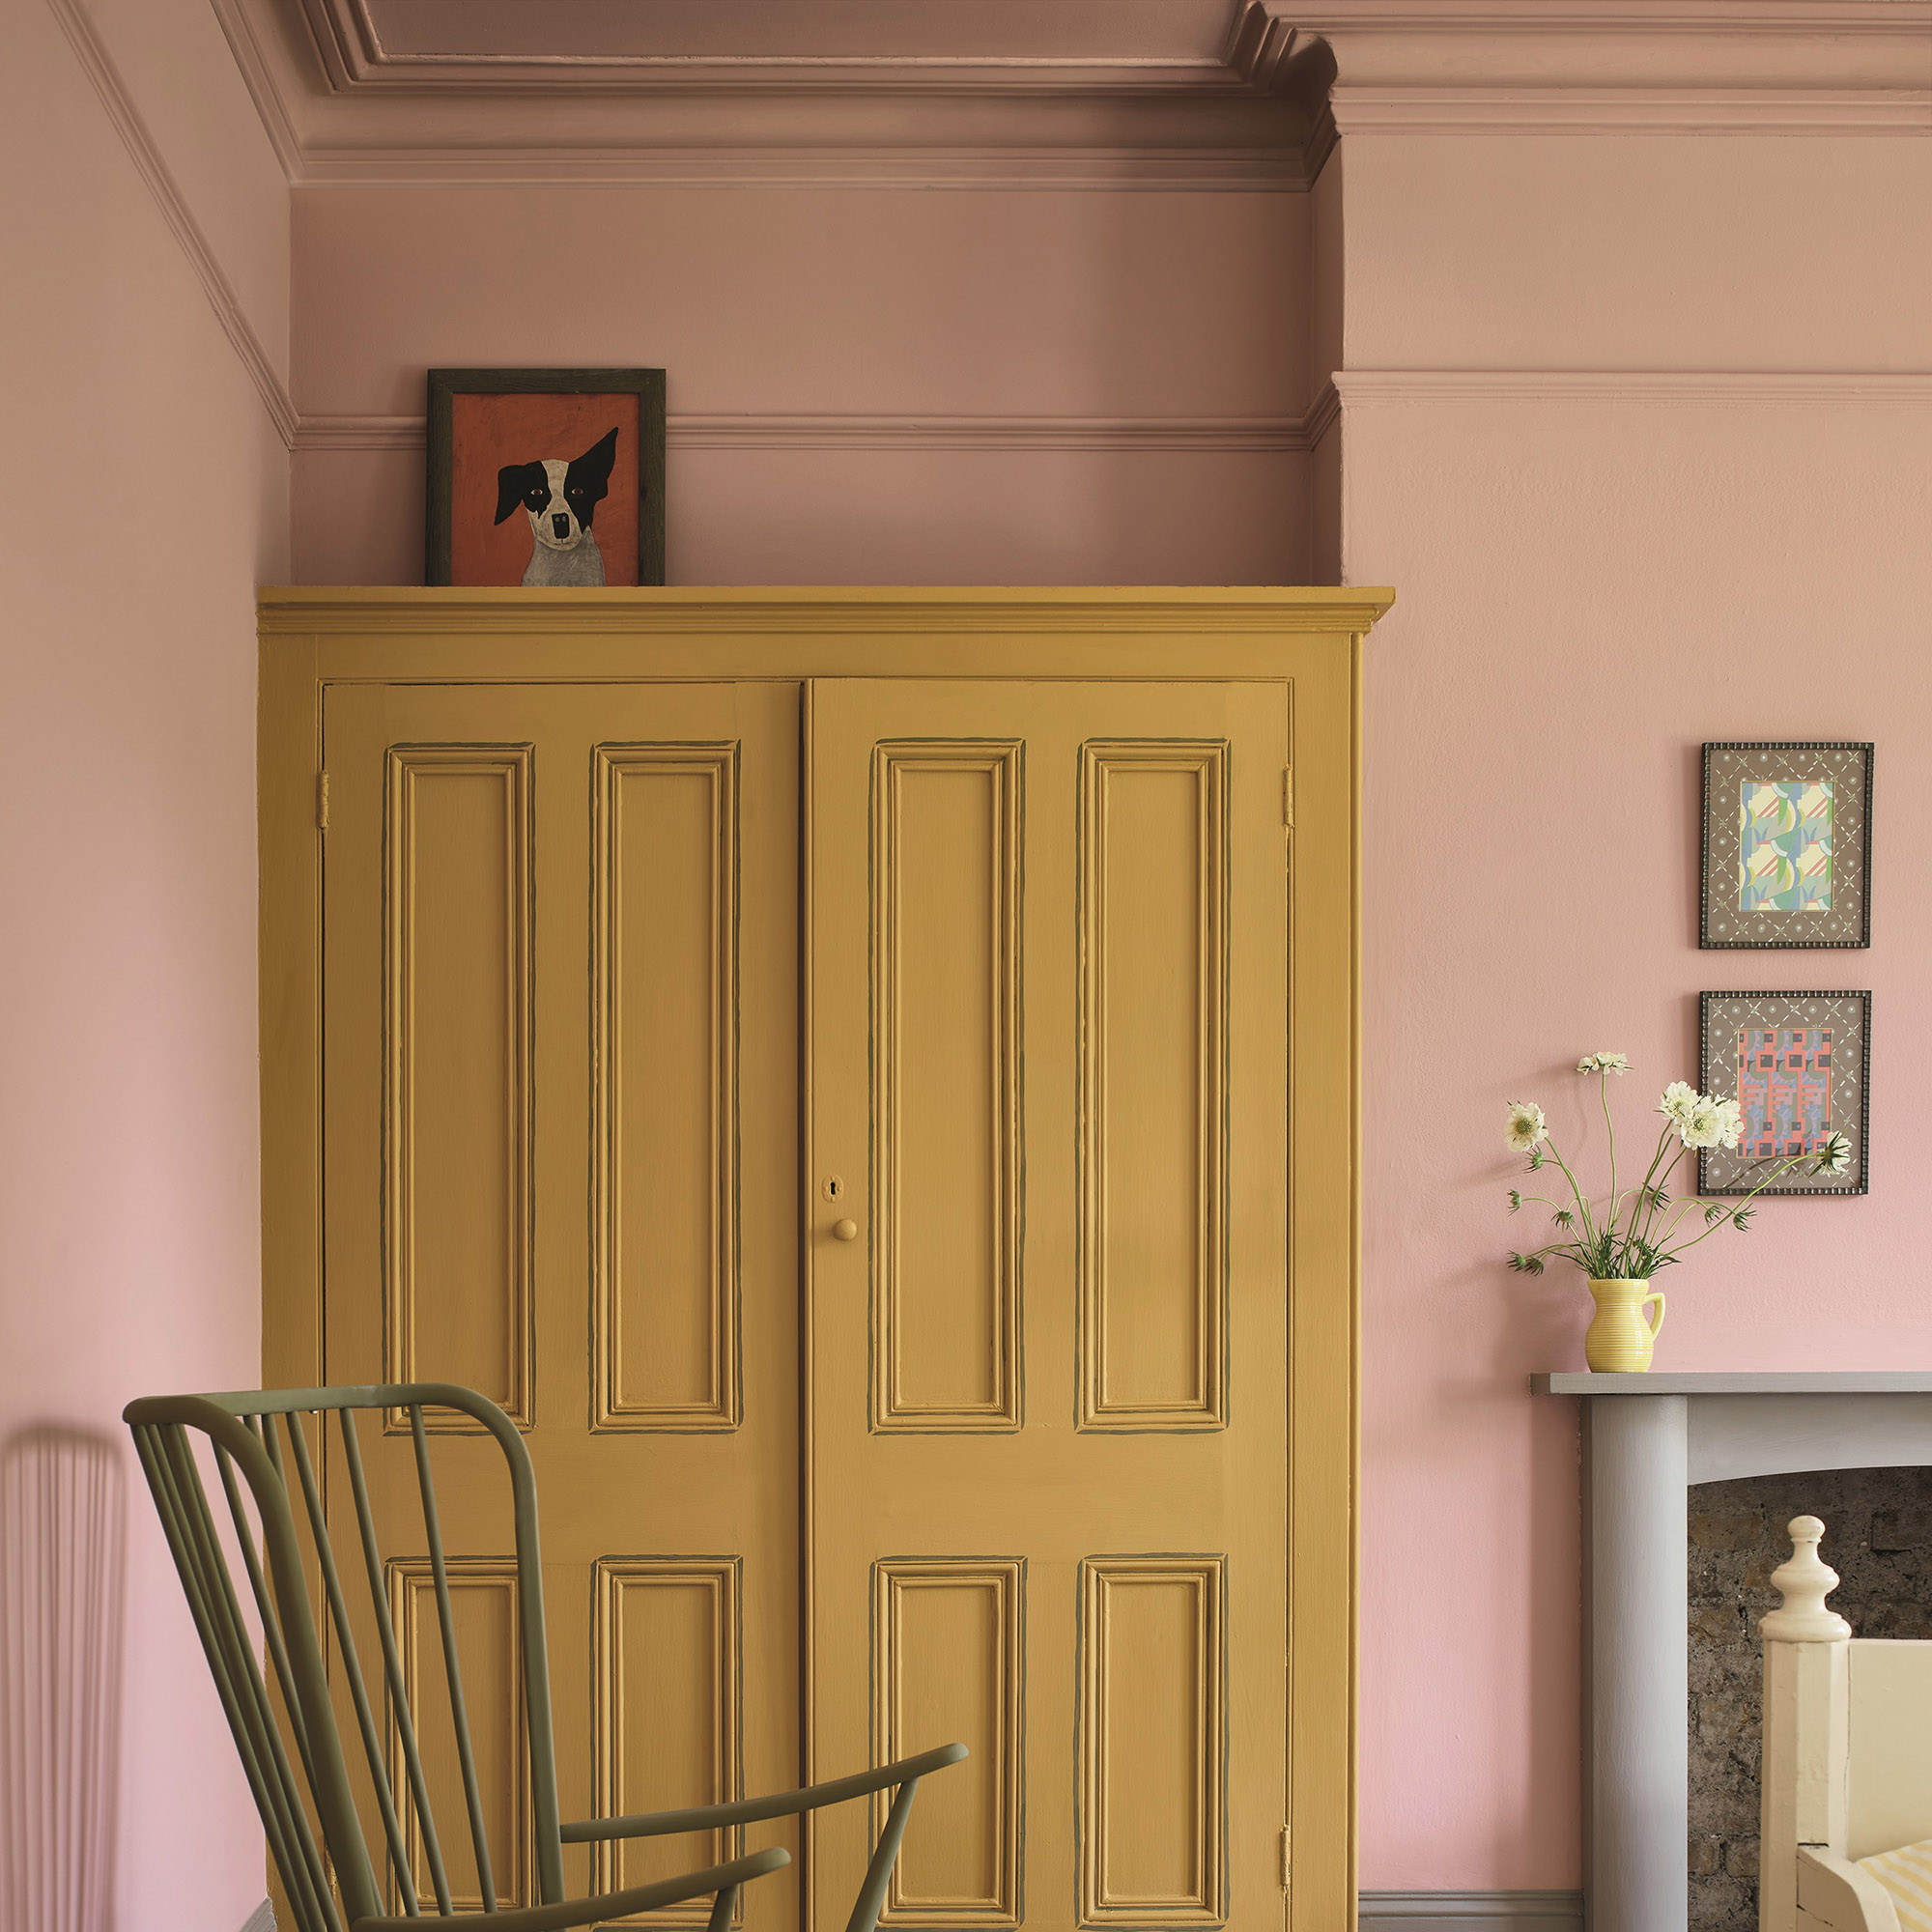
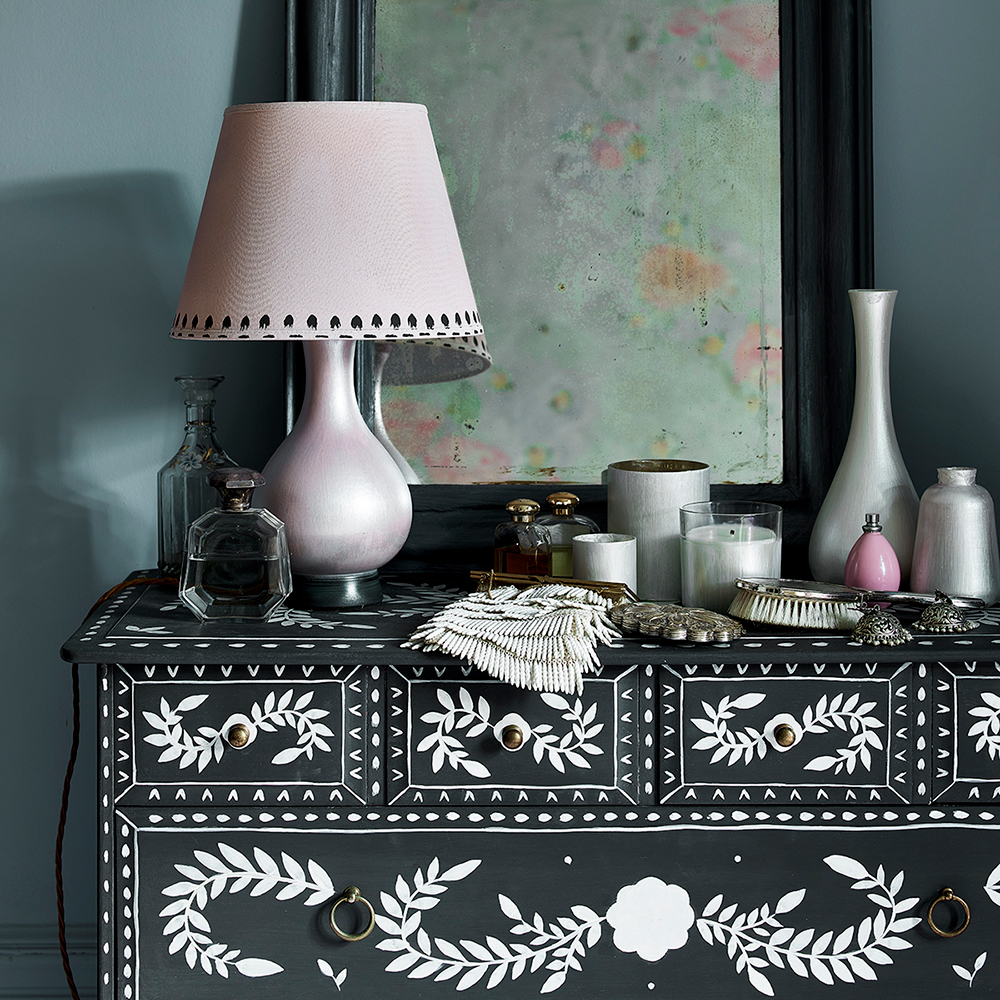
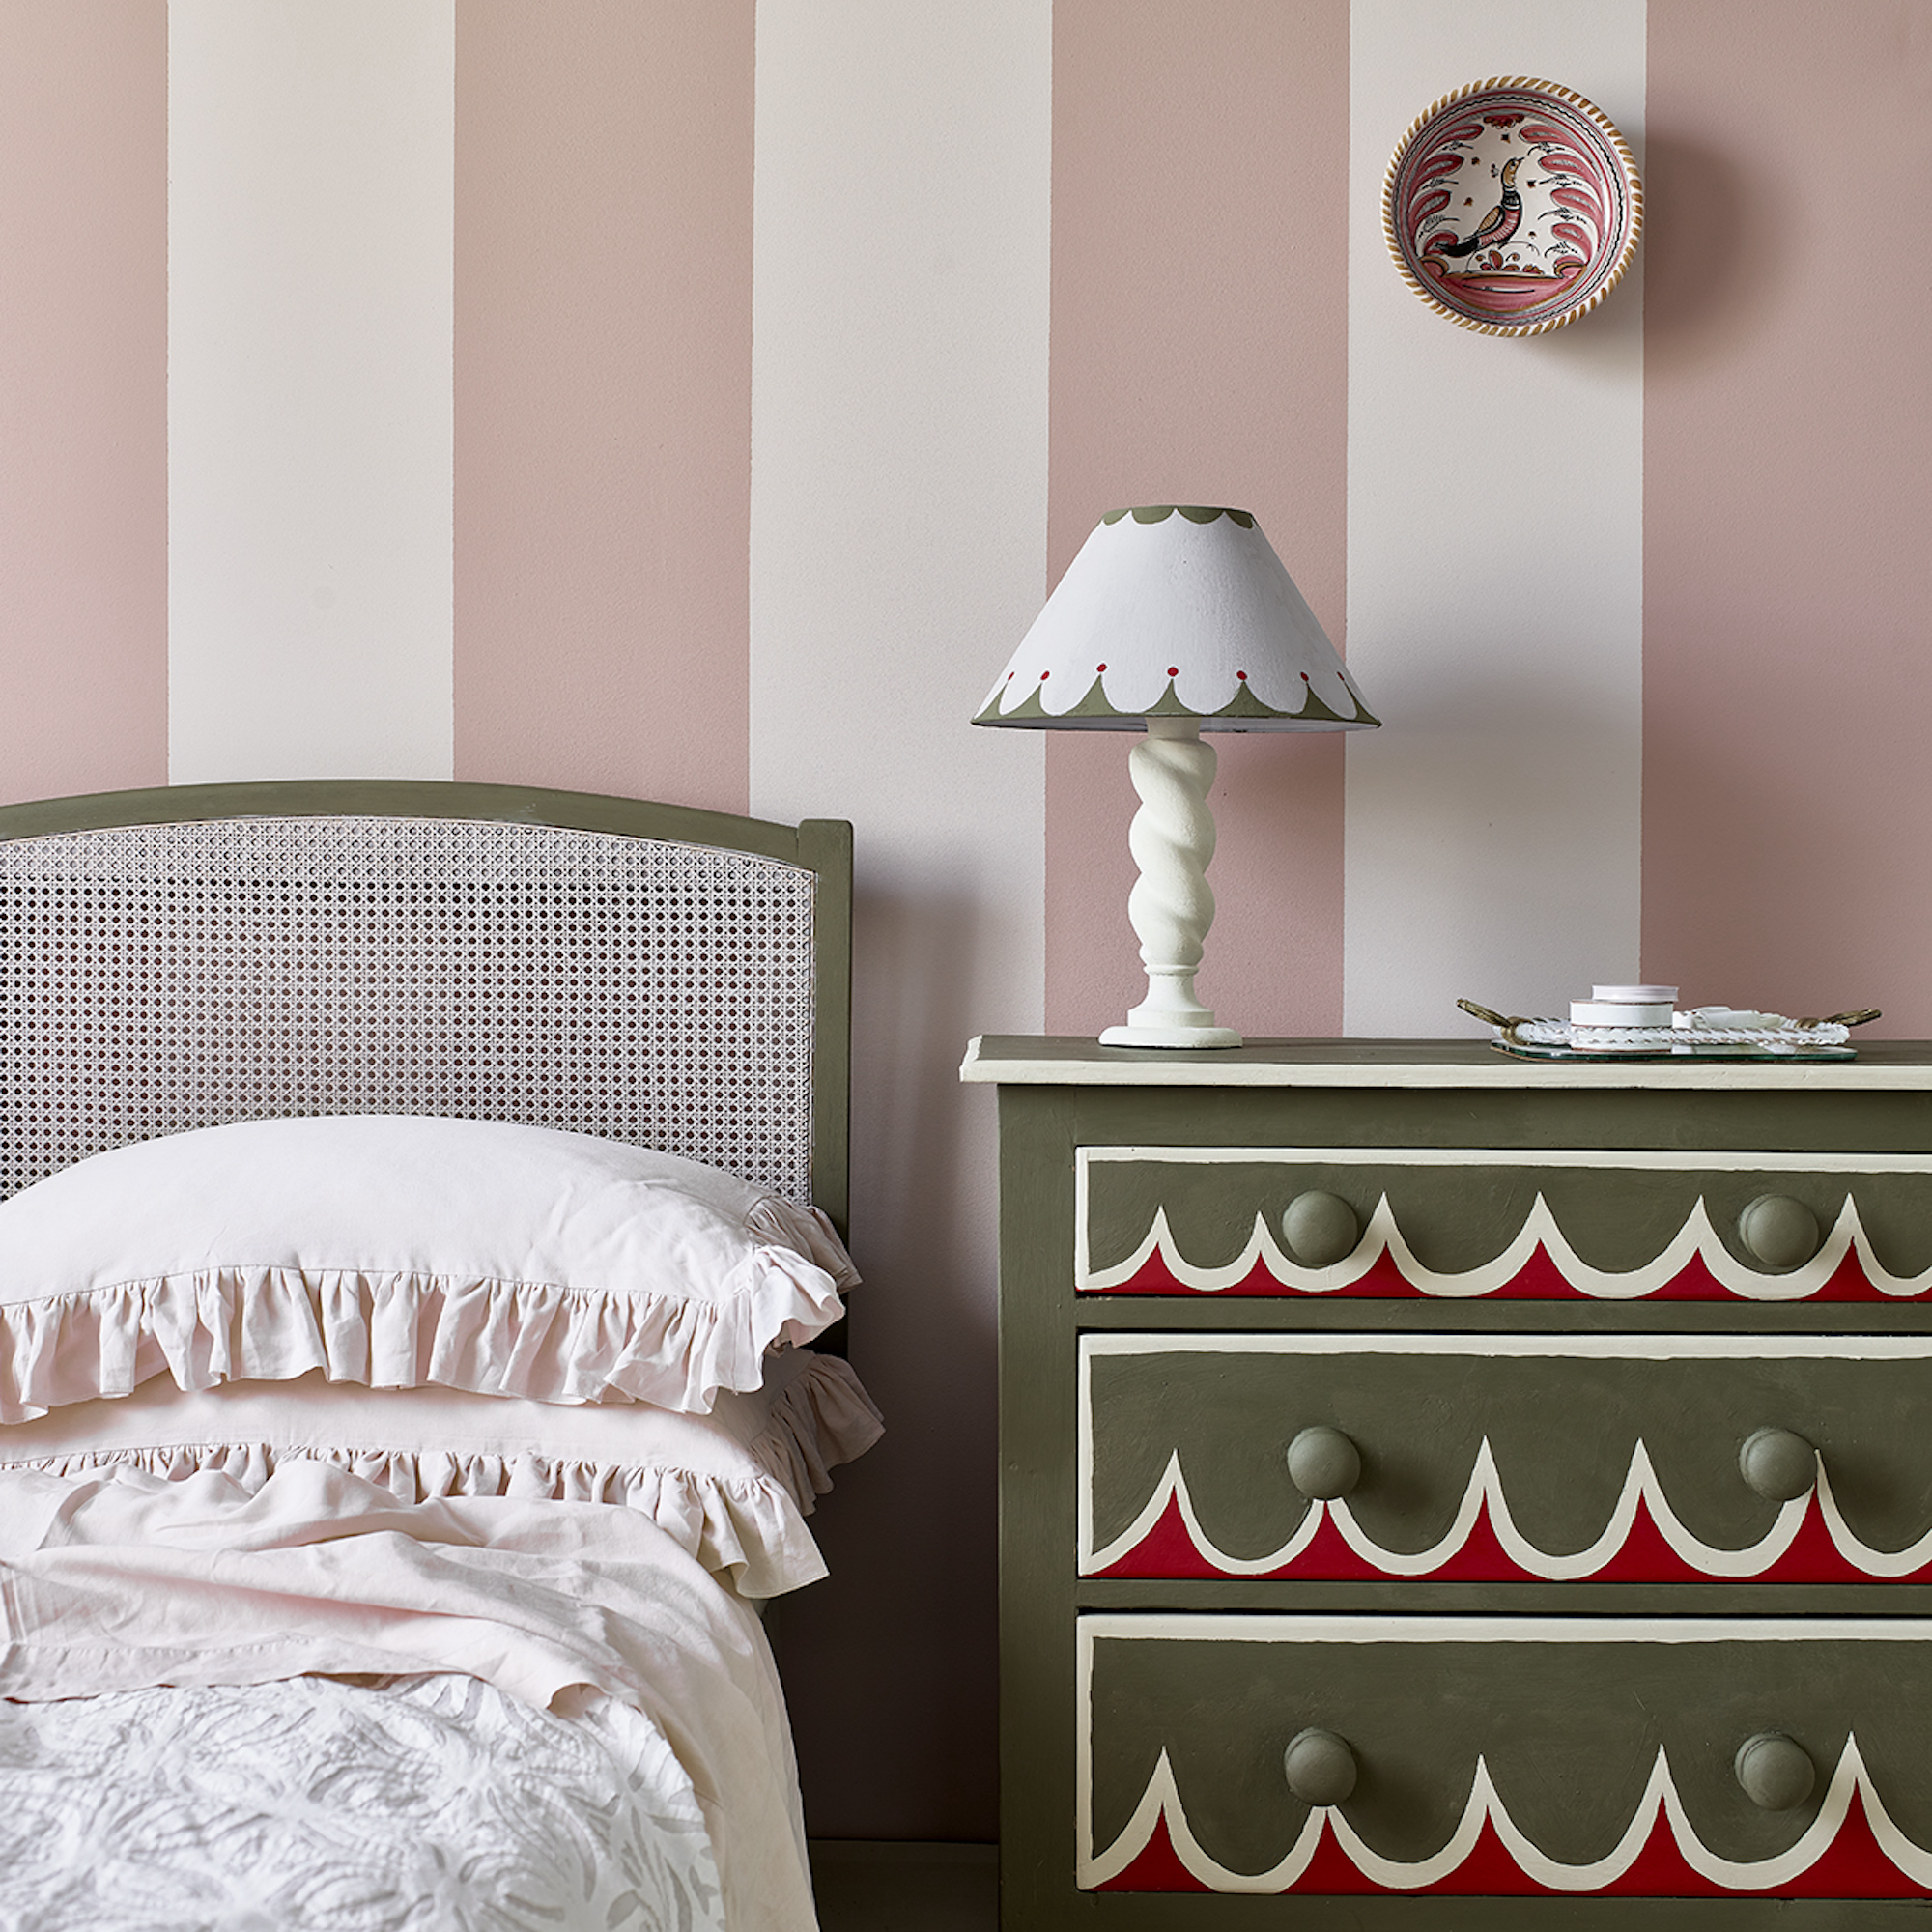
Choosing the right paint will influence the finish. ‘Chalk paints are easy to distress for that classic shabby chic look. Milk paints offer a similar texture, but come as a powder, so they can be mixed to the desired consistency – they’re great for a rustic finish. For a cleaner look, go with a water-based acrylic or mineral paint for a smooth finish,’ says Elliot.
If painting kitchen cabinets, make sure that you choose the best paint for kitchen cabinets, as this will be different to the paint needed for upcycling a vanity unit or chest of drawers
Quantities can be hard to predict and will differ depending on the formula. ‘As a rough guide, a single dining chair can be painted with a 120ml tester pot while a dresser or chest of drawers will need around 500ml,’ says Annie Sloan, founder of Annie Sloan Paint. For most projects, aim for at least two coats.
If you have any paint remaining, make sure you know what to do with leftover paint and that you properly store the paint – so that you have it to hand for future projects or occasional touch-ups.
5. The curing process
I thought curing was just for meat, but turns out it's also for painted furniture – something I discovered when the paint quickly chipped off my chest of drawers the day after I started using them.
While it only takes a few hours for the paint to dry, the paint and any wax used need to cure. ‘Curing can take between five and 21 days, depending on the temperature. Treat your piece with extra care until it has cured completely,’ says Annie.
Treating your painted piece with furniture finishing wax – like Rust-Oleum clear furniture finishing wax available on Amazon – will protect the paintwork from the daily wear and tear. Clear waxes offer protection without affecting the look, but different waxes can be used to achieve effects. ‘Try white wax for a Scandi look or a dark one for an antique feel,’ says Annie. ‘You will need 500ml of wax for every 3-4 litres of paint.’
Using a combination of waxes gives you control over the finish. ‘When protecting a piece, I’ll apply browning wax to all the corners, apply clear wax on top and then blend,’ adds Karen.
Are there any other things you've learned in your upcycling journey that you think people should know about?