'Tis the season where parents all around the world may well be gifting their kids a new laptop for Christmas. That's the story for me, as my son is getting his first in preparation for stepping up to the next level of school in 2026.
As with any form of tech gifts, it's a really good idea to crack open the box ahead of the big day and get it all set up. We have a guide on setting up an Xbox before Christmas morning, if that's your gift of choice.
With a laptop, though, the process is altogether more involved and it takes longer. So it's of extra importance to do it now, or face the wrath of impatient children on Christmas morning. Here's a cheatsheet of x things that you, as the parent, should make sure you get done.
1. Basic setup of Windows 11
Just running through the out of box experience (OOBE) on Windows 11 takes long enough. My colleague, Ben Wilson, has written an excellent piece on going through the Windows 11 OOBE in full, and it's a lot.
But before you can do anything with a laptop it needs to be done, and it takes some time. You'll set up networking, download any essential OS updates, and a bunch of other stuff you're less likely to be interested in.
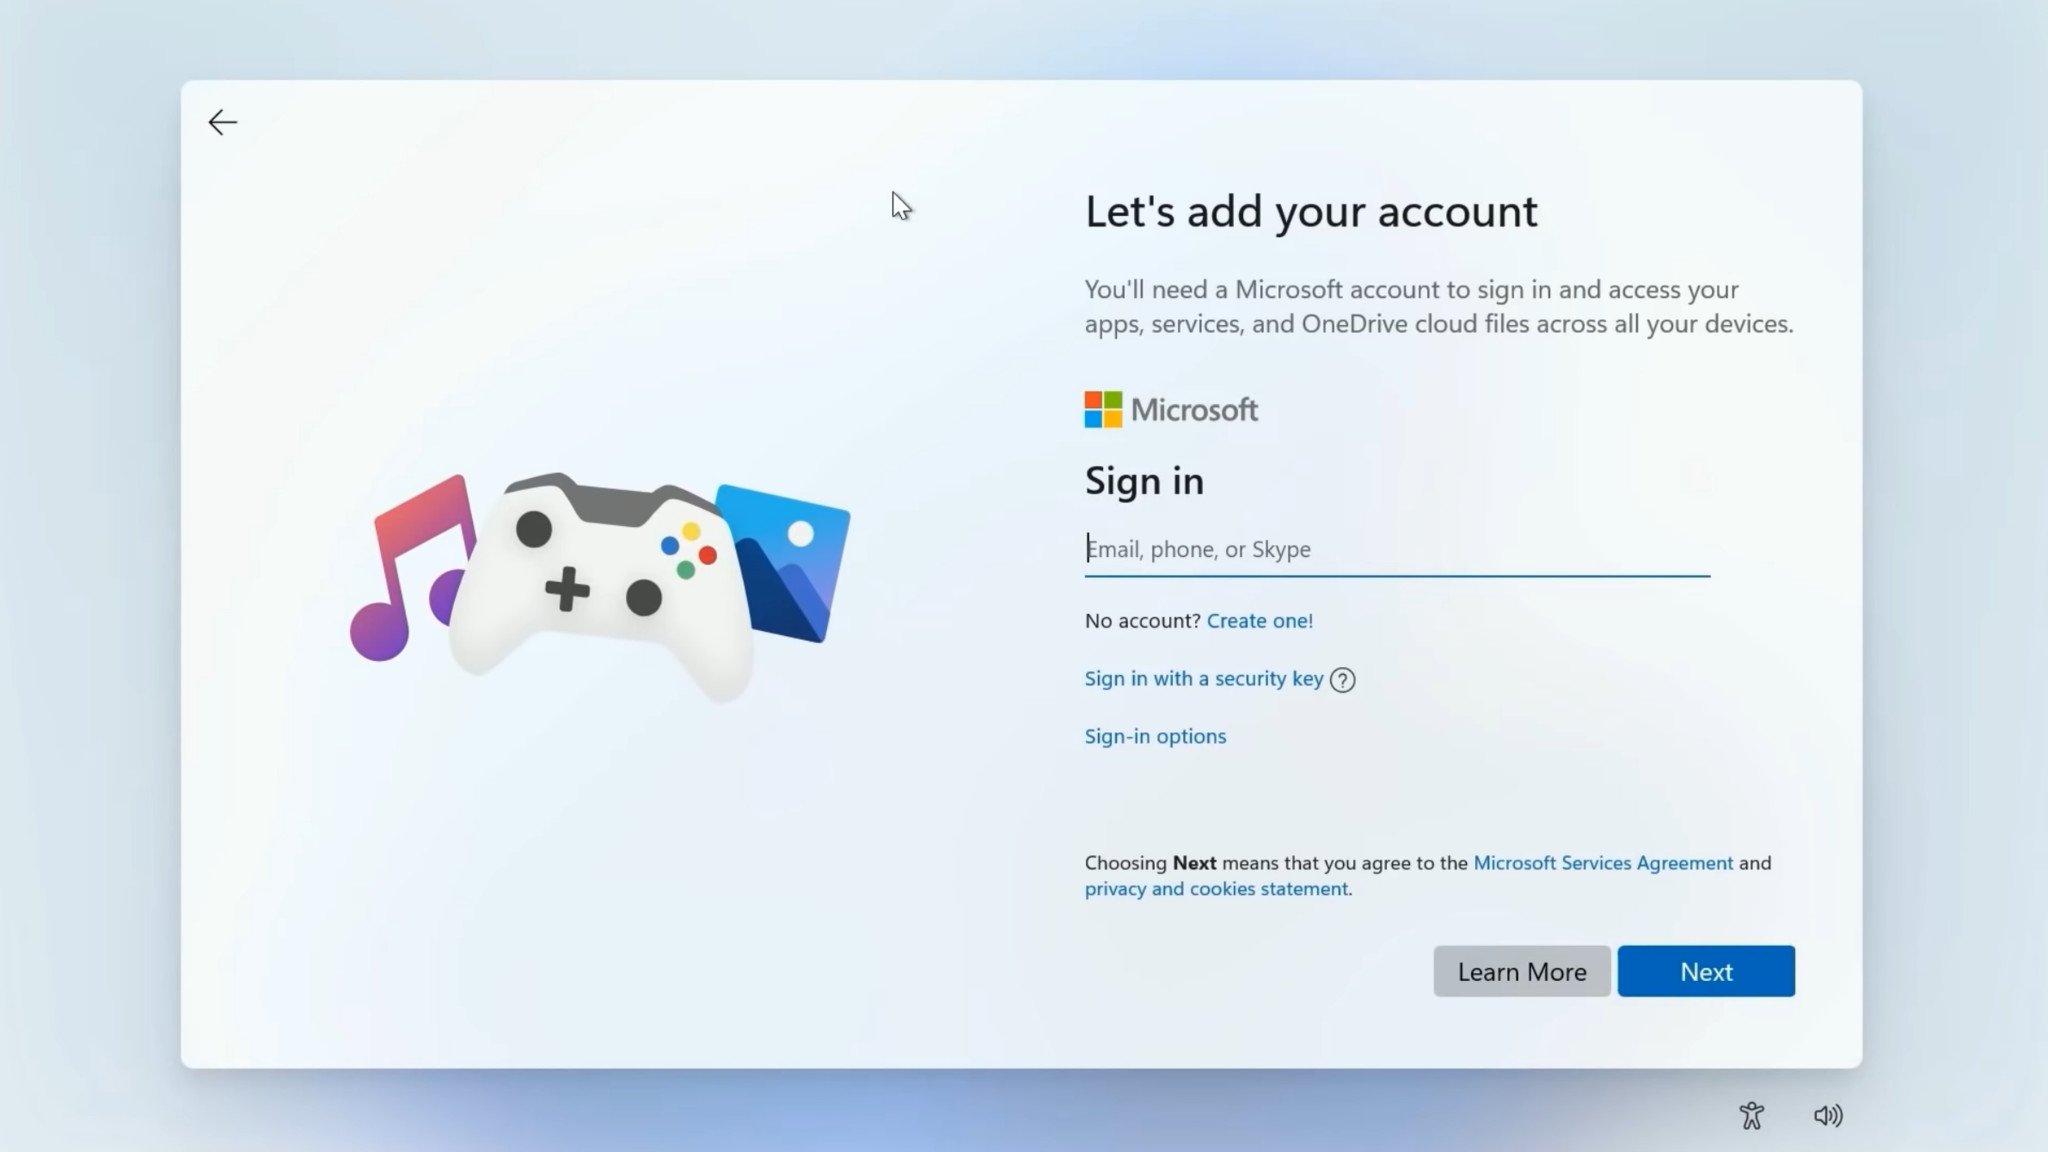
If you're buying for a child, too, you have options over which Microsoft Account to use, either yours, or theirs. My suggestion is to use your own at first setup, and this will become clearer later on when we talk about parental controls.
If you're setting up a Copilot+ PC, then you'll also be prompted about Windows Recall. The choice is yours, but if you don't want your child using this AI tool, you opt out here before you even get into the desktop.
The links below have more information if you need a helping hand.
2. Run Windows Update and check for updates in the Microsoft Store
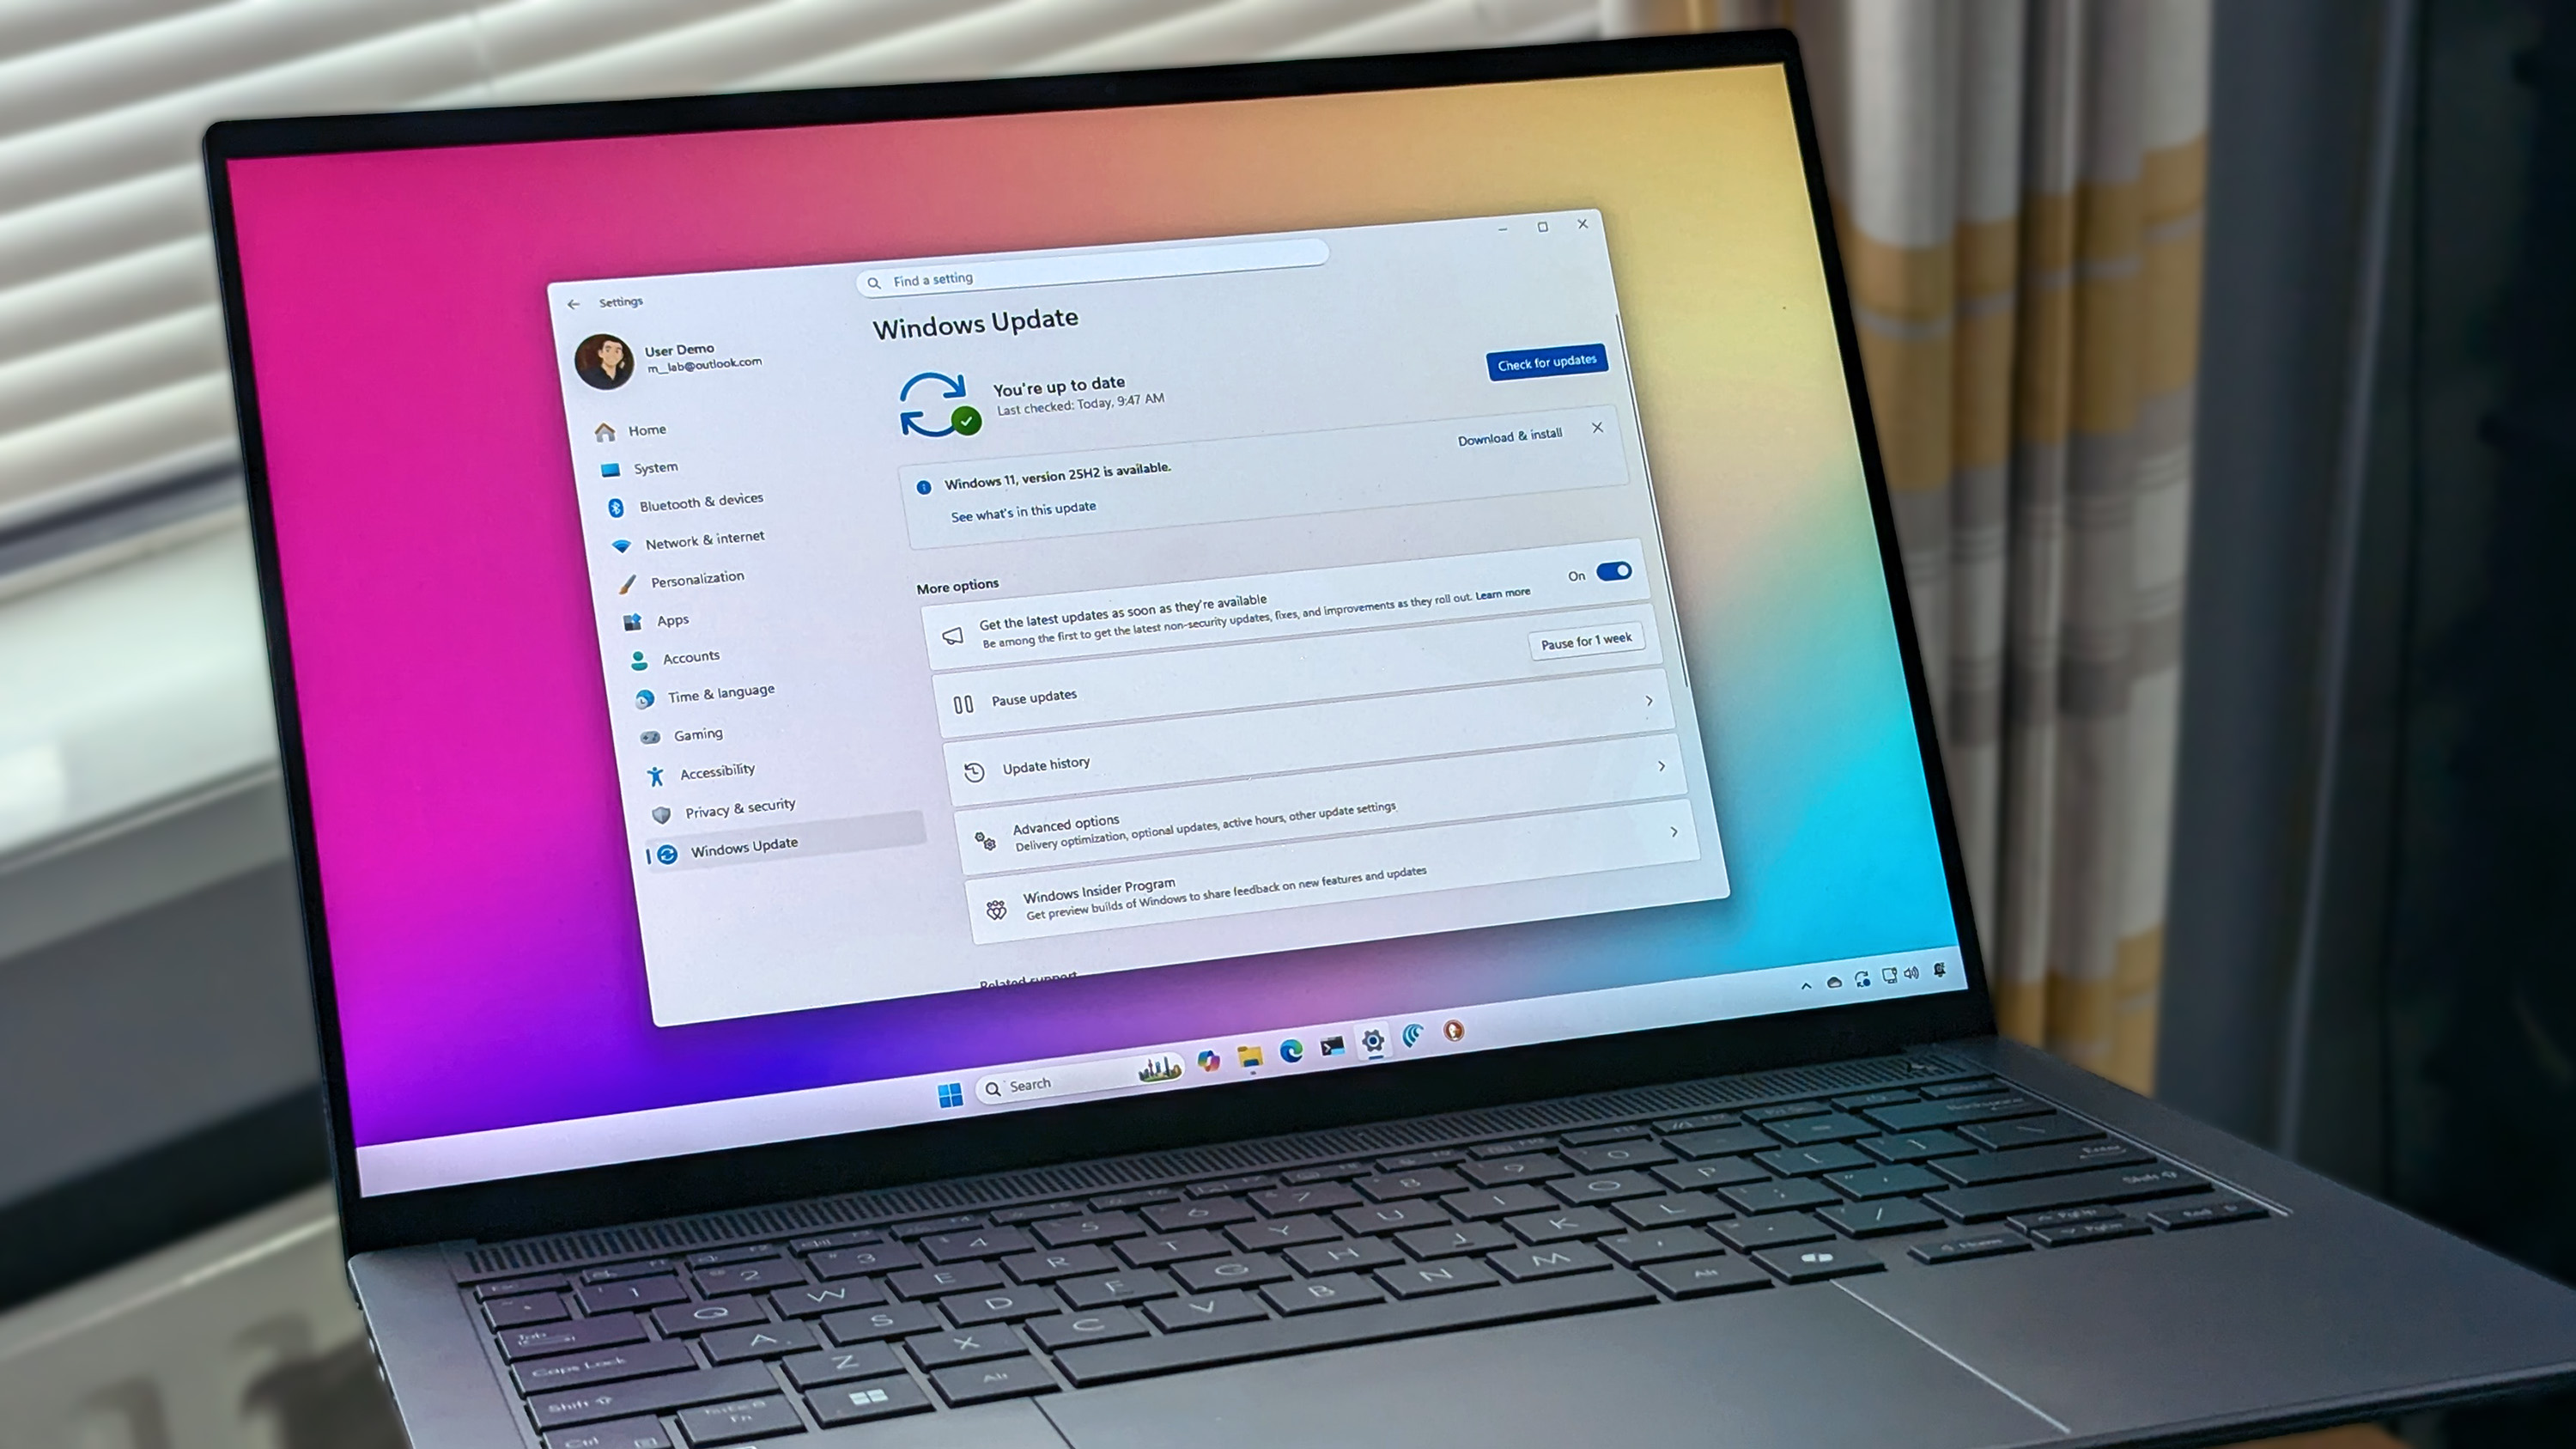
You may think that the updates downloaded during the initial setup were the end of it. Not even close. So the next thing to do is run Windows Update.
Crack open the Settings app, choose Windows Update, then click Check for Updates. The Windows Update feature downloads more than just OS updates, it can also pull in things such as drivers and security patches for your PC and for Windows Defender.
All the pre-installed apps will probably have updates, too, and you can grab those from the Microsoft Store. Just open it up, click on Downloads, then Check for Updates.
3. Set up Microsoft Family Safety parental controls
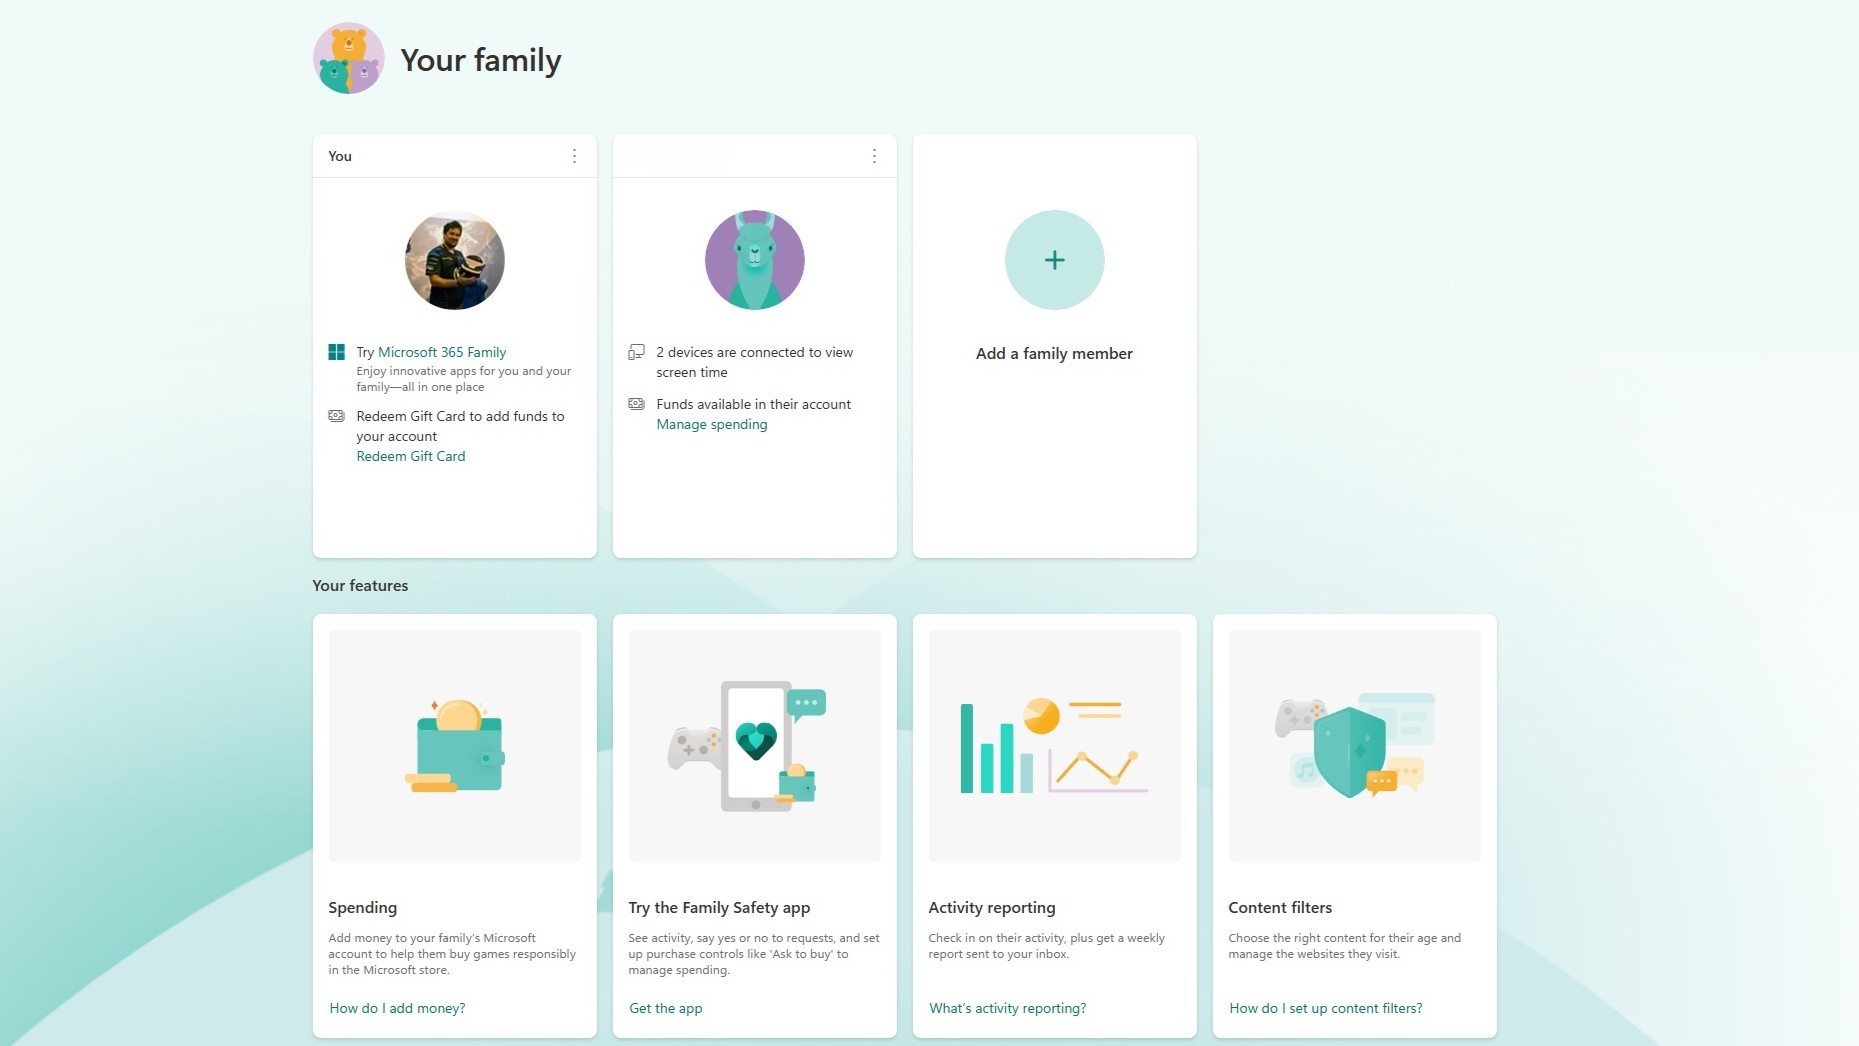
For any child, it's important to be able to keep tabs on what they're doing on their laptop, and make sure they can't do anything they shouldn't be doing. Nobody wants a $3,000 charge for Roblox in-app purchases, do they?
Microsoft's guide on setting up Family Safety is a great place to start, as it'll walk you through every step on creating a group and account for your child. Family Safety is very good, offering you the ability to set limits, see full activity reports, control spending, age related content, and more.
Once you have your group set up, you can simply add your child's account to the laptop in Settings. Go to Accounts, click on Family, and then you should see the account below yours. It'll add your child's account with a separate login for them to use entirely independently of yours, subject to the parental controls you set up.
I recommend doing it this way because it still leaves your account on the laptop as the administrator account, and removes these permissions from the child account unless you delegate otherwise.
The guide linked below contains a full explainer on Windows 11 user account settings.
4. Remove junk (including Microsoft Teams!)
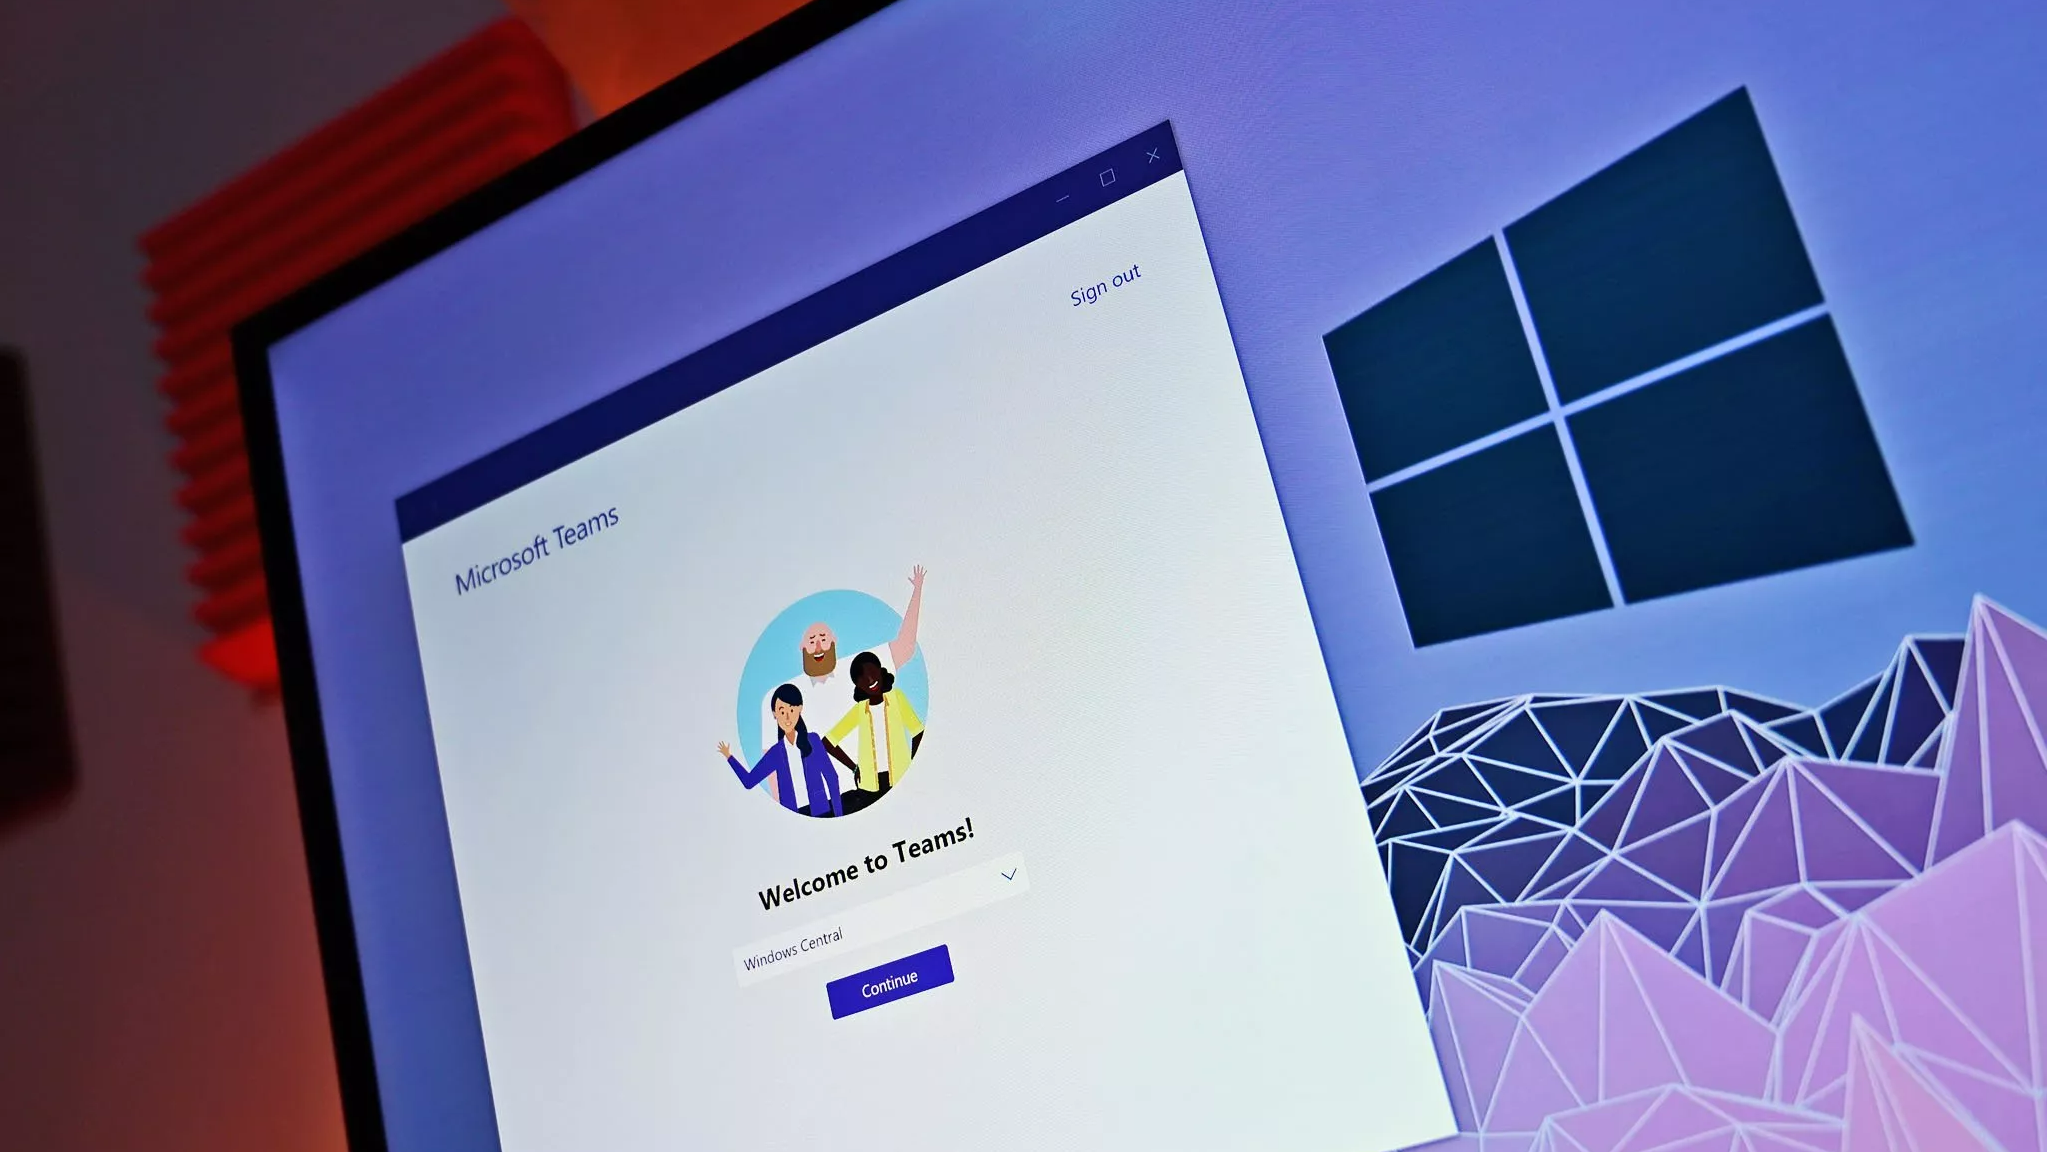
Uninstall all the junk you don't want, and you don't want your kid to have, and that includes Microsoft Teams. Unless they actually need it for school, or anything.
Most laptops will come with pre-installed apps that just aren't required. But it can be removed, and the space reclaimed. This will differ from person to person, but on my son's laptop I've removed things like McAfee, Microsoft Teams, and OneDrive, because they're not needed.
Just go through whatever's pre-installed and make the decision. You will need to do this inside your child's login to ensure it's gone, as if you do it from yours, then some of it will seemingly reappear.
5. Install the latest graphics drivers
Whether you have a dedicated GPU or you're running integrated graphics from Intel, AMD, or Qualcomm, get those drivers updated.
If you're buying for your kid, there's a good chance they're going to want to play at least something on there, so having up-to-date drivers is a good idea.
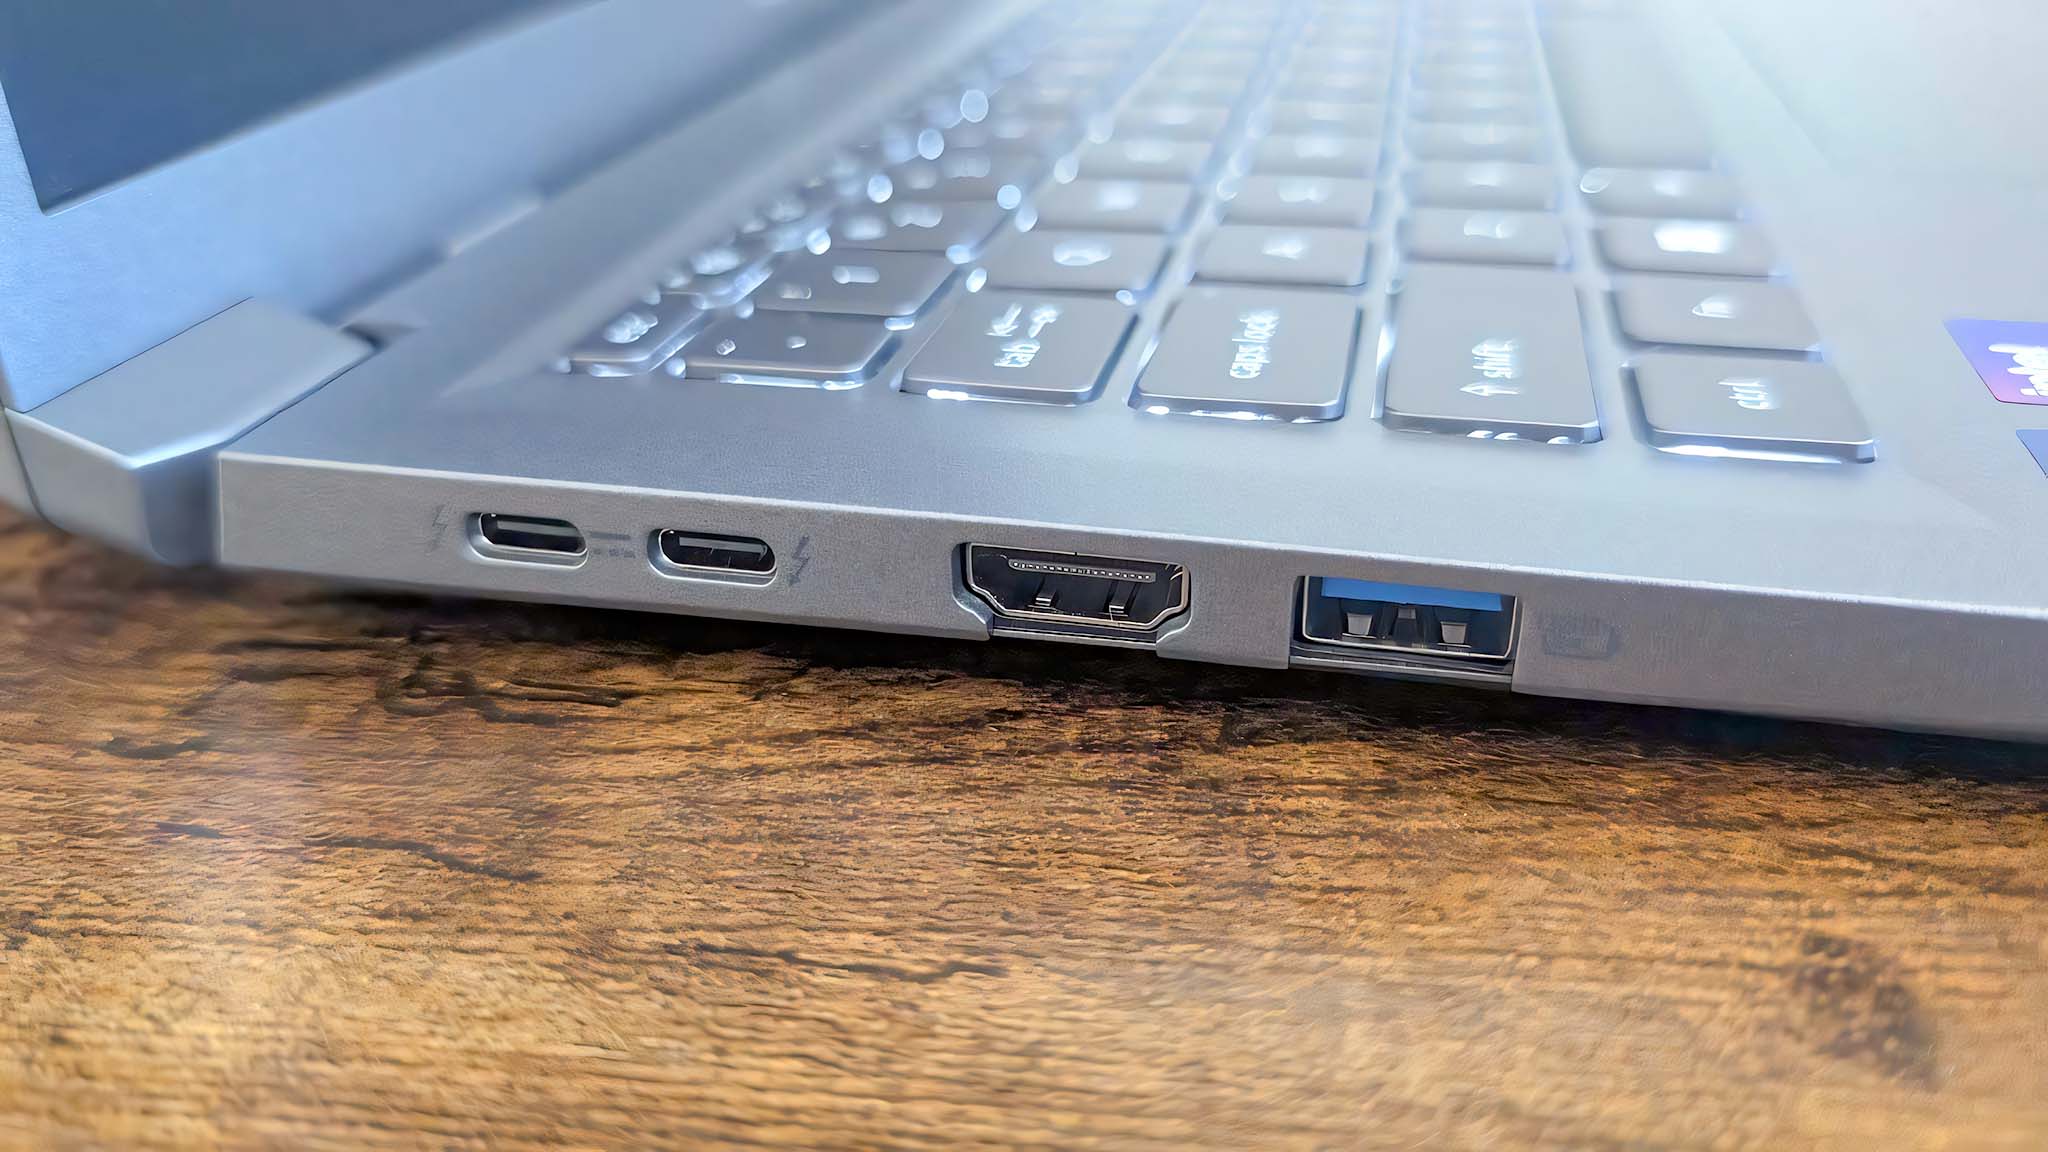
This is especially important on a laptop with a Snapdragon X chip, because the driver it'll come with will be really old compared to the latest versions.
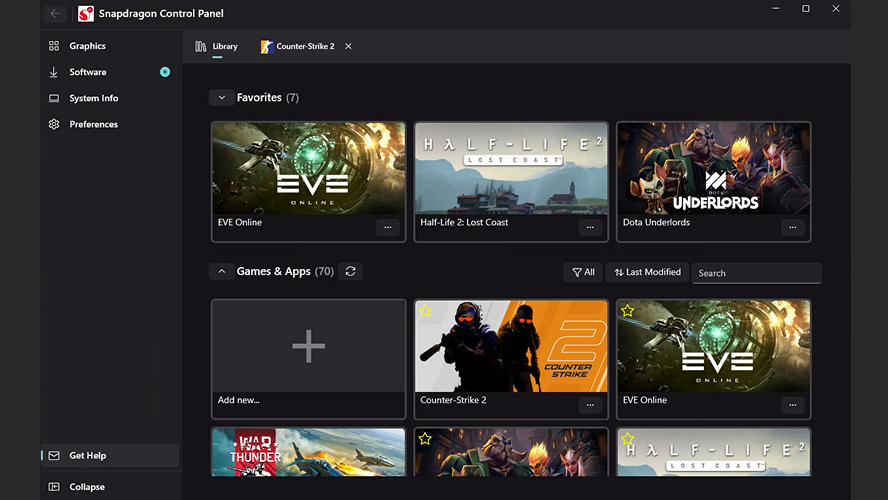
If it has an NVIDIA GPU, you probably have the NVIDIA app already installed, if not, grab the drivers from the link below. AMD has its Adrenalin app which, again, will usually be pre-installed. Qualcomm's new Snapdragon Control Panel will not be, but, again, hit the relevant link below to grab it.
- Install the latest NVIDIA drivers for Windows 11
- Install the latest AMD drivers for Windows 11
- Install the latest Intel graphics drivers for Windows 11
- Install the Snapdragon Control Panel for Windows 11
6. Preinstall essential apps and games

If you know your child is going to want to play Minecraft almost immediately, do them a favor and get it installed beforehand.
The workaround to share Game Pass on PC seems (in my experience, anyway) to still be really shaky, shouting about mismatched accounts and not wanting to play ball.
But for me, being logged into the Microsoft Store with my account allowed me to install the apps and games I needed, to then log in with my son's Xbox account via the Xbox app.
Then logging back out of the Microsoft Store and back in with my son's account makes the warning go away and, at least for now, still seems to allow unrestricted access.
Sure would be easier if we had a Game Pass family plan, though, wouldn't it.
7. Charge it up!
Nobody wants to be sat glued to a charger on Christmas morning!
Once you're done with all the basic setup, just plug it in and make sure it's got a full charge before you wrap it!
I wrote this based on my own experience of setting up my son's first laptop before Christmas. However, if you have any tips that I missed, be sure to drop them in the comments below!

Follow Windows Central on Google News to keep our latest news, insights, and features at the top of your feeds!