You've spent all day out and about with your camera, and it’s time to go home, right? Well, hold your horses, once darkness descends, urban areas start to light up with neon signs, gaudy entertainment, and the beams of passing traffic. For the main image here, I decided to capture the light trails of the tram service, coming along the tramline in front of the buildings and Blackpool Tower. For this and any shots of the pier and a darkened beach, you’ll definitely need a tripod, but for other, low-light photos of shops and attractions with lots of light, you should be able to hand-hold the shots, especially with a stabilized lens or camera.
Get set up to capture light trails
1. Get set up
I composed my photo with the main items of interest in the background, using the rule of thirds. It has the tower near the right side vertical while the light trail passes, at an angle, through the bottom third horizontal. For this light trail shot, a tripod is an obvious necessity as you need an exposure of over 15 seconds.
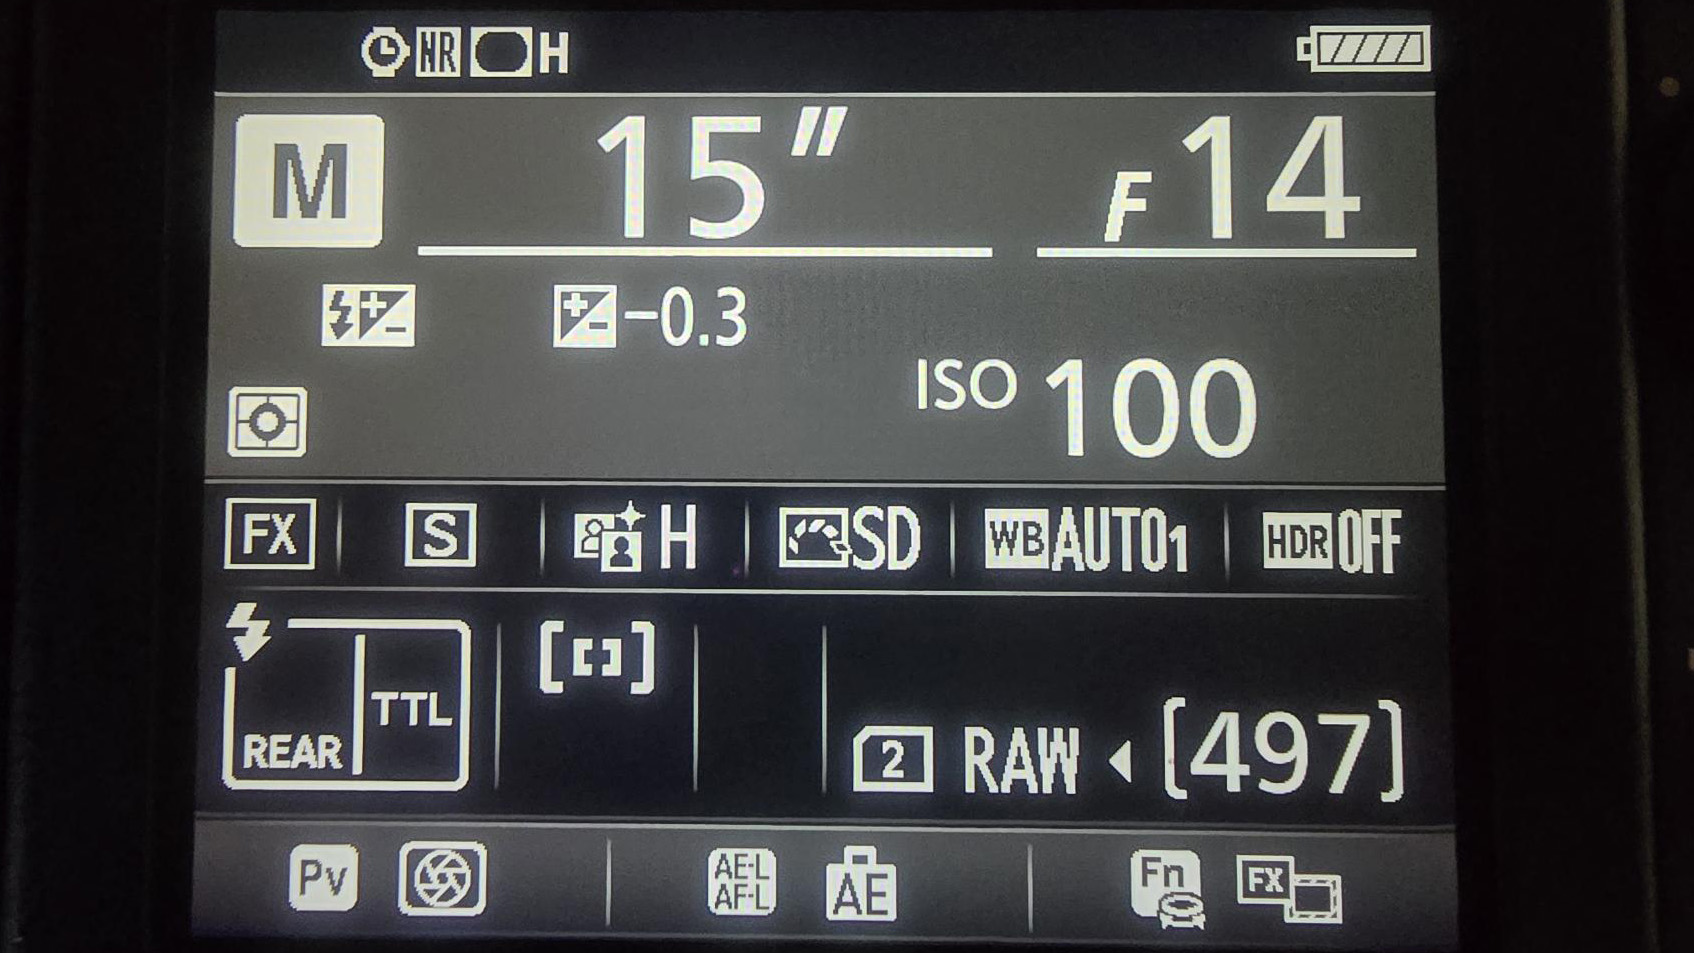
2. Meter the light
Use the camera meter before the vehicle comes through the scene. I used manual mode, set my ISO to 100, and started at f/11 before stopping down until I got a shutter speed of over 15 seconds. Trams generally move more slowly than cars, so I needed a longer exposure for my light trails. The exposure is driven by the ambient light coming from the various attractions, not the lights of the tram, so the only filter required is a neutral density filter if the shutter speed isn’t long enough.
3. Focus and shoot
I used manual focus and focused a third of the way into the scene, then waited for the tram to appear in the distance at the point at which I wanted the light trail to start before firing the shutter. DSLR users may wish to use mirror-up mode to help avoid 'mirror slap' – just make sure you flip the mirror up ahead of time so you can fire the shutter precisely when you need to.
Other things to photograph
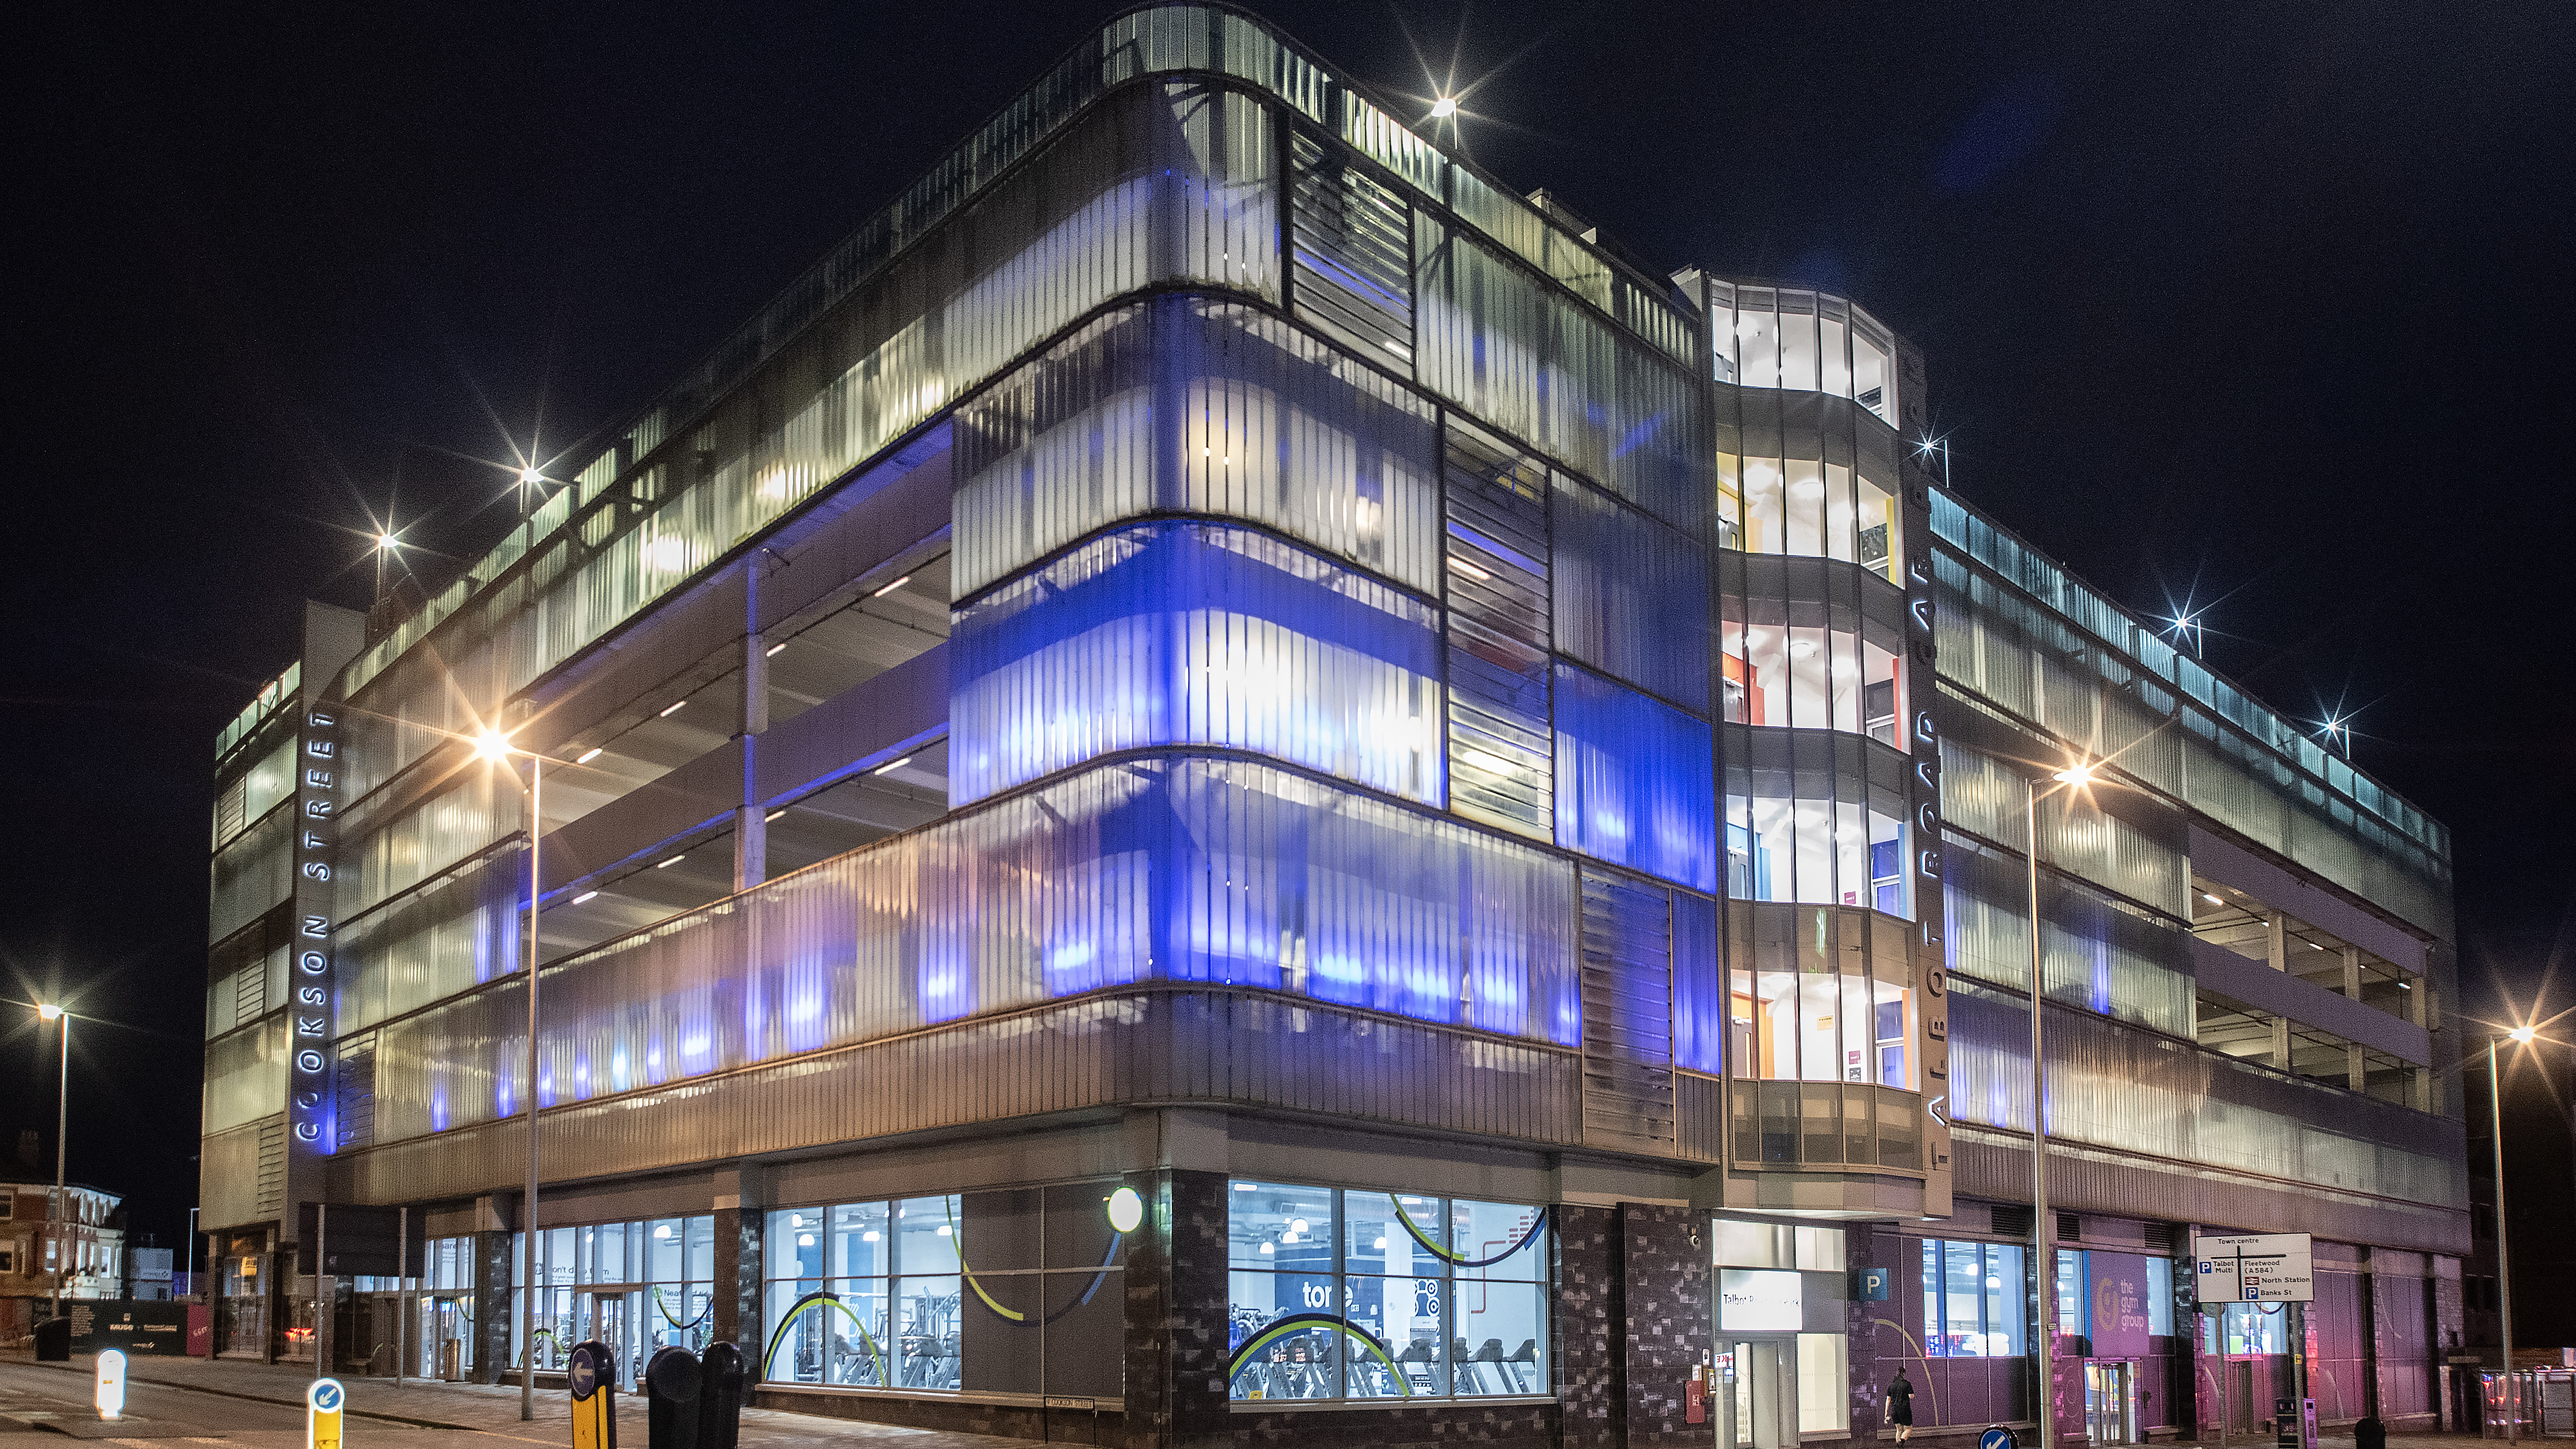
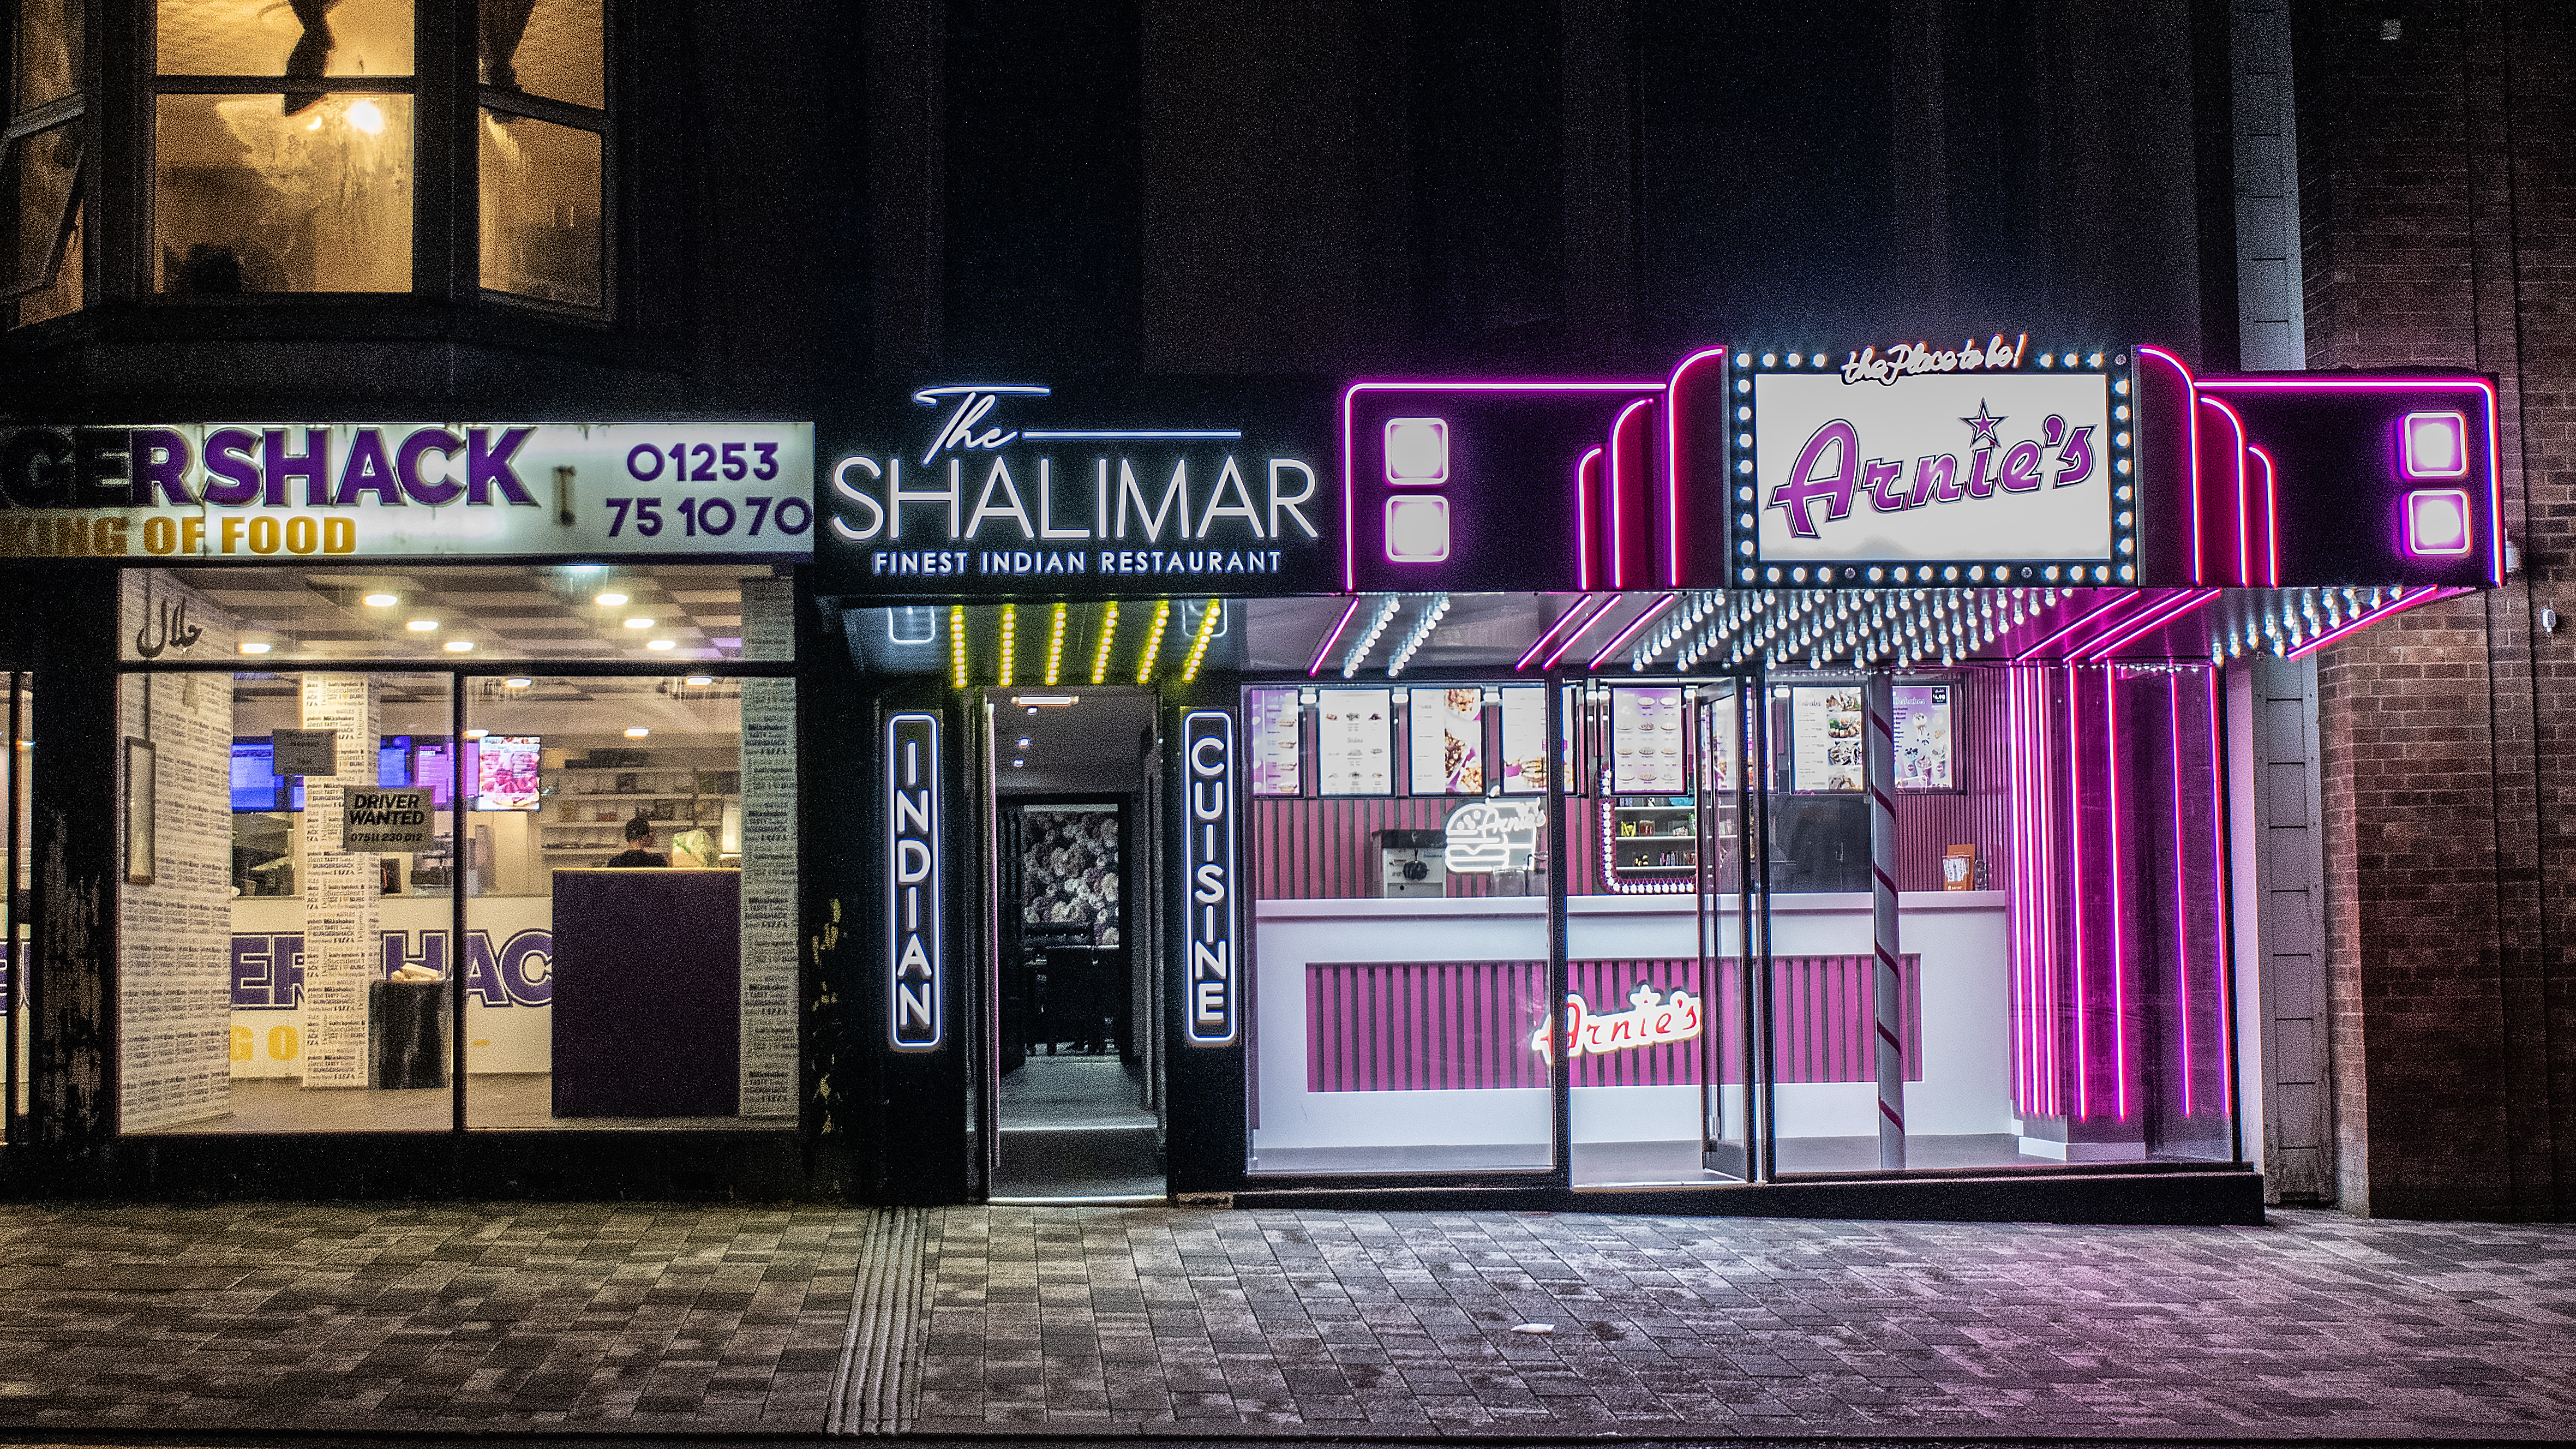
Modern buildings at night make for interesting subjects, and being full of light, you should be able to get a hand-held photo without ramping up the ISO to very noisy levels. The building (above), with a car park above a gym, was shot at 1/25 sec, f/4, ISO2500. As it’s on a corner, it was possible to shoot it at an angle, rather than face on, which is normally the case. Look for nightclubs, pubs, illuminations, signs, and attractions, all glowing in the dark. Stand back and use a short telephoto, rather than a wide-angle lens, from close up, as that will cause a lot of distortion.
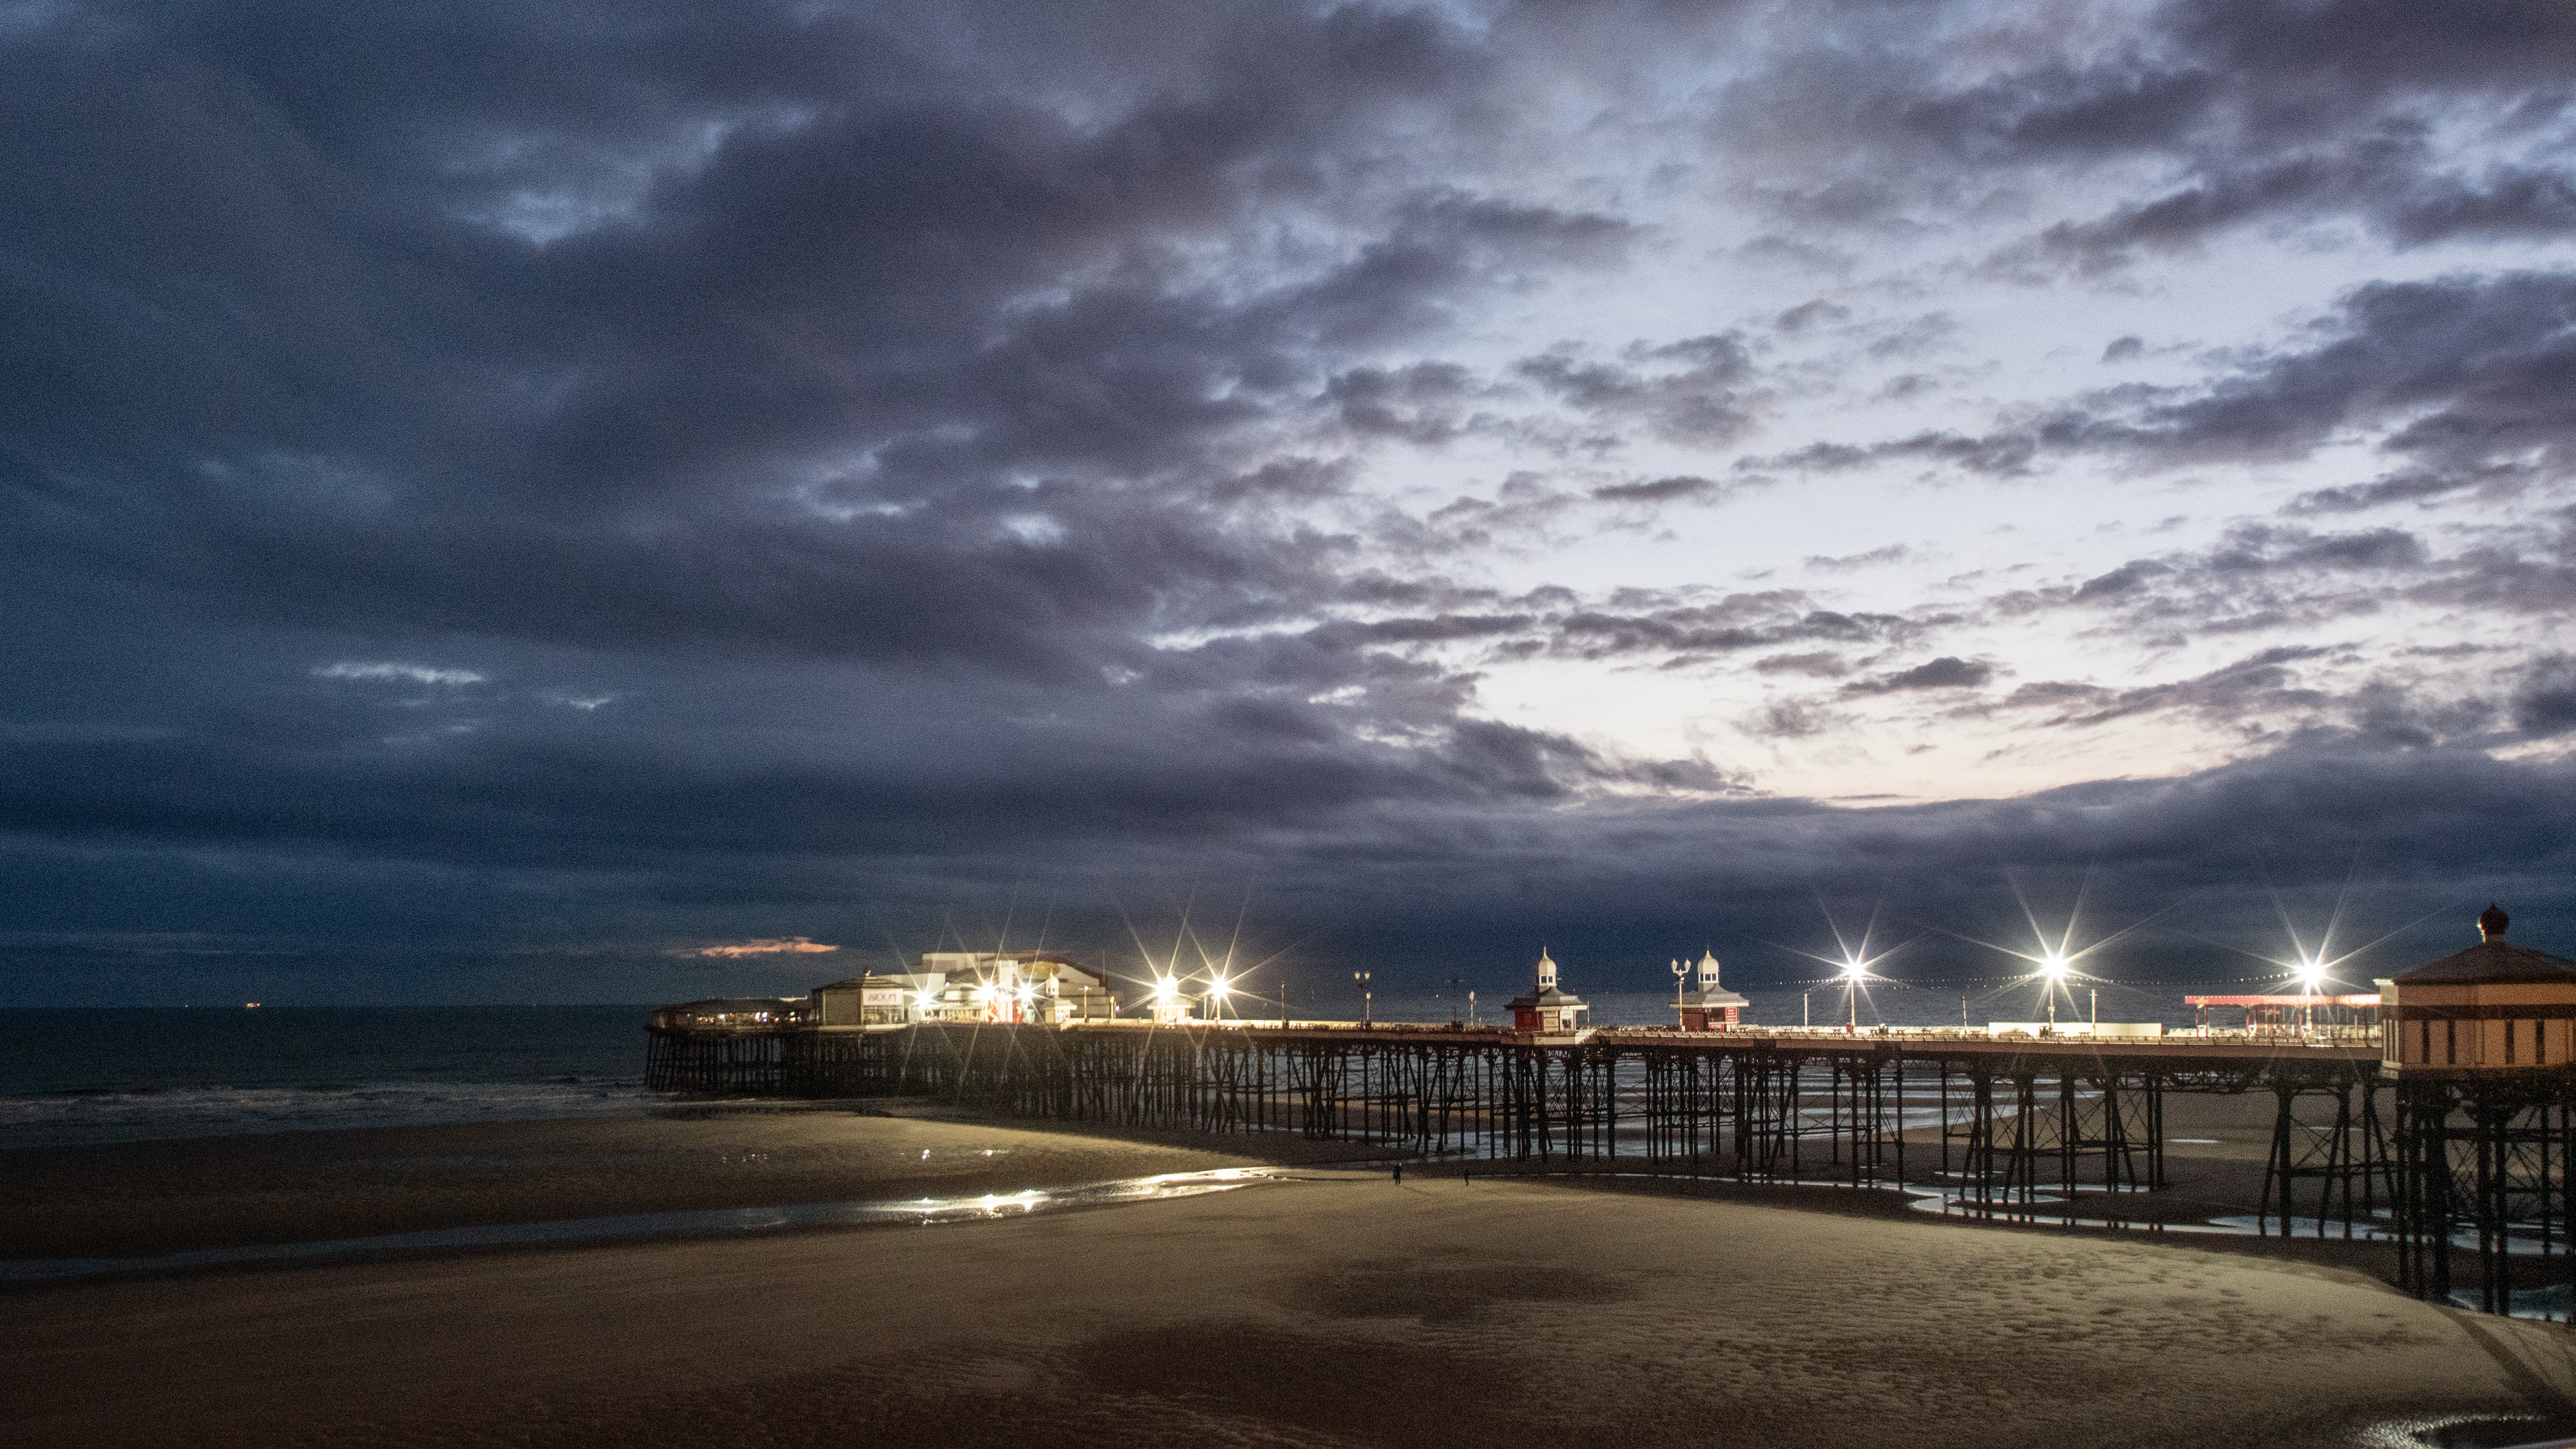
Shooting a seaside pier successfully (image two) depends on where the sun sets, so you’ll need to determine where the light in the sky is, and whether any of that falls onto the pier or acts as a backlight. You’ll probably need a tripod for shots of the pier, especially if you’re down on the beach itself. Anything from f/8 or narrower will result in quite a long exposure, in terms of seconds, so if the tide is in any water will be smoothed out.
You might also like...
Want more low-light photography ideas? Capture light trails from the comfort of your own car. If you're looking to upgrade your kit, here are the best low-light cameras and the best camera remotes.