The Nintendo Switch 2 has arrived and it's full of a good amount of customization options for gamers everywhere to make playing on the handheld console as fun and easy as possible.
As an accessibility setting, you can remap every button on the Nintendo Switch 2's JoyCons or other controllers to help customize your gaming experience to best suit your needs. There's a setting within the console to help you realize your gaming potential, and we've got all the info you need about how to do it.
Here's how to remap and swap buttons on the Nintendo Switch 2.
How to customize buttons on Nintendo Switch 2

To remap the buttons on your Nintendo Switch 2 controllers, open up your System Settings menu from the Home screen (the gray cog wheel icon), scroll down to Accessibility, and then select Button Mapping.
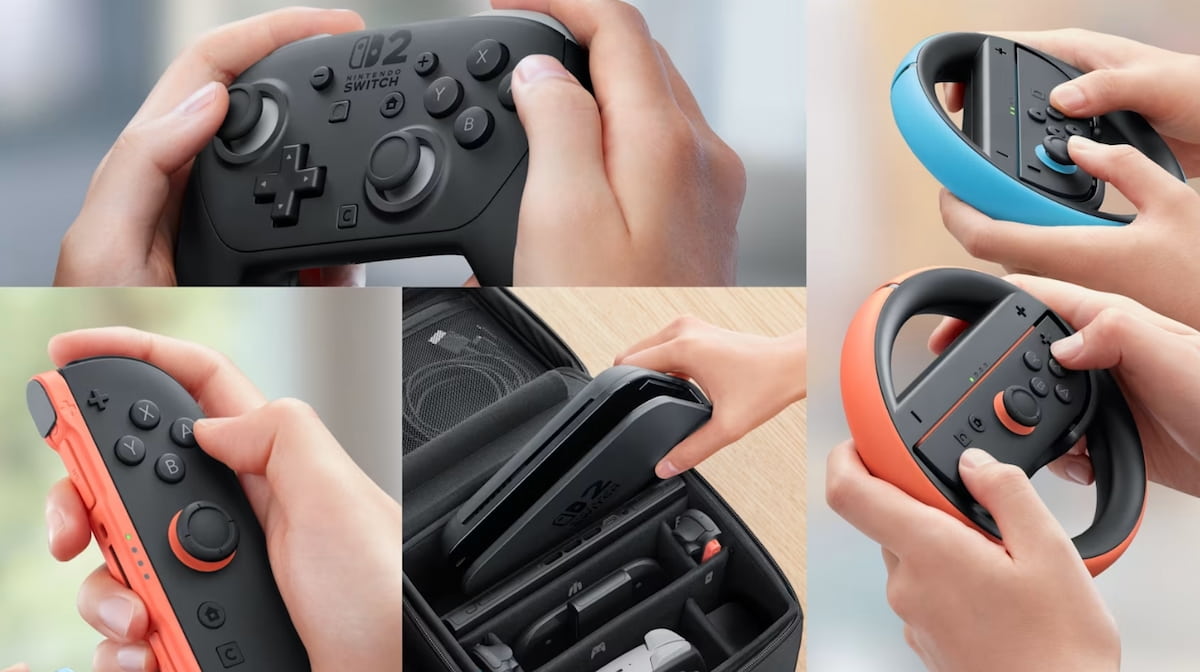
On the next screen, you can select which controller you want to remap, including the left or right JoyCon, plus the Nintendo Switch 2 Pro Controller, and any other controller that you may have registered on the Switch 2.
When you choose a controller, you can then select each individual button and swap it with another one. If you want to register the left stick click as ZL instead, you can do it, and so on. You can also edit the Control Stick Settings to swap left and right sticks or change the orientation of how you're holding the controller by 90 degrees.

This setting is awesome for players of all kinds, helping anyone play the way they want to play when it comes to enjoying Nintendo Switch 2 and its lineup of titles.
There are some other options on how to map buttons on Switch 2, including assigning the GL/GR backpaddle buttons on the Nintendo Switch 2 Pro Controller. This can be done for every single game you play by holding down the Home button on the Pro Controller while in-game and then selecting which button you'd like to use on each backpaddle.
The post How to remap buttons on Nintendo Switch 2 appeared first on Destructoid.