
Learning how to paint a ceiling yourself will mean you don't always have to call in the professionals for a flawless finish. With boldly painted ceilings continuing to dominate trends, being able to upgrade your 'fifth wall' yourself will give you freedom to re-style yours as often as you wish.
Here, our painting experts reveal the six steps you need to know for a great job well done, and the five common ceiling painting mistakes you'll need to avoid.
With this advice, you'll be able to paint a room from top to bottom and execute a pro-worthy finish, without the hefty price tag to match.
How to paint a ceiling like a pro
1. Grab the right tools

First of all, make sure you're equipped with all the essential tools so you can paint a ceiling in your home like a professional.
These will not only help achieve that brilliant final finish, but also make it easier and less messy to do:
- A 2½in angle sash brush. The Wooster Brush 2-1/2 Silver Tip Angle Sash Paintbrush available at Amazon is a popular pick.
- Painter's tape: such as the ScotchBlue Original Multi-Surface Painters Tape available at Amazon.
- A 9in roller with a pan. We recommend the Bates Paint Roller available at Amazon.
- An extension pole: such as the Premier Paint Roller 4ft Steel Extension Pole available at Walmart.
- A step ladder: such as the COSCO 3 Step Connection Step Stool available at Walmart.
- Ceiling paint. Benjamin Moore, Farrow & Ball and Sherwin-Williams are among the best places to buy paint.
'In addition to your paint, make sure your brush and roller sleeve are high quality and that your roller sleeve is the appropriate nap for your ceiling texture,' says Helen Shaw, of paint experts, Benjamin Moore.
2. Apply your painter's tape and remove vents

You may see satisfying videos of painting pros 'cutting in' with ease where the ceiling meets a wall or coving, but it's not as simple as it looks and comes with years of daily practice.
Remove any room for error when painting your ceiling by using suitable painter's tape. Paint expert Ed Edrosa from BEHR advises, 'Using your painter’s tape, begin by taping off the places where the ceiling and the wall meet.'
If you want to go one step further, you can even caulk your tape. Ed adds, 'To get a laser-straight line, use a special tape such as FrogTape, available at Amazon, and use a clear caulk to seal the edge of the tape.'
We recommend the GE Sealants & Adhesives Advanced Silicone Sealant, also available at Amazon, for this.
Head of Solved, Punteha van Terheyden, has painted multiple ceilings in her home in color-drenching projects and swears by the green FrogTape, also available at Lowe's.
She says, 'The edges on this tape microscopically puff up immediately upon the paint going over it, which ensures your lines are super crisp, and no paint gets underneath.'
Then, remove any vents with a screwdriver.
3. Prime and prep
Preparing a ceiling for painting is much like preparing walls for painting, and should not be skipped if you want the job to be done properly the first time.
Anthony Kulikowski, owner of Five Star Painting in South Bend, IN, a Neighborly company, advises, 'Skipping cleaning and patching the surface can lead to dust and debris speckling your paint and make for an uneven, messy finished look as a result.
'Ceilings can be dust magnets – just like walls and other surfaces. Dust the ceiling using a feather duster, microfiber cloth, or even a vacuum hose.'
We recommend the Swiffer Dusters Dusting Kit available at Walmart or HOMEXCEL Microfiber Cleaning Cloths available at Amazon for this.
Anthony continues, 'Check the ceiling for cracks. Patch up and sand down any holes that need to be filled in. If you see signs of discoloration or unusual stains, stop the project and investigate immediately for any water damage that needs proper attention.'
You'll obviously need to fix a ceiling with water damage thoroughly, before undertaking any paint work.
Then, says Ed, 'Use a stain-blocking primer to prep your wall and cover any patches properly.' The Rust-Oleum Bulls Eye 1-2-3 Stain Blocking Primer/Sealer available at Amazon is a popular pick.
4. Start cutting in

Open the paint can, then get going. 'Start with painting the edge of the ceiling where it meets the wall,' suggests paint expert Helen.
'Cut the ceiling in like you would cut in a corner,' she says. 'Starting in the ceiling line, brush into the corner, then use the brush to cut in a nice straight line along the wall’s edge.'
Your painter's tape, and taking your time, will avoid any paint glooping across to a wall or surface you didn't intend. Using a smaller paint brush will help you keep better control in awkward areas.
5. Use a roller for the rest of the ceiling

Now it's time to switch from a brush to painting with a roller for the rest of the ceiling. As Ed explains, you should grab your roller and attach the extension pole before fully saturating your roller with paint.
'Start from the corner of the ceiling and start rolling nearest to a window, so that you can see the light from the window reflecting the wet paint,' says Helen. 'Then work your way across the room, rolling slowly when you’re near the wall to help avoid hitting it.'
'Each time you load your roller, start on an unpainted area and work back into a painted area. Paint the ceiling in one session, so the paint dries uniformly.
'Wait for the coat to dry to determine if a second coat is needed. Check the label instructions for dry times.'
If you do need to follow up with a second coat, Ed advises, 'Apply paint in a perpendicular direction.'
6. Remove the painter's tape

Remove the painter's tape while the paint is still wet. This will help avoid any chunks from coming up with the tape.
Then replace your vents, wash your tools, and stand back and admire your handiwork. Spare paint? You might want to keep some for touching up by loading some into a paint touch up pen, available on Amazon.
Knowing how to dispose of paint safely and conscientiously will be better for the planet, too.
Ceiling painting mistakes to avoid
While learning how to paint a ceiling is easy enough for any keen DIYer, there are five crucial ceiling painting mistakes to avoid if you want your ceiling’s new dramatic impact to be because of the new color, not because of a truly dreadful paint job.
1. Leaving it until last

Many people question whether you should paint trim or walls first and forget about the ceiling altogether. But, says Zak Fleming, professional handyman and founder of Express-Handyman, this area should never be left until last, and doing so could end up causing damage to other fresh paint jobs.
'The ceiling should be painted first to prevent drips and spray splashing down onto walls and trim,’ he explains. ‘This allows for a cleaner and more efficient process when painting the rest of the room.’
Then, to prevent any splashes or damage to your flooring and having to get paint out of carpet, we recommend using a drop cloth, such as the CCS Canvas Drop Cloth for Painting available at Amazon.
As painting expert Anthony warns, 'Don’t assume that when you’re painting high up on the ceiling, anything below it won’t get paint droplets.
'Remove any light or valuable furniture from the room. Cover any heavy or remaining furniture with drop cloths, as well as the flooring. Also, be sure to tape or mask off fixtures and fans, which can also become a target for splatters. Everything below must be covered!'
Head of Solved, Punteha, recommends the heavy-duty plastic sheeting from Lowe's. She says, 'This will not tear easily as you move your tools or stepladder around the room, or annoyingly balloon up with the slightest moving of air.
'I made the mistake once of using light-duty sheets and will never use those again when painting my ceiling, or walls for that matter.'
Zak also notes that it's best to remove any light fixtures from your ceiling to protect them from paint splatters, advising that even if you think you won't notice them from the ground, you will.
When removing a light fitting, always make sure to turn the electricity supply off at the breaker first, not just at the switch, to prevent injury.
Helen Shaw from Benjamin Moore adds, 'If you cannot remove fixtures, use painter's tape [such as the bestselling Duck Brand Clean Release Painter's Tape available at Amazon] to protect them from spatter, or use your brush to cut around them carefully.'
2. Skimping on paint

Picking out high-quality paint finishes for your ceiling paint ideas is essential if you want the finished job to look professional and stand the test of time. After all, not all ceiling paints are created equal, Lisa McIntee, home stager at The Staging Professionals, reminds us.
‘It may be tempting to buy a pail of inexpensive ceiling paint to get multiple rooms complete,’ she begins, ‘but areas like kitchens and bathrooms do require some extra love. A peeling or cracking ceiling means that moisture has gotten in behind the paint, common in kitchens and bathrooms.
'To avoid this, purchase the proper ceiling paint for your space, apply the paint when the room is properly ventilated and dry, and allow for sufficient drying times between coats.’ This should prevent the need to fix peeling paint in the future.
Additionally, once you have picked out the perfect paint, make sure you have enough to cover the space. To calculate how much paint you need, keep in mind that, as a general rule of thumb, one gallon of paint is enough for a single coat coverage of around 350 to 400 square feet. There are factors that affect this, though, like your application method, surface, finish, and color. High-quality paint is often not budget-friendly, but avoid skimping on how much you use for the sake of making it last.
As Bart Caldwell, professional painter and founder of Caldwell Painting, warns, when you squeeze every drop out of the roller before reapplying paint, you will leave an uneven coverage. ‘It will give you that DIYer look,’ he claims. ‘Keep that roller wet and keep it professional.’
Prioritize buying the right painting tools, too, says painting expert Anthony. 'Using the wrong roller or brush can lead to visible roller marks or missed spots,' he advises. 'Use a roller with an extension pole to help maintain an even pressure for an event application.
'If you’re dealing with a popcorn ceiling, use a roller with a thicker nap (3/8" to 3/4") to properly cover the texture. For edges, use a 2-inch angular brush since it offers the best control and precision. If you're on the shorter side, a step ladder [such as the HBTower Step Ladder available at Amazon] can help you reach and apply paint more accurately.'
3. Picking the wrong finish
There are so many paint finishes for ceilings to pick from, including matte and gloss, so it can be hard to know which is best.
If you're struggling or stuck, home stager Lisa suggests that, while you may want to create a statement with your ceiling, using a glossy finish is not always the way to go.
‘Ceilings can be highly reflecting surfaces for both natural and artificial light,' she says. 'Therefore, choosing a paint with a glossy finish can draw the eyes up, detracting from the rest of the space and drawing attention to any imperfections.
‘Always stick with a commercially marketed ceiling paint as they typically have a low reflective matte finish. There is nothing worse than walking into a room with a glossy ceiling!’
If you would prefer to opt for a high gloss ceiling, ensure that the plastered surface is perfect, as high gloss finishes highlight every unsightly lump and bump.
4. Painting in the wrong direction

Unless you are looking to texture a ceiling, rolling in different directions, or rolling against the flow of natural light, can leave permanent marks.
‘Believe it or not, you need to roll your ceiling with the direction of your natural light source,’ advises Bart Caldwell, professional painter. ‘This is a little-known professional trick to help hide those pesky roller marks.’
Painting expert Anthony also adds that it's always best to work in small sections.
5. Not taking breaks

Any painting job, from painting a wall to painting an entire room, calls for regular breaks. But this is even more important when it comes to painting something as awkward as a ceiling, warns Erin Nutter, DIY mentor at The DIY Nuts, a home improvement blog.
No matter if your ceiling is large or small, it can be difficult to work at heights and angles for long periods of time, she says. ‘Give your neck and shoulders a break occasionally to avoid having a stiff neck the next day.’
If you suffer from chronic pain like Punteha does, rope in loved ones to help, or work in small bursts.
You can use wet paintbrush protectors, available at Amazon, to keep your tools wet and ready to go without having to fully wash and dry them between uses. 'This will allow you to work at your own pace without injury or a pain flare,' she says.
What to shop
All prices were correct at the time of publication.
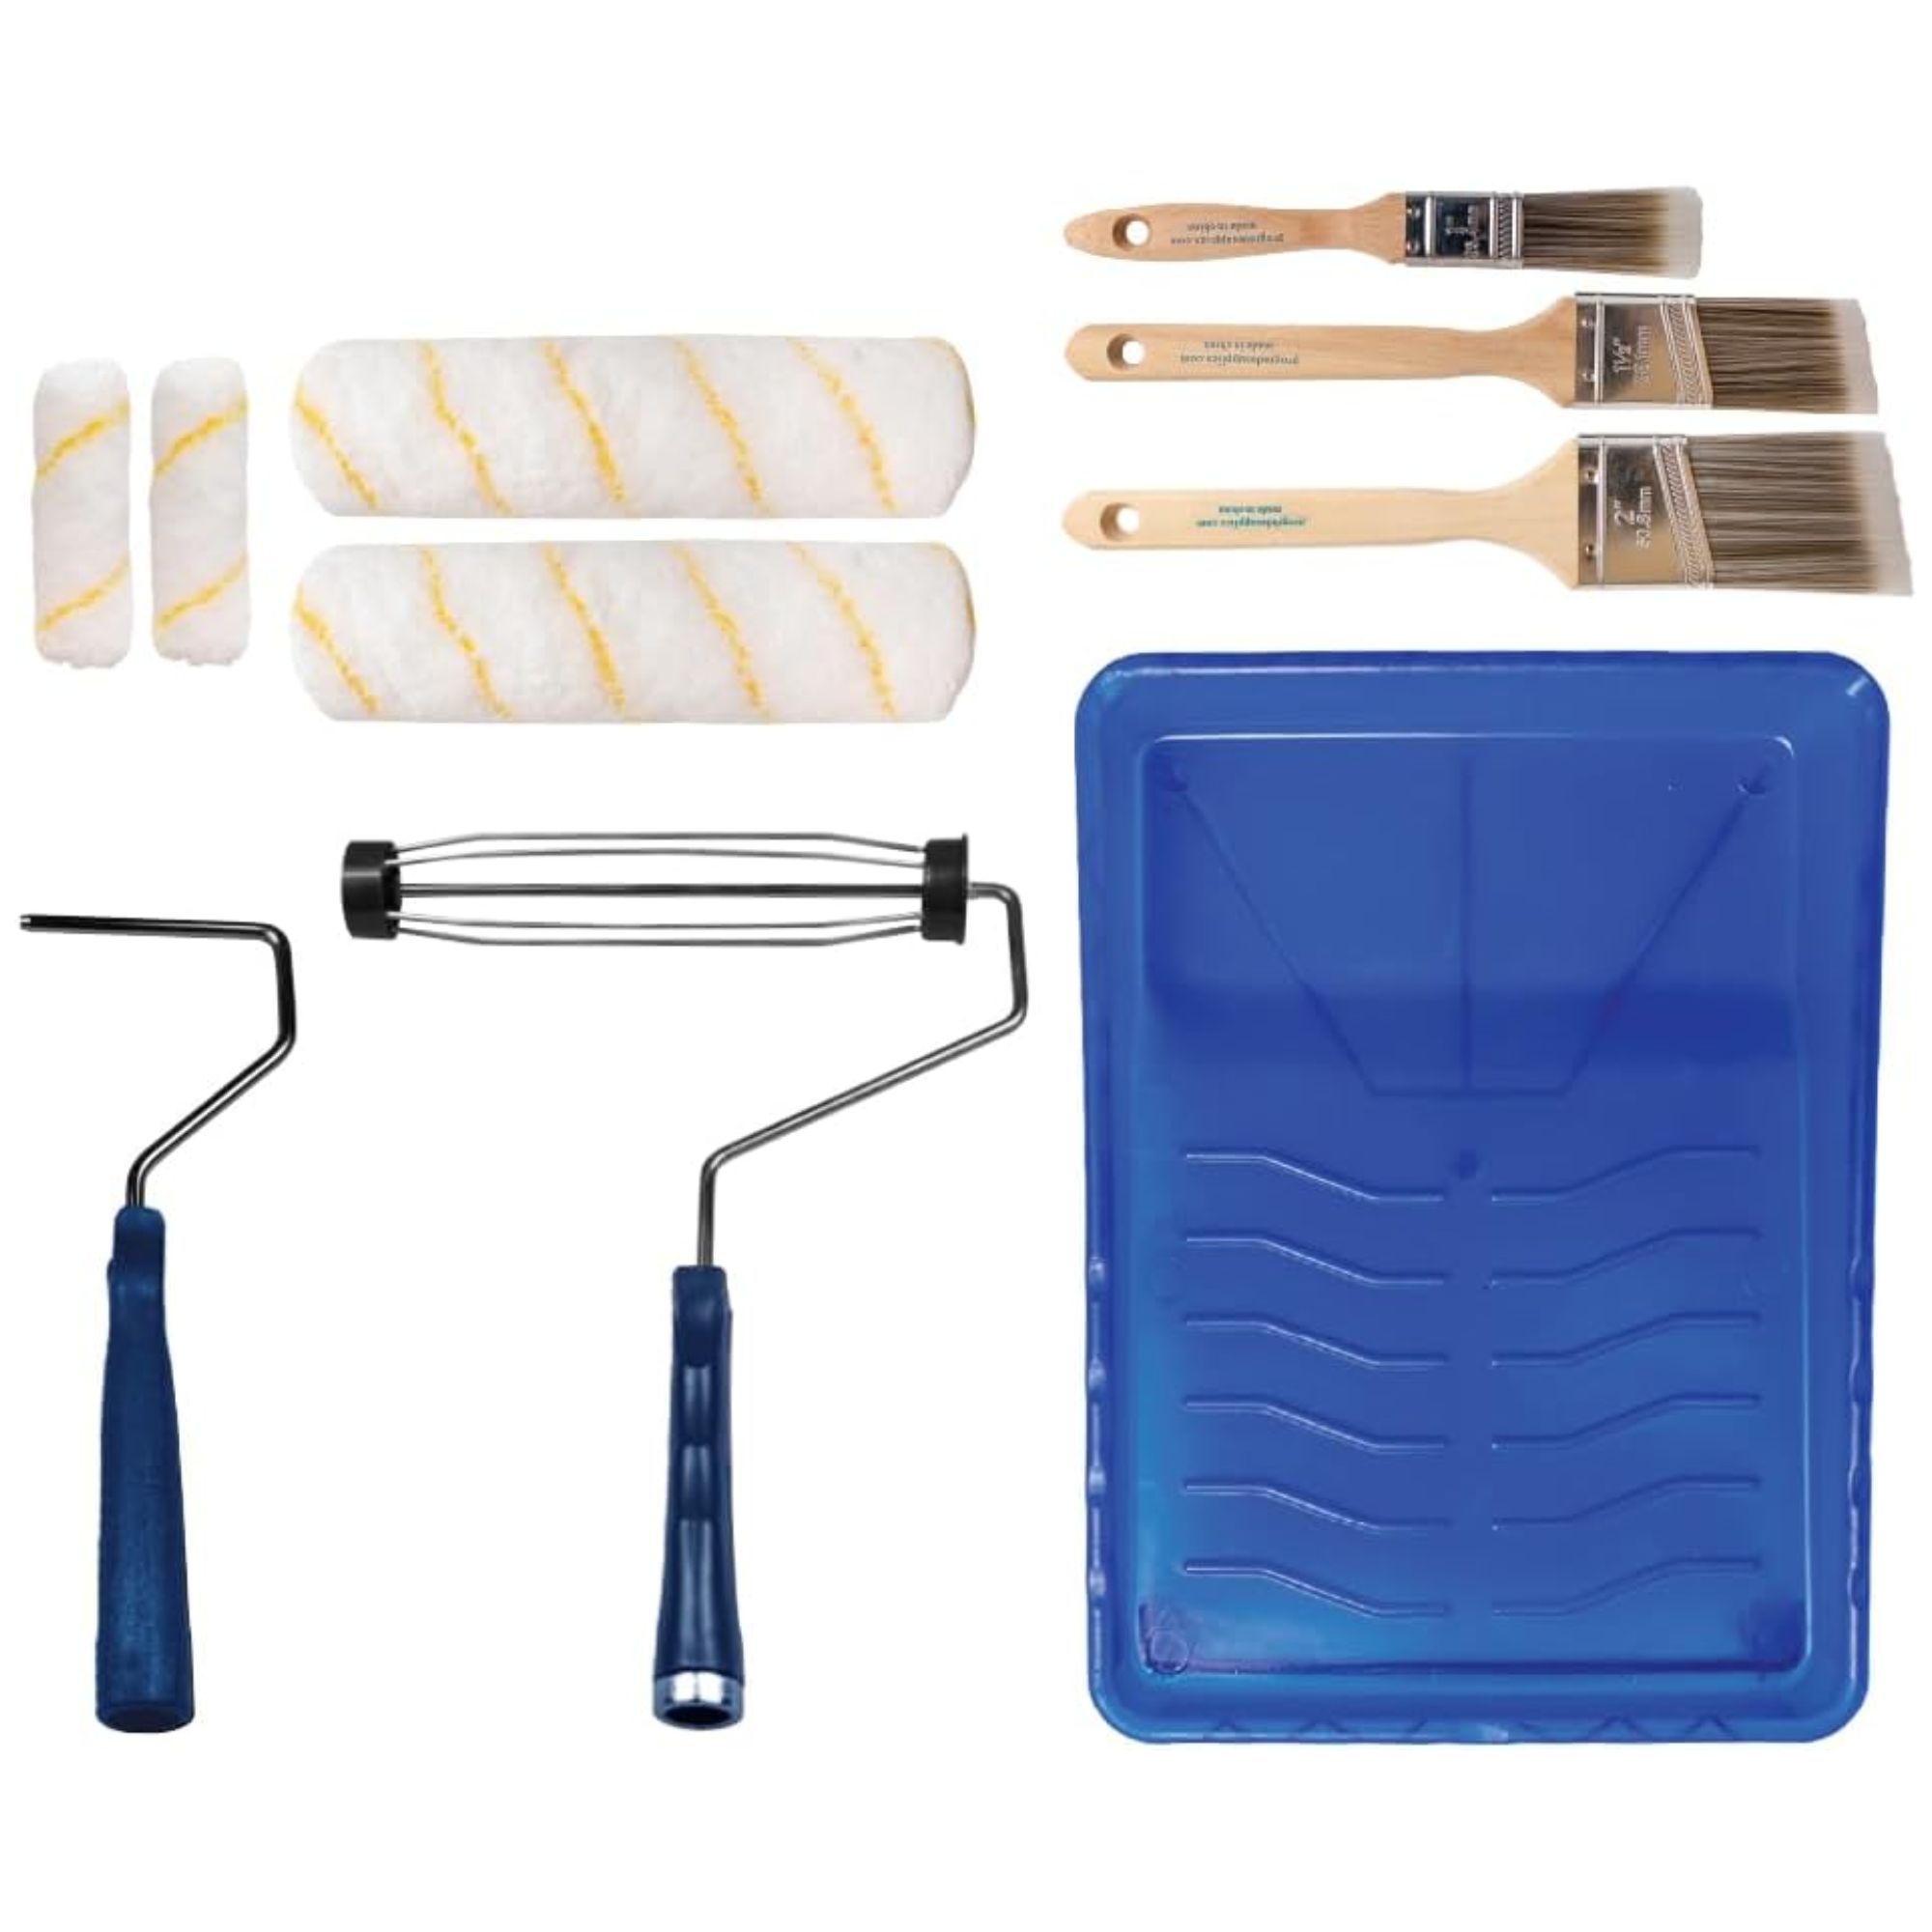
This paint roller kit contains everything you need to paint your ceilings for professional results at home.
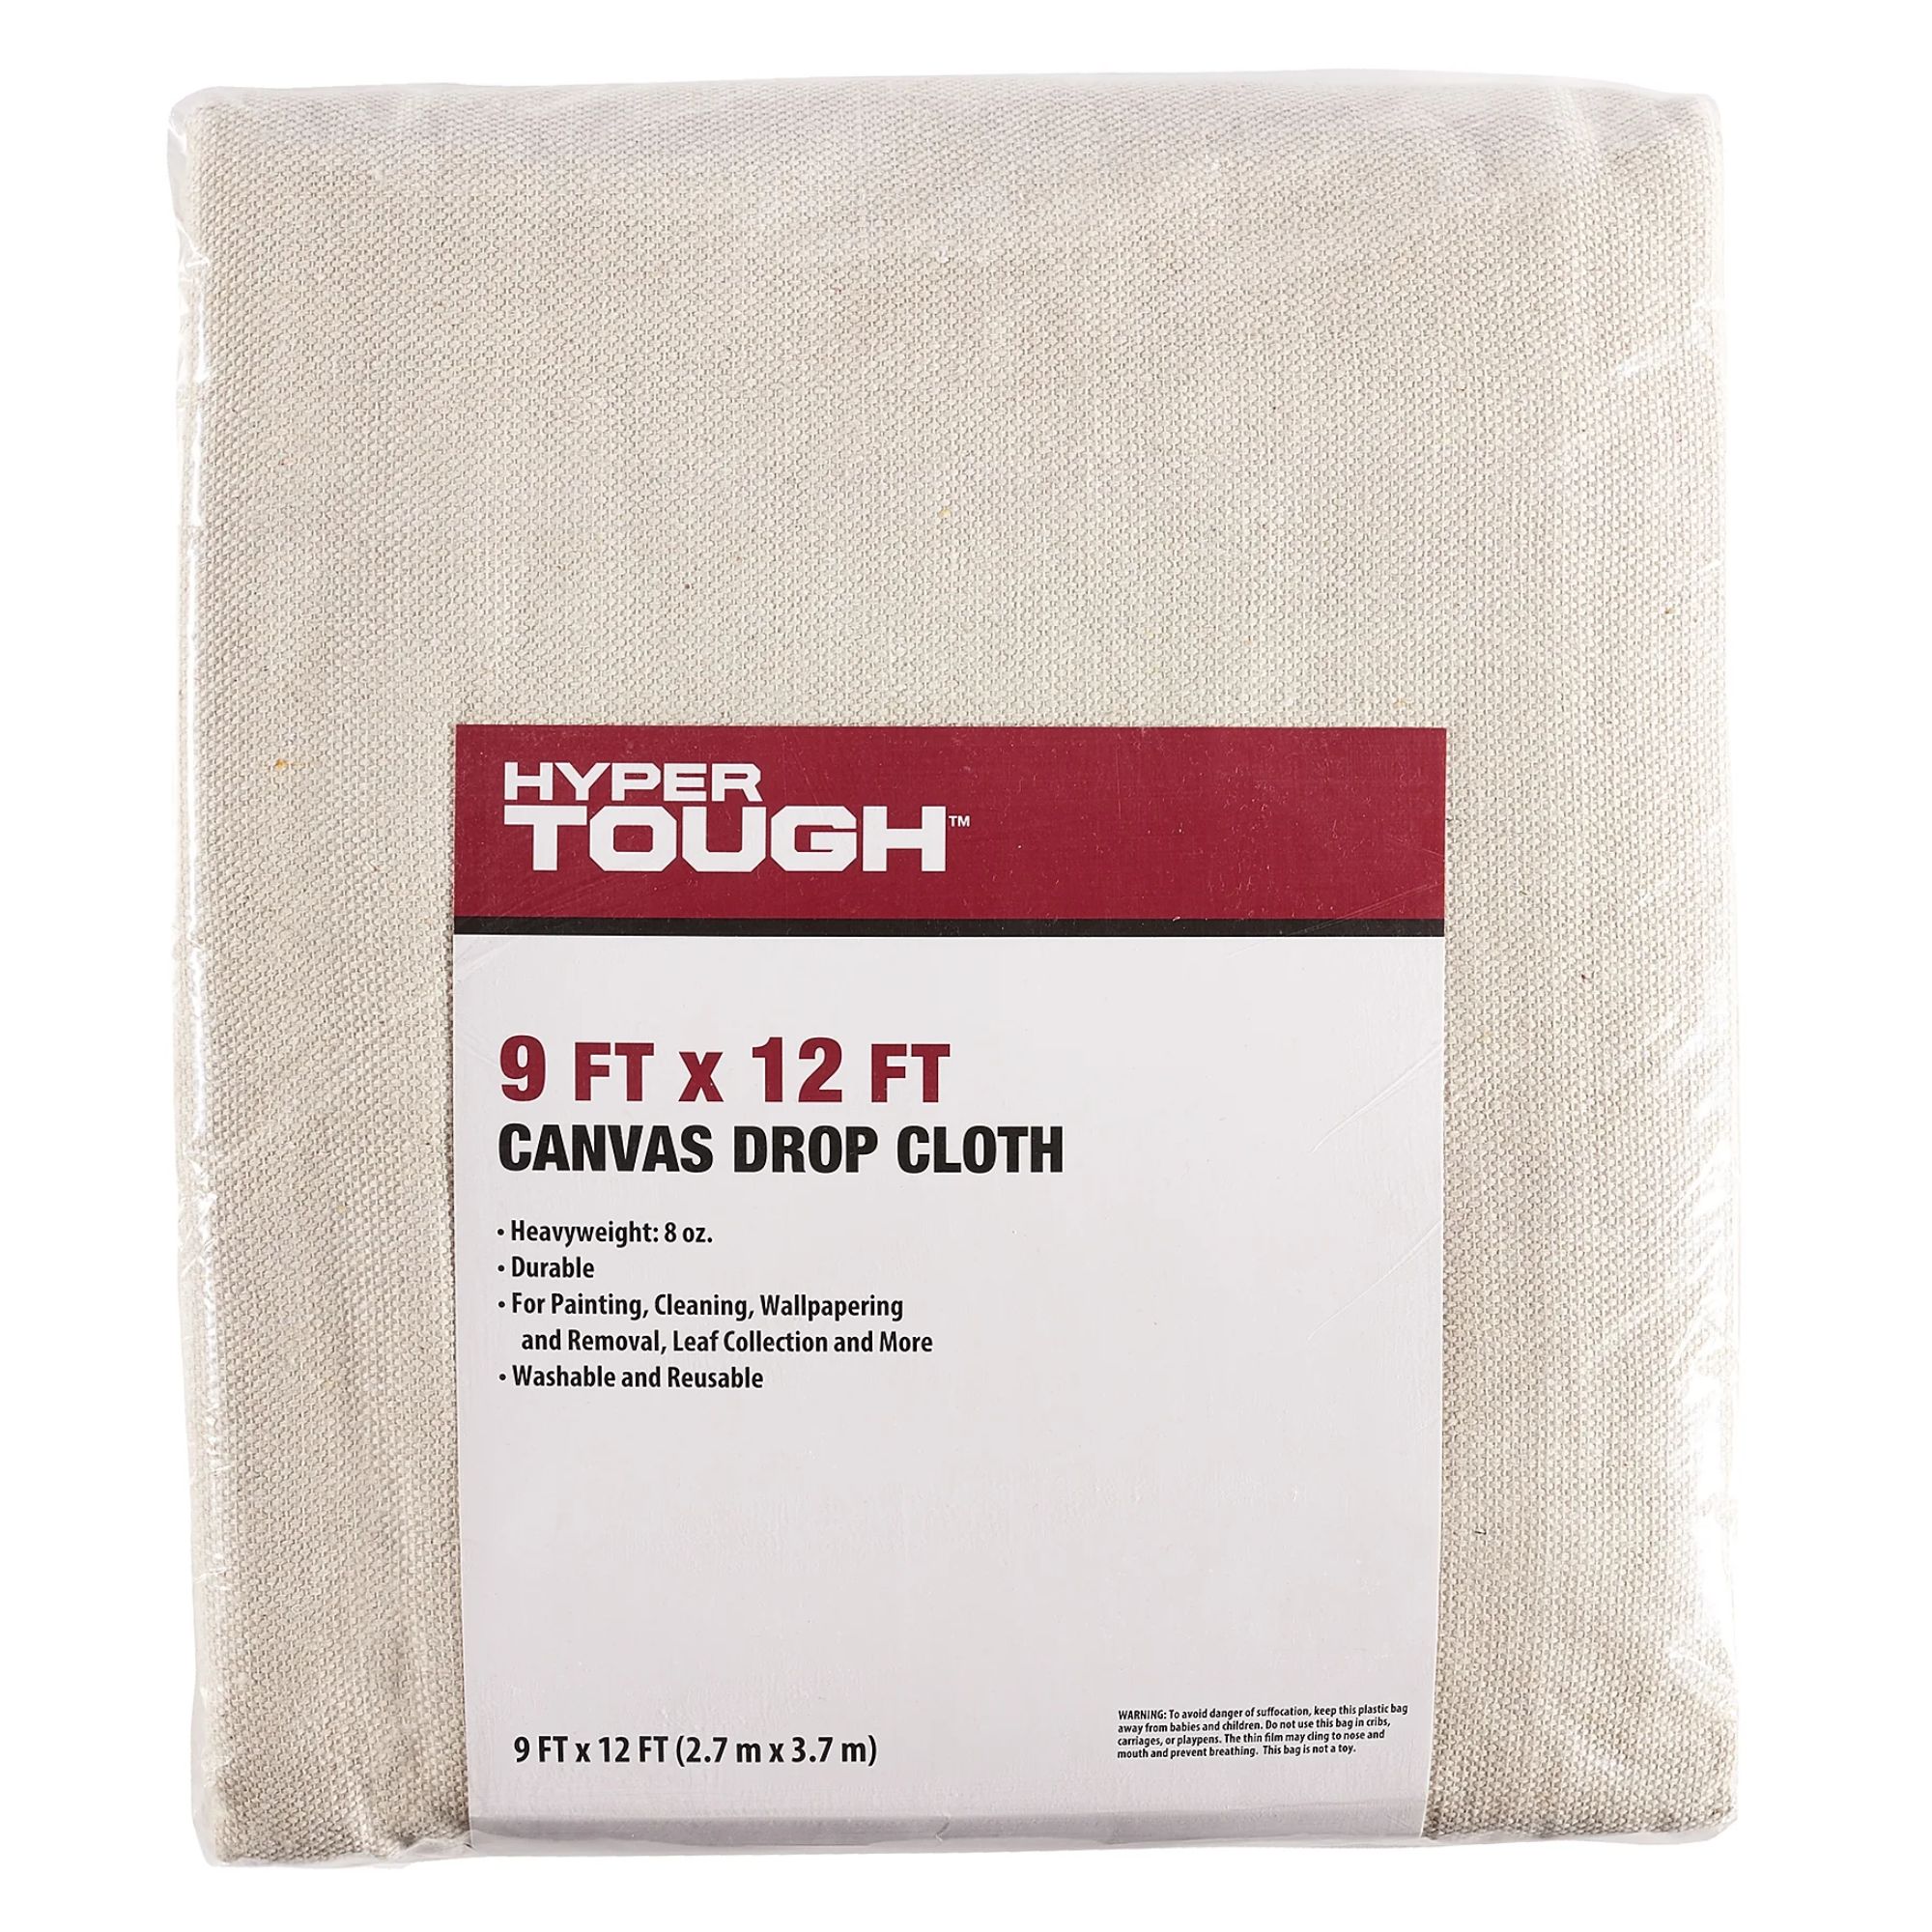
This extra-large, heavyweight drop cloth is washable and reusable, and makes cleaning up after painting quick and easy.

This extendable pole with a soft, non-slip handle makes it easier to reach up high, and is available in three different lengths, from three to twelve feet.
FAQs
Why does my ceiling look bad after painting?
There are a few reasons why your ceiling may be left looking patchy after painting. You may have used the wrong paint, applied too few coats, applied a second coat too soon, or used the incorrect equipment.
It may be because you rushed the job. Like painting a wall, painting ceilings require a lot, if not more, patience to complete properly.
Why do I have lines on my ceiling after painting?
If lines have dried into your ceiling after painting, it may be that you applied the paint unevenly or lapped wet paint over completely dry paint. This can happen if you are speeding through a painting task or apply a second coat too soon.
If there are a few lines, the job may be fixable with another, even coat. If there are multiple very noticeable lines, however, the painting may need to be done again.
Avoid using too much paint, though, as this is one of the key reasons your paint is bubbling.
Should you always paint the ceiling white?
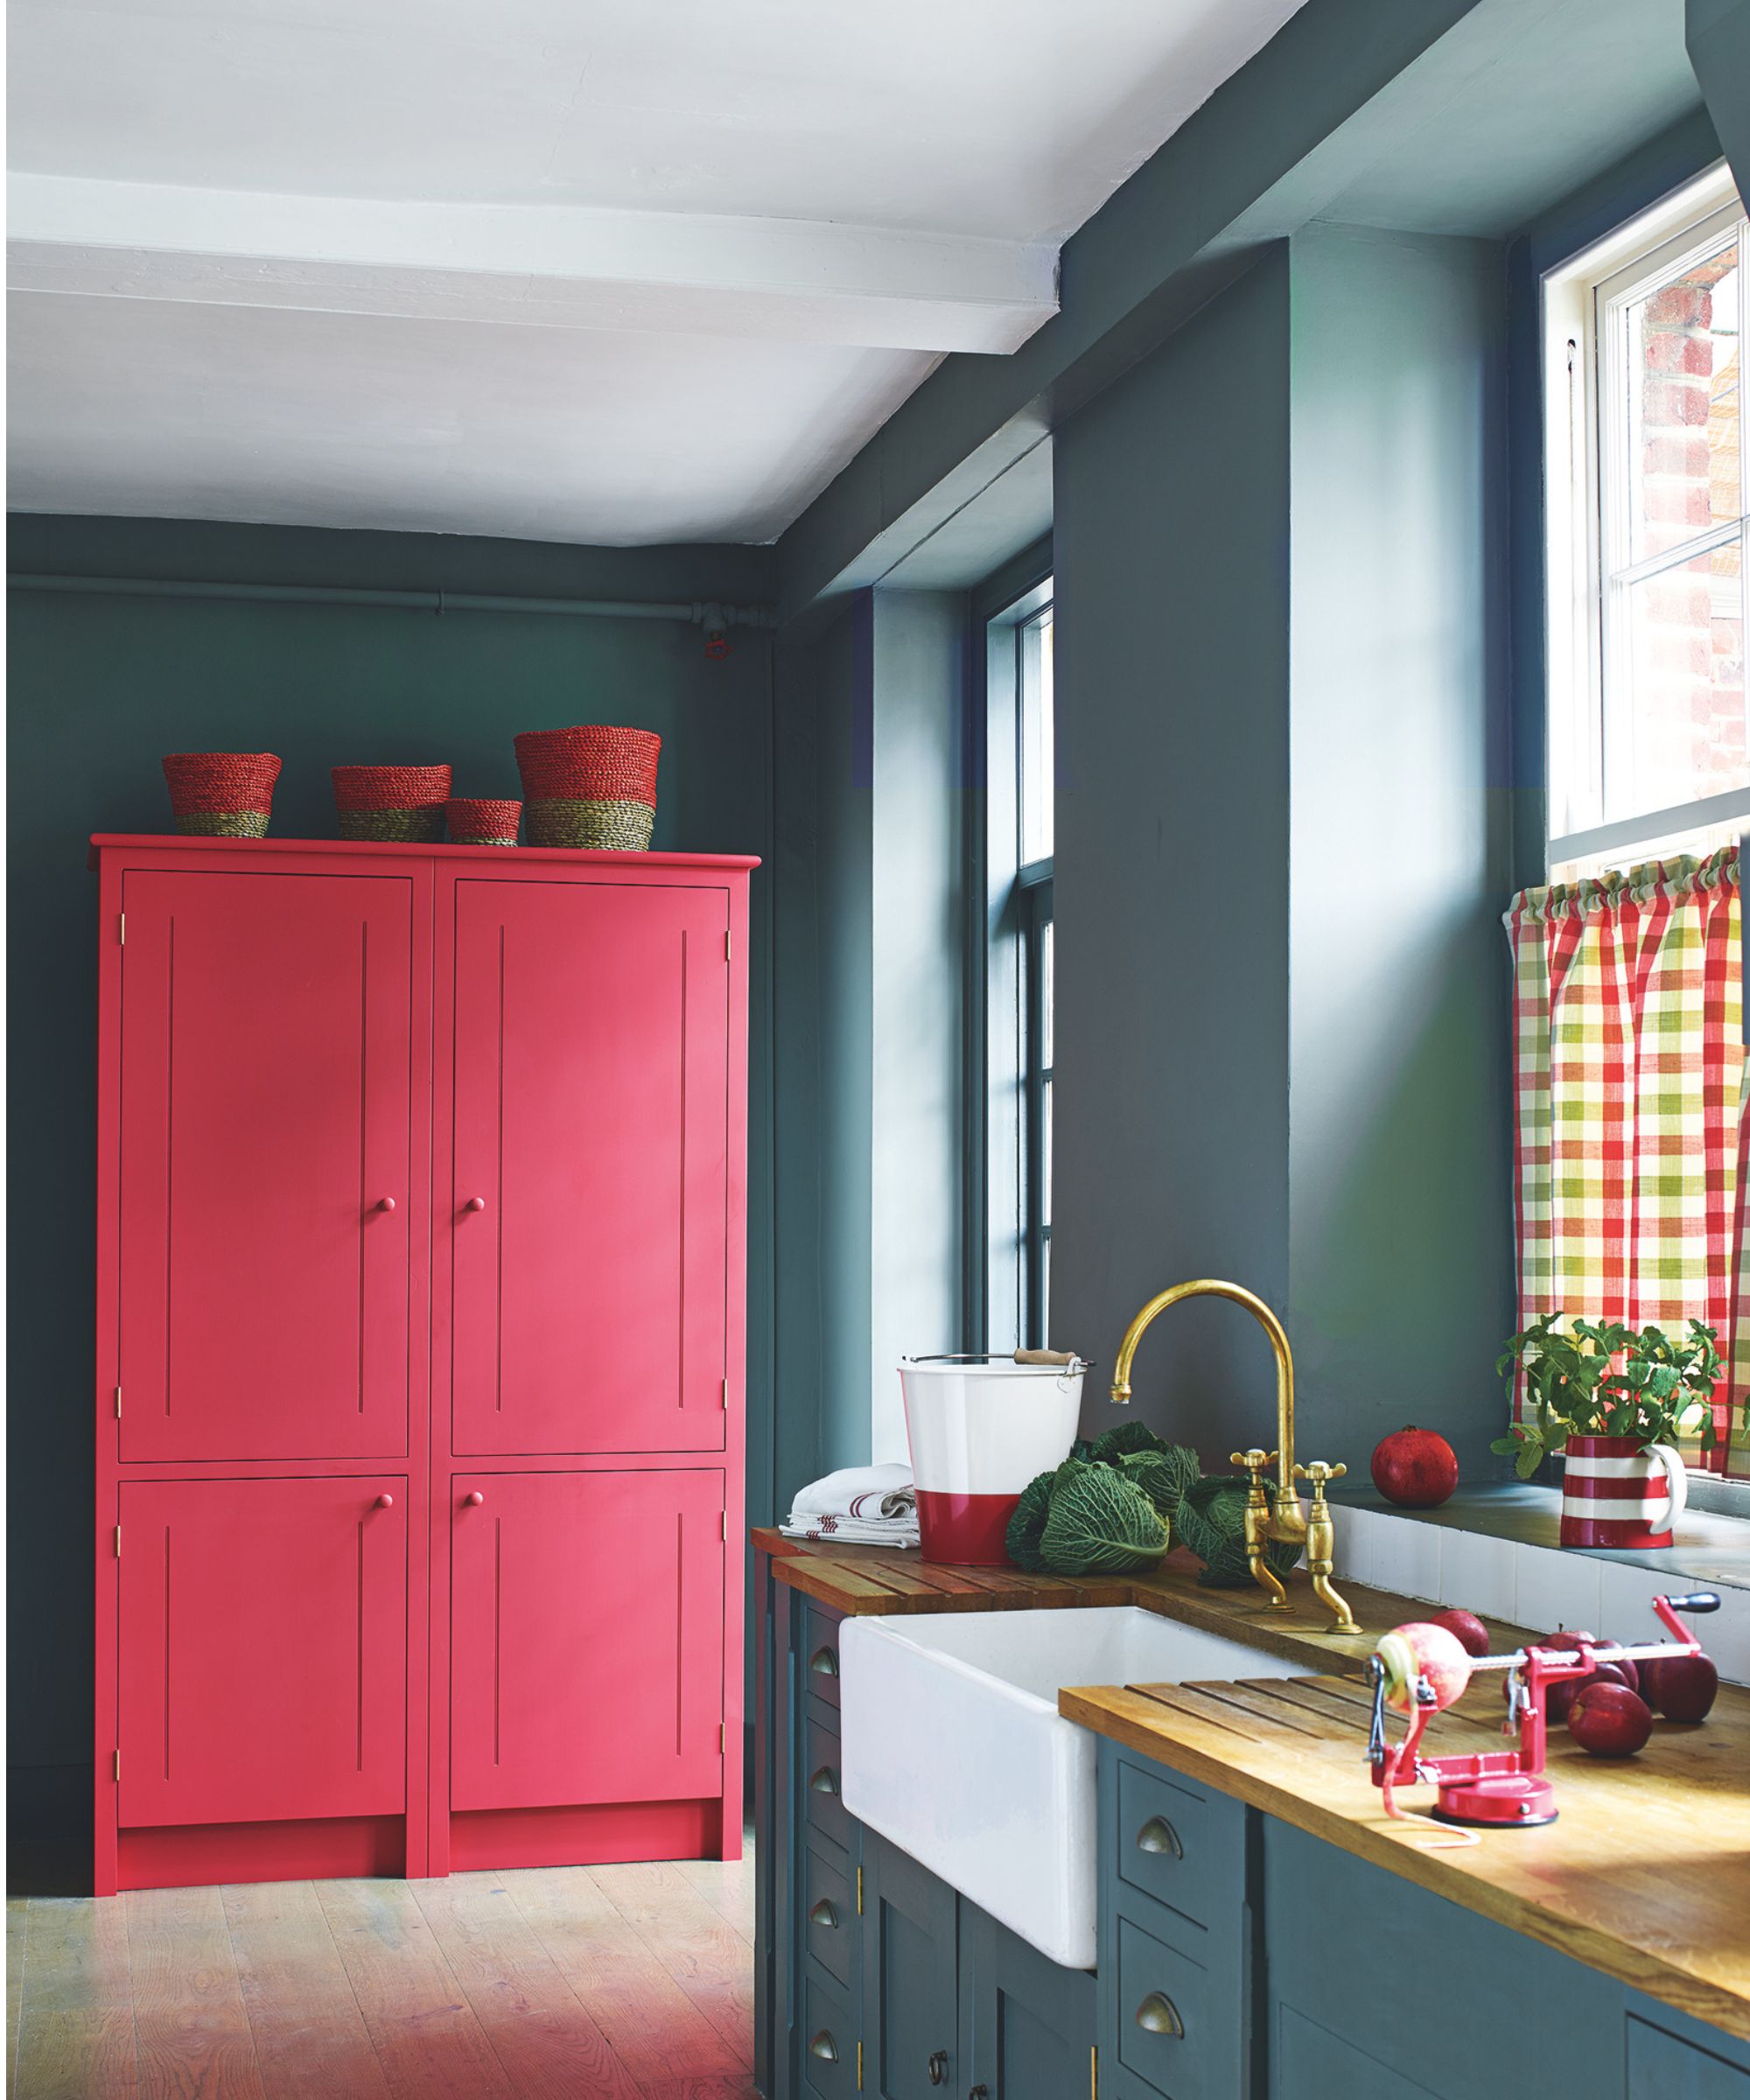
'While classic white ceiling paint is a go-to for homeowners, why not consider color?' says Helen Shaw. 'A rich navy blue or deep black ceiling can blur the boundaries of a room, making it look endless yet intimate.
'Or painting a ceiling with a lighter shade or a slight variation of your wall color delivers depth and dimension, without breaking the unity of existing color schemes.'
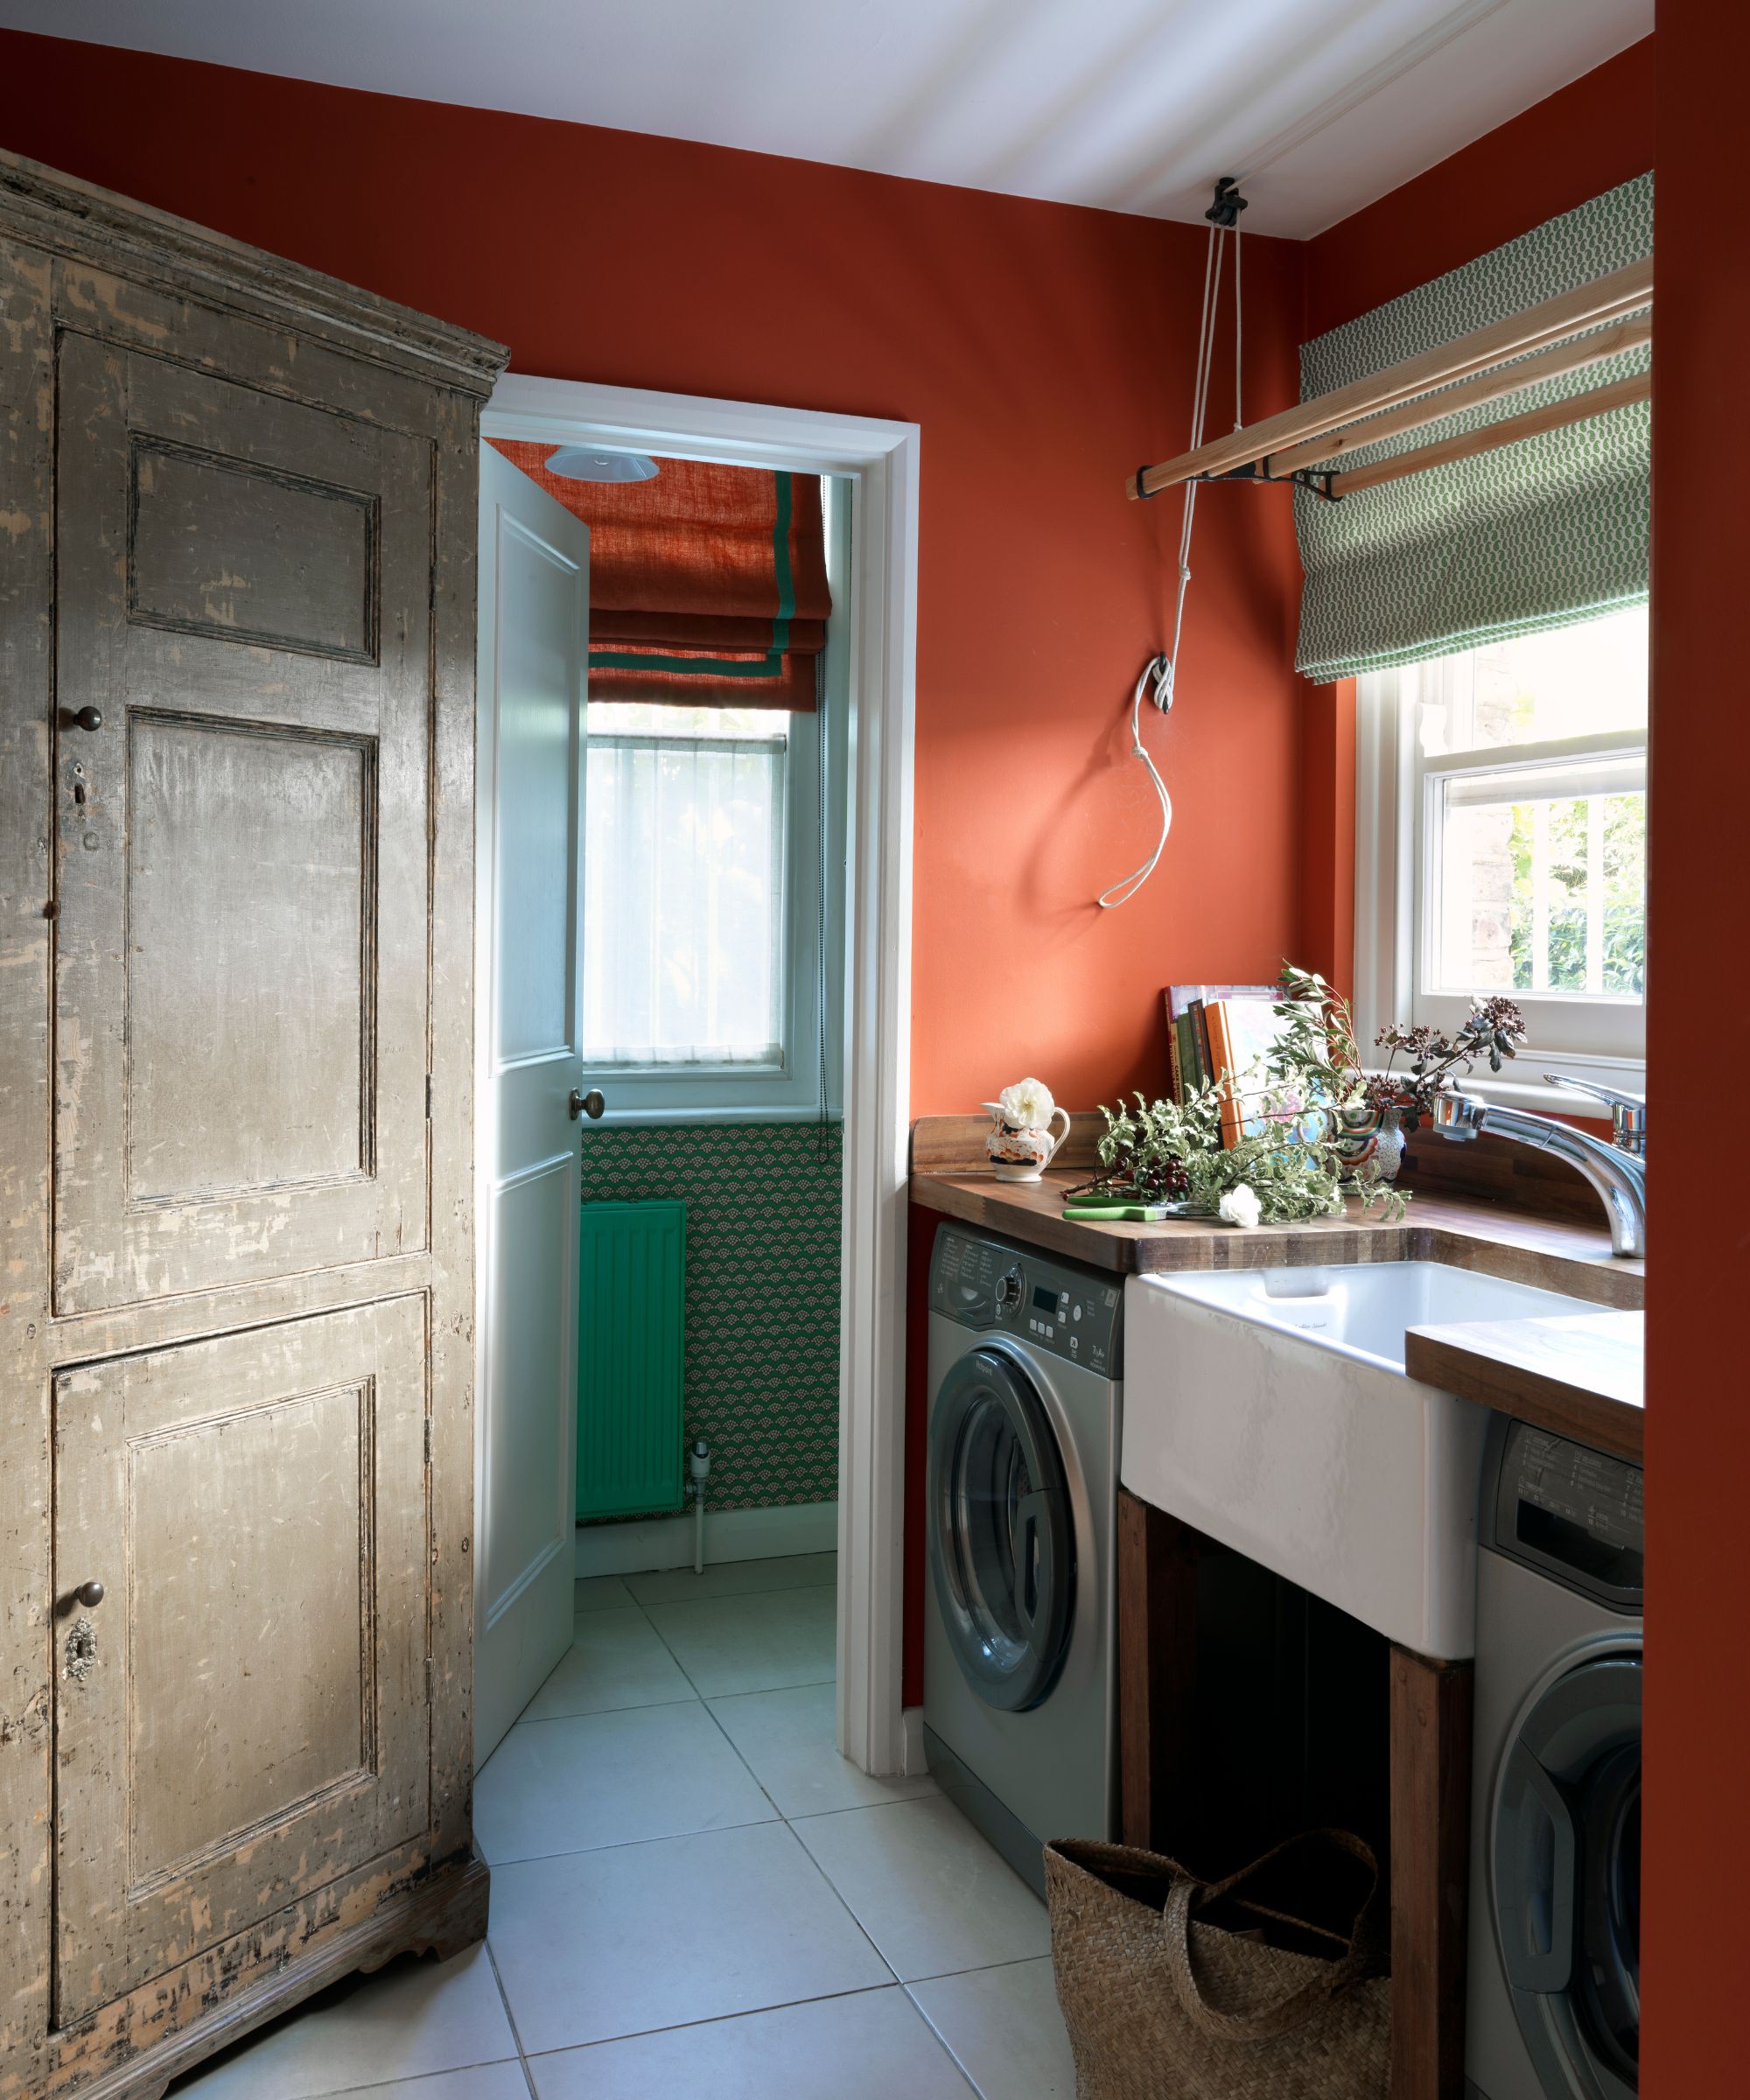
You could also make a design statement with your ceiling – and paint the fifth wall a vivid and contrasting color to your walls for a showstopping effect. Get inspired with our ceiling paint ideas.
Meet our experts
Looking to transform a space that's a little loftier? Painting high ceilings follows the same principles you may have learnt when researching how to paint a ceiling, but requires a greater level of caution.