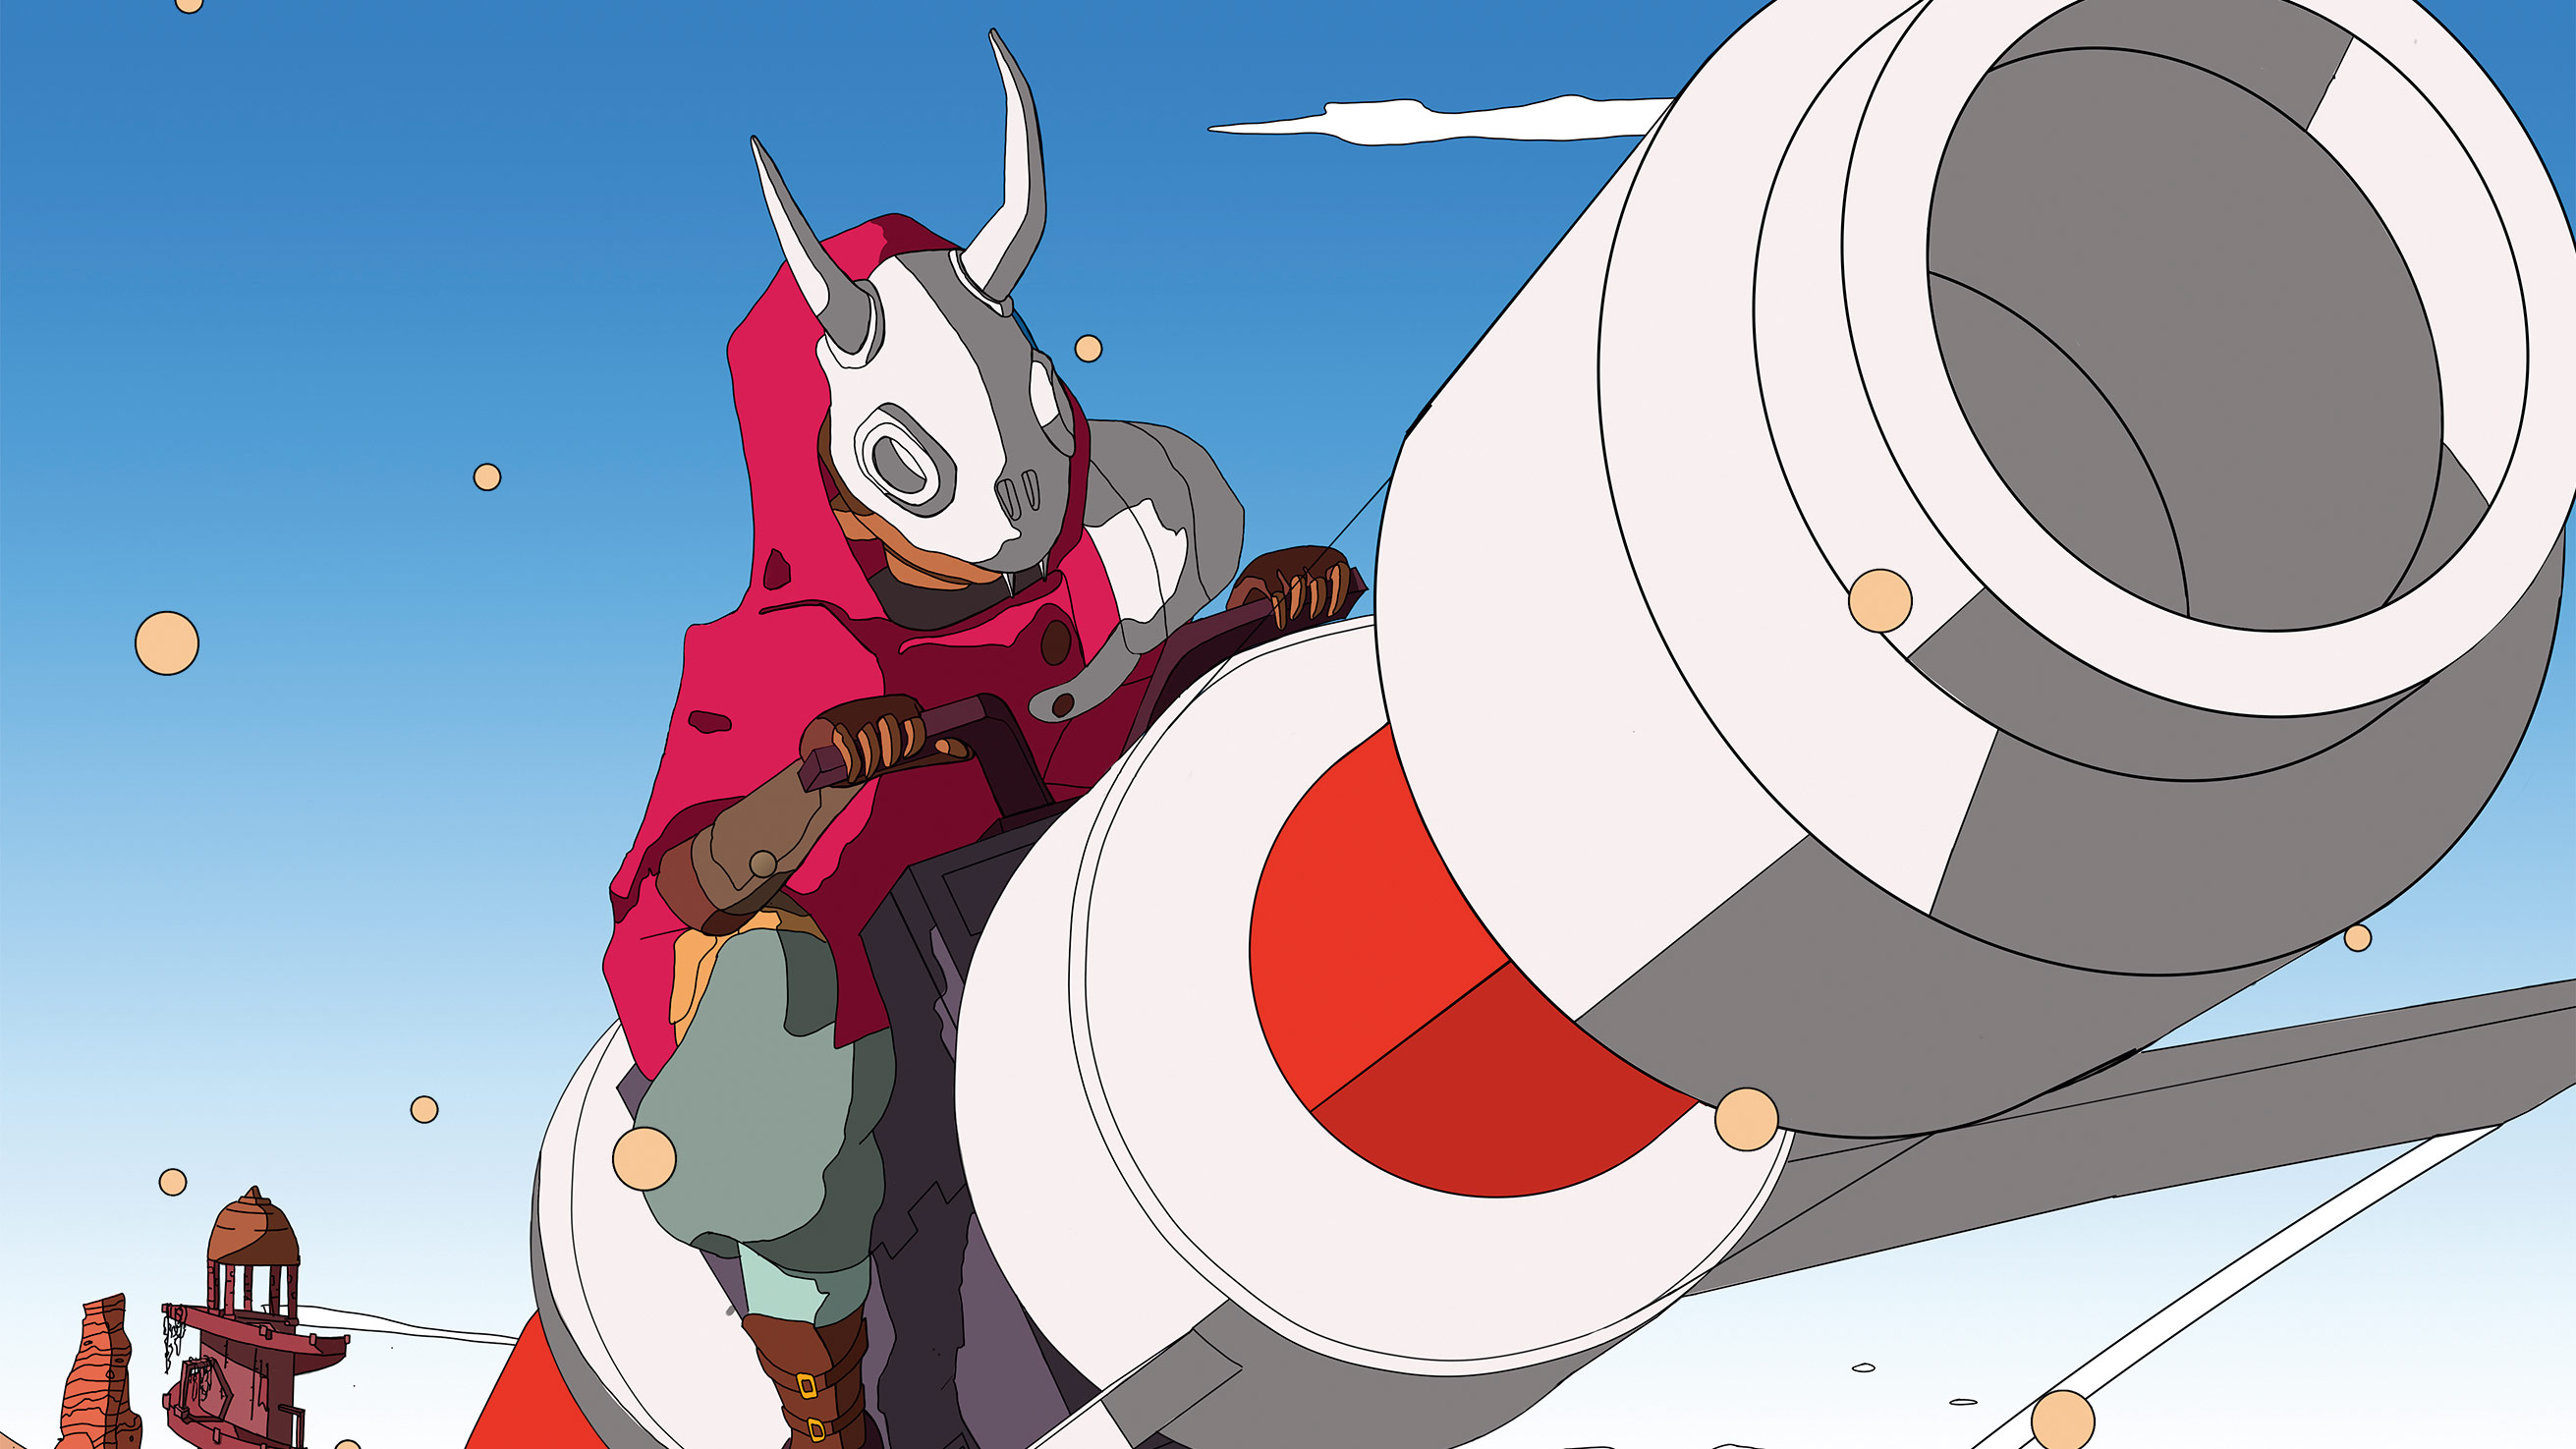
In this tutorial, I'm going to show you how I mix Procreate and Unity to create striking promo art for the video game Sable. An open world game set on a mysterious planet the player controls the young Sable, who explores her surroundings while learning her people’s history.
This tutorial mixes software, but to get up to speed on what these apps can do read our Procreate review and get up to speed on Unity in our guide, 'Unity: discovering the next-gen CG tech every artist needs to know'.
The game was developed by Shedworks, a two-person indie studio, and released in 2021. We made a game that focuses on environment exploration, rather than combat or survival mechanics. This was partly because my academic background in architecture means I can tackle environments relatively quickly.
However, because we wanted the game to have a great sense of scale we knew we couldn’t adopt a realistic rendering approach. So we decided to look at other sources for inspiration: Belgian and French ‘ligne claire’ comics from the likes of Moebius; the works of Studio Ghibli; anime such as Akira; and the Archigram and Japan’s Metabolist architecture movements. (If you want to master the ligne claire style some more, read our tutorial 'How to draw Tintin style art'.
How to mix Procreate and Unity for game art
For this promo image we wanted to introduce Sable, while teasing places she could explore in the game. You can see the final image at the bottom of this post, but first read on to explore how the piece came together.
01. From paper to Unity
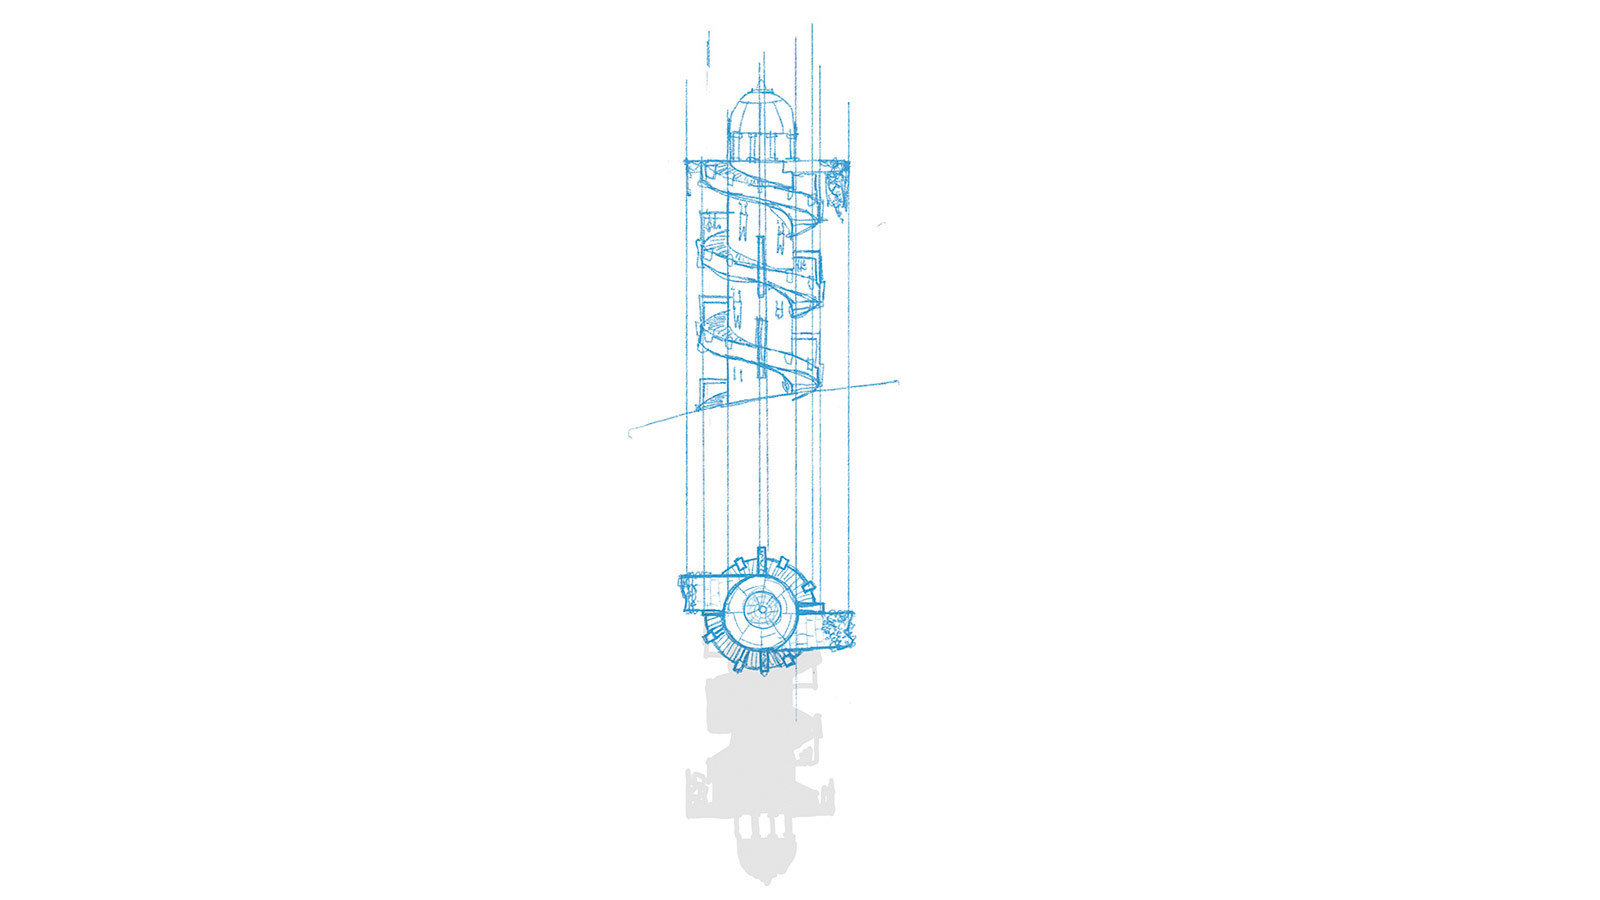
We produce all our assets in 3D using a variety of tools and then assemble them in Unity. I tend to start on paper, though, exploring different ideas until I’m ready to move into 3D. I’ll start by working in Unity using an asset called ProBuilder to whitebox a space and get a feel for how it works as a navigable level, the scale of everything and how it silhouettes from different angles.
02. Produce and test assets
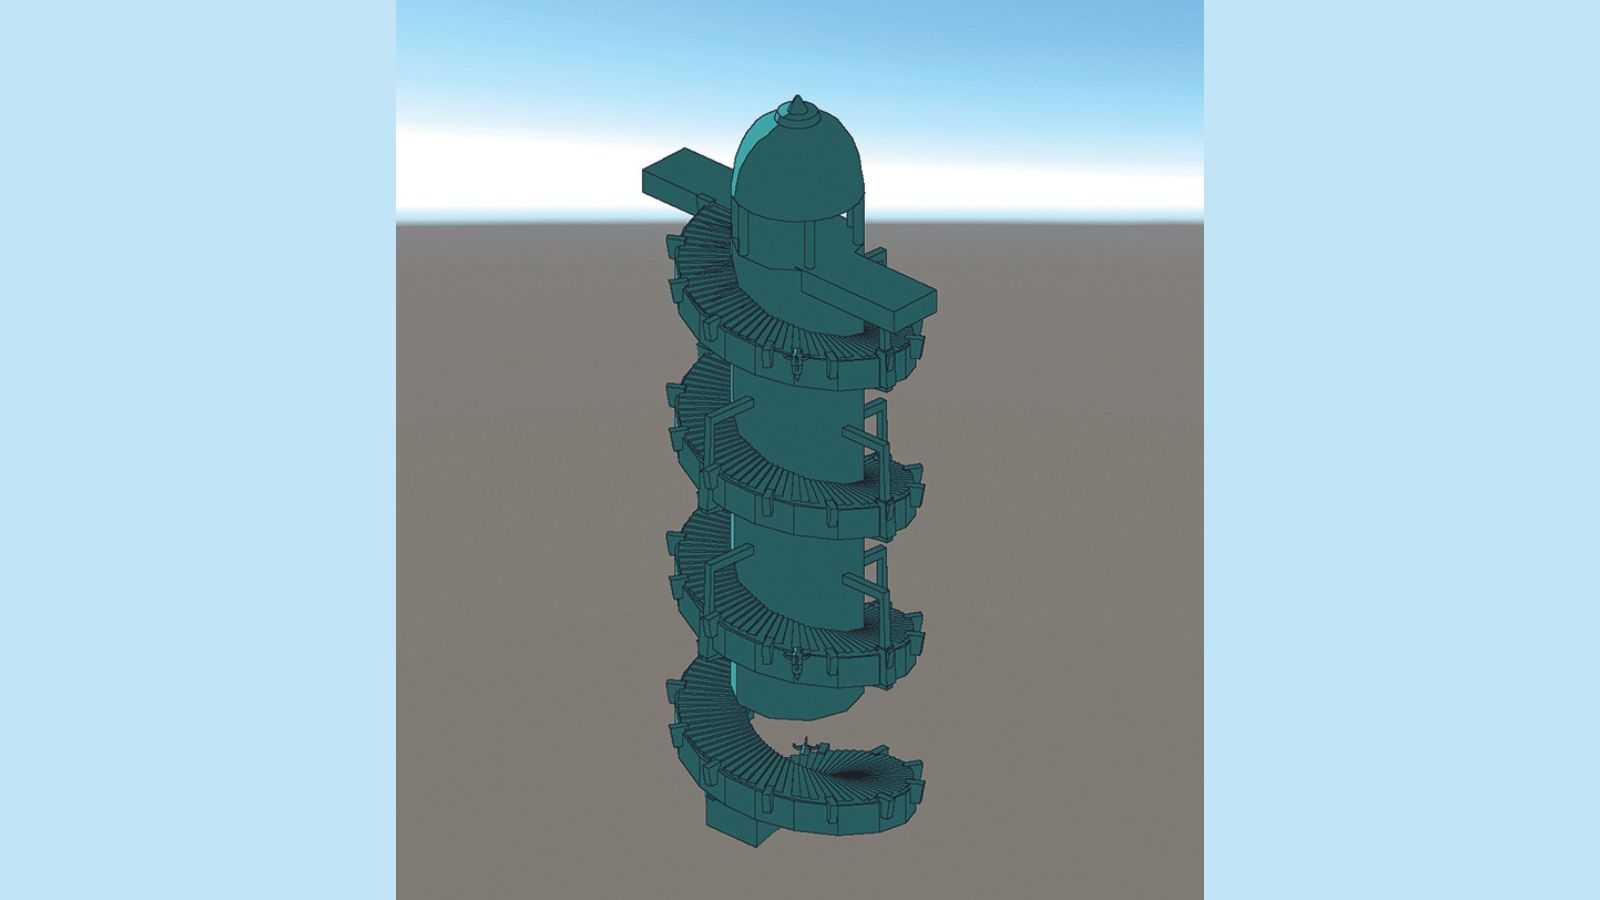
Once I’ve made the first whitebox iteration I’ll set up the ProBuilder object as a linked prefab between Unity and Maya, and export it as an FBX file. (Read our roundup of the best Maya tutorials to learn more about this software) This now means I can update the model and see the changes in the project instantly. This is crucial for our art style, because the post-processing we use isn’t replicable in Maya – so I never know how an asset will look until it’s in-engine.
03. Composition requirements

Once everything is textured and modelled the process becomes about composition. I use Procreate to hand draw the line-work and do colouring before bringing it into Photoshop for cleanup. (Our guide to the best Photoshop tutorials can help with your digital art skills.) The brushes I use are basic gel pens or fine tips with Smoothing enabled to emulate the way the game is rendered in-engine.
04. Particle art
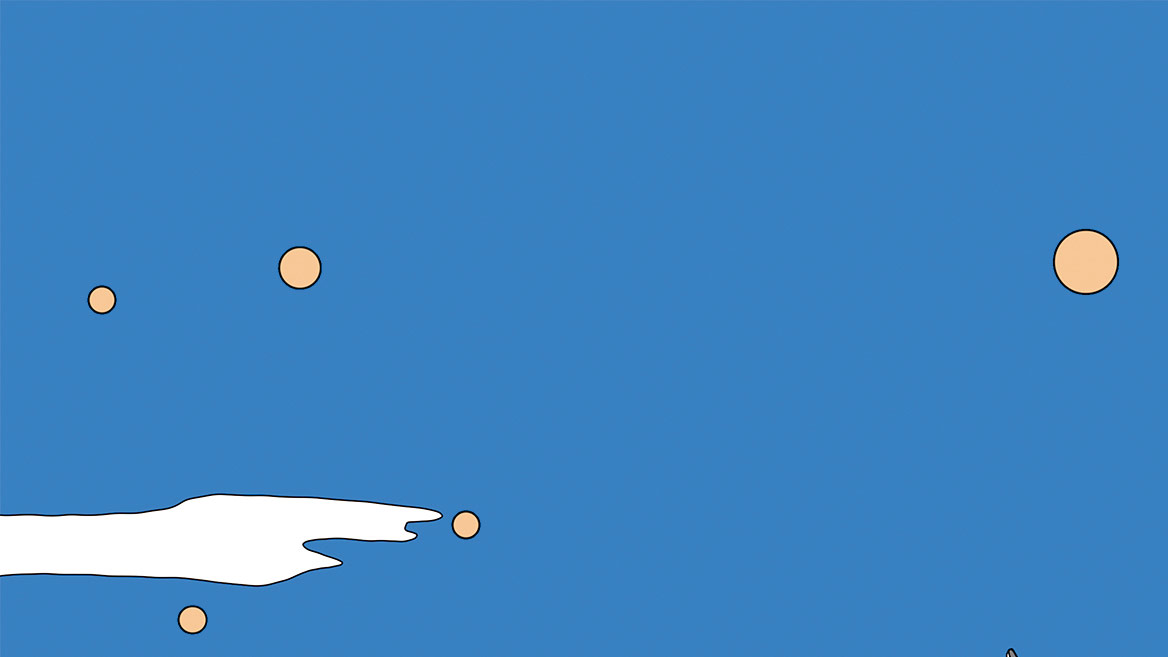
For our dust particles we look to the greats like Studio Ghibli. The particles help us generate a constant sense of motion in the game, and can give a static scene a real sense of life. For the bike trails I wanted to make them look almost edible and solid – like candy floss!
05. Masks save time
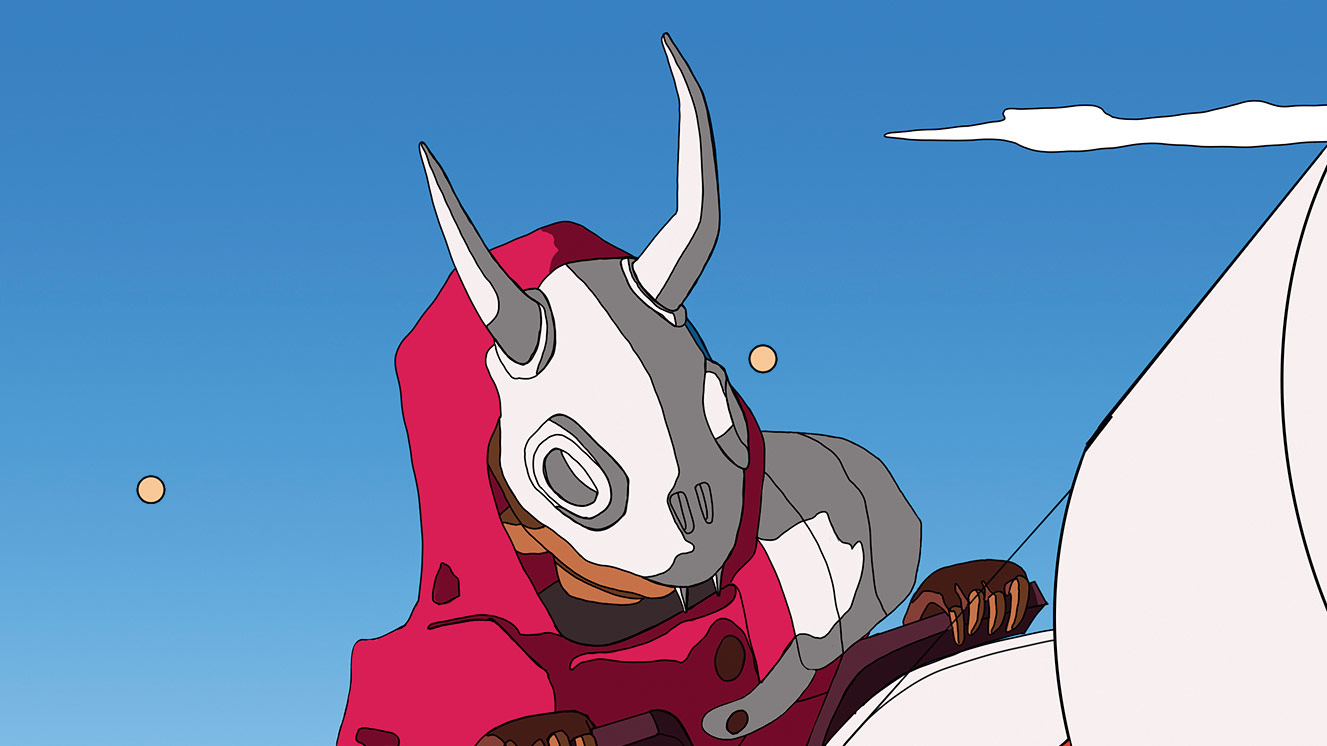
The mask Sable wears in the game is a crucial component of the society she lives in, but also helps me as a designer to create a multitude of interesting characters without having to animate faces. (We have a roundup of amazing character design tips from pro artists to help you flesh out your ideas.)
06. Distance gradients
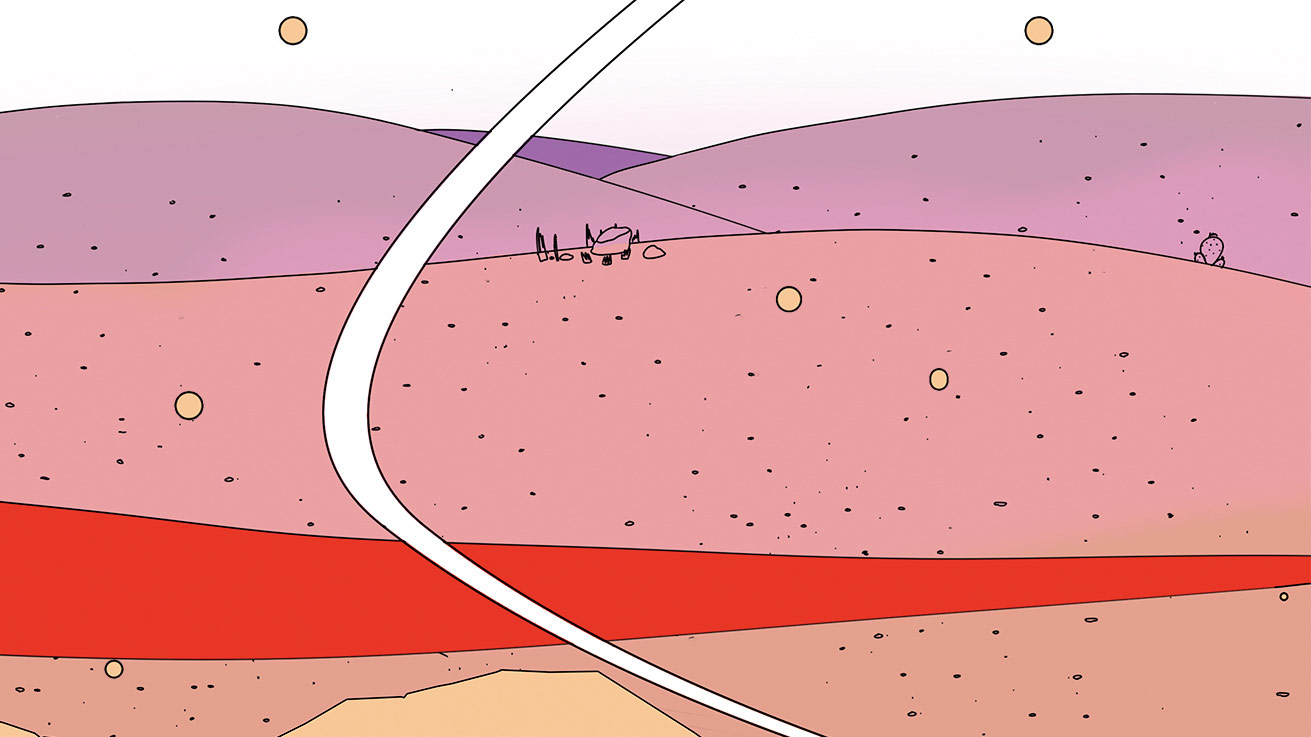
One of the most important elements of our art style is the distance gradients. In a static image this is less important. However, when the game’s in motion and if you use a flat rendering style as we’ve done, it can become extremely hard to read depth. Distance gradients are one of the tricks we use to solve this issue and create depth in a scene. (You can find out more tips like this in our tutorial, 'How to use the pen tool and textures to add depth in Photoshop'.)
07. Architecture training kicks in

I approach designing buildings like an architectural project. I always think of a building’s origins. Where did it come from? Who commissioned it? What sort of function did it have? And then I look to what’s happened since. Is it still in use? How did the construction materials weather in the environment? Answering these questions creates limitations that I can use to make design and aesthetic decisions, helping me introduce a sense of depth and nuance to a space.

Get more Procreate tutorials in ImagineFX
This content originally appeared in ImagineFX magazine, the world's leading digital art and fantasy art magazine. ImagineFX is on sale in the UK, Europe, United States, Canada, Australia and more. Limited numbers of ImagineFX print editions are available for delivery from our online store (the shipping costs are included in all prices)
Alternatively, you can access us instantly through our digital options:
• Apple app (for iPad or iPhone)
• Pocket mags (multi-platform app, great for Android users)
• Zinio (multi-platform app for desktop or smartphone)