I’ve worked for many years in the video game industry, notably at Blizzard on Hearthstone, where I was responsible for storyboards and layouts for cinematics and trailers, as well as creating a large number of cards. I’ve also collaborated with Airship Syndicate on several games (Battle Chasers, Darksiders Genesis, Ruined King), mainly working on cutscenes and visual storytelling.
More recently, I’ve been working actively on my personal project Ghost Pepper, a comic series published by Skybound/Image Comics. On a long-form project like this, with a sustained production rhythm, it’s essential to have a workflow that is clear, solid and adapted to your everyday reality as an artist.
For all of my work, I use Manga Studio 5 EX, the predecessor of Clip Studio Paint (see our guide to digital art software). It’s a piece of software I’ve been using for more than 15 years, and I mainly rely on its core, basic tools.
Even though I’m constantly questioning my technique and the way I work, some principles remain unchanged. In this workshop, I’m sharing a very practical, experience-based approach to my process, moving from beginner-friendly advice to a more direct method designed for professional production.
For more advice, see our feature on how to make an indie comic.
01. Doodle to build muscle memory
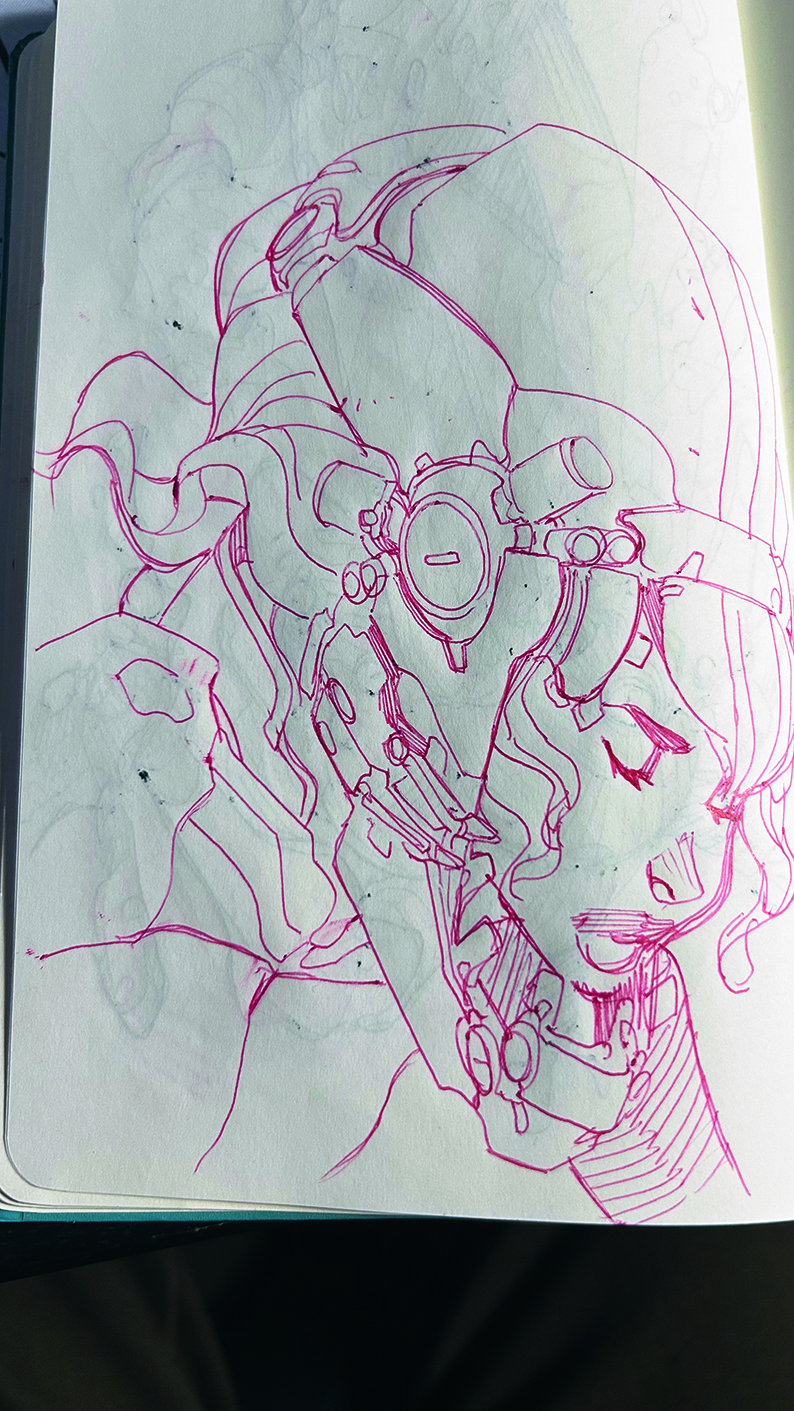
Starting with some loose doodles can get the creative juices flowing, even if the results are never used. For me, doodling is not a production step. It’s drawing without a specific goal, narrative or visual intention. I’m not looking for a usable result or an idea to develop.
The objective is to let the hand move freely without constraints. I often doodle in a small sketchbook using a pen or pencil, sometimes while watching TV or on the phone. I’m not fully focused on the drawing, and that’s what makes the exercise interesting.
There’s no pressure to achieve a result. These ‘invisible’ drawings build muscle memory, maintain fluency and develop a natural confidence in the line. Even if they’re never used directly in a project, they make drawing more fluid and instinctive. Don’t confuse this freedom with a productive work stage; doodling trains the hand, it doesn’t prepare a final image.
02. Use thumbnails to see clearly
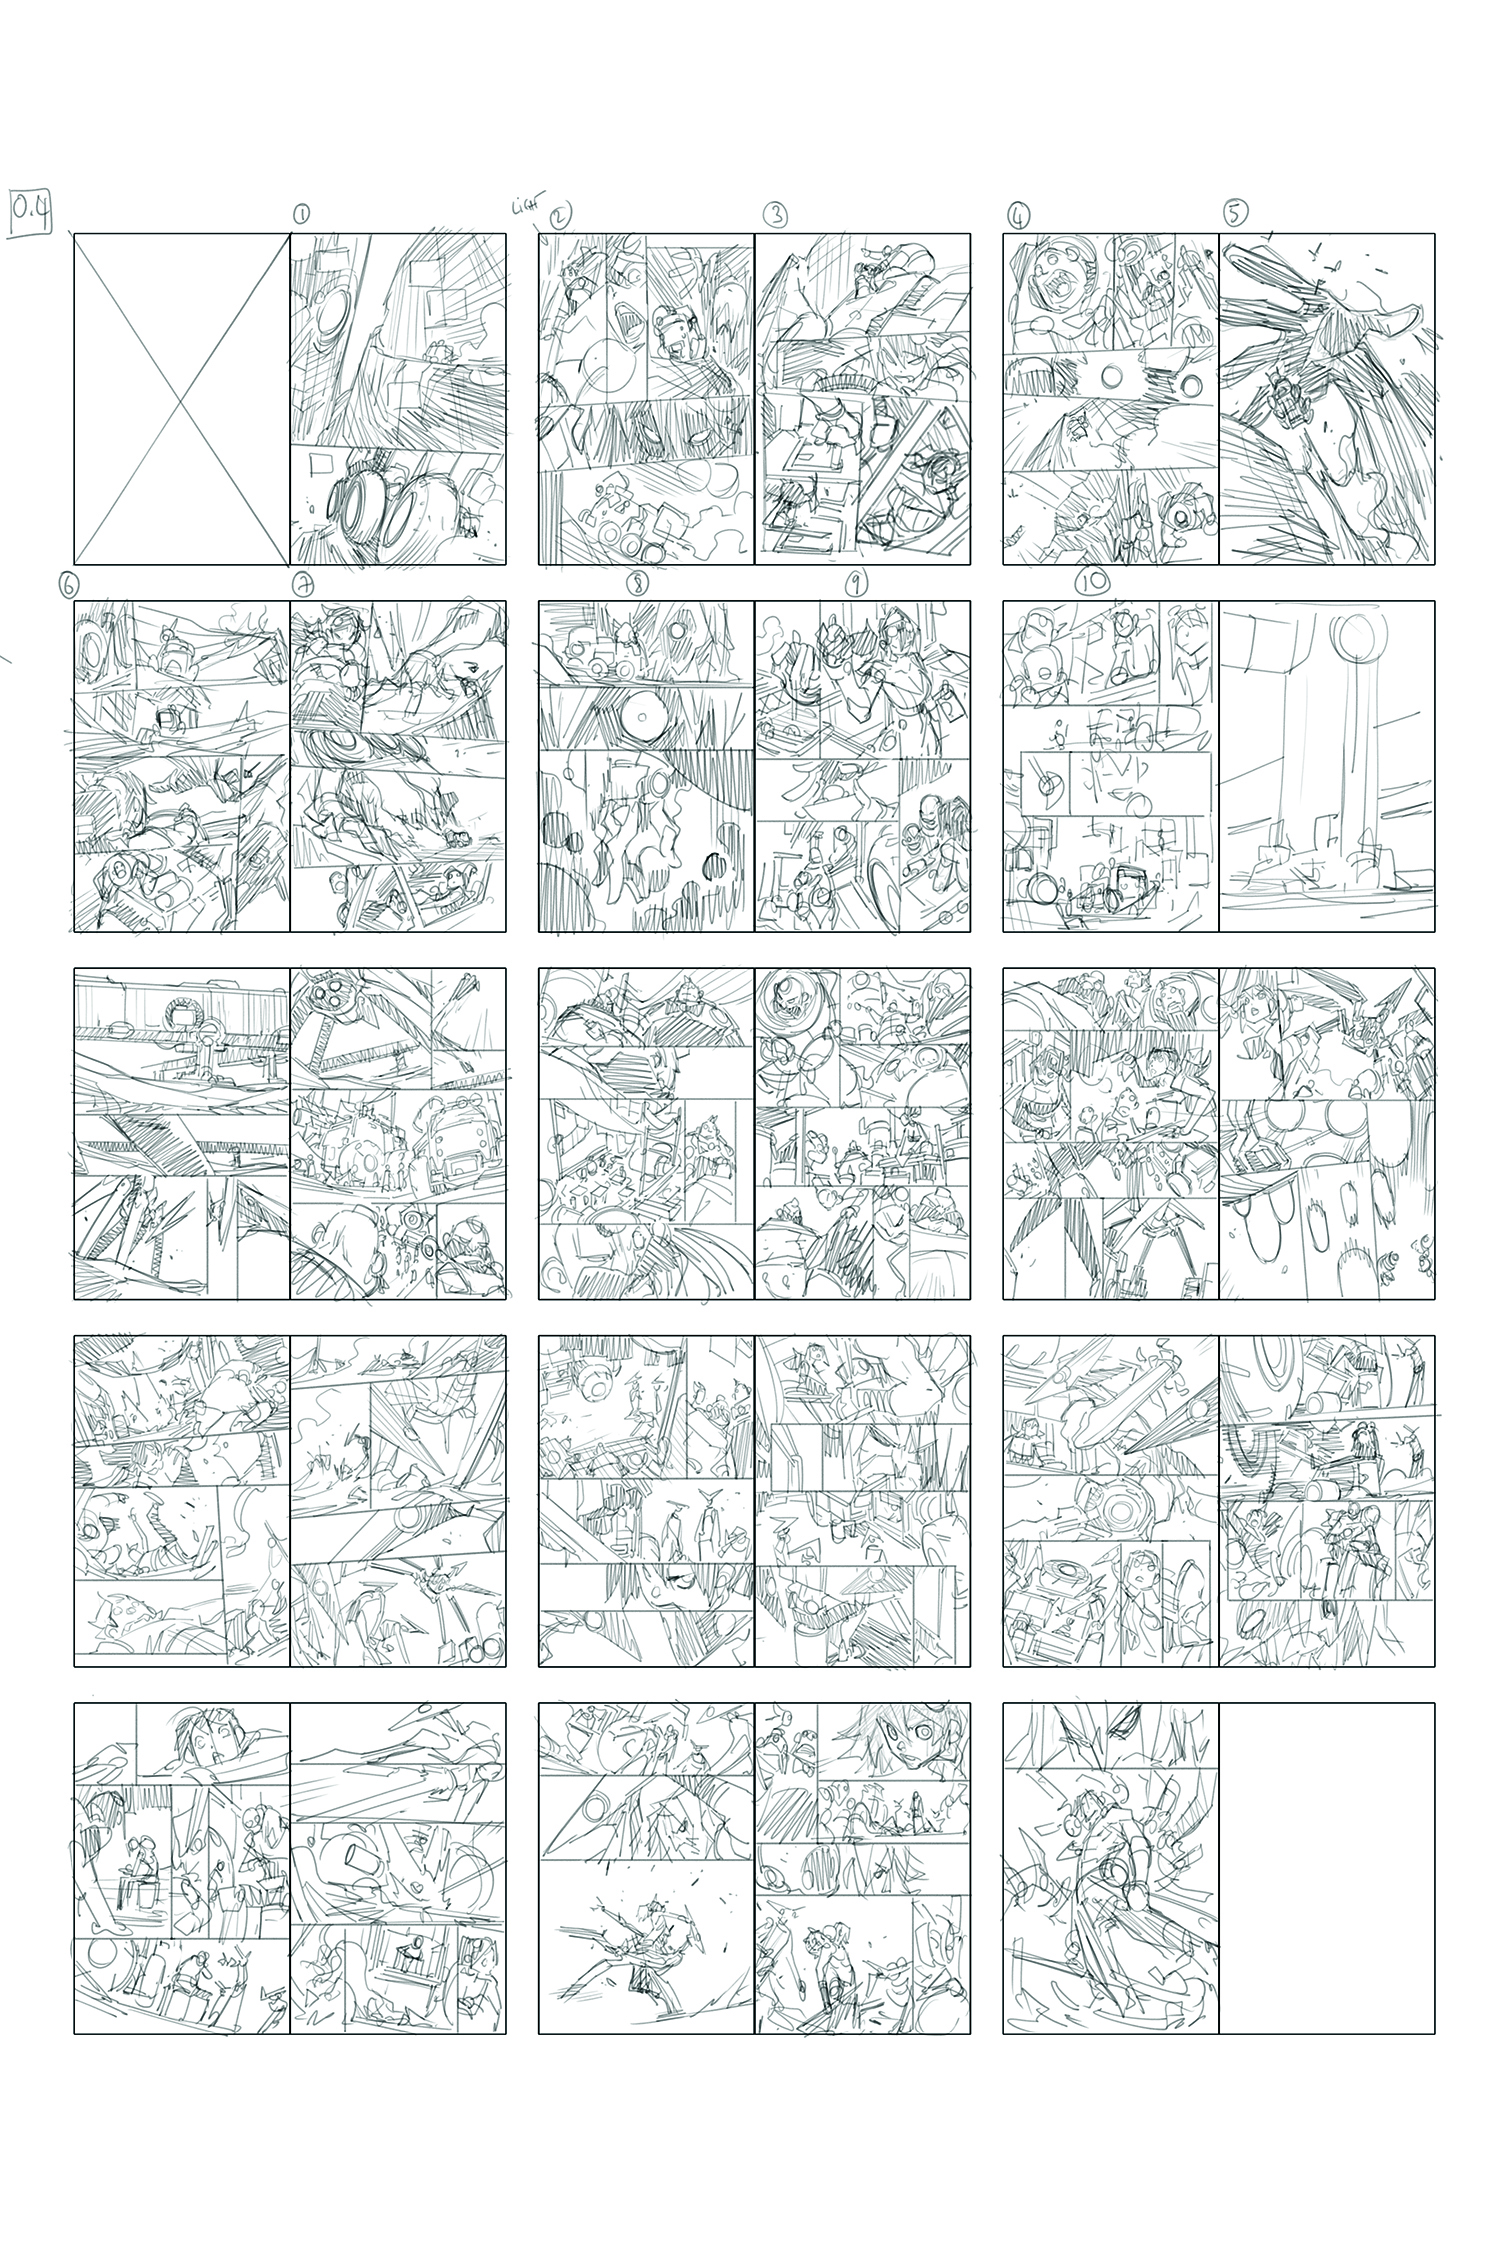
Before moving to a fast production mindset, it’s important to master a more segmented workflow to build pages more confidently.
When I’m not sure which direction to take, I start with thumbnails. Working at a very small scale allows me to quickly explore composition, pacing and layout without getting lost in details. On the first issue of Ghost Pepper, I wasn’t yet under heavy production pressure, so I took the time to fully develop this step.
Thumbnails are personal tools. They don’t need to look good or be readable by anyone else. A few rectangles and lines are often enough. The goal is simply to trigger an idea and establish a direction. The more free and intimate this stage remains, the more effective it is.
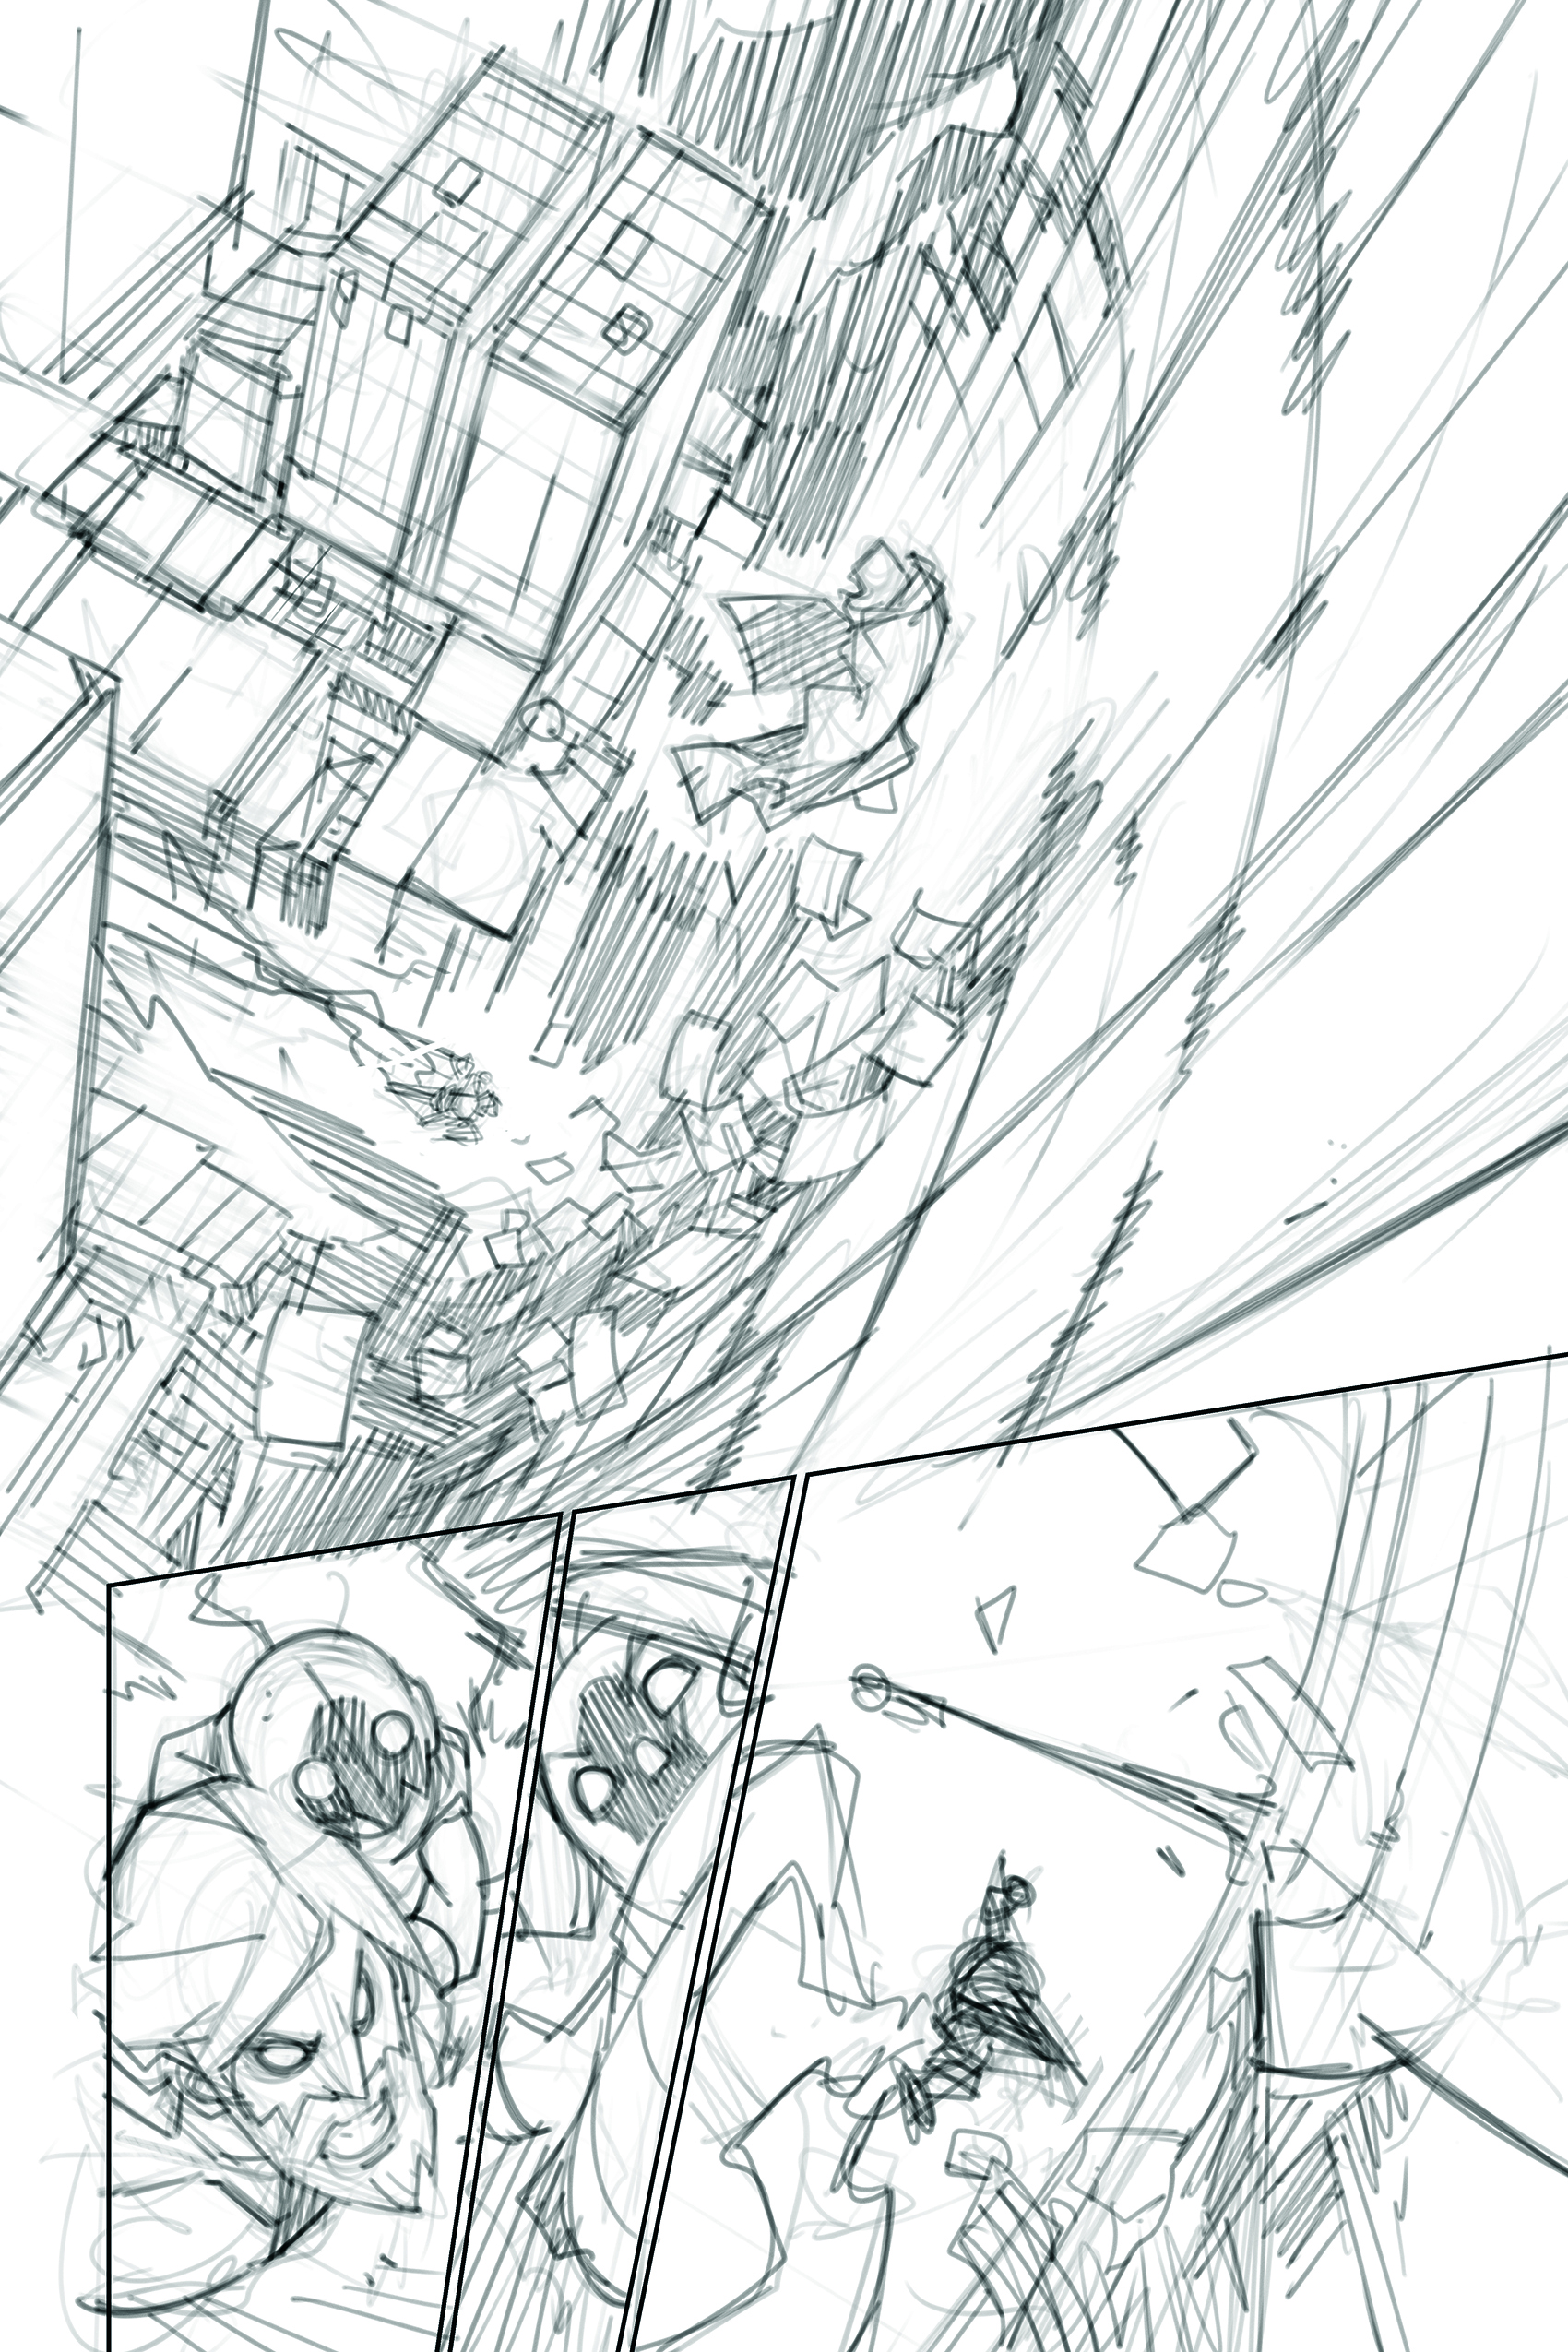
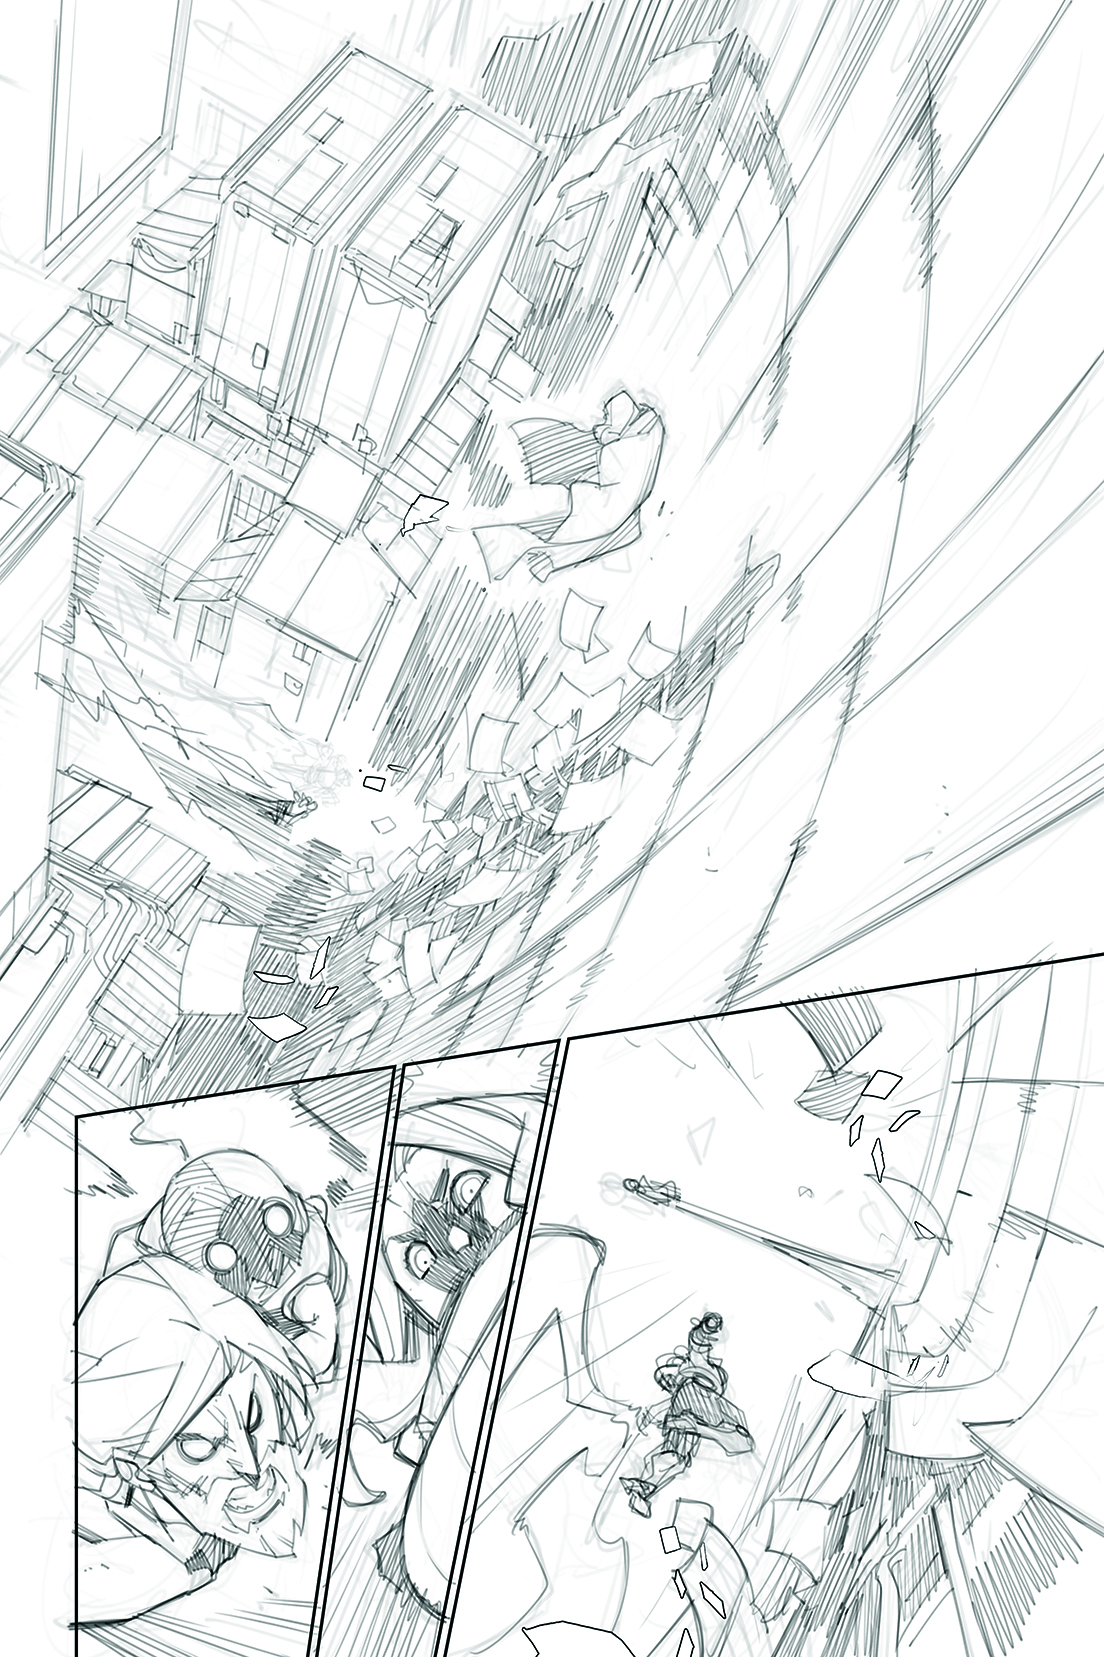
03. Roughs are the true creative stage
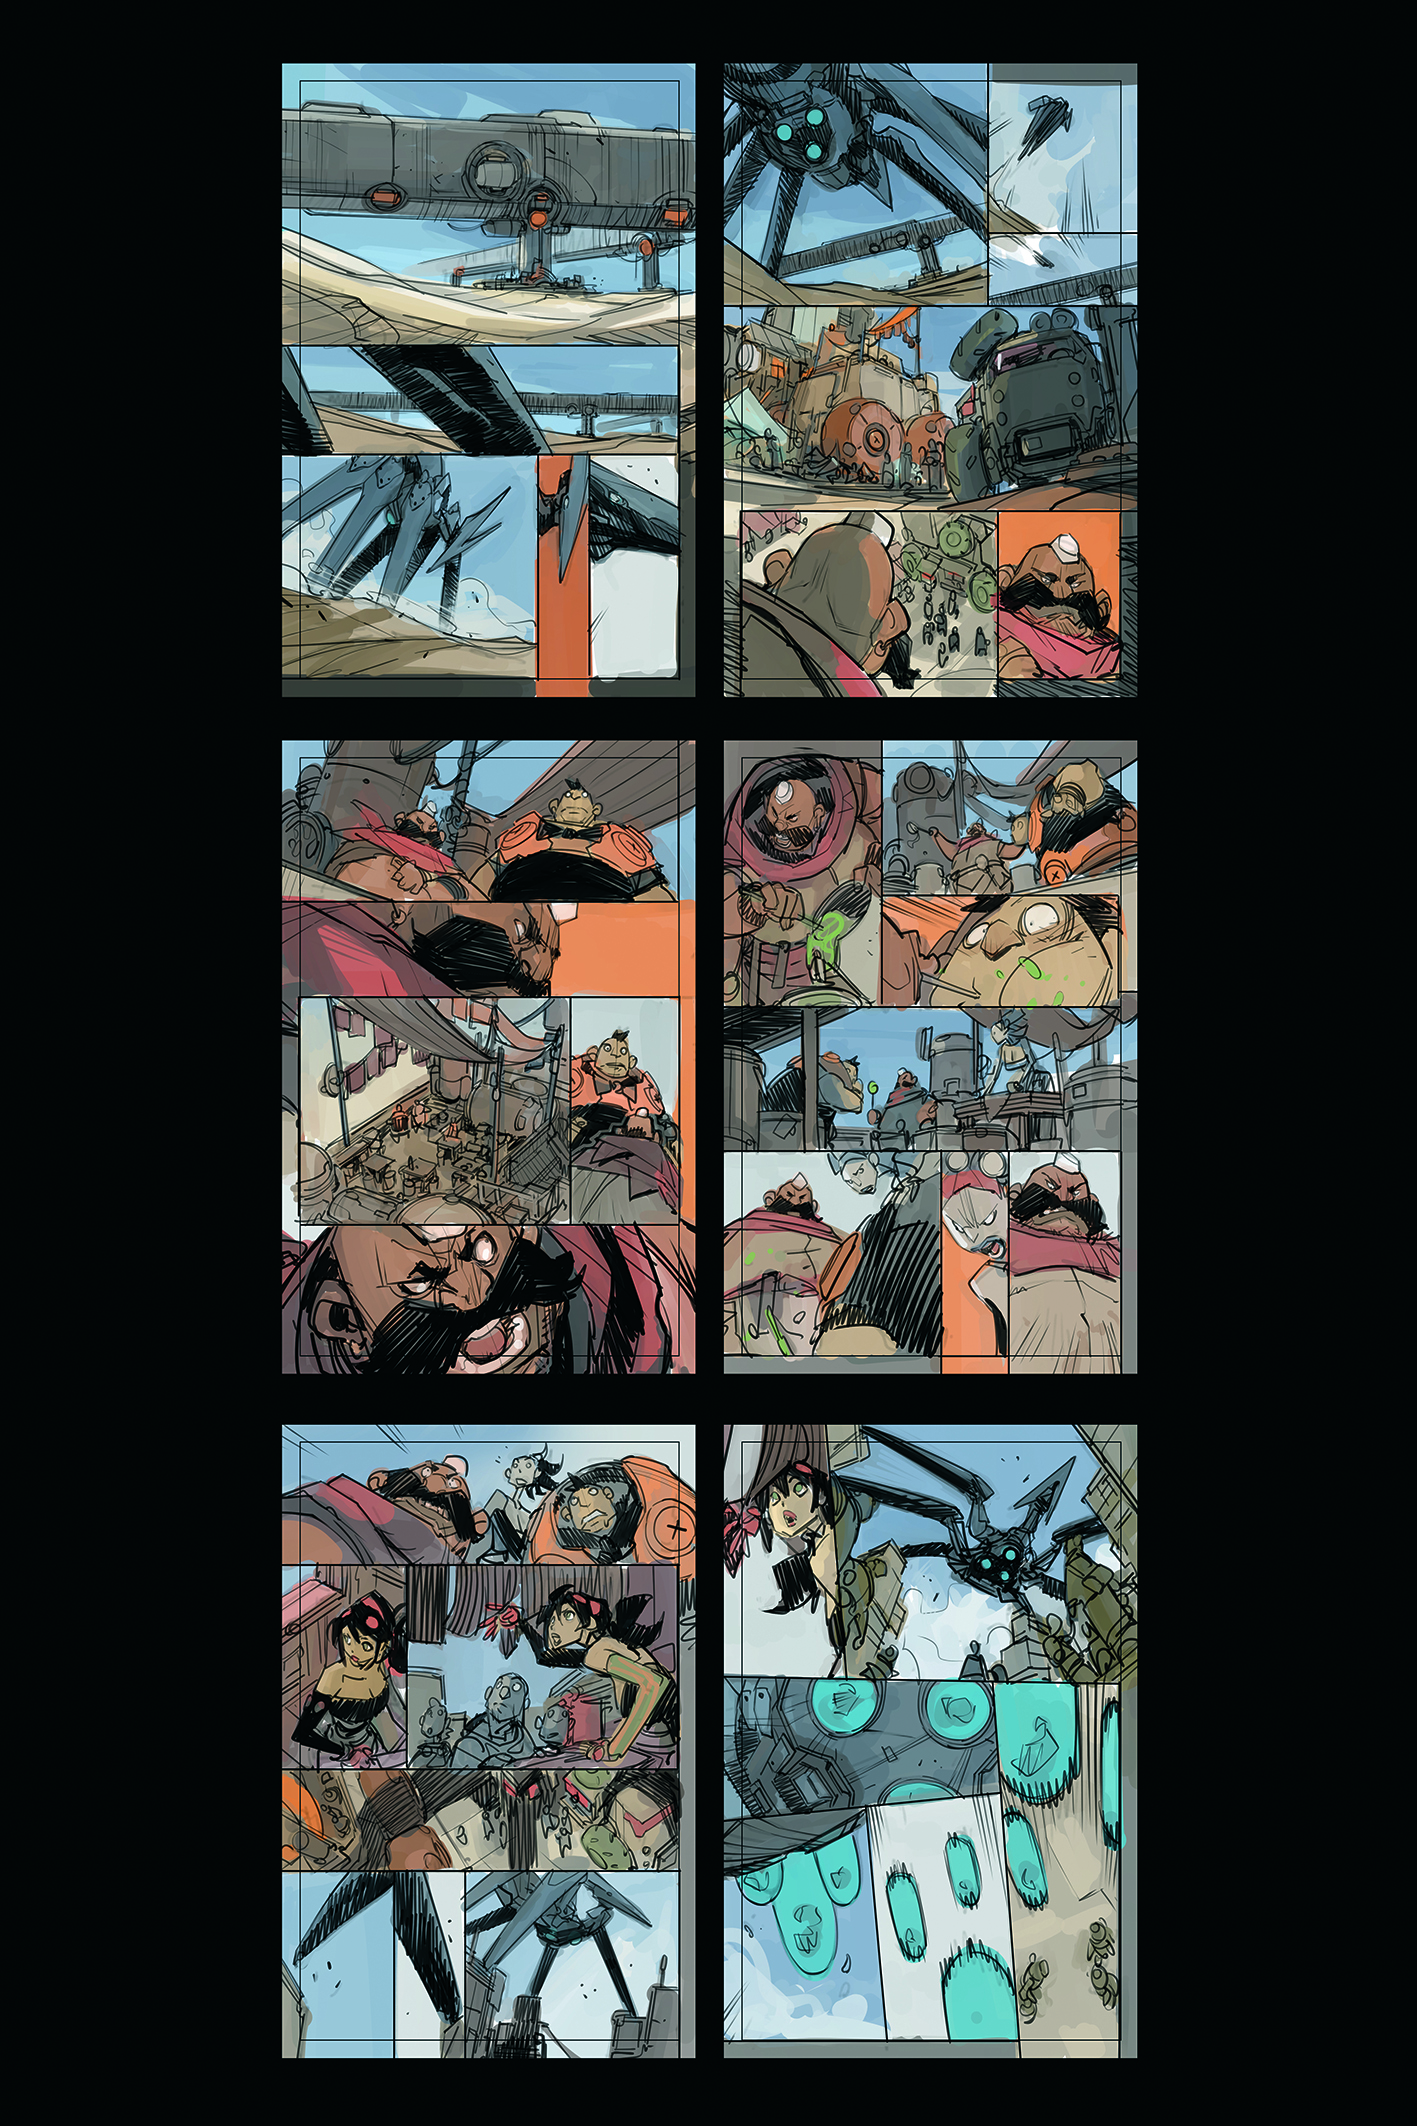
In my opinion, the rough is the most important stage of the process. This is where everything is decided: framing, angles, intent and storytelling. Early on with Ghost Pepper, I was still working on roughs at a smaller scale than the final page, sometimes even adding flat colours to test moods and atmospheres.
During this phase, I test a lot. I erase, redo and change angles constantly. This is never wasted time. As long as I’m in the rough stage, nothing is locked in. My goal is to find a solution that fulfils the narrative needs while remaining enjoyable to draw.
04. Separate creativity from technique
In this ‘easy’ method, I strongly recommend separating creative phases (thumbnails, roughs) from more technical ones (clean lines, inking). The clean stage is meant to clarify the rough, not to produce a final drawing. It prepares the ground for inking. Alternating between these phases helps avoid burnout.
Switching from creative thinking to a more mechanical task often gives the brain time to keep working away in the background. It’s a healthy and efficient way to move forward without getting stuck.
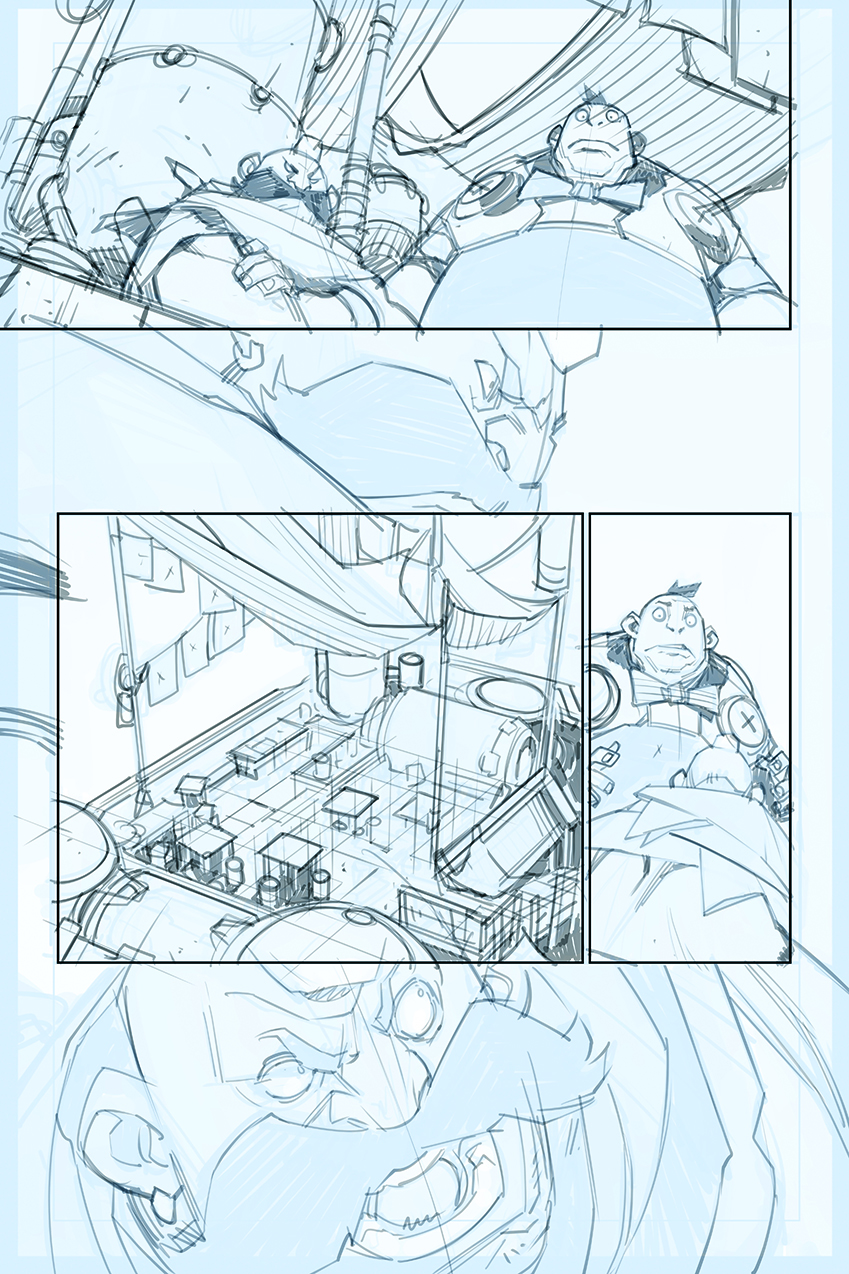
05. Roughing directly on the final page
If working on a comic with a sustained production schedule, adapting your process becomes necessary. With experience, certain steps can be merged or even removed.
I begin by laying out my rough on the final page. It’s a very free phase where I test compositions and framing, without hesitation to erase or start over. I block out a specific amount of time, to secure strong foundations.
I only move on when I feel a genuine desire to continue. That feeling is important: it means the solution is clear and the drawing can progress smoothly.
06. Clarifying without over-detailing
The clean stage is not a finished pencil drawing. It’s a clarification of the rough, designed with the upcoming inking in mind. Since I ink my own work, I don’t need an overly detailed clean pass. Doing too much at this stage only slows the process down.
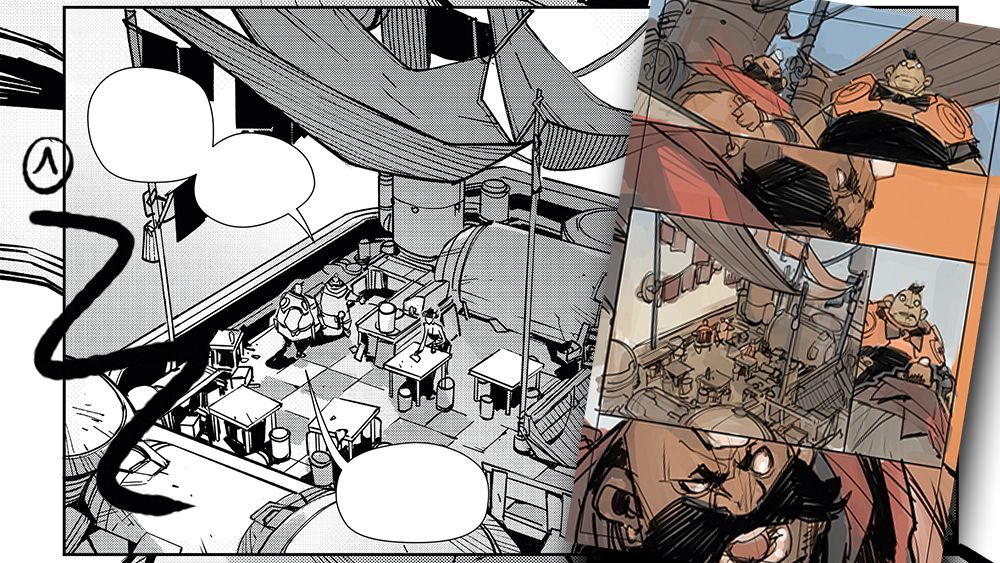
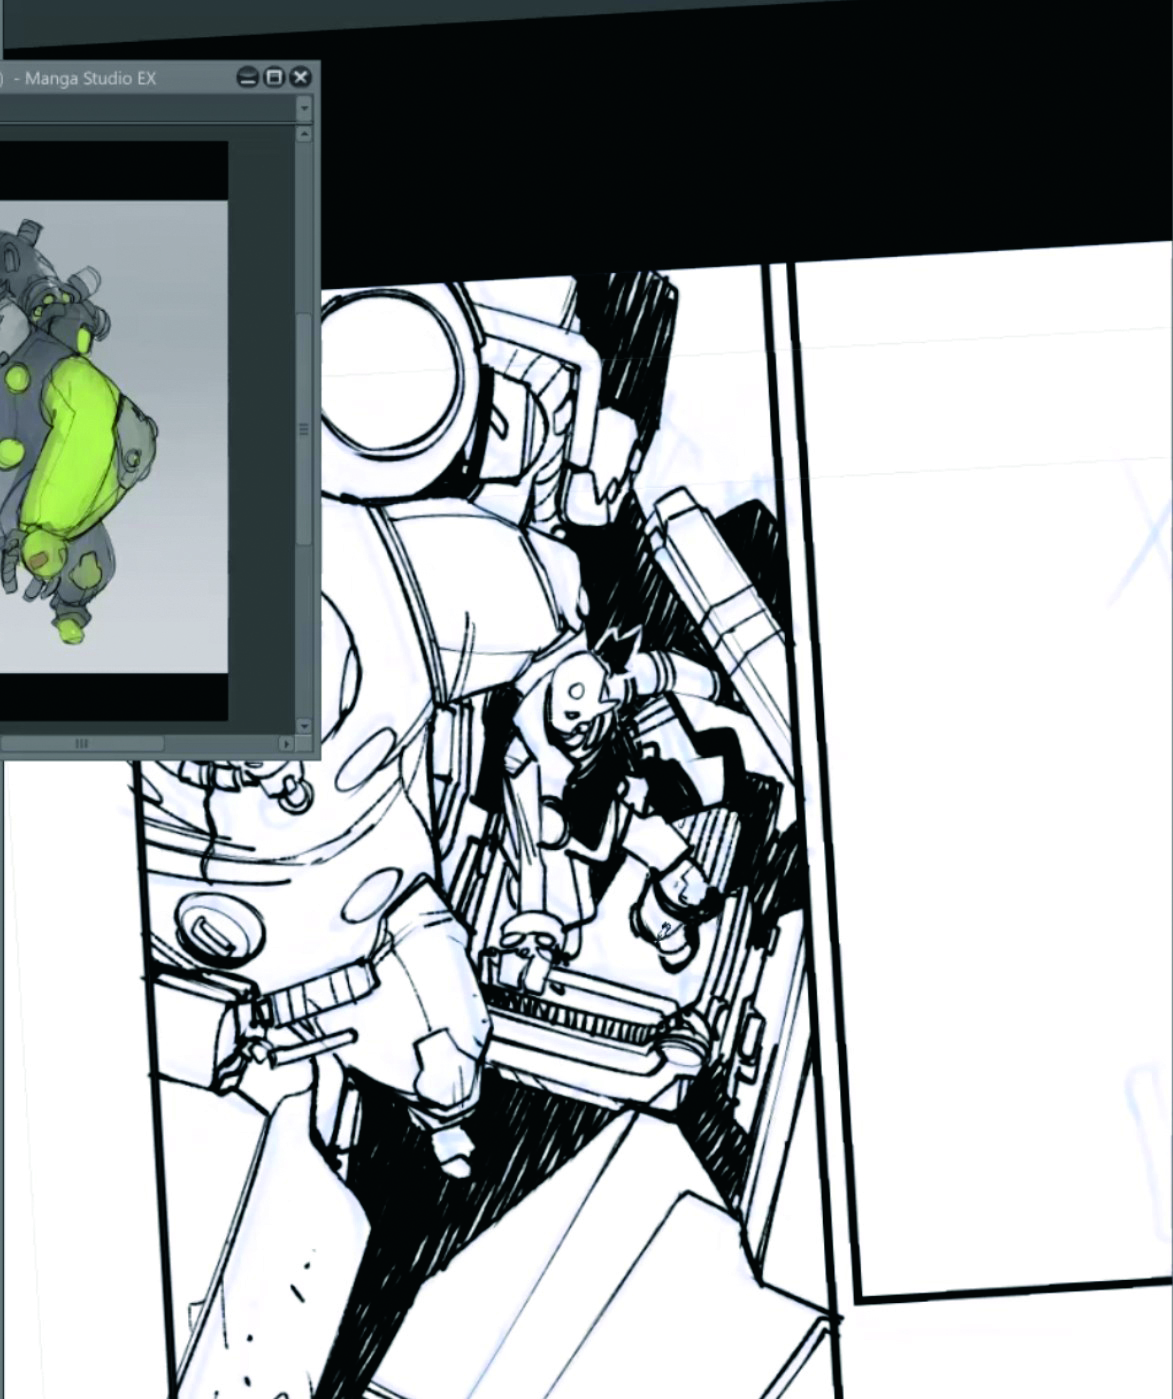
07. Inking, screentones and manga influences
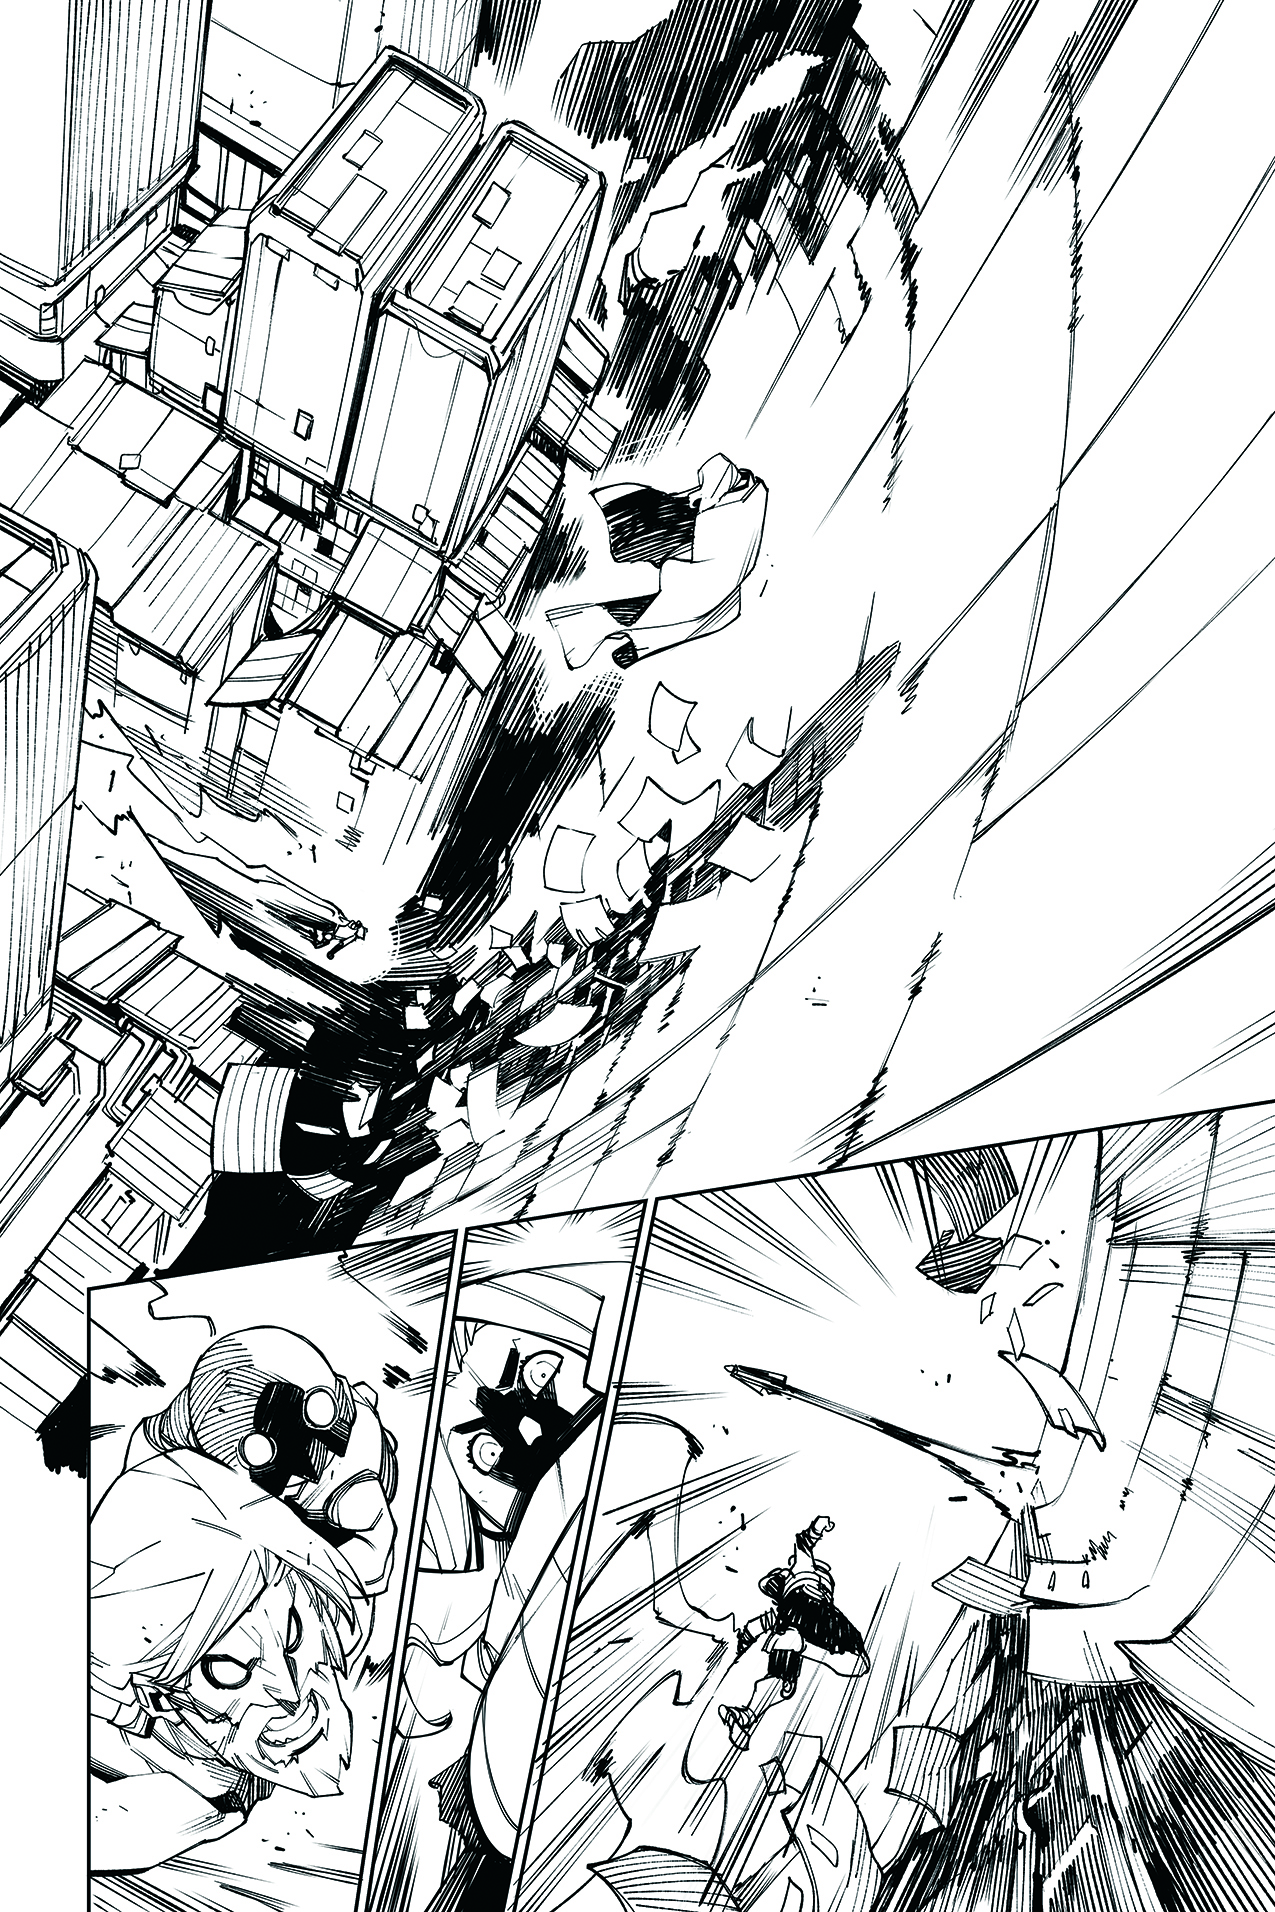
Inking already carries a large part of the final readability and visual impact. On Ghost Pepper, even though it’s a comic, I’ve developed an approach closer to manga, particularly through the use of screentones.
This comes from both my influences and my main tool, Manga Studio/Clip Studio Paint. Screentones allow me to manage values and depth while maintaining a strong, readable graphic style.
08. Inking tools
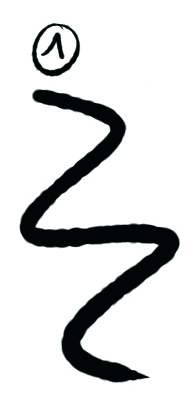
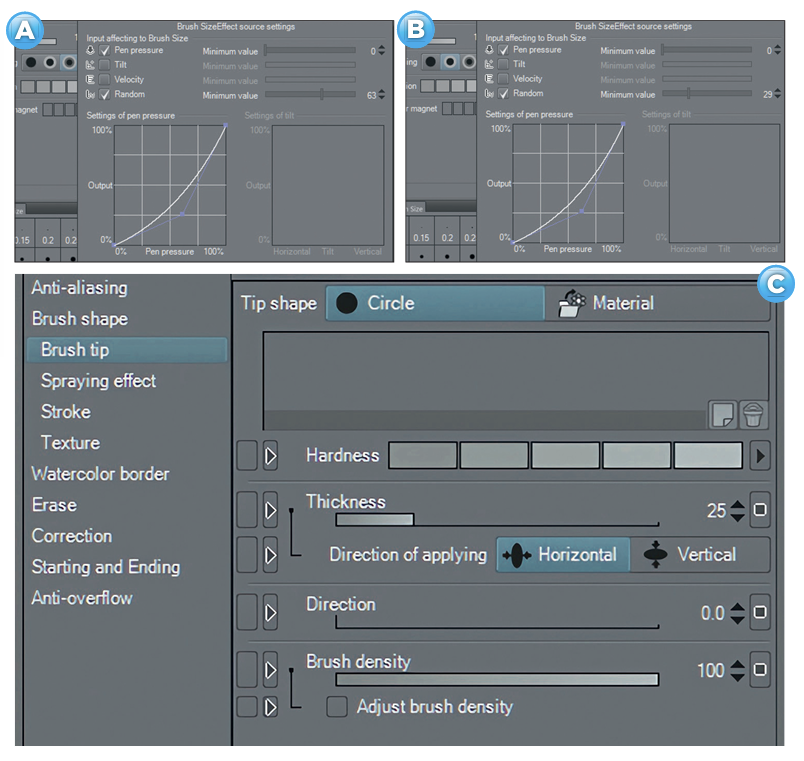
The final stages of creating comic panels is the inking. I mainly use the G-Pen I mainly use the G-Pen tool, customised into three different versions. The first is my primary tool, slightly adjusted using the Random setting to give the line a more natural, grainy feel.
The second is an even more textured version, which I mainly use for hatching and grey areas. The third is based on the first, but with the Thickness setting modified to create a more chiselled line.
09. Base inking
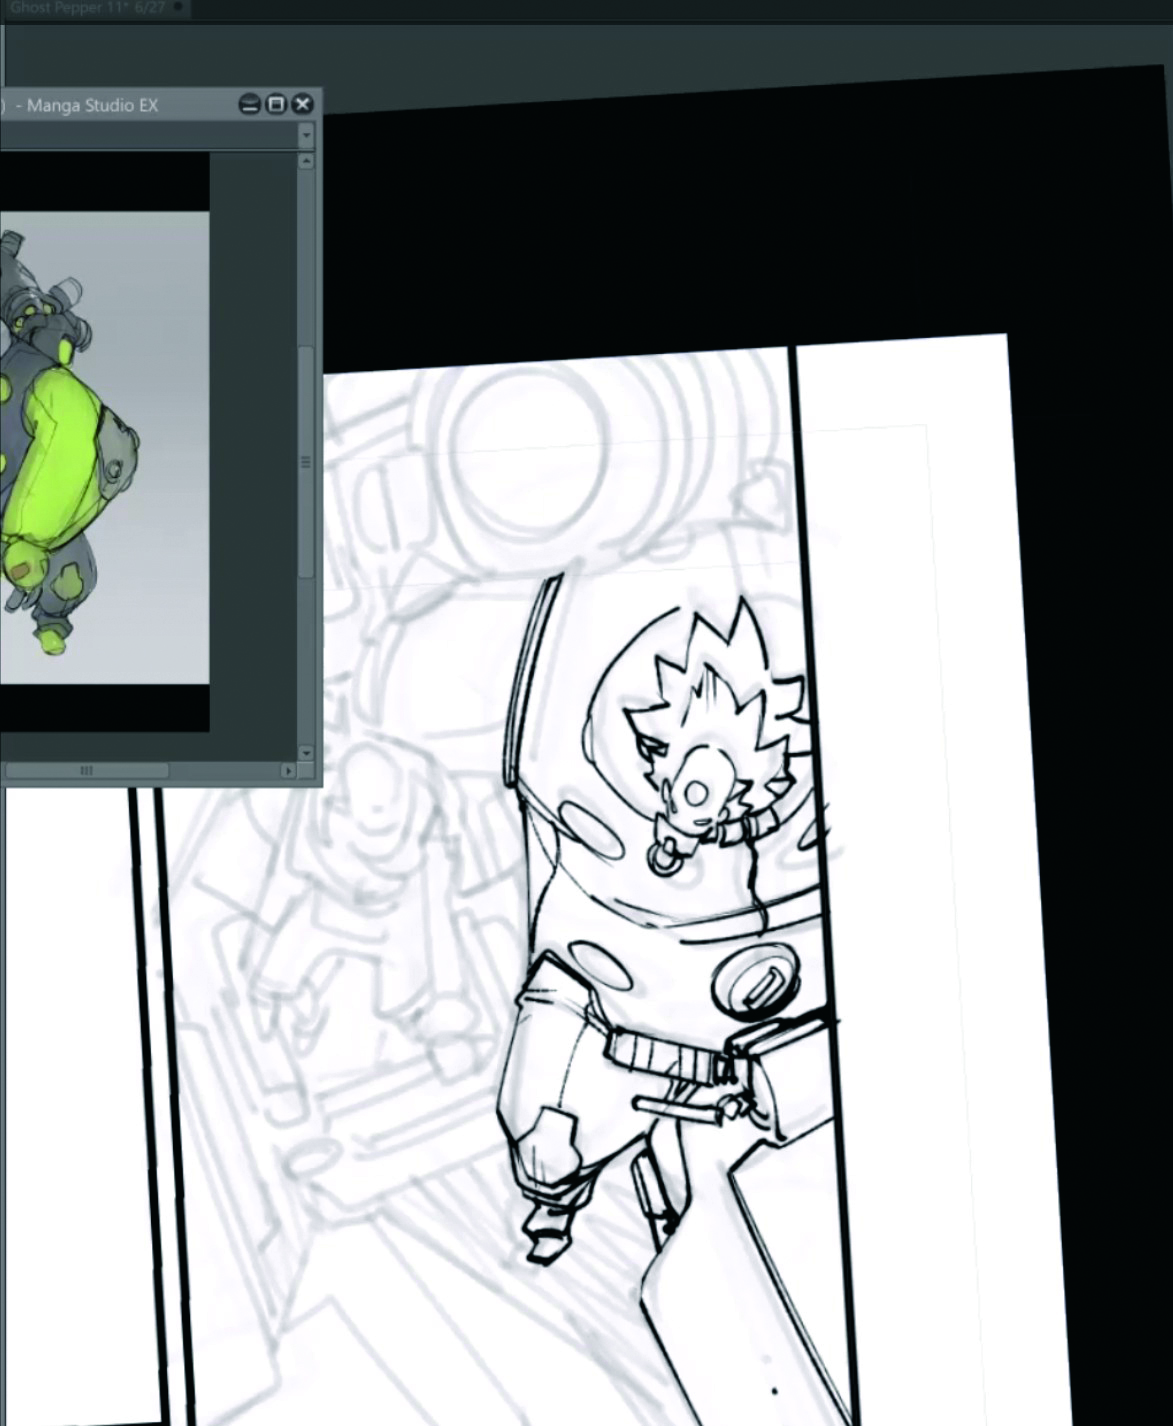
I start by grouping the rough and clean layers into a folder and lowering its opacity. On a new layer, I do the base inking using my primary tool. This pass establishes the core structure of the drawing.
10. Refinement and hatching
Once the base is done, I turn the rough/clean folder blue, because I rely on it less at this stage. I then use my second tool to refine the drawing, emphasise volumes with hatching, and work in a more spontaneous way.
11. Screentones and depth
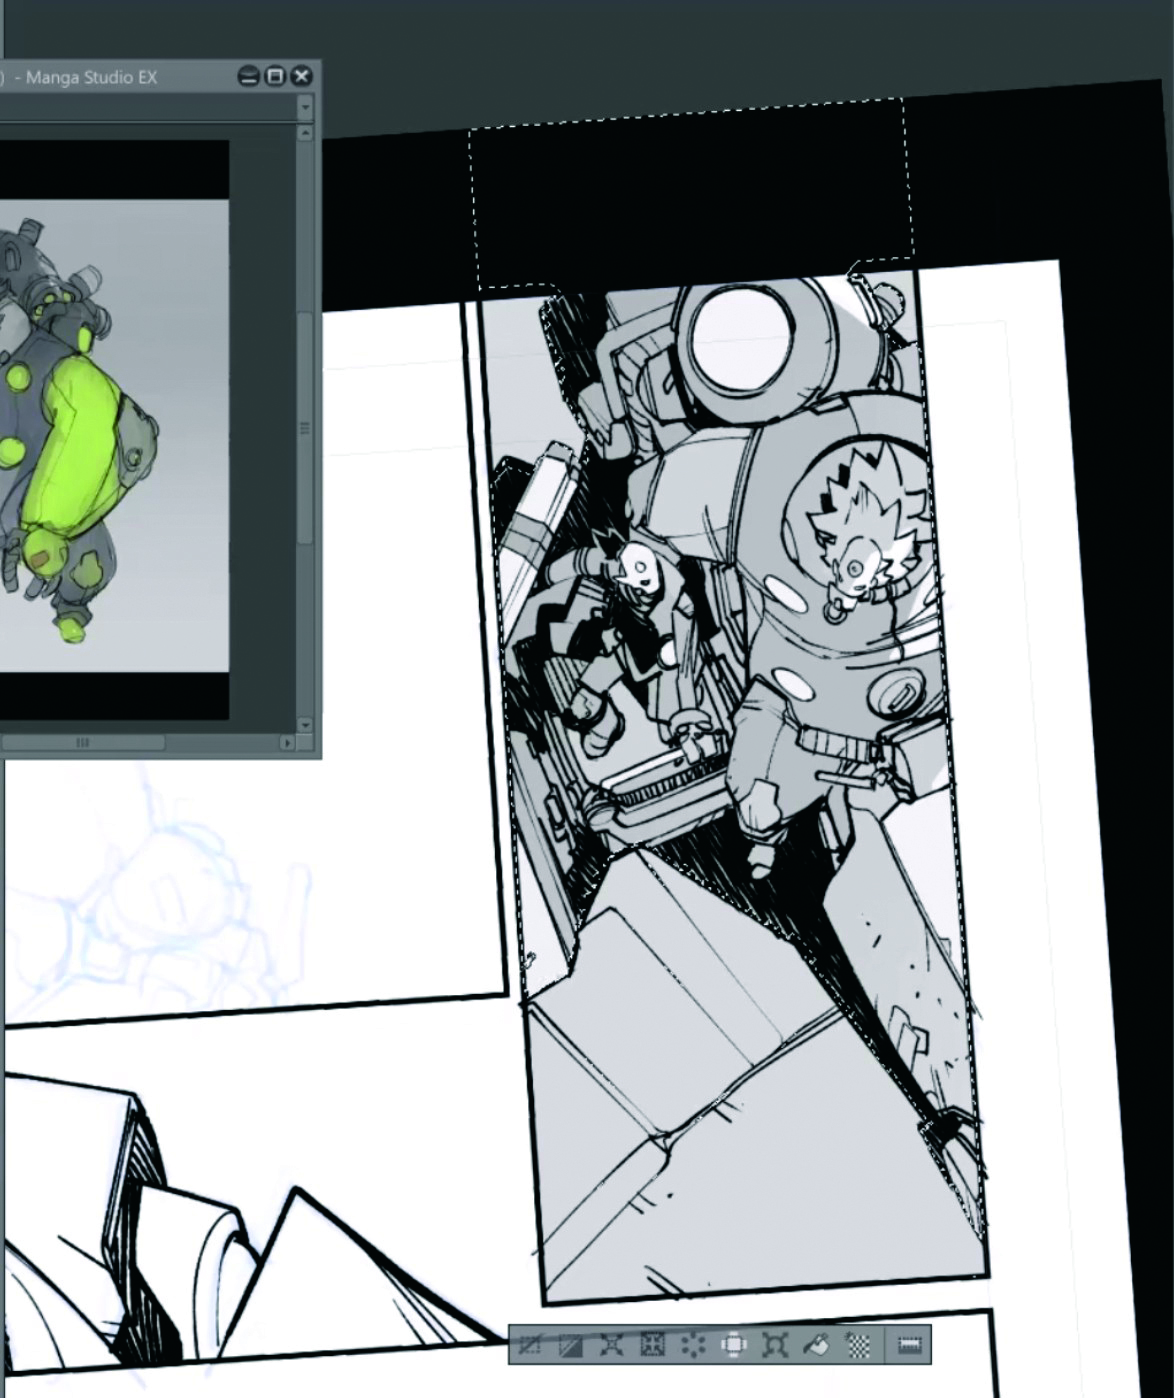
On a layer placed beneath the inks, I work with greyscale values to create screentones. Manga Studio allows me to convert these greys into tones using the Tone option. I vary the dot size based on the depth of elements to reinforce spatial reading.
12. The final polish
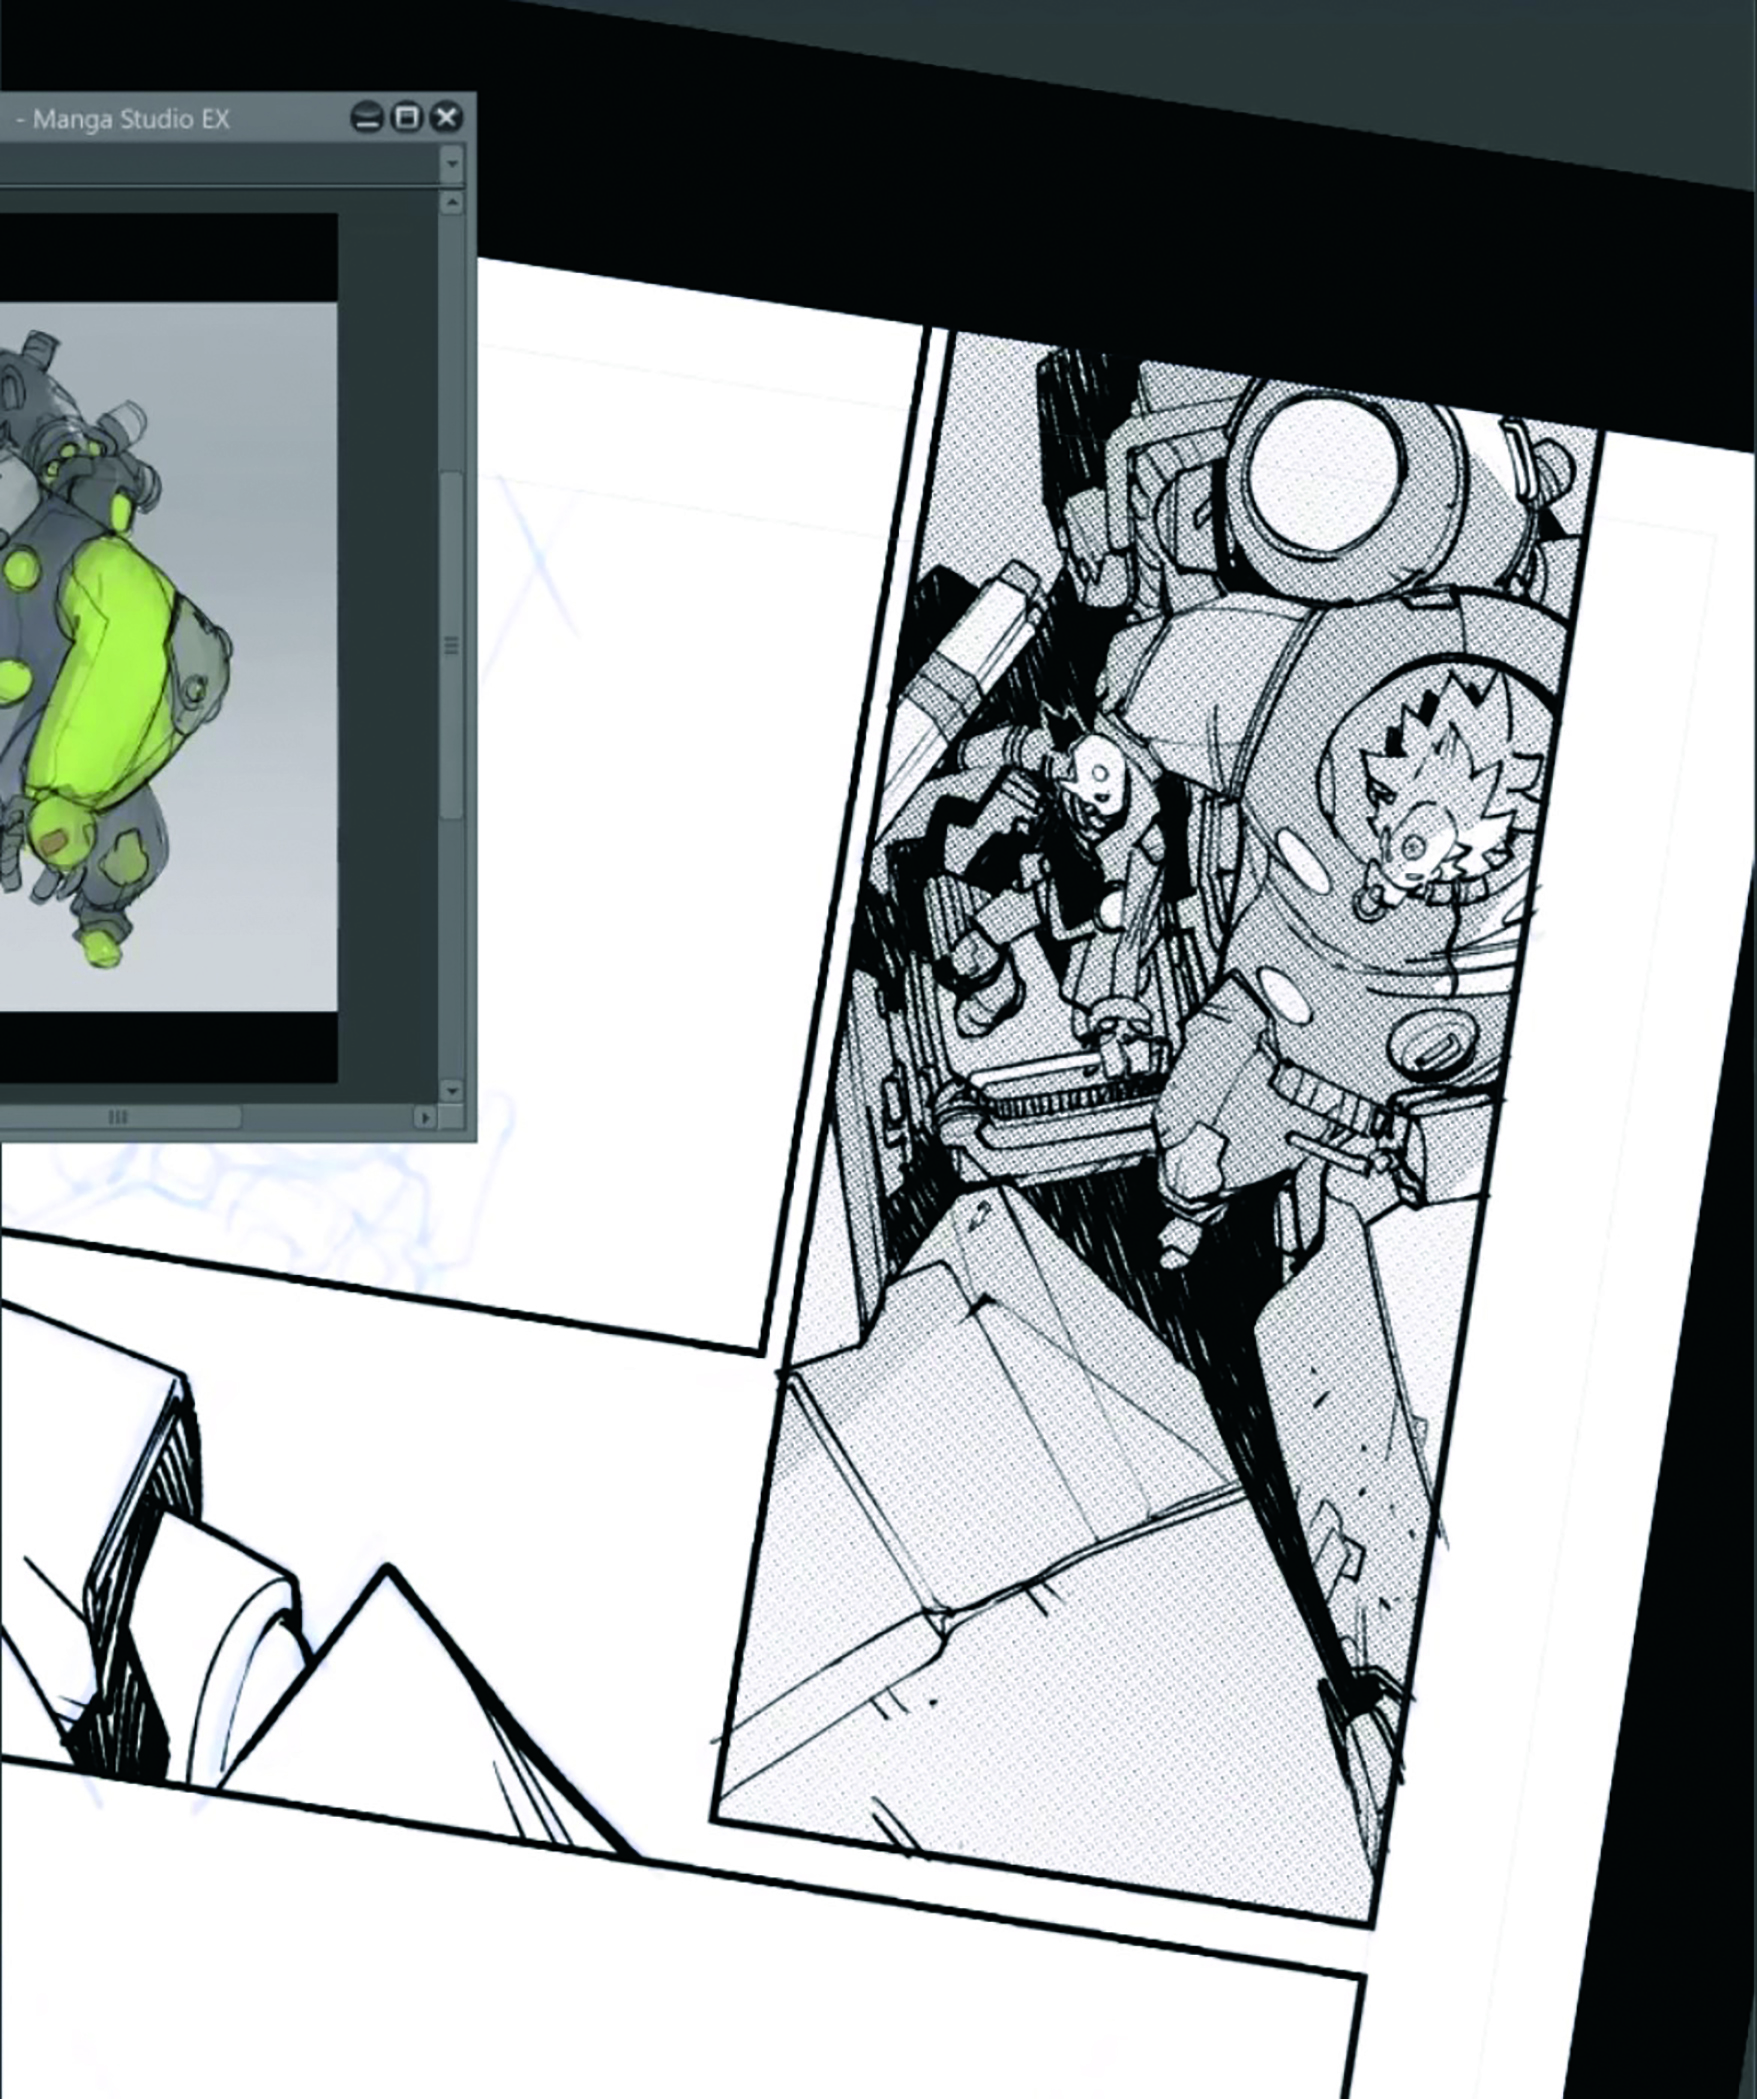
Finally, I return to the ink layer with my third tool. This is a short but essential stage. Just a few minutes of adjustments can make a big difference. I like to compare this phase to seasoning a dish; small tweaks, and sometimes happy accidents, give digital inking a more organic and lively feel.
This article originally appeared in ImagineFX. Subscribe to ImagineFX to never miss an issue. Print and digital subscriptions are available.
Creative Bloq is now easier to access than ever before with our on-the-go app, which brings you all the content you know and love from our website, but in a super-streamlined design.