Petals & Roots is a weekly video series fronted by me, Rachel Bull, Head of Gardens at Homes & Gardens. Every Sunday on social, I share my seasonal gardening and flower arranging expertise and advice.
When it comes to my favorite kinds of floral arrangements, they are always ones with a wow factor, but are amazingly simple to create.
Often, with larger floral designs, it’s easier to achieve this simply because you’re working with longer stems, bigger flower heads, and larger vases. Essentially, choose your materials wisely and I promise they will do all the work for you when it comes to arranging flowers like a professional.
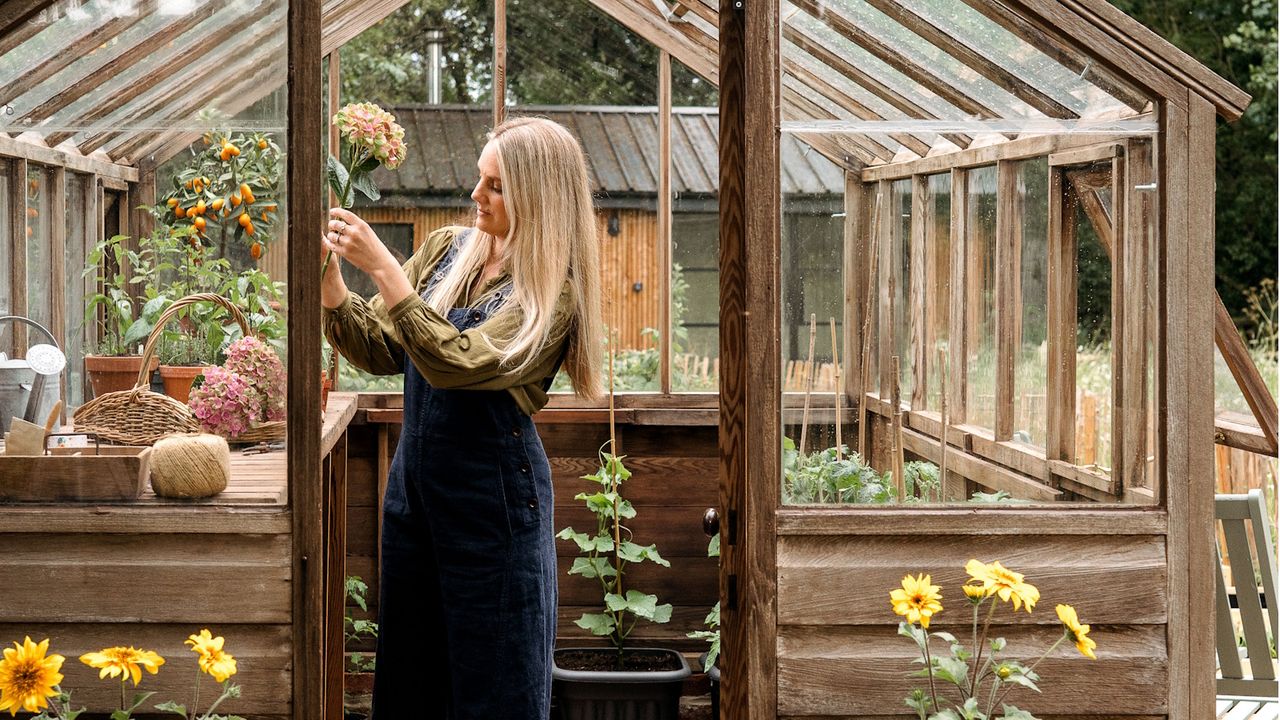
In this recent episode of Petals & Roots, the gardening and floristry series I present for Homes & Gardens, I show you exactly how to get this look, and what you need to create a statement hydrangea centerpiece design that would work in any room of your home.
What you need
- Five to seven branches of Eucalyptus cinerea
- Five branches of beech
- Five to seven stems of large mophead hydrangea
- A large glass vase, such as this one from Anthropologie
- Scissors or pruning snips – I love these Micman professional grade snips from Amazon
Here's how to make this hydrangea centerpiece in three simple stages:
Choose your vessel with care
A vase, container or vessel can really make or break a floral design. The wrong color and your flowers could look washed out; a tricky size or shape and you’ll find it so much harder to arrange your flowers and create the design you want.
I see this kind of arrangement either in the center of a large table, on a kitchen island or as a statement entryway design on a console table. Therefore we need a chic, stylish vase that isn’t going to compete with the flowers themselves.
The glass vase I chose has a subtle blush hue, which I adore, and a very helpful narrow neck. This means it is much easier to design into, as your stems will be held in place better while still having lots of room to spread out in the larger area of the vase.
Place your foliage in first
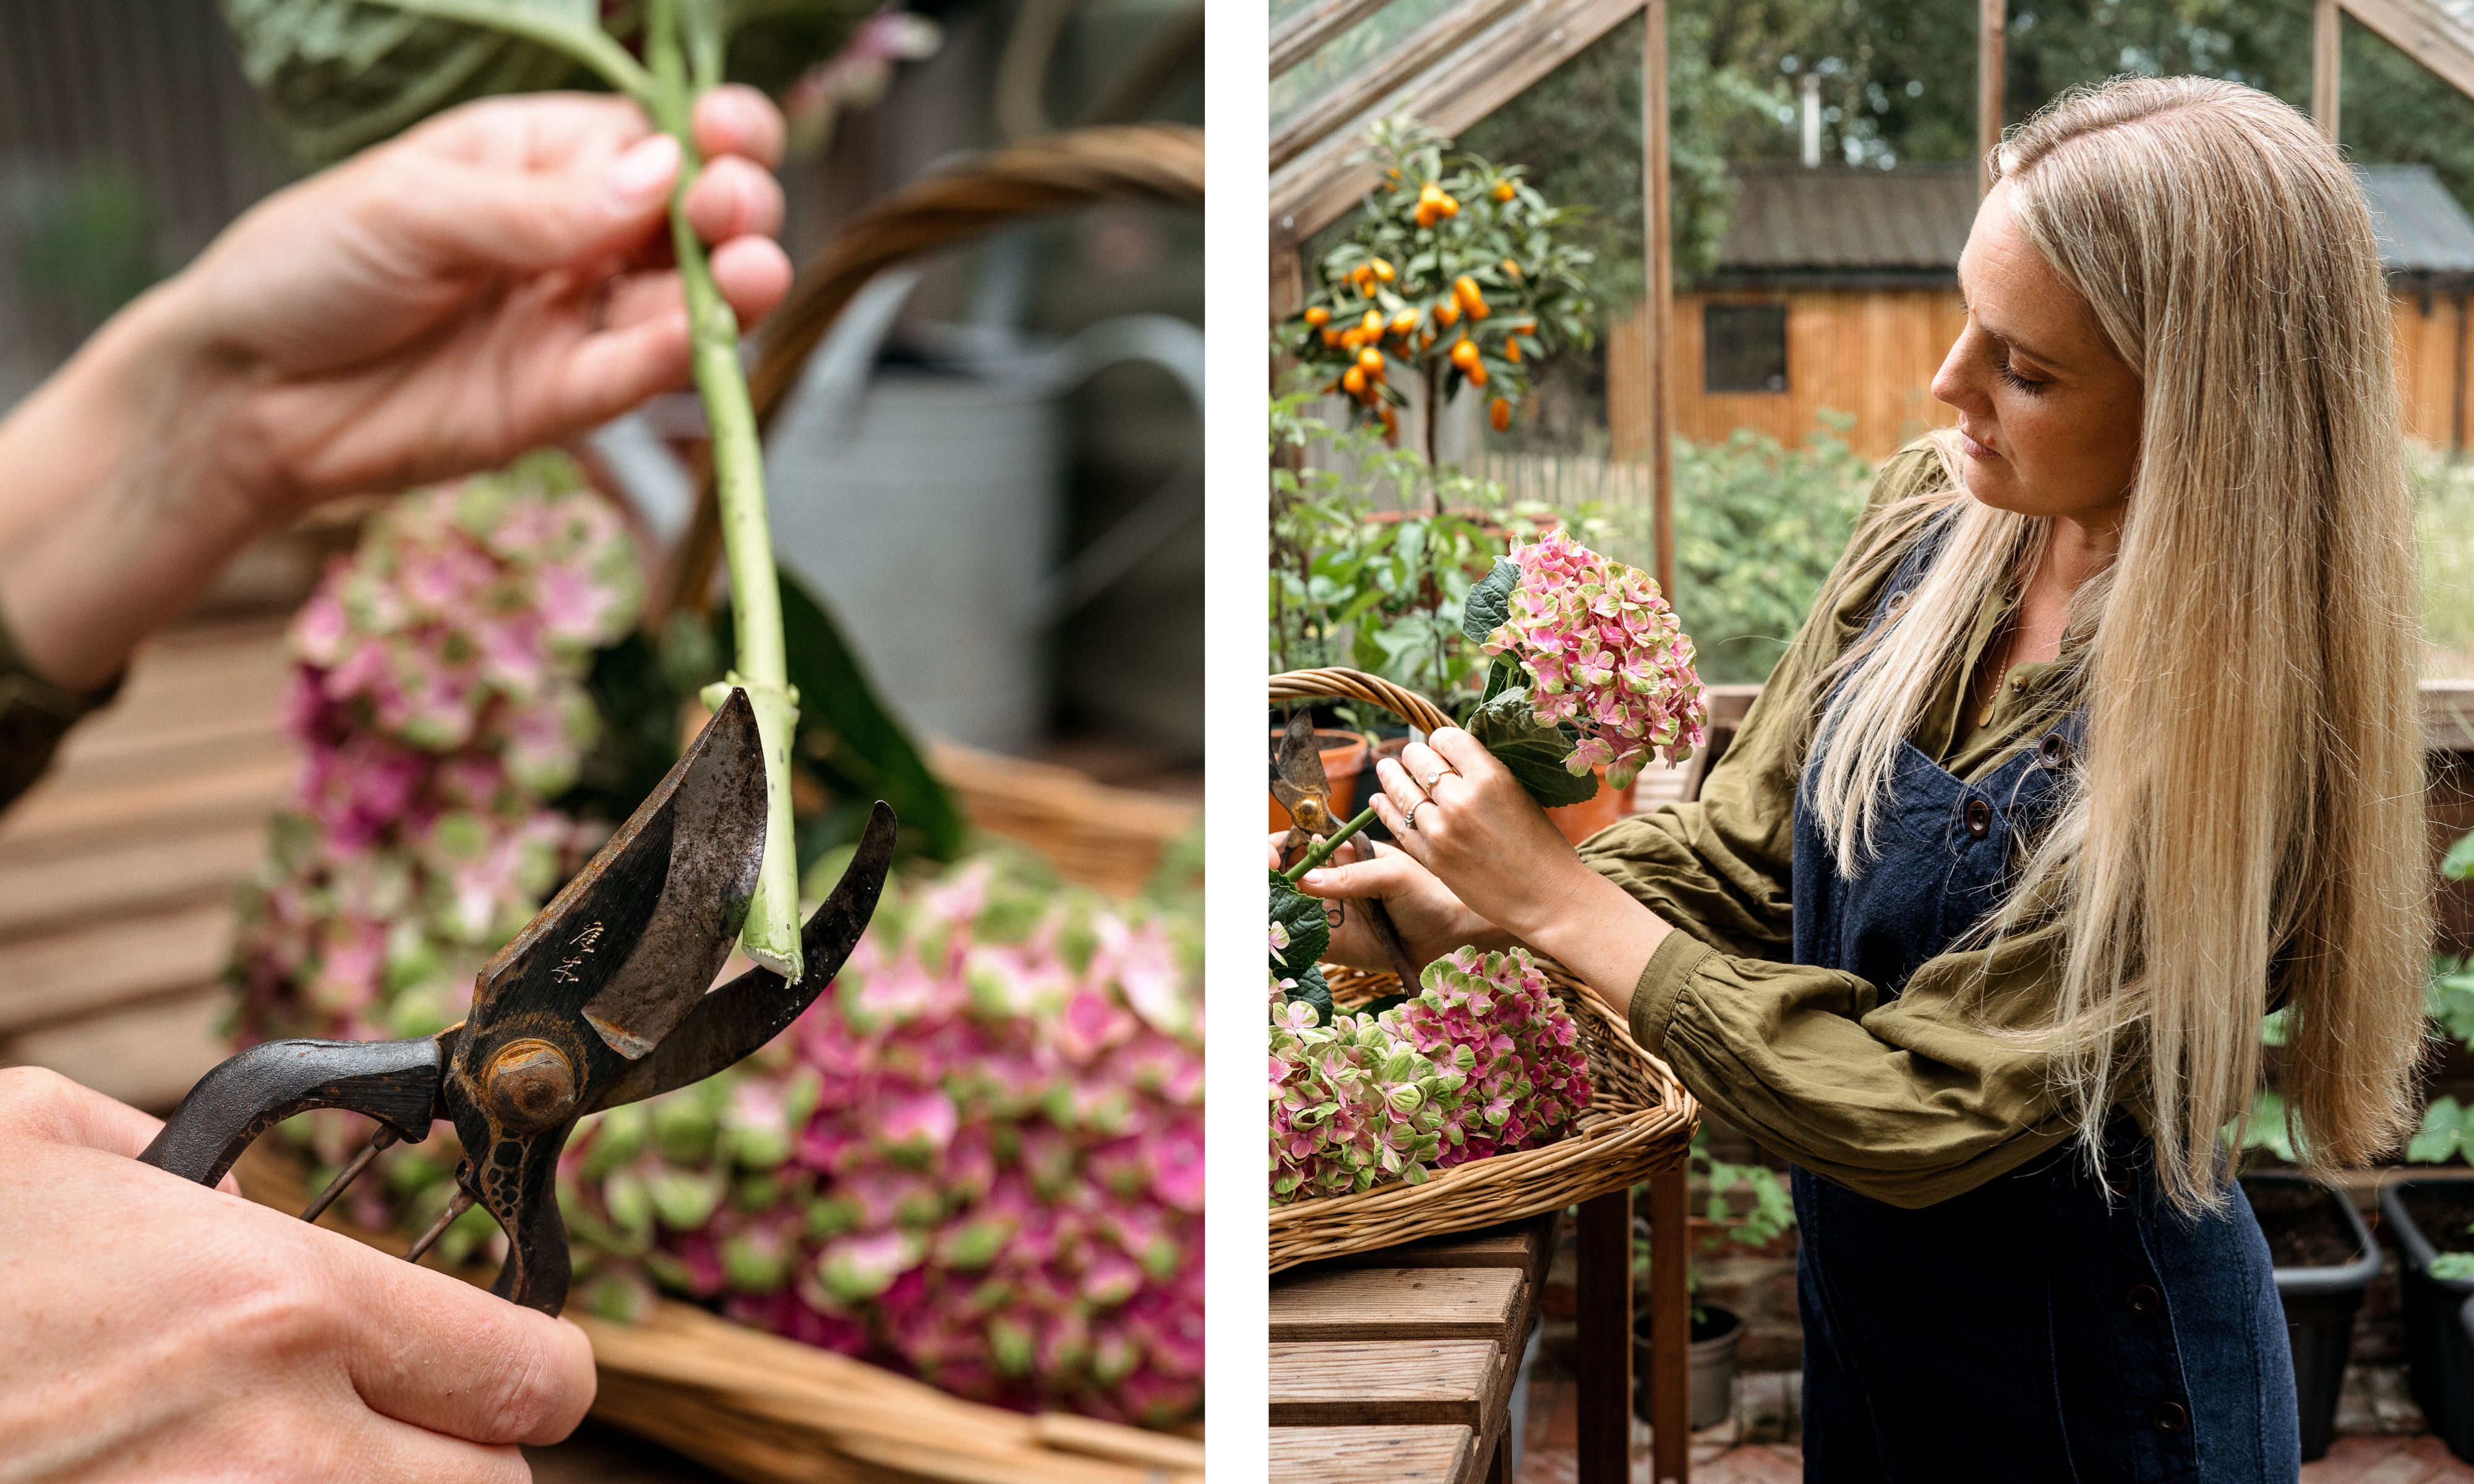
When you have taken off all the lower leaves from your foliage, so that nothing will be below the water level, start to place these into your vase. Begin with the eucalyptus, making sure to give each stem a fresh cut on the diagonal before placing them into the water.
At this point your stems will move about, so simply enjoy draping the foliage over the sides and once you begin adding the beech this will anchor them in place a bit more.
Take your beech, or any fresh leafy foliage of your choice (silver birch, hornbeam or bay would work equally as well) and cut several stems to the size you want. I wanted the beech branches to be taller than the eucalyptus stems, to create more height and also allow for the movement of the rich green leaves.
My top tip here is to measure your stem against the side of the vase before you cut it, to make sure you don’t remove too much of the length.
By adding all your foliage first, you’ve created a wonderful structure within which you can place the hydrangeas.
Add the stars of the show: your hydrangeas
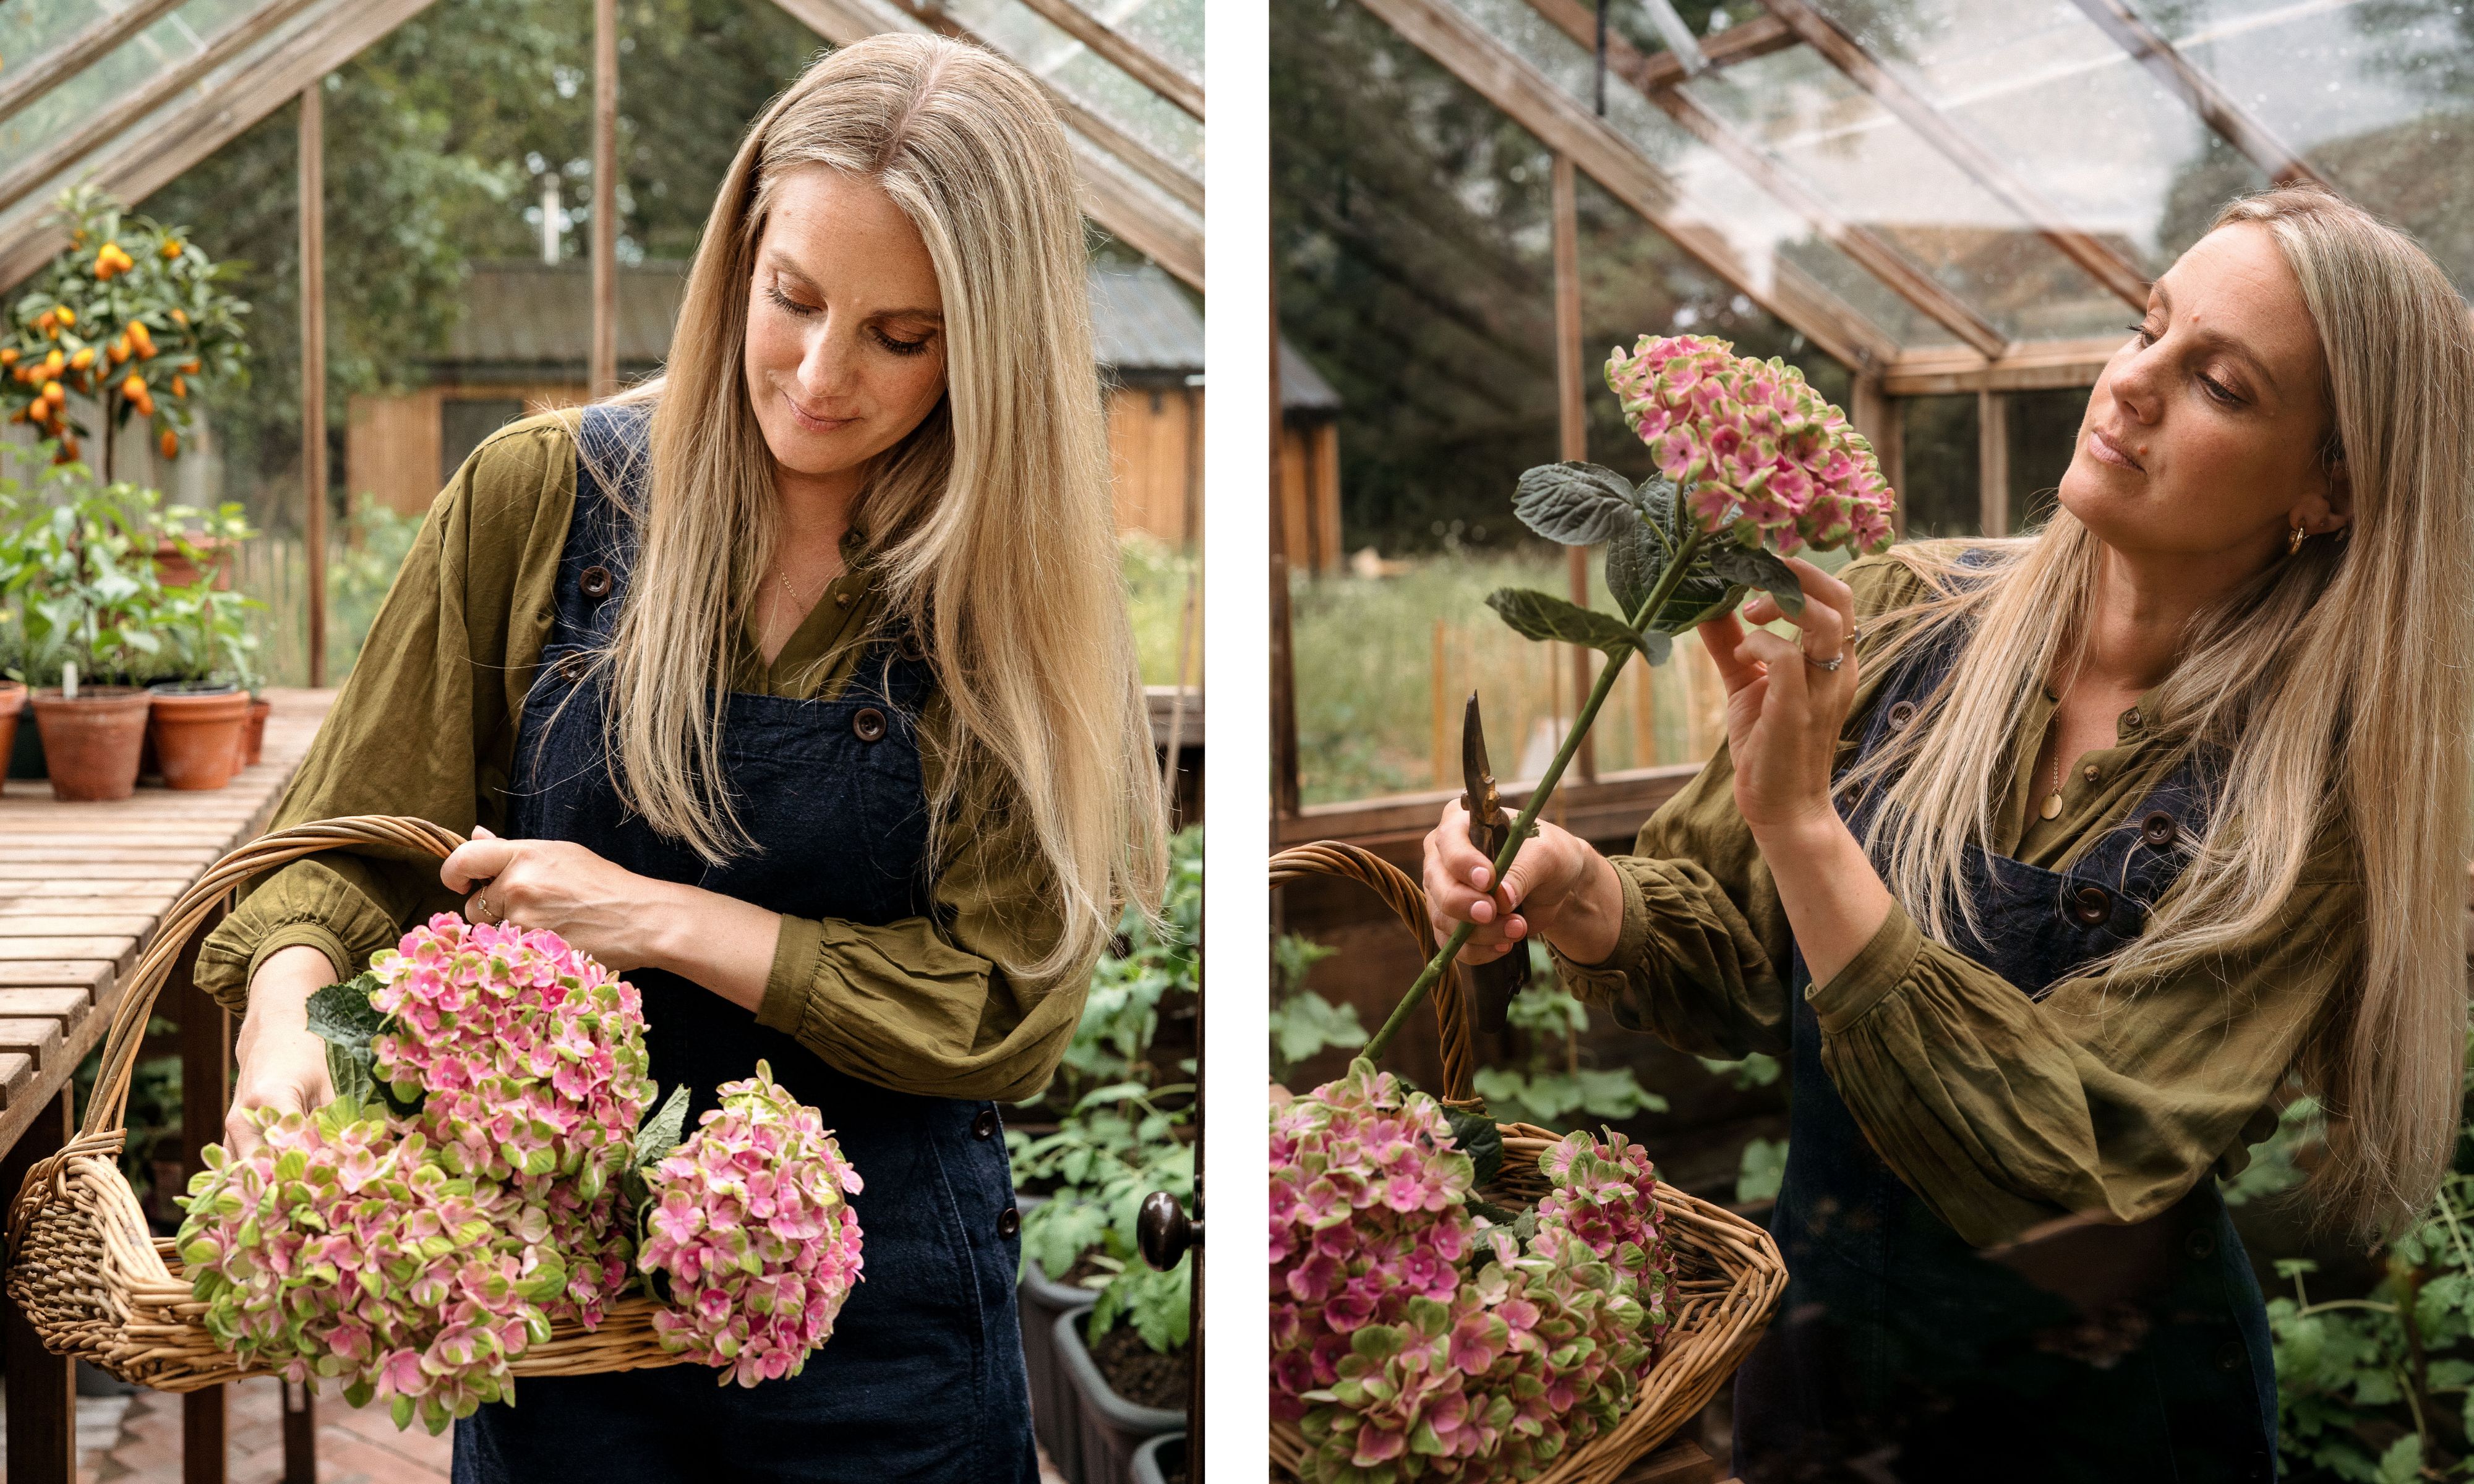
Now you can have fun really bringing this design to life. Again, for any hydrangea table arrangement, I always measure my stems against the vase, so see where they will fit in the arrangement and what the ideal height should be.
It’s easy to move them around if you’re not happy with any placements. My top tip for doing this is to twist the stem in your fingers as you are removing it, rather than pull it straight out – it will come out easily without disturbing any neighboring foliage or flowers.
I added five hydrangeas at a variety of heights into my design, but you might want to add more for a maximalist look.
You could recreate this style of design so easily with lots of other seasonal ingredients. For example, this design was inspired by an arrangement I once made for a hotel lobby during Halloween, which featured tall branches of copper beech, long, twisting rosehips stems, and huge autumnal hydrangeas – ones that had begun darkening and crisping up in early fall.
Working with seasonal stems will not only make your creations feel more natural, it’s also a much more sustainable way to design as you can cut from your own garden or source locally-grown stems more easily.
I am always drawn to a subtle shade of pink when it comes to decorative glassware and vases. It also comes in taupe, which would be ideal an way to update my fall décor.