In many of our homes in the UK, with long and wet winters on the rise, the best dehumidifiers have quietly become an essential appliance. They offer a myriad of benefits in a home, from reducing condensation on bedroom windows and drying laundry throughout the winter months, to keeping damp-prone, mouldy corners under control – but the appliance will only work well if properly maintained. Enter my expert guide on how to clean your dehumidifier, which explains all the steps you need to keep your appliance in top working condition.
What’s easy to forget is that while it’s pulling moisture from the air, your trusty dehumidifier is also drawing in dust, fibres, pet hair and whatever else is circulating around your home. Add water and a bit of warmth, and it doesn’t take long for a murky residue to build up inside the tank and across the filter.
“A dirty dehumidifier will not work as well as a clean one because airflow gets restricted within the unit,” explains Glenn Gault, CEO of Gault Heating & Cooling. “Sticking to a regular cleaning schedule will improve performance and extend its lifespan.”
That decline in performance usually begins subtly. You might notice that laundry takes a little longer to dry, the room doesn’t feel quite as crisp or there might be a faint musty note from the tank. None of it dramatic, but you’ll notice gradual inefficiency. Plus, in a season when many people rely on dehumidifiers instead of tumble dryers to help keep energy costs down, efficiency really matters. When dust or residue restricts airflow, the unit has to run longer to remove the same amount of moisture, quietly increasing your energy bills.
As a home appliances expert who has tested a wide range of dehumidifiers over the years, I’ve become somewhat of an expert in keeping them in top working condition. Here’s everything you need to know about how to clean your dehumidifier.
Read more: Experts reveal how much it actually costs to run a dehumidifier
How often should you clean your dehumidifier?
There isn’t a rigid schedule that works for every household. It largely comes down to how often you use your dehumidifier.
If your dehumidifier runs most days, perhaps in a condensation-prone flat or alongside your laundry rack, it’ll accumulate dust and moisture much more quickly than one used occasionally during damp weather.
Having said that, a routine can help you remember to tackle the job, so plug these recommendations into your cleaning calendar: “Regular cleaning should be done at least once a month, and often twice monthly during periods of high humidity,” says Eli Zimmer, CEO of Luxaire HVAC Services in the US, who specialise in air treatment solutions. “Emptying the water reservoir daily is smart, and filters should be replaced or cleaned every couple of weeks.”
Tanks in particular can develop a slippery residue made up of settled dust and debris , even when they don’t look especially dirty. Staying ahead of that buildup is far easier than tackling it once it’s developed.
Before you start cleaning: a few sensible precautions
Cleaning a dehumidifier isn’t complicated, but it is still an electrical appliance, so it pays to be methodical.
First, the obvious step that’s surprisingly easy to forget. “Switch it off at the wall and unplug it before cleaning,” advises Chris Michael, founder and managing Director of Meaco. Water and electricity don't mix, after all.
From there, keep things simple. Warm water and a mild detergent are usually all you need. There’s no benefit to harsh sprays or bleach, and they can degrade plastics and seals over time. Avoid spraying cleaner directly into vents; instead, spray onto a microfibre cloth and run it over those areas.
Always check your manual to see what advice it gives on cleaning, especially when it comes to filters. Not all filters can be washed, but if you’re rinsing one that can, give it time to dry properly before refitting it. In my experience, they often feel dry long before they actually are. At least a few hours is sensible; overnight is safer.
Read more: Best air purifiers to help free your home from dust and allergens
What you’ll need
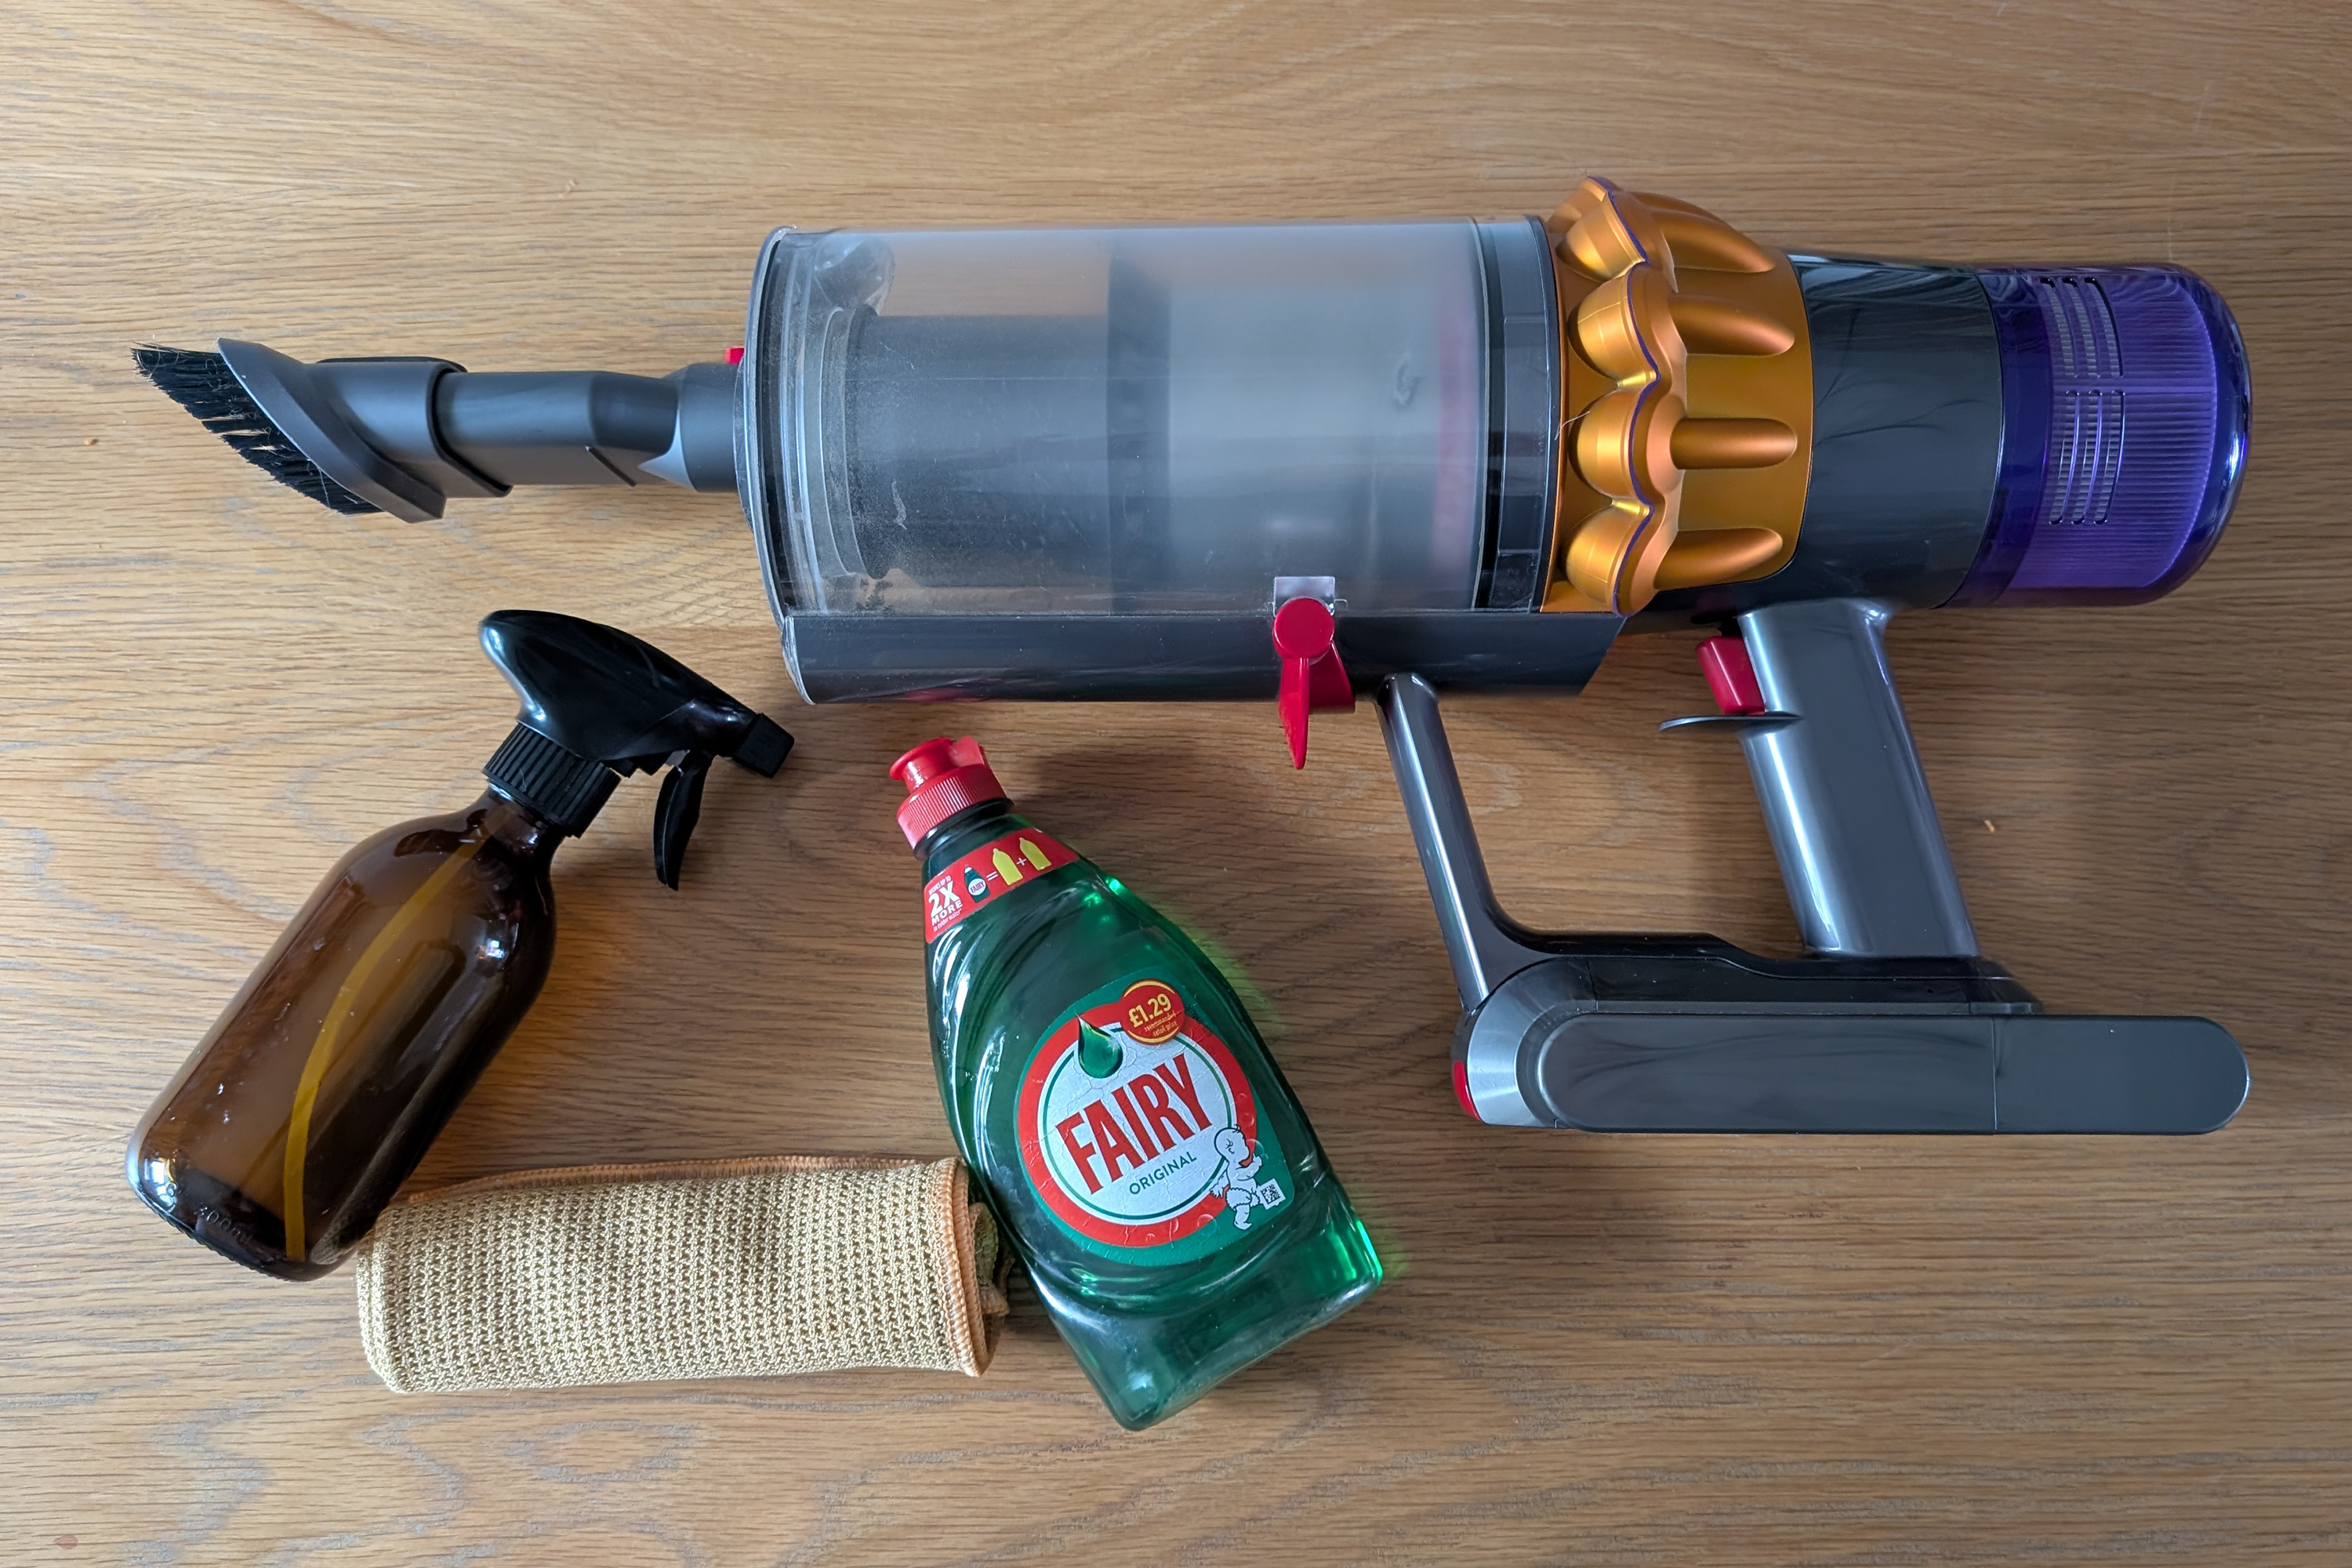
You don’t need specialist products. A few basics will do:
- Microfibre cloths
- Mild washing-up liquid or cleaning spray
- A vacuum cleaner with a brush attachment
- White vinegar (optional, for limescale or odours)
Step 1: Power down
Switch off at the wall and unplug the unit. Remove the water tank and empty it.
Step 2: Clean the water tank properly
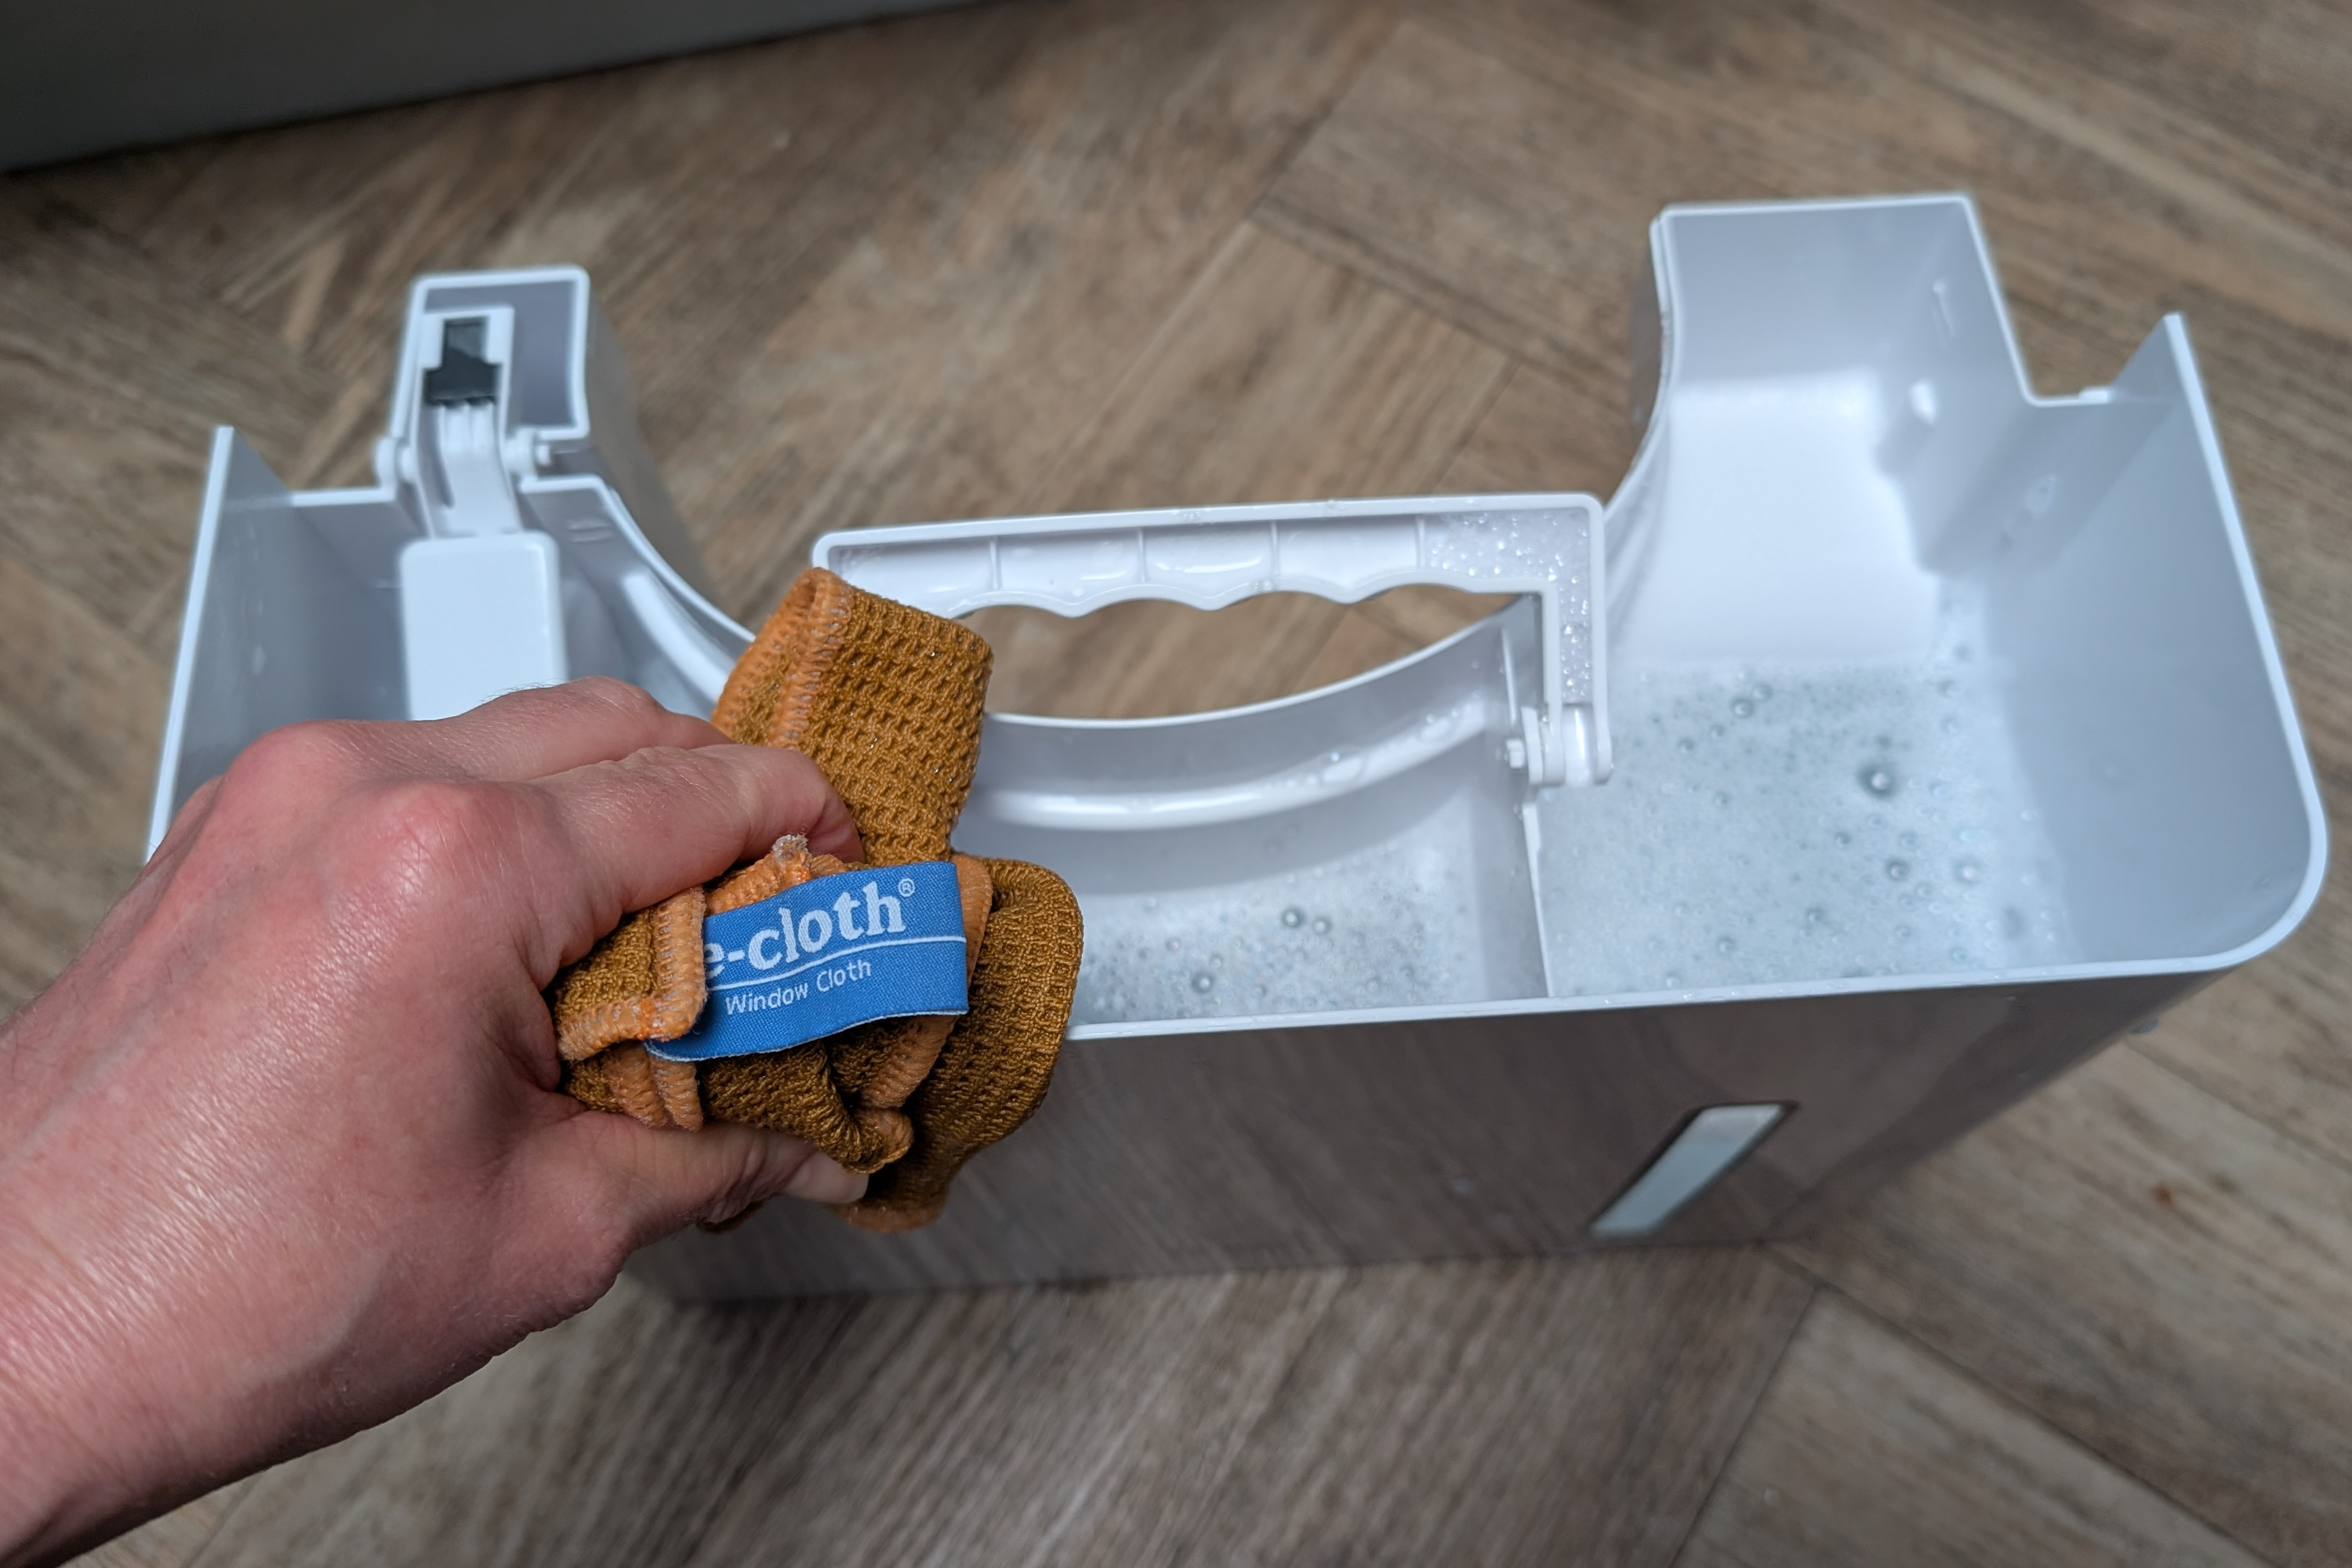
Simply giving the tank a quick rinse won’t cut it. “The tank walls, corners and bottom can grow slimy film and bacteria,” says Glenn. “If it’s particularly dirty, you’ll need to physically scrub the inside.”
Pay attention to the seams and corners where residue tends to collect. Rinse thoroughly, then wipe dry or leave to air-dry.
If there’s limescale or a persistent smell, soak the tank in a diluted white vinegar solution for around 30 minutes, then rinse well.
Step 3: Remove and clean the filter

The filter is often where performance begins to dip. Remove yours gently and vacuum both sides thoroughly.
If it still looks clogged and is washable, rinse it under lukewarm water, shake off excess moisture and leave it upright to dry fully, ideally for 24 hours.
Chris recommends checking the filter every couple of weeks but notes that the rules are different for HEPA filters. “If your model includes a HEPA filter, this is not washable and should be replaced periodically in line with the user manual to maintain air purification performance.”
Step 4: Clean vents and air intake
Dust builds up around grilles surprisingly quickly, so run a vacuum with a brush attachment over the vents and wipe the outer casing with a slightly damp cloth.
Step 5: Clean the coils (once or twice a year)

The internal metal fins (the coils) help extract moisture from the air and can collect dust over time. Remove the filter to expose them, then vacuum gently along the fins. Don’t use water, and try not to bend the fins, as that can affect airflow and efficiency.
Step 6: Check the drain hose (if you use one)
If your dehumidifier runs continuously with a hose attached, it’s important to give it a thorough cleaning as well. They can get a little slimy with continuous use, especially if stagnant water collects in the hose, so detach yours carefully and flush it through with warm water, or a mild vinegar solution. After rinsing, make sure it’s clear before reattaching.
Step 7: Reassemble once everything is dry
Refit the fully dry filter, slide the tank back into place and plug the unit in. Run it briefly to check airflow and ensure everything is functioning as expected. If a musty smell persists, revisit the tank and hose, as they’re usually the main culprits.
Common mistakes to avoid
Most dehumidifier mishaps come from trying a bit too hard rather than not trying at all. It’s tempting to give the vents a quick blast of spray cleaner or really go at the internal fins with a stiff brush, but that’s where things start to go wrong. Moisture and electrics don’t mix, and those delicate metal fins bend more easily than you’d think.
There’s also no need to reach for bleach or anything overly aggressive. Warm, soapy water does the job perfectly well in most cases, and it’s gentler on the plastics and seals inside the unit.
Another common slip-up is putting the filter back because it feels dry. It probably isn’t. Refitting it too soon simply traps moisture back inside the machine, undoing the whole point of cleaning it in the first place. Give it proper drying time – it’s worth it.
And if you find yourself wondering whether you should open up a sealed panel “just to check”, that’s usually the moment to stop. “Homeowners shouldn’t attempt to clean inside sealed refrigerant parts,” says Glenn. “They’re sealed for a reason.” It’s a fair point – routine upkeep is sensible; amateur engineering is not.
Dry out your damp basement or bathroom with one of the best dehumidifiers, tested by an expert