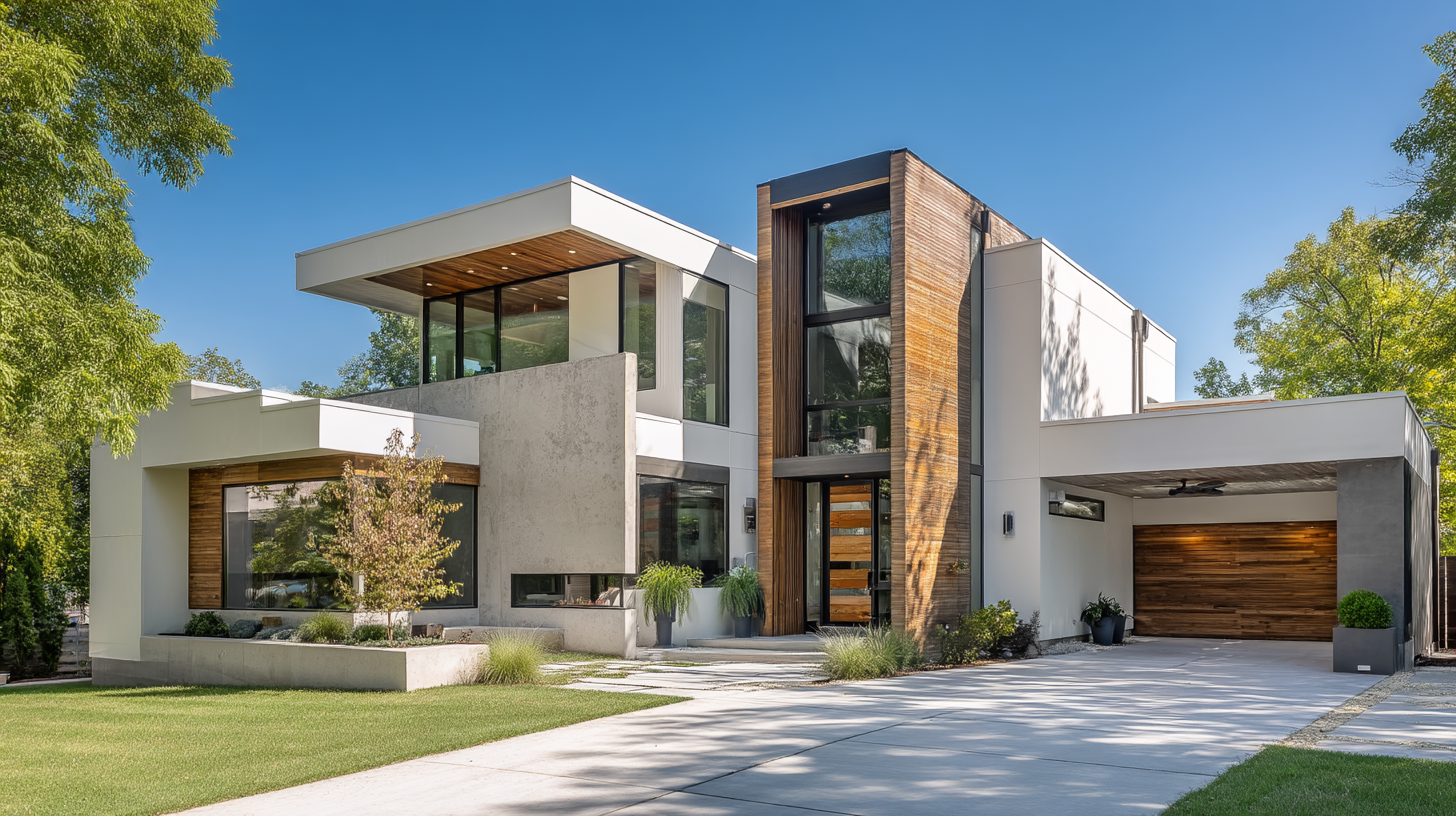
Building a house is one of the biggest projects a homeowner can take on. It involves more than hiring a contractor and watching construction begin. A successful home build requires clear planning, the right land, complete design and engineering documents, permits, site preparation, construction management, inspections, and a final walkthrough before move-in.
If you are wondering how to build a house, the best place to start is by understanding the full process in order. Each step affects the next. Rushing through design, skipping due diligence on the lot, or underestimating the budget can create delays and expensive changes later. With the right plan and professional guidance, the process becomes much more manageable.
Step 1: Define Your Goals and Budget
Decide What Kind of Home You Want to Build
Before anything is designed or priced, decide what kind of home you want. A production home is usually built from existing plans in a planned community. A semi-custom home allows some flexibility with layout and finishes. A fully custom home gives more design freedom but usually requires more time, planning, and coordination.
You may also be building after a demolition, major renovation, or rebuild. Each path affects cost, timeline, permitting, design decisions, and the type of professionals needed.
Set a Realistic Budget
A homebuilding budget should include more than the physical structure. Homeowners also need to consider land, design, engineering, permits, utility connections, grading, site preparation, construction, finishes, landscaping, inspections, and a contingency fund.
A contingency is important because unexpected issues can happen. Soil problems, material changes, permit corrections, weather delays, and design revisions can all affect the final cost. Planning for these possibilities early helps reduce financial stress later.
Get Financing in Place
Many homeowners use a construction loan or construction-to-permanent loan to build a house. Lenders often require plans, budgets, builder information, schedules, and appraisals before approving financing.
It is helpful to speak with lenders early so you understand what documents will be needed before construction begins.
Step 2: Choose the Right Lot or Building Site
Evaluate Location and Lifestyle Fit
The lot determines more than the address. It affects privacy, views, commute, schools, outdoor space, future resale value, and the overall feel of the home. A property may look appealing, but it still needs to support the lifestyle and long-term goals of the homeowner.
Think about how the home will be used now and in the future. Consider parking, outdoor living, accessibility, neighborhood character, and future expansion.
Review Site Conditions
Site conditions can significantly affect cost and design. Soil type, slope, drainage, flood risk, trees, existing structures, and access for construction vehicles all matter. A flat lot with utilities nearby is usually easier to build on than a steep or undeveloped property.
Before purchasing or building, evaluate whether the site will require grading, retaining walls, drainage systems, utility extensions, or specialized foundation work.
Confirm Zoning and Buildability
Zoning rules determine what can legally be built. Setbacks, lot coverage limits, height restrictions, easements, HOA rules, environmental regulations, and local building requirements can all shape the project.
A lot should never be chosen based on appearance or price alone. Confirm buildability before committing.
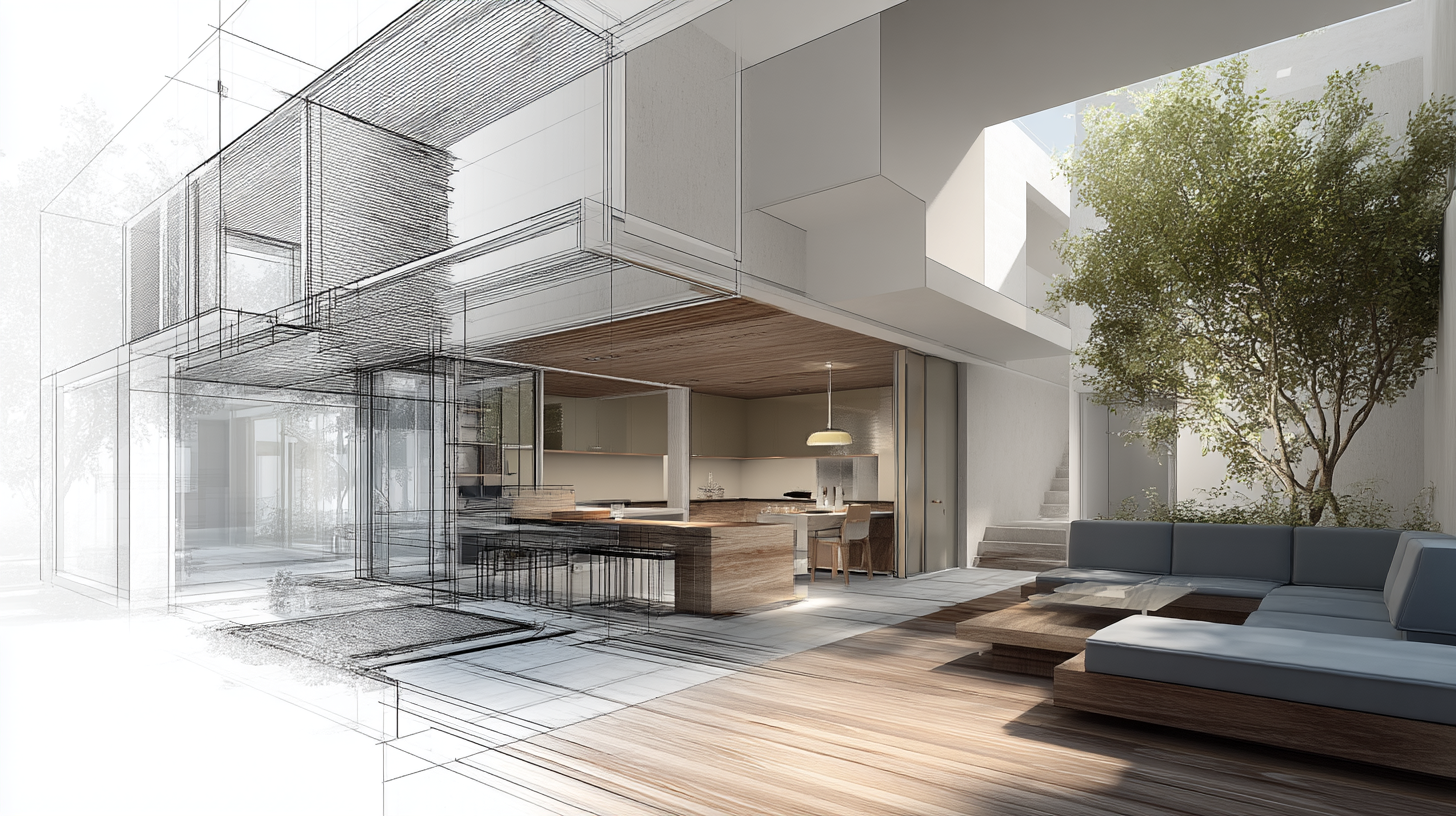
Step 3: Create the Design and Engineering Plans
Work Through the Home Design
The design phase turns your goals into a clear plan. This includes the floor plan, room layout, kitchen and bathroom placement, storage, window locations, natural light, outdoor living areas, and circulation through the home.
Good design is not only about appearance. It should support daily routines, privacy, comfort, energy efficiency, and long-term usability.

Structural and Civil Engineering
Engineering makes sure the home is safe, stable, and code compliant. This may include foundation design, framing requirements, grading plans, drainage plans, retaining walls, site utilities, and structural calculations.
Before construction begins, homeowners often need complete plans, structural review, and permit-ready documents, which is where specialists like Golden State Design and Engineering can help with design, engineering, and code-aware planning.
Step 4: Apply for Permits and Approvals
Common Permits Needed to Build a House
Building a home usually requires multiple permits and approvals. These may include a building permit, grading permit, electrical permit, plumbing permit, mechanical permit, septic or sewer approvals, tree removal permits, or environmental approvals.
The exact requirements depend on the location, site, and project scope.
Why Permits Affect the Timeline
Permitting can take time because plans must be reviewed by the city or county. Reviewers may request corrections before approval. Inspections will also be required throughout construction to confirm the work follows approved plans and building codes.
Permit delays are common, so homeowners should include this step in the overall project timeline.
Avoid Starting Work Too Early
Starting work before permits are approved can create serious problems. It may result in fines, stop-work orders, redesigns, or delays. It is better to wait for proper approval than risk having to undo completed work.
Step 5: Prepare the Site
Clearing and Grading
Once permits are approved, the site can be prepared. This may include removing vegetation, debris, old structures, or unsuitable materials. Grading shapes the land for drainage, driveway access, foundation work, and outdoor areas.
Good grading helps move water away from the home and prevents future drainage issues.
Utility Preparation
Utility planning may include water, sewer, septic, gas, electric, internet, and low-voltage systems. If utilities are not already available at the property line, extensions may be needed.
This step should be coordinated carefully because utility work affects trenching, site layout, inspections, and future access.
Temporary Construction Setup
The site also needs to be set up for construction. This may involve temporary power, safety fencing, material staging areas, waste disposal, portable restrooms, and access routes for workers and equipment.
A well-organized site supports a smoother build.
Step 6: Build the Foundation
Excavation and Footings
Foundation work begins with excavation and footings. Crews dig according to the approved plans, set forms, install reinforcement when required, and prepare for inspection before concrete is poured.
Footings transfer the weight of the home into the soil, so this step must be done correctly.
Foundation Type
The foundation type depends on soil conditions, climate, budget, and home design. Common options include slab foundations, crawl spaces, basements, and raised foundations.
Each type has advantages. A slab may be cost-effective in some areas, while a crawl space or basement may be better suited for other sites or climates.
Foundation Inspection
Before moving forward, the foundation typically needs inspection. Catching issues at this stage is important because foundation problems can affect the entire structure.

Step 7: Frame the House
Walls, Floors, and Roof Structure
Framing creates the structure of the home. Crews build the floor system, exterior walls, interior walls, and roof structure. Sheathing and structural connections are installed to tie the home together.
At this stage, the house begins to take shape, and homeowners can start to see the layout in real life.
Windows, Doors, and Weather Protection
After framing, windows and exterior doors are installed. Weather barriers, roof underlayment, roofing, and exterior protection help shield the structure from rain and moisture.
Protecting the home from the elements is important before interior systems and finishes begin.
Framing Inspection
A framing inspection confirms that the structure matches approved plans and meets code requirements. Inspectors may check framing connections, wall layout, openings, beams, roof structure, and safety details.
Step 8: Install Major Home Systems
Plumbing, Electrical, and HVAC Rough-Ins
Rough-in work includes plumbing supply and drain lines, electrical wiring, HVAC ductwork, gas lines, and other mechanical systems. These systems are installed before walls are closed.
Careful planning is important because system locations affect cabinets, fixtures, appliances, lighting, and comfort.
Inspections Before Walls Close
Before insulation and drywall, rough plumbing, electrical, mechanical, and framing inspections may be required. These inspections help confirm that hidden systems are installed safely and correctly.
Once walls are closed, fixing mistakes becomes much more difficult.
Insulation and Air Sealing
Insulation and air sealing improve comfort, energy efficiency, and sound control. This may include wall insulation, attic insulation, floor insulation, and sealing gaps where air can escape.
This stage often requires inspection before drywall installation begins.
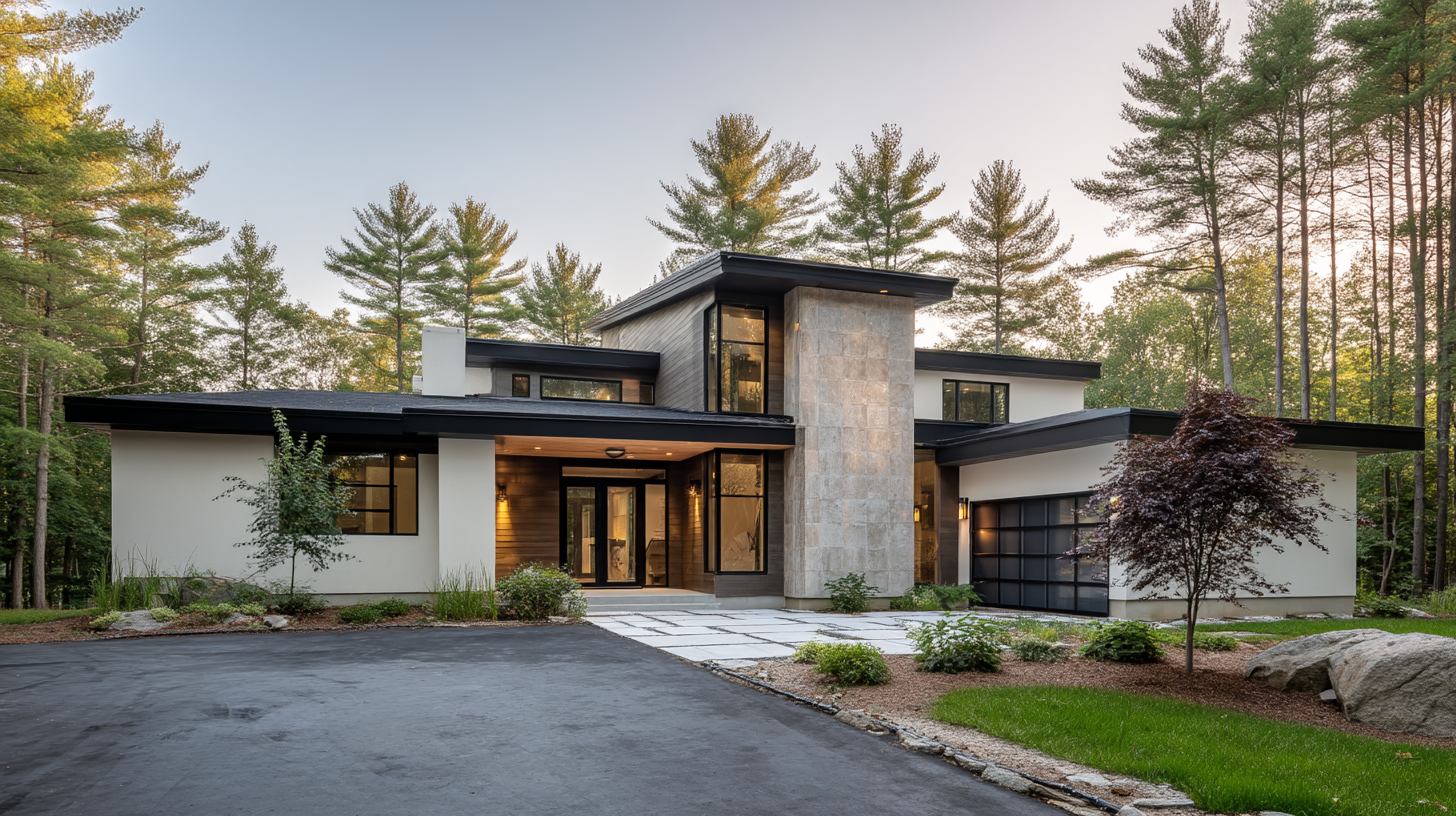
Step 9: Complete Exterior and Interior Finishes
Exterior Finishes
Exterior work may include roofing, siding, stucco, exterior trim, gutters, exterior paint, driveways, walkways, patios, and final grading. These details protect the home and shape curb appeal.
Interior Finishes
Interior finishes include drywall, cabinets, countertops, flooring, paint, tile, trim, lighting, plumbing fixtures, doors, hardware, and appliances. This is the stage where the home starts to feel complete.
For homeowners who want experienced support managing construction, finishes, and project coordination, Golden Coast Construction & Restoration specializes in guiding the build process from planning through completion.
Step 10: Final Inspections and Walkthrough
Final Building Inspection
Before move-in, the home must pass final inspections. Inspectors review safety, systems, code compliance, and required corrections. Depending on the jurisdiction, a certificate of occupancy may be required before the home can be legally occupied.
Punch List and Final Touches
A punch list includes final corrections such as paint touch-ups, cabinet adjustments, door alignment, fixture corrections, hardware changes, cleanup, and small finish details.
The final walkthrough gives homeowners a chance to review the completed work and confirm that remaining items are addressed.
Common Mistakes to Avoid When Building a House
Common mistakes include underestimating the total budget, buying land before checking buildability, rushing the design phase, starting without permits, making late design changes, choosing finishes too late, ignoring drainage, skipping professional review, and failing to keep a contingency fund.
Many problems can be avoided with careful planning. The more decisions made before construction begins, the smoother the build is likely to be.
Conclusion
Learning how to build a house starts with understanding the full process. A successful build moves through clear stages: goals, budget, land selection, design, engineering, permits, site preparation, foundation, framing, systems, finishes, inspections, and final approval.
Each phase matters. When homeowners plan carefully, work with qualified professionals, and make decisions early, the final home is more likely to be safe, functional, code-compliant, and built for long-term use.