I've been dabbling in some basic cosplay for a few years now, but never had the creativity or confidence to actually make my own props and accessories from scratch. Getting into 3D printing has opened up a new creative avenue for me, and now I finally own one of the best 3D printers for cosplay crafting.
There's so much work that goes into creating cosplay props, although with the help of the Bambu Lab X1 Carbon printer, it feels almost effortless. Notice that I said almost effortless – as when 3D printing cosplay props, it's not as easy as just hitting the print button.
You need to think carefully about the design, the materials you plan to use, and the size of the print, too. Take a look at the video tutorial I've put together below to see how I printed each of these cosplay props, and see my recent guide on how to measure your head for cosplay if you get stuck at this hurdle.
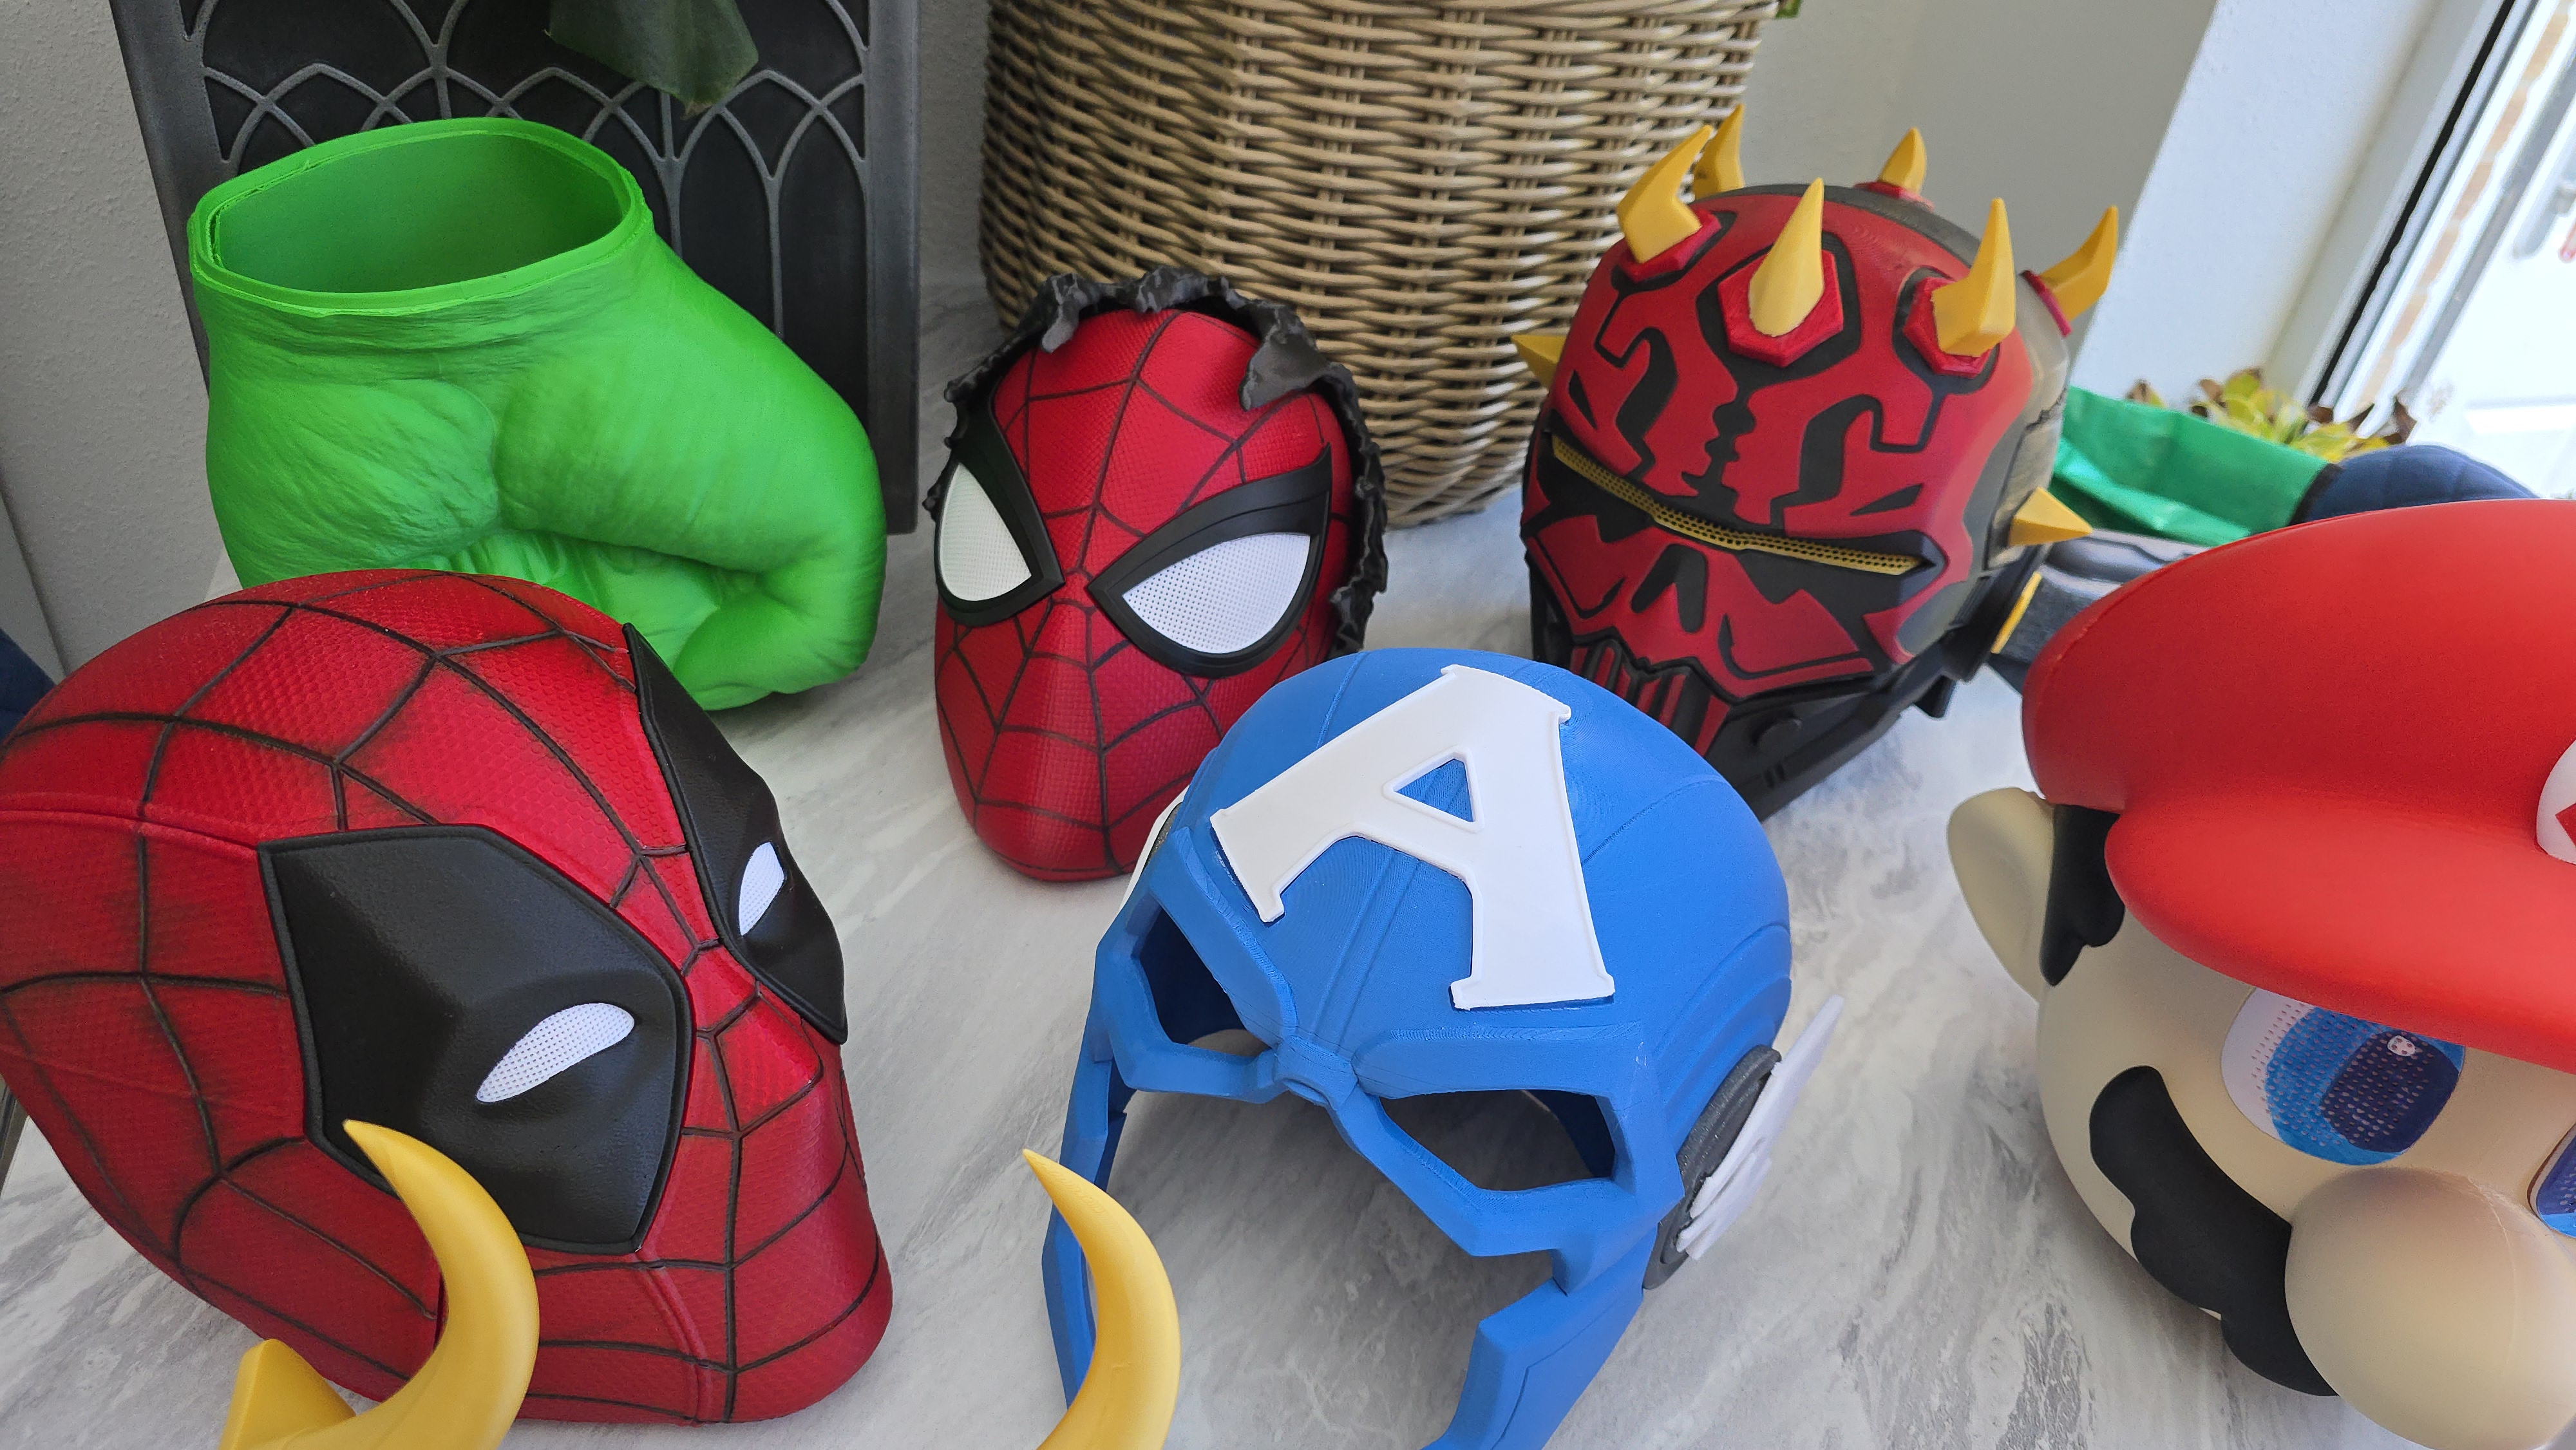
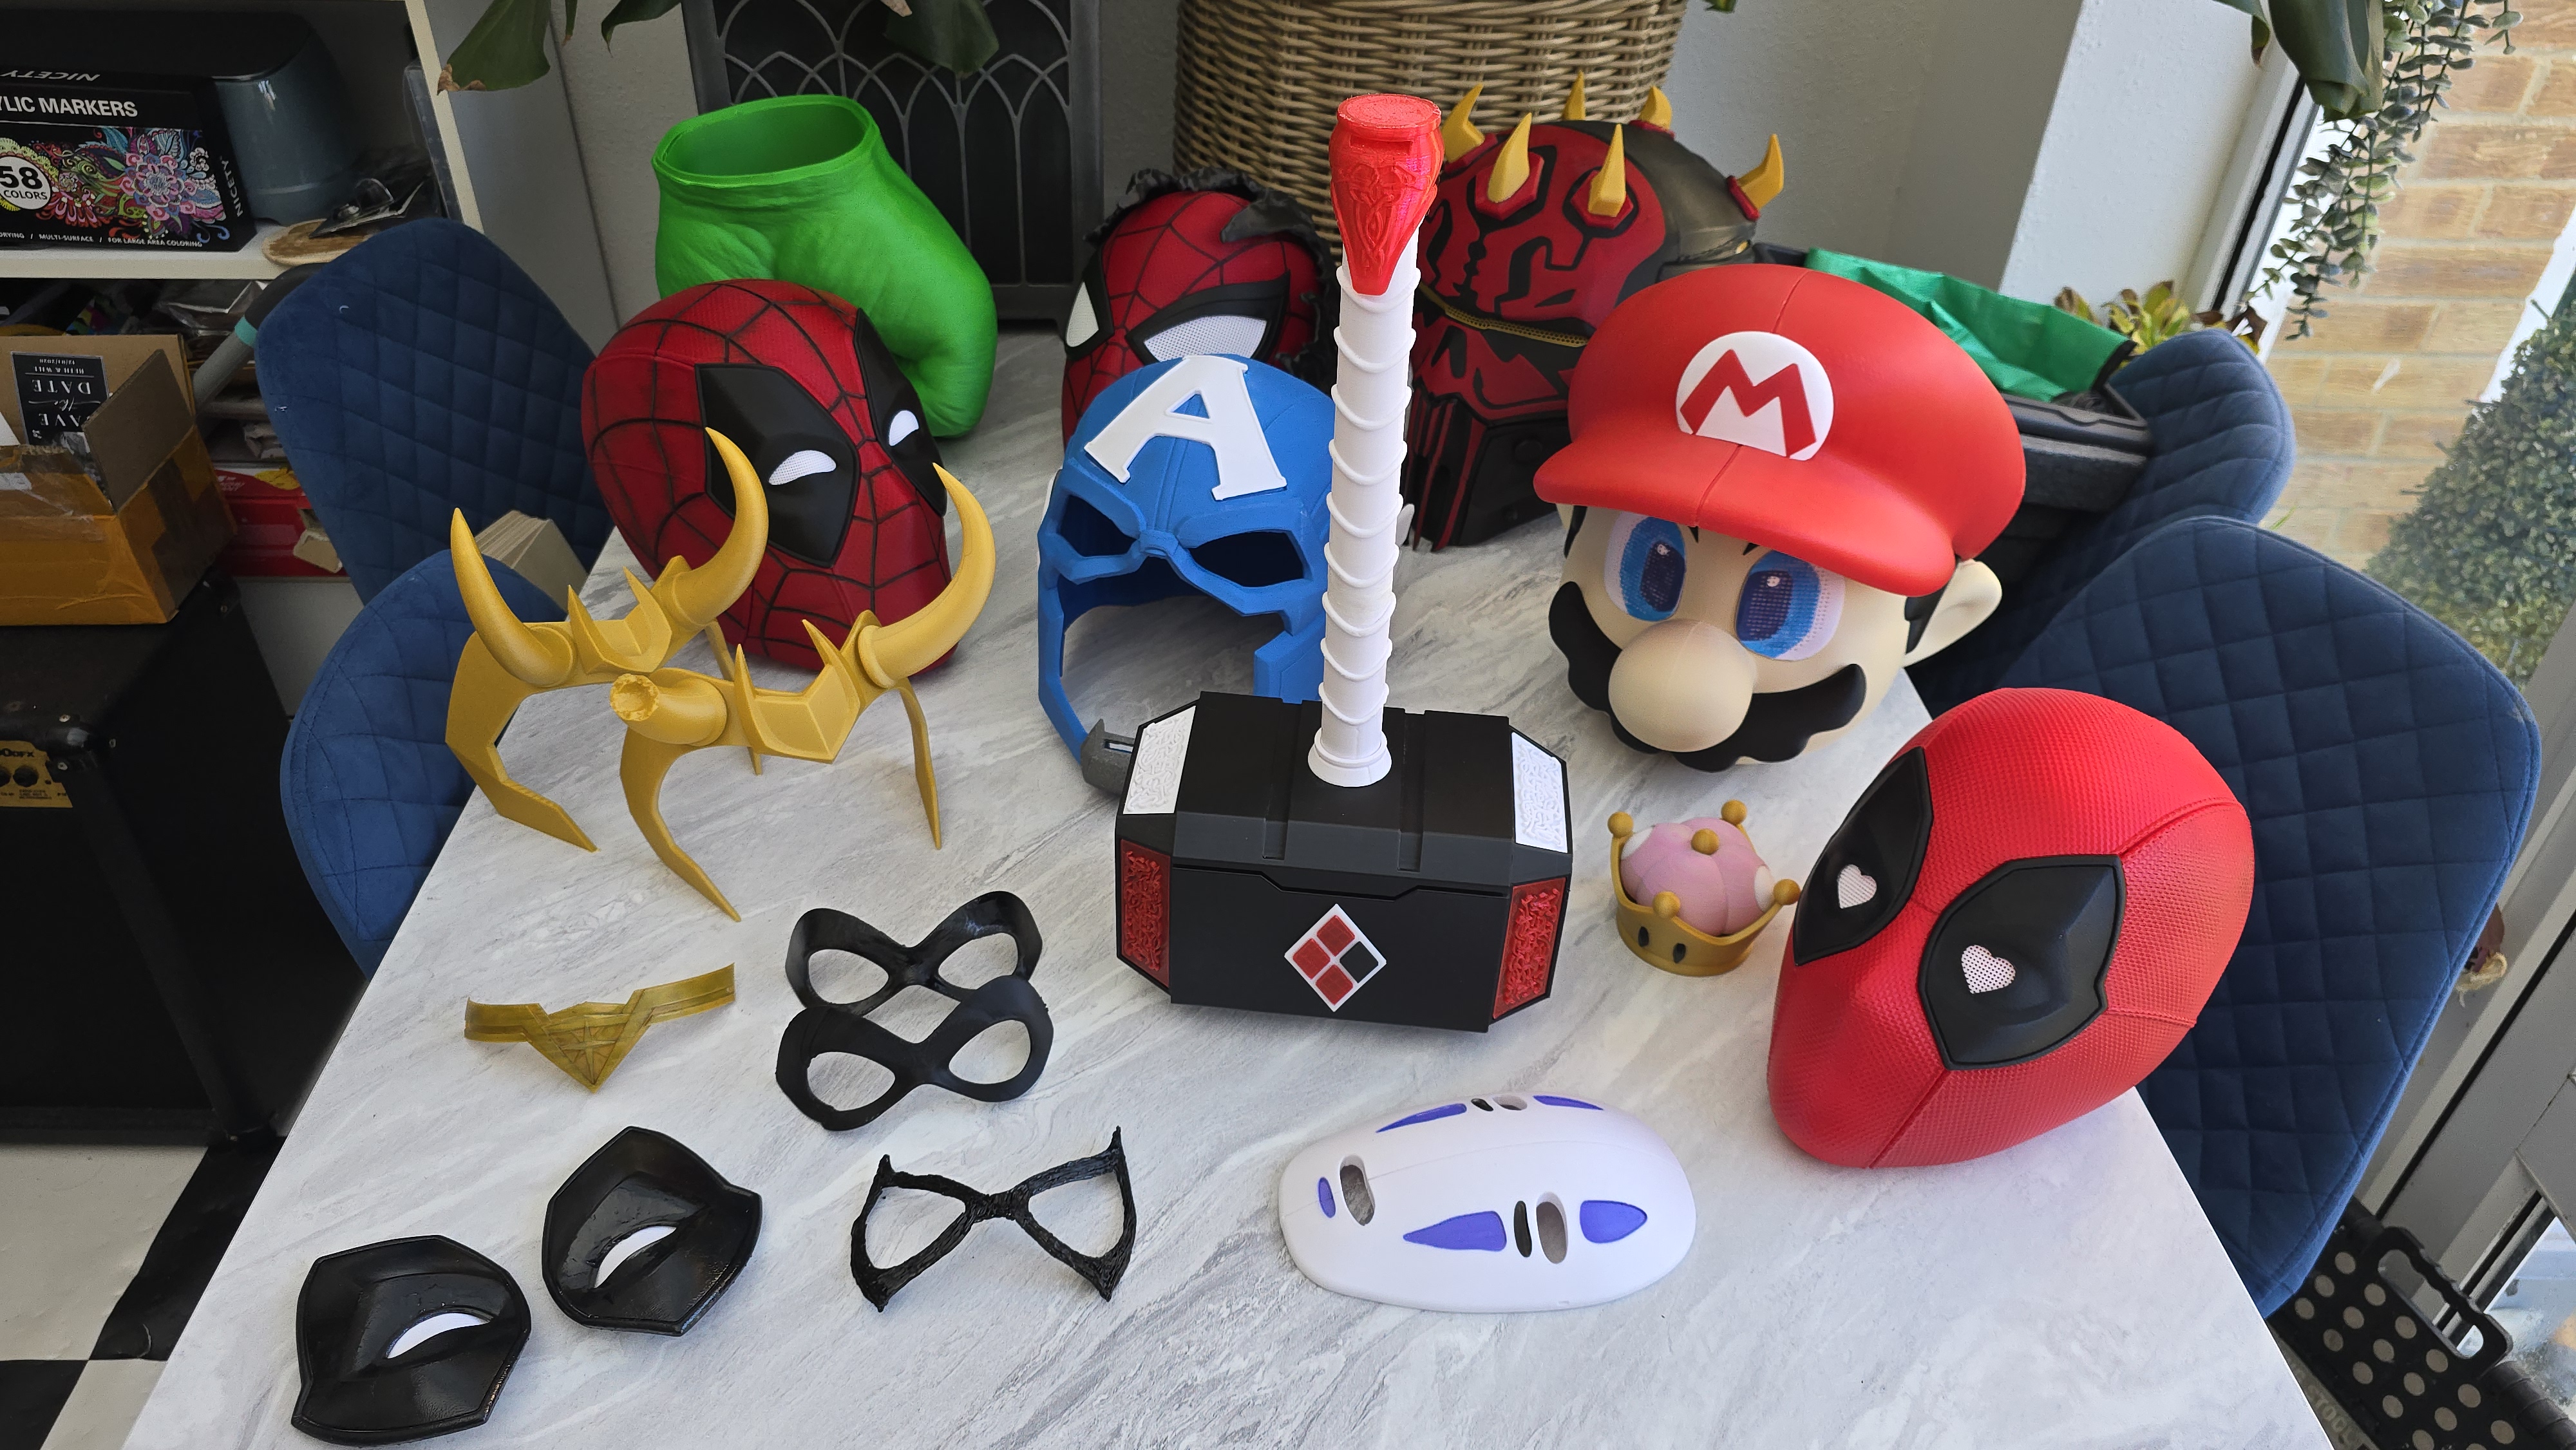
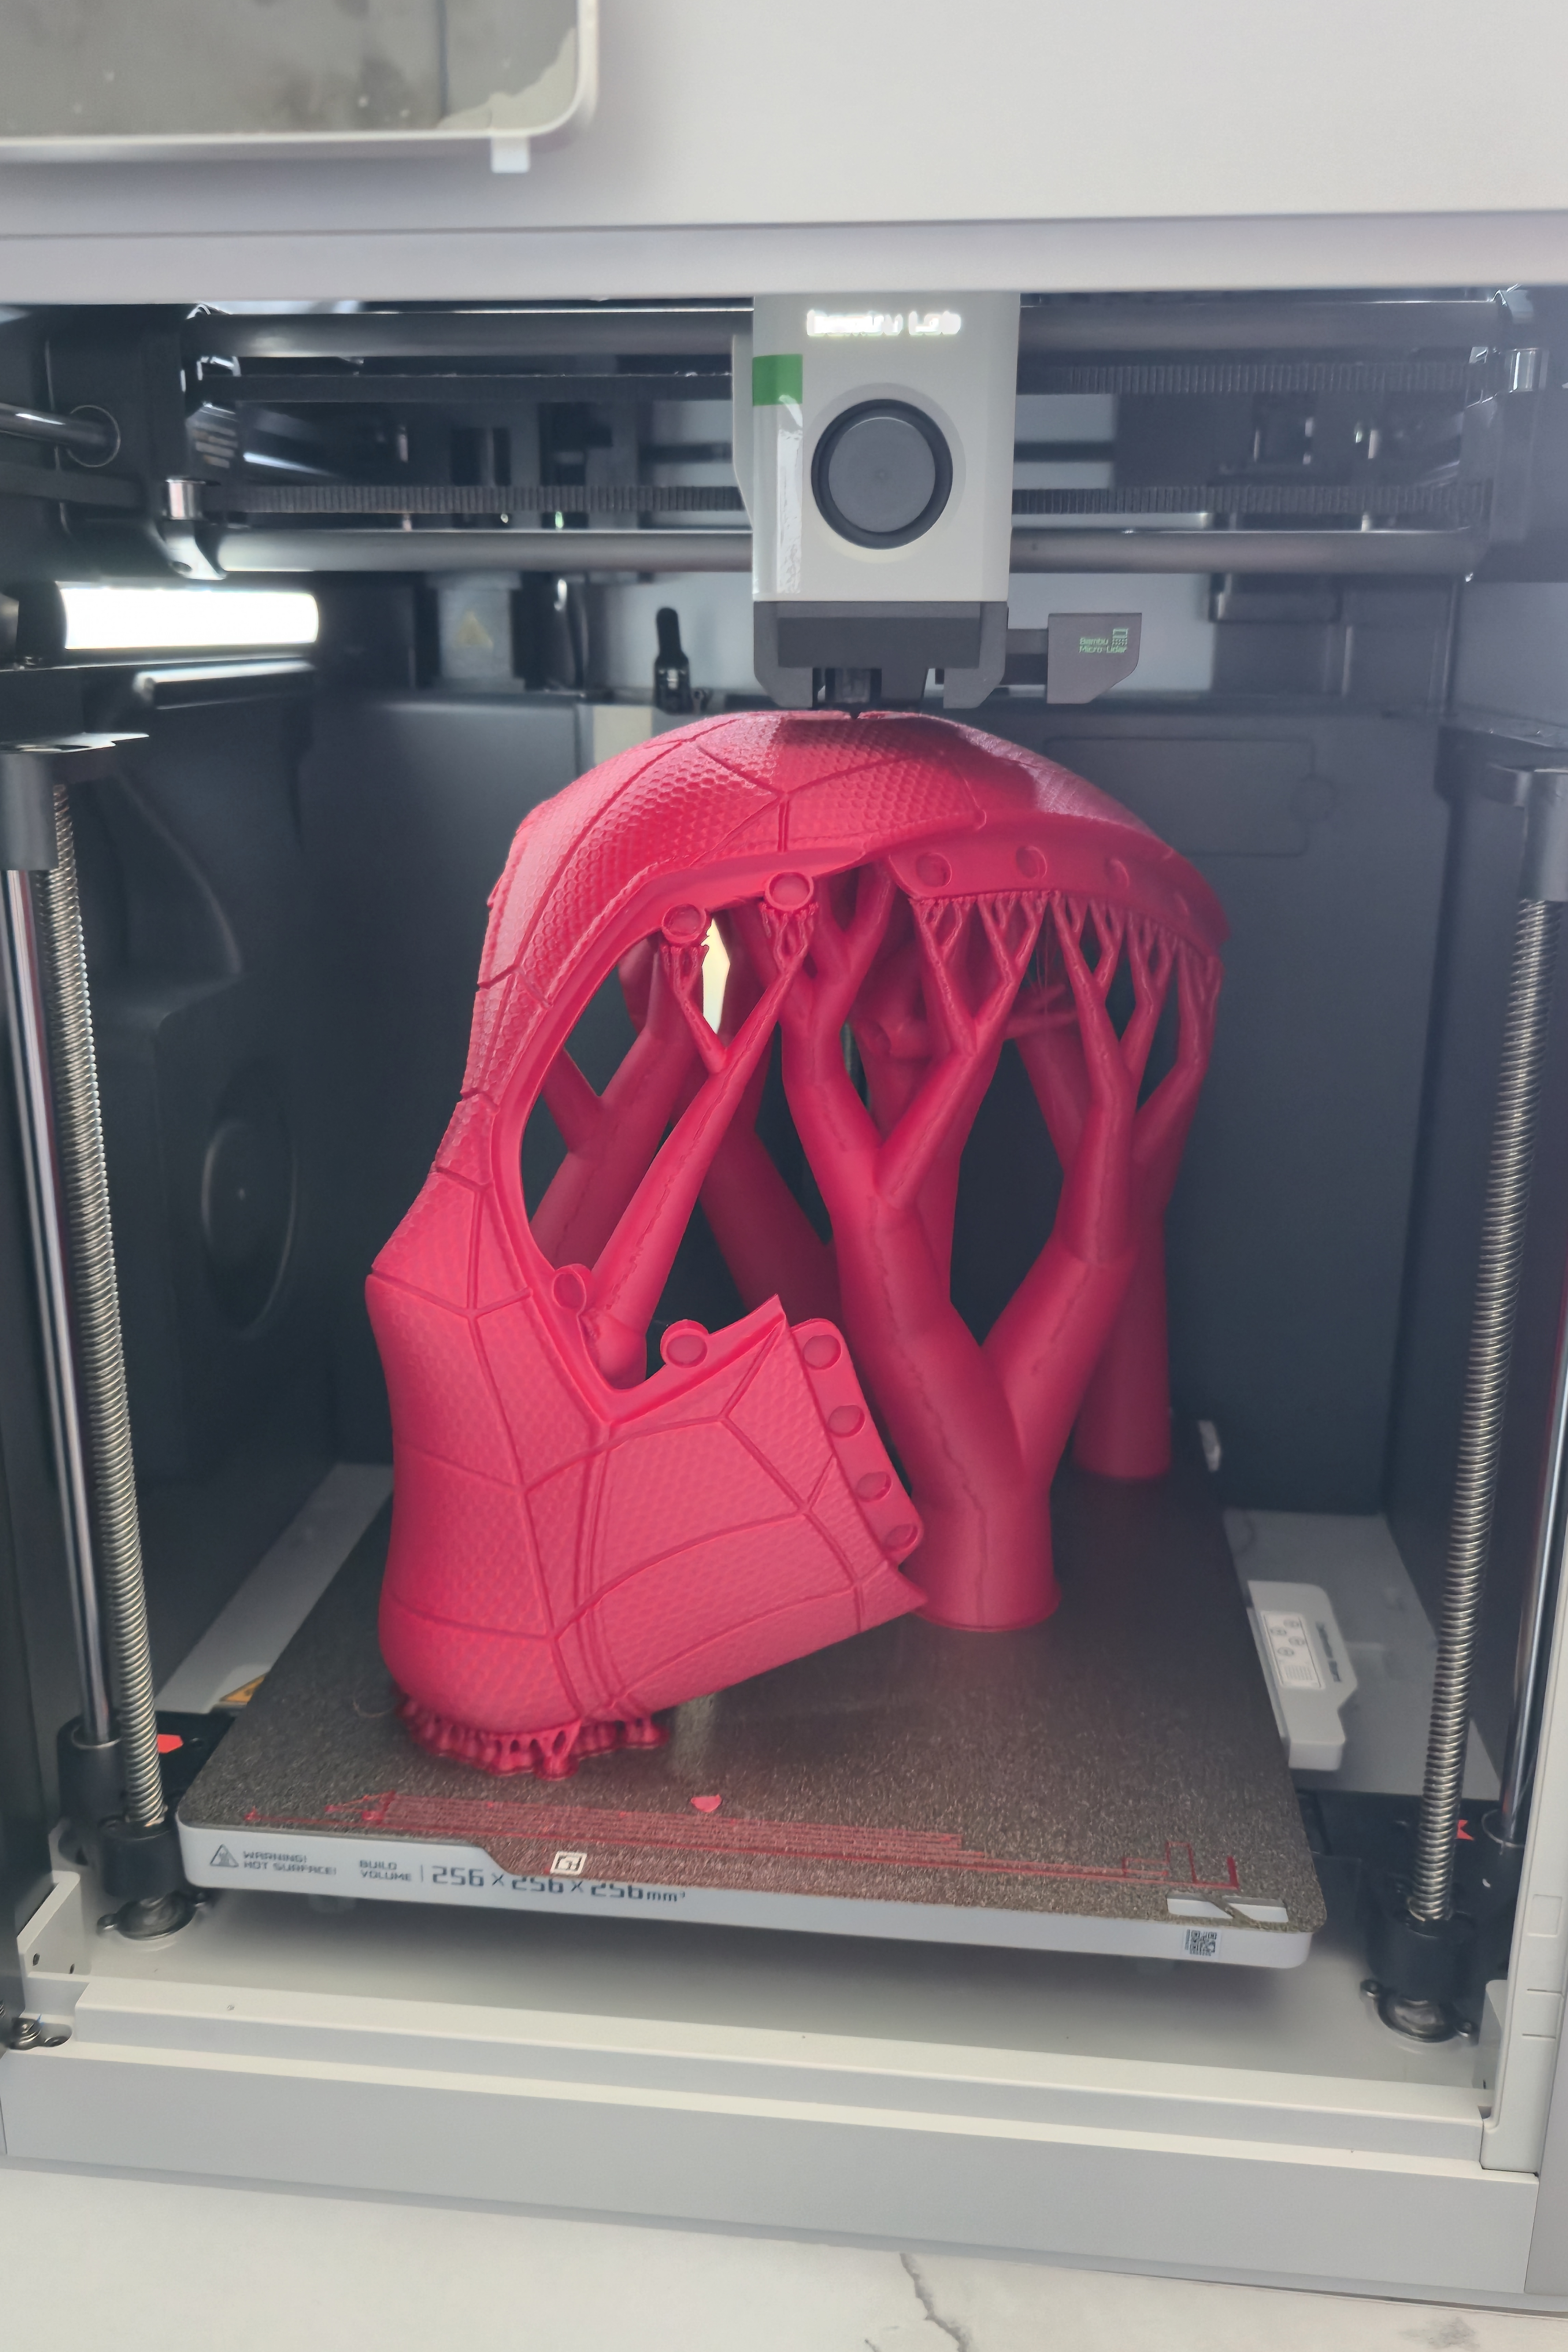
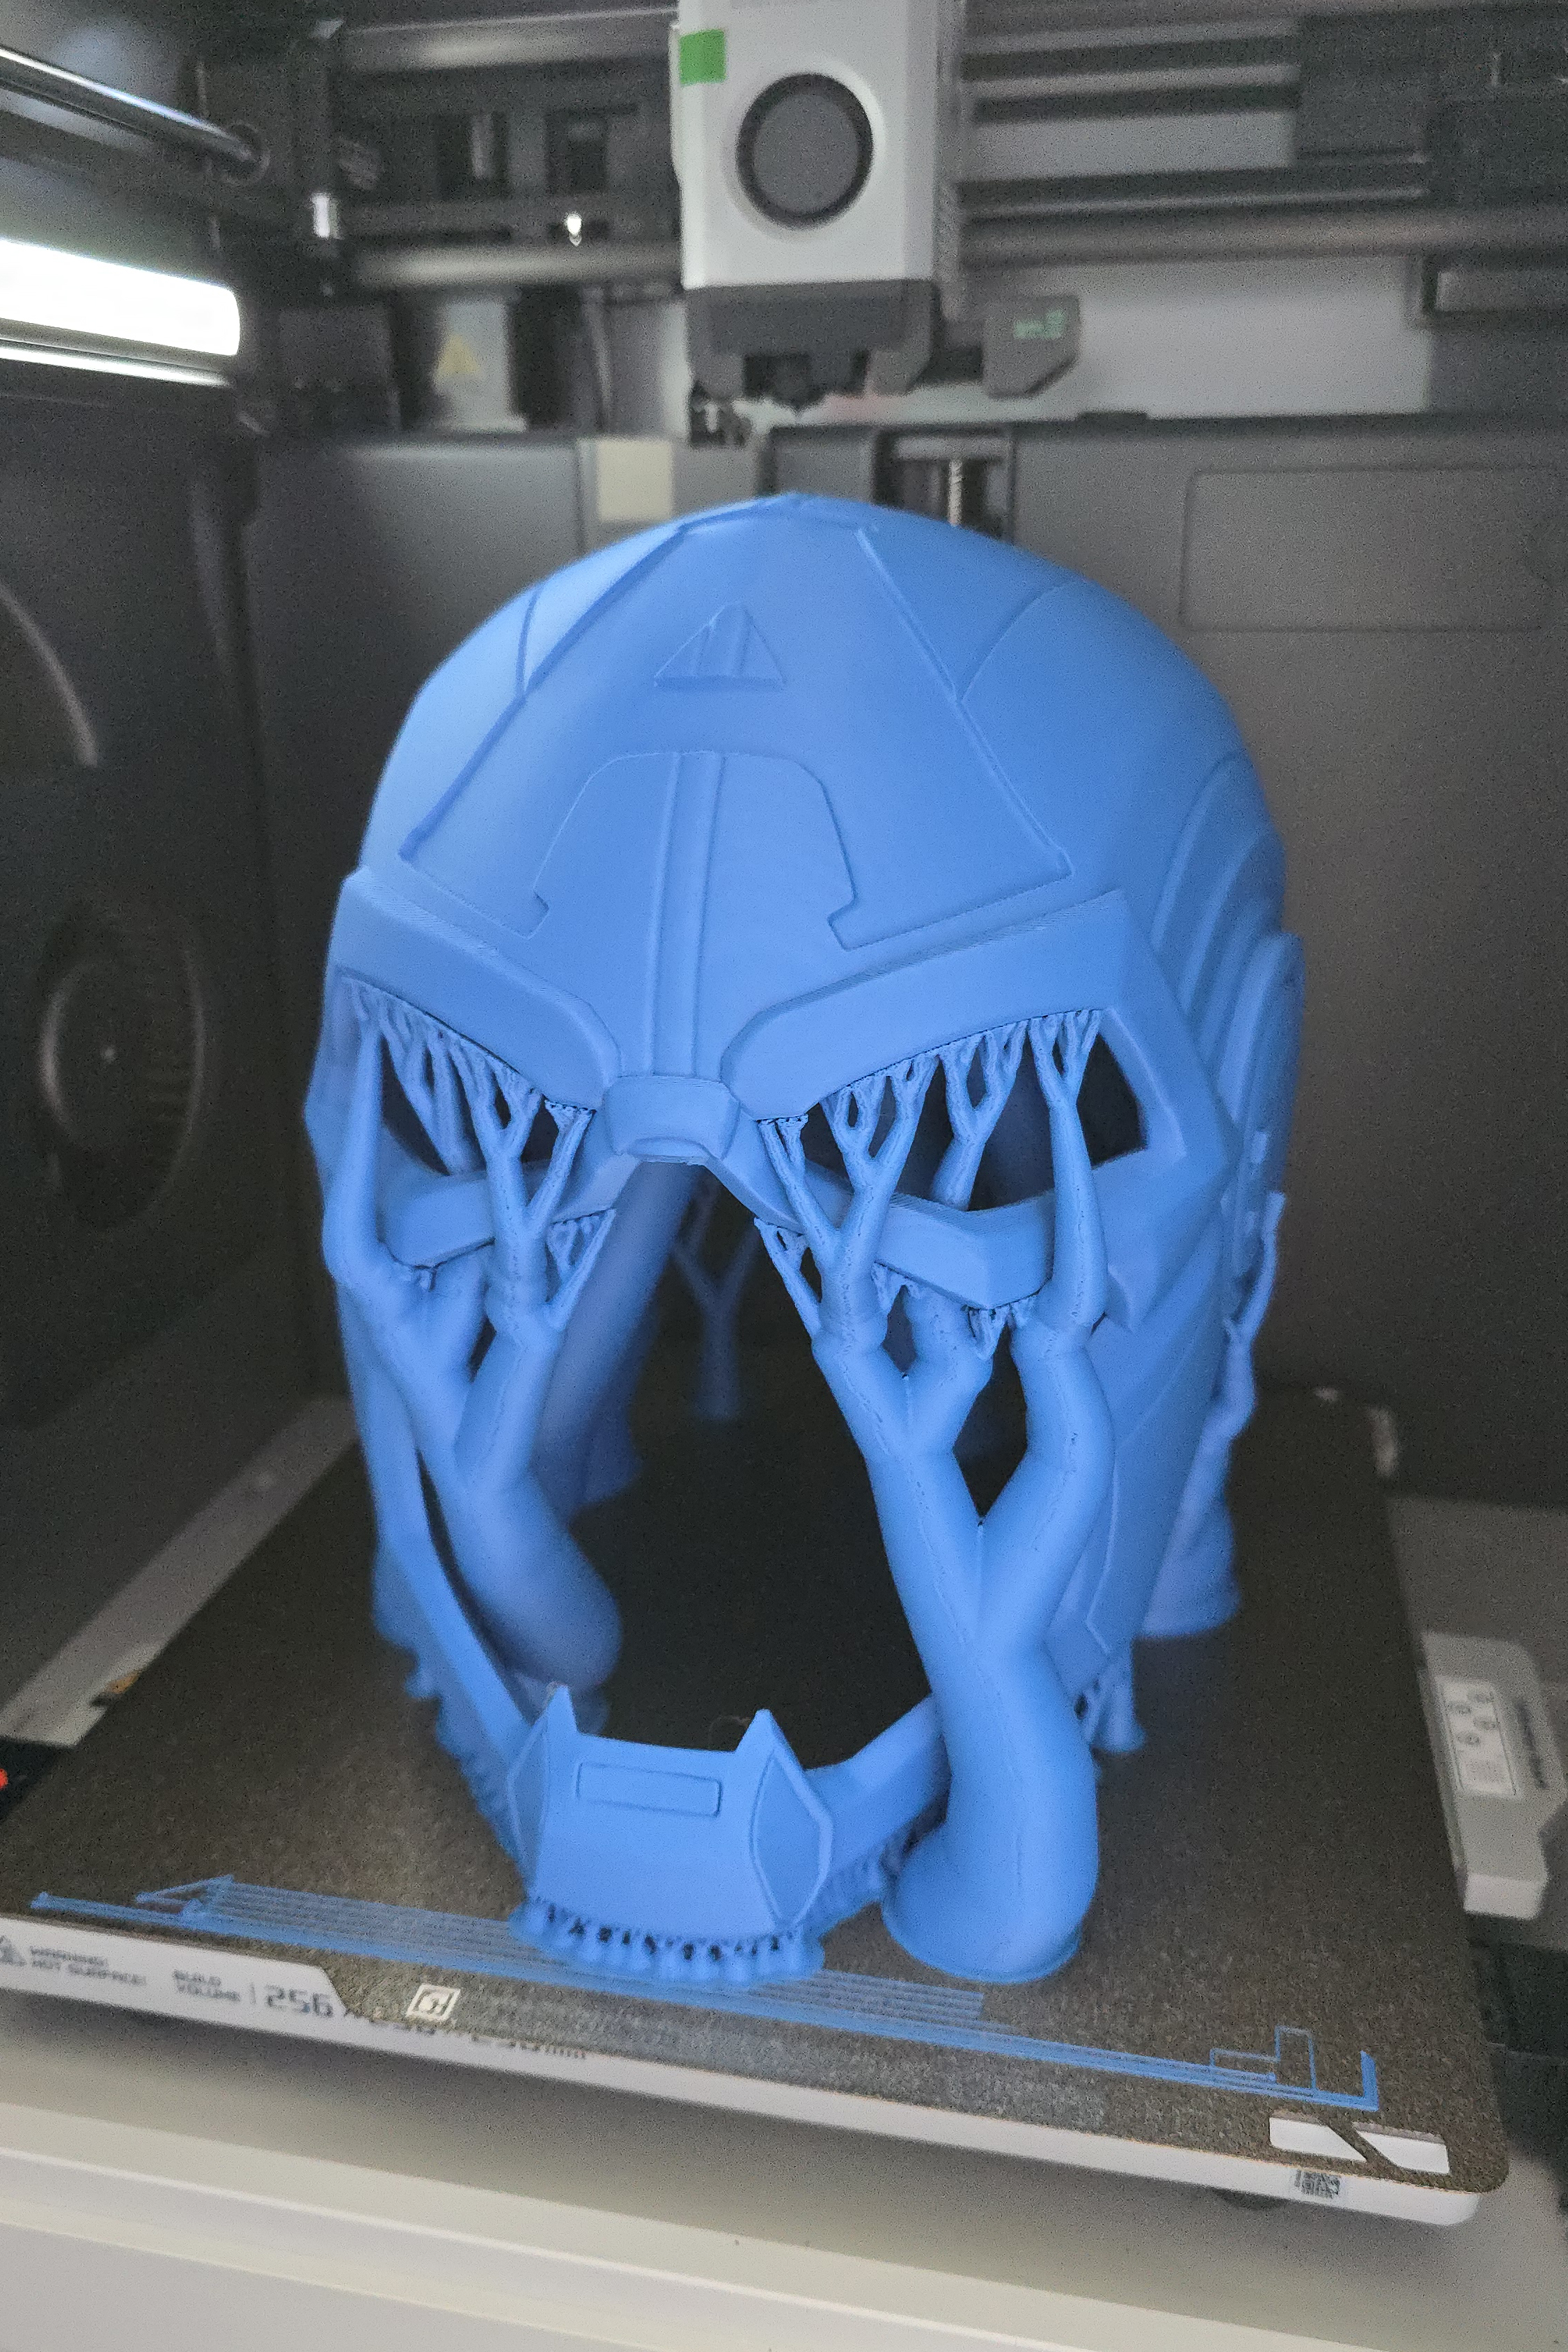
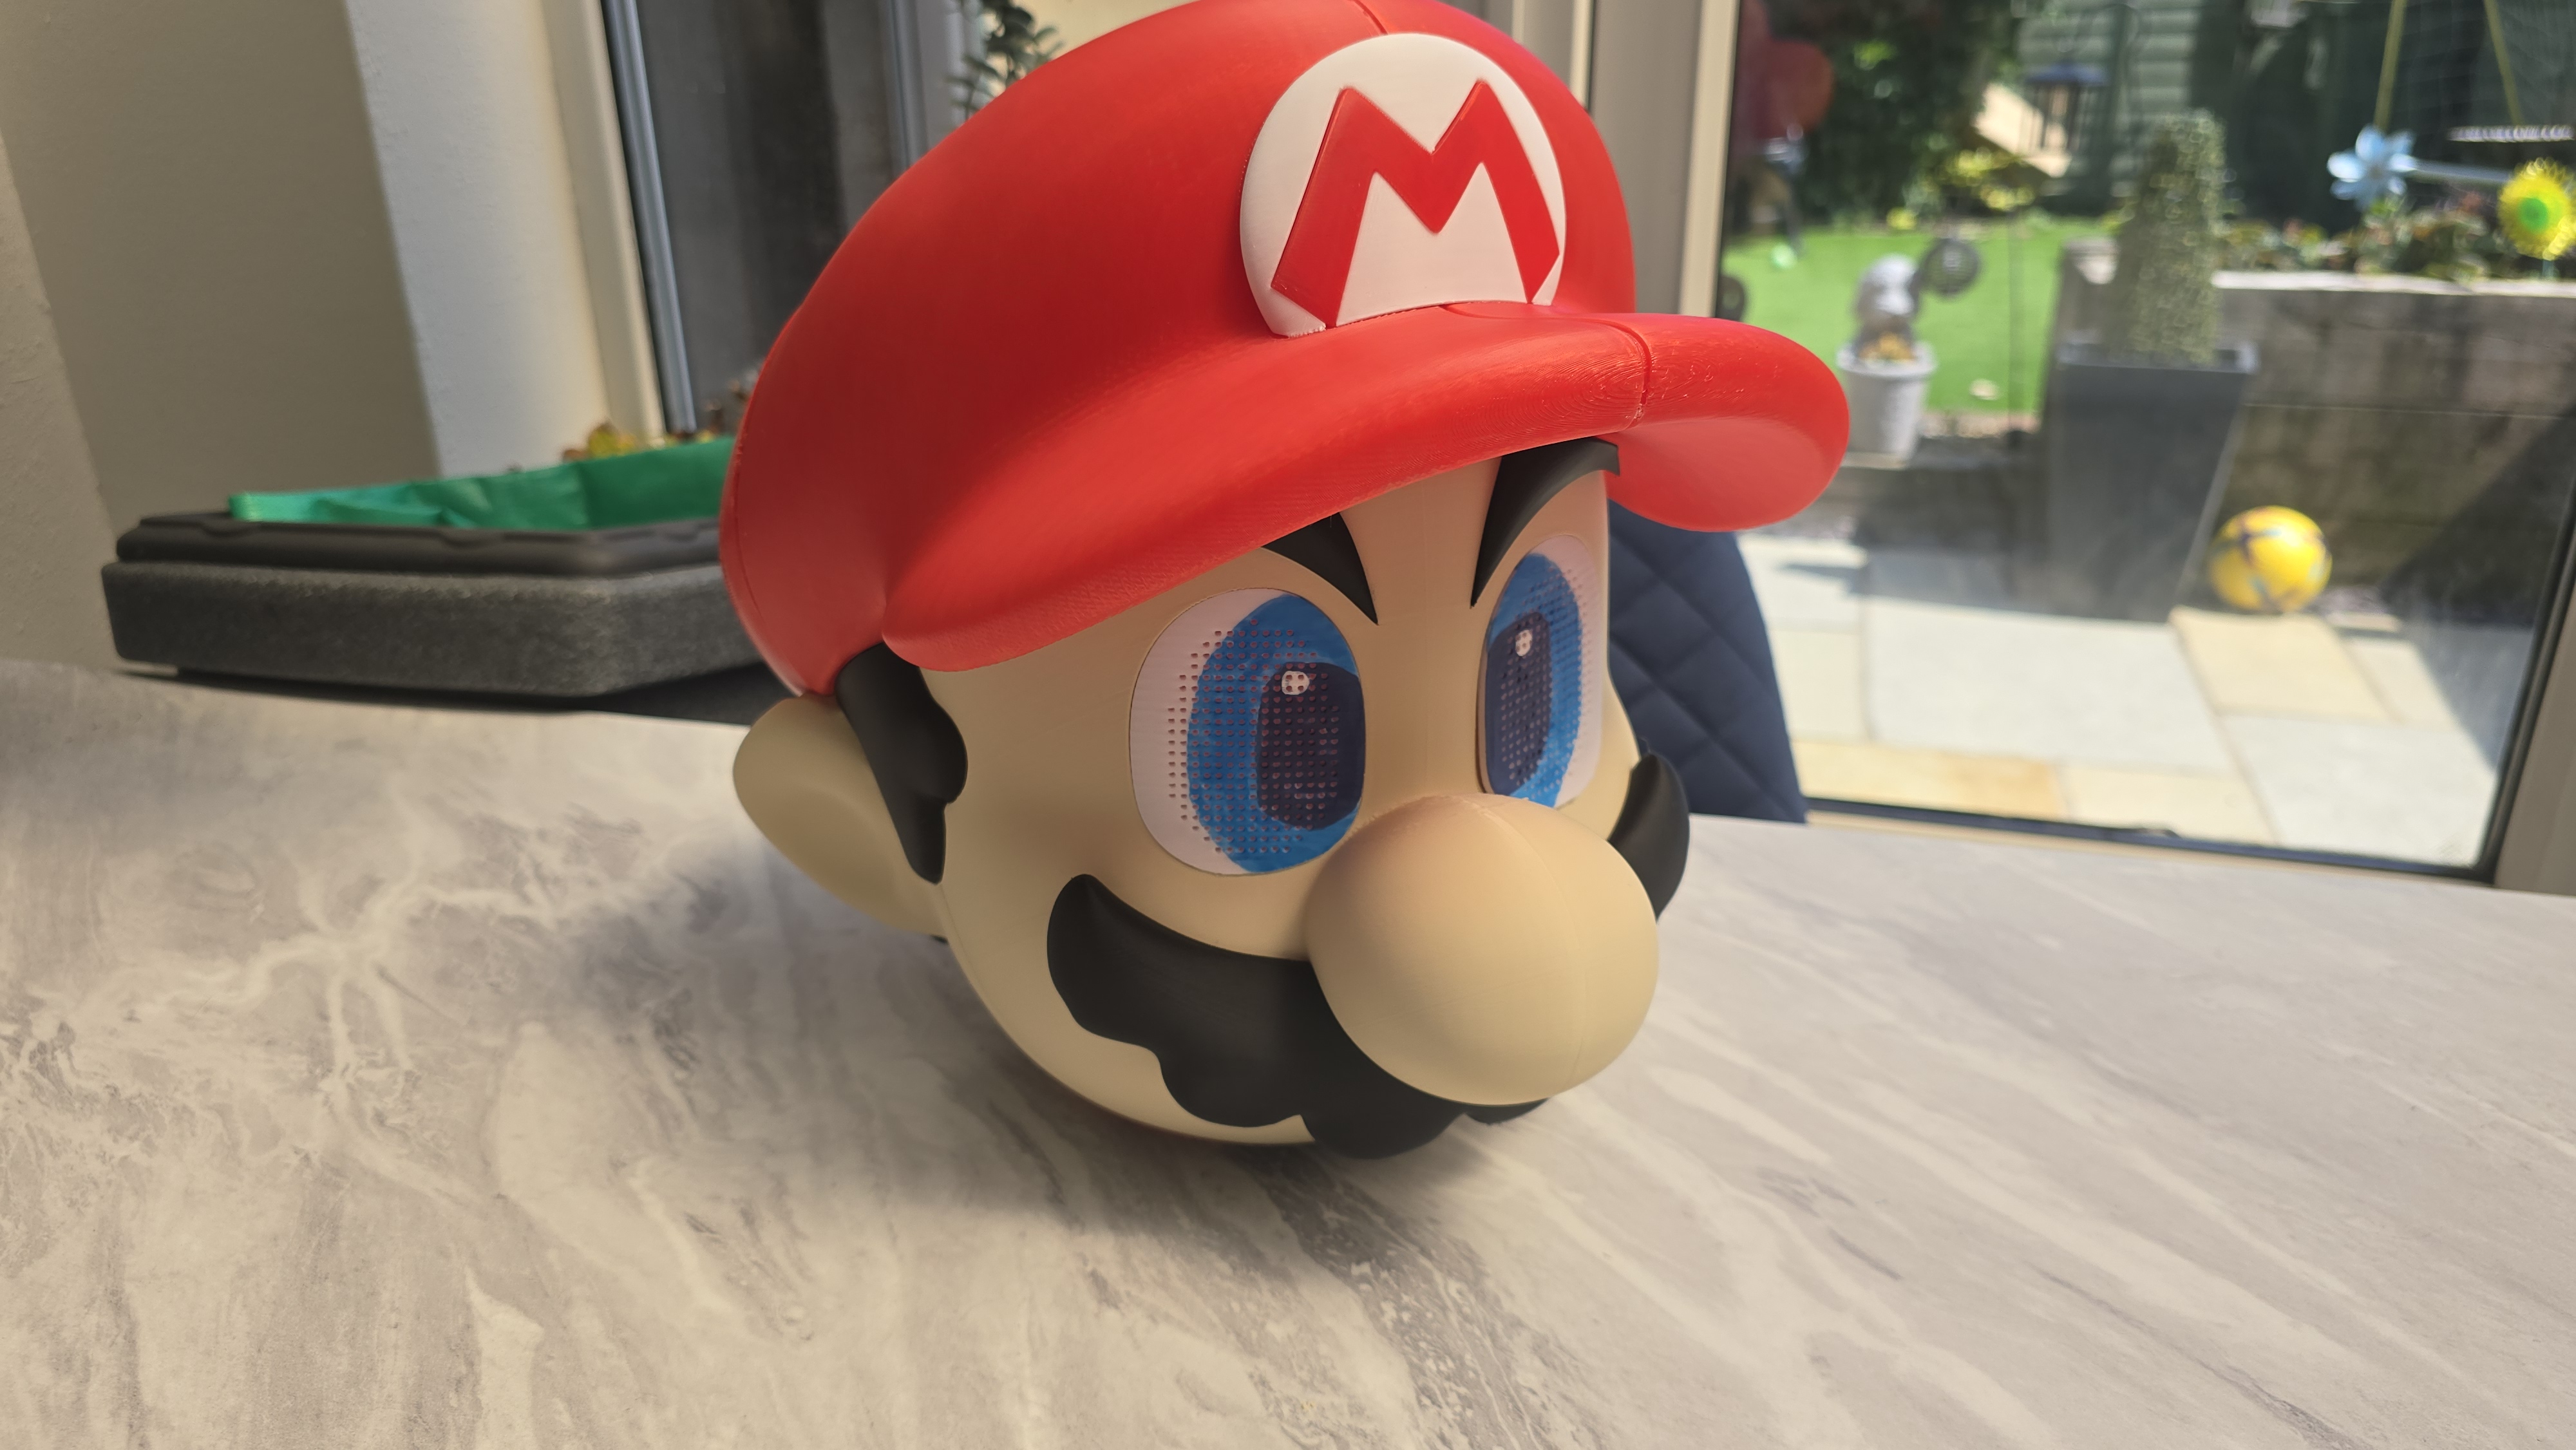
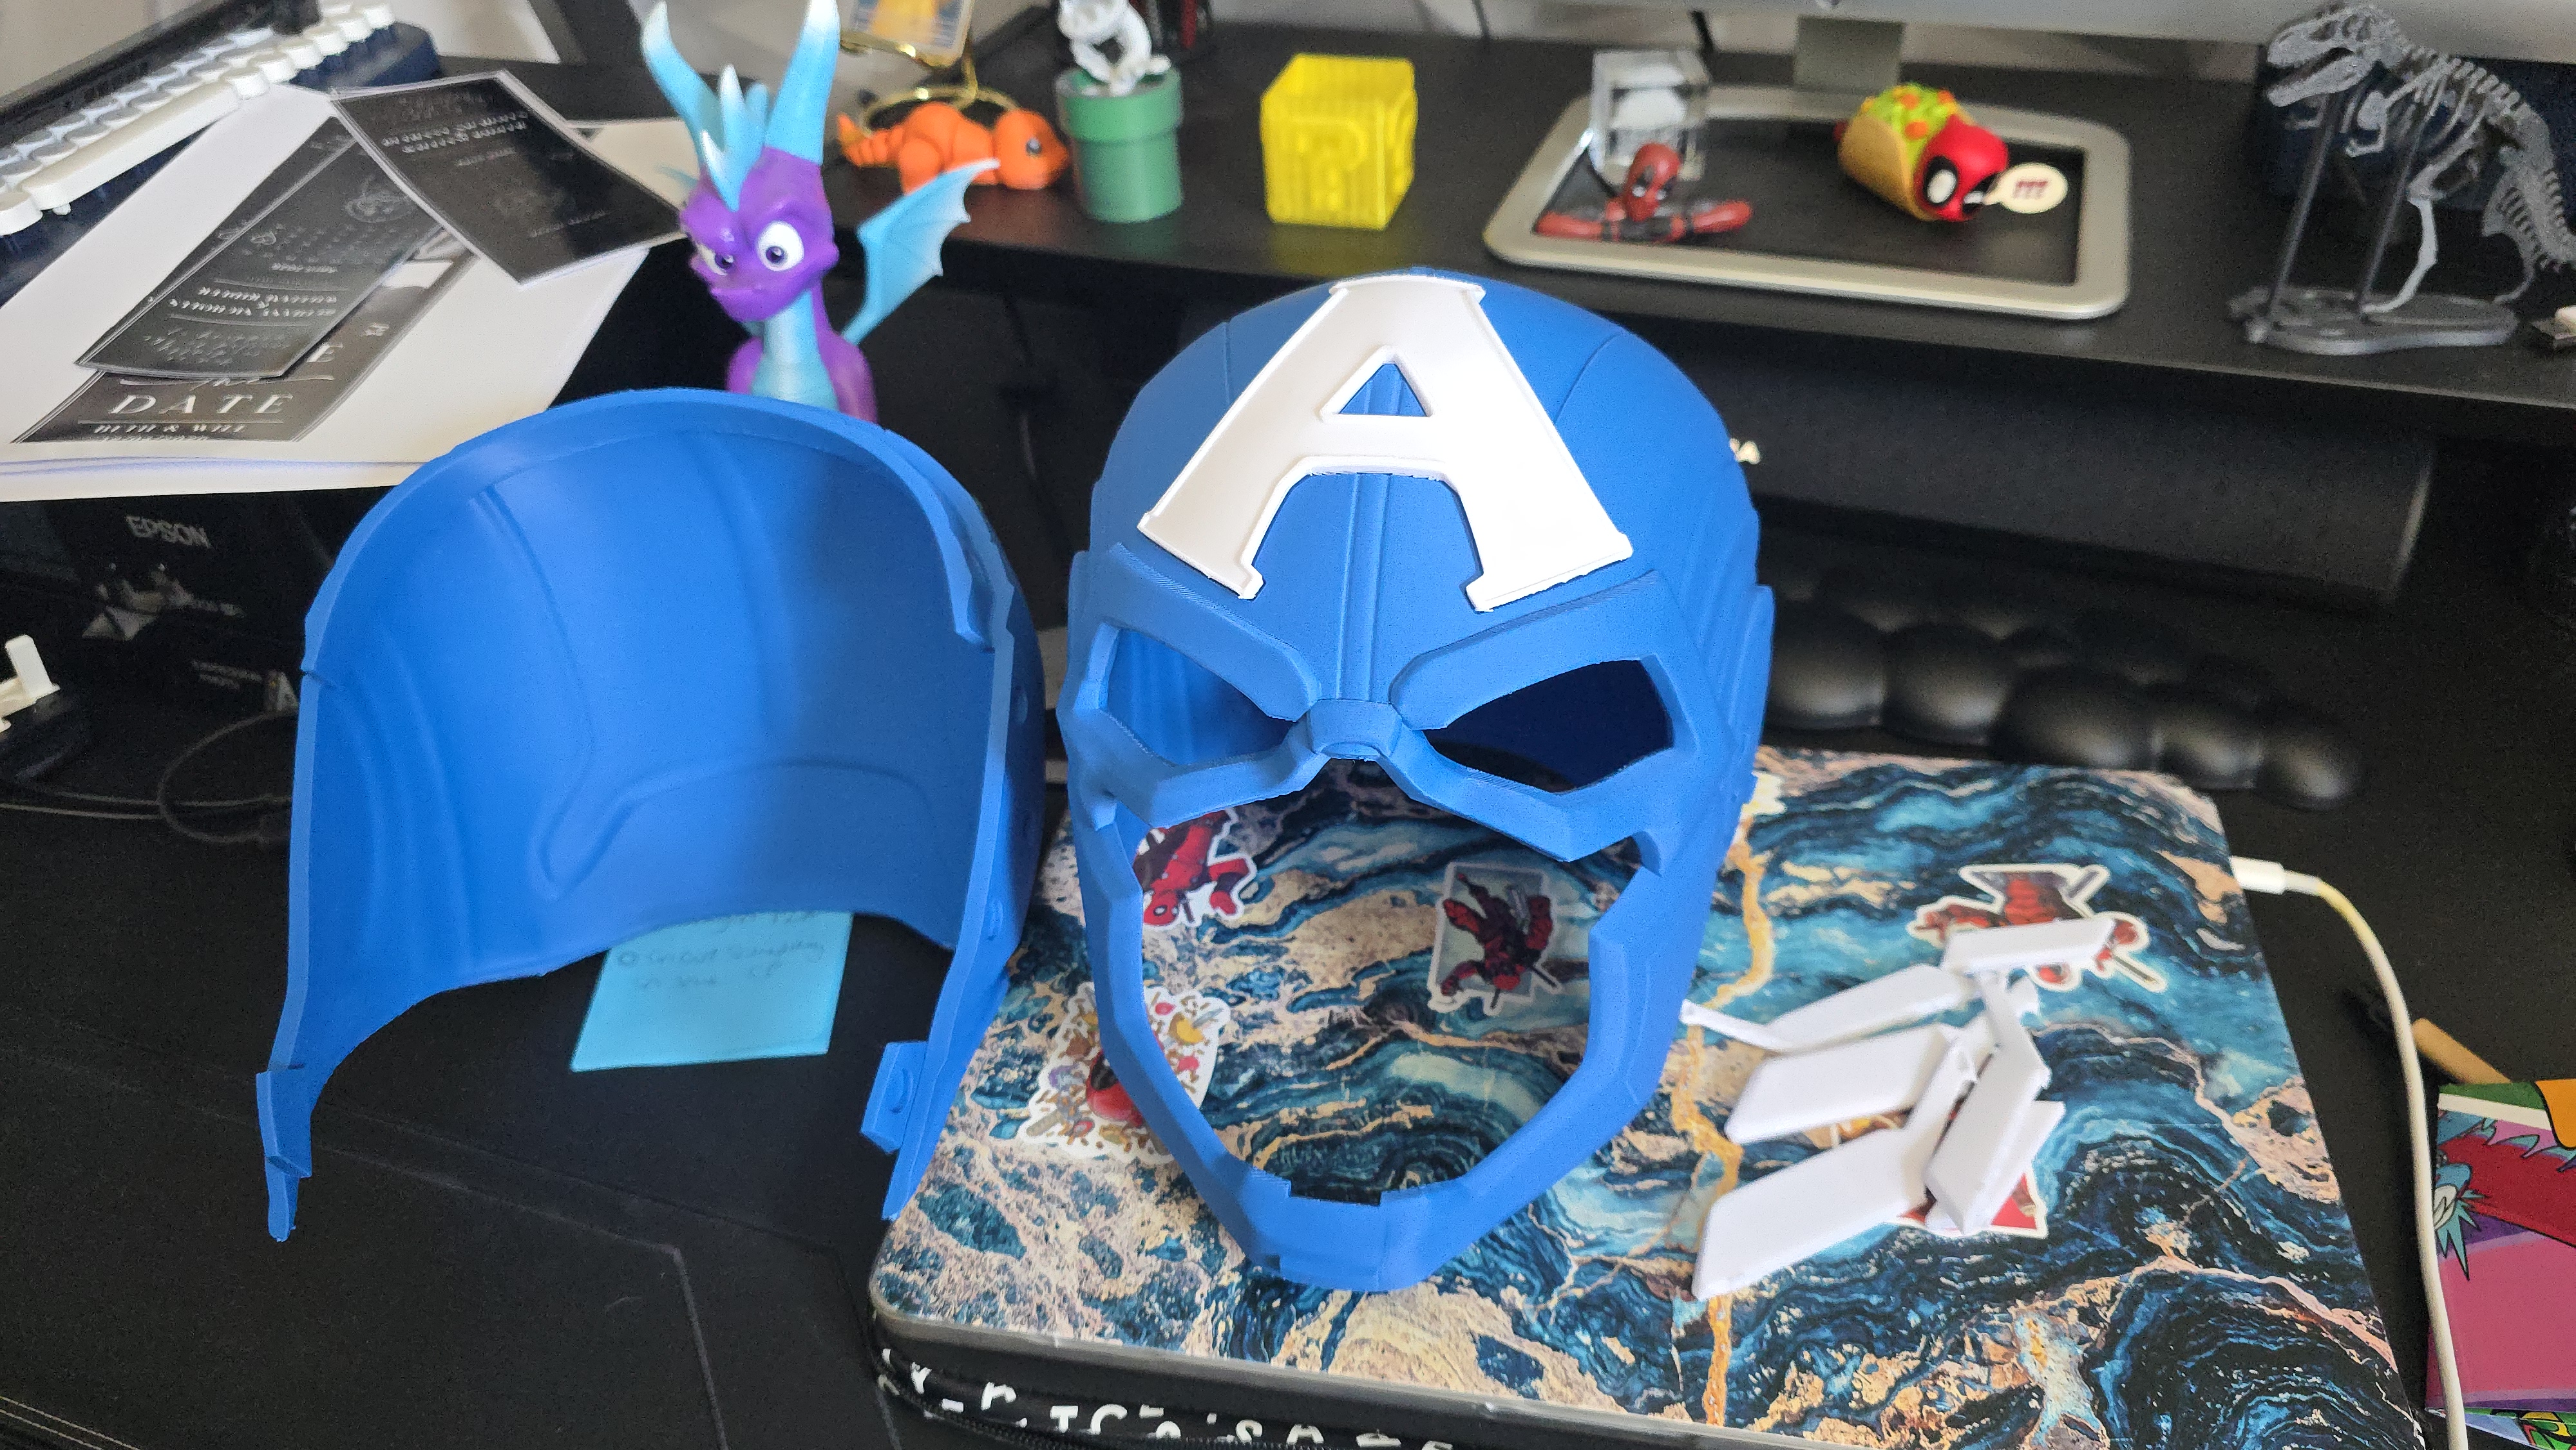
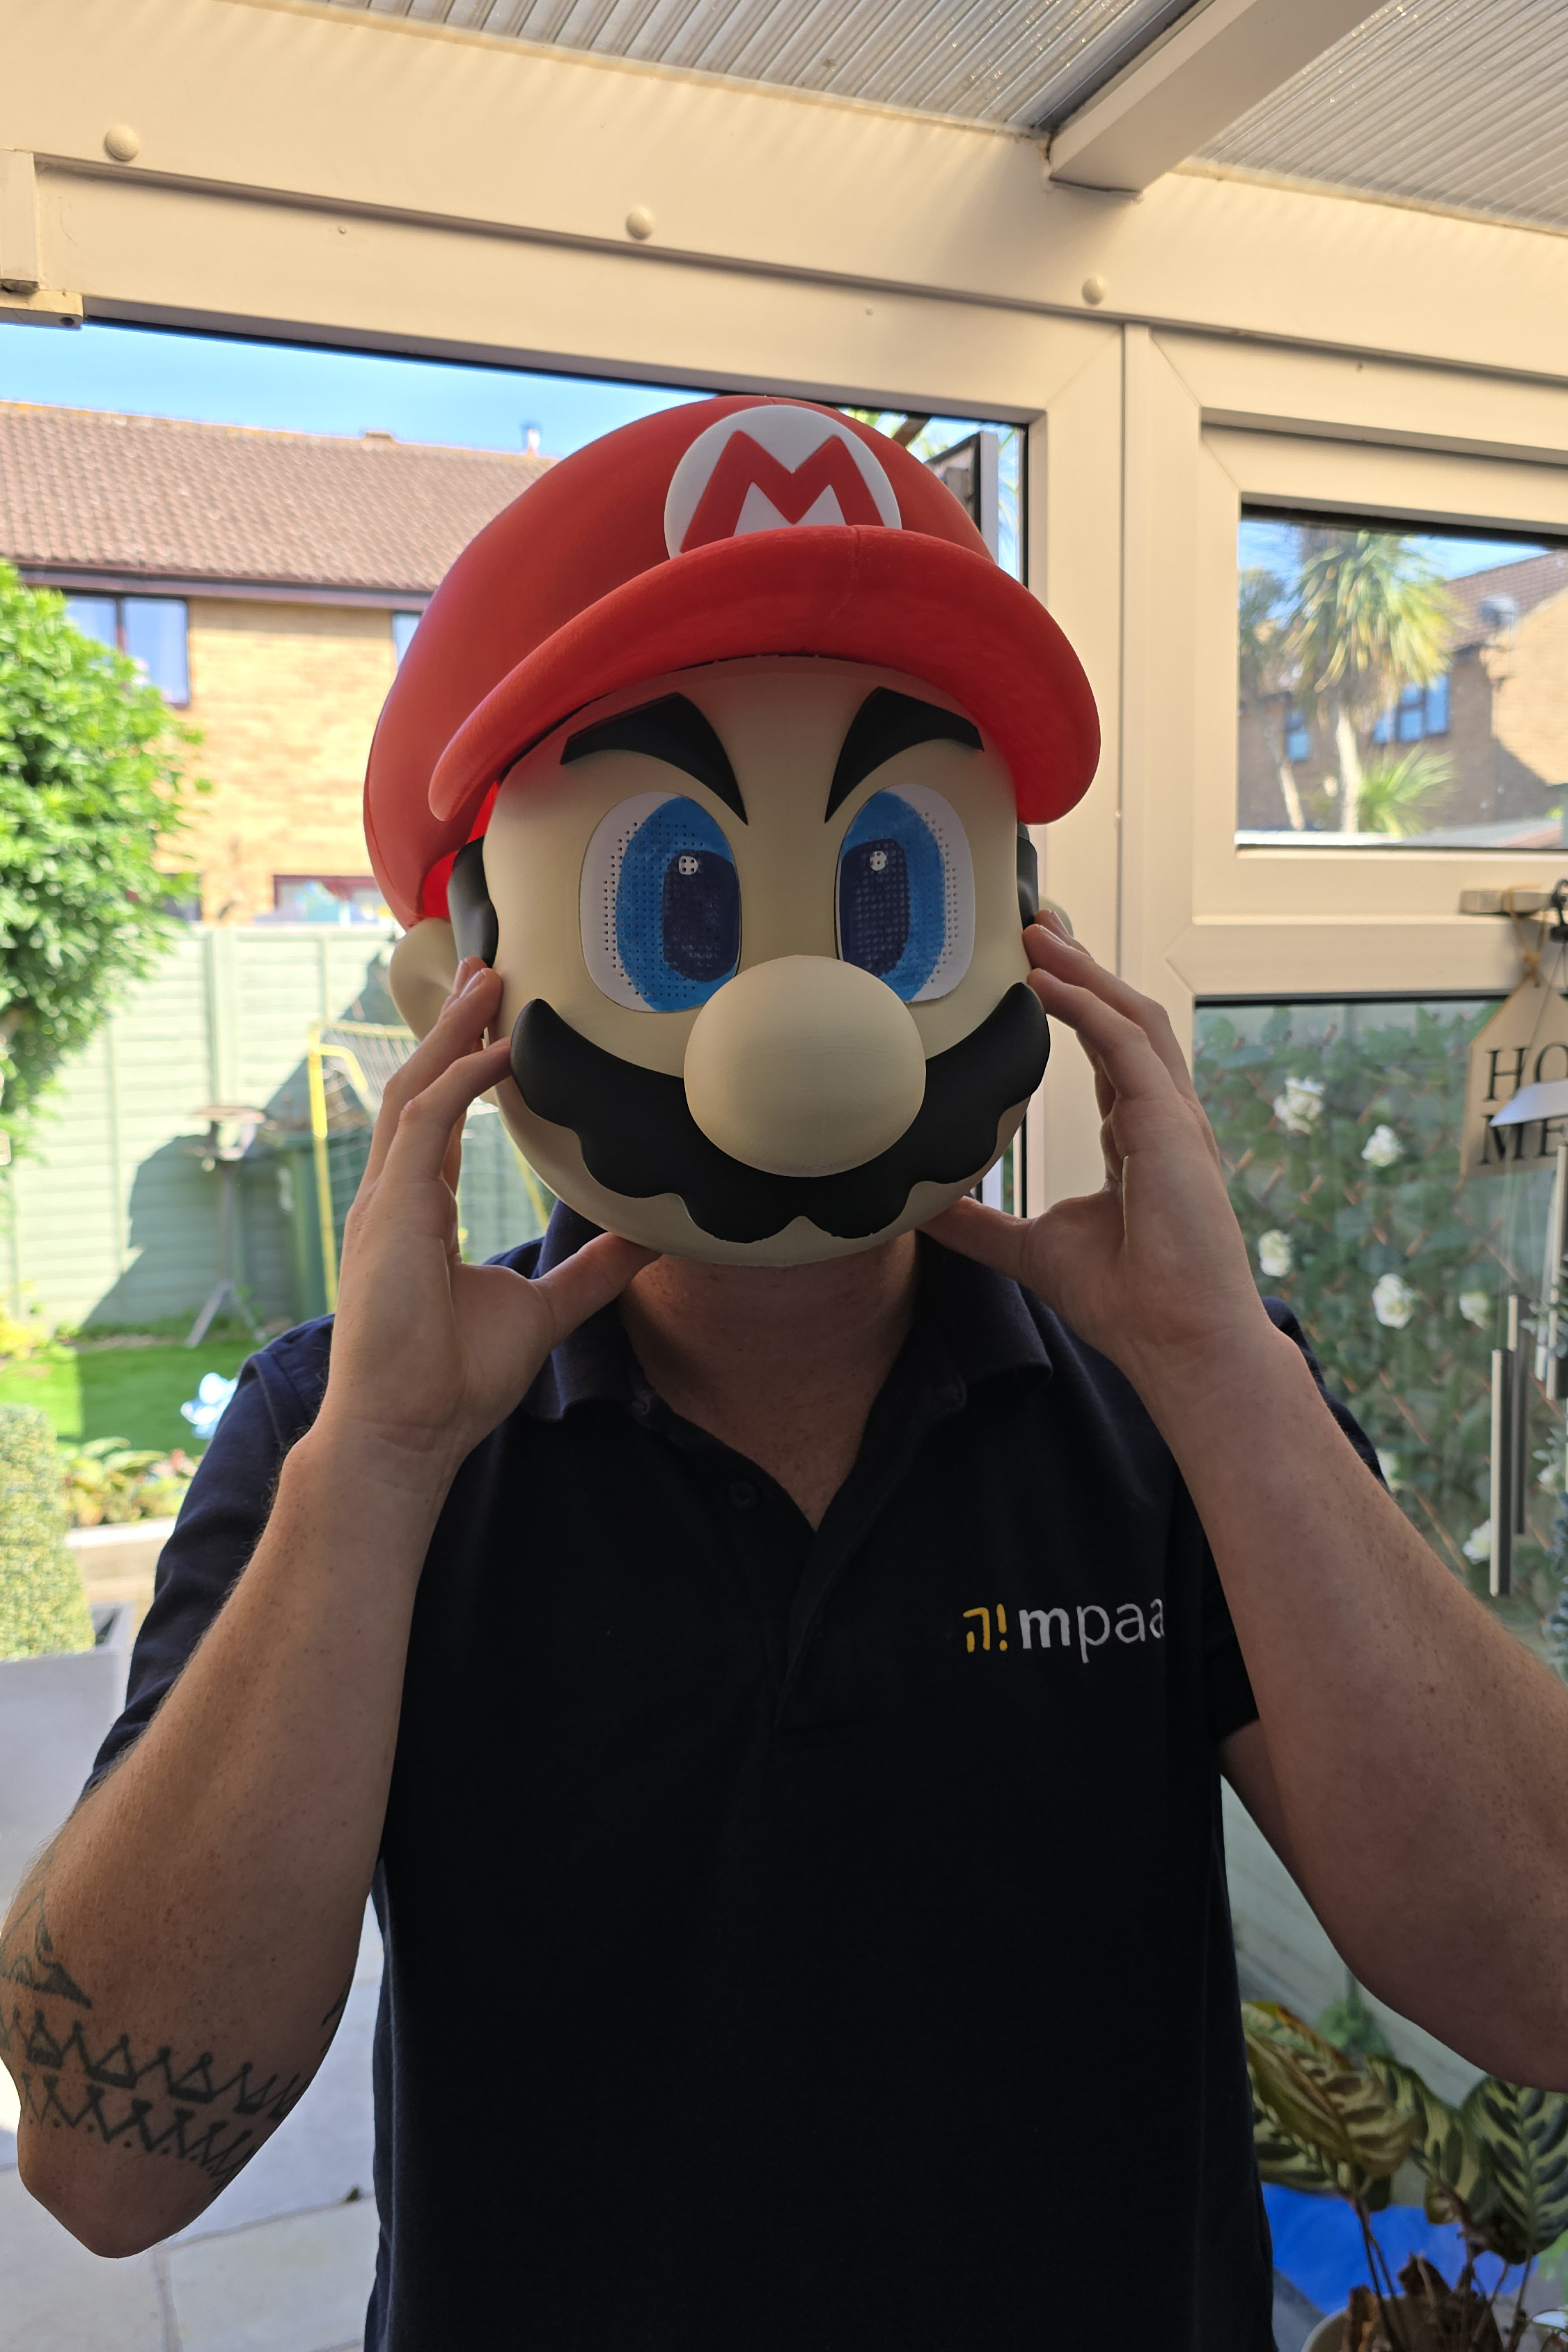
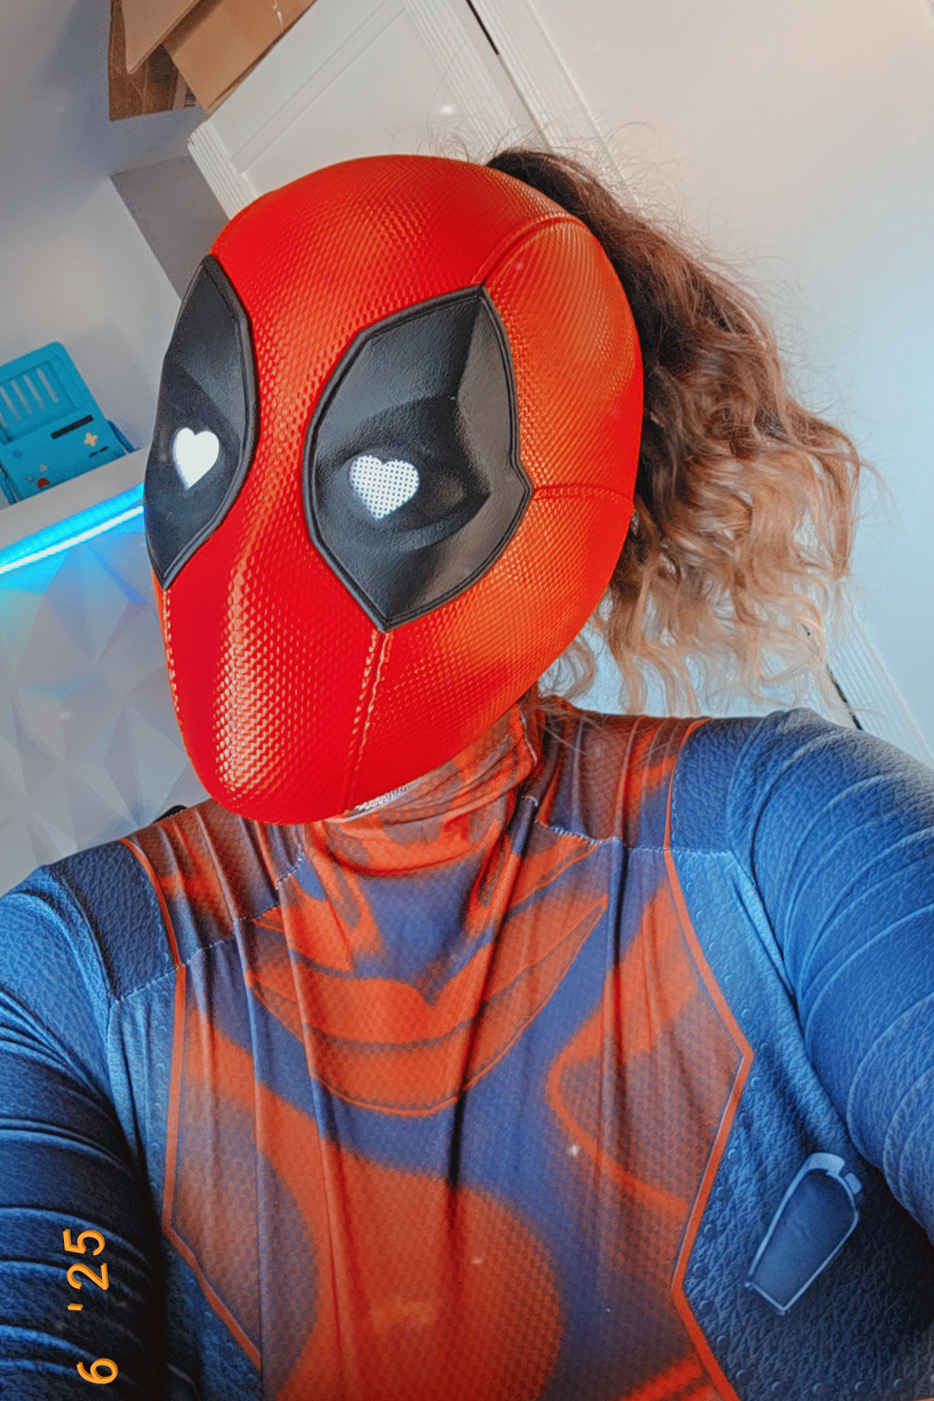
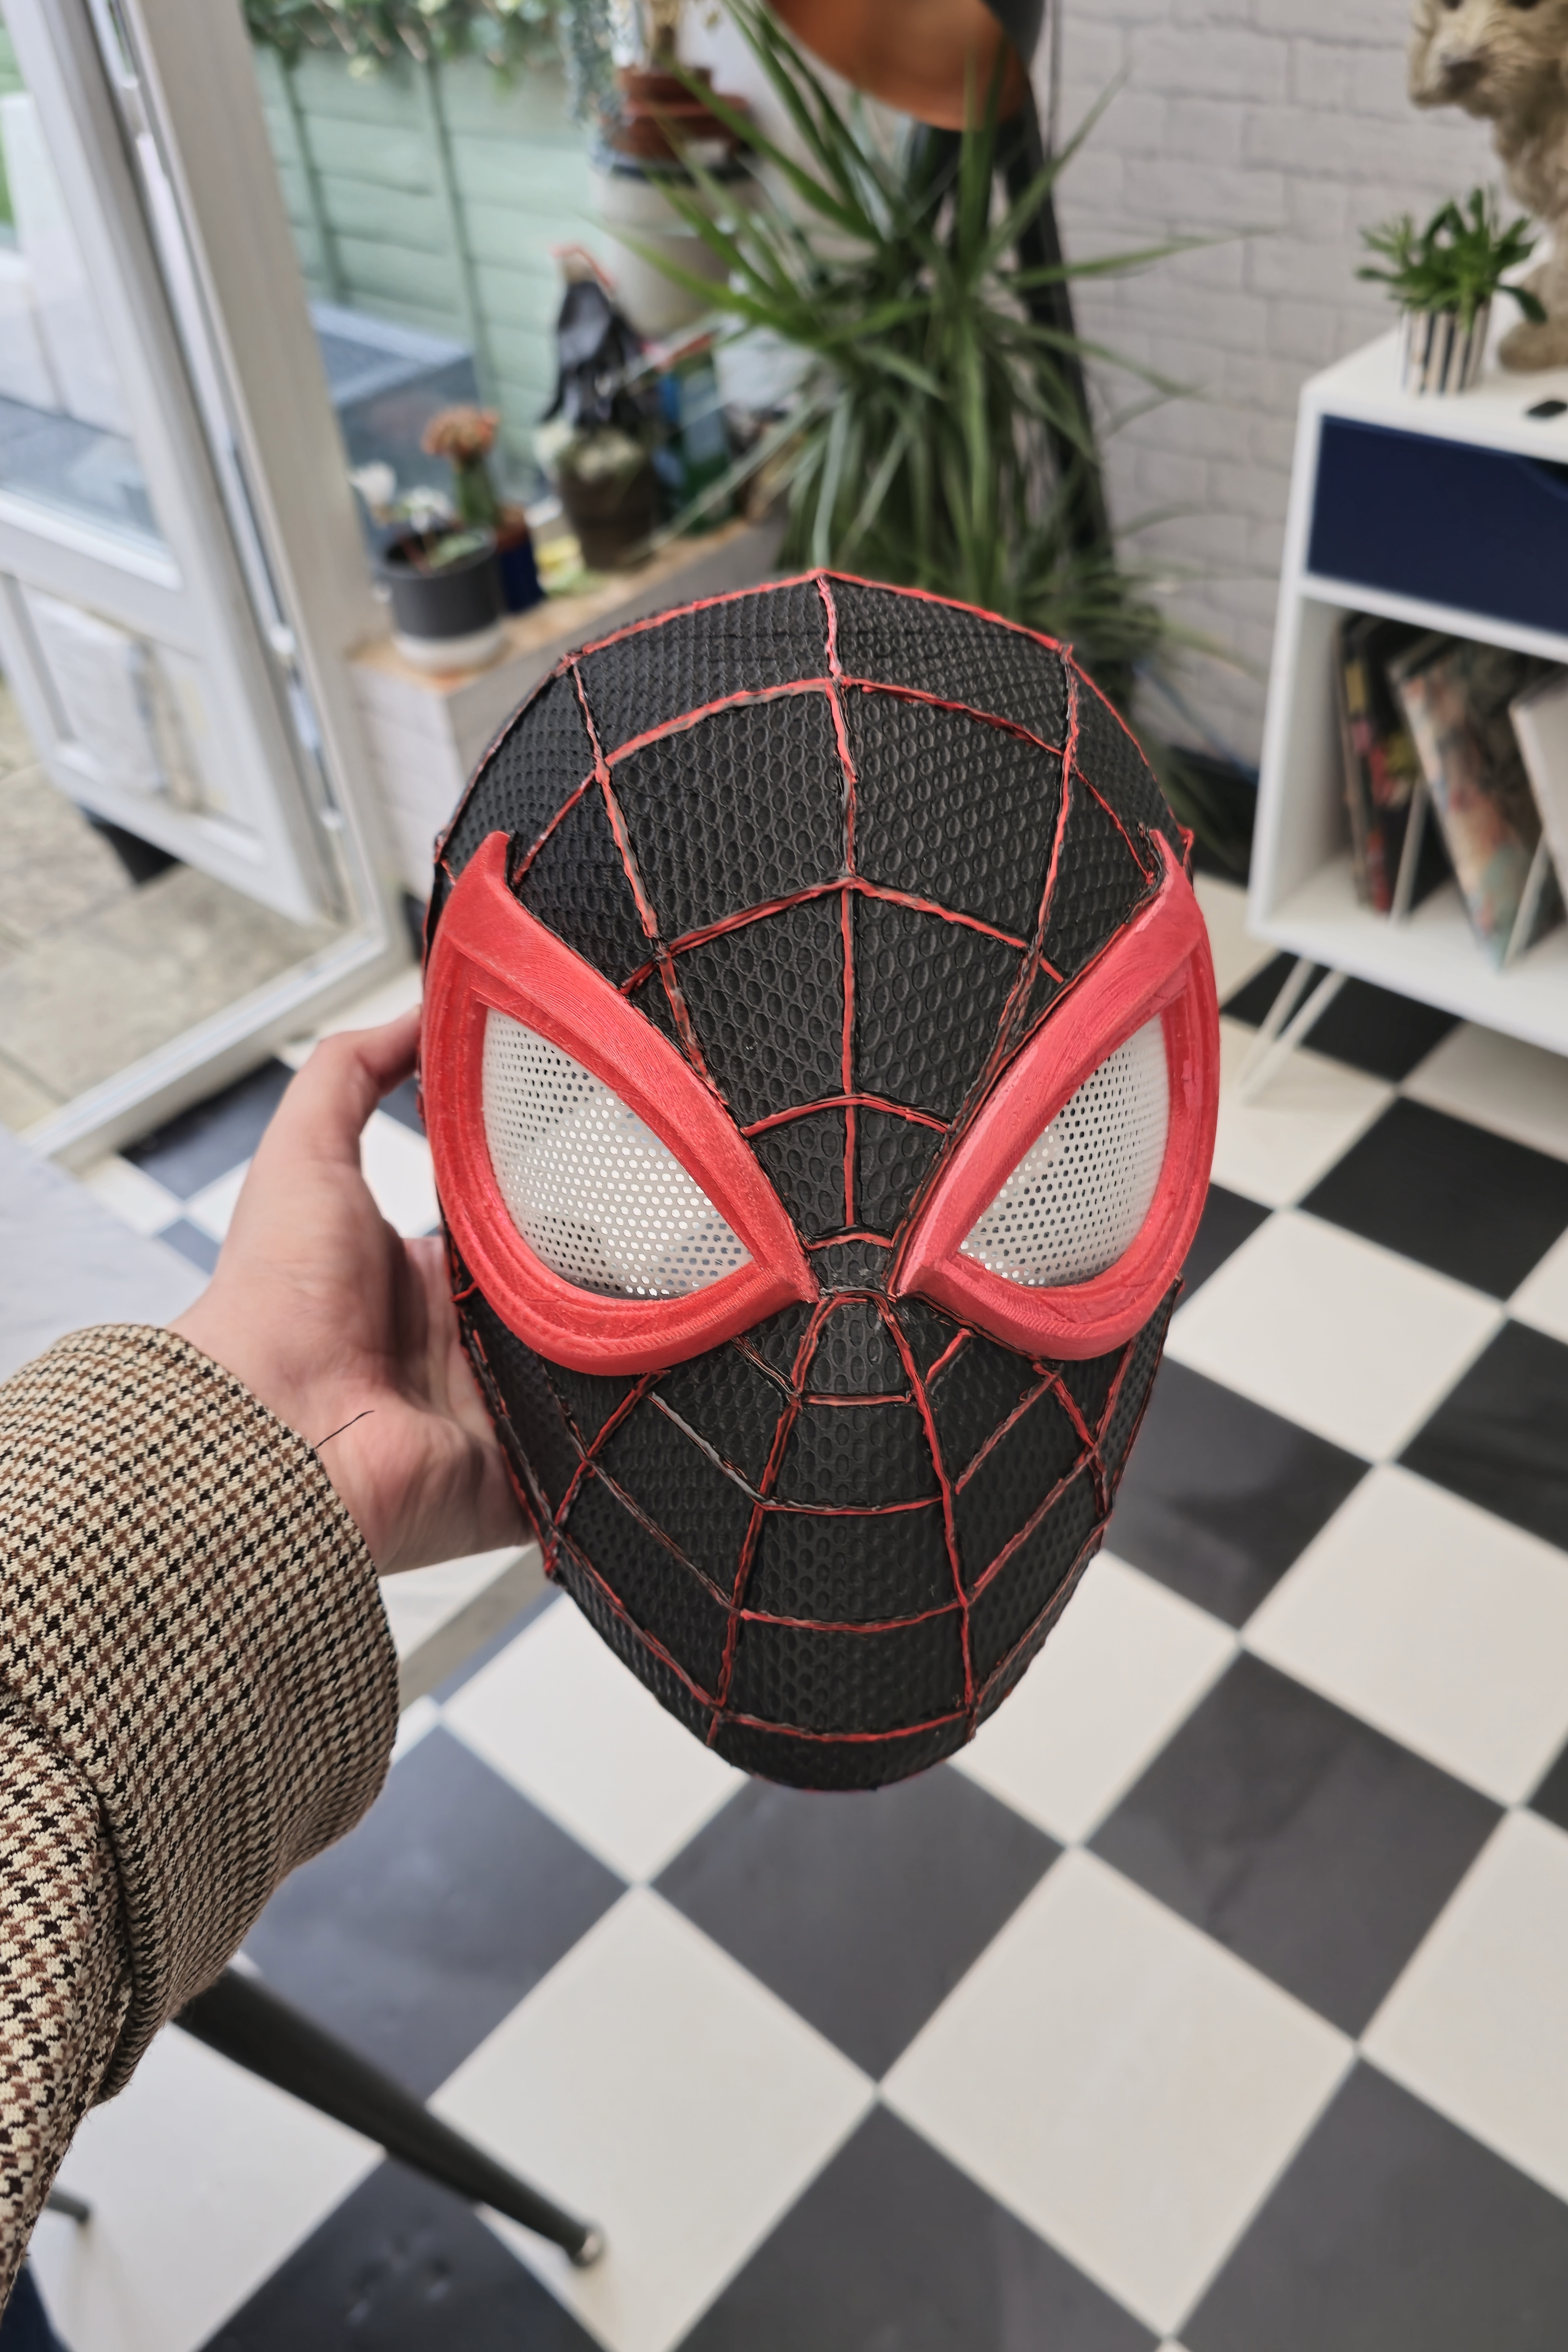
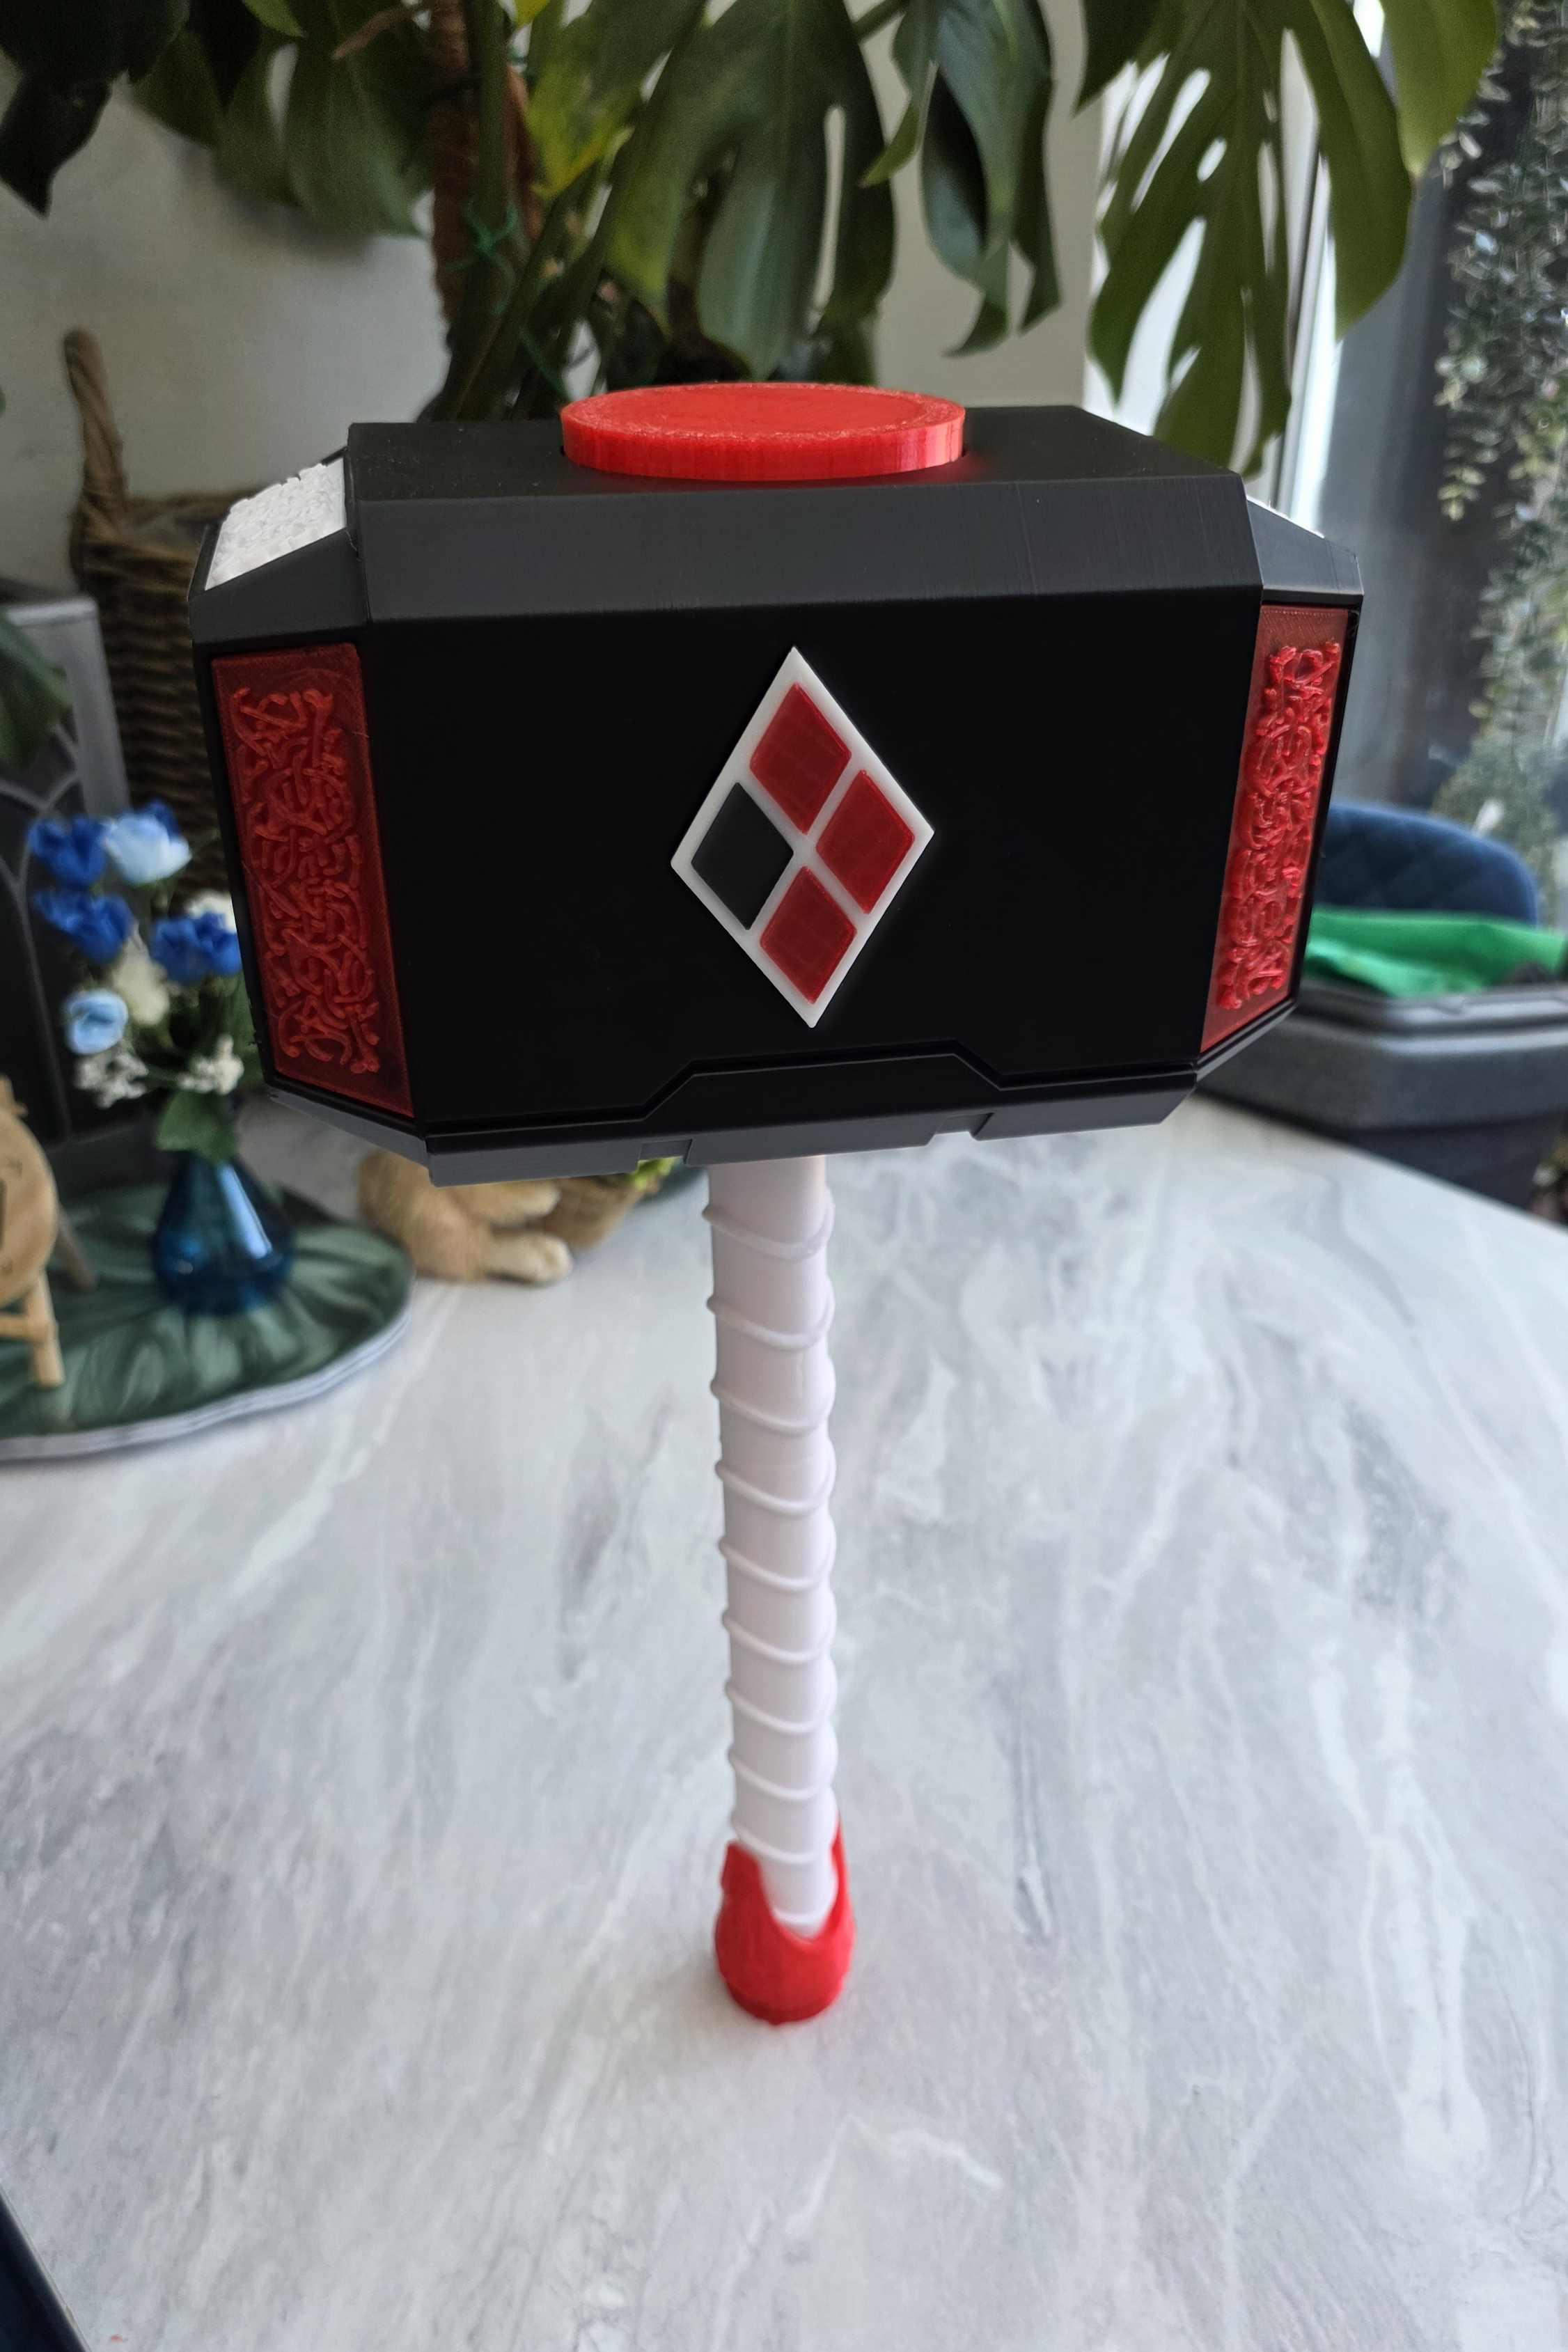
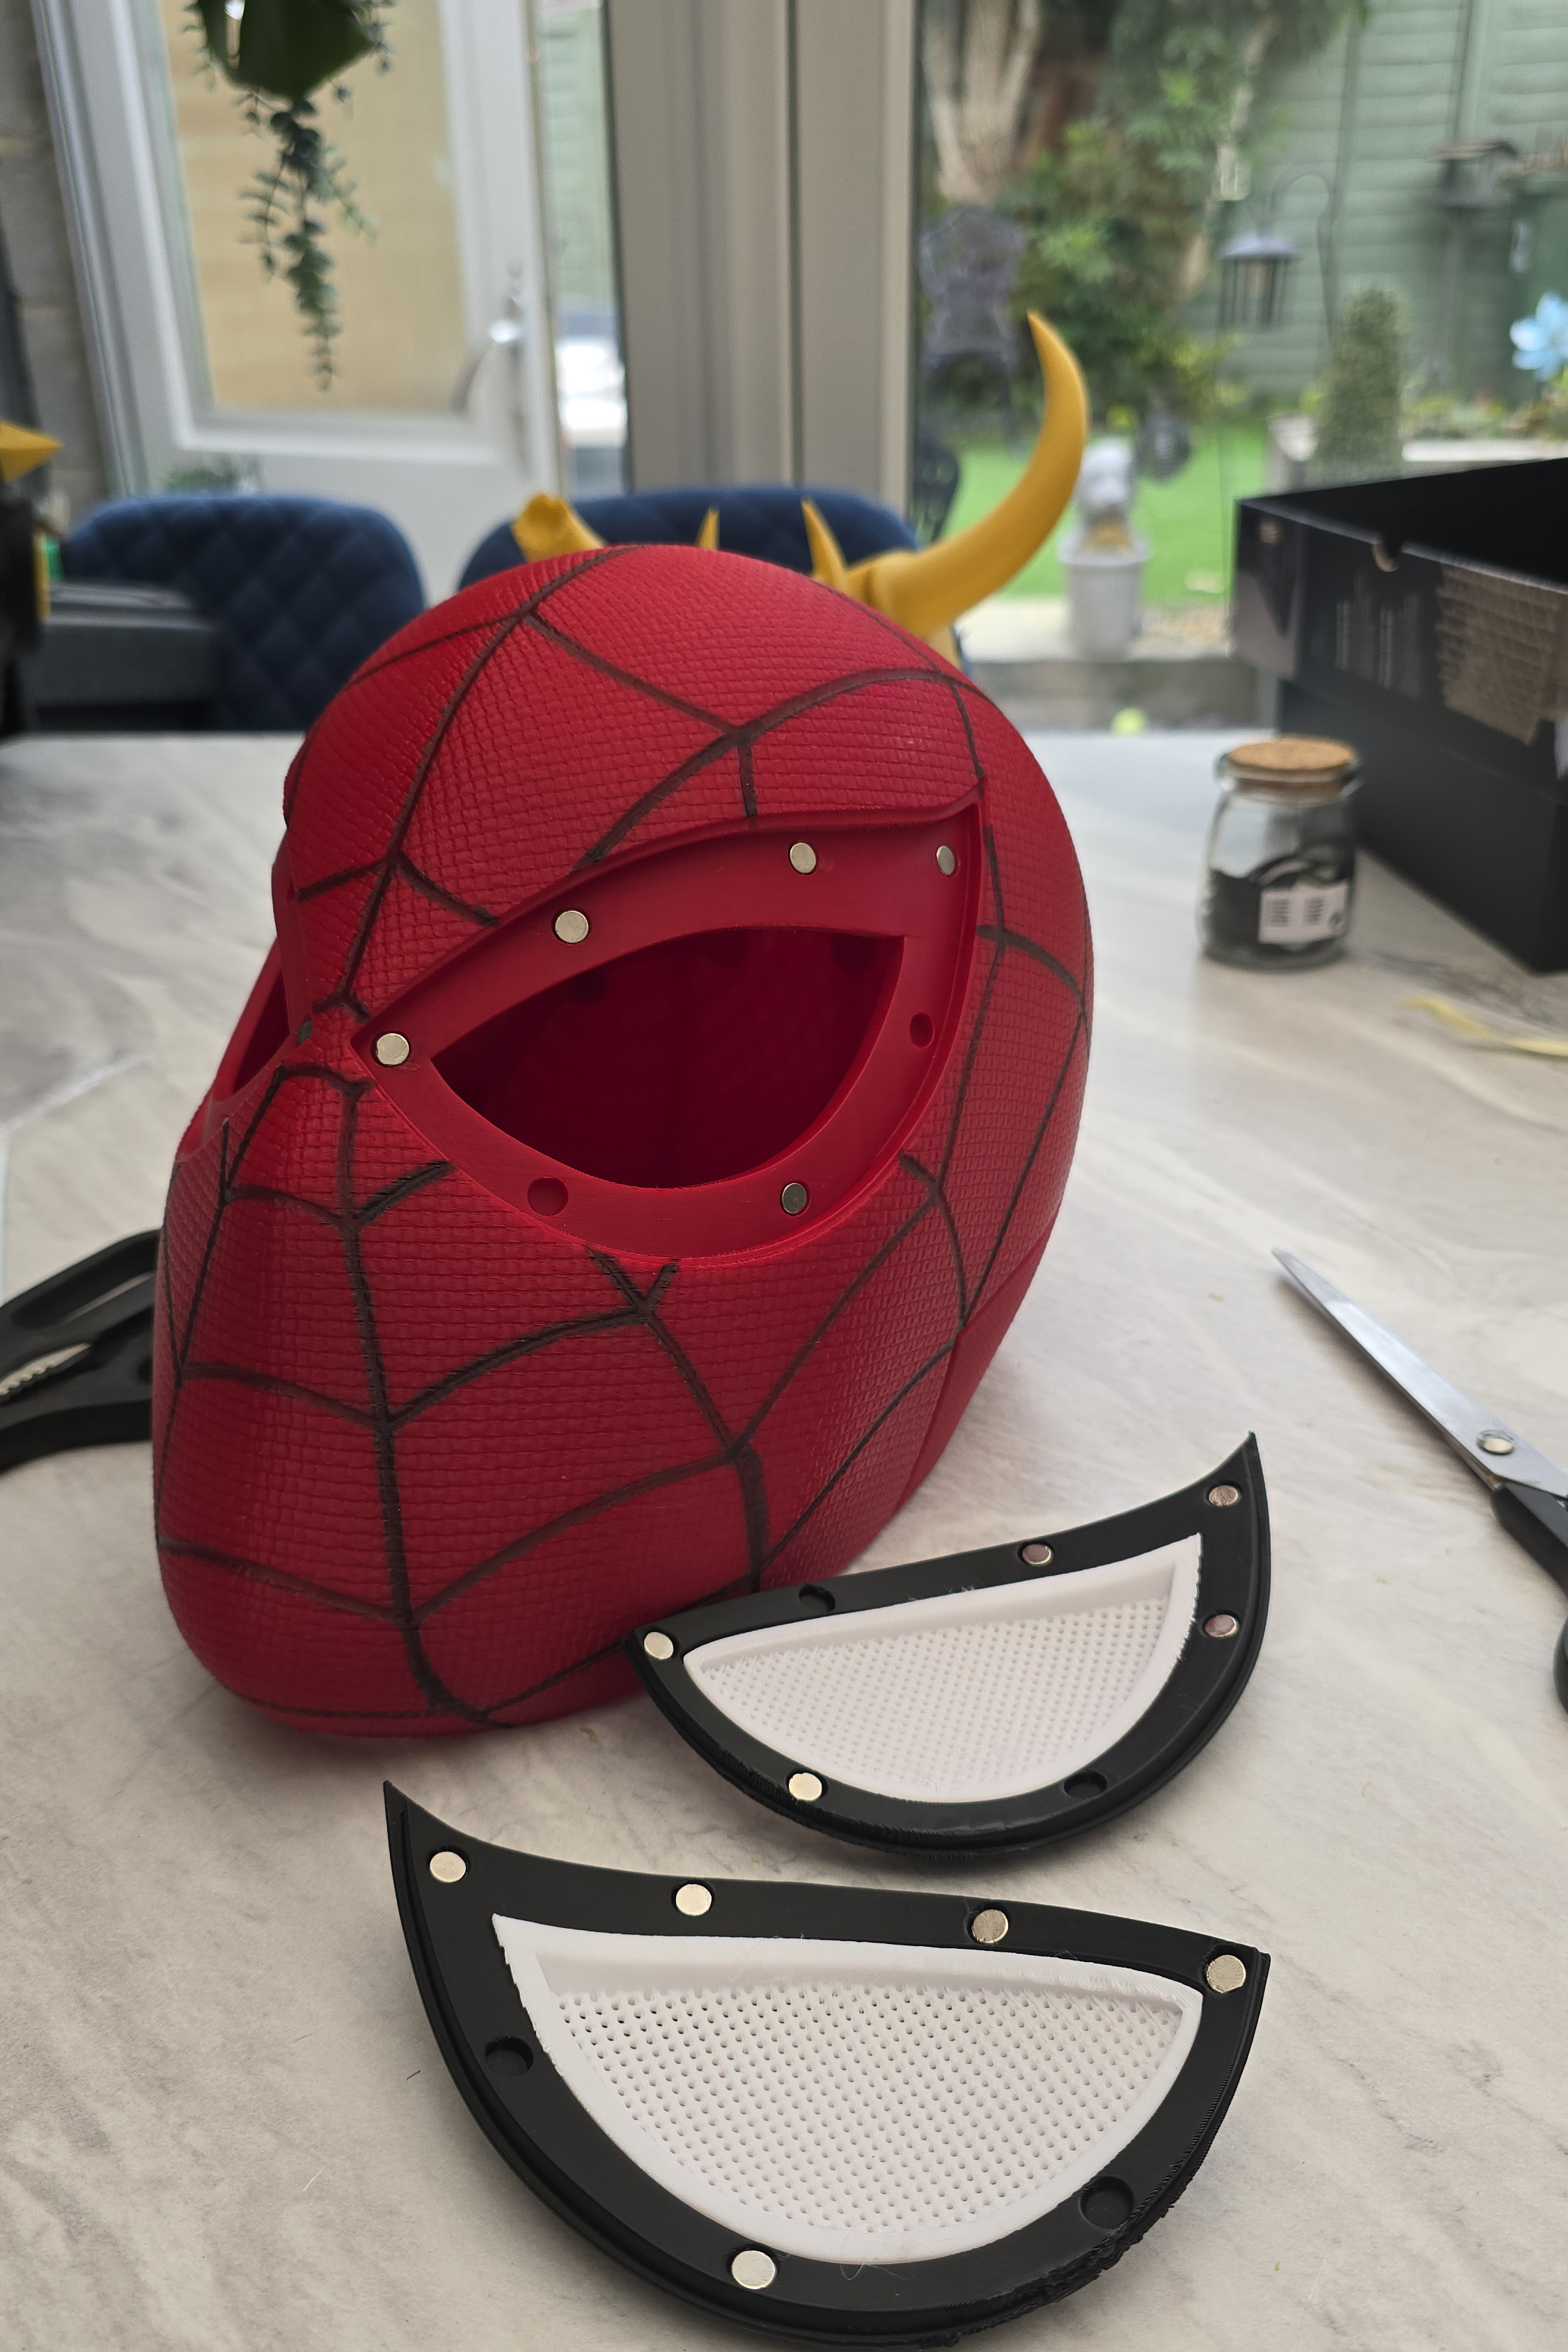
I'm also going to be sharing some of my best tips and tricks that I've learned when 3D printing cosplay pieces, and guiding you through the process step by step. I think my favourite mask that I've 3D printed so far is the Ladypool one, but I've also grown to love the SpiderPool mask too, despite its imperfections. If you don't have a 3D printer, perhaps you should start smaller first and check out these 5 ways you can use a 3D pen for cosplay crafting.
What do I need to get started?
The bare minimum that you'll need to get started with printing cosplay props is a 3D printer, some filament (or resin), and some kind of glue or adhesive.
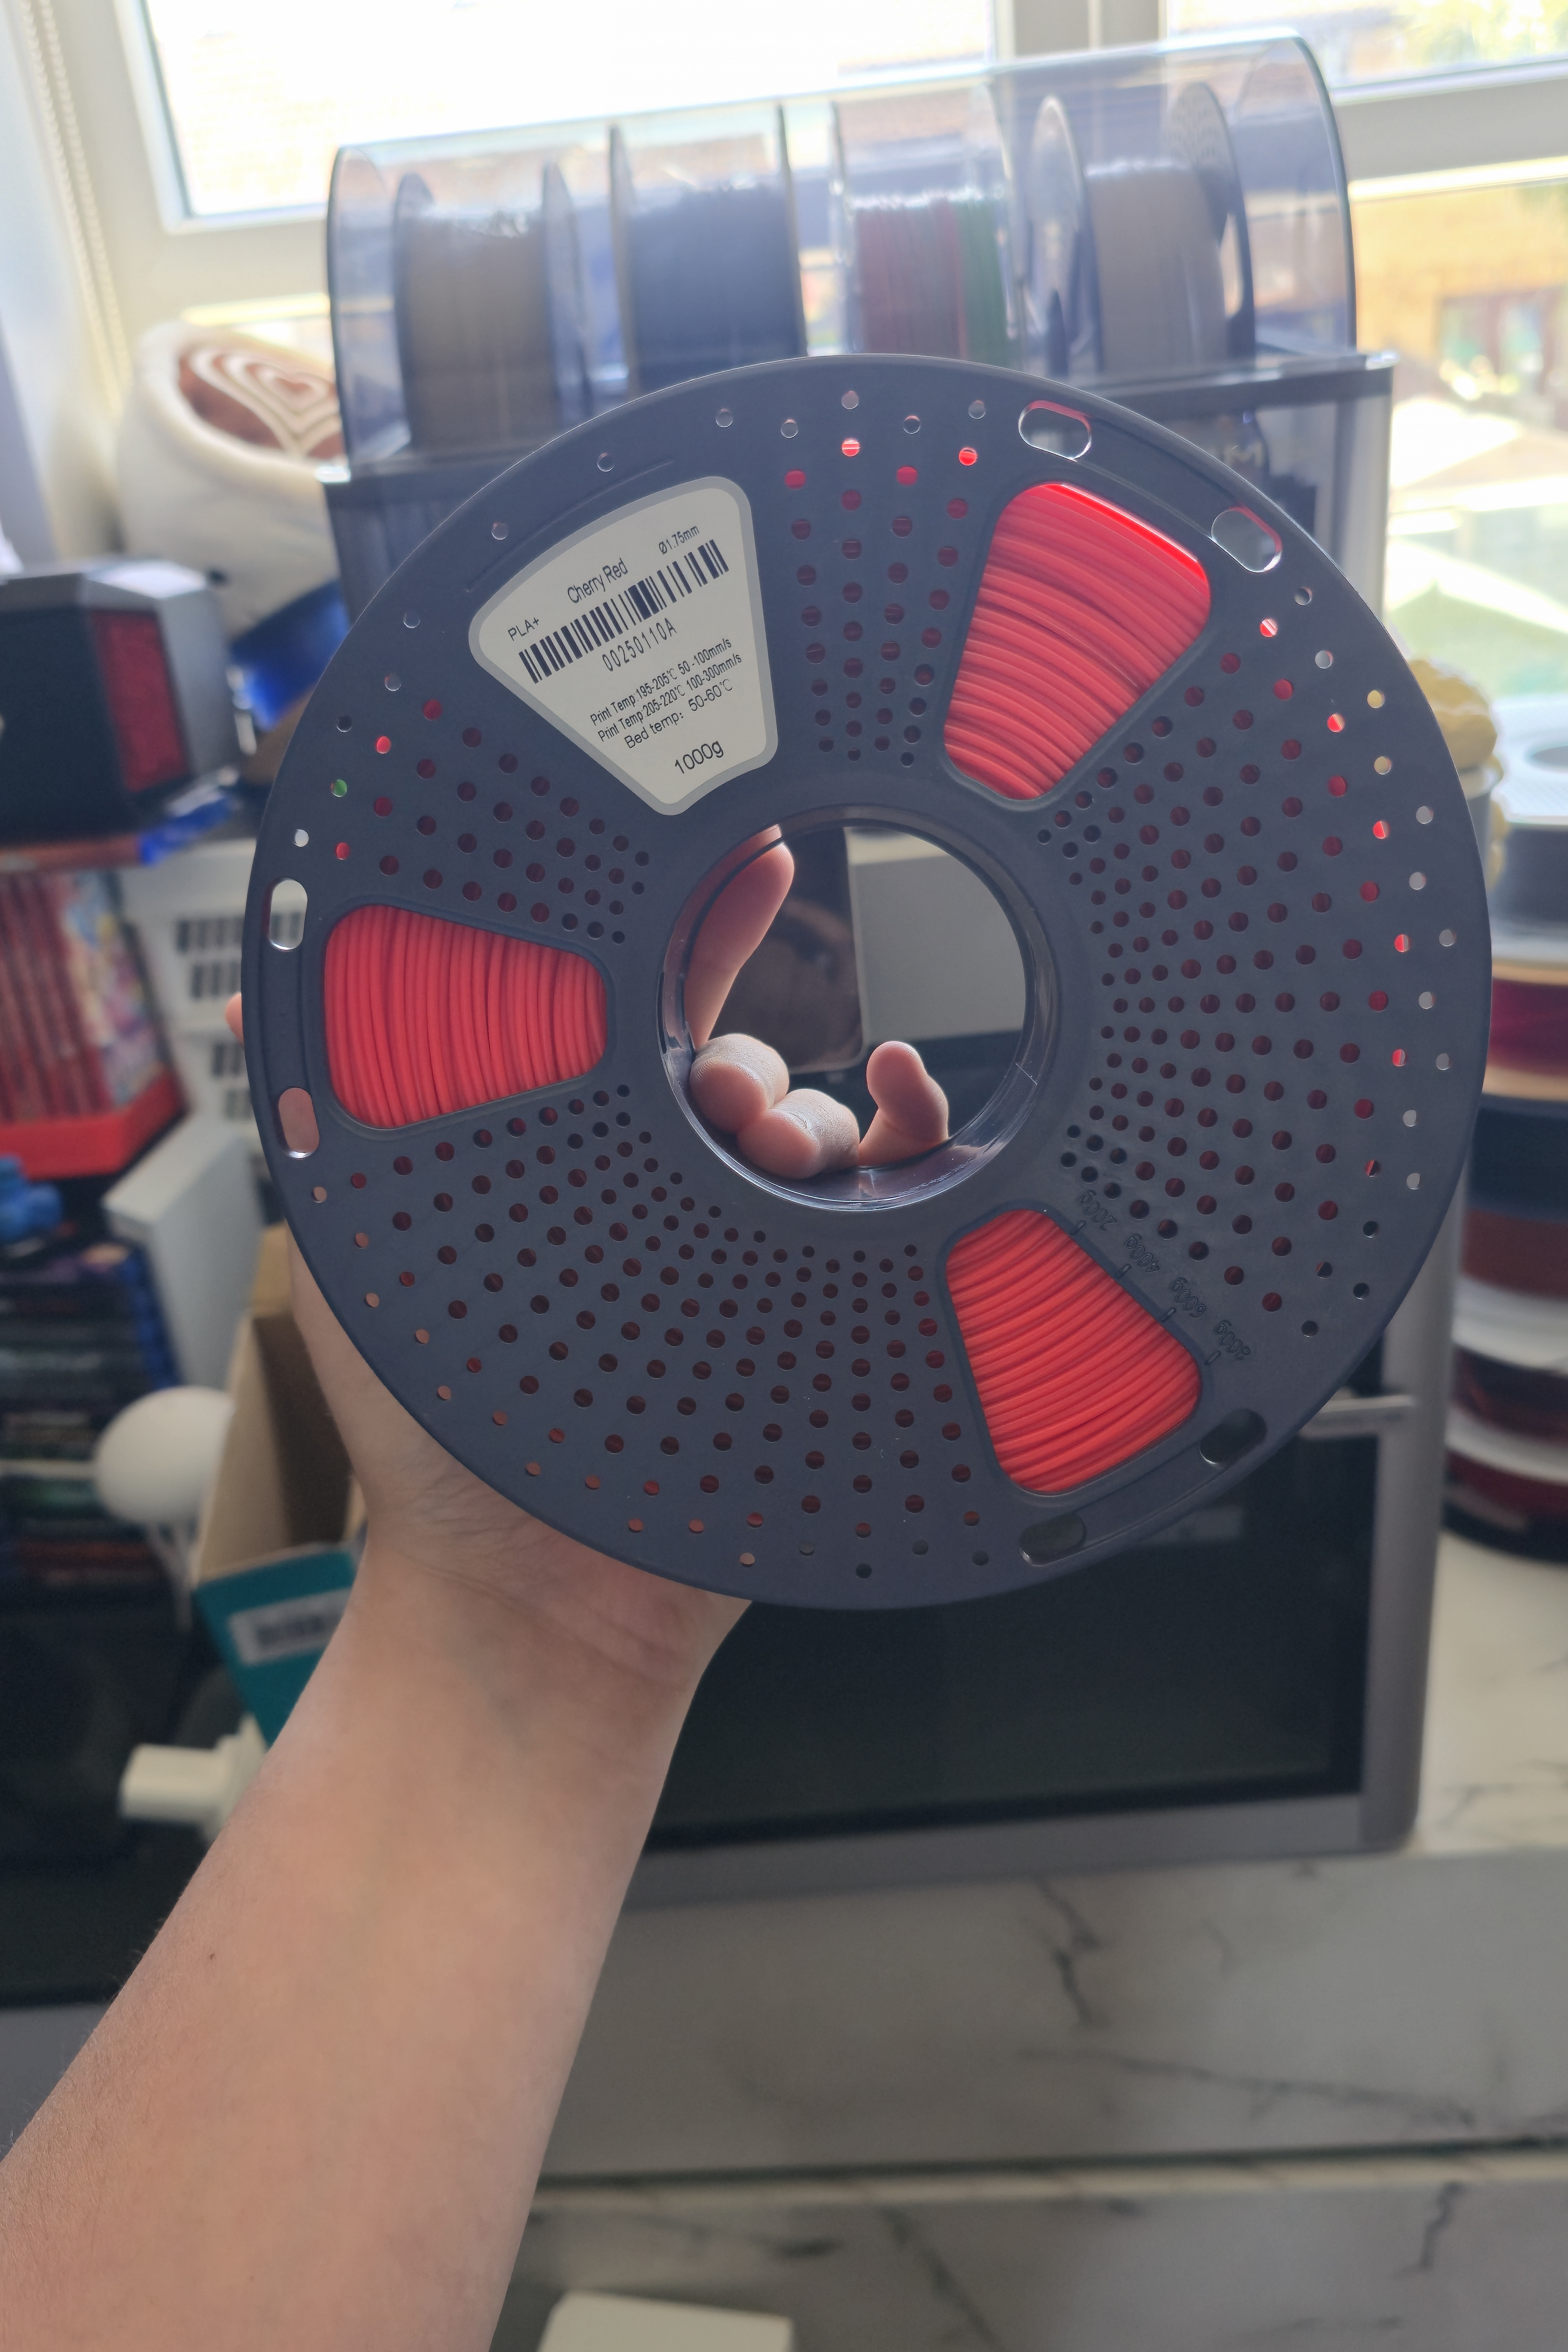
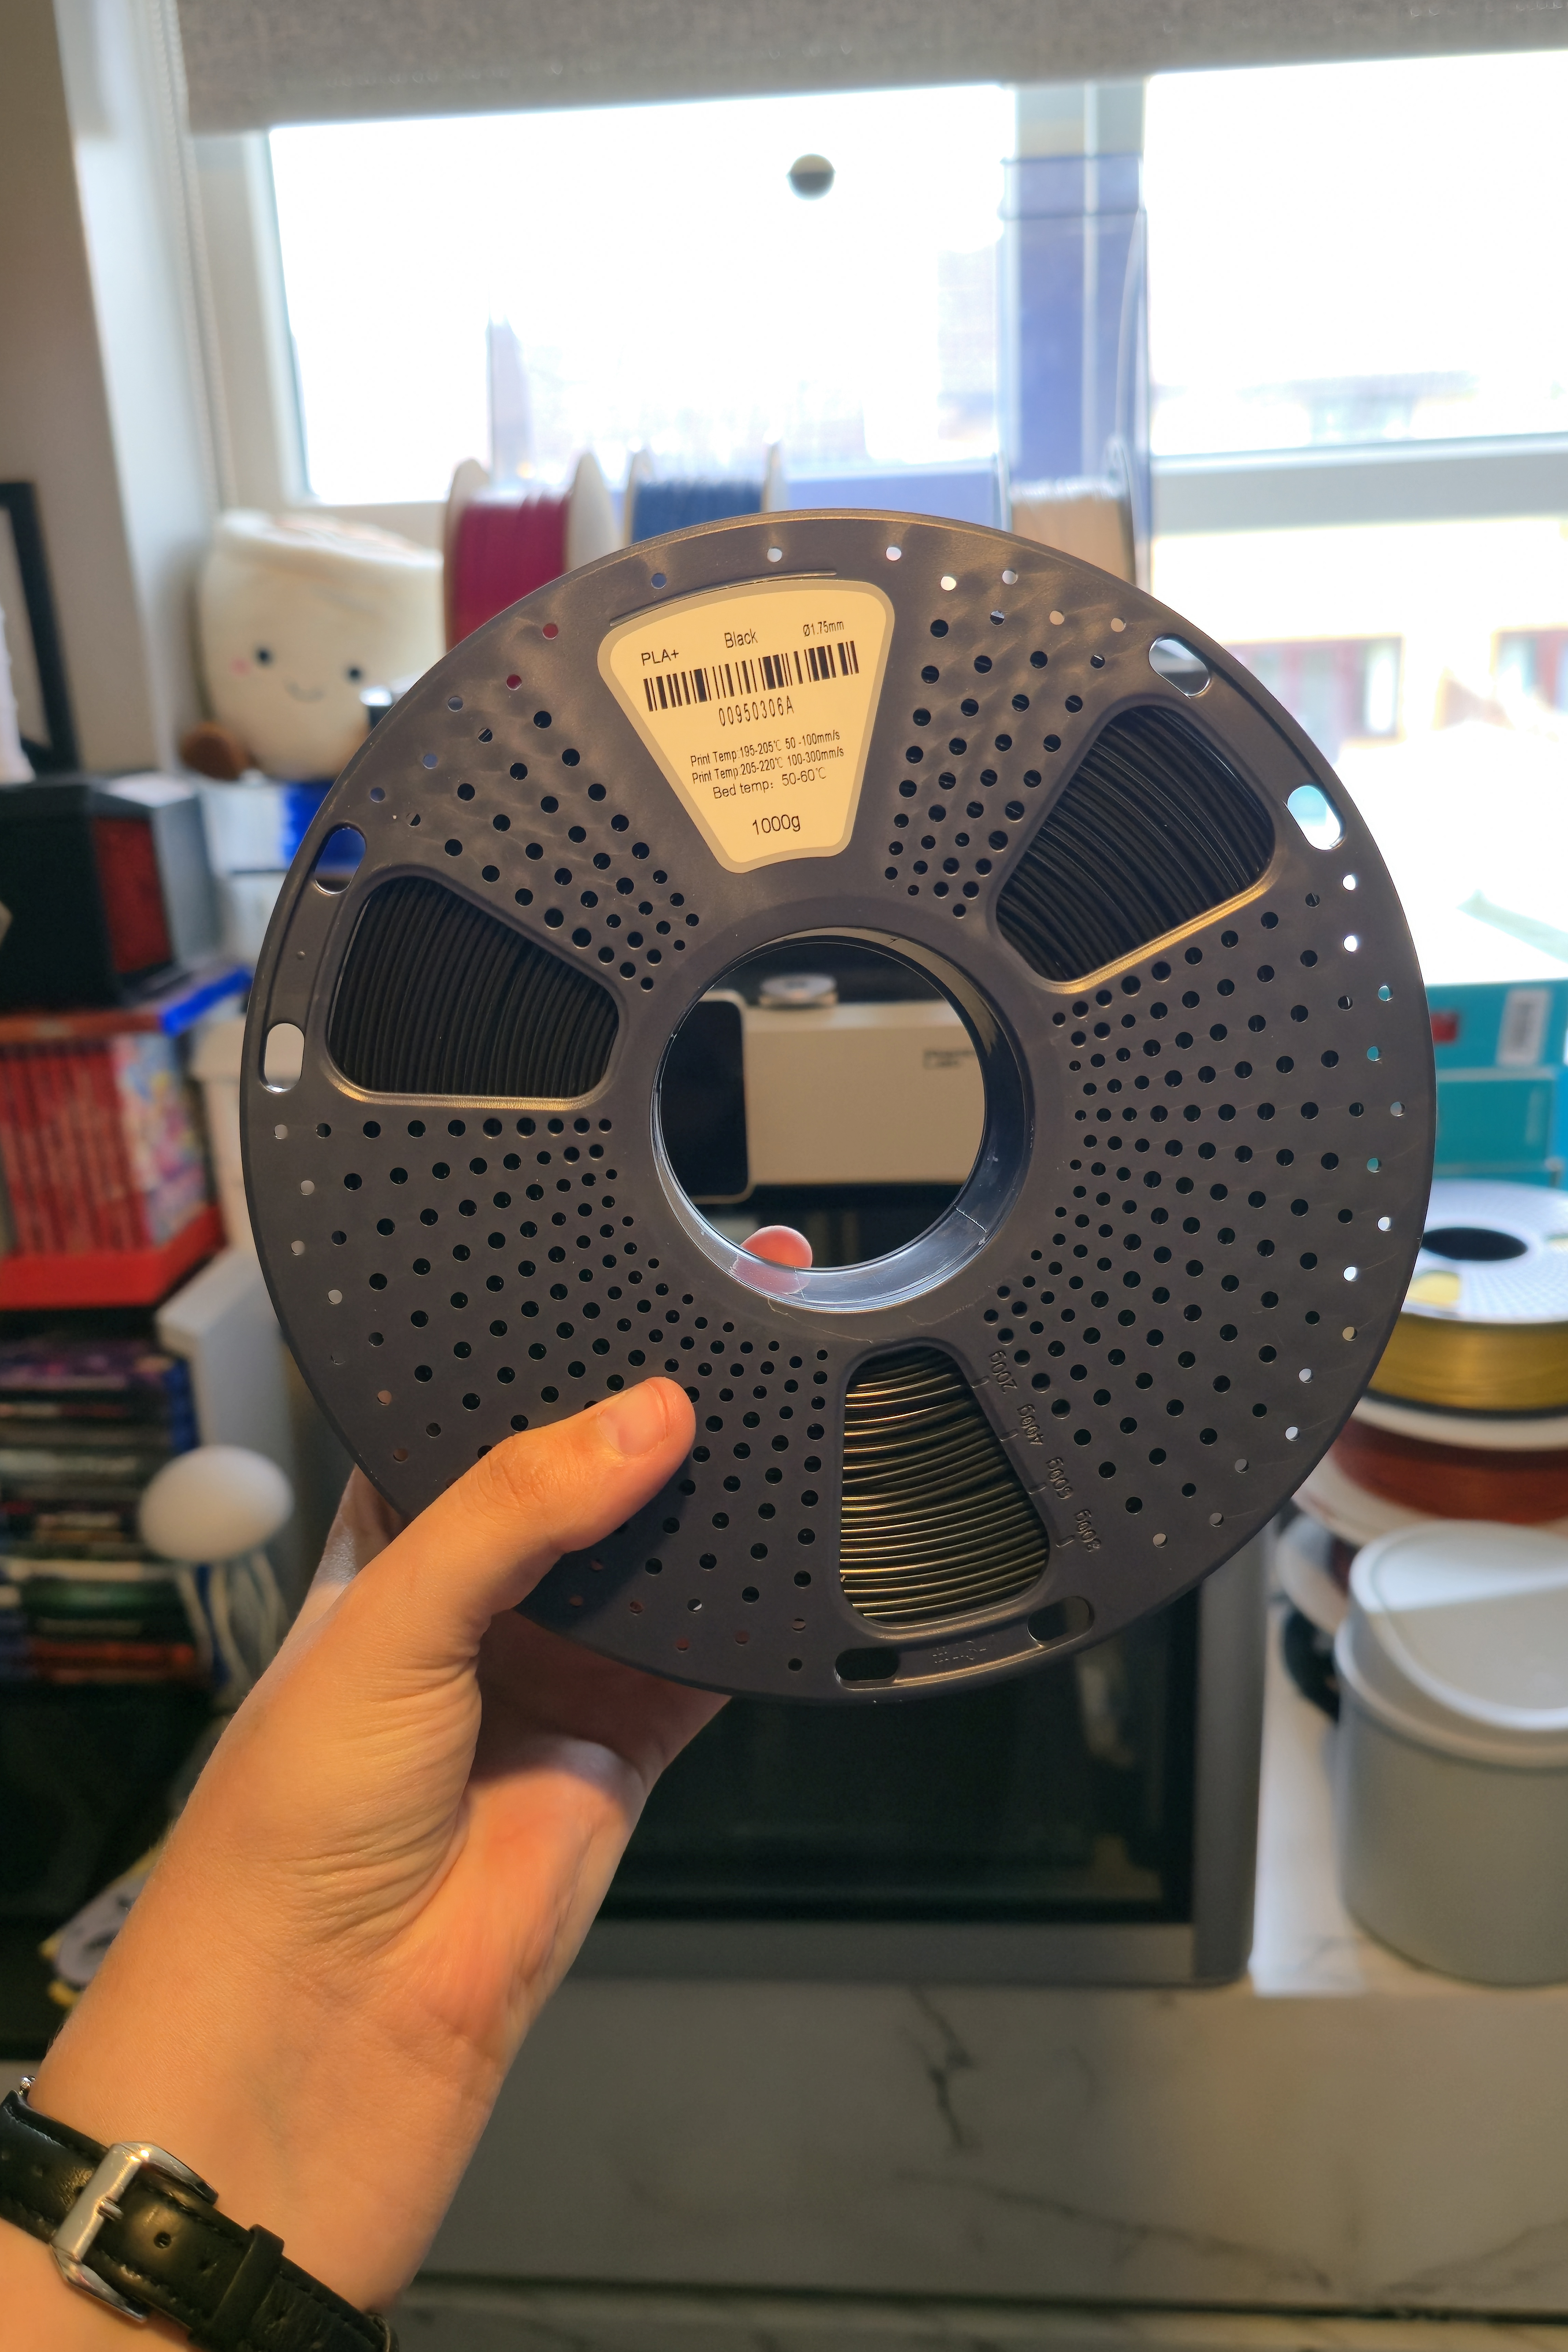
I've shared a few of the tools and materials that I used for this project below, and I was kindly provided with a supply of filament from SUNLU to help with printing cosplay props. I'm super happy with how the SUNLU filament printed and would highly recommend its carbon fibre PLA for more durable prints.
Video tutorial
How to 3D print cosplay props
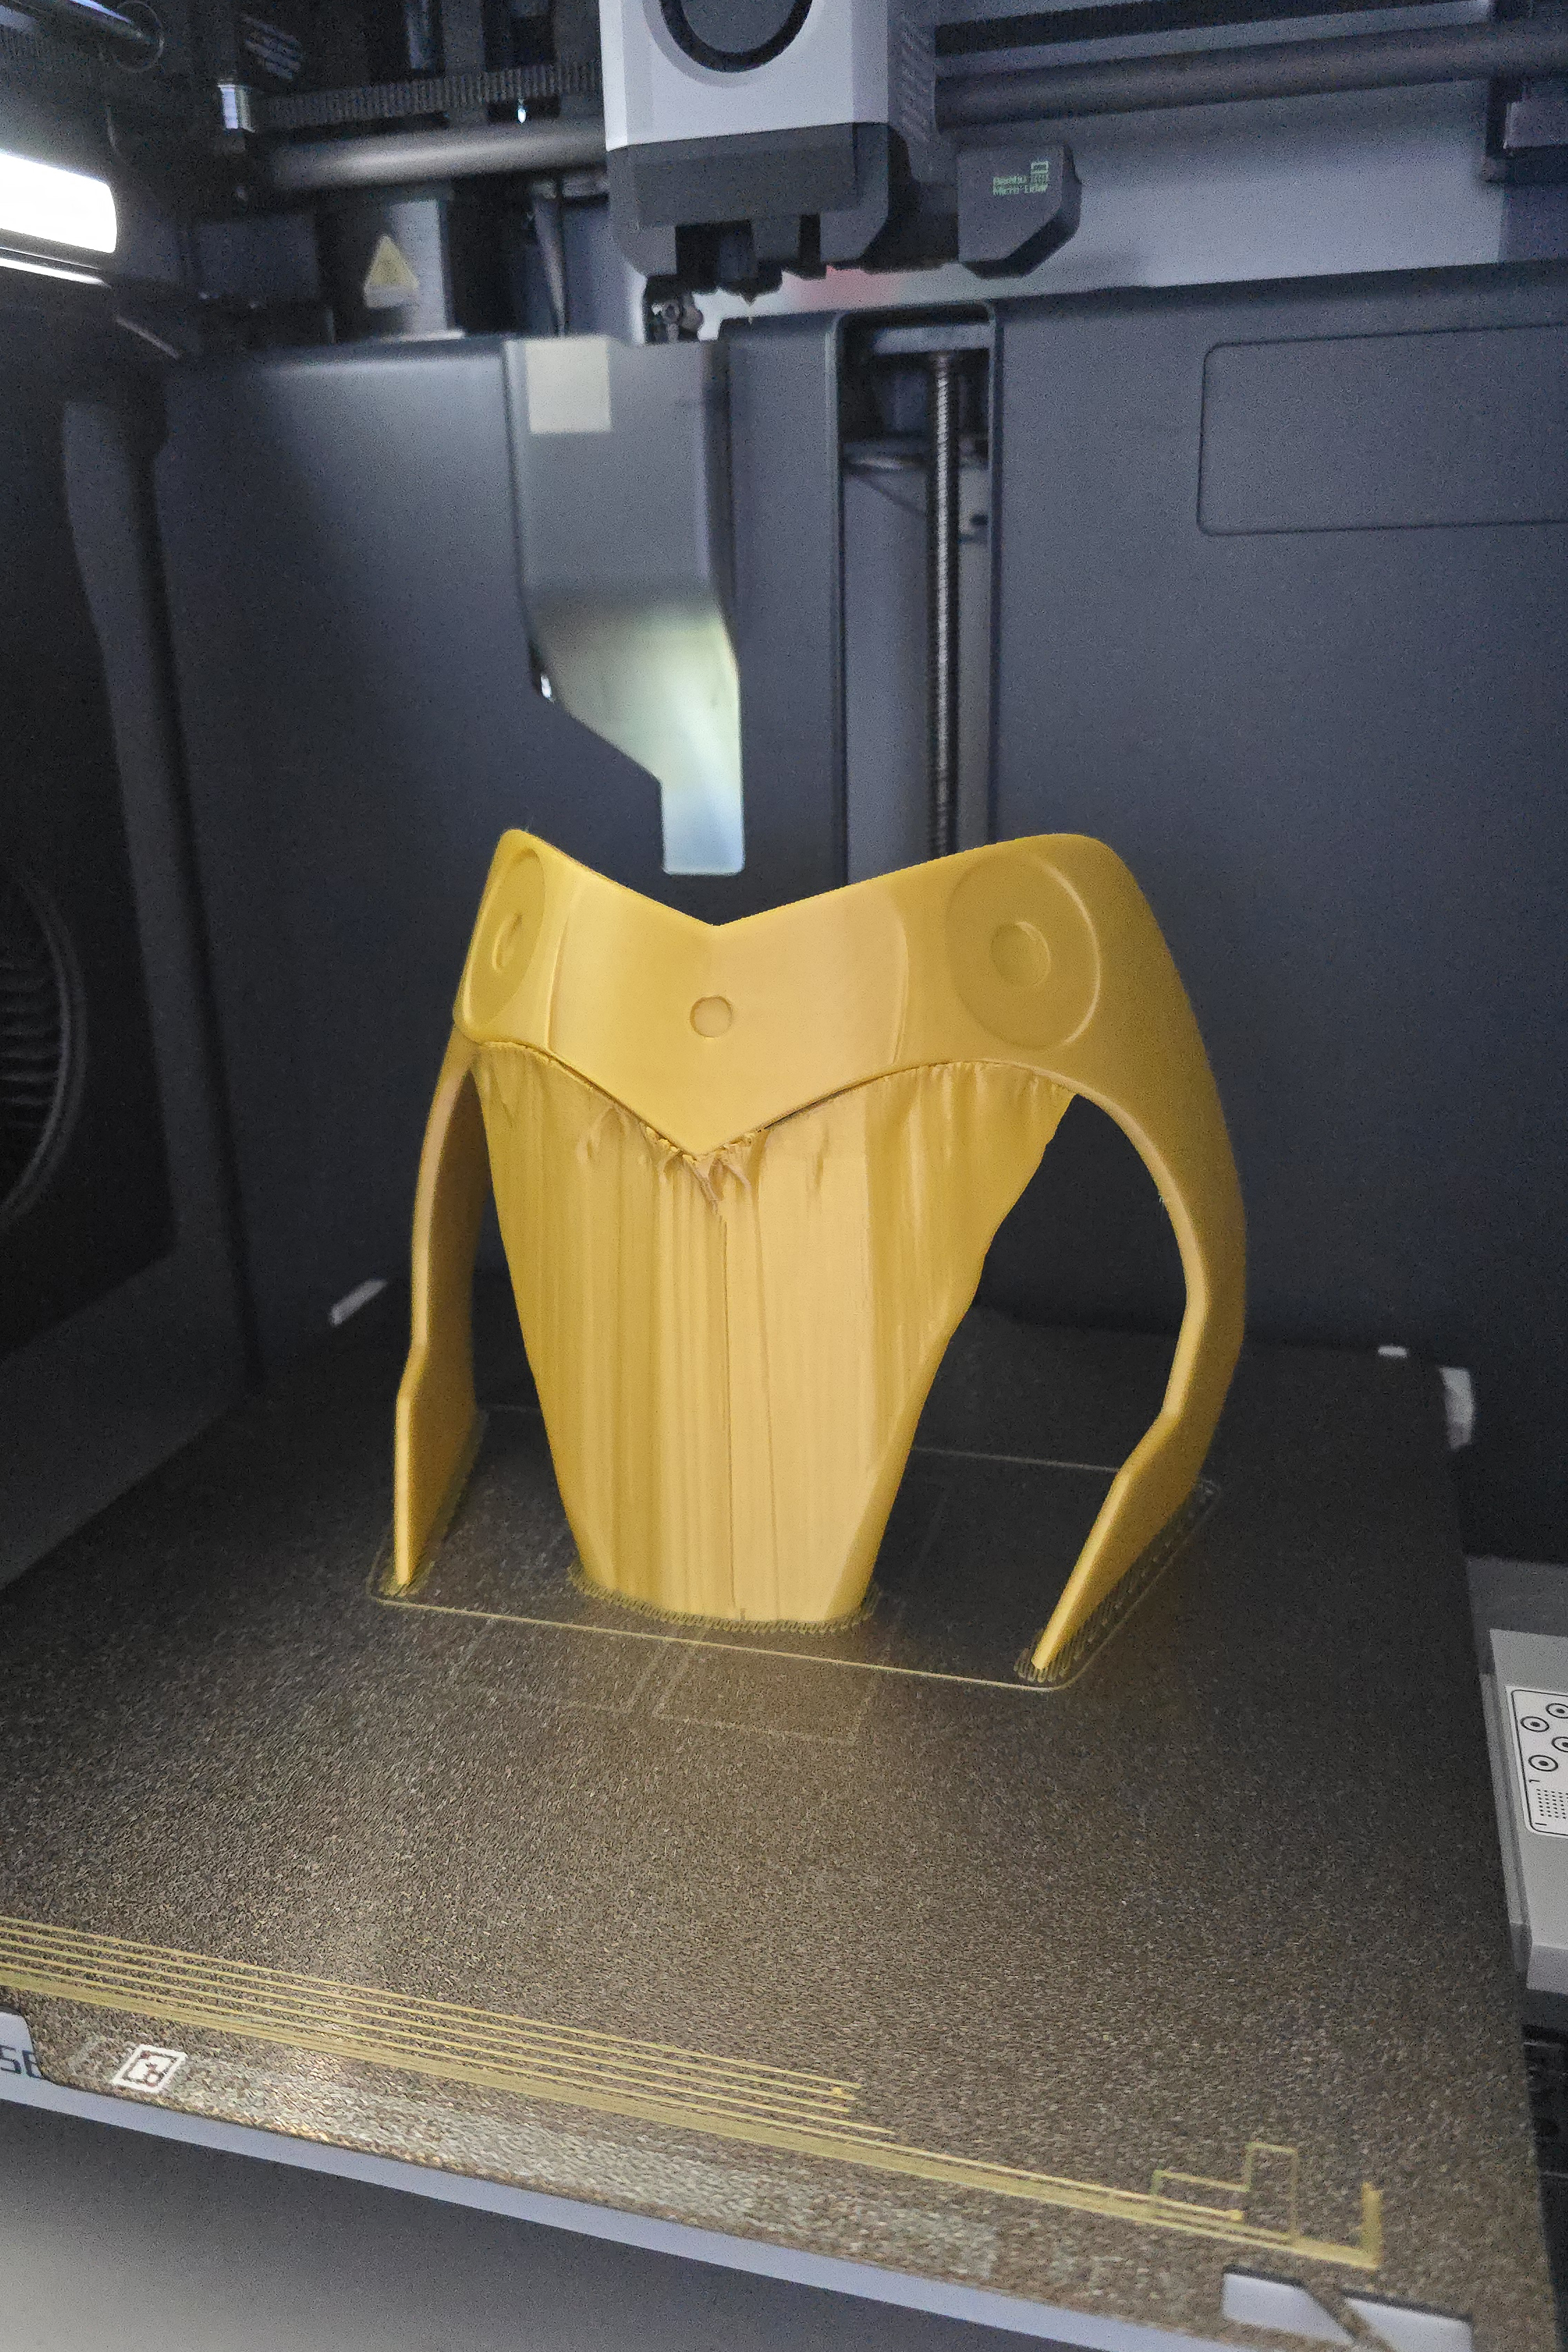
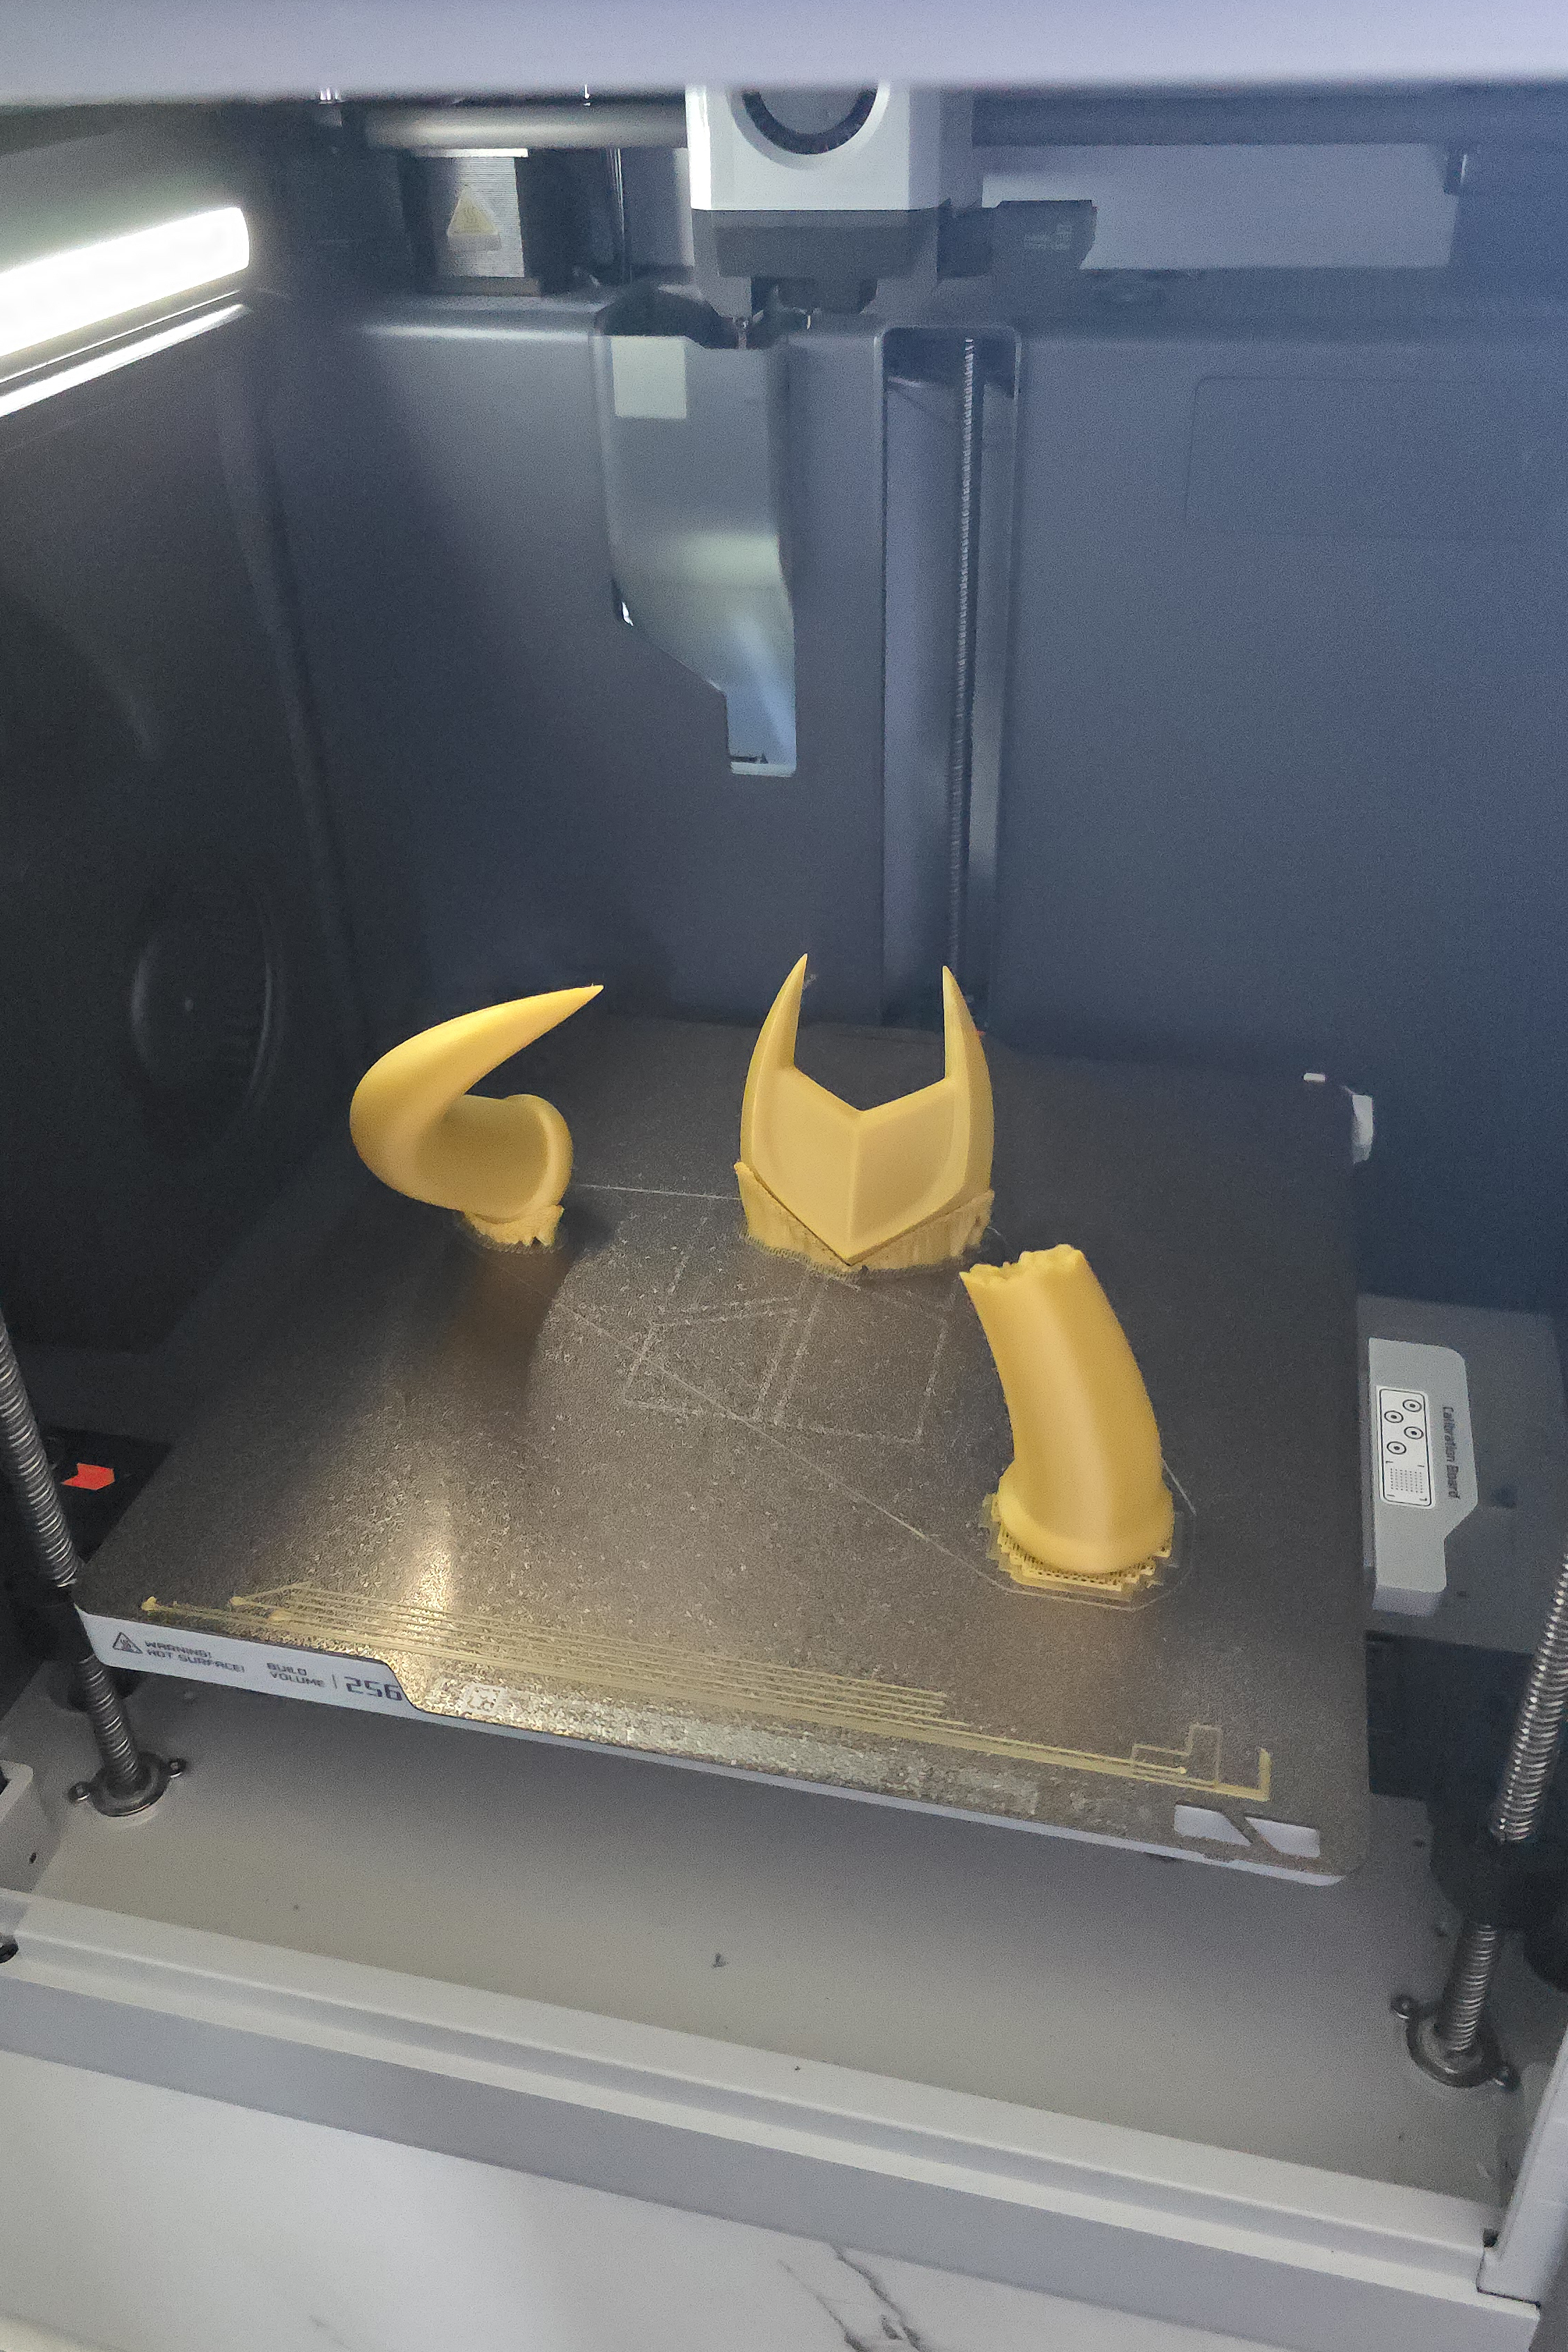
Step 1 - Print your parts
If you watched the video above, you'll know that I jumped the gun a little and forgot to tell you about the REAL step 1 when it comes to 3D printing cosplay parts, which is scaling, sizing, and prepping your model files first in a slicer program before you send them to print.
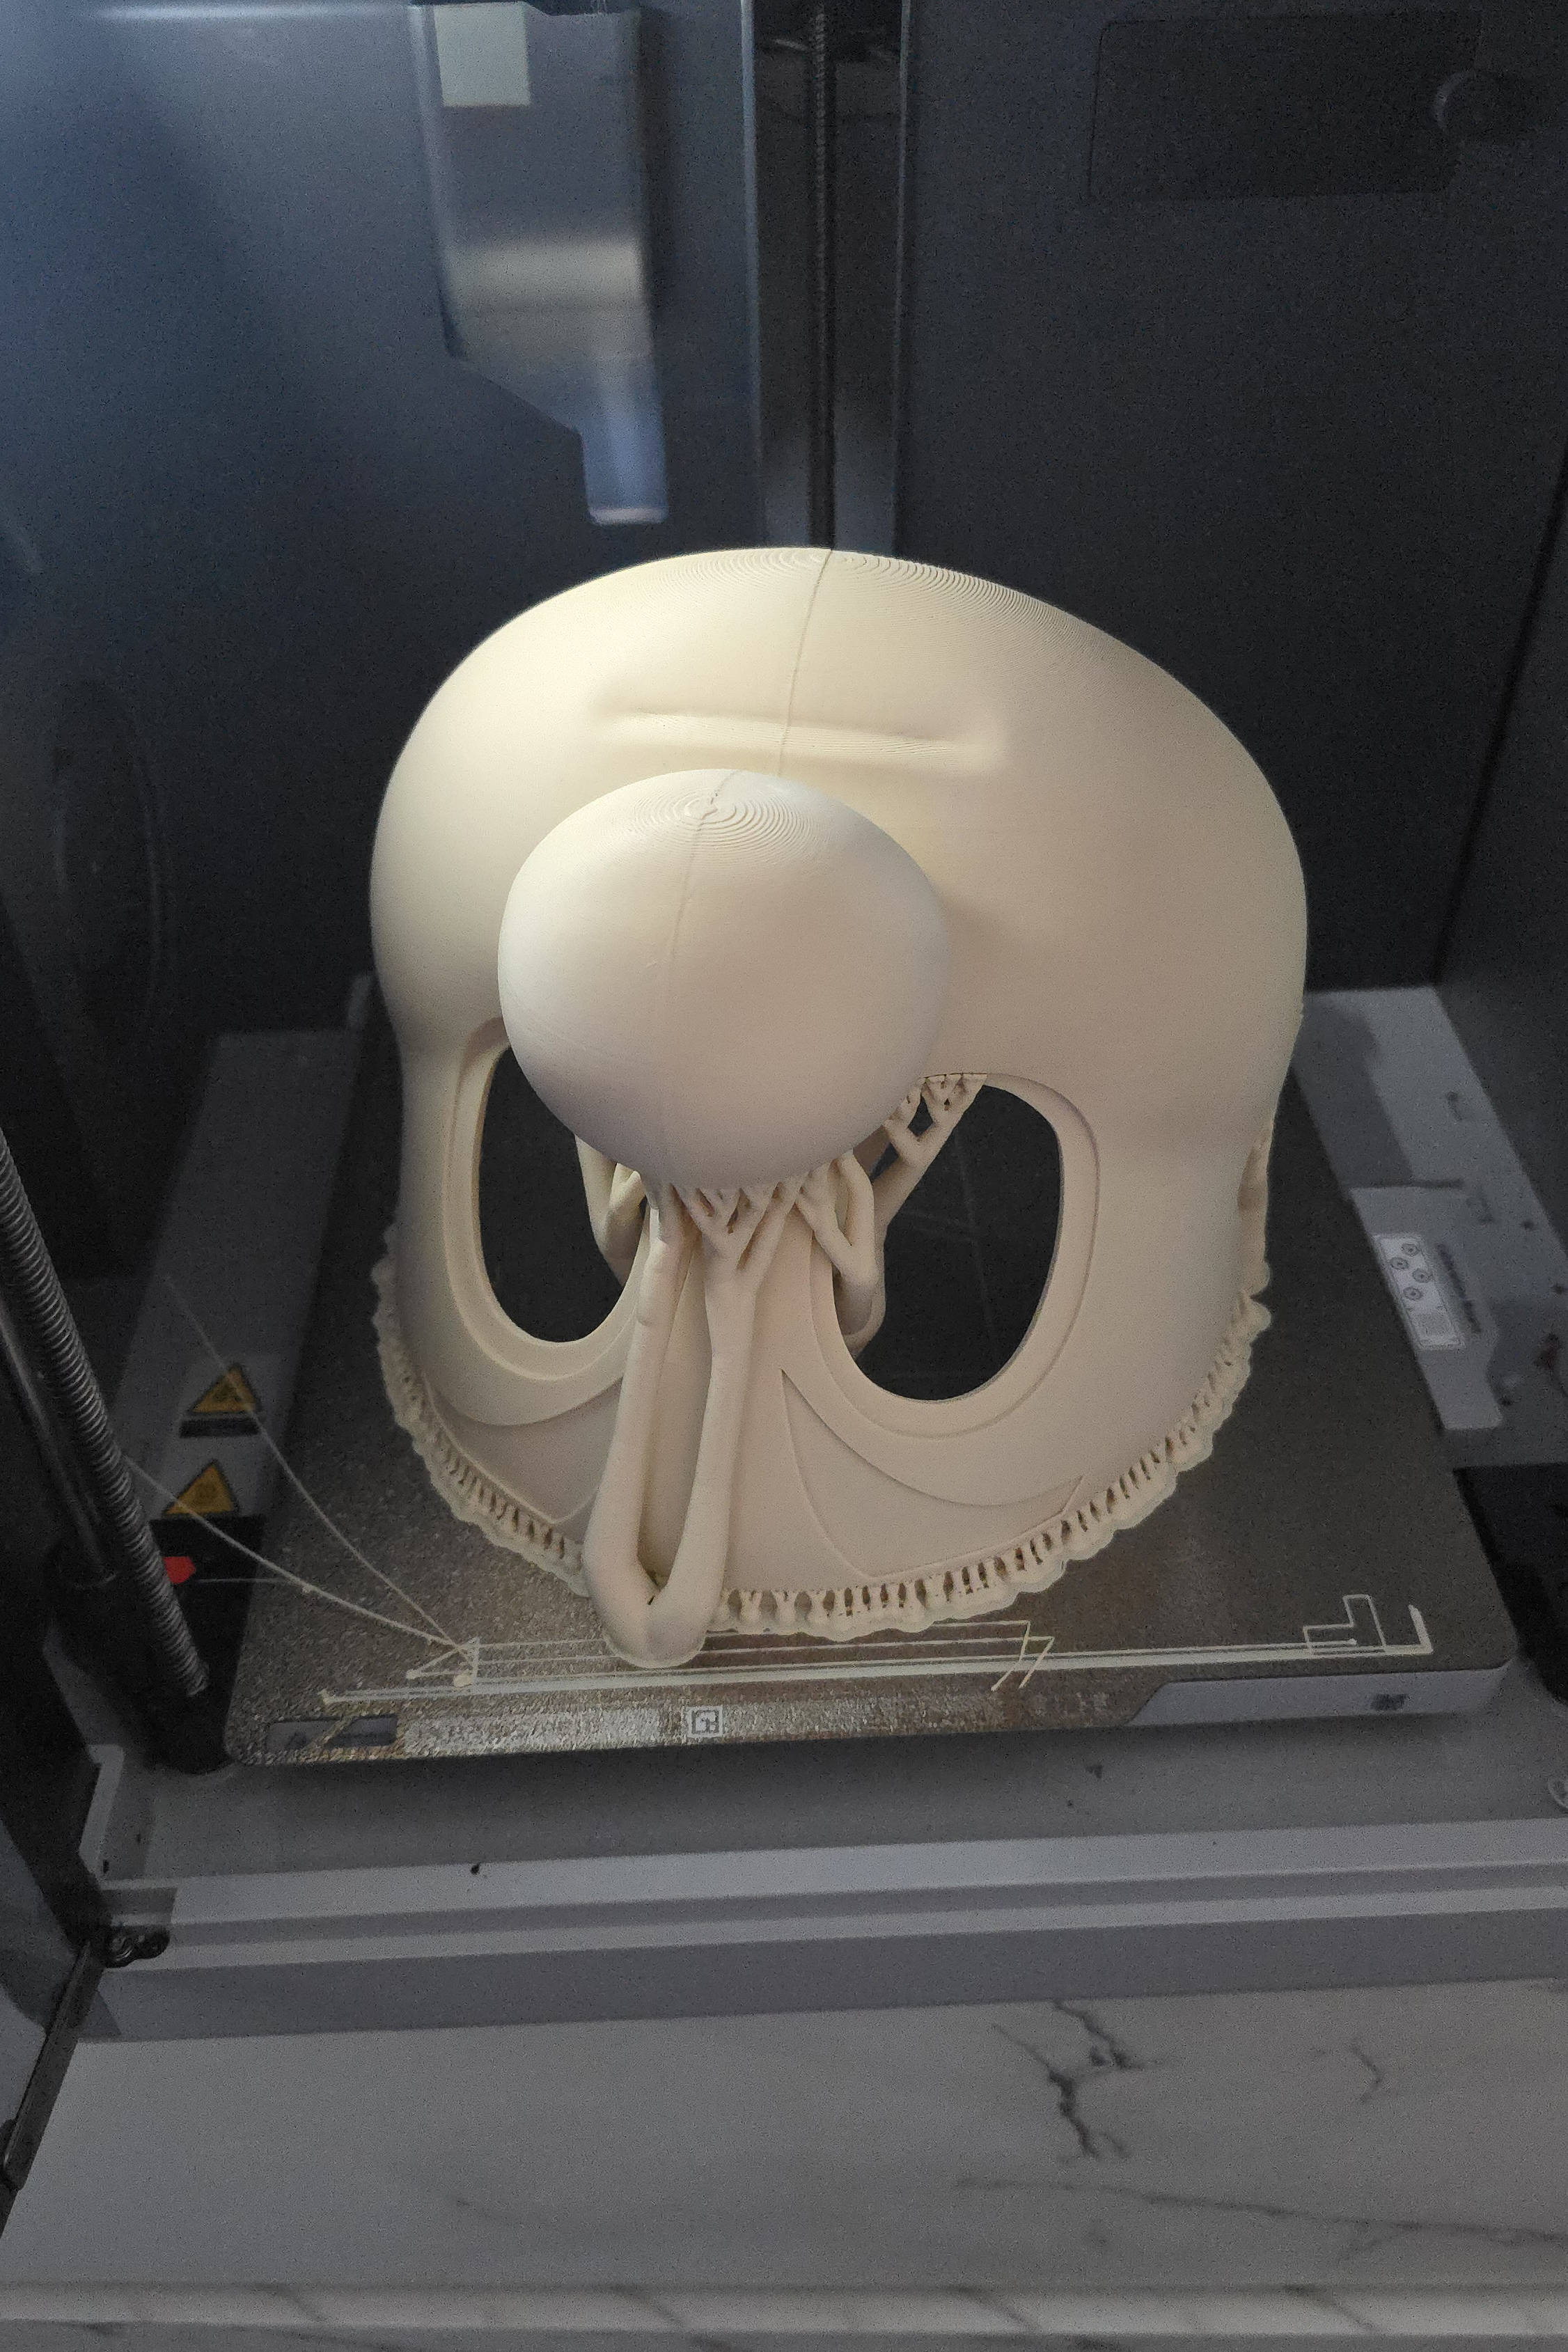
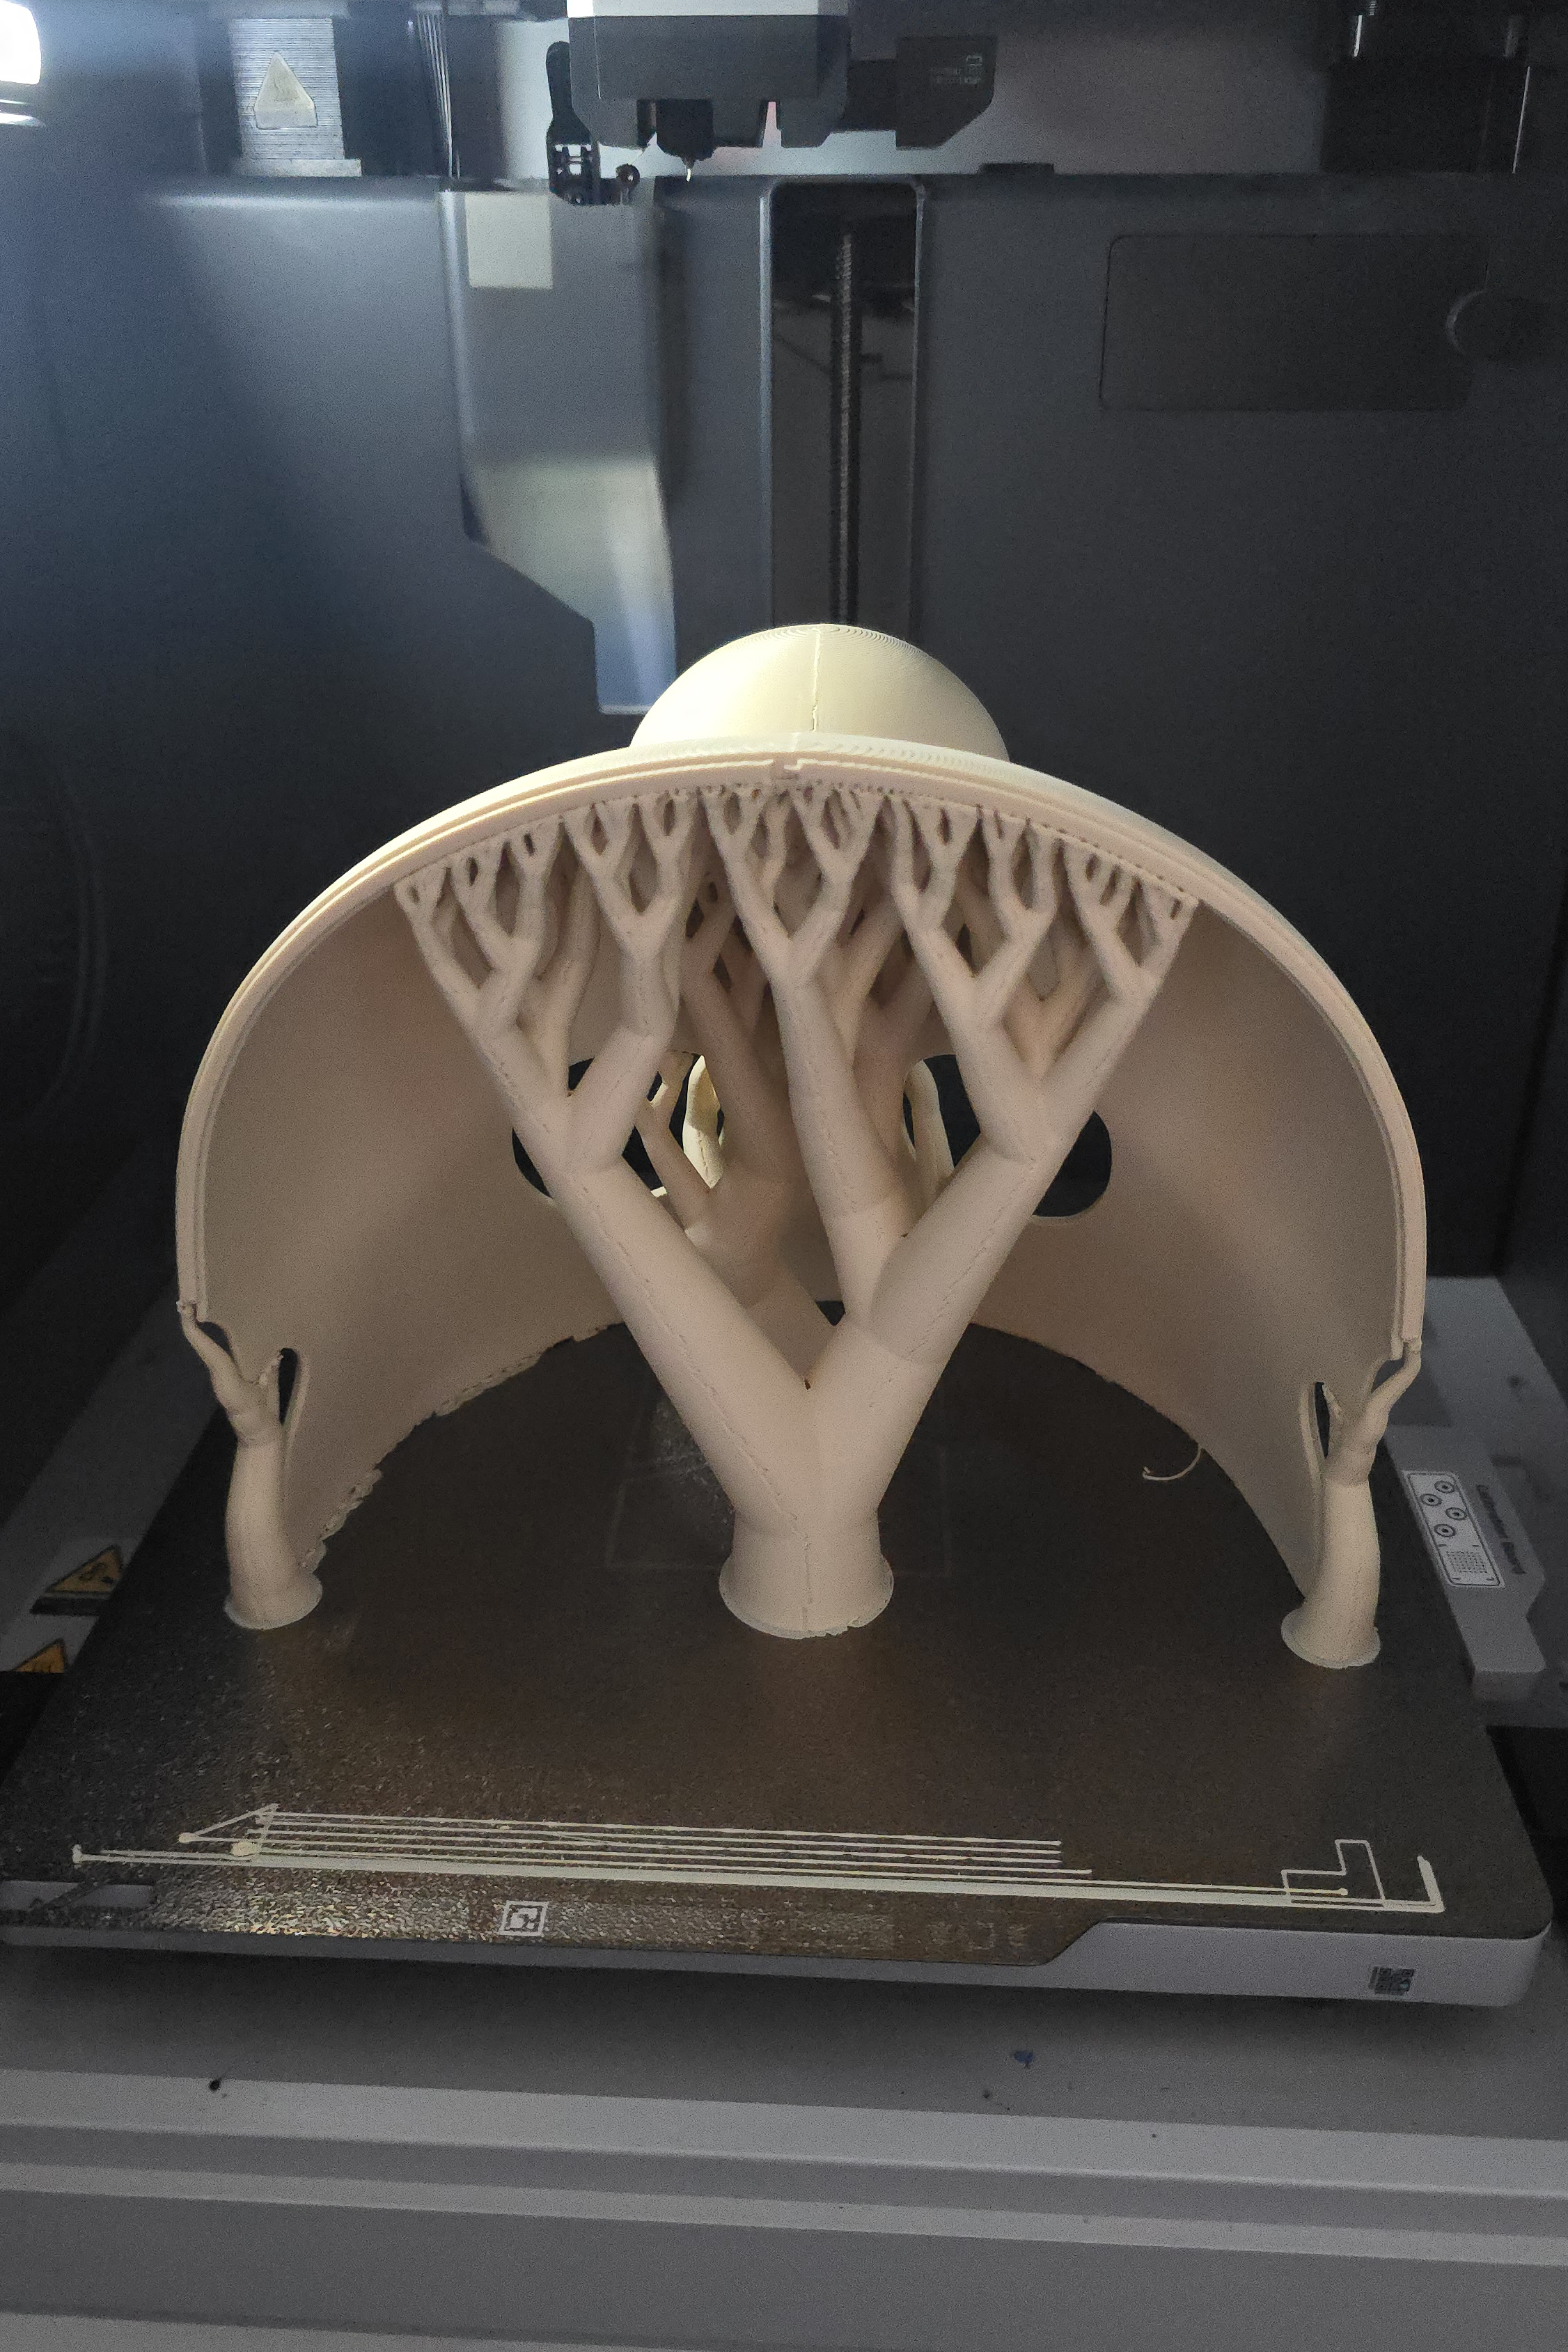
I've been using Bambu Studio to slice my 3D model files, and I tend to keep things simple when it comes to settings, while using auto-generated tree supports with 90% of my models. If you're not a newcomer to 3D printing, then slicing should be a breeze. But the most important factor for printing cosplay props, especially masks and helmets, is ensuring that they'll fit.
The easiest method I've found for doing this is by using cosplay callipers and a tape measure to find out the size of your head, and then cross-referencing these measurements with the size of the model in your slicer. Budwin's 3D head models are another excellent tool to help you size cosplay helmets and masks.
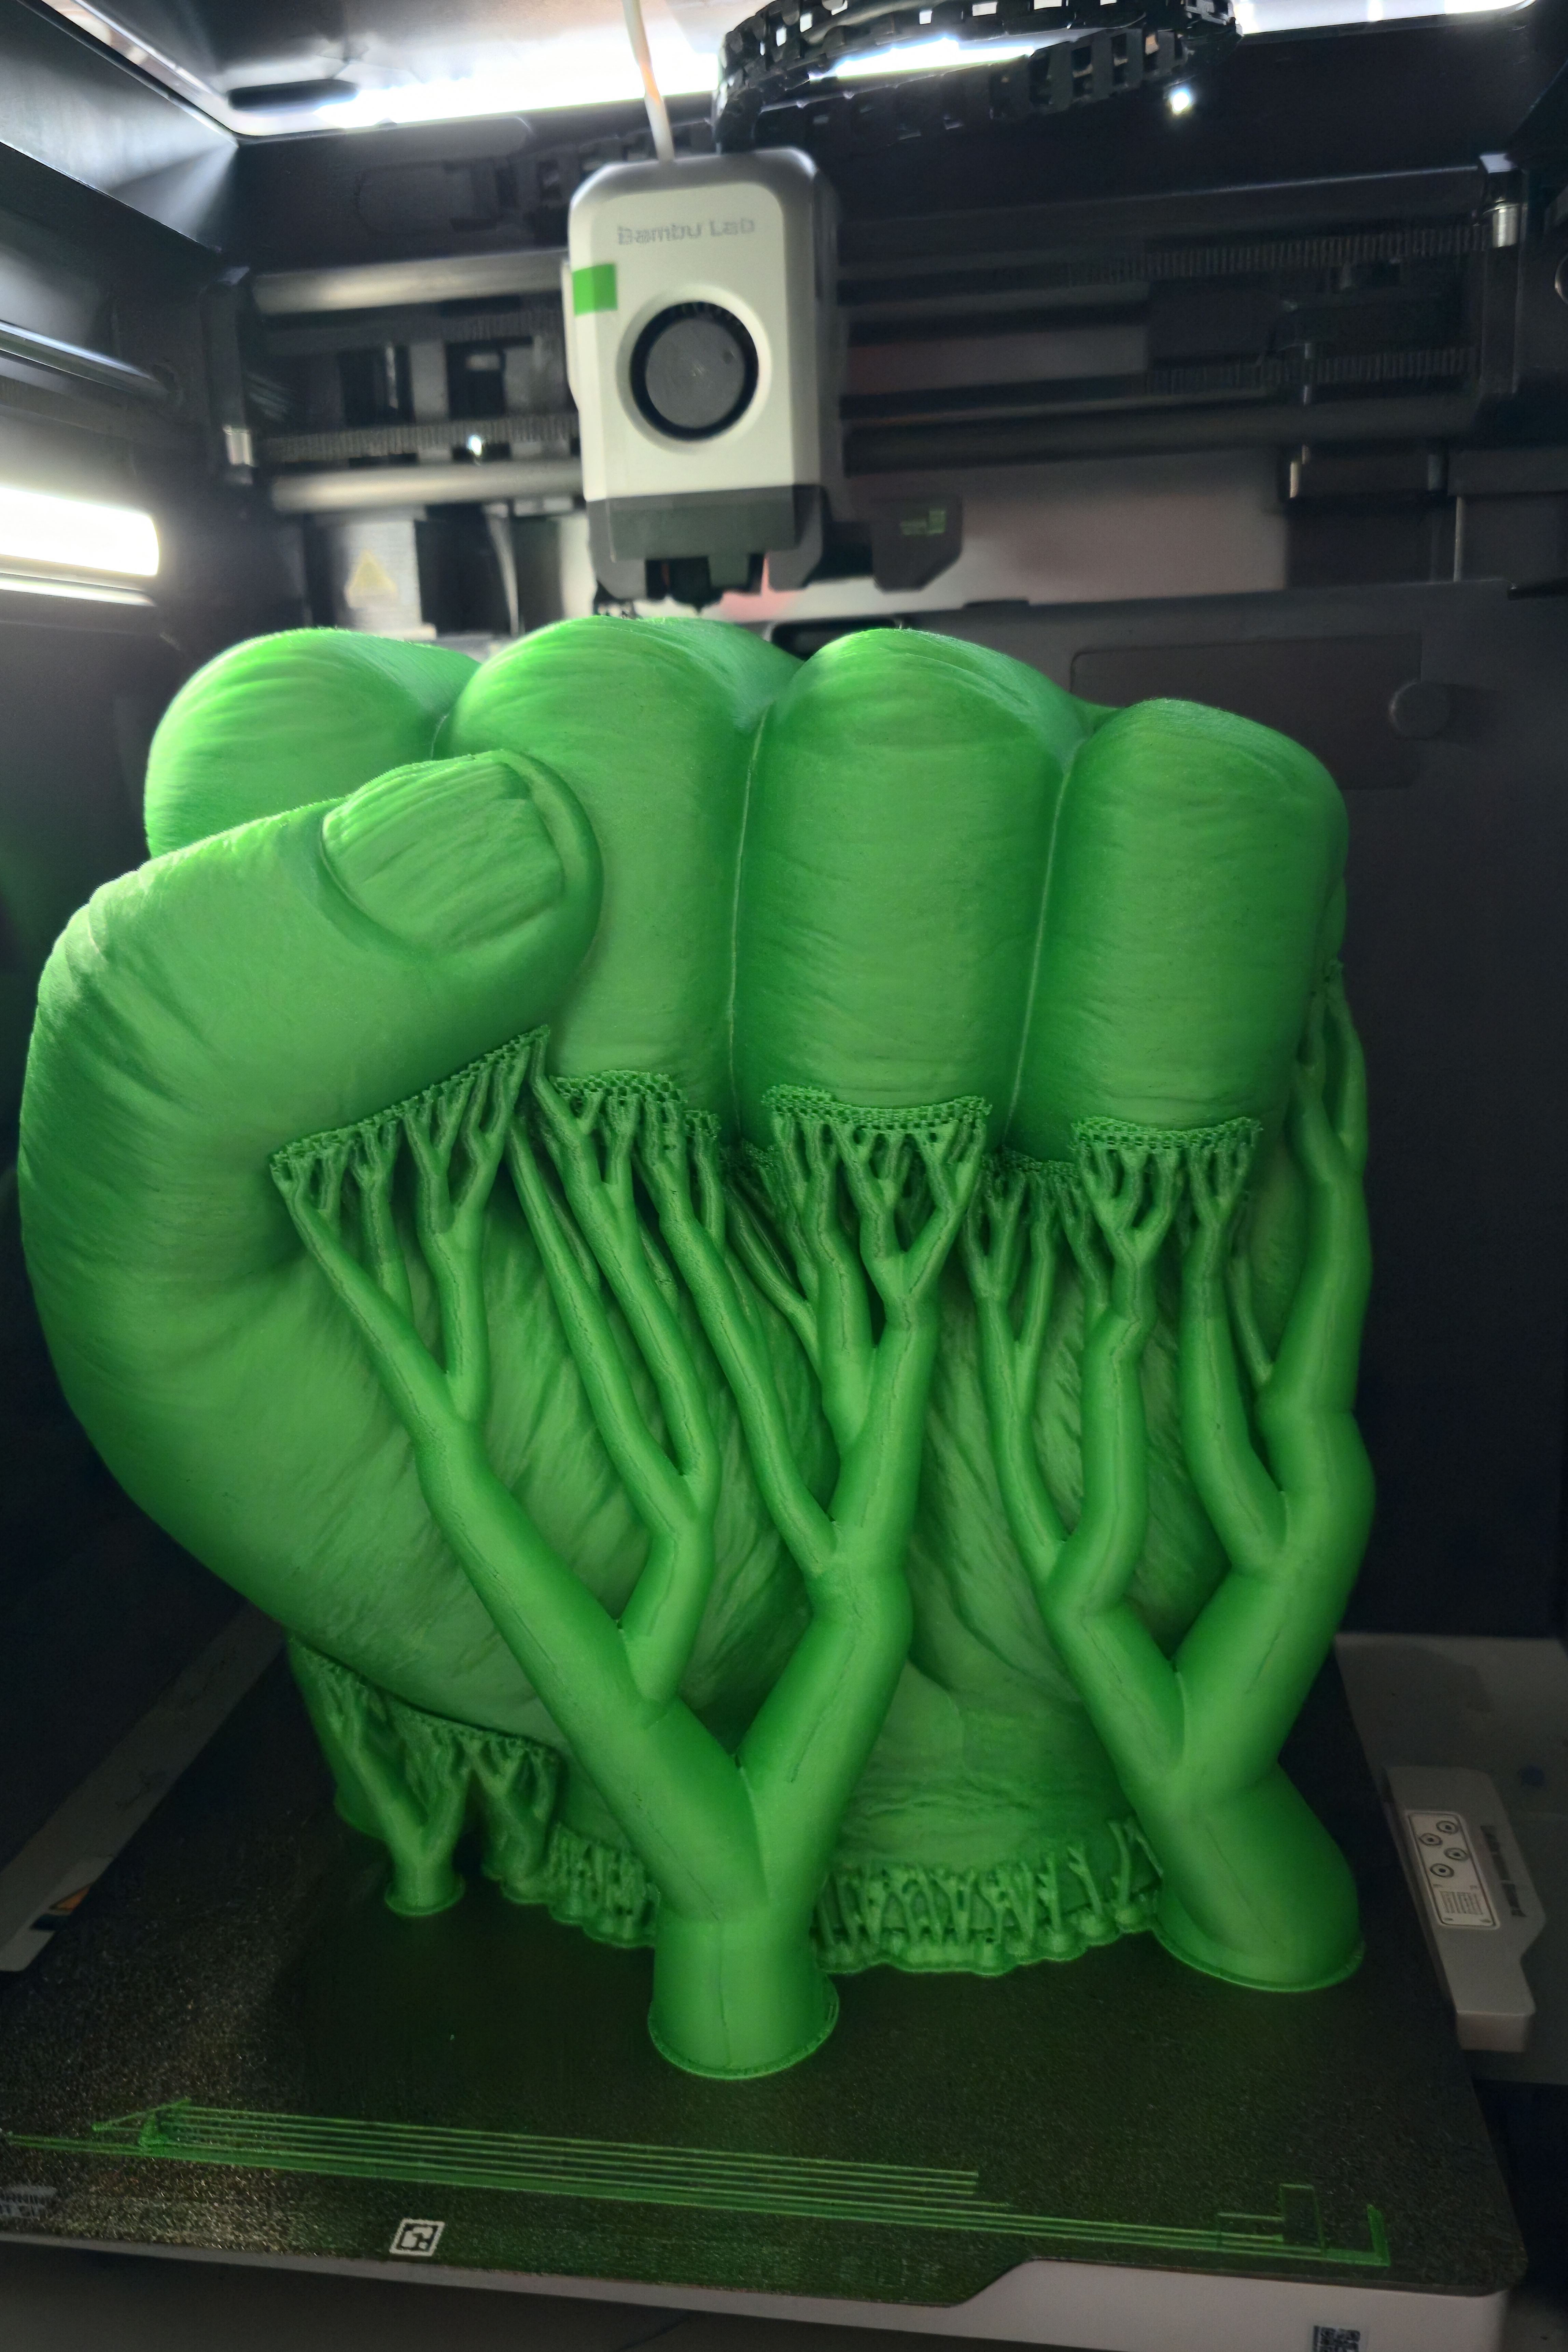
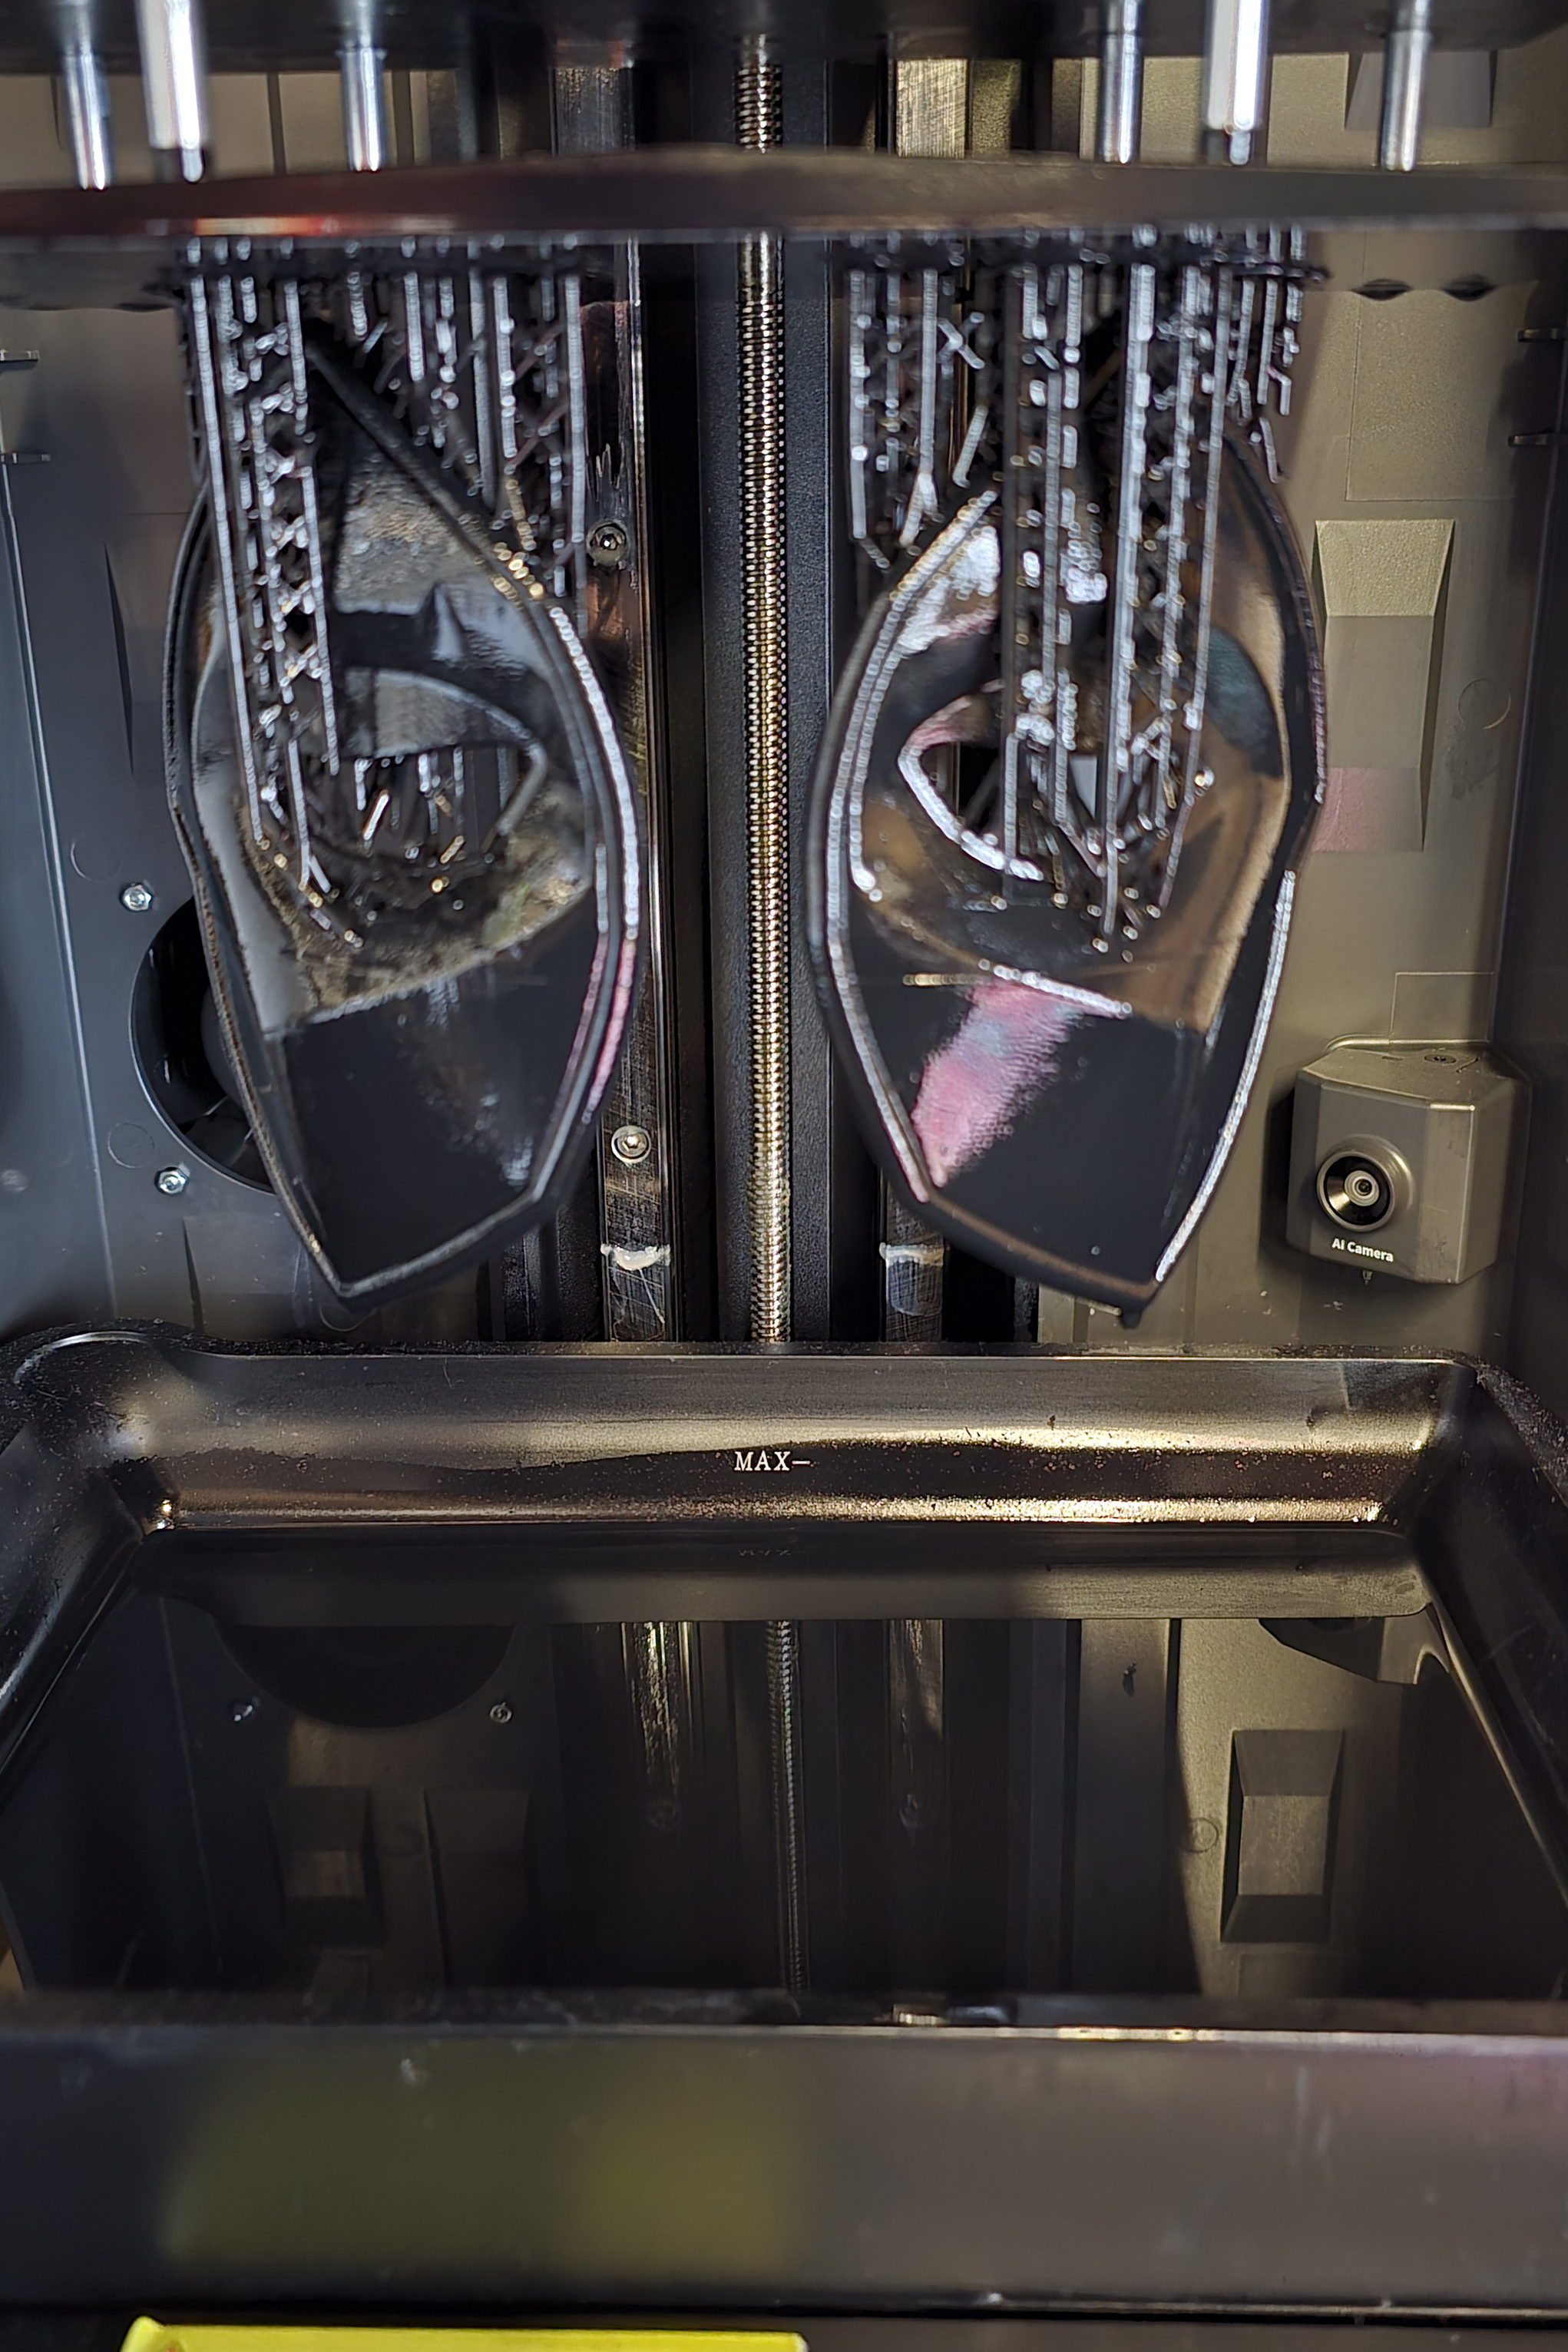
As for printing your parts, all you can really do is let your 3D printer work its magic after you've prepped your models. Keep an eye on the process and monitor your print as often as you can, as I found that supports and prime towers would get knocked over easily when printing taller pieces, and this can potentially ruin a print.
I think I might need to invest in one of Bambu Lab's super tack build plates to help with this issue I've been having, as glue sticks, hairspray, and 70-degree heat bed temps aren't doing the trick right now.
Step 2 - Remove any supports
I struggled for a long time during my first few weeks with a 3D printer to grasp the best ways to remove supports from printed models. Now, I understand that it's a balance between both settings in your slicer, as well as having the right tools for removal.
For example, I find that using tree supports has been working well for me. They're easy to remove and have a sturdy grip on your prints. However, if the branches with these supports stick too well to your model, you can tweak settings like support density and branch diameter in your slicer and 3D modelling software to make removal much easier.
I also purchased a set of sharp cutting pliers specifically for 3D printing, which has been a game-changer for removing those smaller and hard-to-access tree supports hiding in print crevices. I also recommend getting yourself a cheap deburring tool (mine was about £4 on Amazon) as the curved blade is excellent at getting underneath stubborn support branches that won't budge.
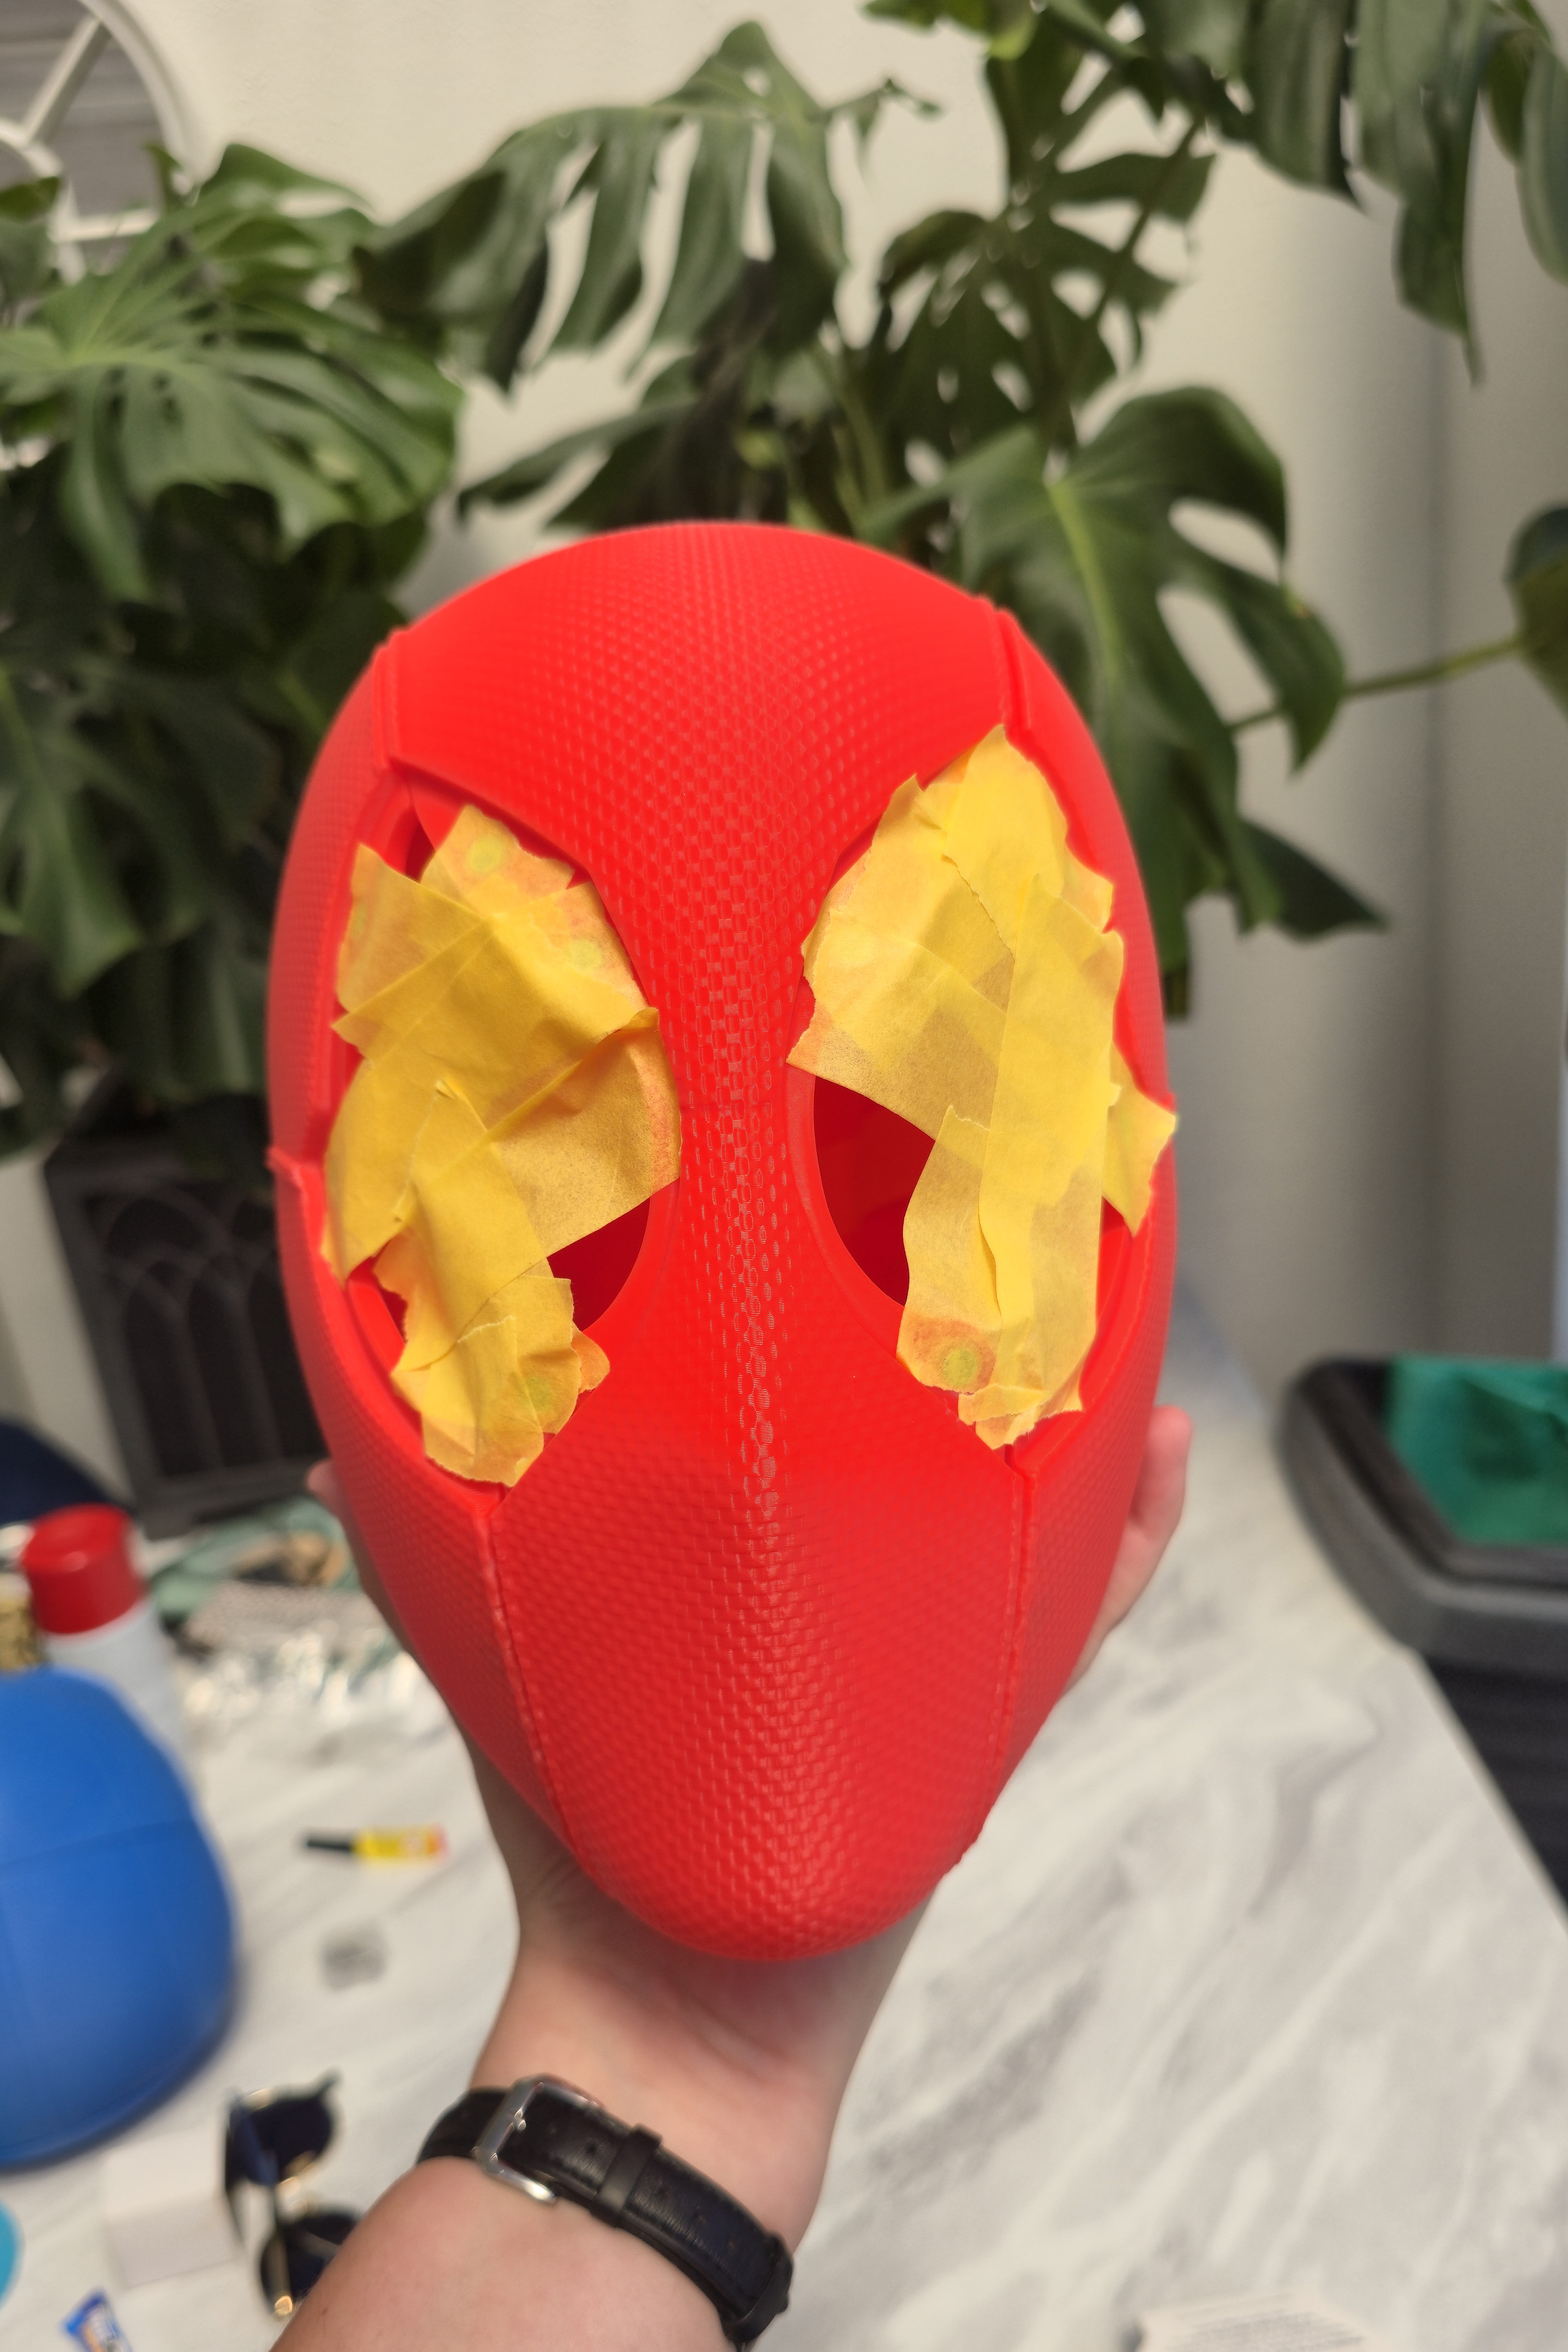
Step 3 - Assembly
So you've printed your parts and removed all of the supports, great job. Now it's time to get to Avengers assembling your cosplay model. When I first started printing cosplay props mere weeks ago, I thought super glue was the best option for joining pieces together. However, I have since tried different options such as spray adhesives and plastic glue, and I'm definitely a convert.
With super glue, you get a fast result, which is always nice. But you'll notice some hours later that there will be a white residue left on the surface of prints, and it can be tricky and tedious to remove. I discovered that using a heat gun worked well to remove leftover glue from prints, but this ran the risk of burning or warping the plastic at the same time, so be cautious of this.
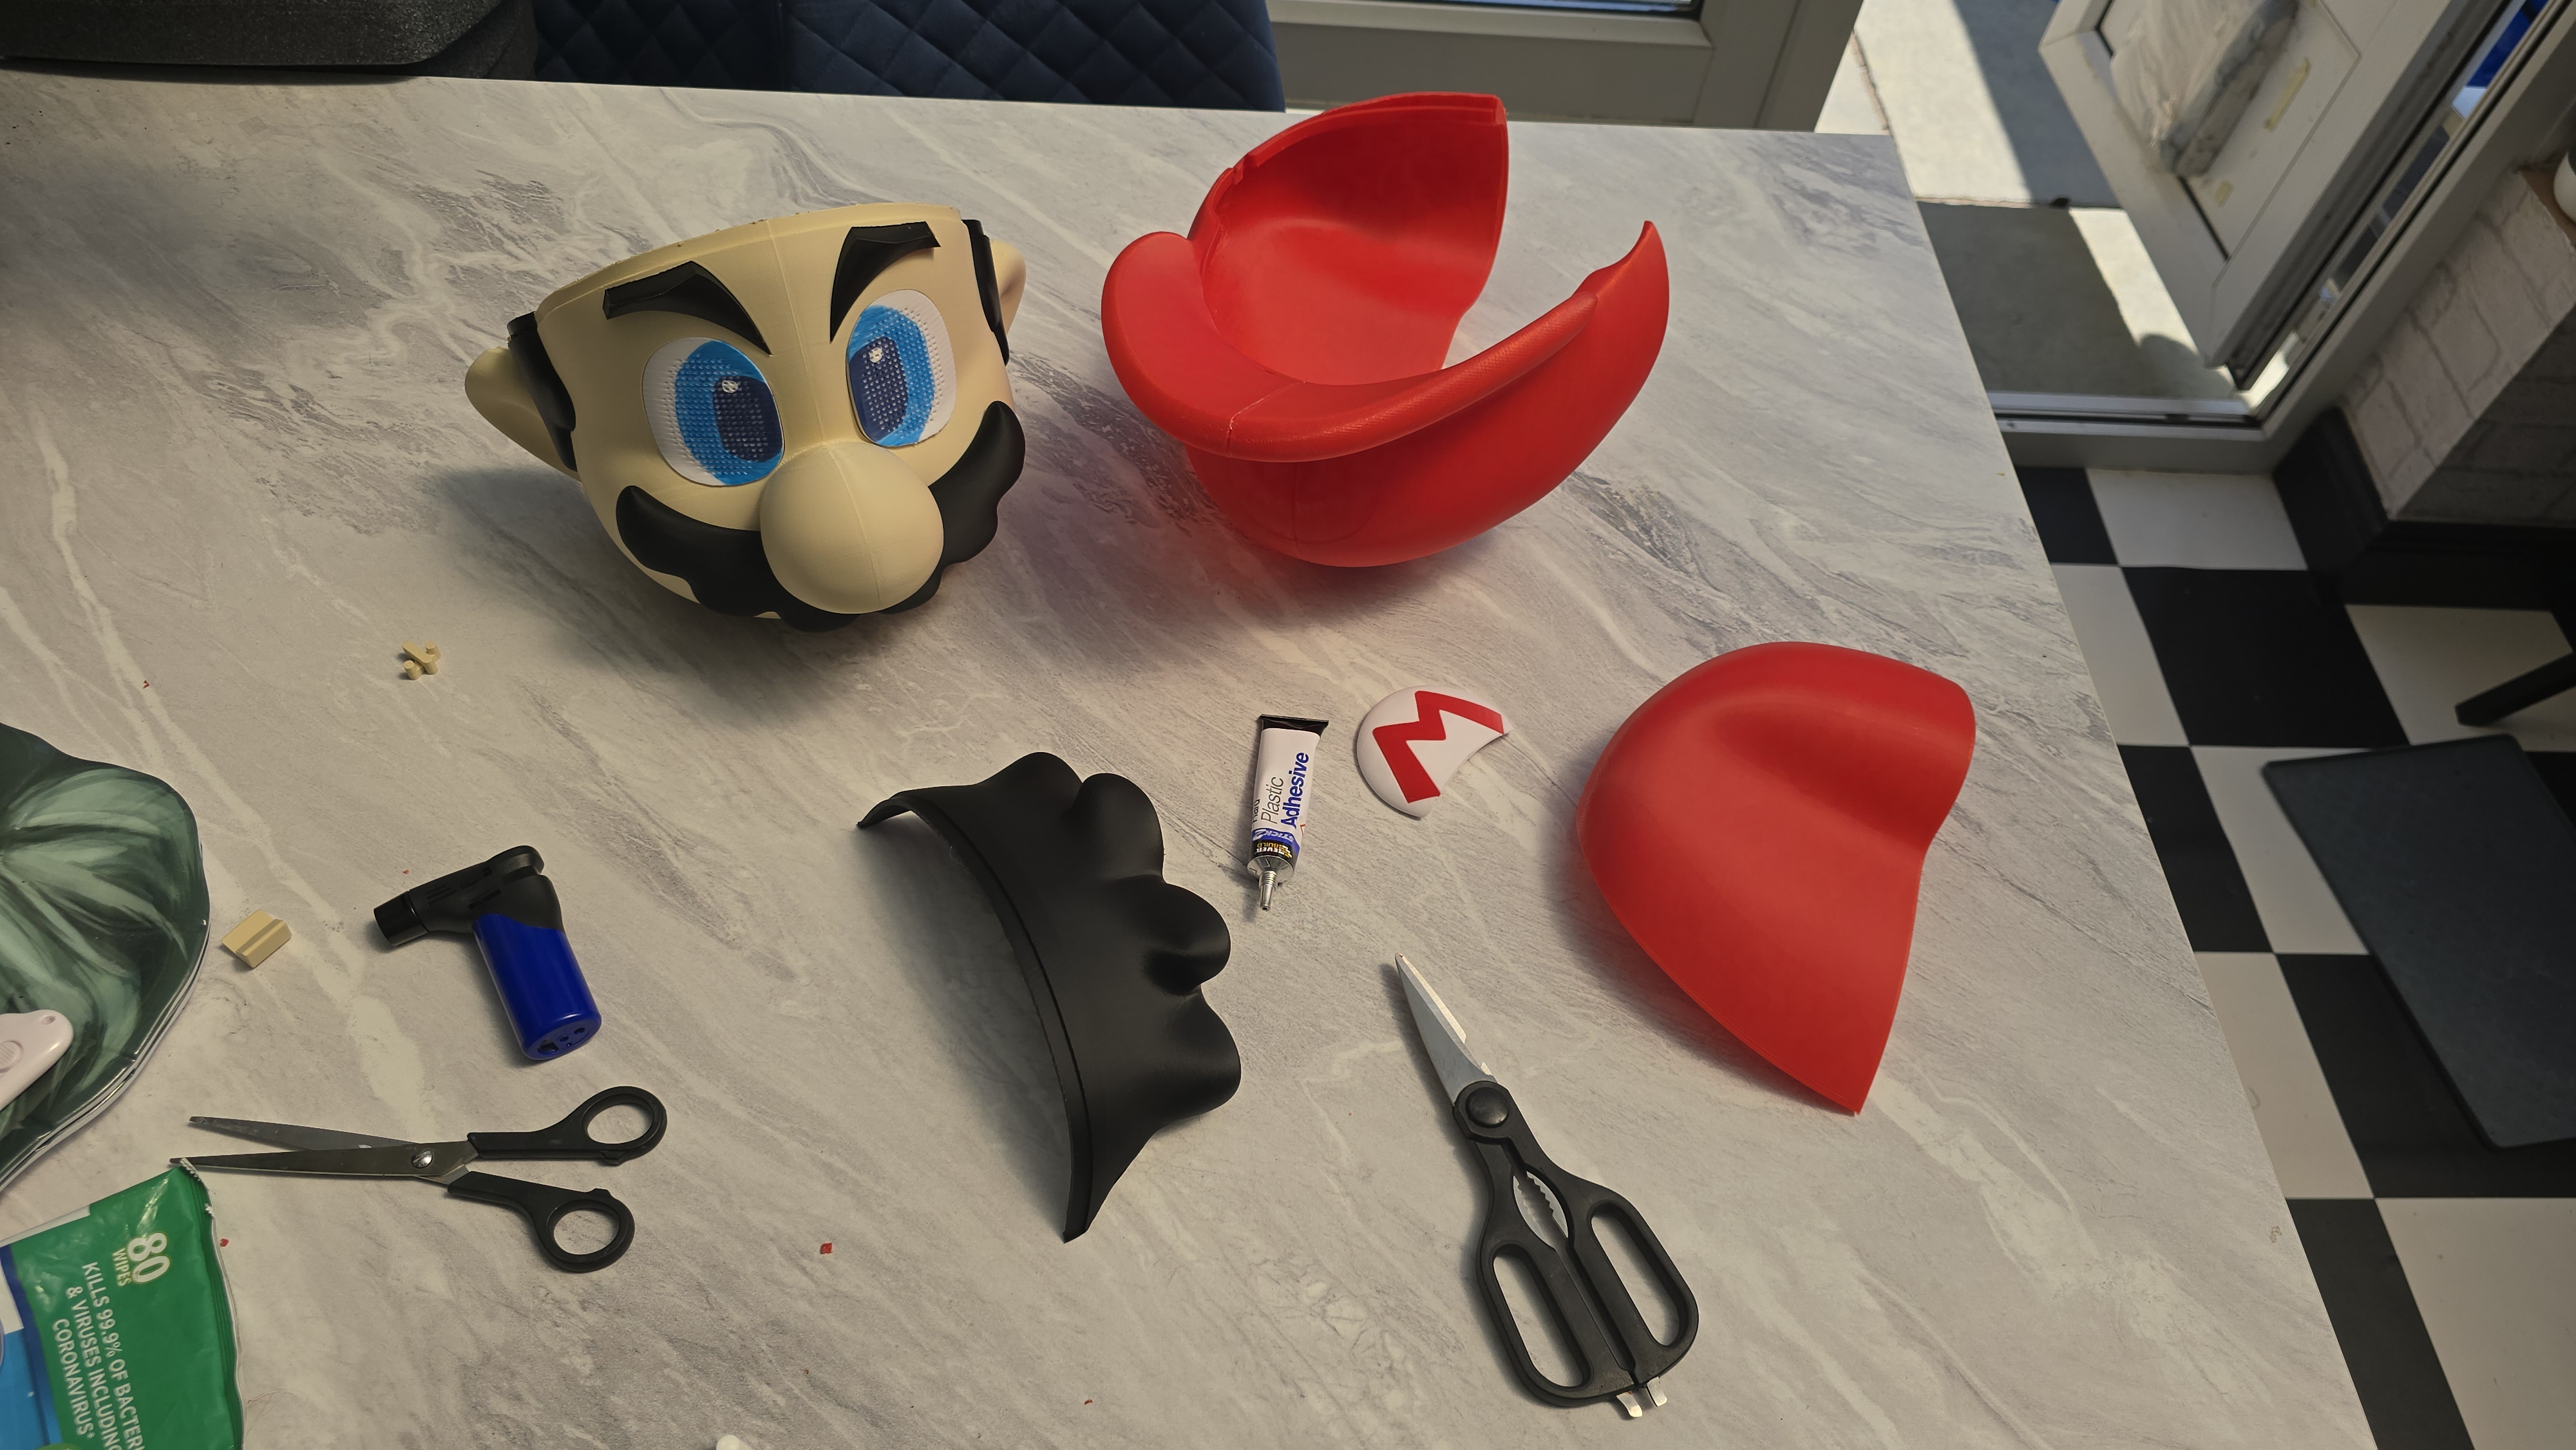
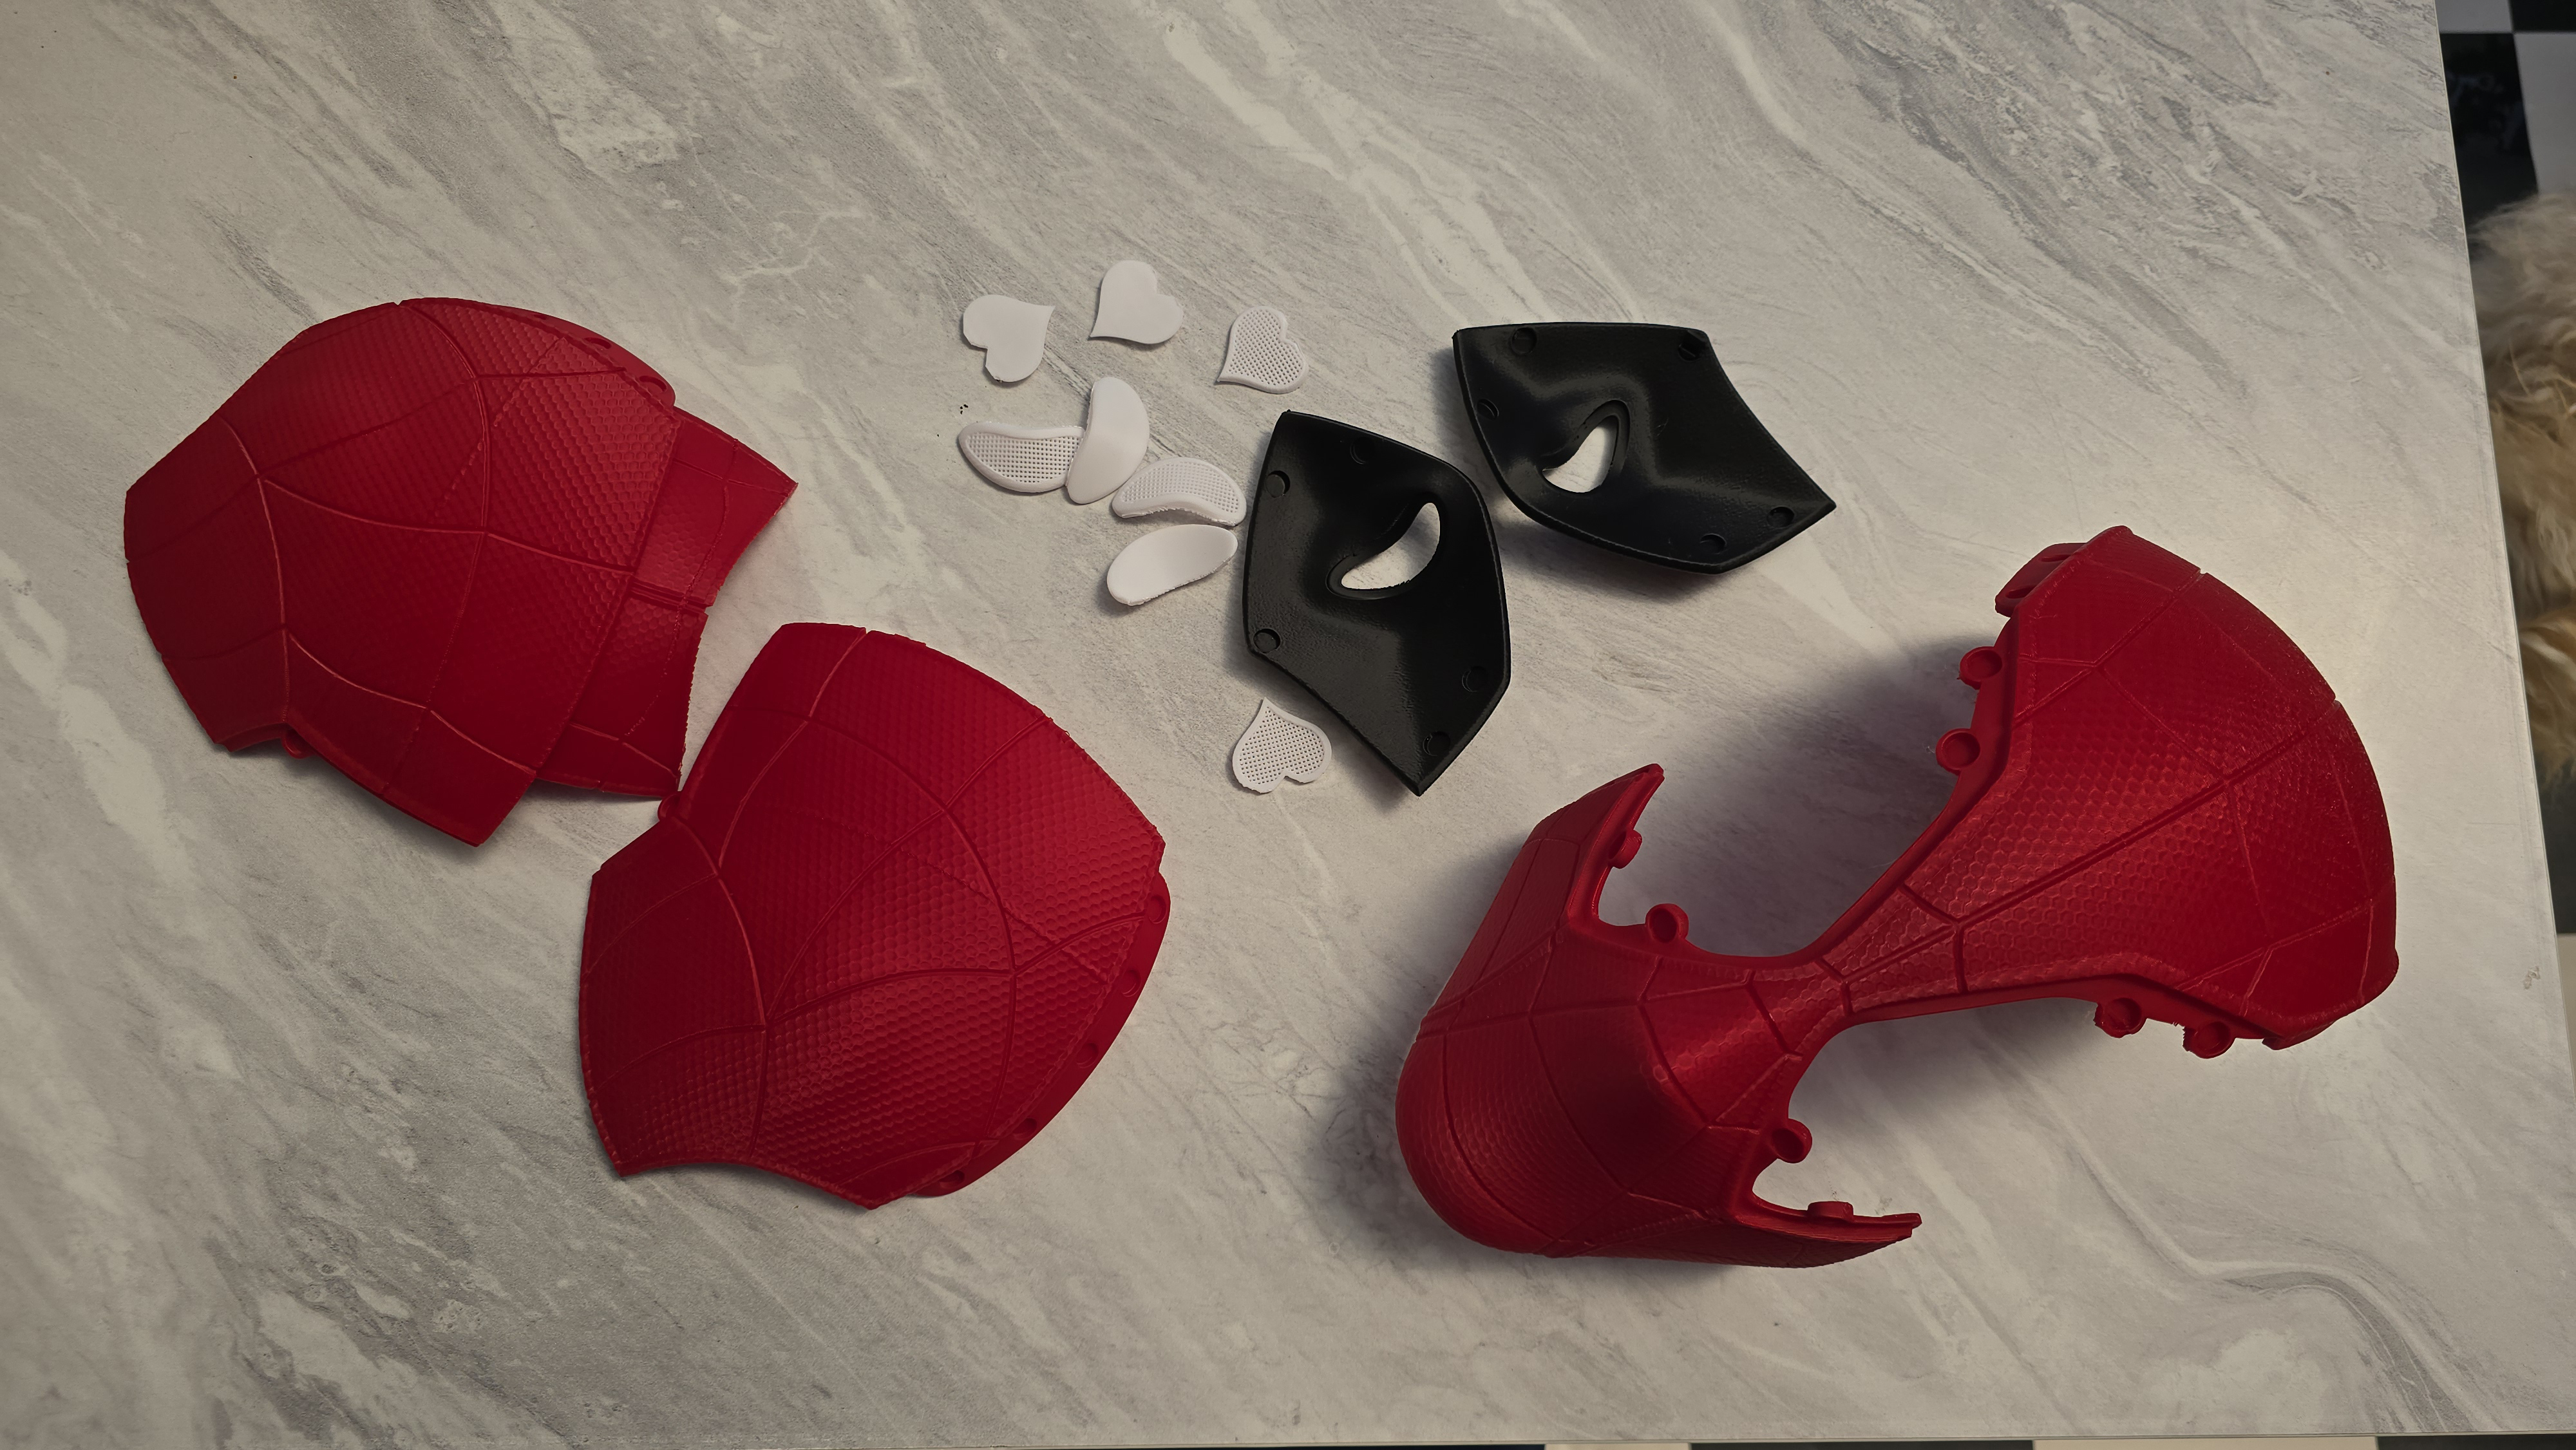
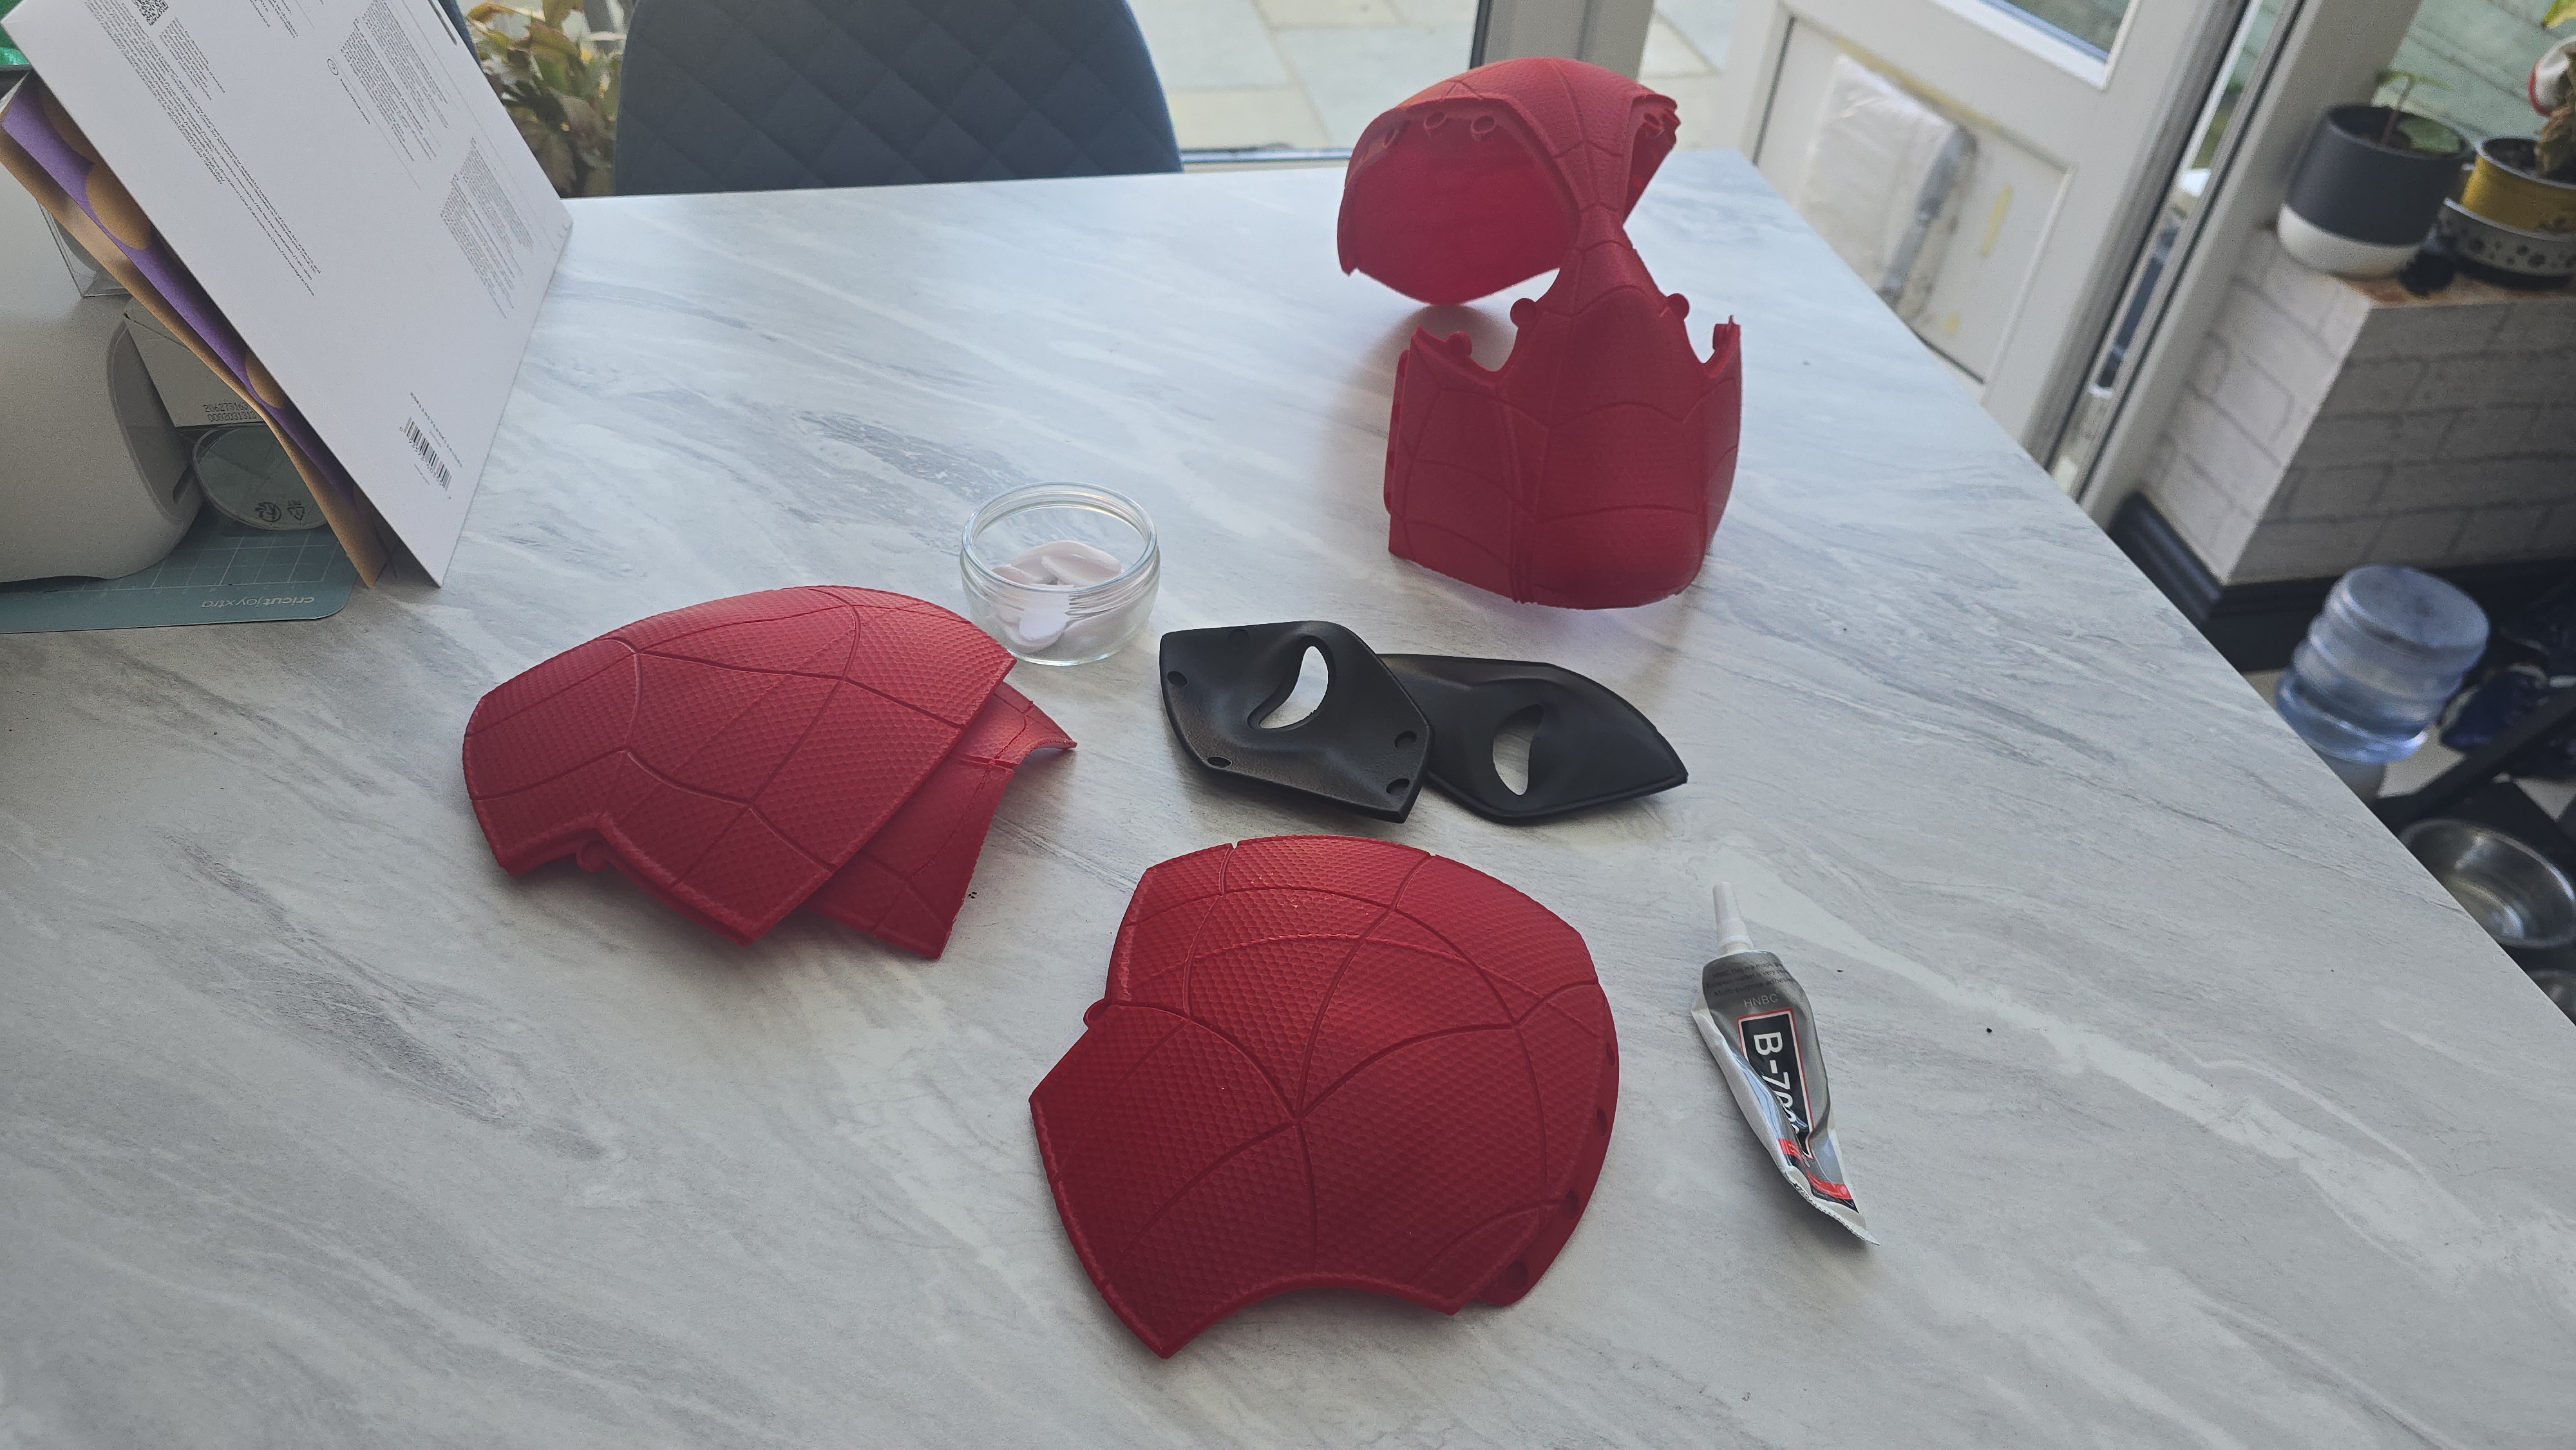

Let's talk magnets! It's going to sound obvious, but when working with cosplay masks and helmets that require magnets for assembly, ensure that you're glueing down magnets in the right orientation so that the magnets on the adjoining side will want to magnetically attach. I got stung a few times after glueing magnets down on what I thought was the correct side, just to find they would repel the other print.
Another thing to note is that just because a print part will have, say, 5 magnet holes – this doesn't mean you need to use all 5 magnets. With the SpiderPool mask, I must have used 20+ magnets filling every slot, and it wasn't really necessary. I tried fewer magnets in the LadyPool mask, and it held together just as securely as the mask with an entire pack of magnets.
If you can afford to, invest in better quality magnets, with a stronger force, and you'll require even less of them for your cosplay props, helping cut costs. I purchased several boxes of magnets from Bambu Lab, and compared these with similarly priced options I got from Amazon, and the Bambu quality was unmatched.
Step 4 - Finishing your prints
Now, you could definitely stop right here and call it a day. But where's the fun in that? If you really want to elevate your 3D printed cosplay pieces, then there are a few methods I recommend.
Sanding - If you want smooth surface prints, then sanding is the way to go. I haven't quite mastered sanding yet, but I've seen videos where creators have achieved stunningly smooth prints and glass-like results from a combination of using sandpaper, industrial sanders, and a wet sanding process. Check out videos by YouTuber Uncle Jessy for some top tips on this.
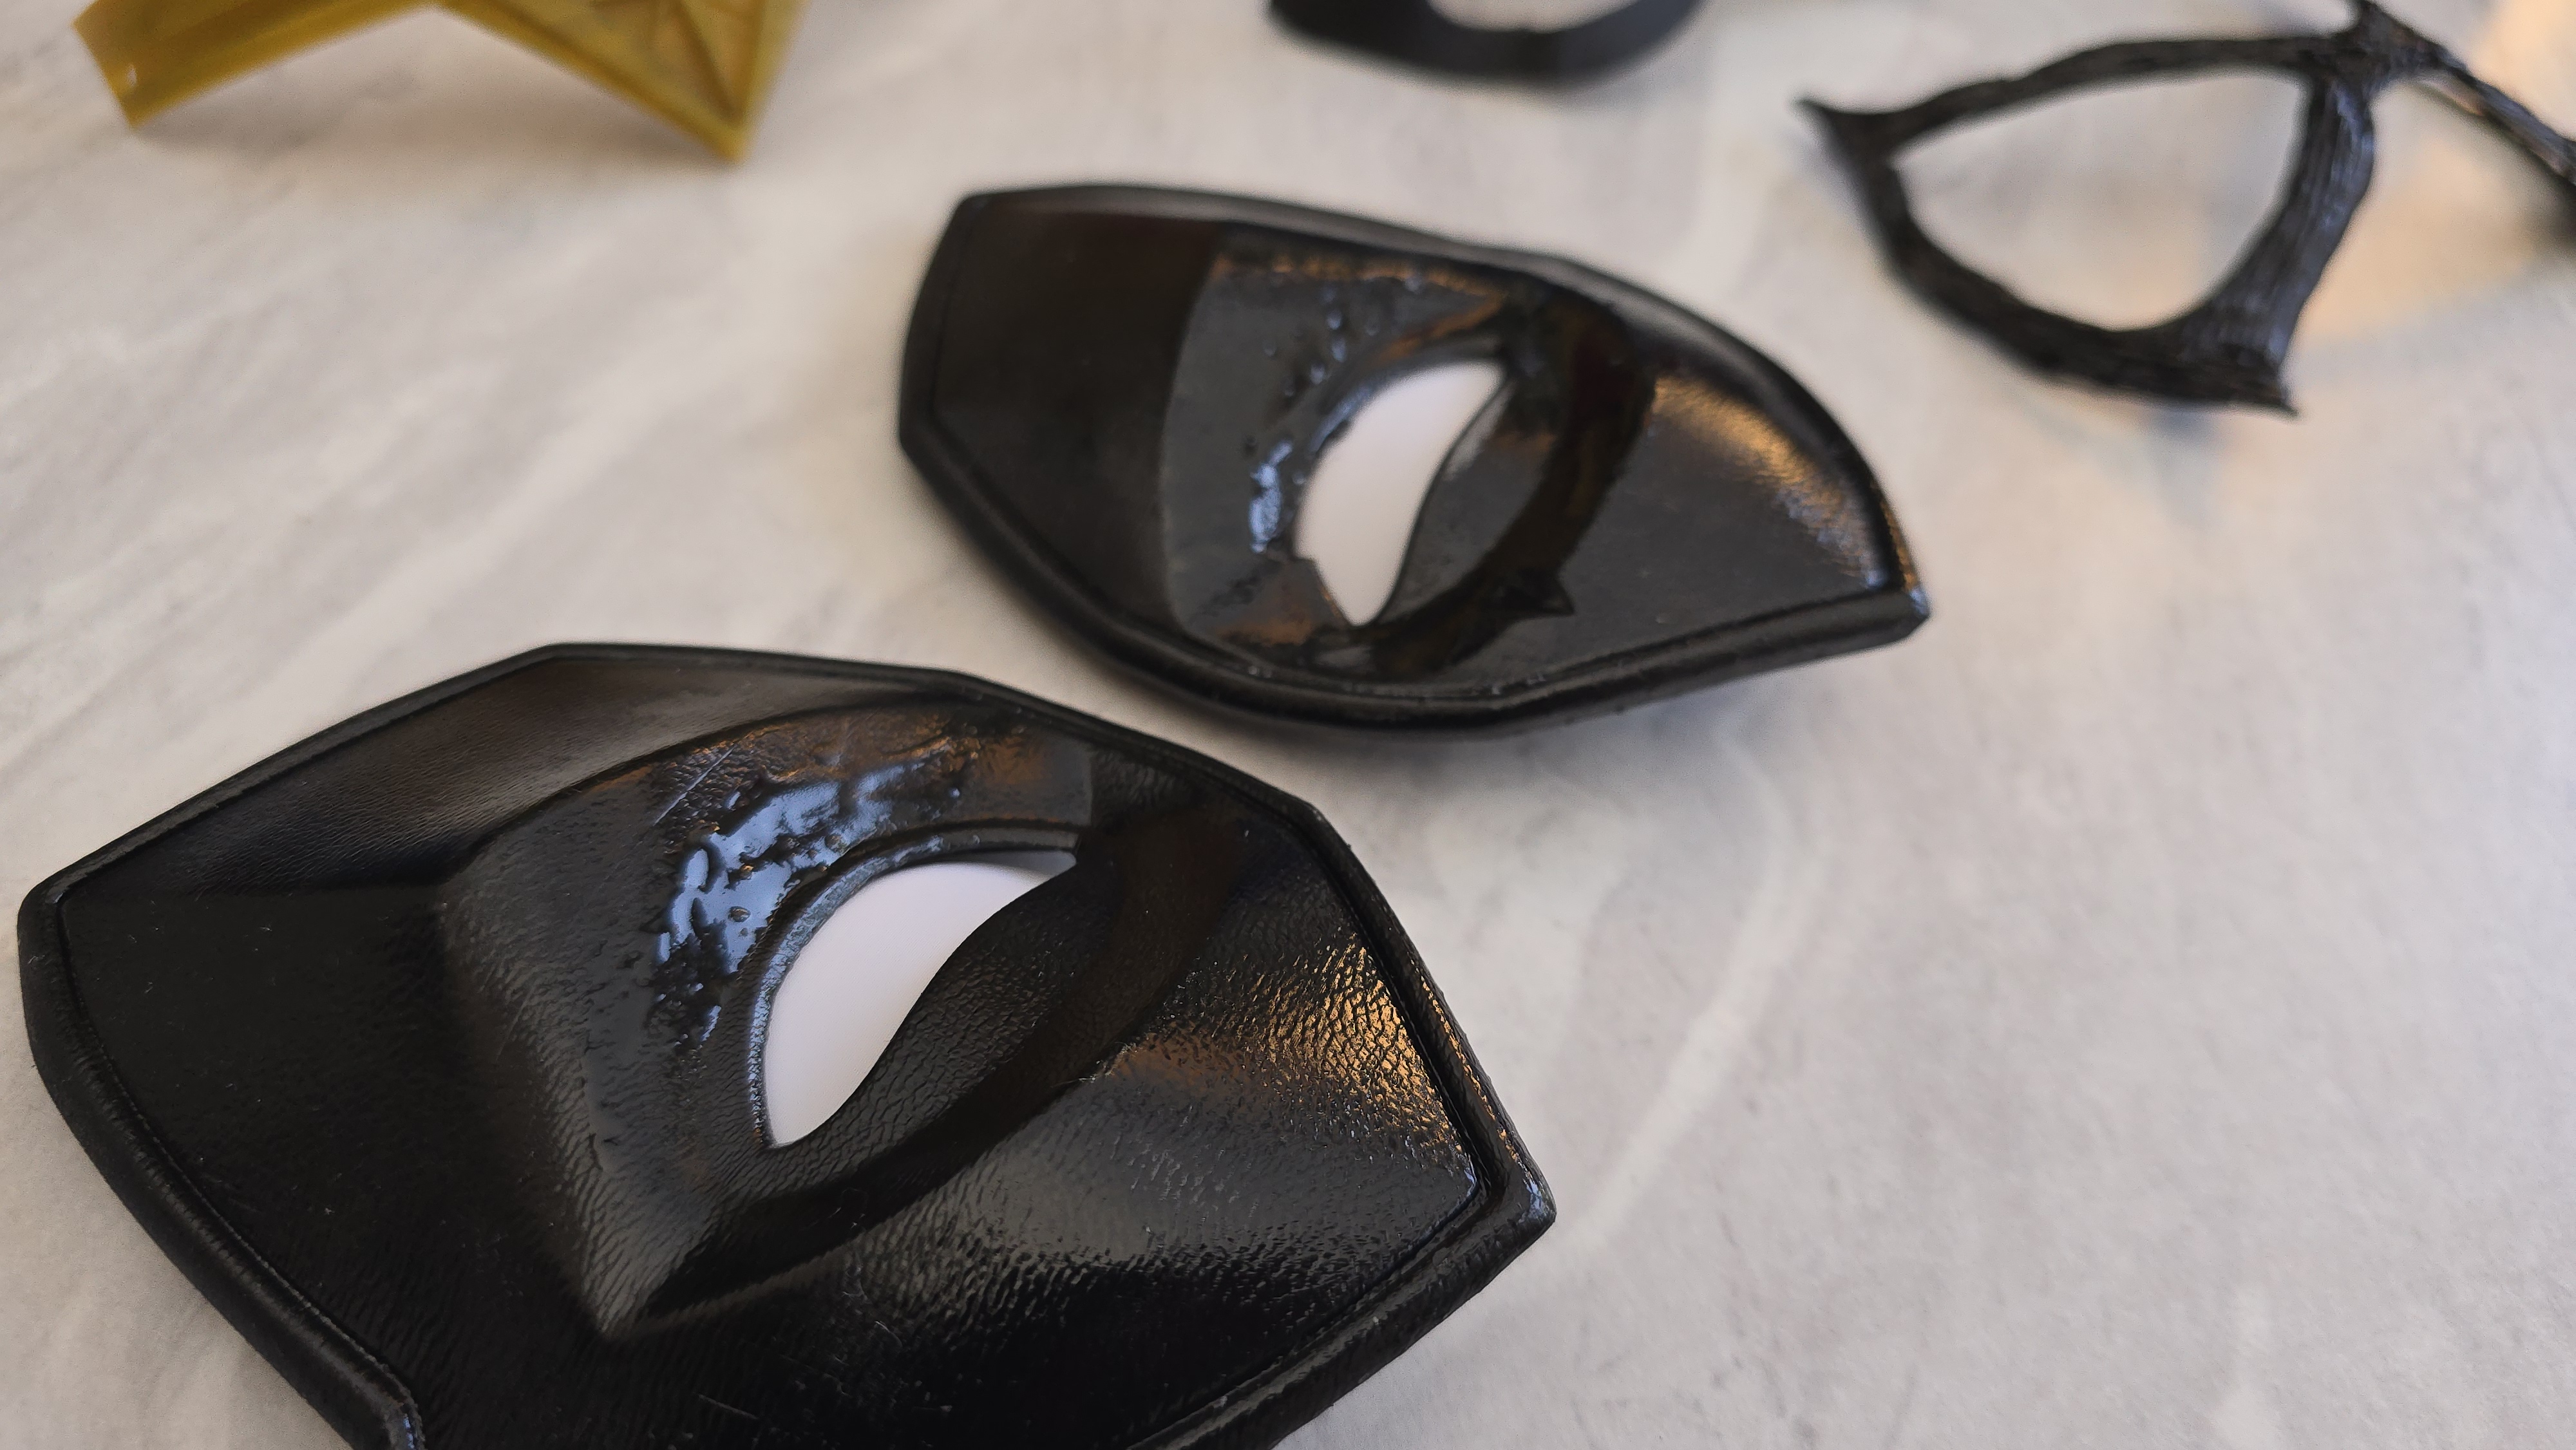
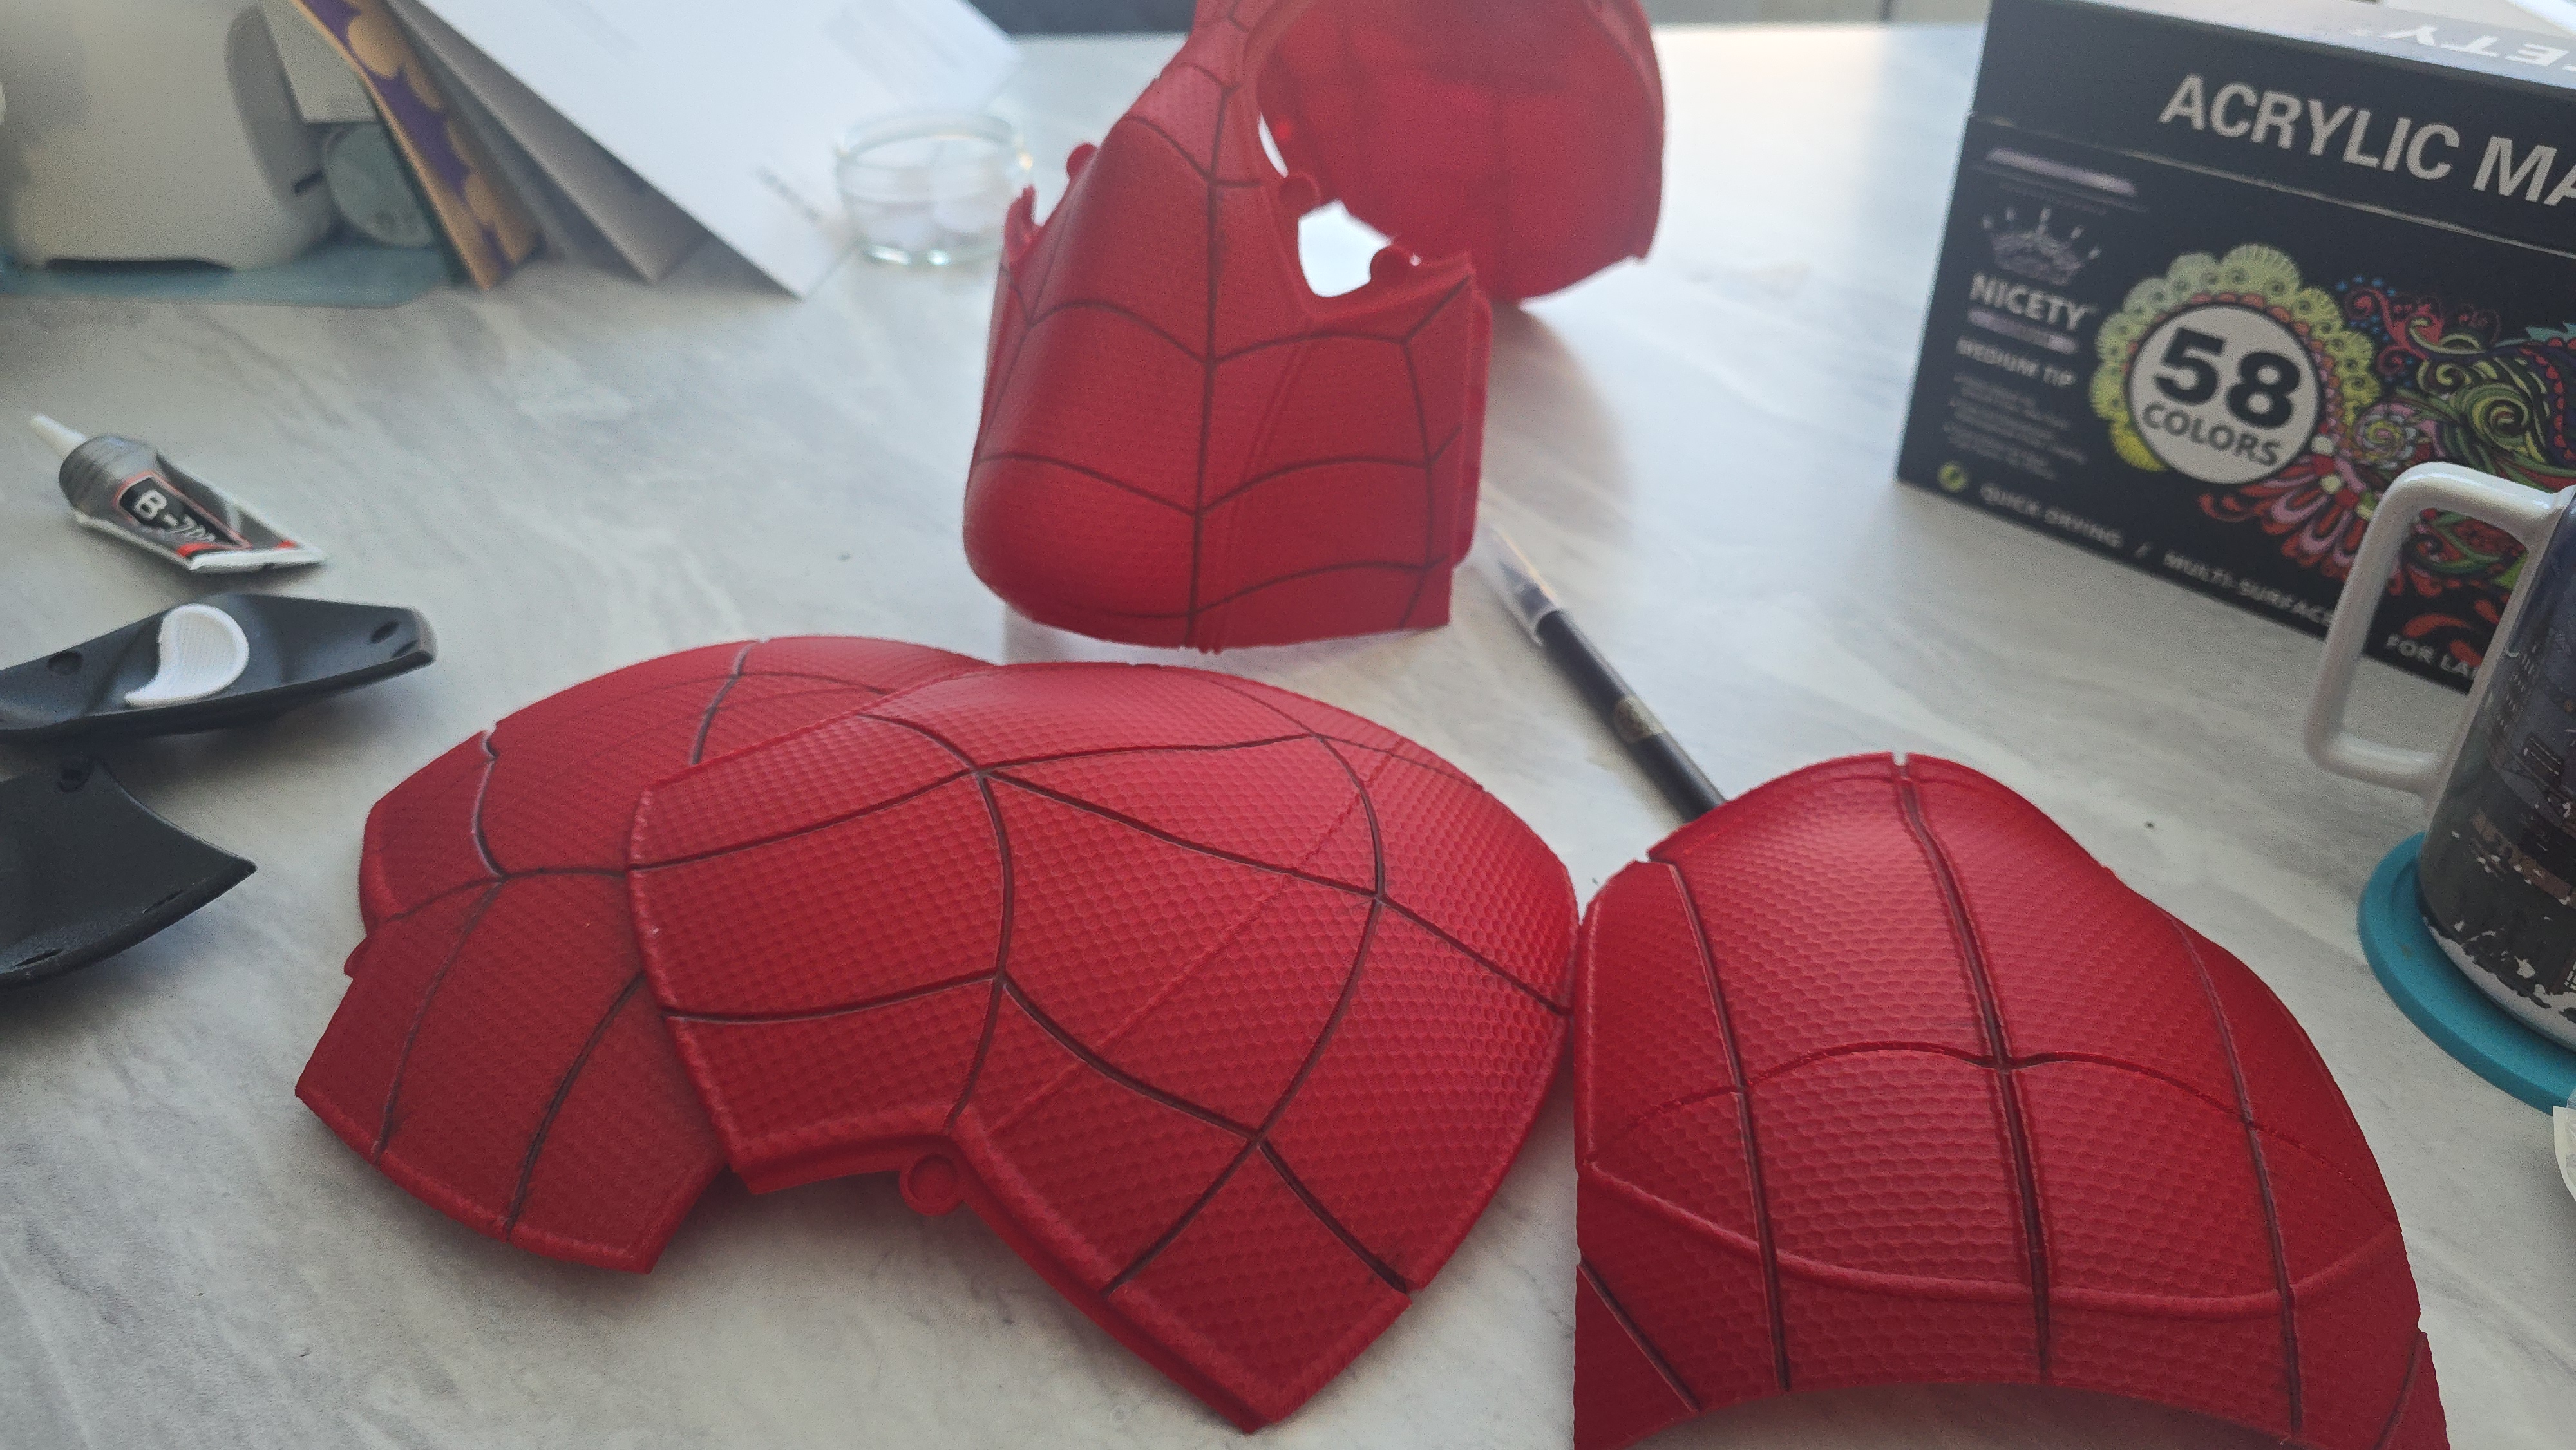
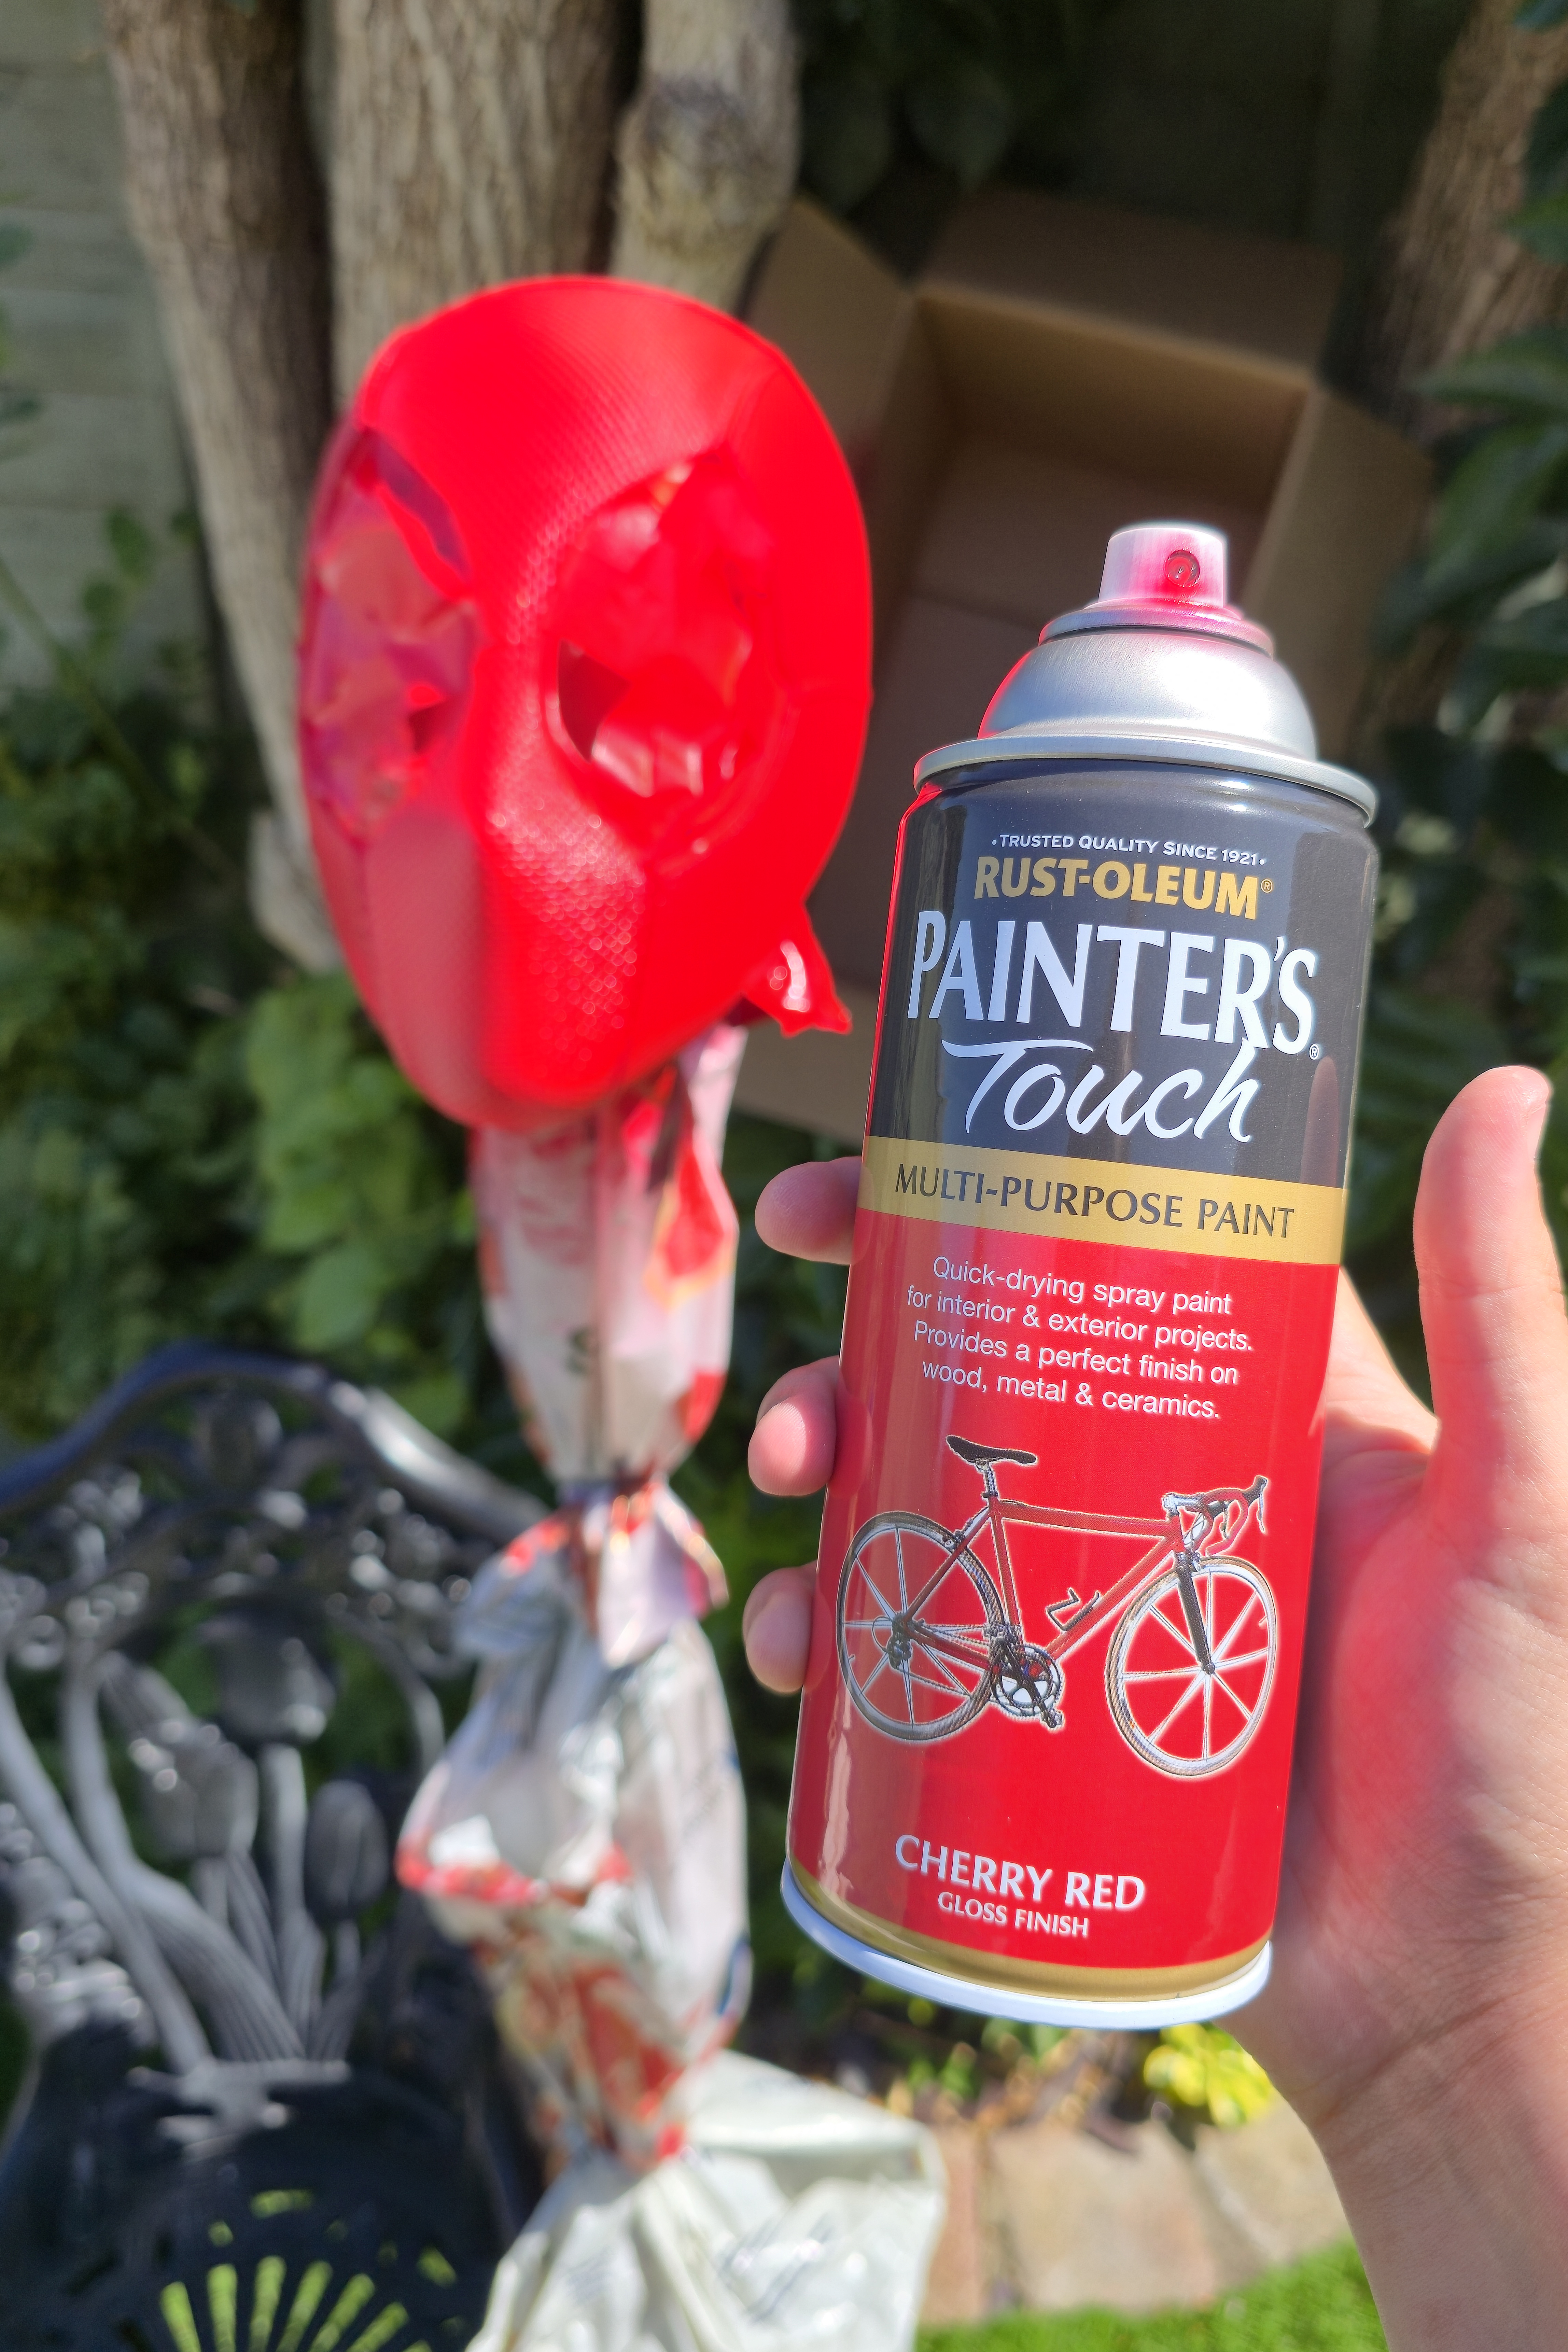
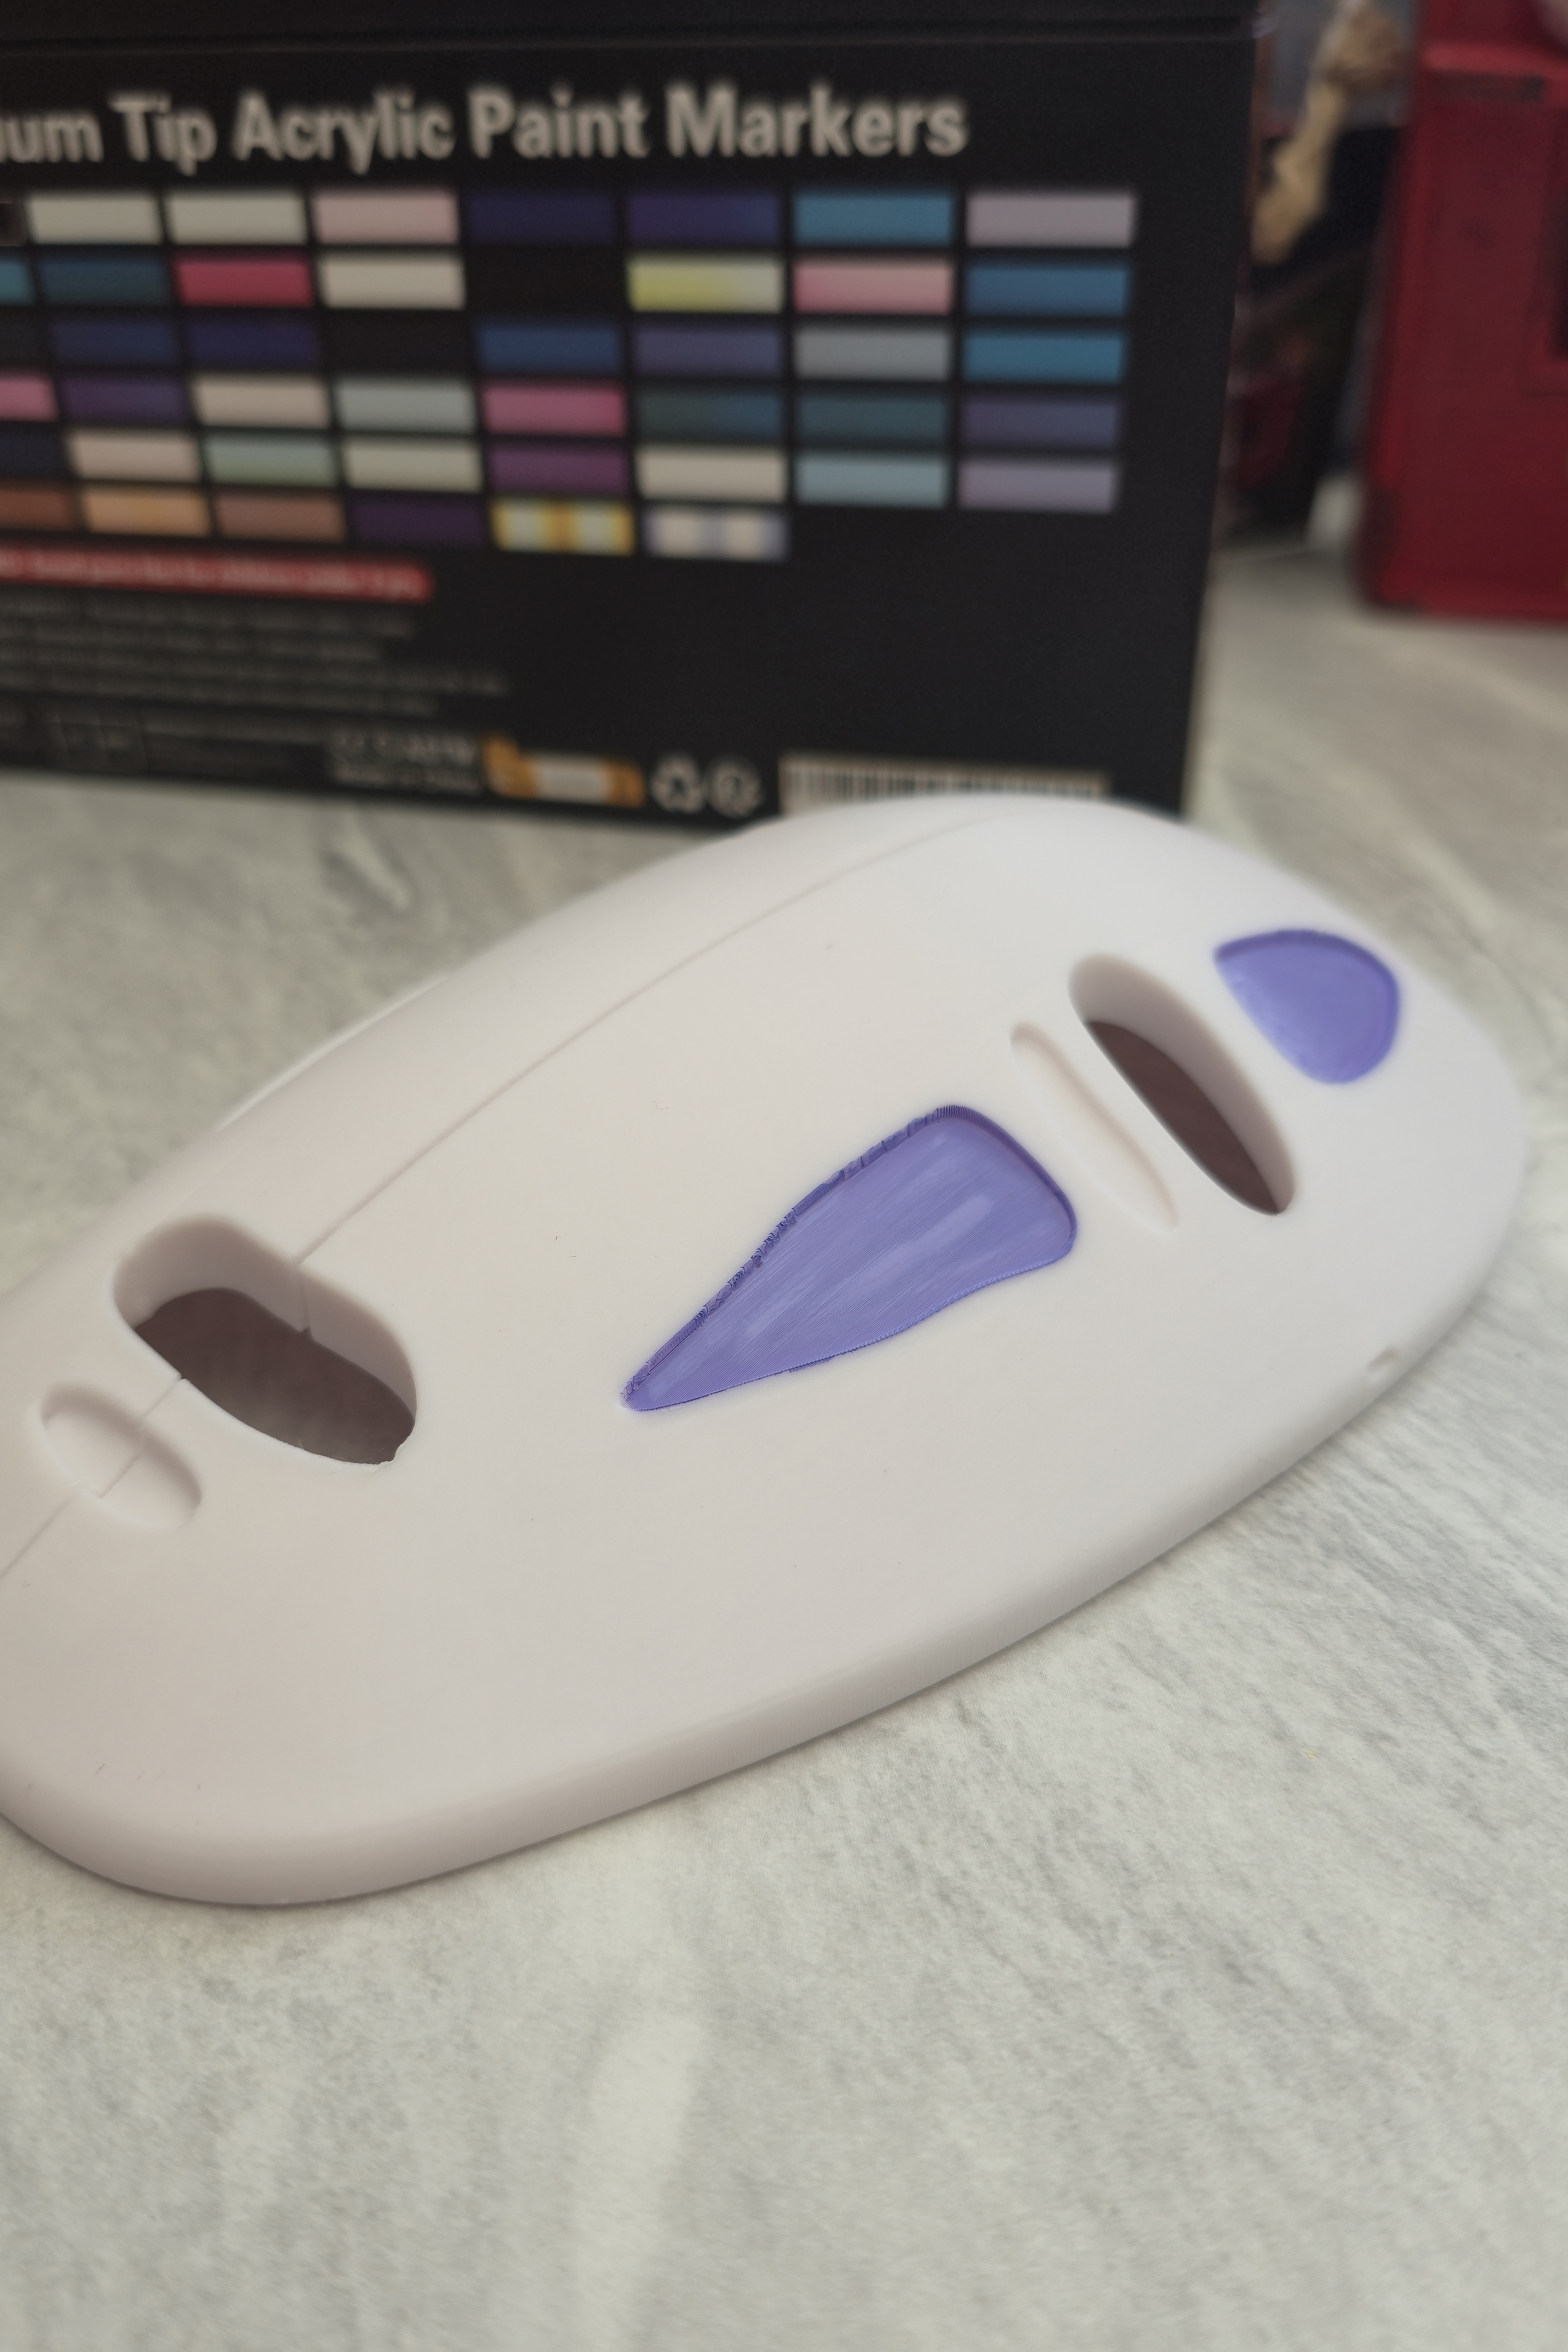
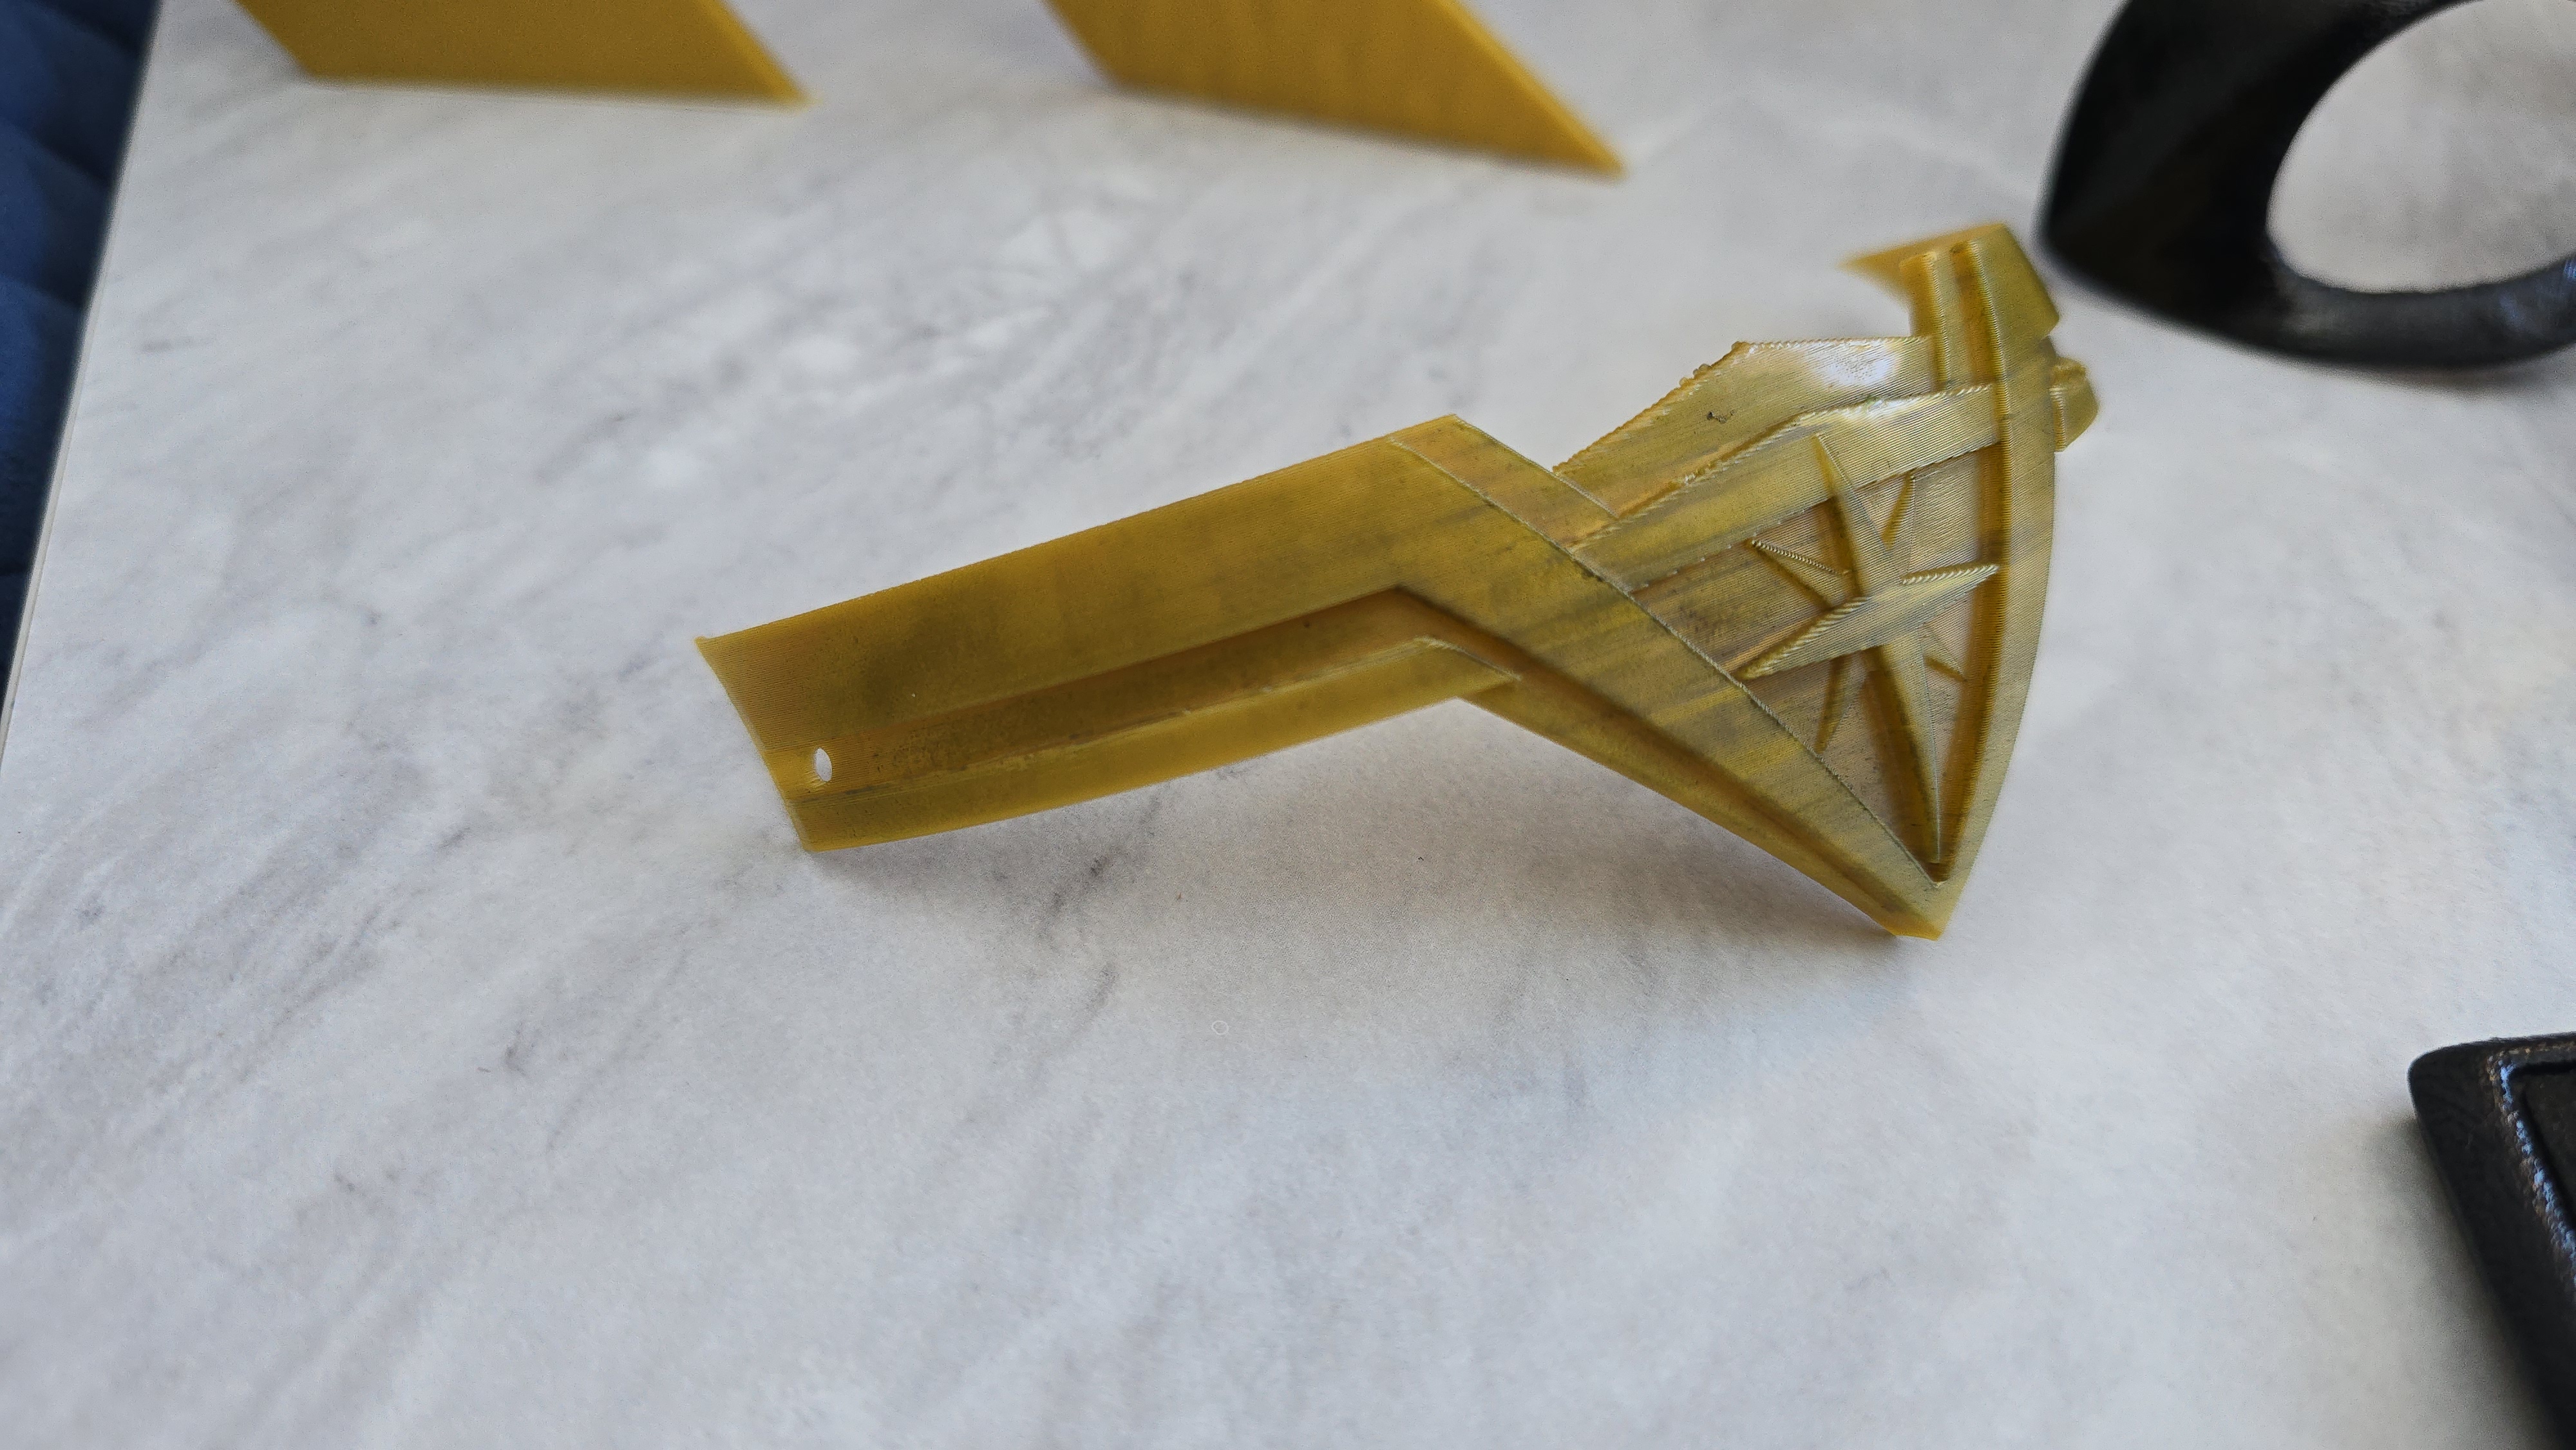
Painting - I've gotten quite confident at painting 3D prints now, and having this skill in your arsenal can really cut down on print times and waste from using AMS (automated material system) units on colour-capable 3D printers. I started off using acrylic markers, since I've never been sturdy with a paintbrush, and then progressed onto spray painting with a bit of practice. This can provide a really clean-looking result for your cosplay props, and takes minimal effort once you understand the process.
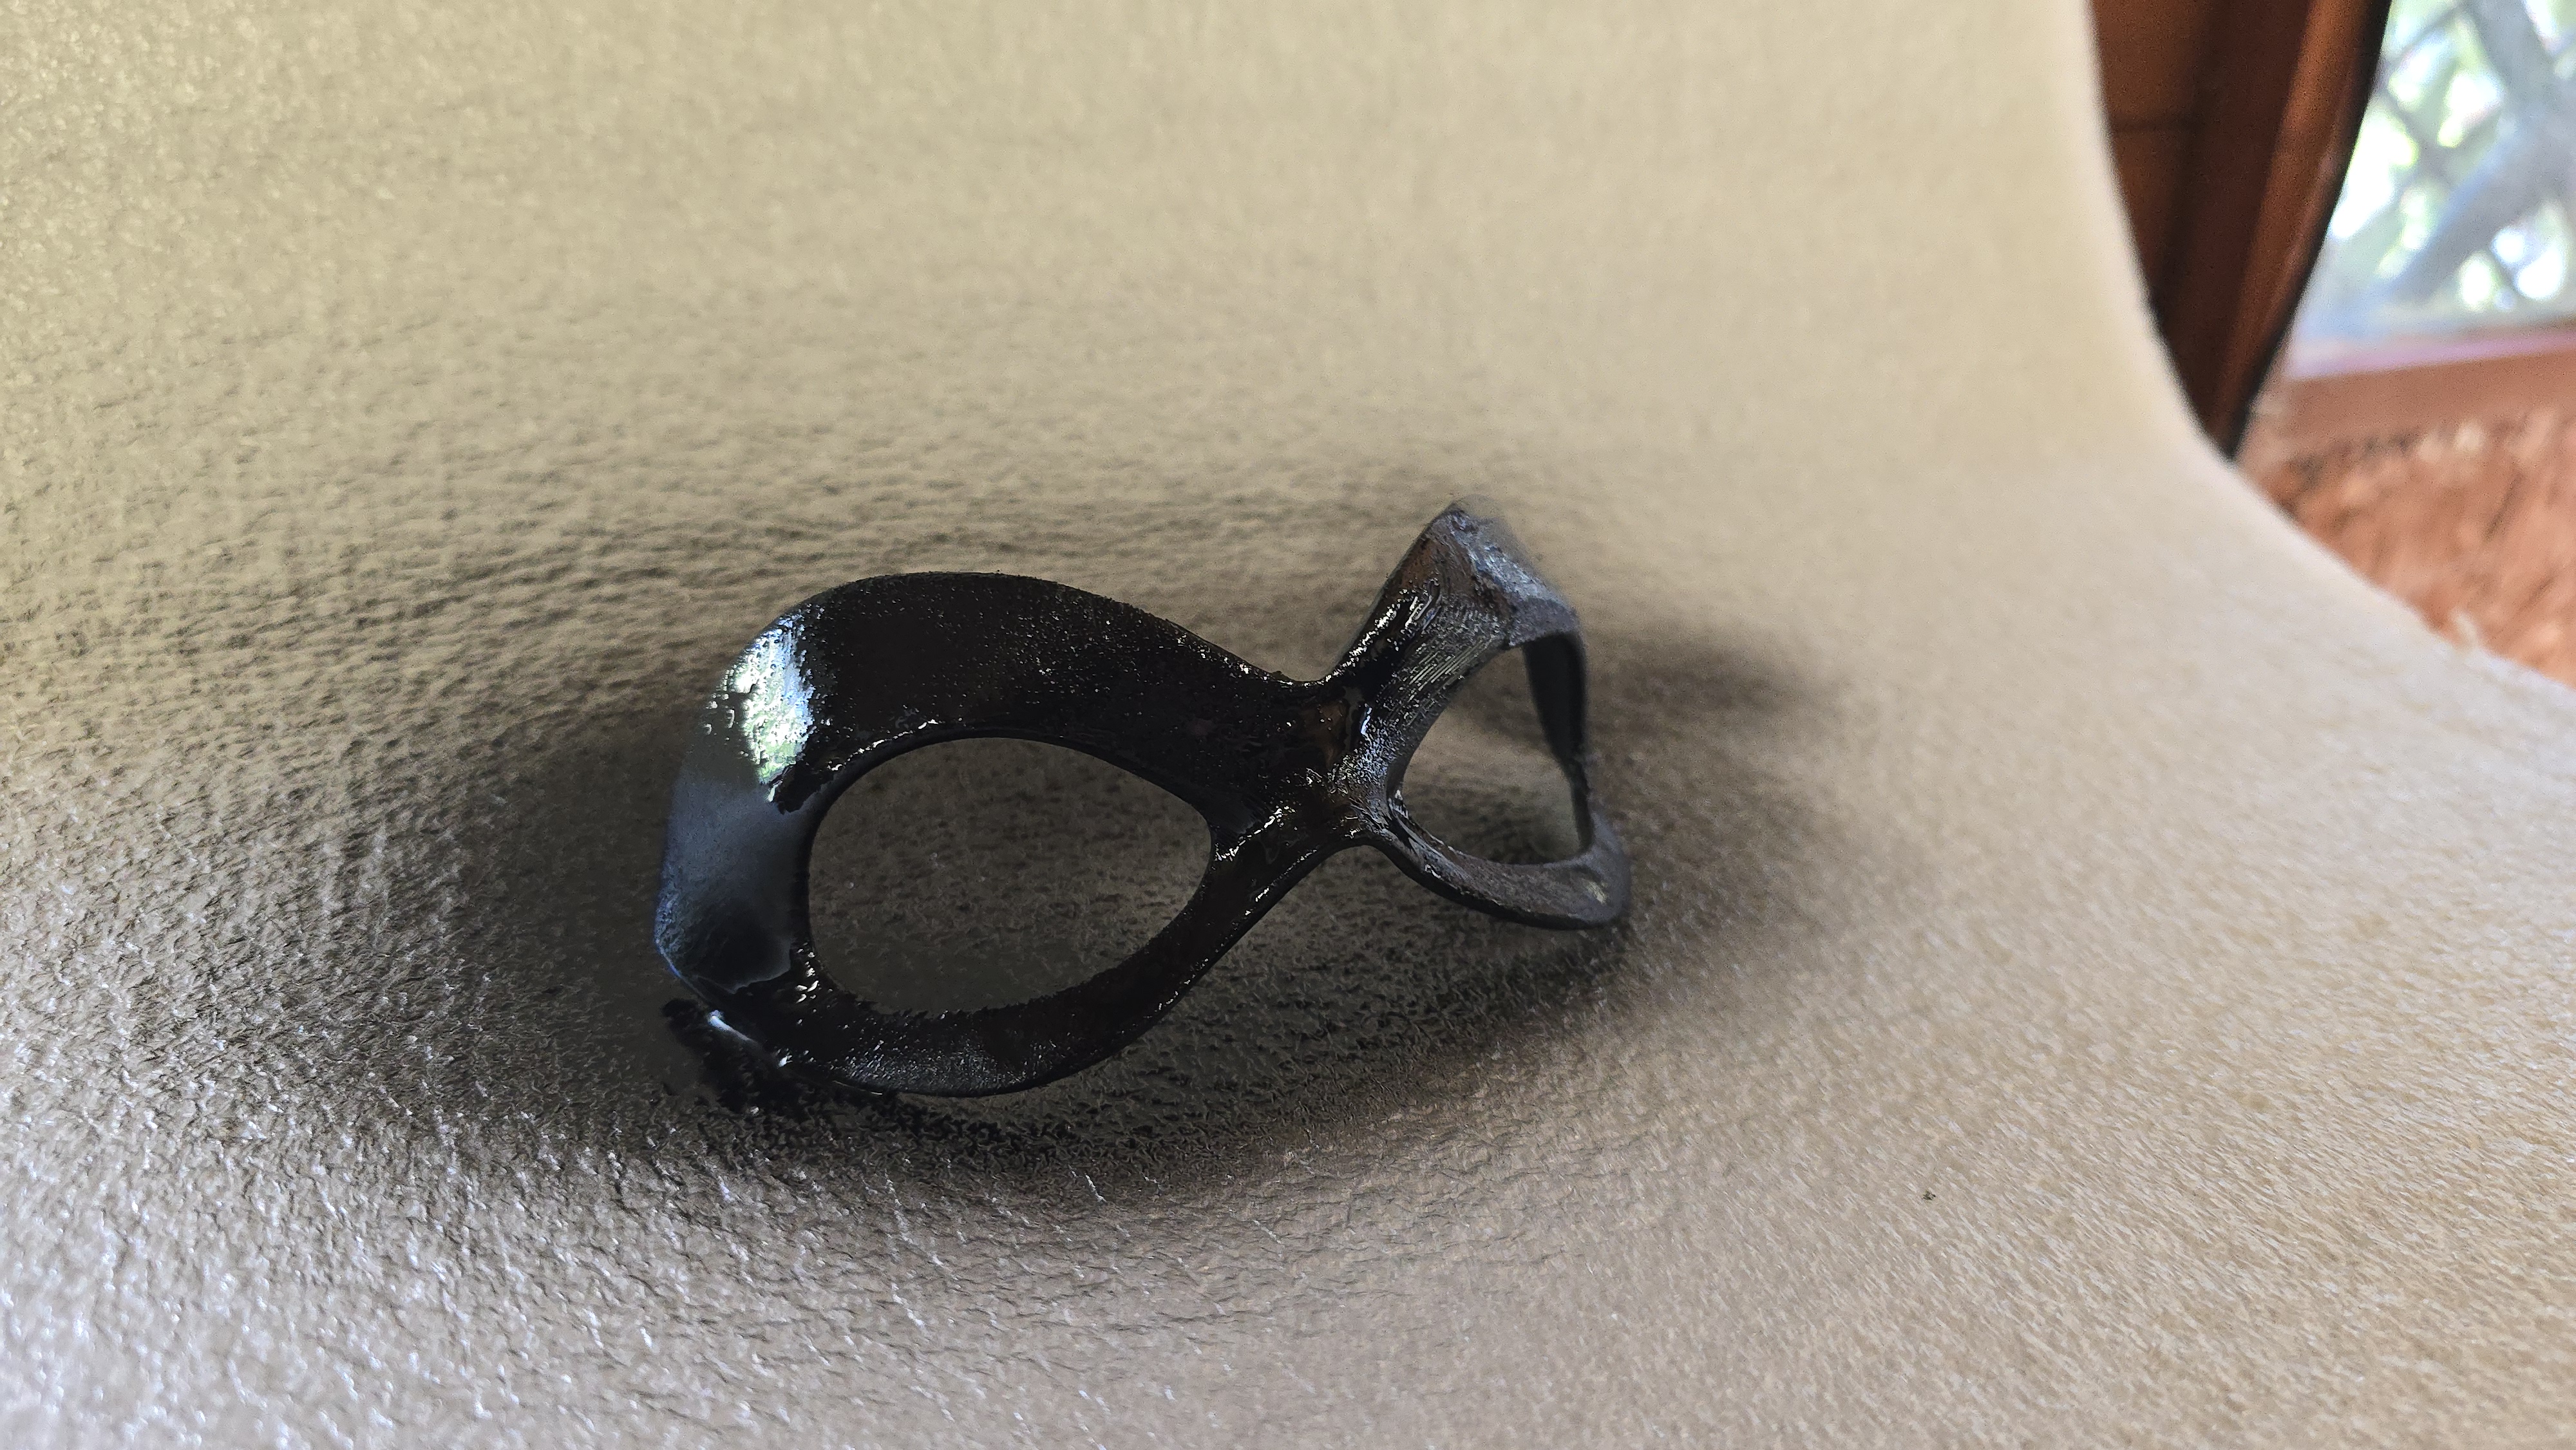
Weathering - This can take a few forms. You can weather a prop and make it look gritty using pretty much anything at your disposal, be it paint, coffee, or actual dirt from your garden, if you're aiming for a realistic aesthetic. You can also weather a print using a 3D pen by adding battle scars, indents, and slashes to your model.
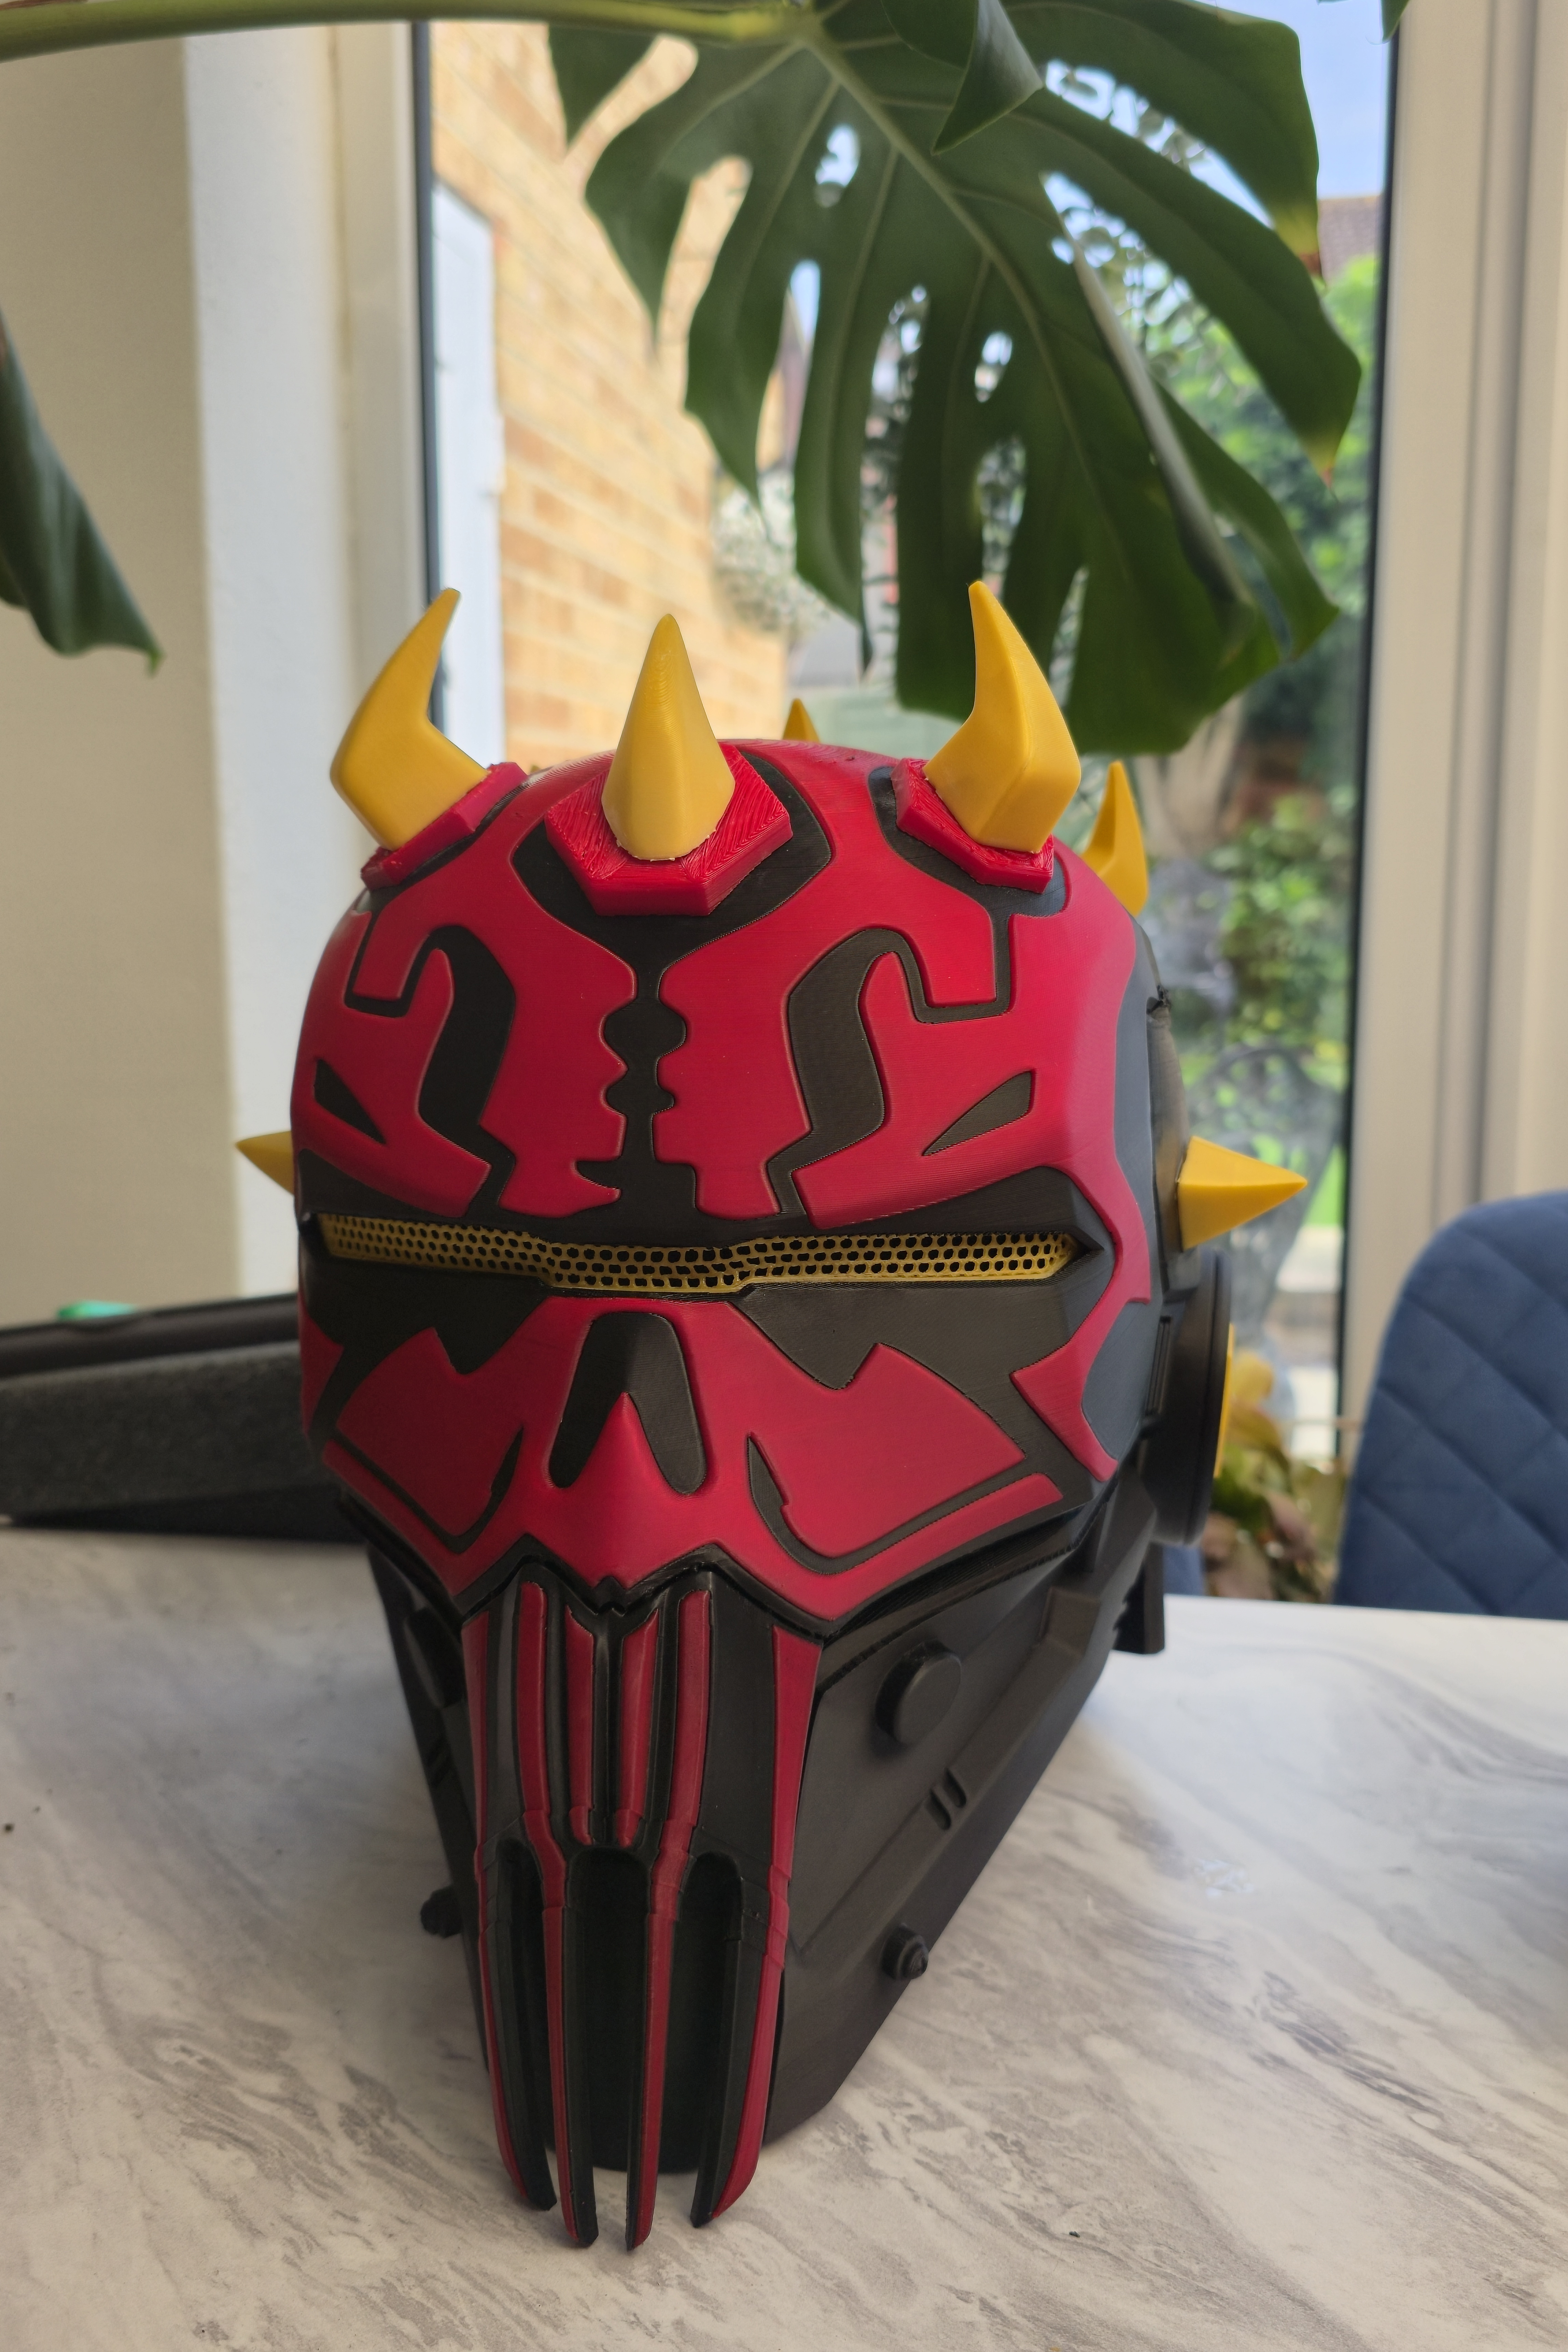
Buffing - If you're not a confident painter, buffing your props with metallic wax using something like Amaco Rub ‘n Buff is a super-easy way to finish your prints. This can be used to bring out details in your prints and add metallic shine to cosplay armour with ease. Seriously, it only takes about 2 minutes. I've been dying to try this out on a Mandalorian helmet once I get around to printing one.