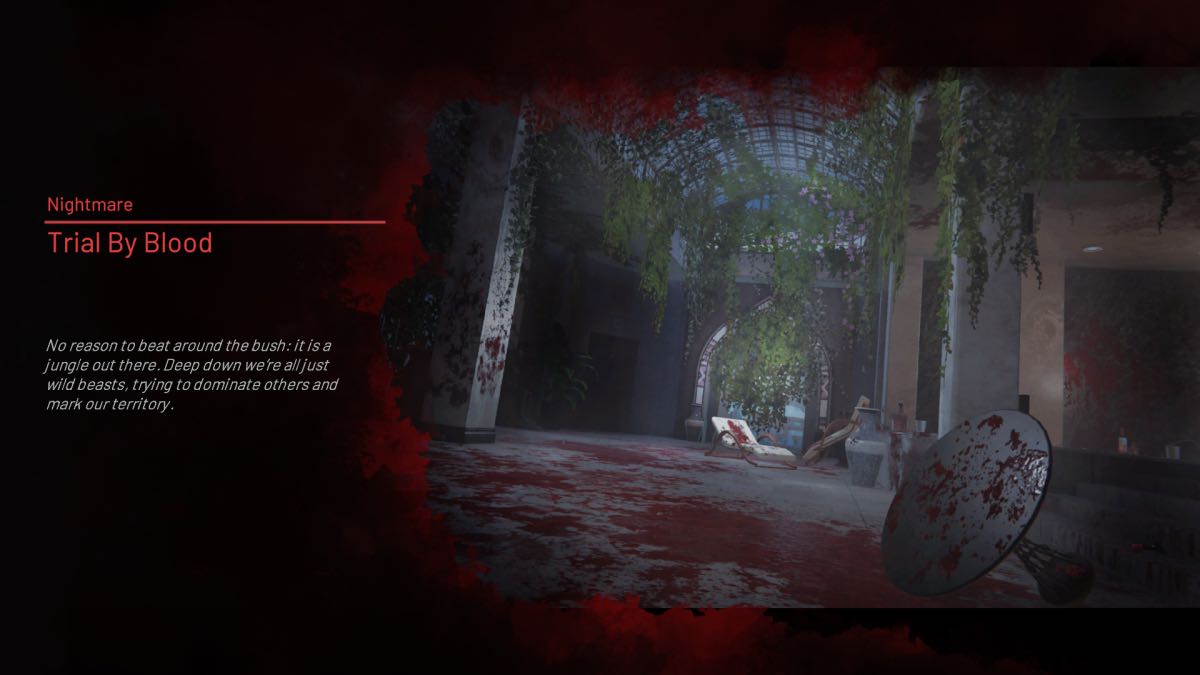
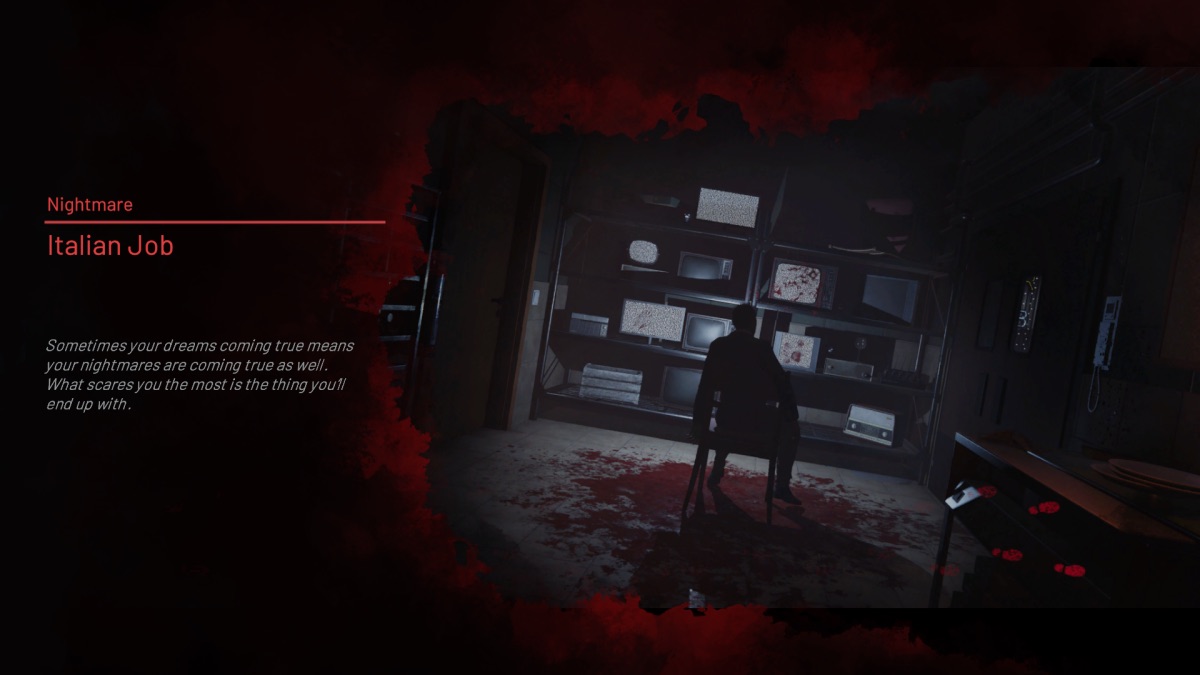
Kovalsky thought he escaped the dirty work of being a Crime Scene Cleaner for the mob, but it still haunts his nightmares. With this new Nightmare update, you can play through all the previous levels, but this time with more blood and a higher body count. Find every piece of evidence and drop of blood with the help of our complete Crime Scene Cleaner Nightmare walkthrough below.
Bad Call Nightmare
- Get rid of 13 bodies
- Courtyard alley
- Courtyard main entrance
- Courtyard lockers
- Basketball court
- Maintenance Room
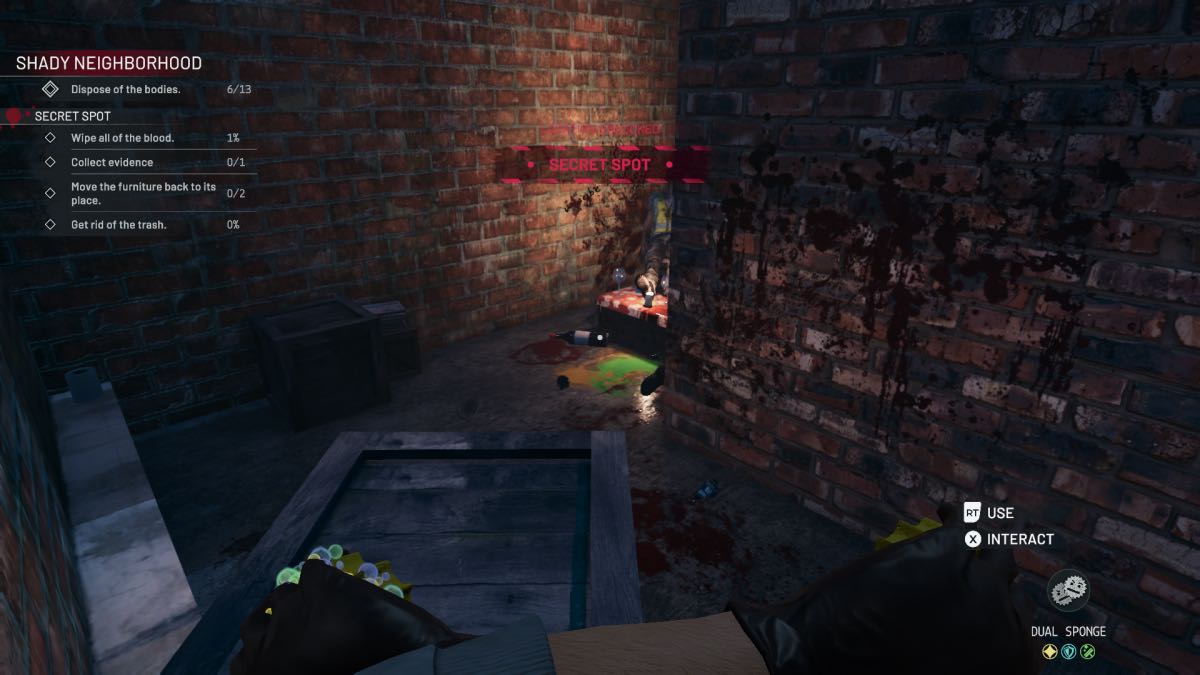
- Secret Spot x 2
- Hidden Apartment
- Apartment
- Dealer’s Apartment living area
- Room below Dealer’s Apartment
- Attic ladder
- Attic Backroom
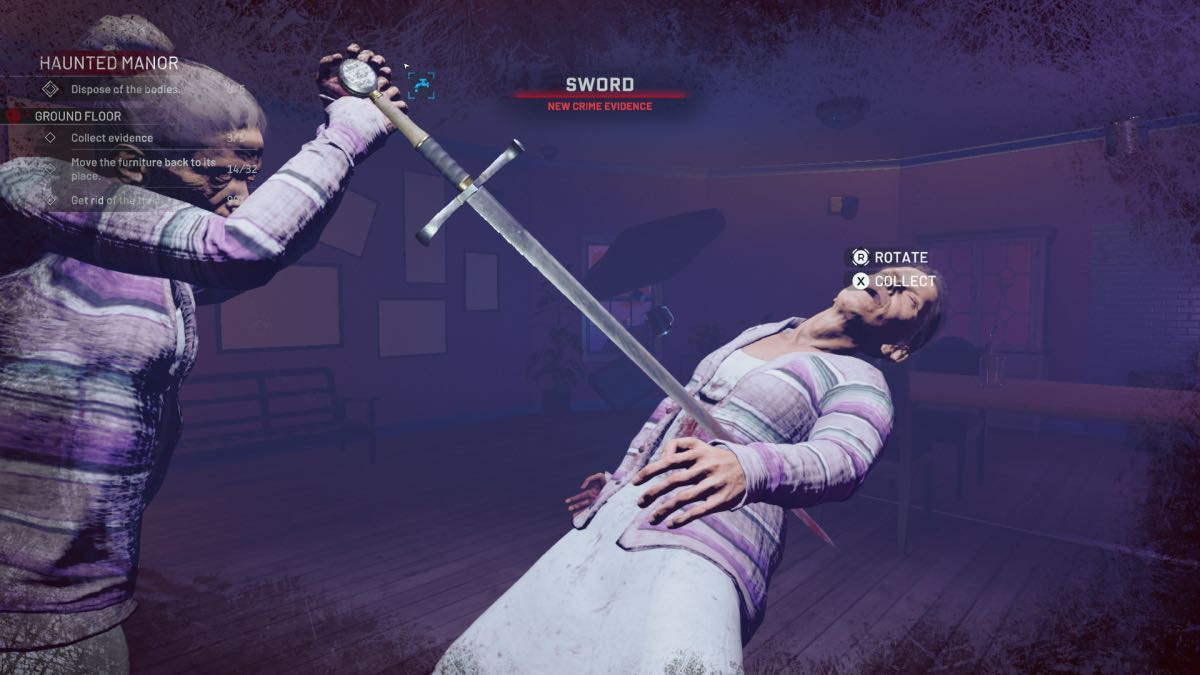
- Collect all six pieces of evidence
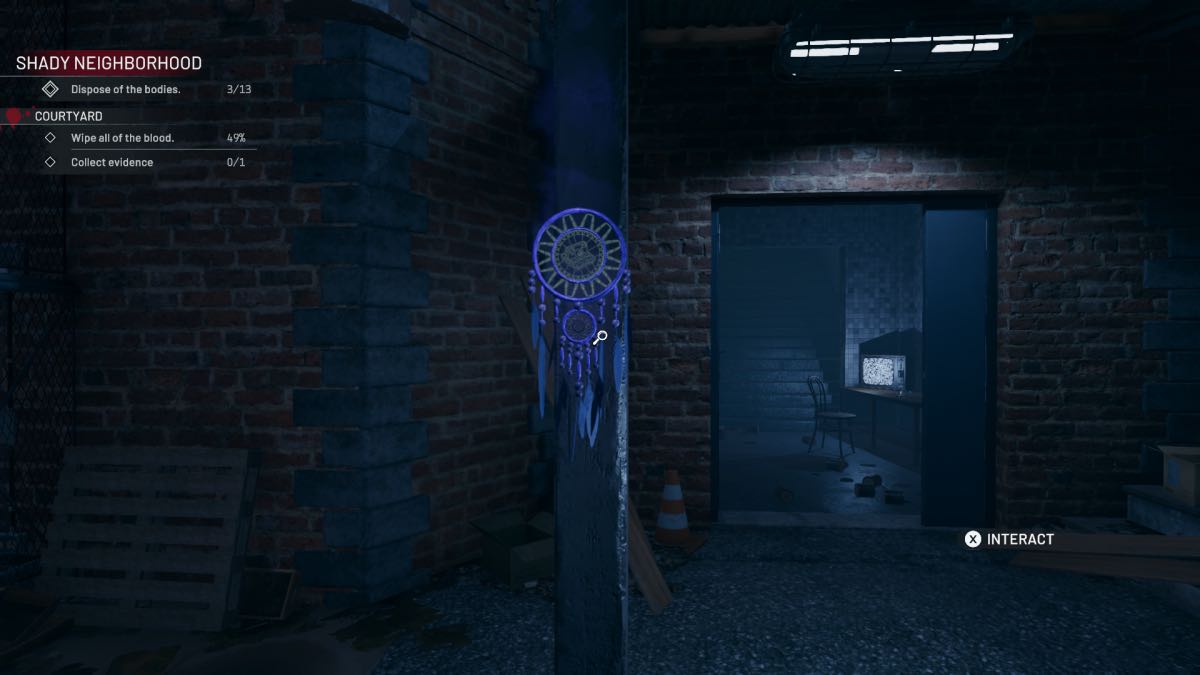
- Courtyard (Dream Catcher)
- Maintenance Room (Dream Catcher)
- Hidden Apartment (Dream Catcher)
- Secret Spot (Dream Catcher)
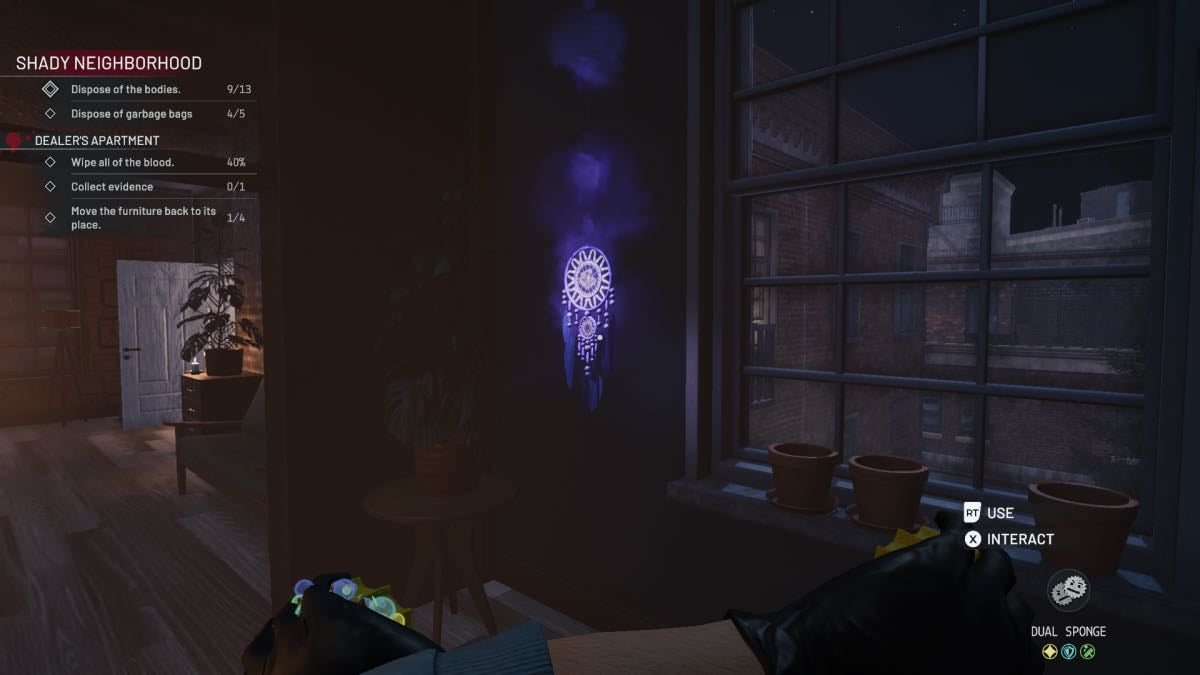
- Dealer’s Apartment (Dream Catcher)
- Attic (Polaroid Camera)
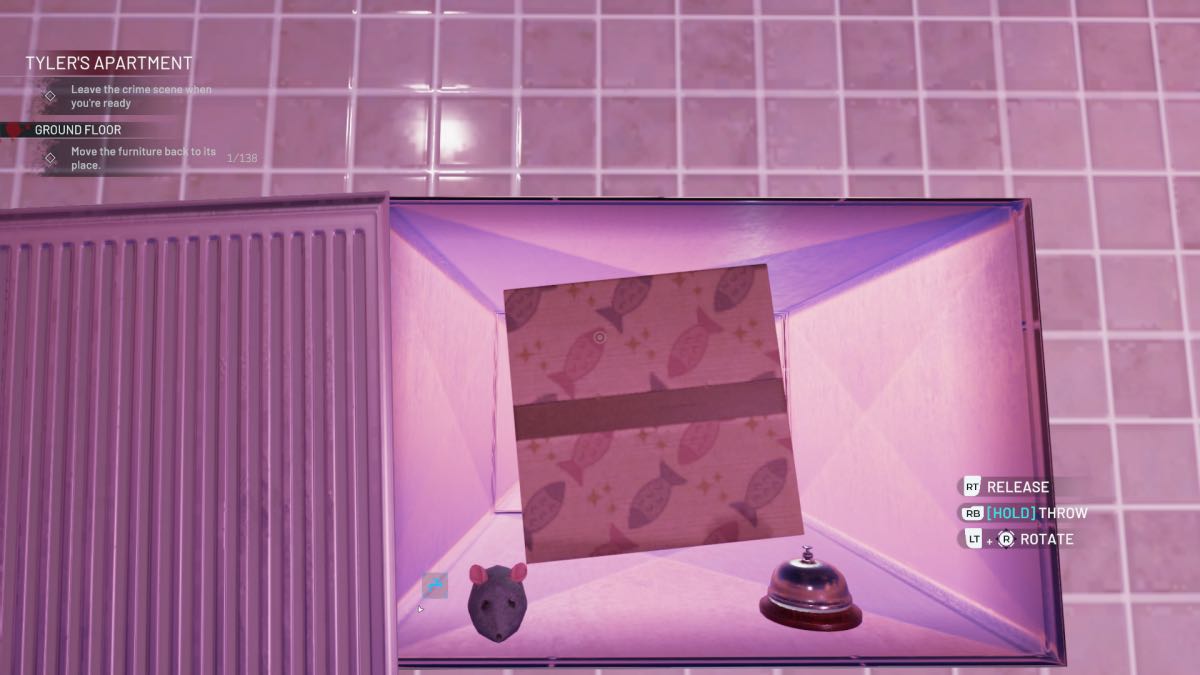
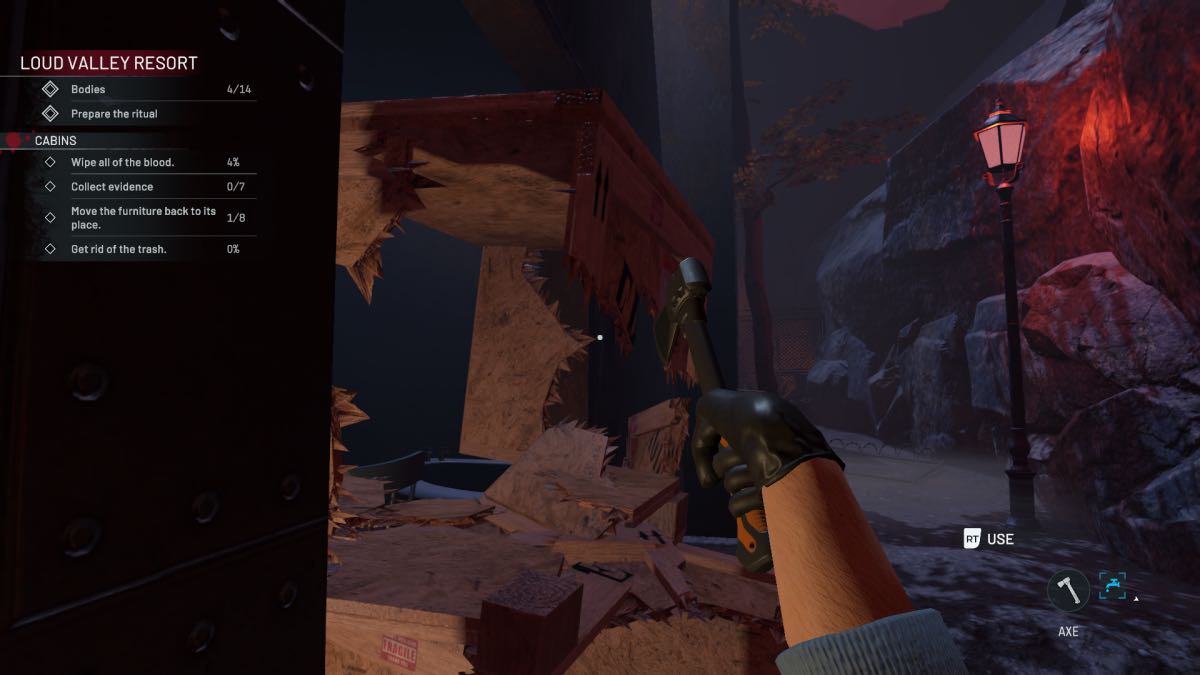
- Rearrange the furniture
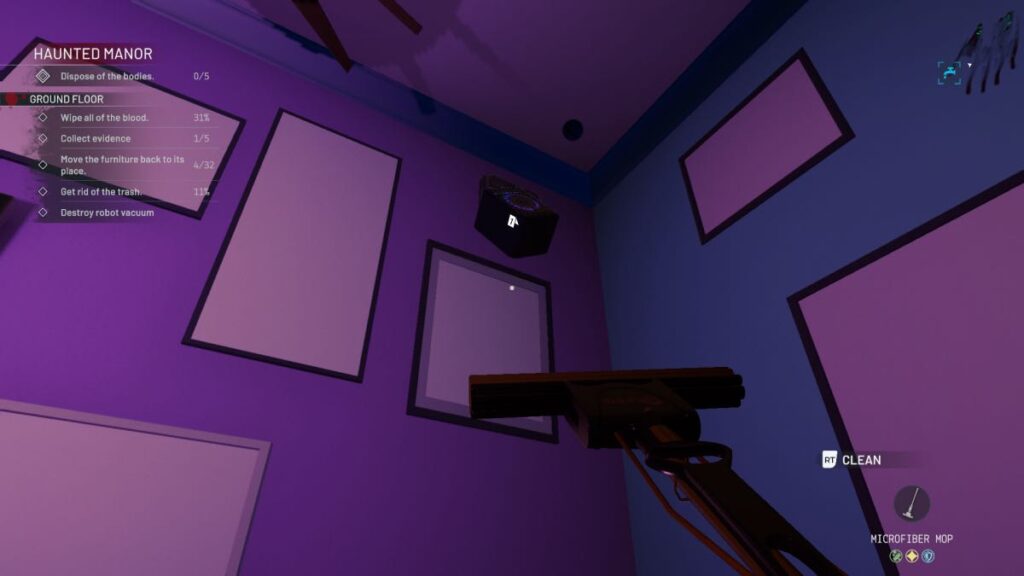
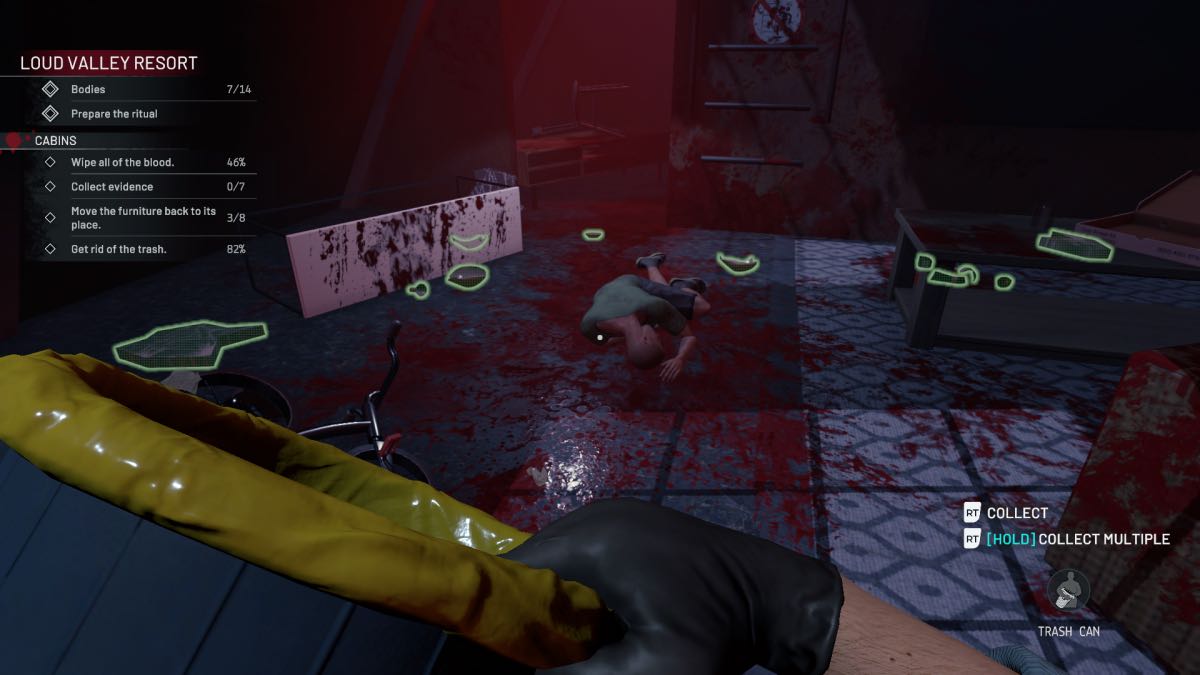
- Clean the blood
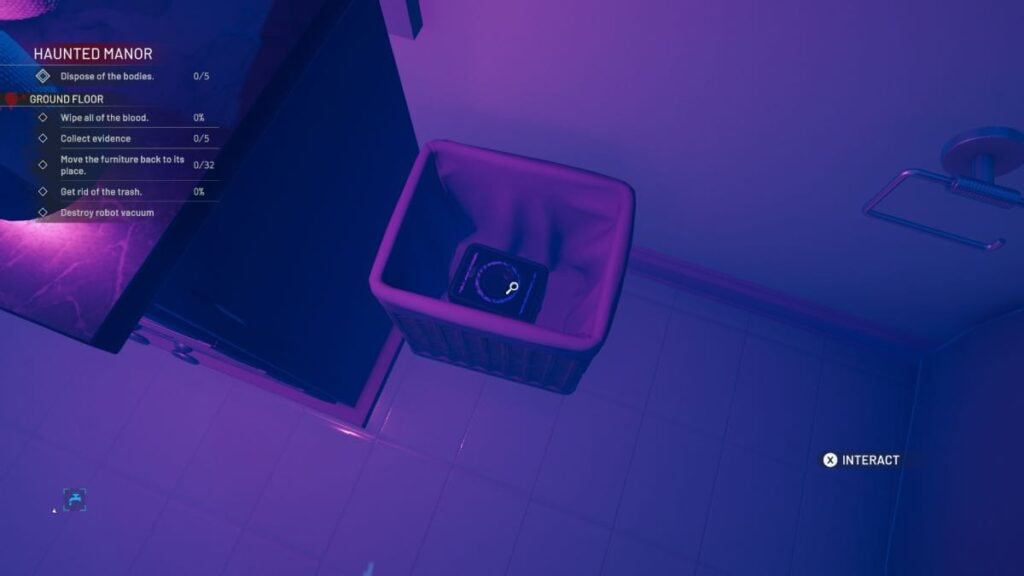
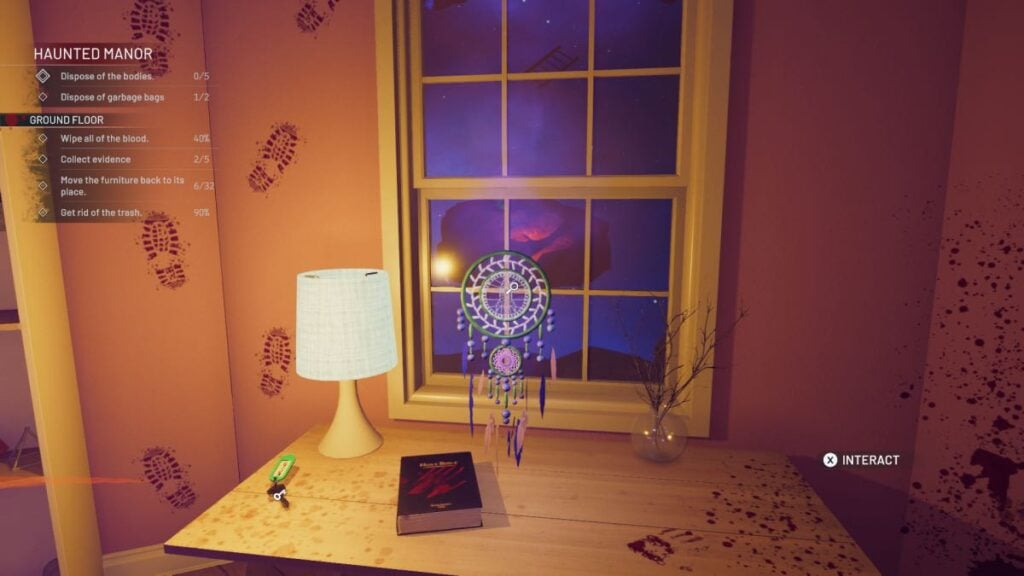
- Remove all trash
- Find the locations in the Polaroids
- Find the cassette tape
The Courtyard

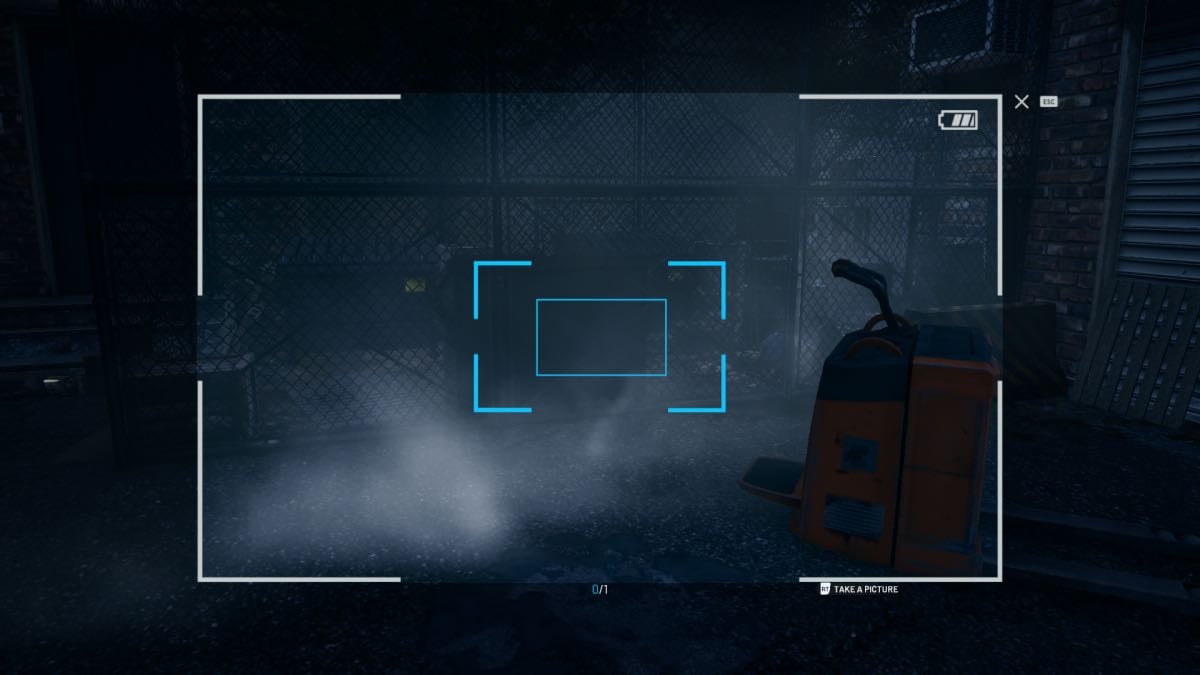
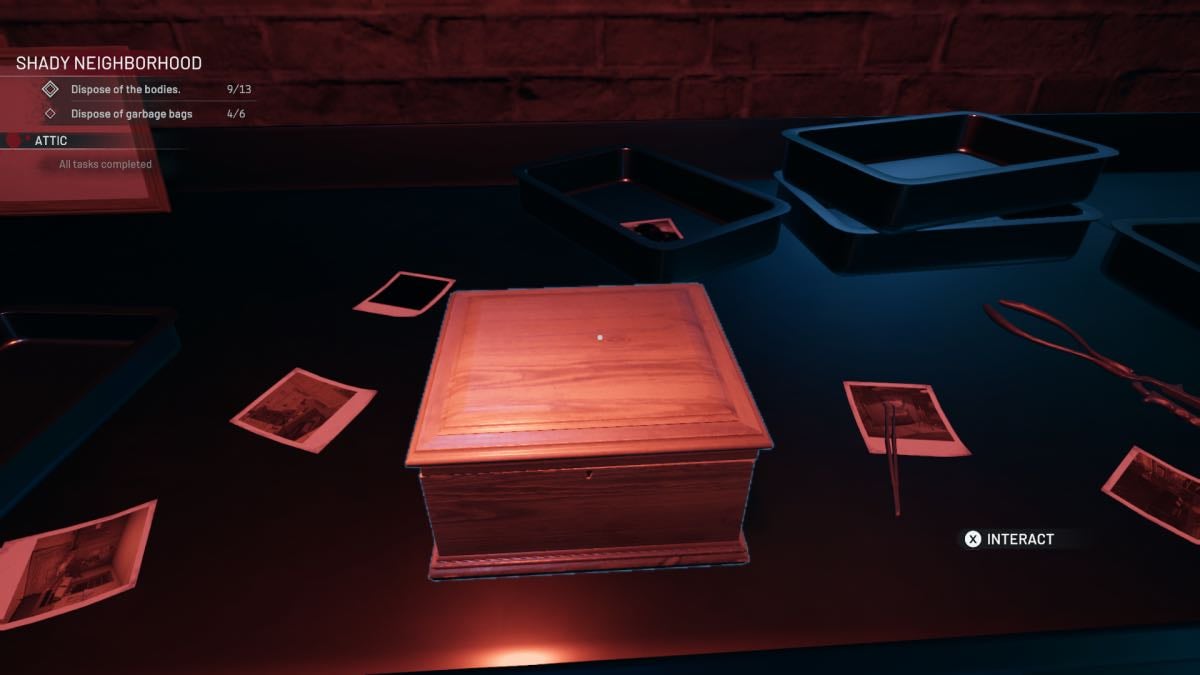
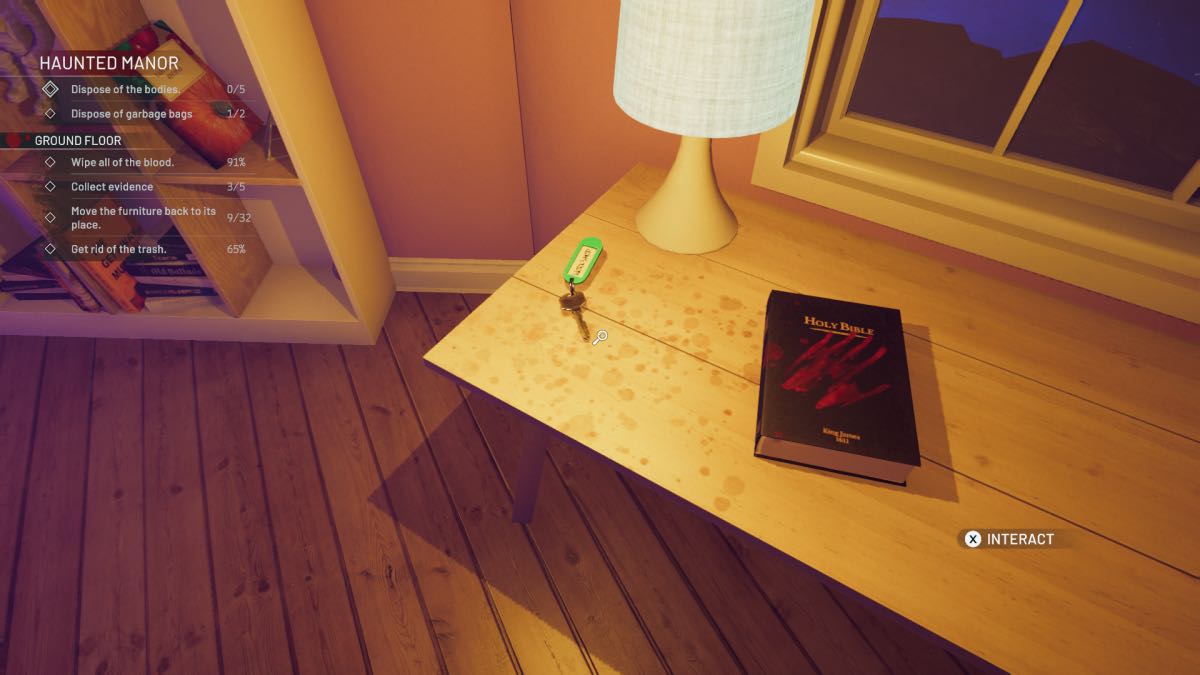
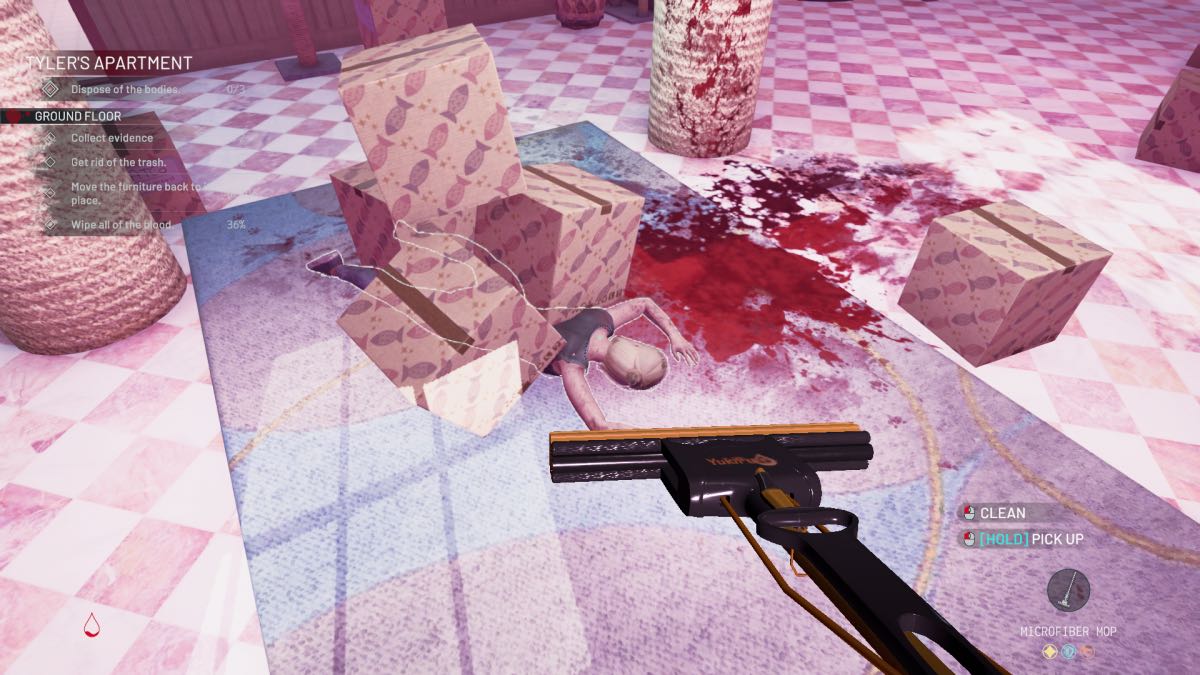
Before you start scrubbing or collecting any evidence, you will want to find the Polaroid camera. Having this from the very start will make it easier to get everything you need as you explore the areas. From the truck, don’t go straight inside; instead, head left to a ladder and climb all the way up. Walk along the wall to a scissor lift and a closed window. Open the window, crouch, and go through. There is a door on the left, go through and you will see the attic hatch is dripping blood. Open it, go up, and find the camera on a box by some Polaroids. Head back down to the Courtyard, find the water point, and set up your bucket.
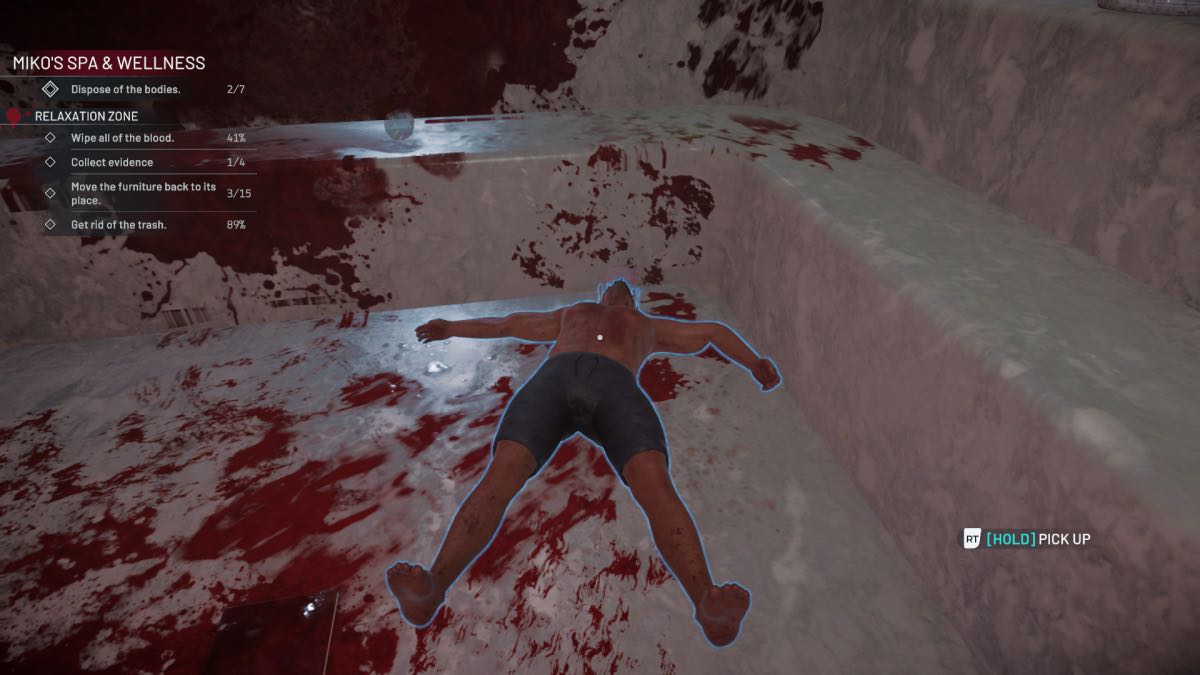
Find the camera spot just near the truck and take the photo before heading left to the body in the alleyway. Go to the main entrance to find another body and a piece of evidence on the pillar.
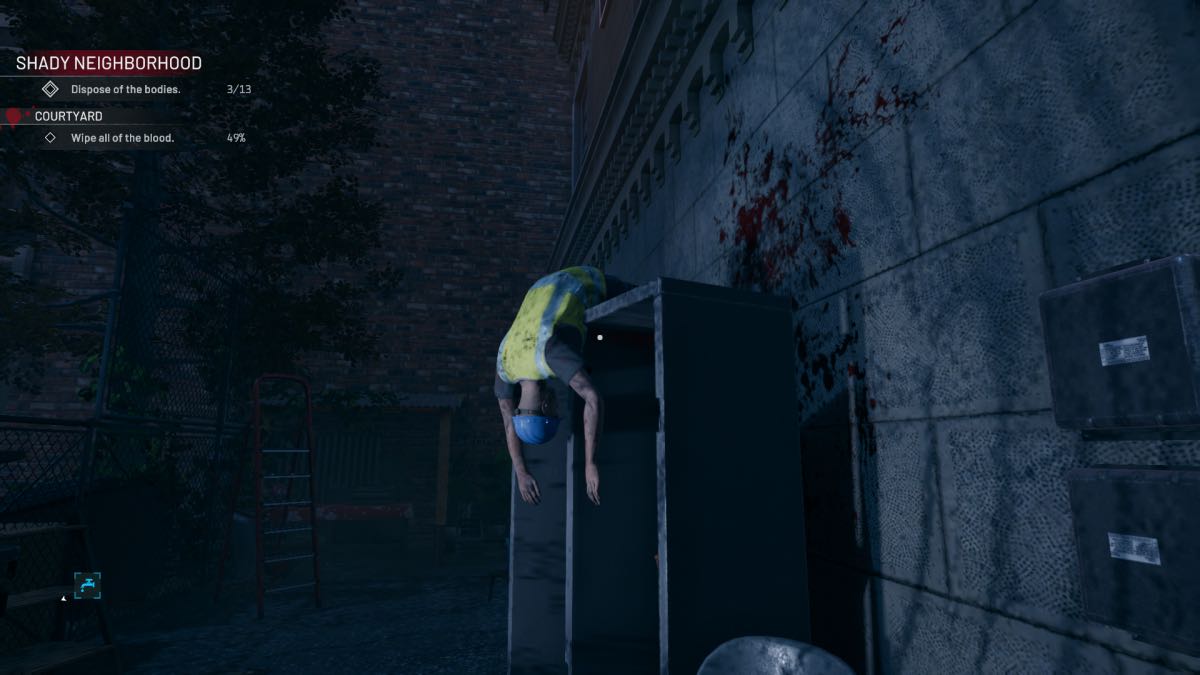
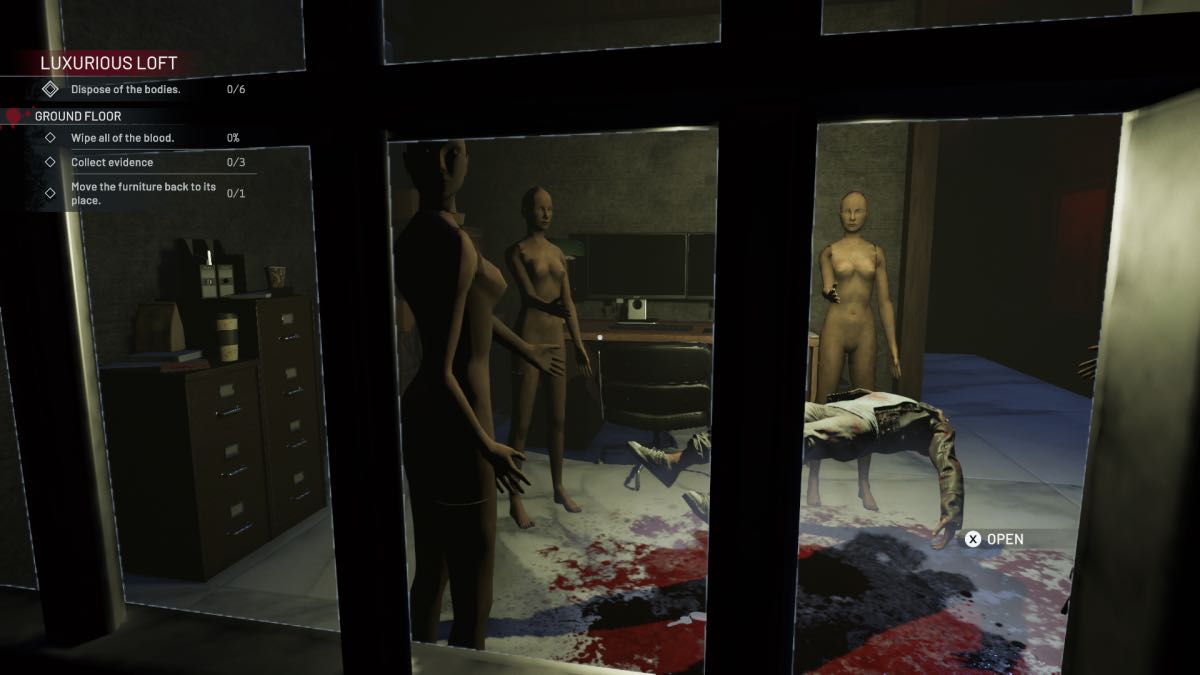
Head through to the ladder to find a body on top of the lockers to the left, and the Garden Room with some cleaning to do to the left. There is also a body in the Basketball Court.
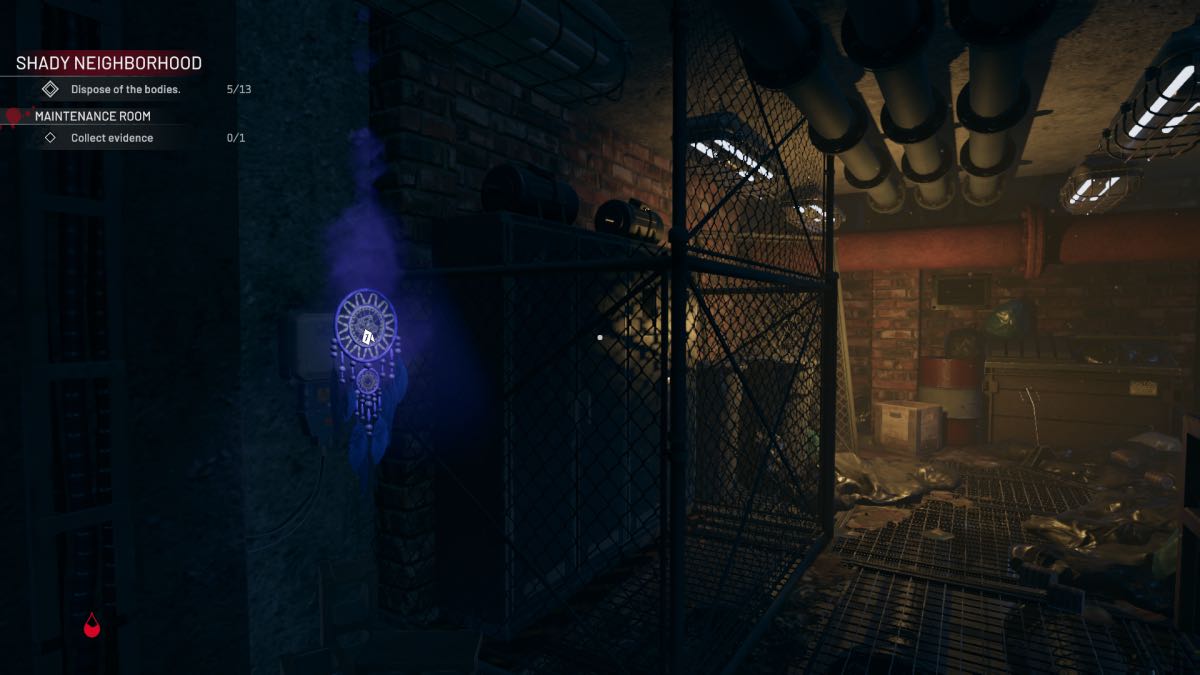
Go through the door on the right to the Maintenance Room and find a body hidden under a crawlspace and another piece of evidence around the corner.
Once you have cleared five bodies and two pieces of evidence, the Courtyard will just need cleaning and trash tidying away. Next, you can head inside.
Apartment
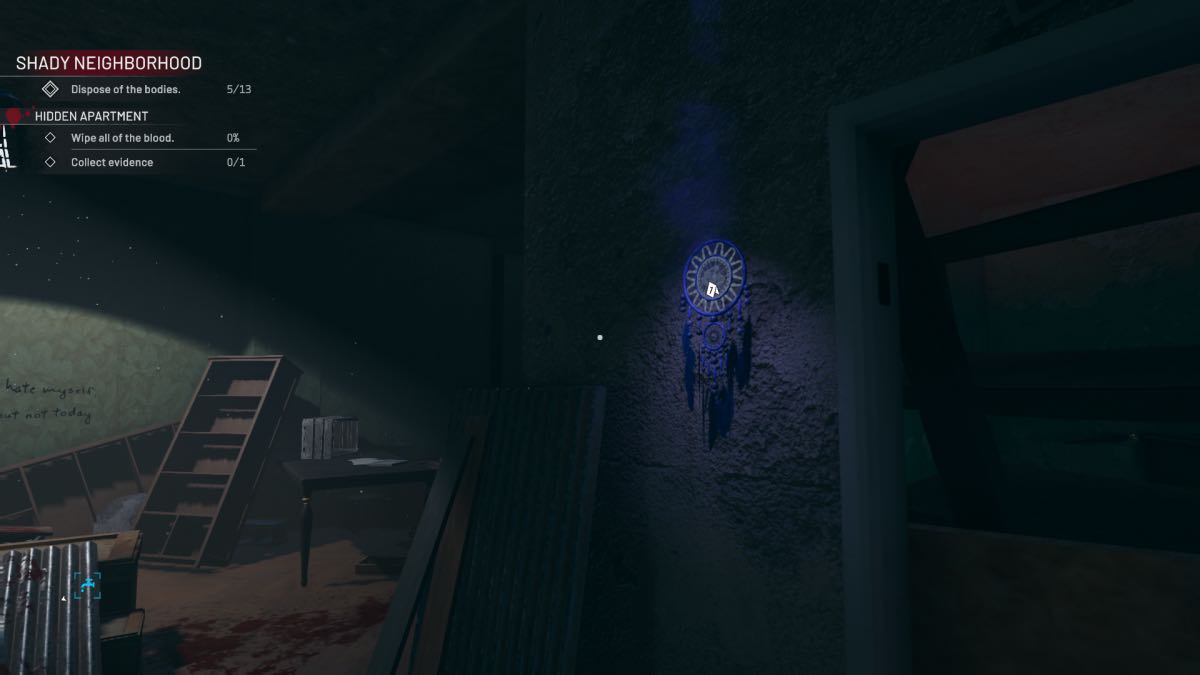
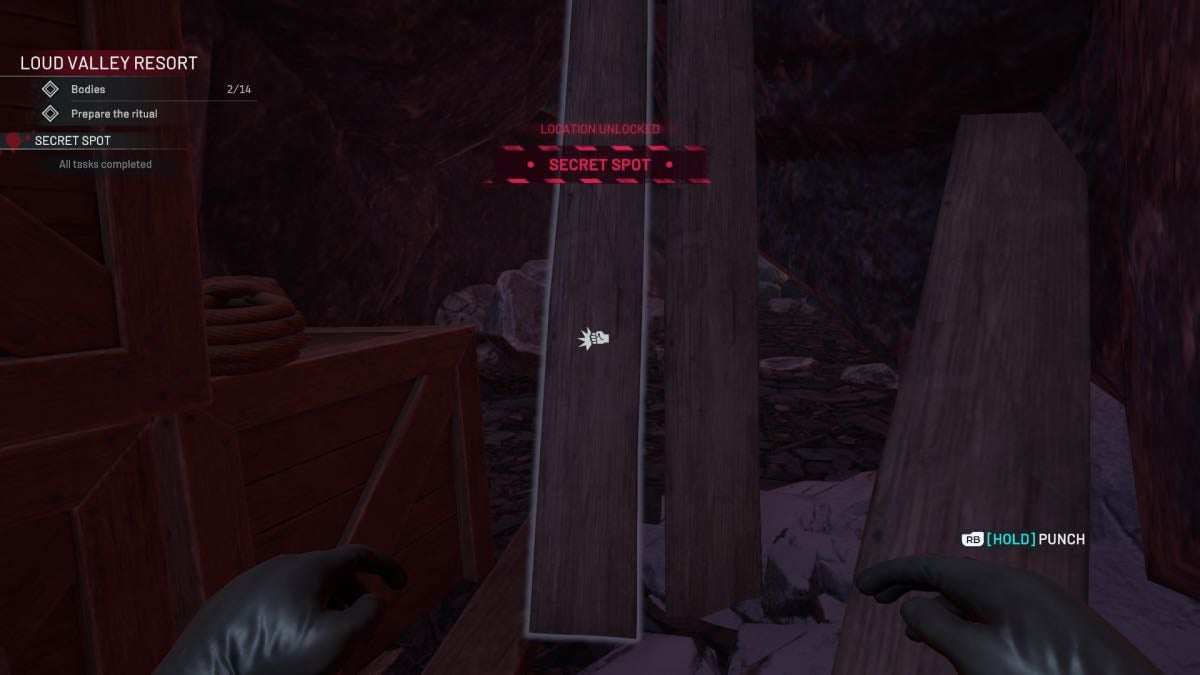
Upstairs inside the main building, you will find stairs on your left leading further up. Ignore these and go past them to find wooden slats blocking a doorway. Break through or crawl under to find the Hidden apartment. Inside is a piece of evidence to grab, a photo point, and a body to clear.
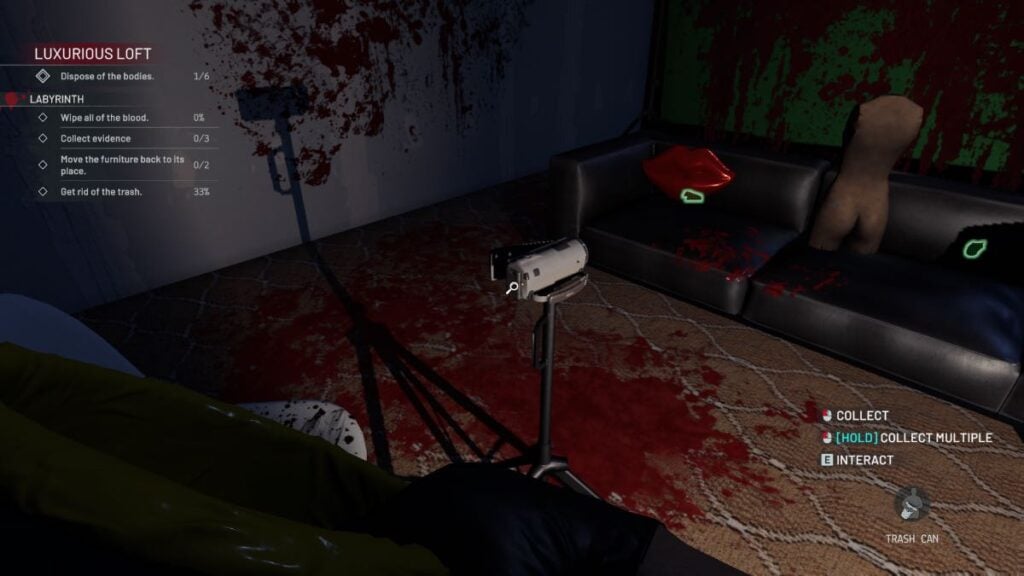
Head back out and up the stairs. There are two windows here. Go out of the window on the left and go along the ledge to find a secret spot with two bodies (you can throw the bodies down to the Courtyard to deal with later), and there is a piece of evidence on the wall opposite. Clean up and move the two chairs into place. Take the photo from the photo point, then jump down to the area below to clean up where you found one of the Courtyard bodies.
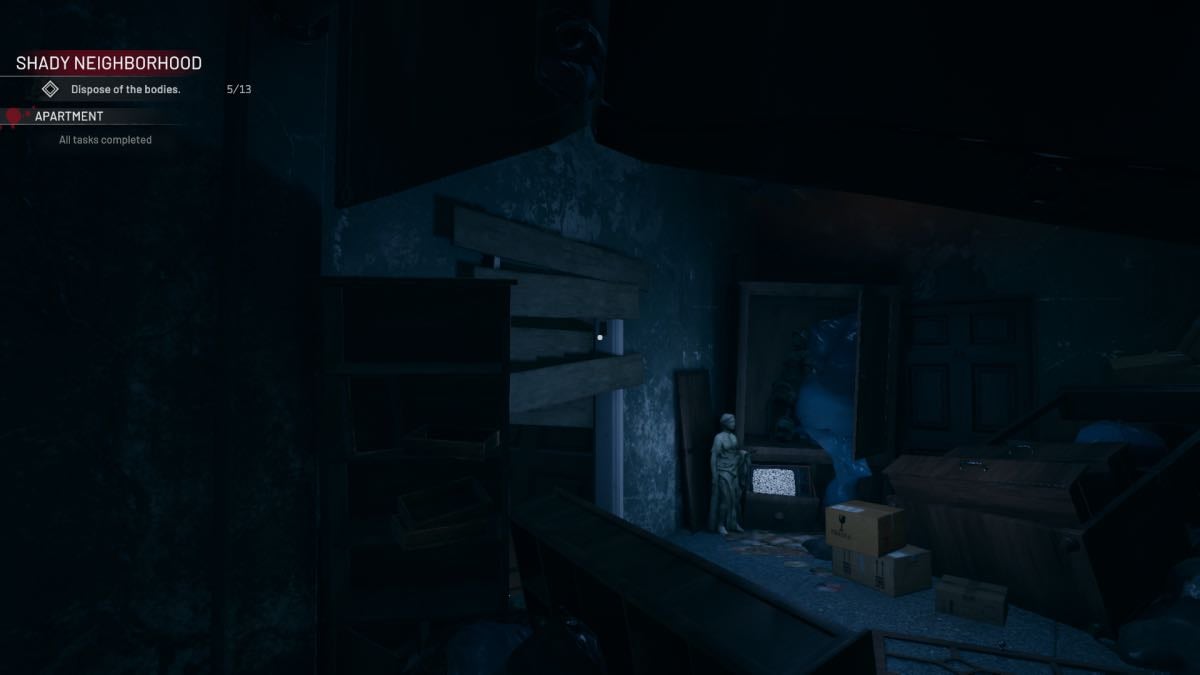
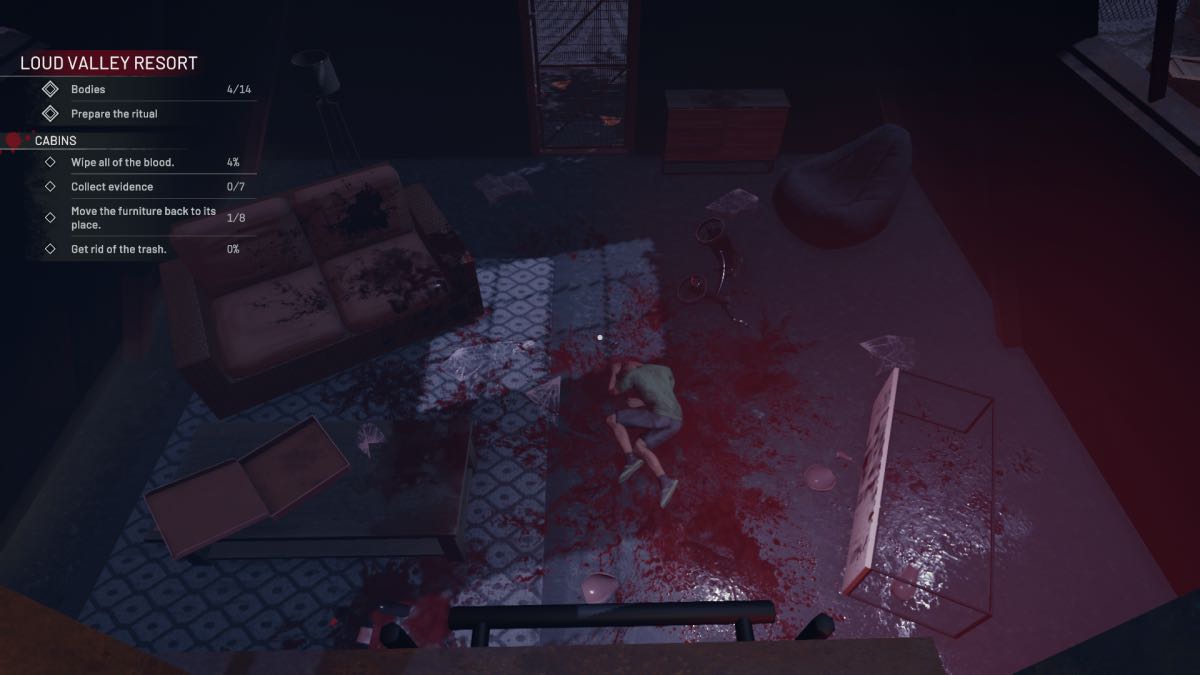
Head back upstairs to the apartment to find a body and some trash to clear, then proceed to the Dealer’s Apartment, which is relatively clean, until you reach the Kitchen. Find the evidence hanging from the wall and a body on the floor. Through the Kitchen is the body that fell from the attic.
There is a scissor lift outside the window, and you can use it to access the room below the Dealer’s Apartment. This still counts as the Dealer’s Apartment, so your screen will tell you you have a lot more cleaning to do when you leave the upstairs apartment.
The Attic and Polaroids
When you are in the attic, you will see a door blocked by an invisible force, with a bunch of Polaroids stuck to it. If you have taken all four photos, this door will be open. The photo points are:
- Courtyard
- Hidden Apartment
- Secret Spot
- Attic Backroom
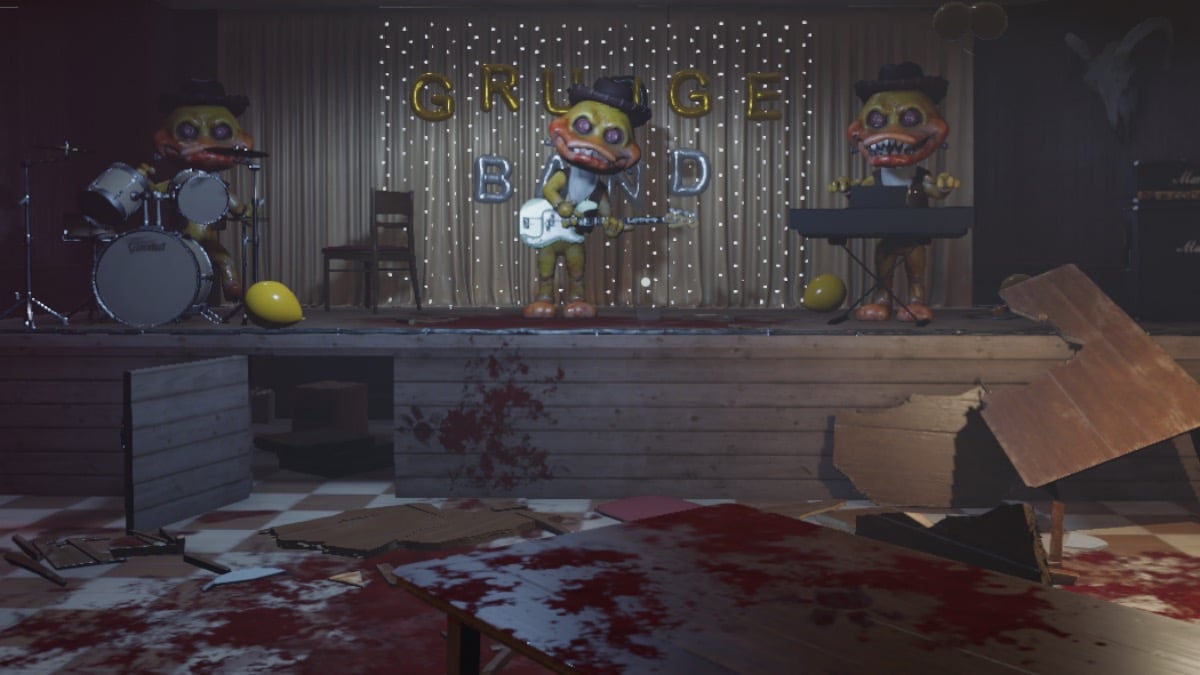
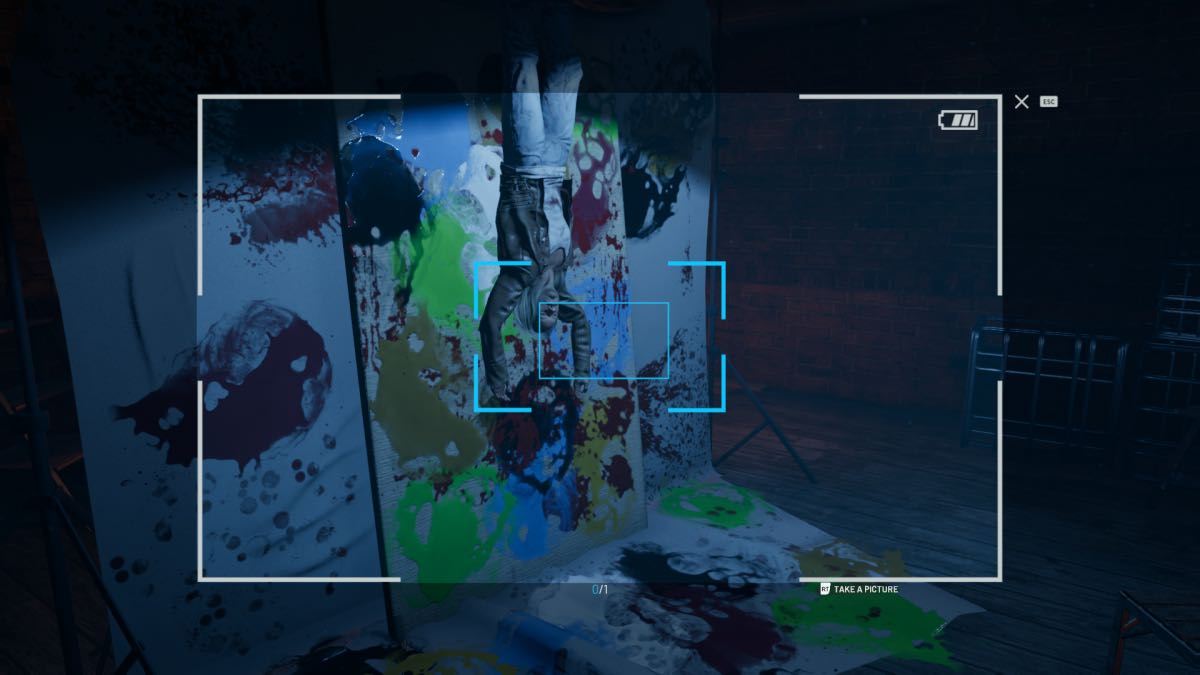
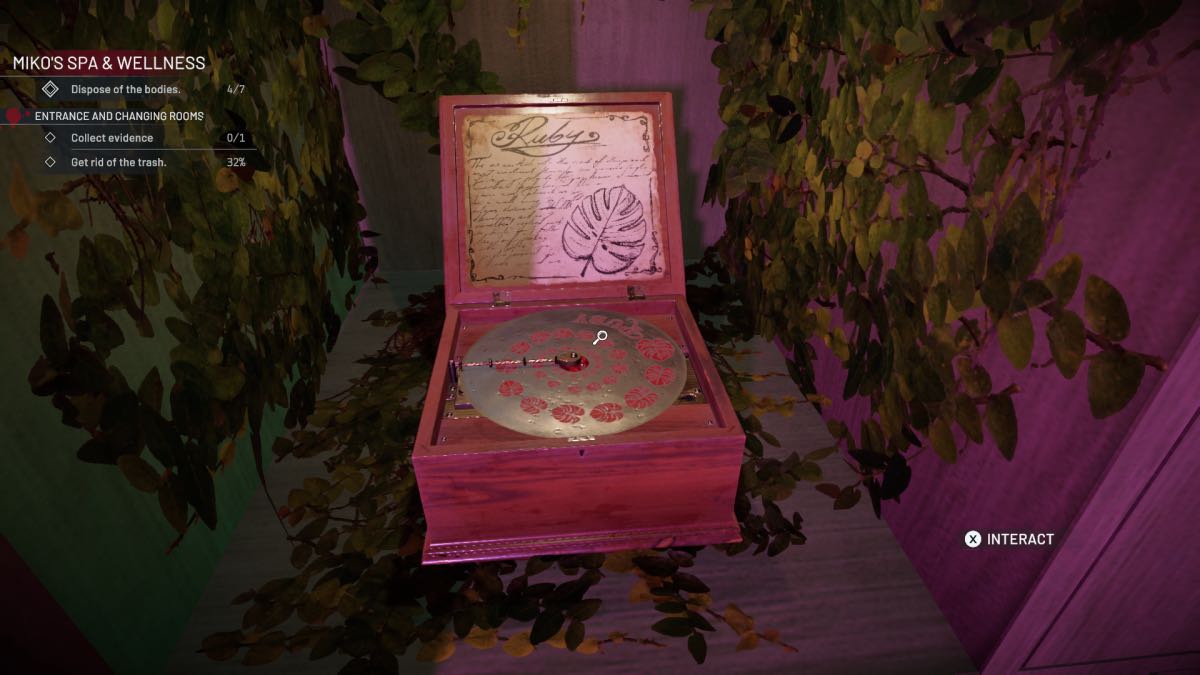
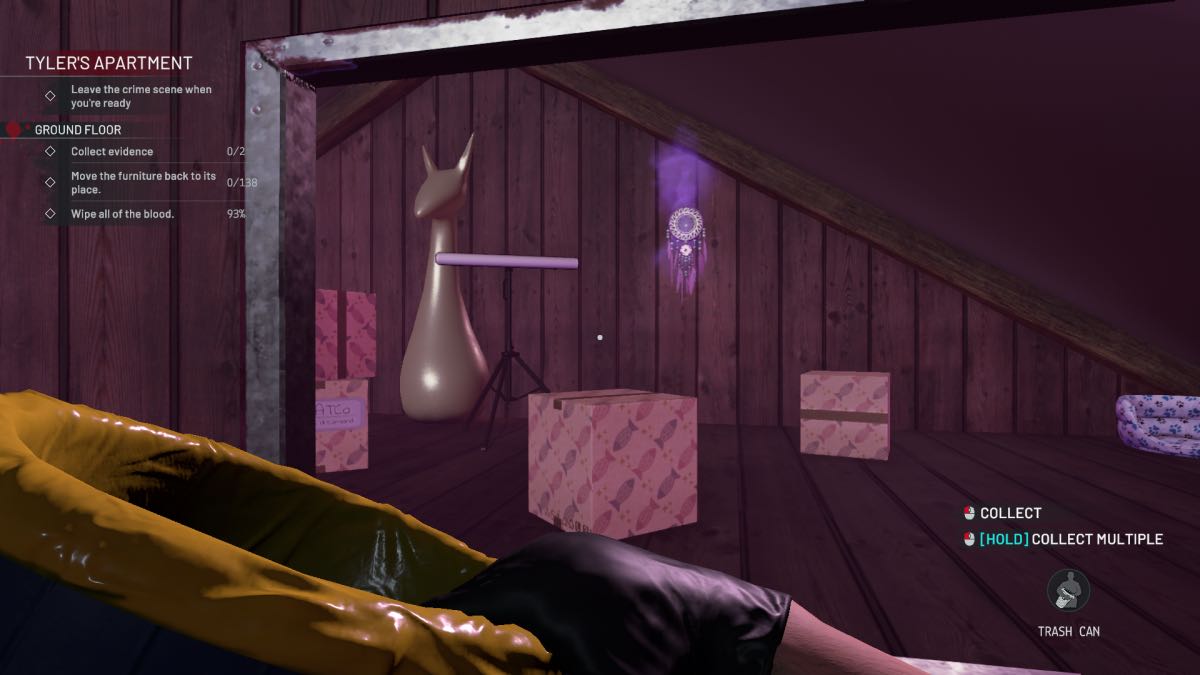
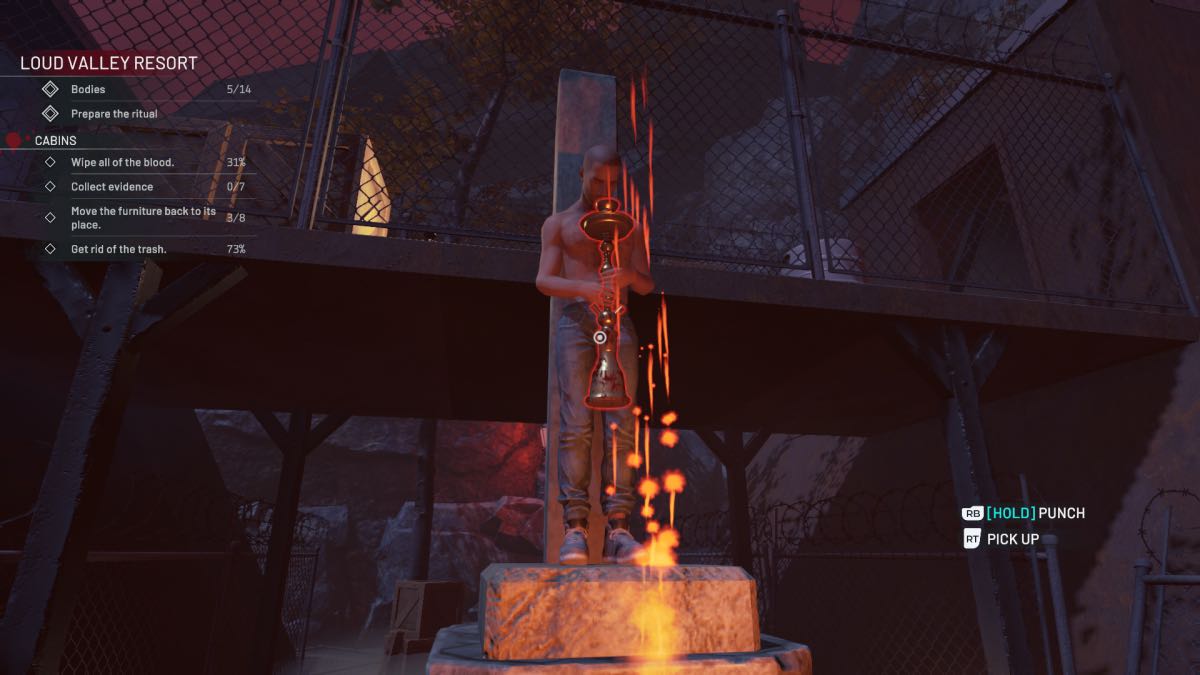
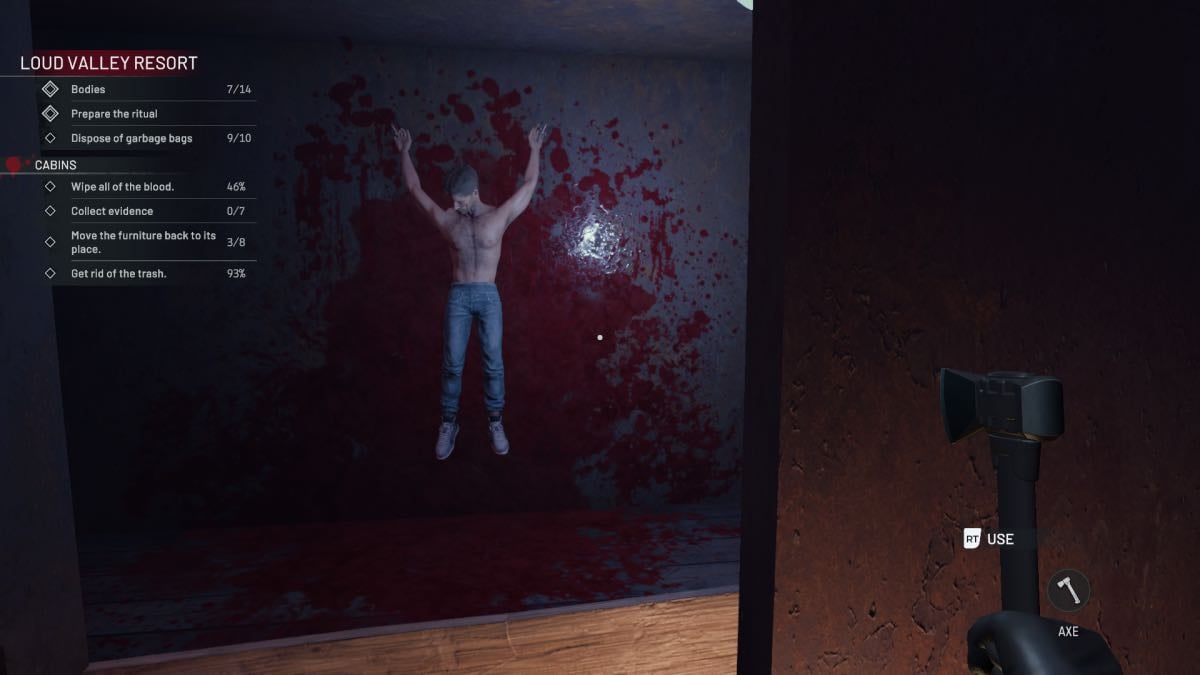
You can access the Attic Backroom by using your axe on the vines covering it. The backroom has a large bloody canvas and a body. Once you have all of these photos, you can enter the room and find the music disk “Sapphire.” Destroy all blood paintings and clear the trash before leaving.
Before leaving, scout the entire area to ensure you have picked up all trash, cleaned up all blood splatters, and removed all bodies.
Trial By Blood Nightmare
- Uncover all locker cards to unlock all lockers:
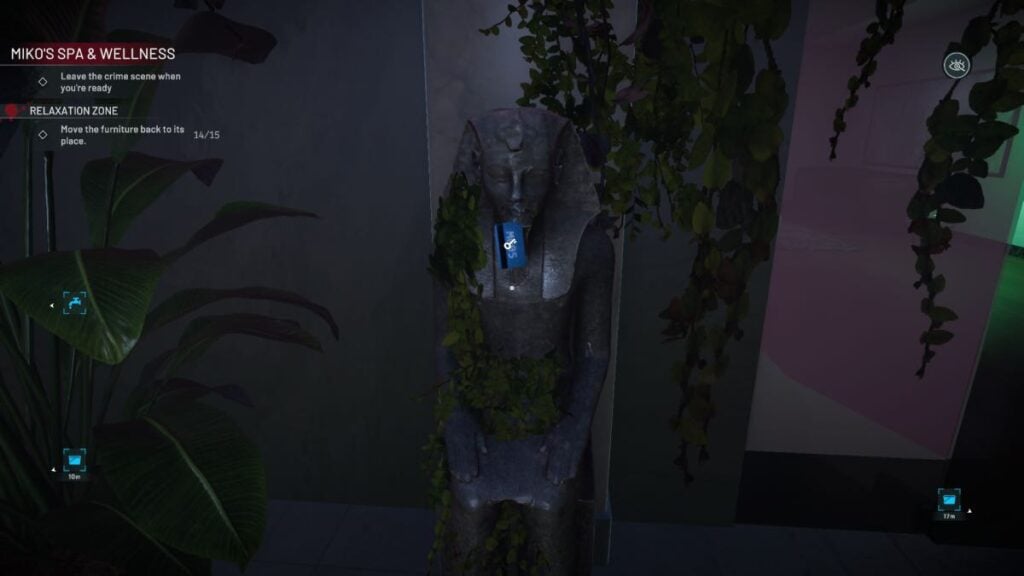
- M005 – Pharaoh Statue
- M014 – Maintenance Room
- M017 – Side of the Pool
- M025 – VIP Room body
- M034 – Hanging on a lamp by the sauna
- W018 – In locker M034
- W024 – Solarium
- W042 – in a sink in the stone room
- Collect evidence:
- Men’s Locker Room
- Relaxation Zone
- Sinks
- Solarium
- VIP Room
- Find the 7 bodies:
- Men’s Locker Room
- Locker M025
- Relaxation Zone x 2
- Women’s Locker Room
- Sauna
- VIP Room
- Rearrange the furniture
- Clear trash
- Clean blood
- Find the music disk in the Women’s Locker Room in locker W018
Spa Entrance
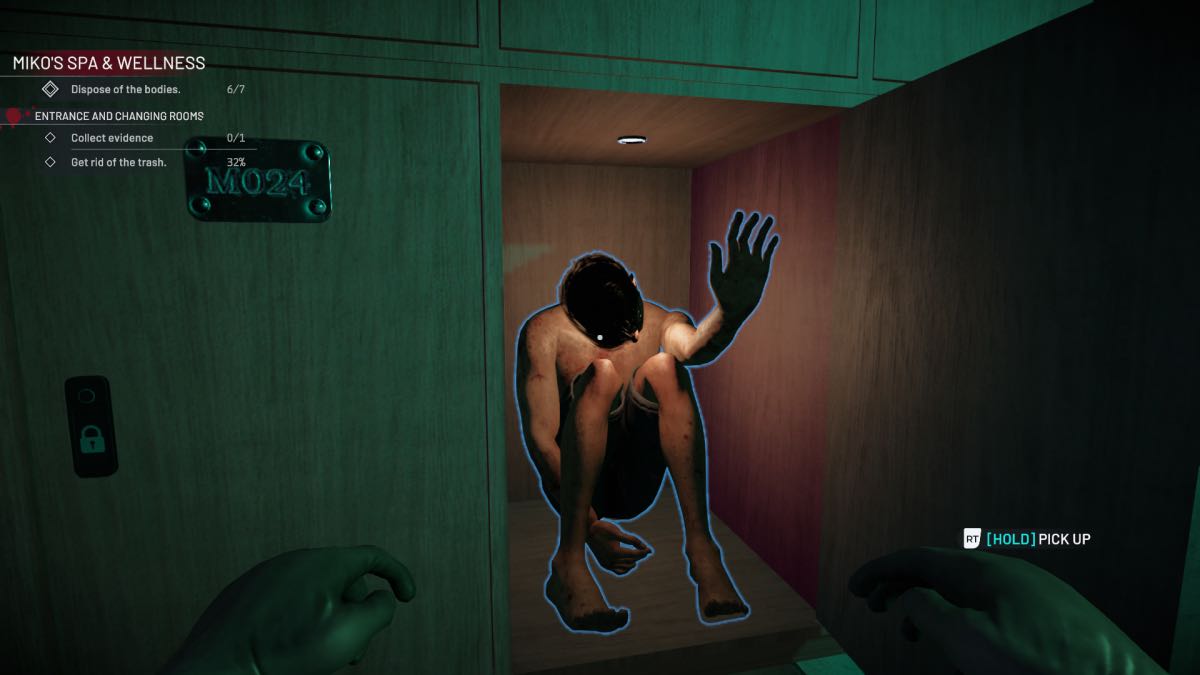
The Entrance has three doors leading off to the two locker rooms and the main spa area. Clean up and slide the picture into place. The missing thin table can be found in the Men’s Locker Room, and the flower pot is behind a glass door in the Entrance. Go to the Men’s Locker Room to the left and find a body in the Bathroom. There is an open locker, but it doesn’t contain anything. You will find the other keycards as you progress through the spa.
The Women’s Locker Room is to the right of the Entrance. Find a body in the shower here. You find keycards as you progress, so we will return to this space. Clear and clean, and then clear the vines with your axe, so you proceed to the Relaxation Zone.
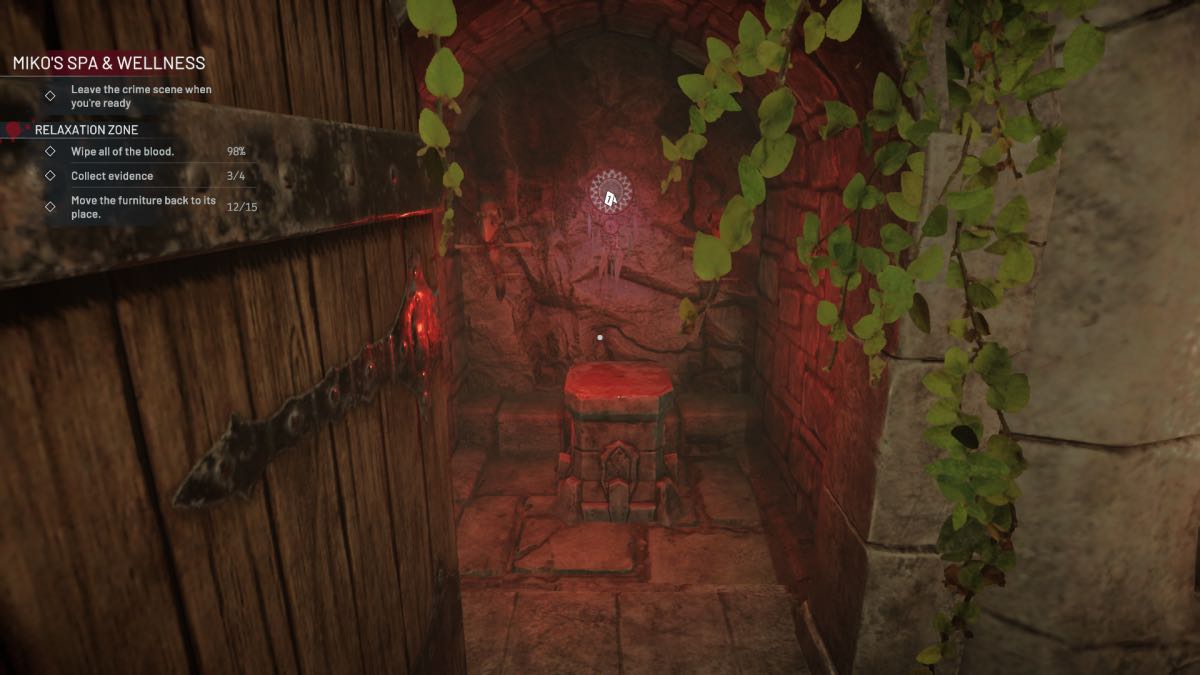
Relaxation Zone
The best thing to do first is to clear all the trash on the floor, hack back the vines covering any doorways, and remove the trash bags. Clean the floors so you can start to move furniture back and find items that don’t belong.
One of the pharaoh statues standing against a wall has the keycard for M004. This locker contains an ice pick as evidence. The keycard for M017 is on the side of the Pool, but it contains nothing.
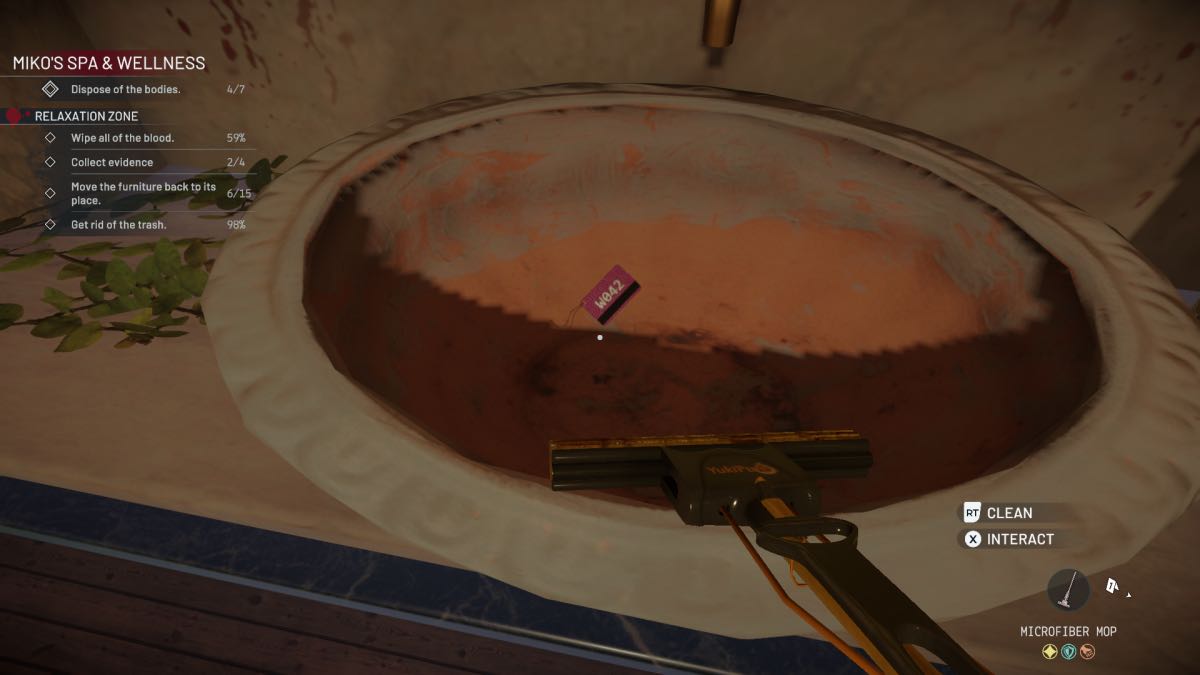
There is a body in the Pool and the room to the right with the stone circle and the sinks. In one of the sinks here, you will find the keycard to W042 and a dreamcatcher to the right of the sink. Another piece of evidence is with the dead body. Don’t forget to clean the ceiling in this room.
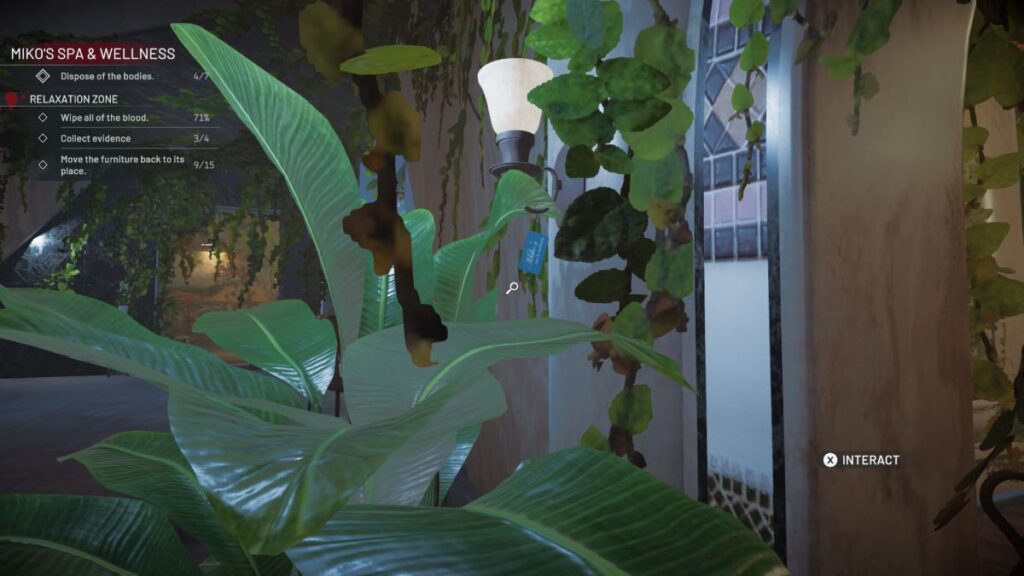
Take the keycard to the Women’s Locker Room and find one of the pot plants that stand on a thin table. Head across the room to the Solarium to find another piece of evidence and keycard W024. Take it to the Women’s Locker Room and unlock it to find… Nothing.
There is a keycard for M034 hanging from the lamp by the stone sink room. This locker contains the keycard W018, which you can open to get the music disk collectible.
Go to the Maintenance Room next to the Pool, and find a keycard for M014. This locker contains some trash to pick up. The Sauna, next to the VIP Room, has a body and one of the missing round tables.
VIP Room
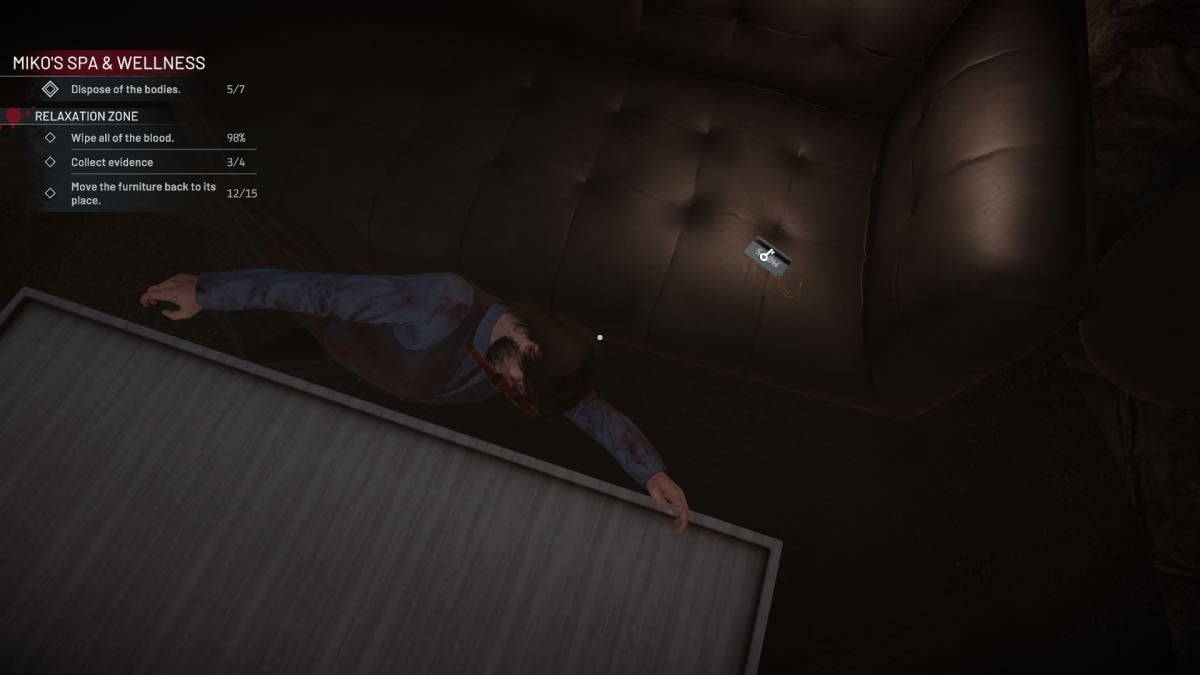
The VIP Room is to the right of the Pool and has a body on the sofa to the left. Under the body is another keycard. Take it to unlock M025 and collect your final body.
Interact with the large square protruding from the wall above the sofa in the VIP Room. A secret space will open up and reveal a piece of evidence.
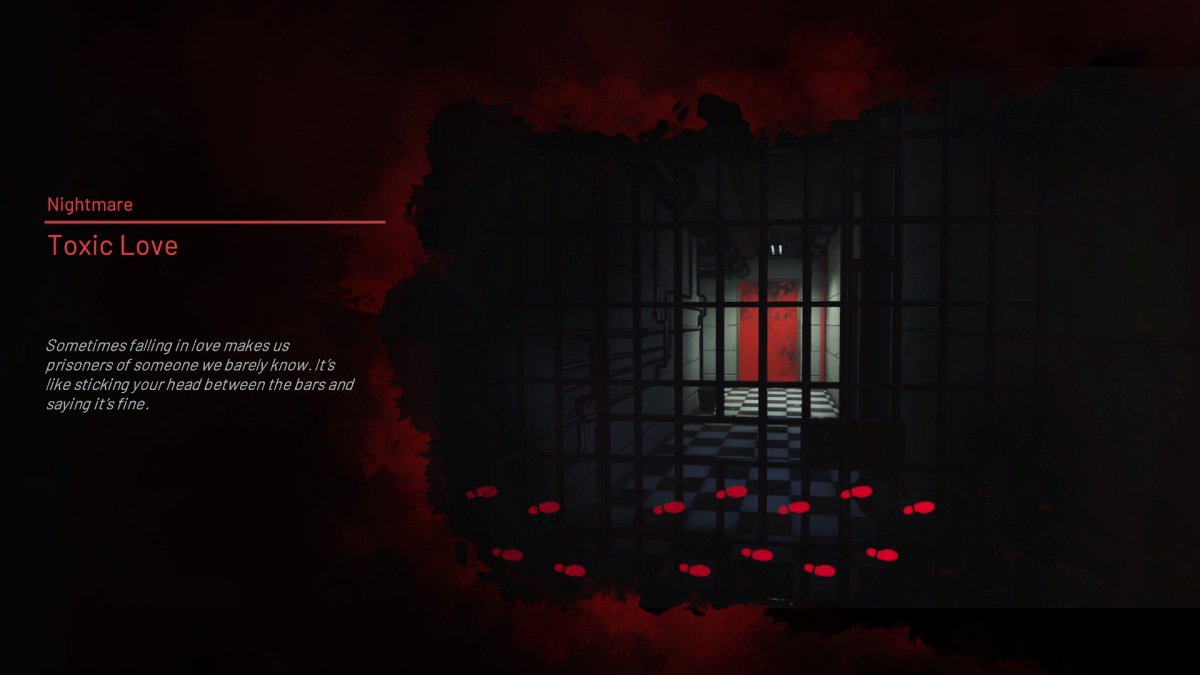
Toxic Love Nightmare
- Find and get rid of seven bodies
- Lounge
- Computer Room
- Boarded Labyrinth Room
- White Tile Labyrinth Room
- Labyrinth Bedroom
- Collect evidence:
- Lounge
- Computer Room
- Bathroom
- Boarded Up Room
- White Tiled Room
- Bathroom
- Rearrange furniture
- Find the music disk collectible
- Collect trash
- Clean the blood
Living Room
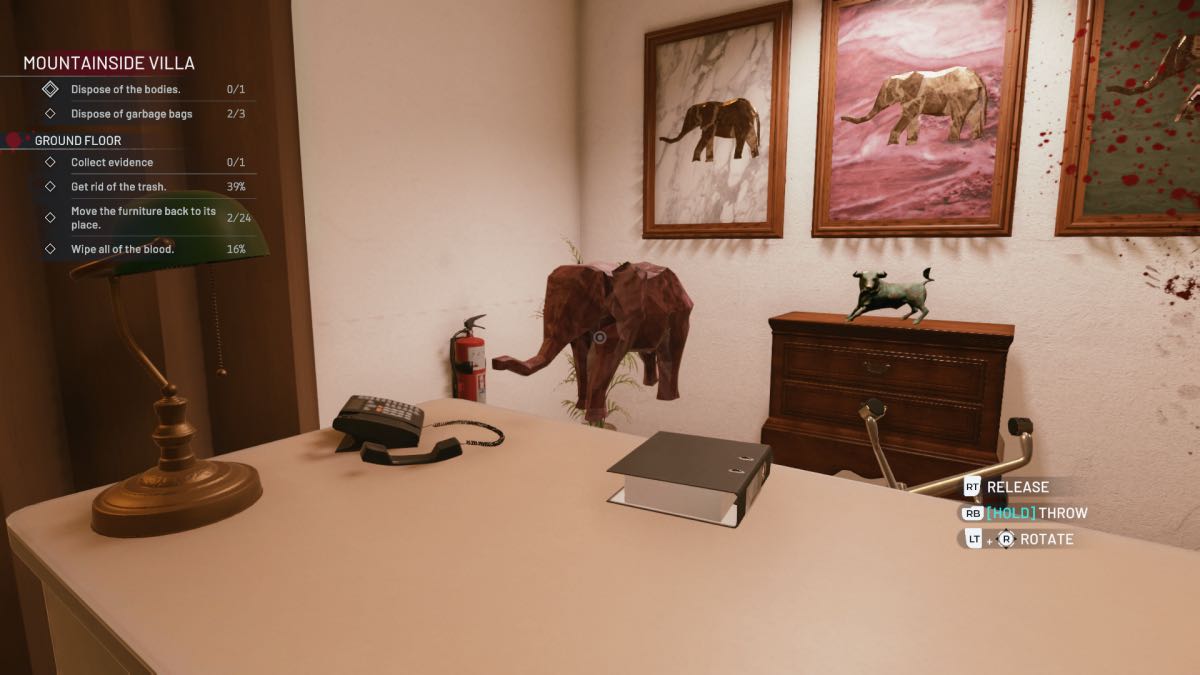
Find evidence in the form of a suicide note on the long table behind the sofa. There is a gated doorway, but it is locked. Notice there is a missing chair in the Kitchen—you will need to find this later and bring it back.
Upstairs
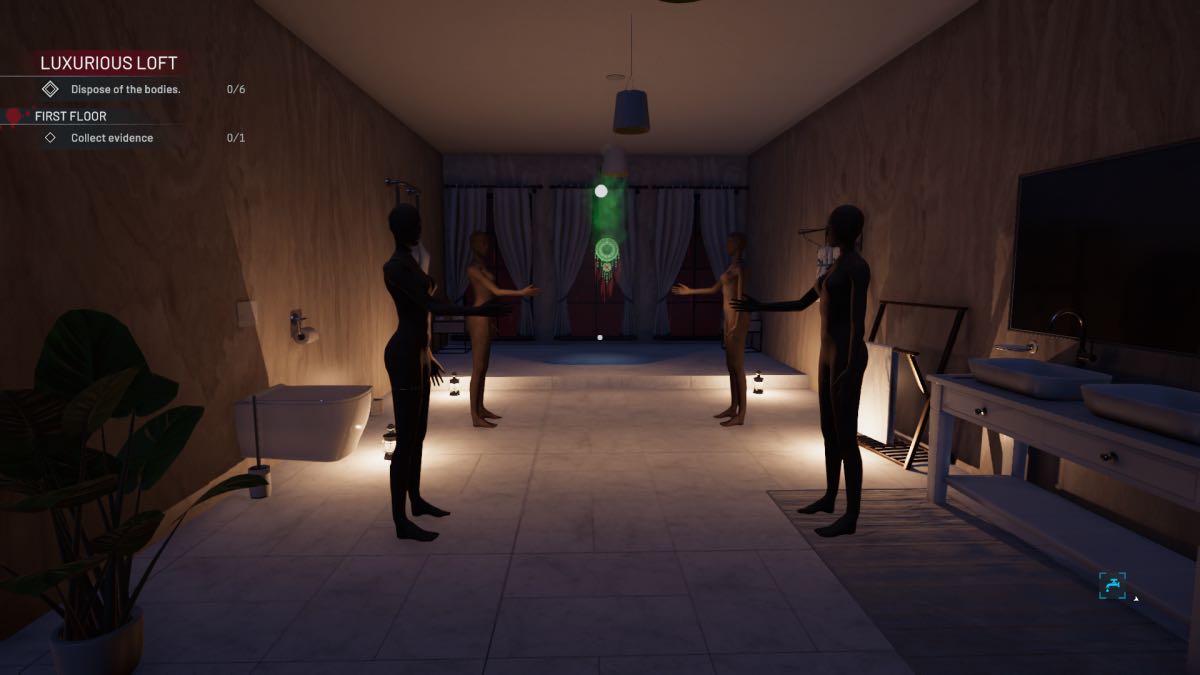
The Bathroom contains creepy mannequins and a dreamcatcher as evidence. As you leave, a red door is on your left before the stairs. Open it up and go down to find yourself in the gated-off Computer Room by the Living Room.
Computer Room
This room contains a body, floating ominously, and another dreamcatcher as evidence. There is another piece of evidence on the desk. Under the body is a key. To the left of the desk is a hidden button that opens a secret room to the right. Grab the music disk collectible. Clean up and remove the body before heading to the red door at the bottom of the stairs and using the key to unlock the gate.
Labyrinth: Boarded-Up Room
The Labyrinth hallway contains many locked doors, so proceed until you come to a walkway full of mannequin arms. Knock them all down and collect them as trash. Break the planks that block the door to the left and go inside the Boarded-Up Room.
There is a dead body behind the green screen, and camera evidence on the tripod. Take the white chair back to the Kitchen and find that there is now a body in the living room. Clear it up and follow the bloody trail to a newly-unlocked room in the labyrinth hallway. Empty the bloody bath and pick up the razor blades as evidence.
Labyrinth: White Tiled Room
At the end of the corridor, there is a power box. Switch the power on to enter the White Tiled Room. There are three bodies in this blood-splattered room, and a lot of blood. Find the dreamcatcher evidence in the shower near one of the bodies.
Labyrinth: Bedroom
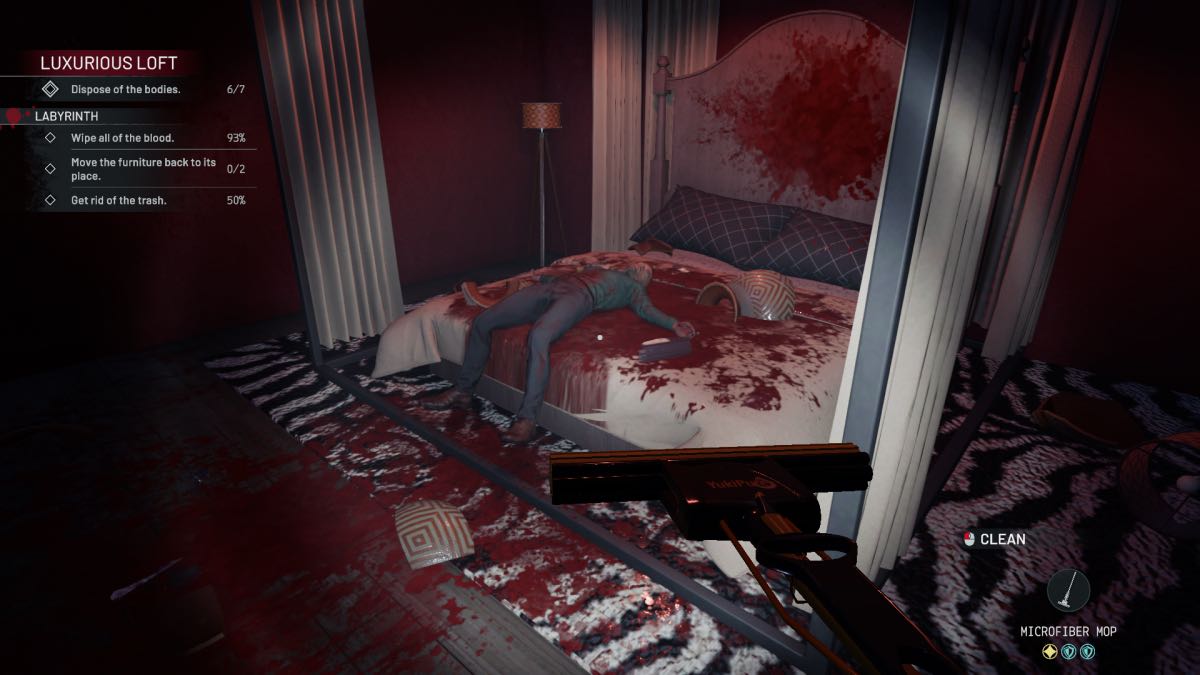
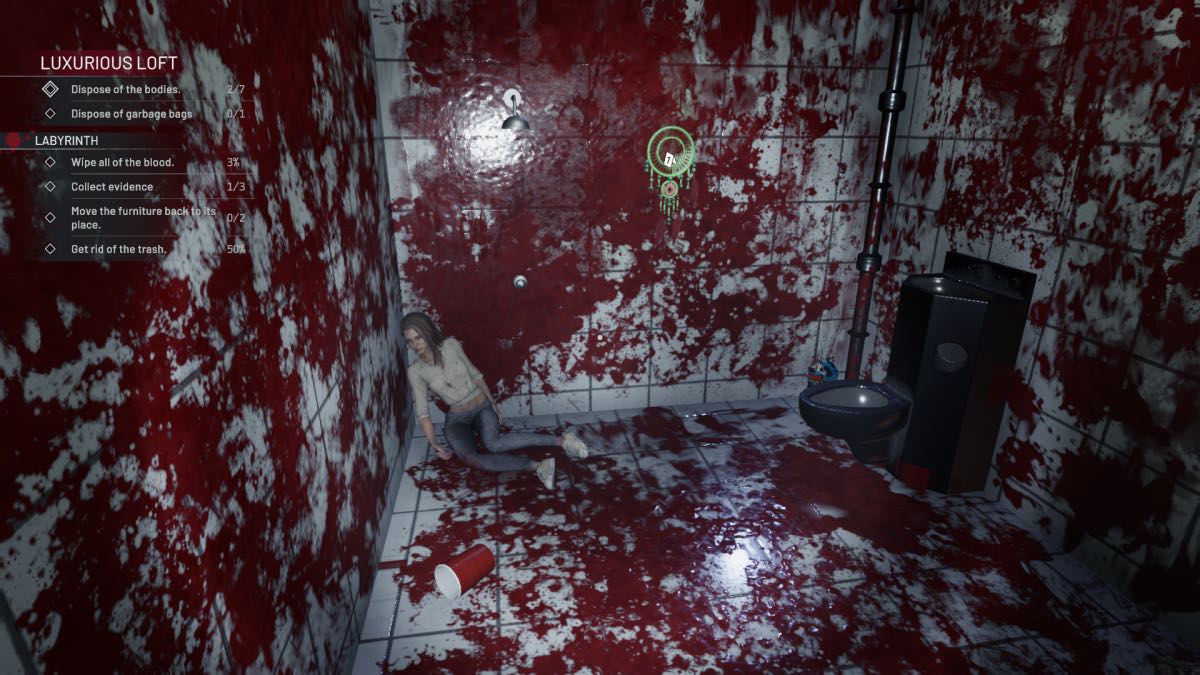
There is a body on the bed here, a chair to arrange, and a lamp to put back. Once the blood is cleaned up and the furniture is rearranged, you should be finished with this level. Scour the house, using your Cleaner Sense to check for any blood stains, and then leave.
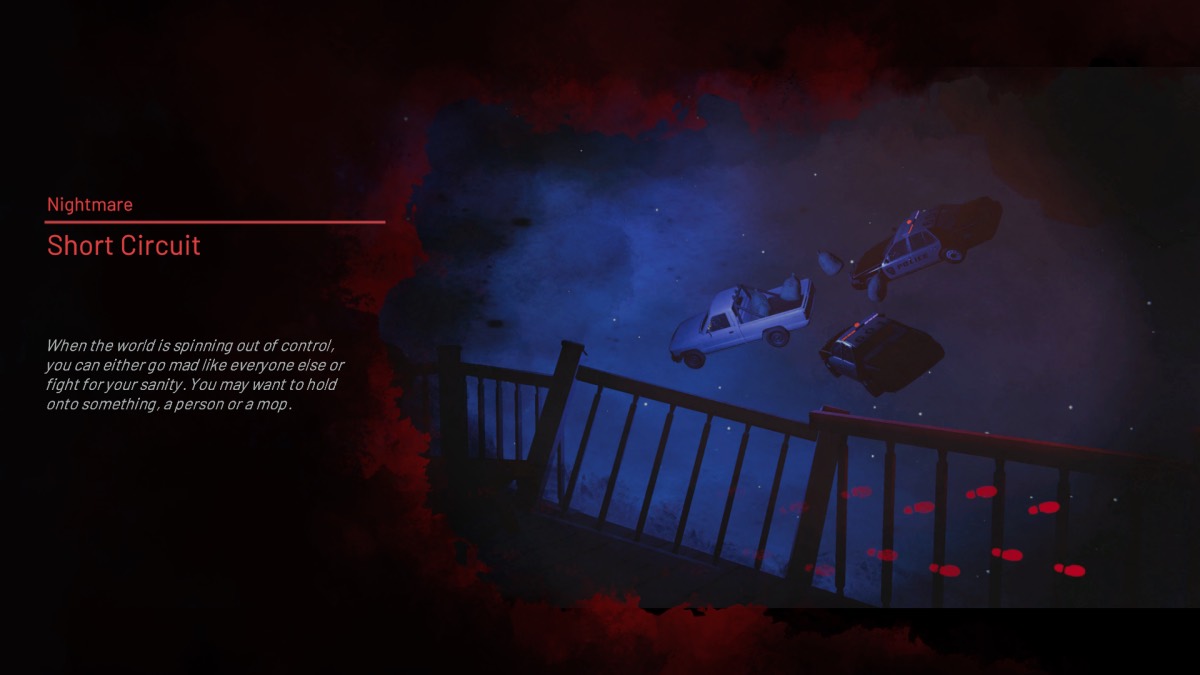
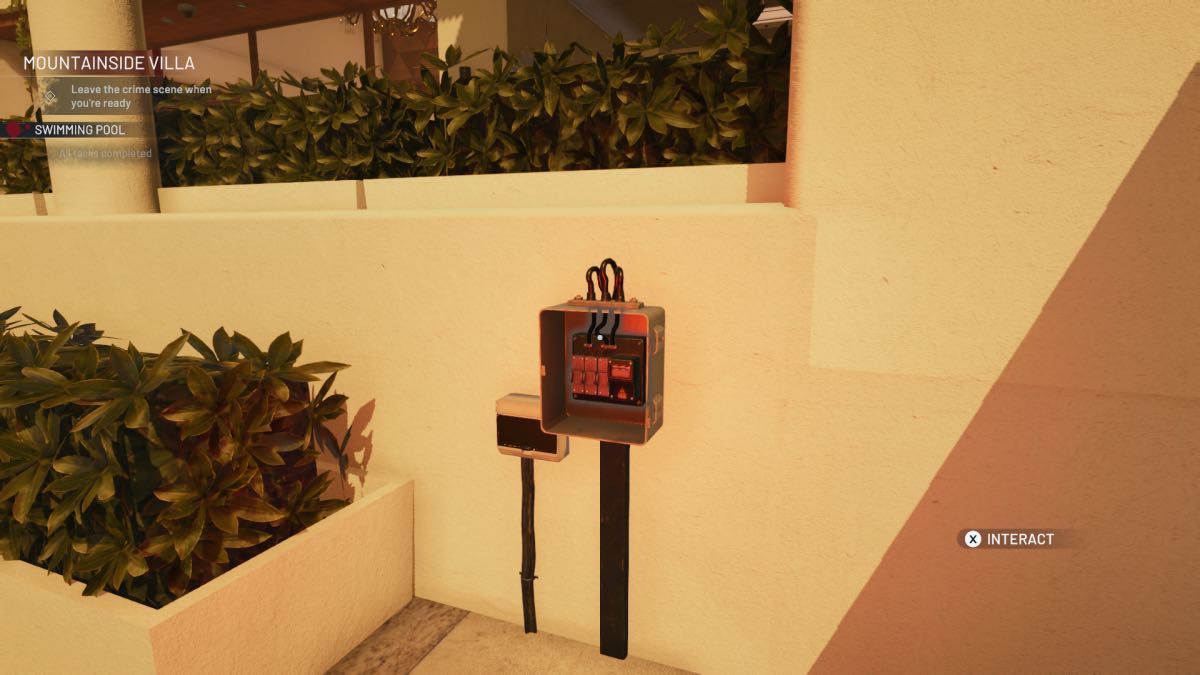
Short Circuit Nightmare
- Find and dispose of five bodies
- Kitchen x 2
- Upstairs Hallway
- Meditation Zone
- Office
- Collect all 13 pieces of evidence
- Bathroom
- Kitchen
- Living Room
- Upstairs Hallway
- Bedroom
- Mediation Zone
- Office
- Workshop
- Rearrange furniture
- Clear trash
- Clean blood splatters
- Find the music disk collectible
Foyer

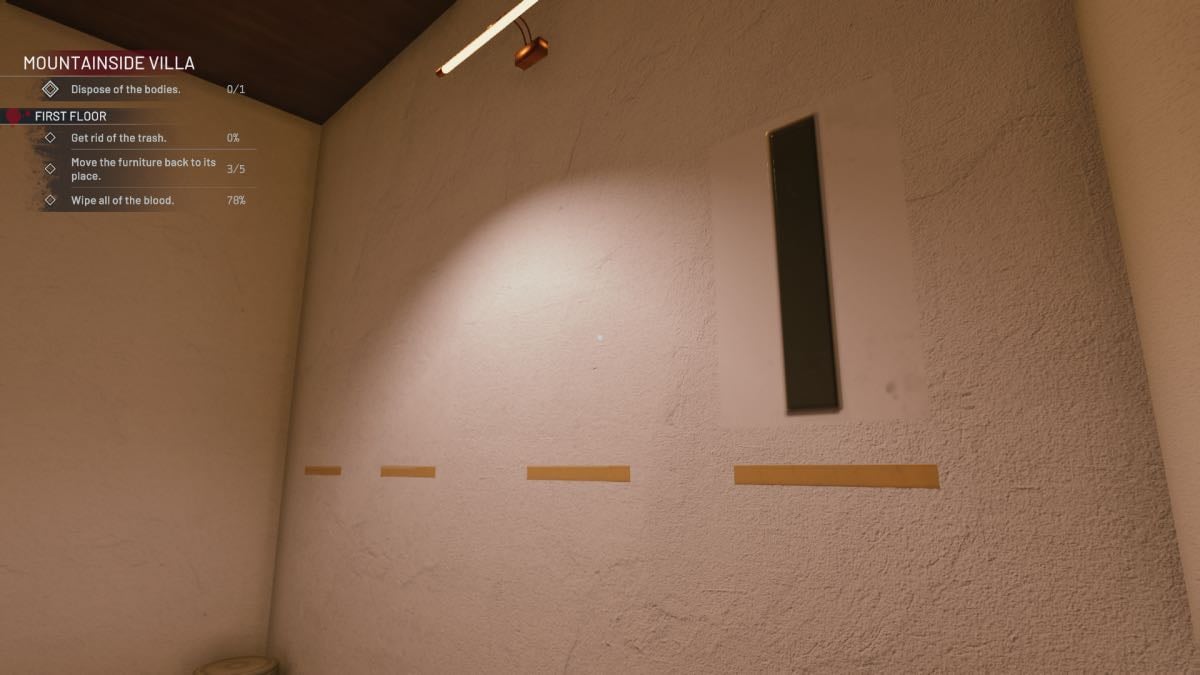
As you enter, there is a Bathroom to the right, double doors ahead, and a door to the left. Get your water from the Bathroom to clean the downstairs, including the floor, walls, and stairs. In this area, a folding chair belongs in the Workshop upstairs.
Bathroom
Find the Smart Speaker by the laundry basket in this room. There is also a lamp to take to the living room, and a sofa chair that belongs in the Kitchen.
Living Room
There is another Smart Speaker to find here, near the TV. The lamp you found in the Bathroom belongs in here, but you can also find a chair and a coffee table that both belong in the Kitchen next door. Replace and clean all of the sofa cushions.
Later, you will return to this area to find it splattered with mysterious goop, so you will need a good cleaning again.
Kitchen
This creepy space has two bodies mid-air to take away, with one weapon to take as evidence. The robot vacuum is circling them, so hit it with the axe or punch it to break it and take it away with the rest of the trash.
Find a Smart Speaker in the Kitchen and dining area, and the dreamcatcher evidence on the table by a window. There is a lot of blood to clean and furniture to rearrange, so clear the trash and blood first before starting on the tidying.
You will find the chairs in the Living Room, Upstairs Hallway, Bedroom, and Workshop. Two sofa cushions are found in the Upstairs Hallway and the Bedroom, while the coffee table is in the Living Room next door. The missing sofa chair is in the Bathroom.
Pick up the Workshop Key from the table by the window.
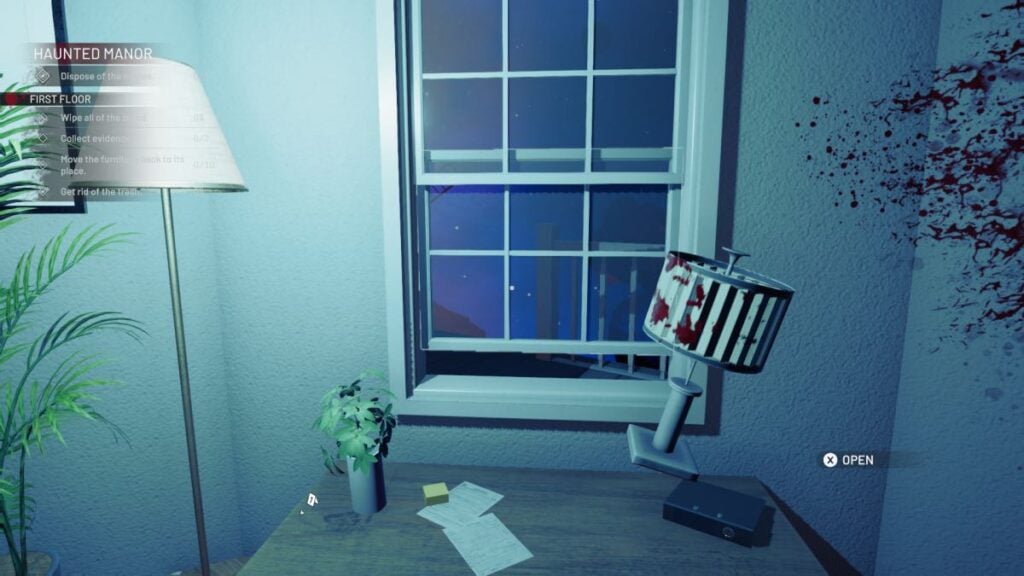
Upstairs Hallway
At the end of the hallway is a dreamcatcher to interact with, and two pieces of furniture are floating on the ceiling that you should move to the Kitchen.
As you go up the stairs and turn left, you will see a door to the Bedroom to your left. A locked door is ahead to the Workshop, and another to the Meditation Zone. The other unlocked door is next to the Workshop, and this is the Office.
This space will have a body appear at the end of the hallway by the stairs after you have been in the Workshop.
Bedroom
This Bedroom contains a Smart speaker on the floor to collect, and a key to the Meditation Zone on the desk. The missing lamp can be found in the Kitchen, while you should remove the chair and the cushion and return them to the Kitchen.
Workshop
Find another Smart Speaker on the floor by the workbench, and a dreamcatcher evidence piece nearby. The missing folding chair is in the downstairs Foyer. The room has a chair to return to the Kitchen, and a lamp inside a locker that belongs in the Meditation Zone.
Meditation Zone
There is a body to remove here, with a crucifix as evidence floating in front of him. You can find the missing lamps in the Office and the Workshop, while the desk chair is in the Office.
Office
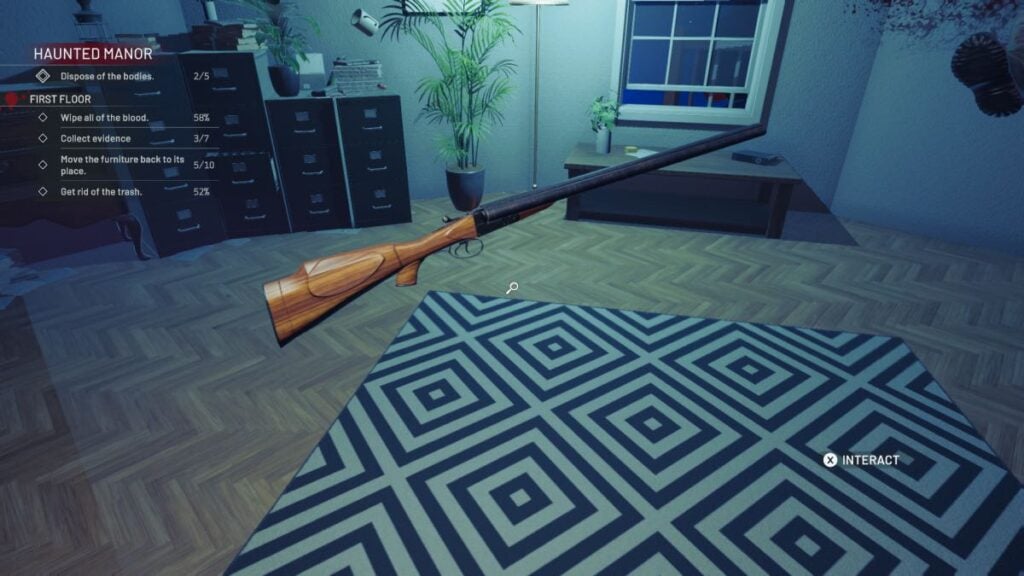
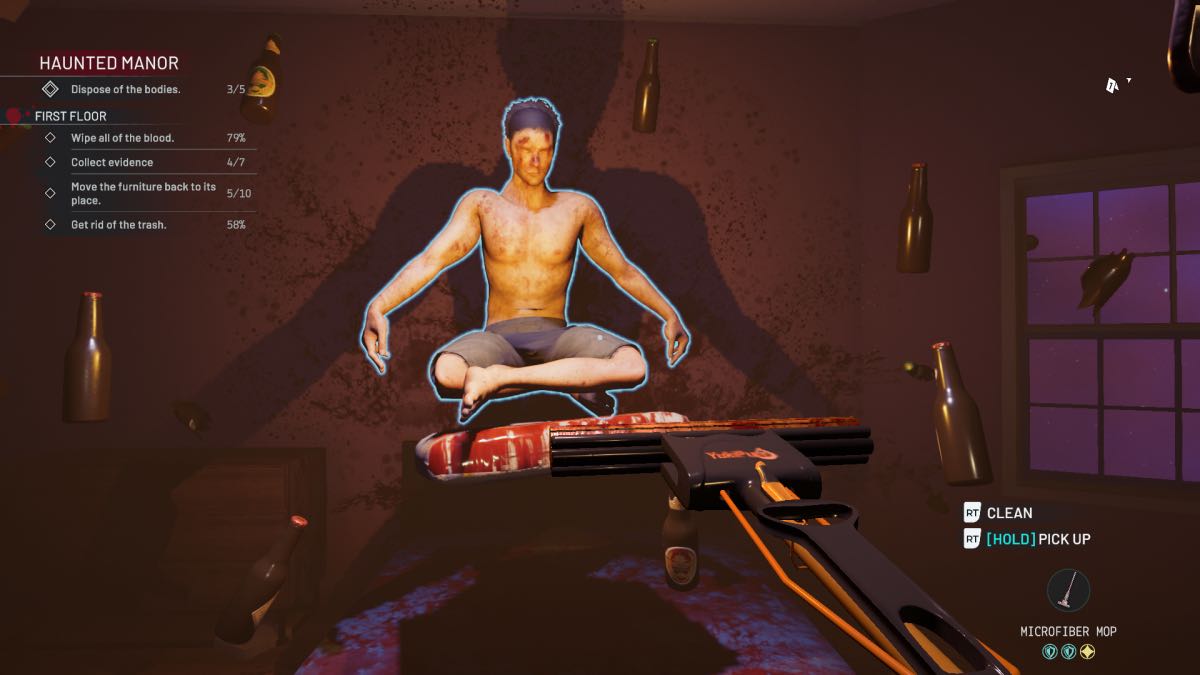
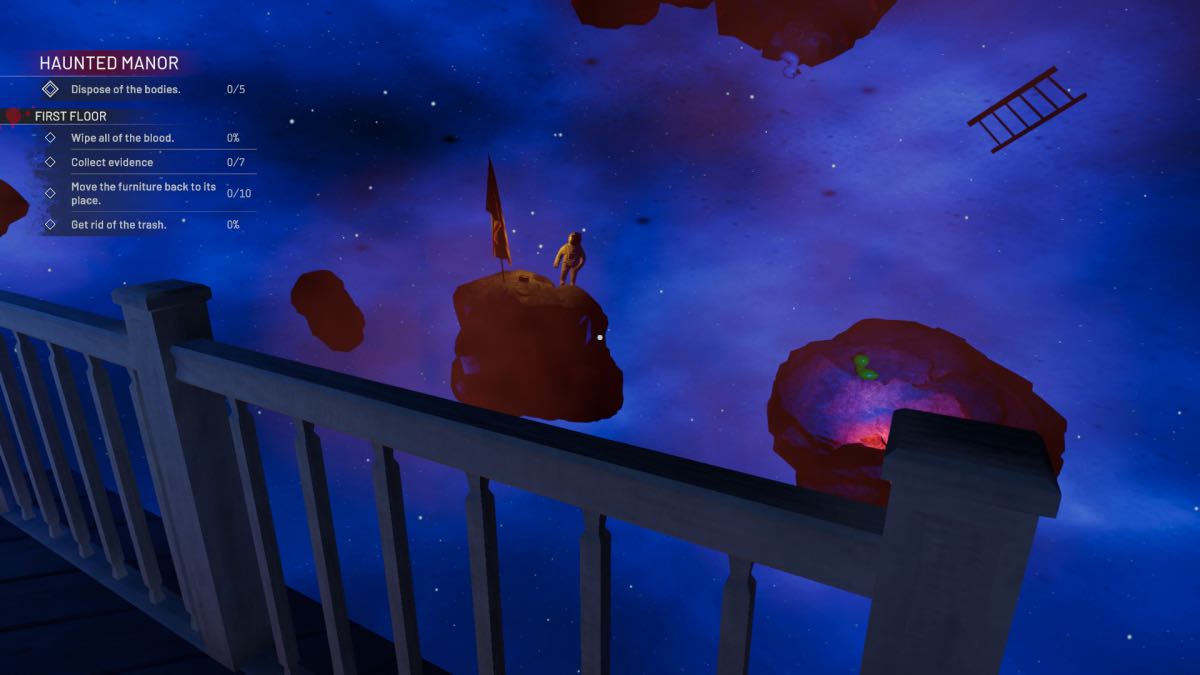
Remove the body and find the shotgun in the middle of the room. The missing chair is in the Mediation Zone.
Go to the window at the end of the room and open it. Climb out and look for the floating rock with the astronaut and flag to the left. Jump across and get the music disk. If you fall, you will be returned to the room, and you have to try again.
Once all bodies are cleared, sweep through the area once more to make sure you have cleaned and cleared everything before leaving.
Italian Job Nightmare
- Dispose of all nine bodies
- Storage Room
- Restaurant x 2
- Kitchen
- Basement
- Office
- Cold Room x 2
- Garage
- Collect all the evidence
- Back Alley
- Restaurant
- Basement
- Rearrange the furniture
- Clean the blood
- Remove all trash
- Find the music disk collectible
Storage Room
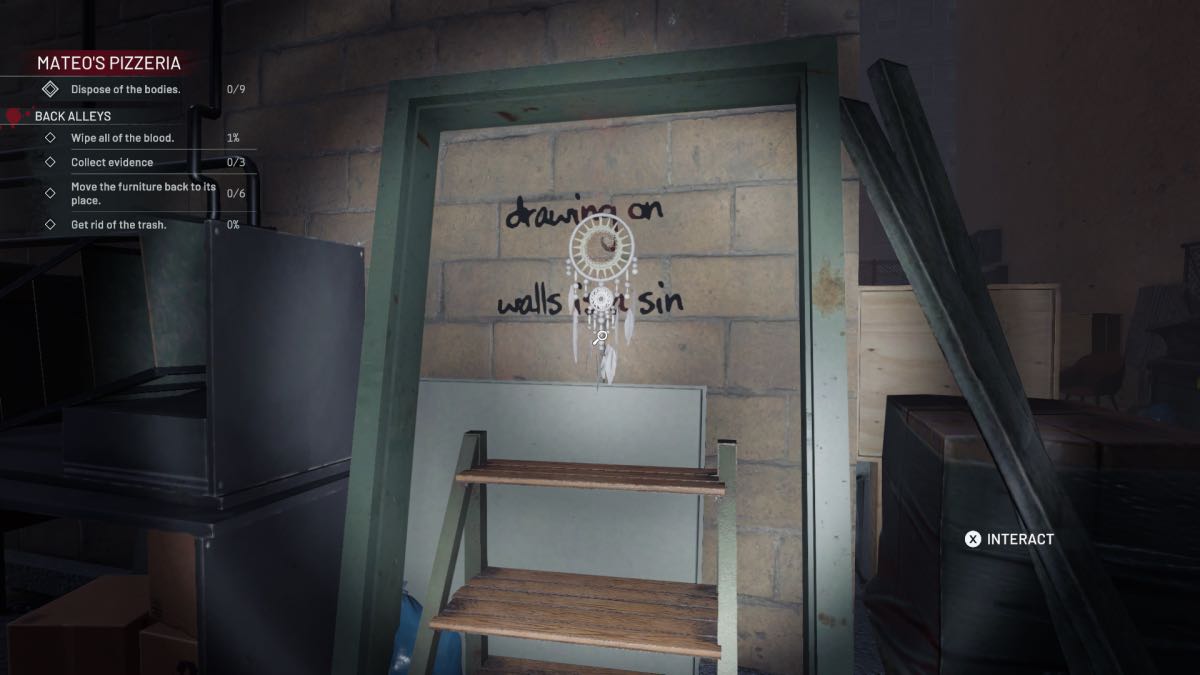
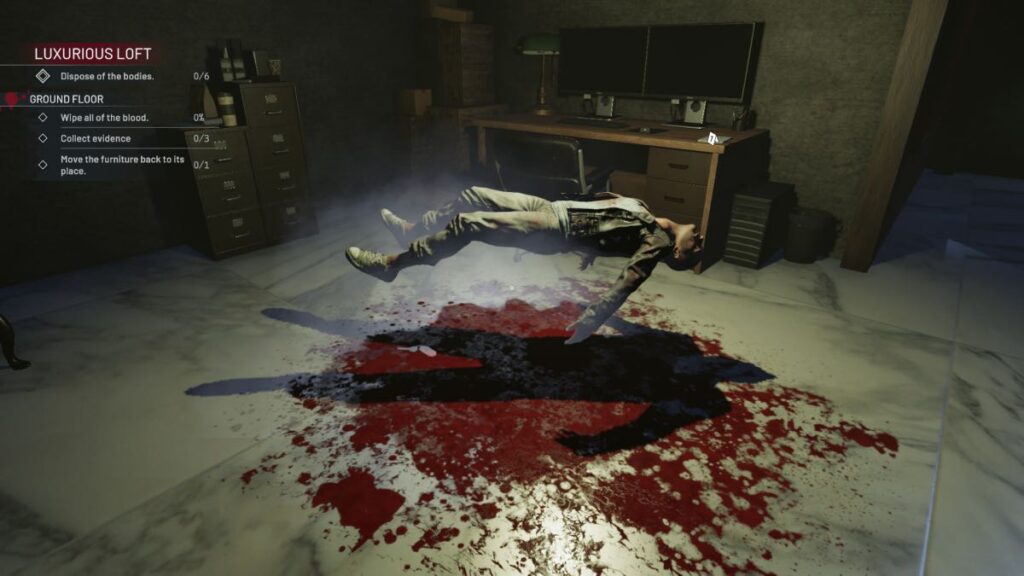
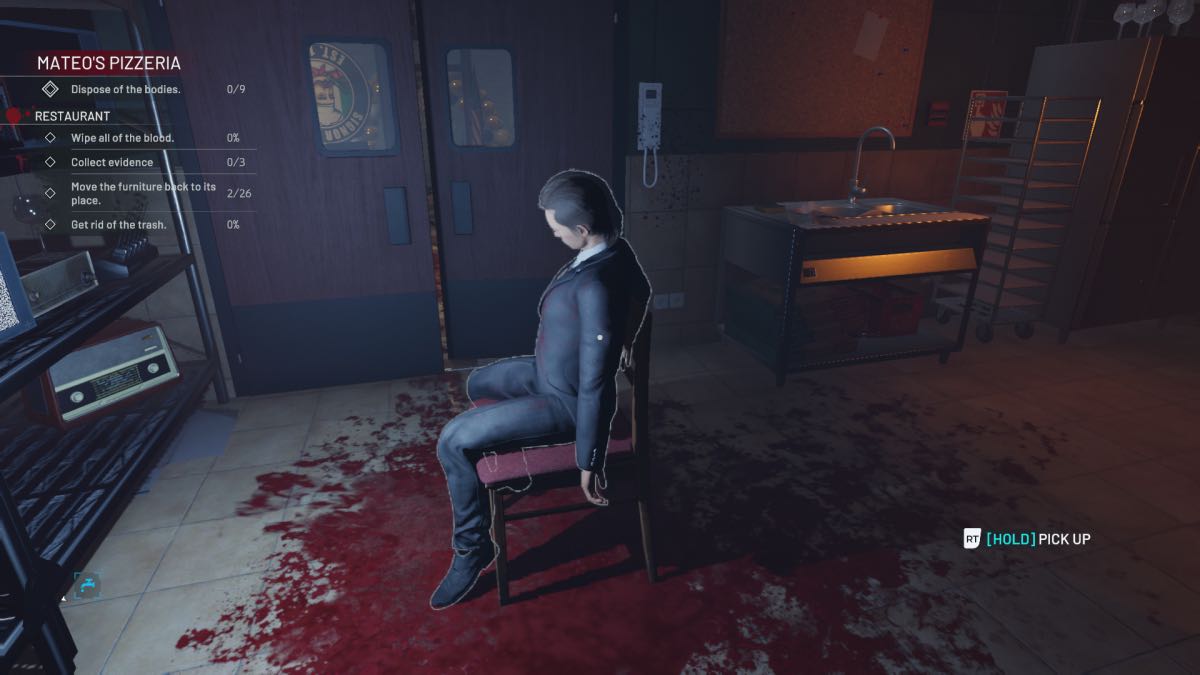
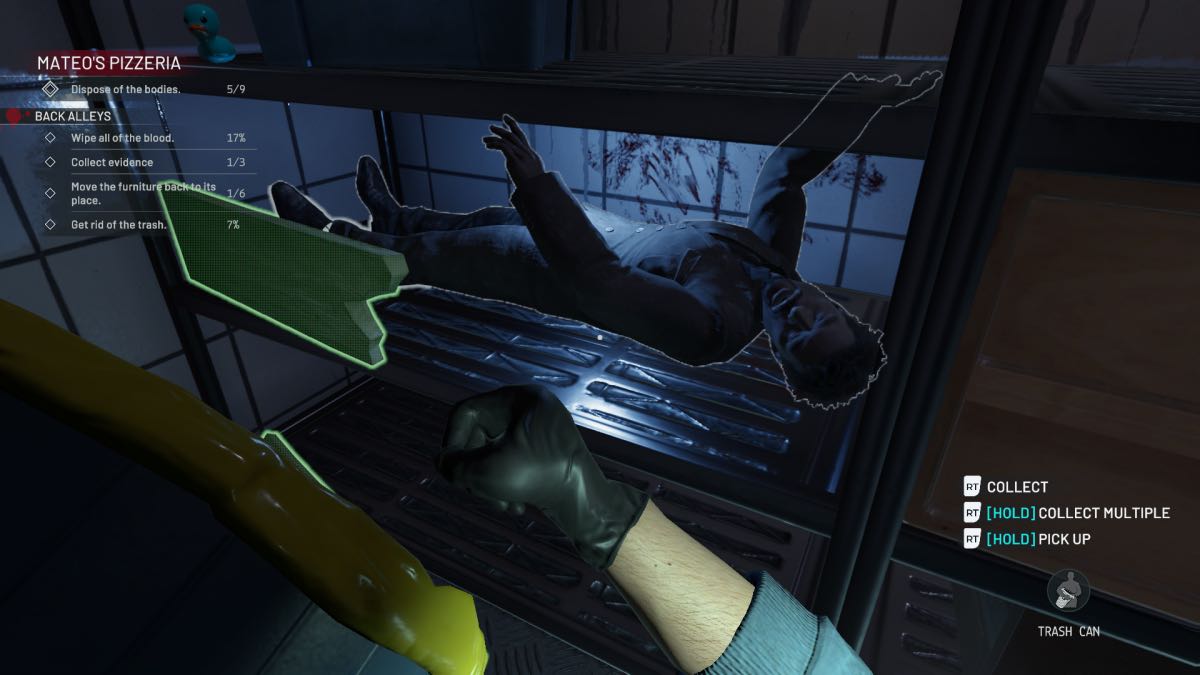
Head through the Back Alley from the truck to find dreamcatcher evidence on the wall. The gate ahead is locked, so go right through the door to the Restaurant staff entrance and into the connected Storage Room. There is a body on the chair, with blood to clear up.
Two chairs here should be moved into the main Restaurant area, while you can find the missing barrel in the Restaurant.
Restaurant
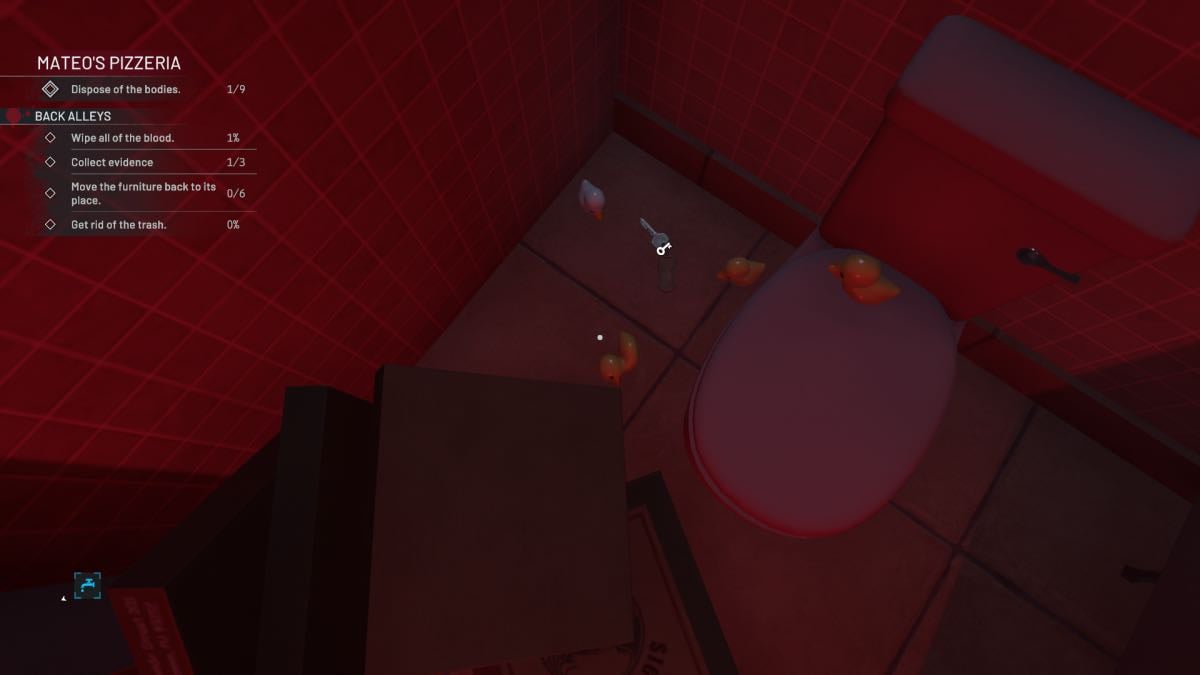
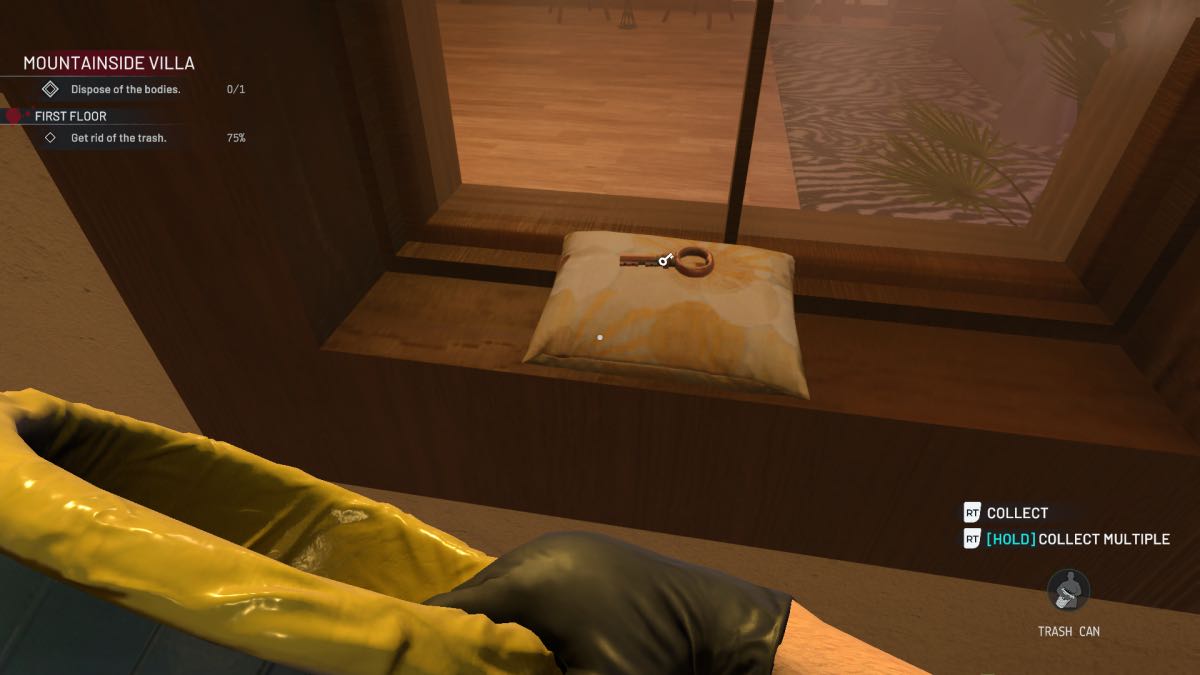
As you enter the Restaurant, the animatronic duck will drop a body from its beak. After removing the body, go to the Bathroom to fill your water bucket. The door will slam behind you, but you will be able to find a key to the door in the pizza boxes in the left toilet cubicle.
Another body lies on the other side of the Restaurant, by the counter, with a pan (evidence) behind it on the floor. In this corner, there is also a dreamcatcher to find.

This space has a lot of furniture to replace and rearrange, including seven chairs in this room, one in the Bathroom, and one in the Storage Room next door. On the stage, there is a gold letter N to replace on the wall, and trays scattered around to place back on the shelves.
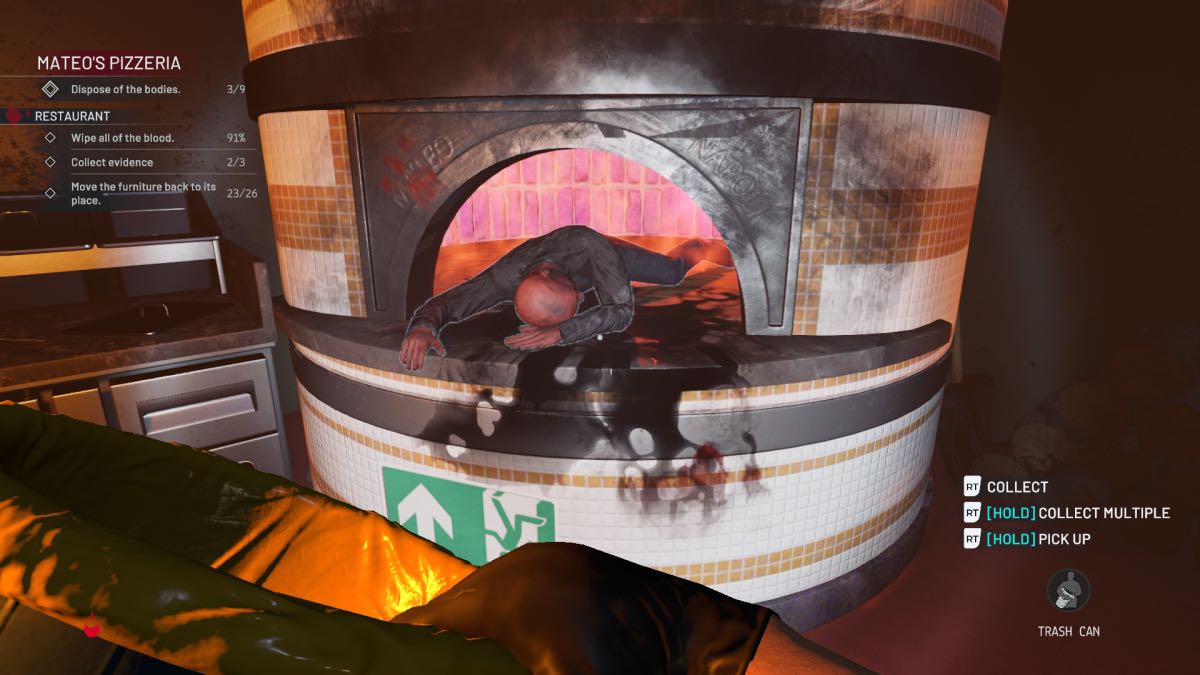
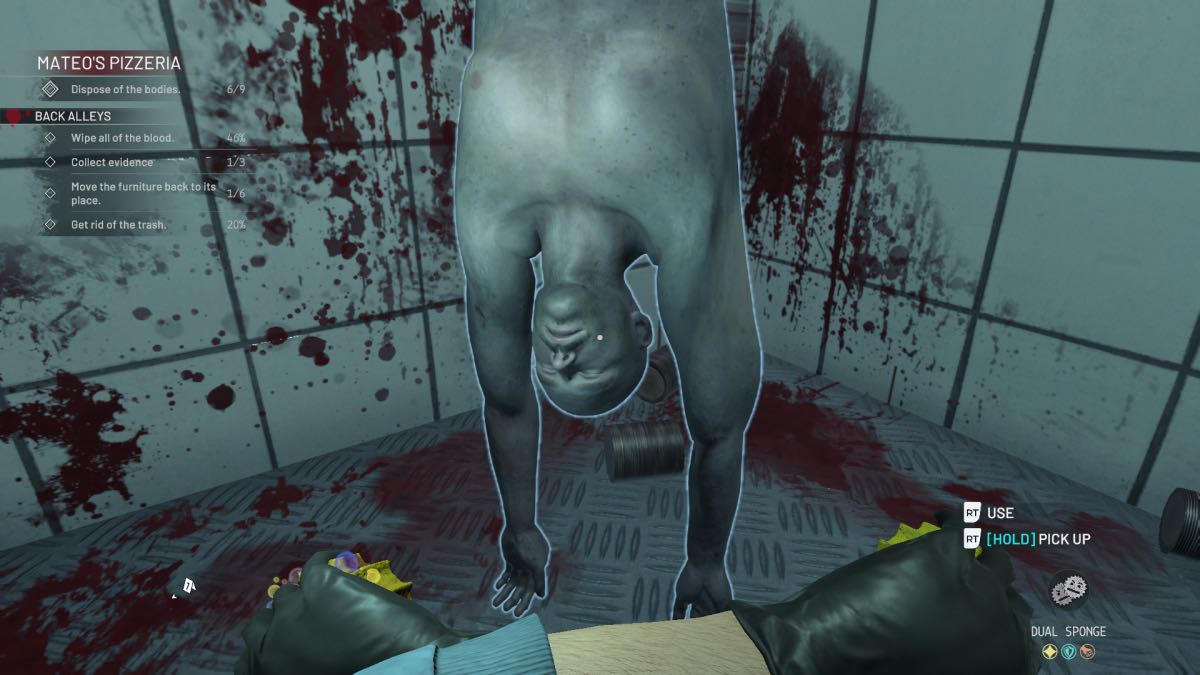
There is another body in the pizza oven in the Kitchen just off the Storage Room.
Poker Room
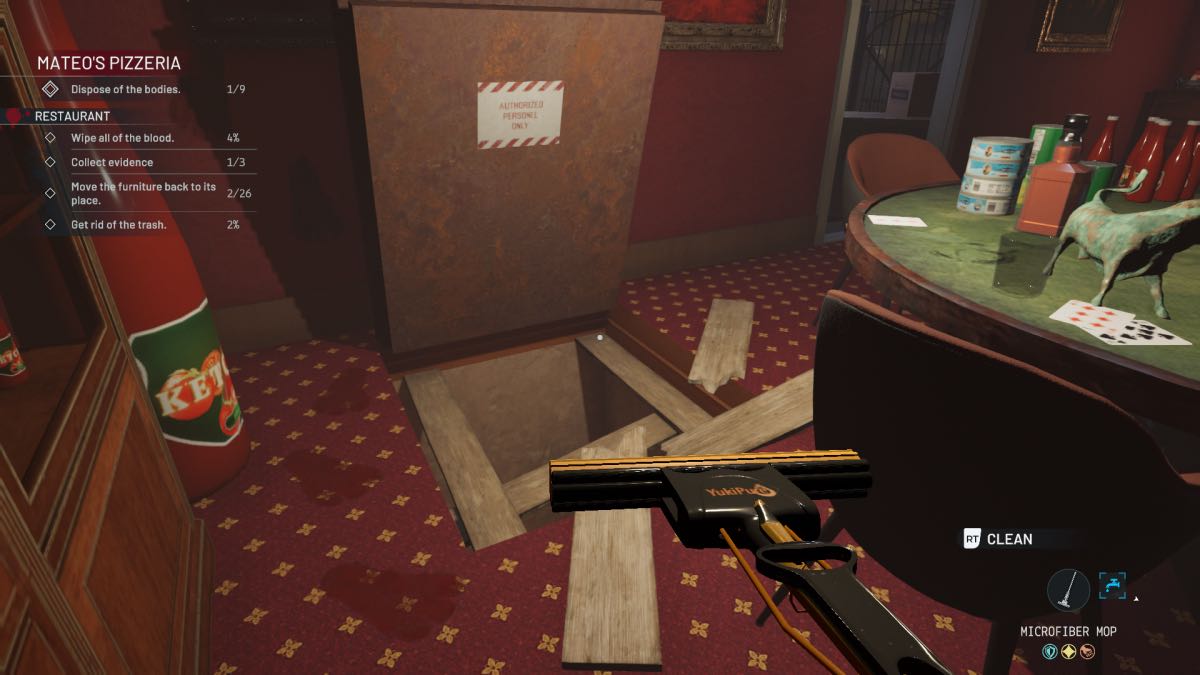
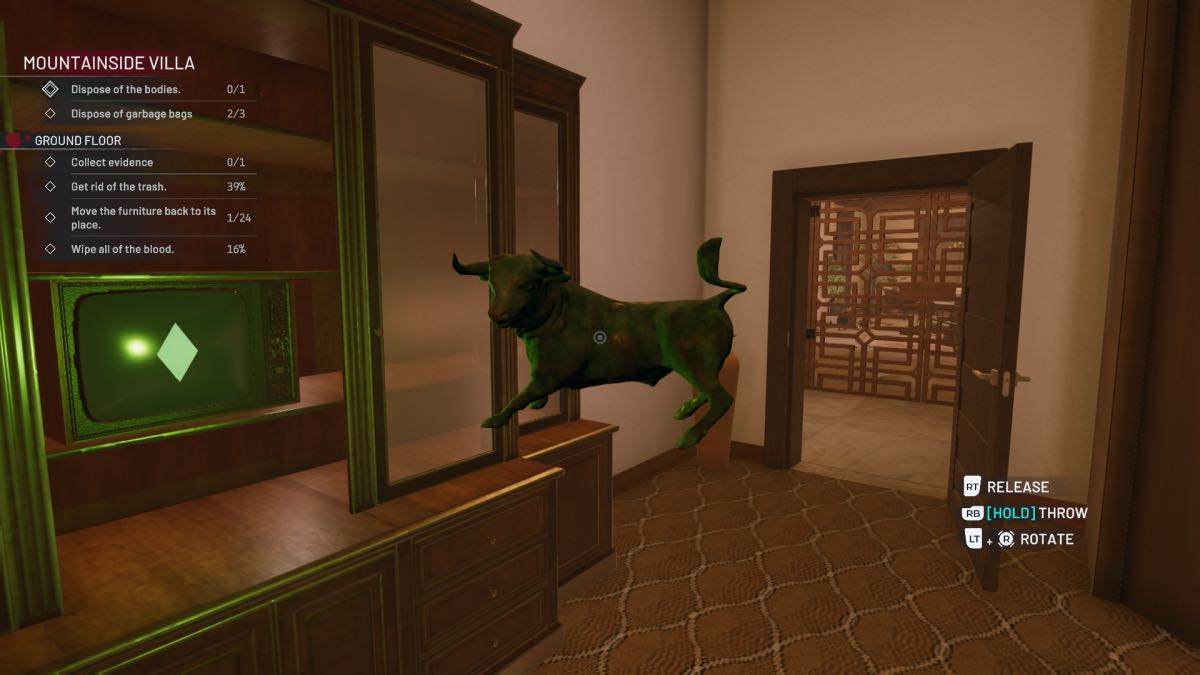
Take the bull statue from the table and place it on the unit where it belongs. The missing chairs are both in the Back Alley. The trap door in this room will open once you have been locked in the Bathroom and found the key to escape. Use your axe to break through the planks and go down into the Basement.
Basement
Make sure you clear up all broken planks as you go, and go down the ladder to the Basement. There are plenty of blood splatters and animatronic duck footprints to clean up as you go.
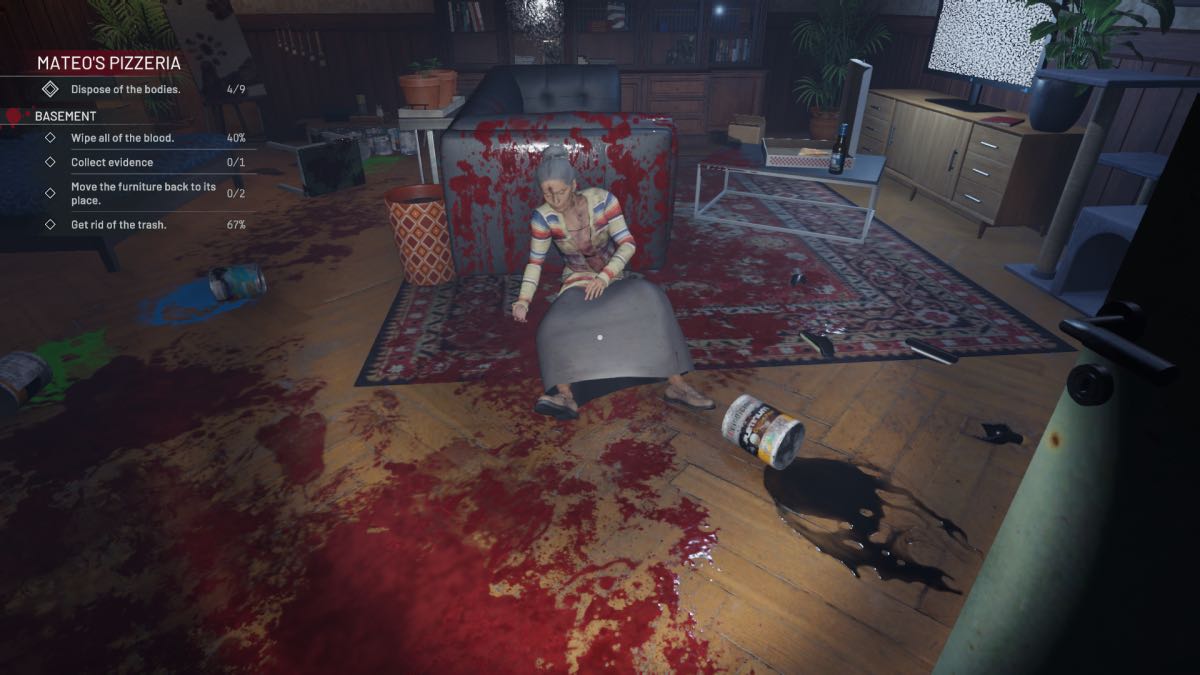
The room down here is a nightmare version of the old woman’s apartment in the regular Crime Scene Clear Italian Job level. Here, however, the old woman is in this room, with less paint and more blood to clean.

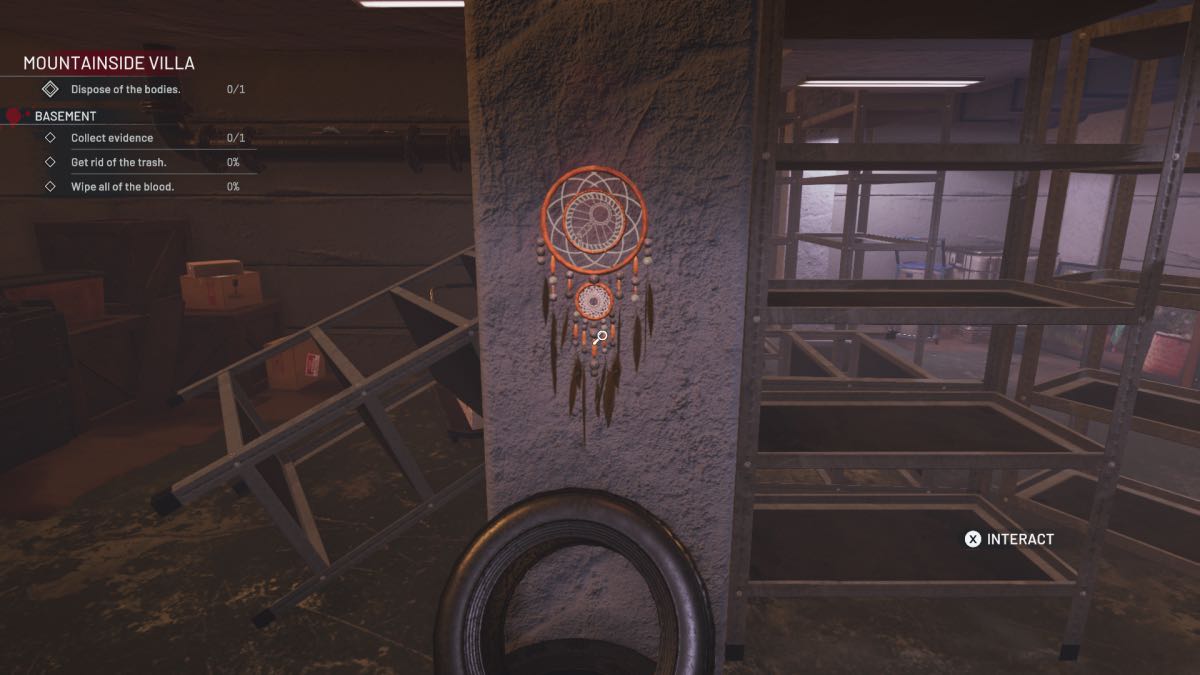
There is a dreamcatcher to find above the bed, and a safe to the left to hack and discover a key.
After cleaning up and rearranging the furniture, head back up to the Back Alley.
Office
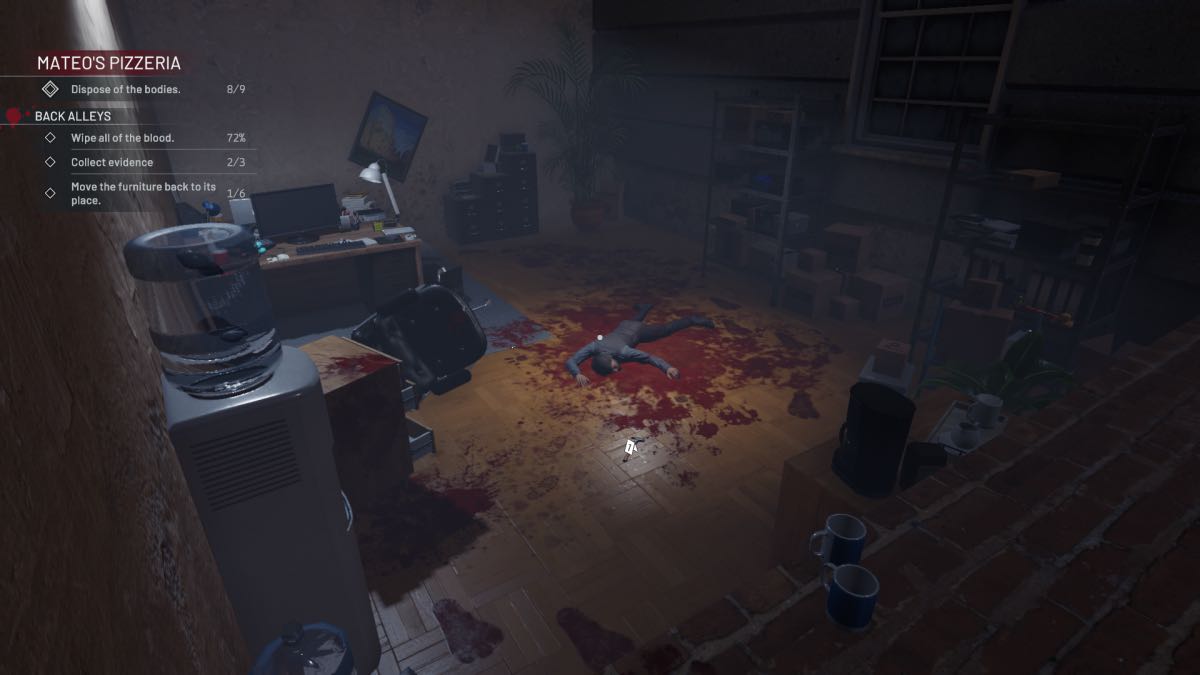
The Office is now behind a brick wall in the Back Alley. You can jump up via the trash left by the wall to get over and find another body lying there. Grab the hammer (evidence) and rearrange the chairs. One of the chairs is on the other side of the wall where you climbed up.
The key you found earlier unlocks the metal gate at the other end of the Back Alley. Go through to find another water point to use, and a Cold Room.
Cold Room
In the Cold Room is a bit of tidying to do, and mopping, of course, but a body is also hidden on a shelf behind a couple of breakable planks. Find another body and a pair of pincers on the floor, with the meat in the frozen section.
As you leave the Cold Room, look right to see what used to be the old woman’s apartment but is now the Modern Art Museum. Climb up the pipe along the wall to get inside.
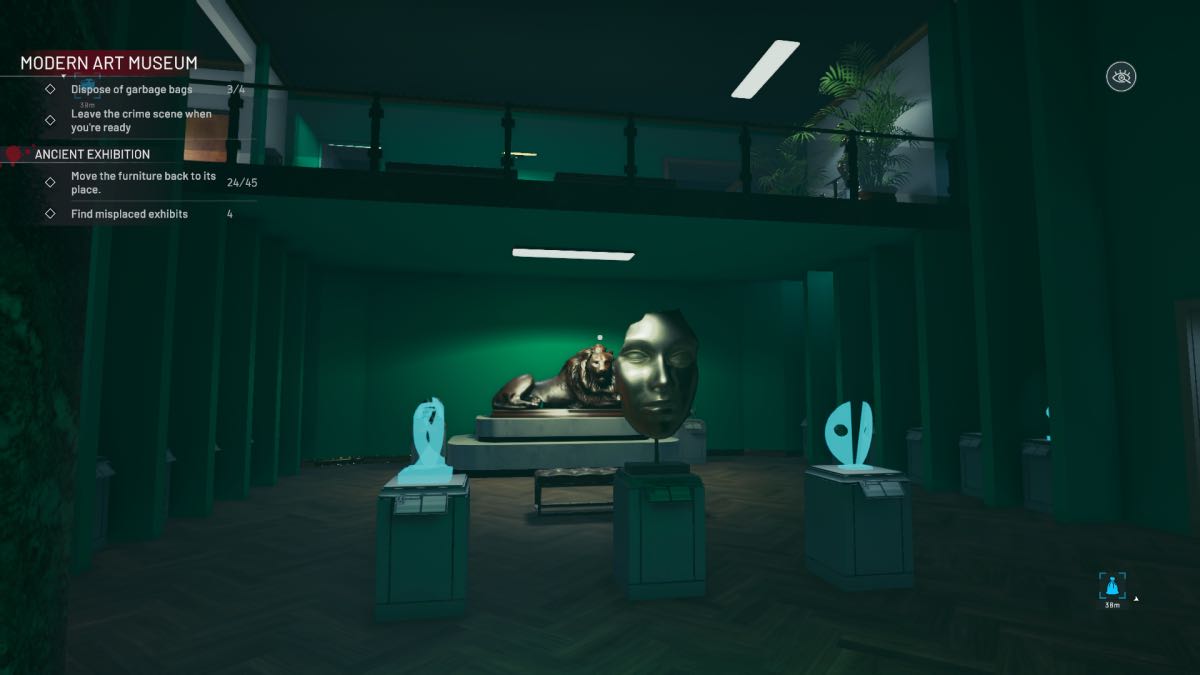
Modern Art Museum
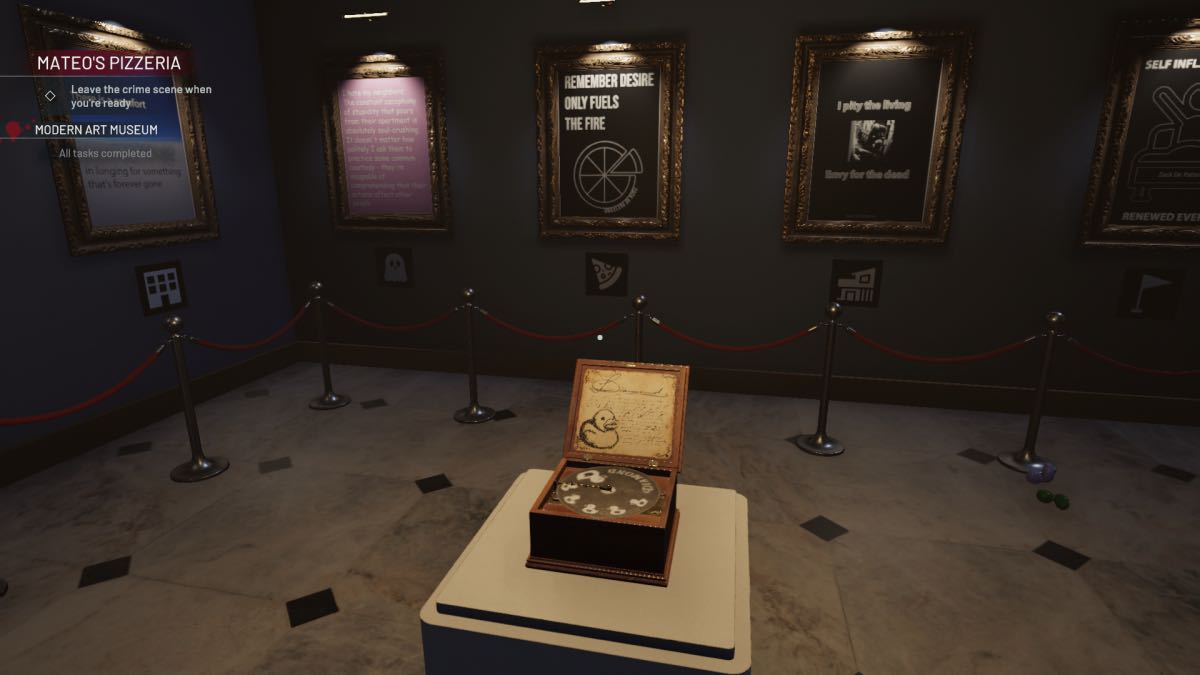
There are 10 posters to put up on the wall here. They can be placed anywhere, but if you want to unlock the hidden music disk, you will want to arrange them like this:
- Leaf – “Artist Self Love…”
- Bath – “Everything I Touch…”
- Apartment – “There Is Comfort In Longing…”
- Ghost – “I Hate My Neighbours…”
- Pizza – “Remember Desire Only Fuels The Fire…”
- Villa – “I Pity The Living…”
- Flag – “Self Inflicted Wound…”
- Cocktail Glass – “Life Is A Disease…”
- Museum – “The Gift Of Guilt…”
- Factory – “Creativity Is An Art…”
Garage
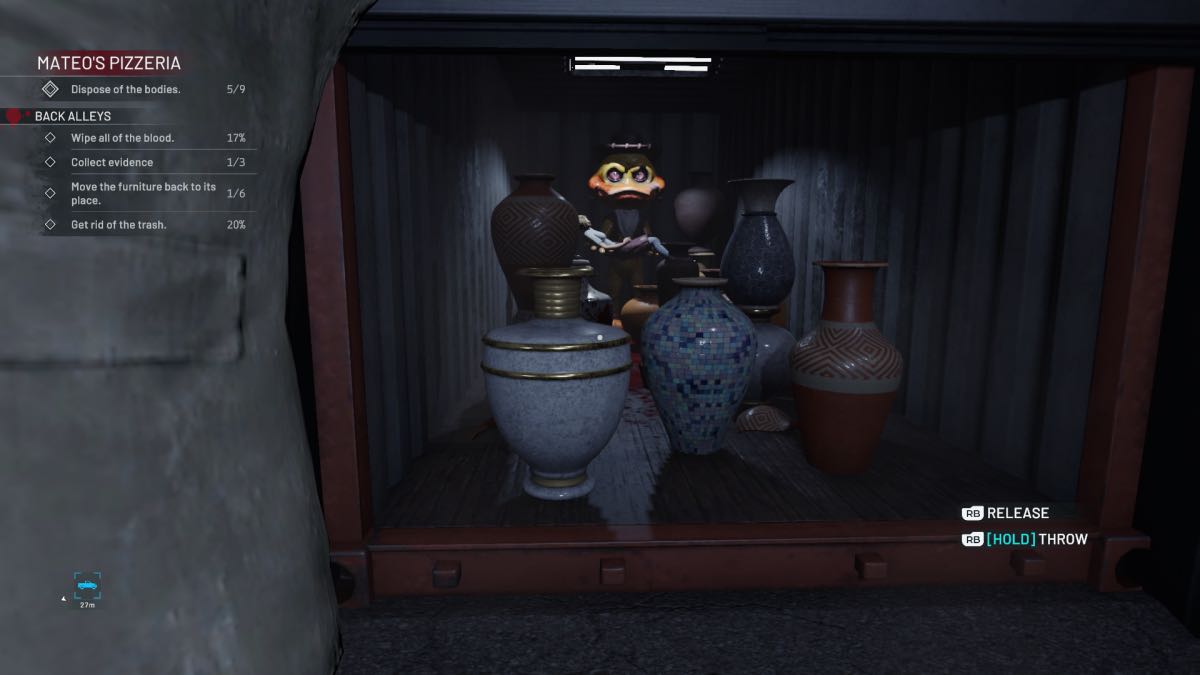
The Garage down near the brick wall should now be open. The duck animatronic is inside, holding a body. There is blood all over the floor, but whether you clean carefully with a sponge or use the mop and smash all the vases is up to you. If you decide to smash the vases, make sure to pick up every last shard of china. Pick up the key and go to the Restaurant to unlock the door under the stage. Turn on the power to see an animatronic show before you leave.
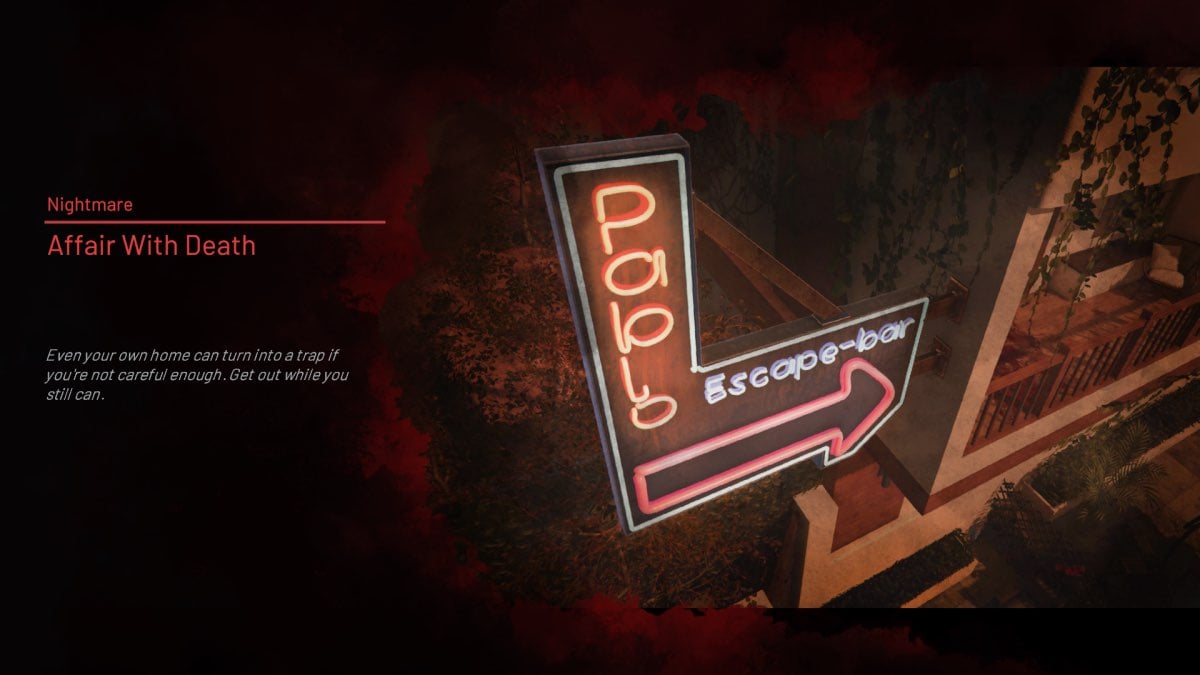
Affair With Death Nightmare
- Get rid of one body
- Drops from first upstairs Bedroom to the Pool area below
- Collect three pieces of evidence
- First upstairs Bedroom
- Basement
- Lounge
- Rearrange the furniture
- Clean the blood
- Remove all trash
- Find the music disk
First Floor Bathroom
This is a small room with just some blood to clean, but the handle of the door is missing. You can find it in the black and green case by the bath. Open it and take the handle to the door to get out.
First Floor Hallway
A numbered padlock on a gate leads to the next landing and the stairs. To the left, you also have a Bedroom. Clean the blood in this area and take notice of the colored baskets to the right. Go into the Bedroom to collect or count the number of ducks scattered around the room.
When this locked gate is open, you will find another gate locking access to the stairs. Four yellow dashes are on the wall, with the number zero written in the third space. Look through the gate to see another digit written on the wall: five.
First Upstairs Bedroom
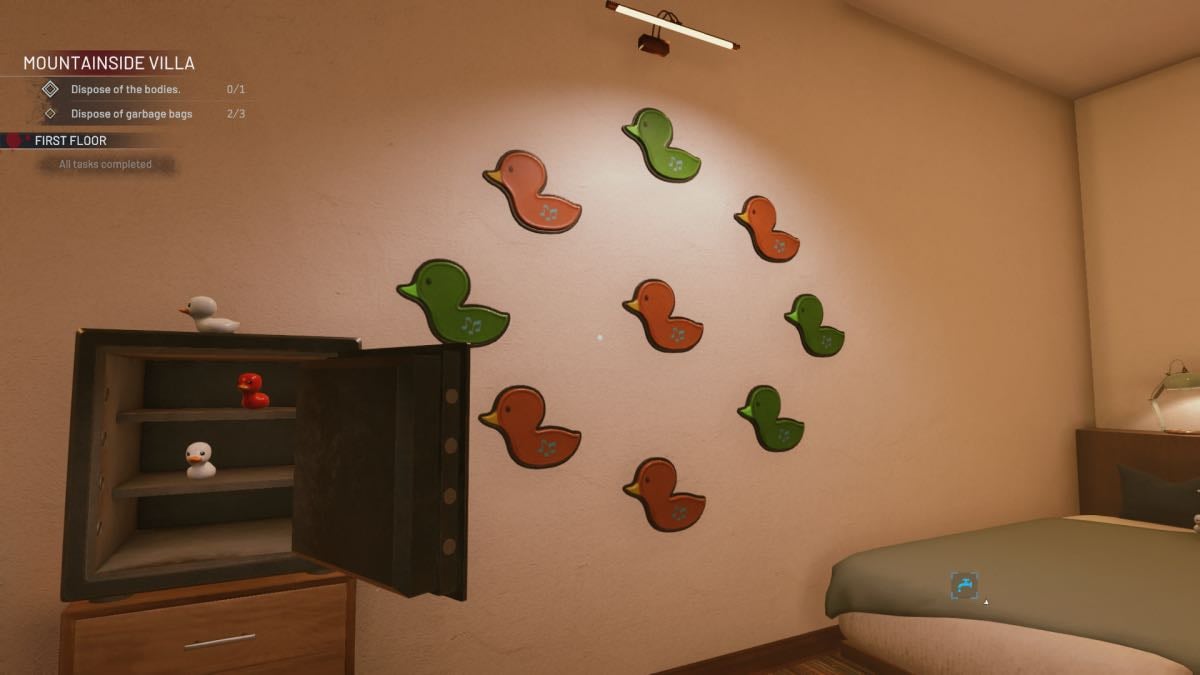
Some of the ducks are in the safe, but it makes a few noises when you try to open it. You can unlock the safe by copying those sounds with the ducks on the wall. With all the ducks counted, the code to the lock is: 7534.

Interact with the dreamcatcher evidence in this room, then go to the balcony doors. When you open the doors to the balcony, the dead body will drop to the ground below. Turn around to go out to the upstairs hallway and note that the TV has an orange star on the display.
Second Upstairs Bedroom
When you enter this room, take note of the pink heart on the TV. There is also a locked door behind a cabinet. The key to this locked door is behind a movable painting, but you have to clean up and tidy the furniture before you can get to it. There is a second key on the pillow by the window. That key opens the locked gate at the top of the stairs.
Around the corner from the bathtub are four yellow dashes on the wall, with the number one written on the last dash. Looking out of the balcony onto the parking lot, you will see the same four dashes with a number two written in blood on the first dash. So, now we have our four numbers for the numbered lock on the stairs (opened first with the second key): 2501.
Downstairs Hallway
Three elephant statues are missing from the plinths on the stairway. These statues are located just under the plinths, in the surveillance room, and the Garage off the Driveway. They should be placed on the plinths in order of white, red, and black. When placed down in the correct order, they open the hidden access to the Basement. Before you head to the Basement, go to the Surveillance Room.
Surveillance Room
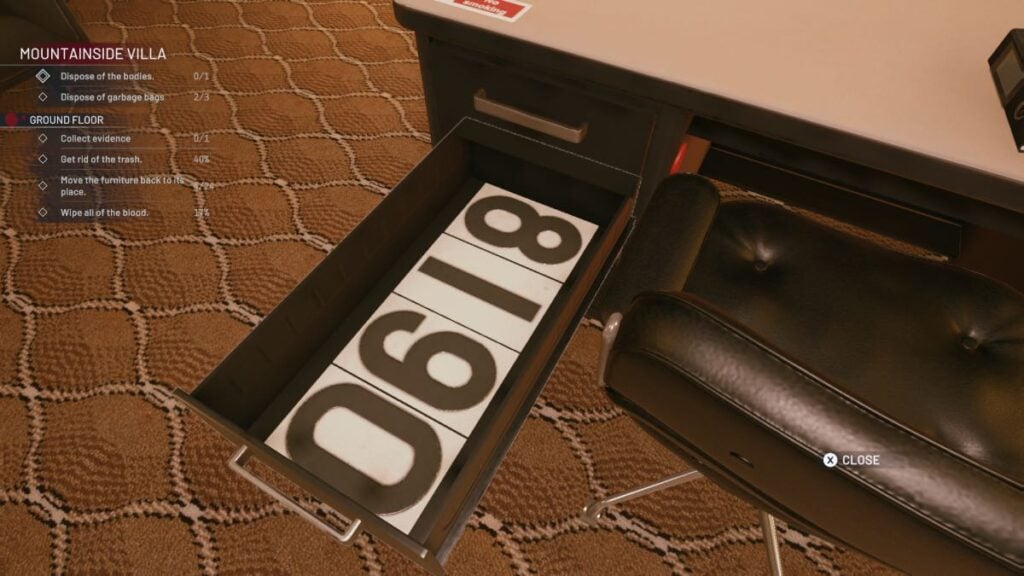
There is a green diamond shape on the TV, locked doors leading to the Driveway, and a desk with a red button. The elephant statue is also located in this area. Press the button to open a drawer that reveals a code: 8190 (not 0618!)
Use the code to open the door behind and find a room with a puzzle. It is a simple maths puzzle often seen online, showing the head’s value as three, the Horus value as 4, and the sitting figure as 12. Using the puzzle clues, you can determine the answer is 1234.
Use that code on the keypad, and the wall will move, revealing another key to use on the Driveway doors. You can now use this to access the truck and dispose of any garbage and the body.
Driveway
The small Garage door is locked, but you can crouch under the large Garage door to get inside. There is a weird display of spanners on the wall and a padlocked door. Behind the locked door is the elephant statue.

Arrange the spanners so they spell out four digits: 7048. Use that code on the door to get inside and grab the elephant. Head back to the hallway staircase.
Basement
Now you have all three elephants, place them in the plinths in order (white, red, black), and enter the Basement. There is a locked door with no handle that leads to the Kitchen.
Rearrange the shelves until they are all upright and you can access the space behind. Steal all the money (it is worthless, as this is not reality) and find the number seven underneath. Look at the TV to see the blue circle.
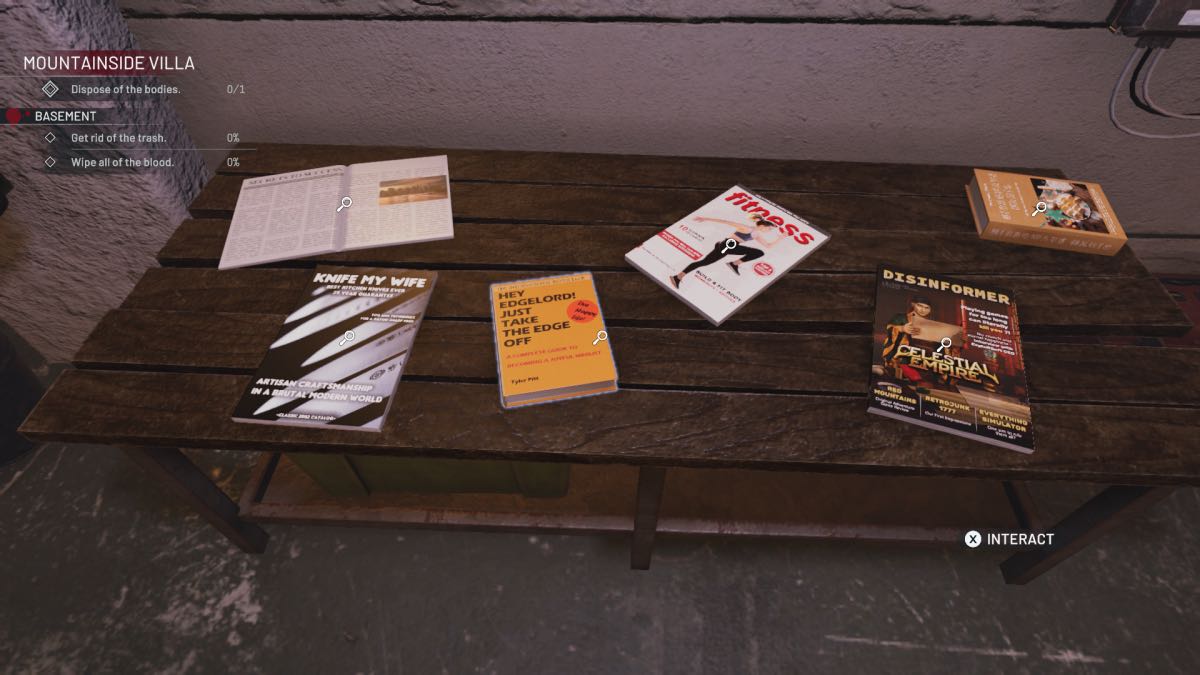
Interact with the dreamcatcher evidence, and then turn to the locked gate. This one also has a keypad, and a painting next to it gives a clue. The image shows a dart, a pool ball, money, and a knife. Check each one to find a number: nine on the dartboard, the missing pool ball is number four, the number seven under the money, and check the Knife My Wife magazine to find the number five. The code is: 9475.
Go in and destroy the box with your axe to find the Kitchen door handle. Don’t forget to clean up the broken box pieces.
Kitchen
Head up to the Kitchen and add the handle to the door. There is a bar on the left as you enter. Count the number of bottles to find the code to the safe: 9546. Take the cabinet key from inside. There is another key on the round table.
After cleaning the wall in the Kitchen, you will see numbers displayed. You need to find three paintings, each with holes in it:
- Under the numbered wall
- On a cabinet in the hall corridor that leads to the surveillance room
- In the locked display cabinet that you unlock with the key from the safe.
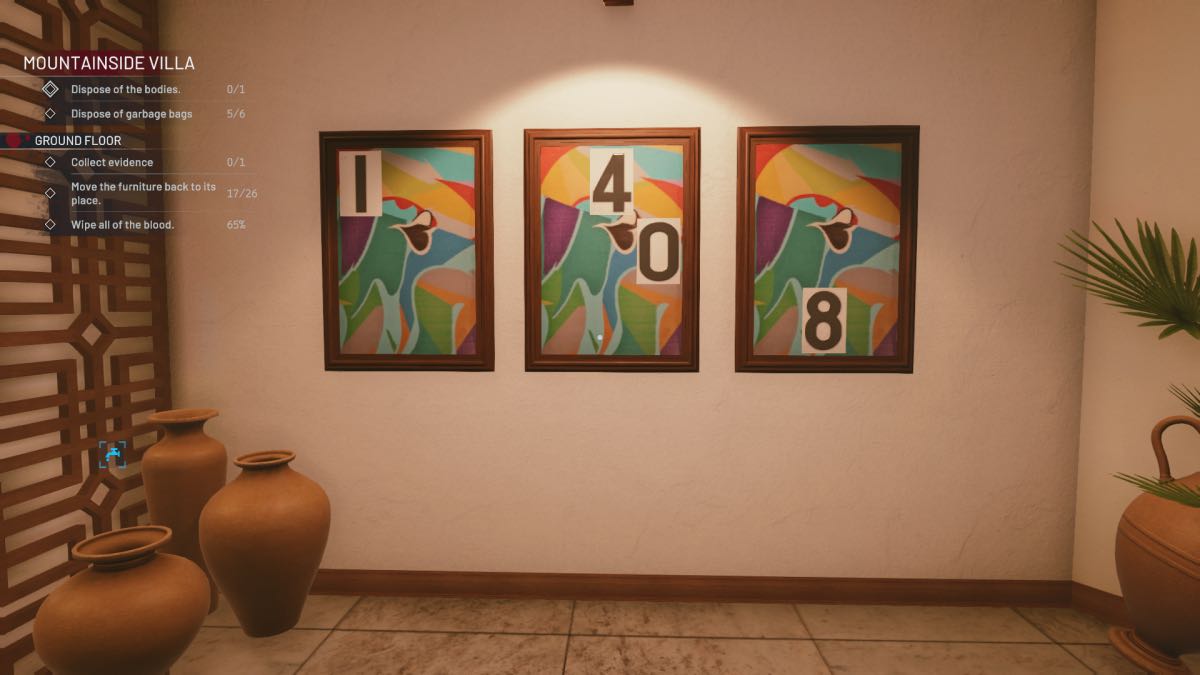
The paintings should be placed in this order:
- Top left hole
- Two holes
- Bottom center hole.
This gives you the code 1408. Use the code to open the door to the lounge.
Lounge
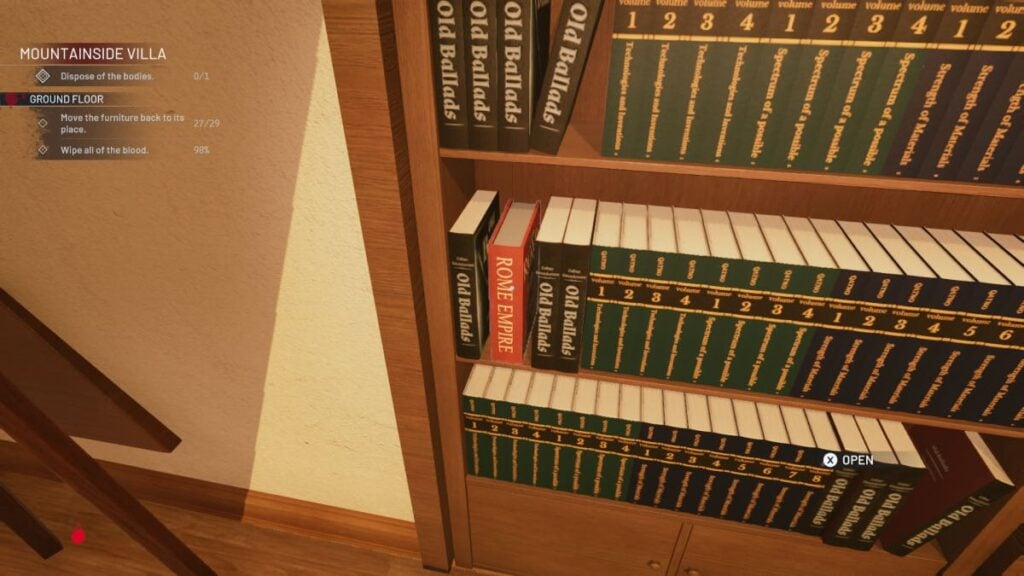
This room has six TVs with symbols displayed. Bloody tracks are leading to the bookshelf where you can interact with a Rome Empire book to open and get to the secret room. Check the dreamcatcher evidence on the wall nearby. The secret space has a bloodied painting to clean and put back, one of the missing lounge chair cushions, and a TV with a pink triangle.
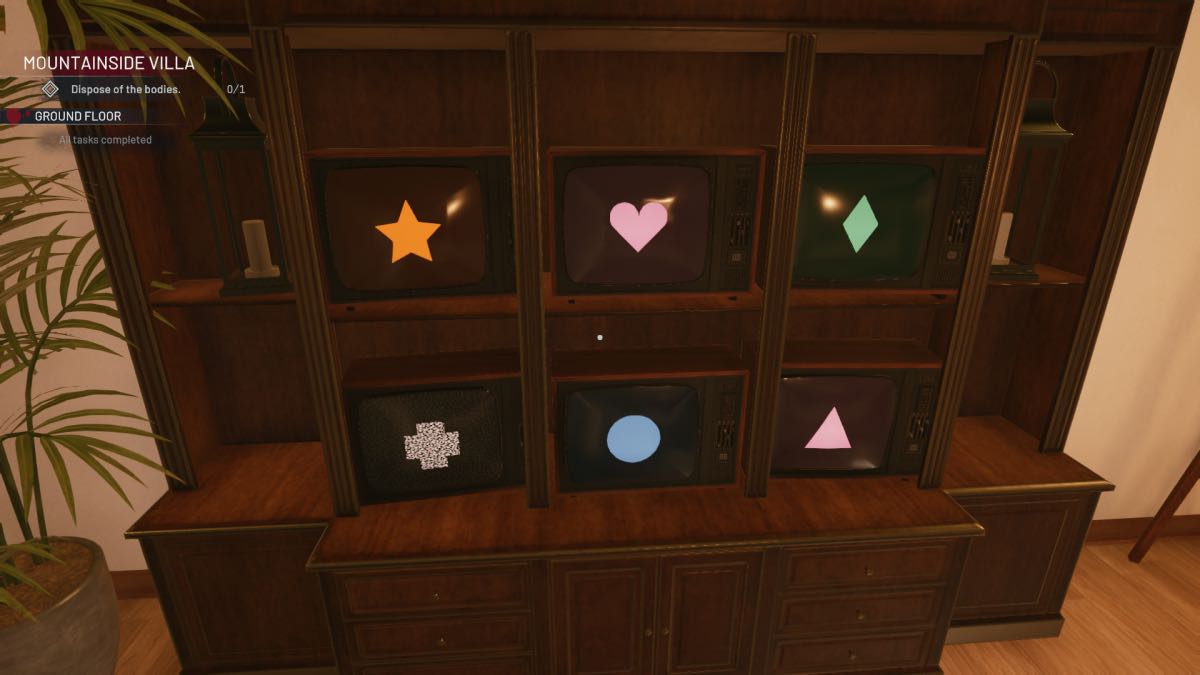
Interact with the TVs so they display the correct colored symbols:
- Orange star
- Pink heart
- Green diamond
- White cross
- Blue circle
- Pink triangle
Pool
This area is relatively clean, except for where the body fell from the balcony earlier. After cleaning and clearing that mess, go to the far end of the Pool and find the power.
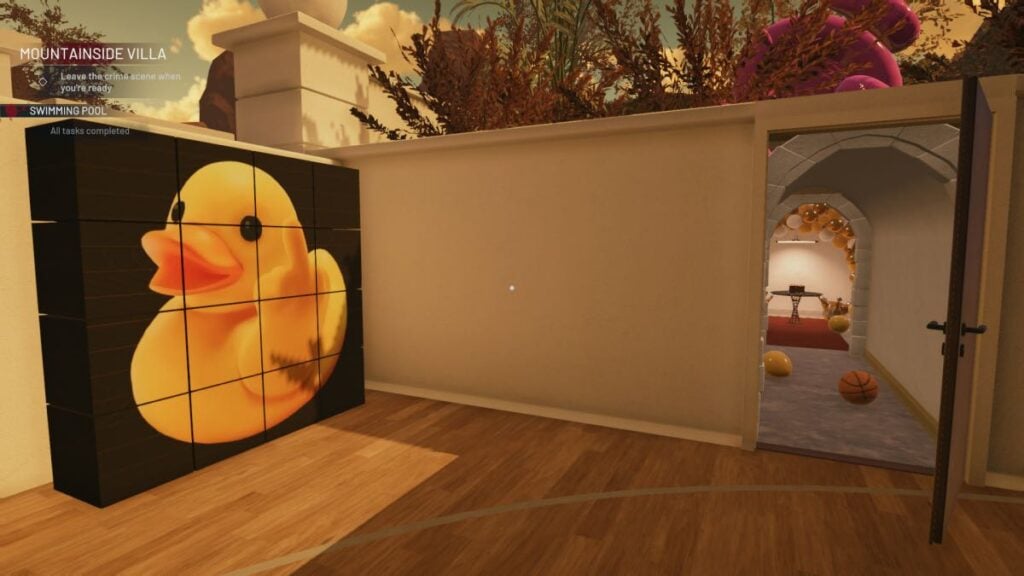
Switch the power to drain the Pool to reach some puzzle cubes inside. These are part of the solution to opening a secret room by the basketball hoop. There are 16 cubes to find, and they are all pretty easy to see. Each cube is in the Pool area, so make sure to scour the entire place to find them, including up on the plant-filled areas on either side of the basketball hoop. Place each one on the wall in the basketball area to form a duck picture that opens the room next to it. Take the music disk and leave.
Friendly Fire Nightmare

- Get rid of three bodies:
- Foyer
- Kitchen
- Bedroom
- Collect two pieces of evidence
- Foyer
- Bathroom
- Rearrange the furniture
- Clean the blood
- Remove all trash
- Find the music disk.
Living Room
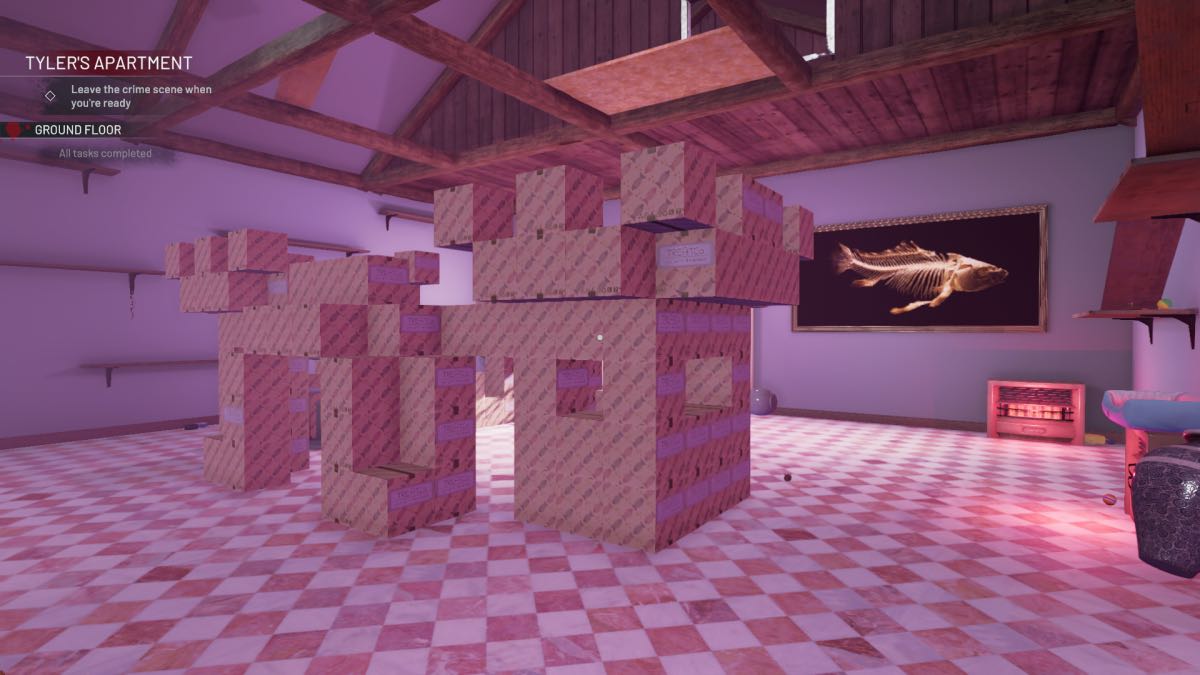
The first things to do to make the job of tidying the “furniture” easier are to clean the blood from every surface in every room and clear the trash. Once that is done, you should go from room to room and find every cardboard box to recreate the cat’s dream centerpiece in the living room:
- 54 in the Living Room, including the attic, and on the beams above.
- 10 in the Kitchen
- 6 in the Bathroom, including one in the vent with the bell.
- 23 in the Bedroom
- 7 in the hidden room accessed from the Bedroom.
You can get to the attic by climbing on the fireplace and walking up and along the wooden planks to the beams above. This is also where you will find a body. Break the vents at the end of the beams to find a dreamcatcher and a strange metal tin to open.
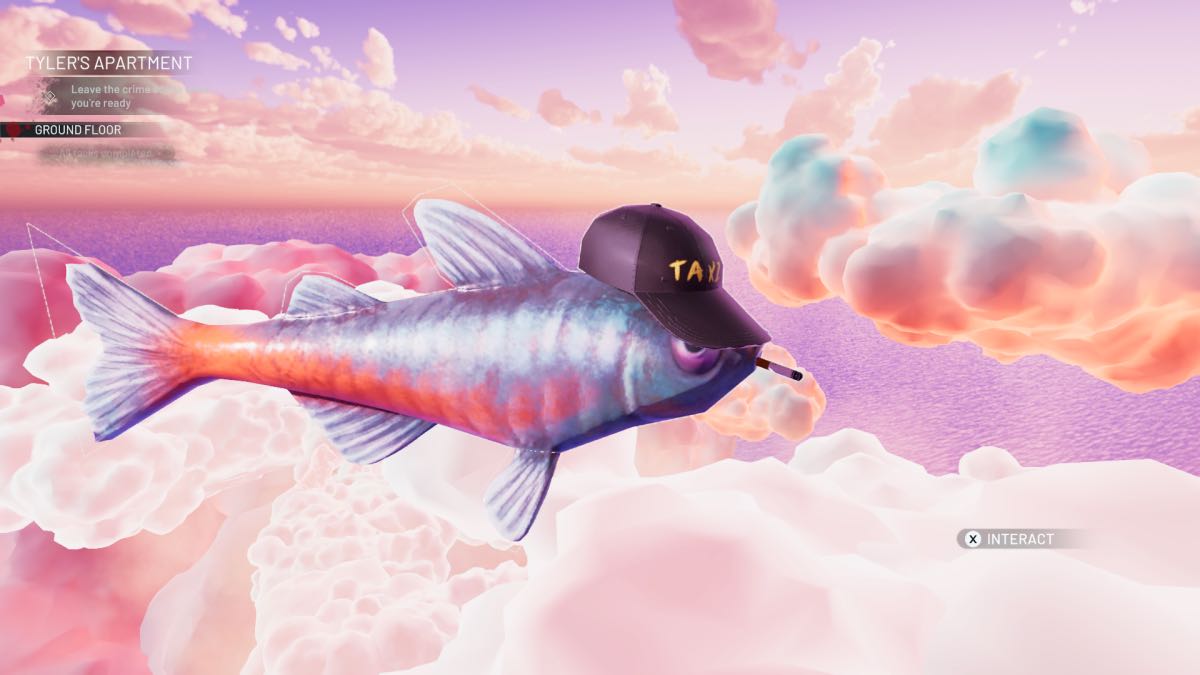
One of the windows is open, and a bell is missing from the windowsill. You will be able to find the bell behind a vent in the Bathroom. Ring the bell to alert the taxi fish, and interact with him to visit a black and white version of Tyler’s apartment.
Make your way through to a door blocked by two planks. Break them down to reveal a dressing room and a mysterious white light. Head into the light and jump up along the clouds to reach the music disk. Use the taxi fish to return to the apartment.
Kitchen

Once the mess is cleaned up, there is only the body to remove and the boxes to clear from this room. Closing every drawer and cupboard isn’t essential, but it makes it look neater.
Bathroom
Clear the boxes from this room and clean any splatter. There is a vent above the washing machine. Open it up to find a box and the bell for the living room windowsill.
Bedroom
Clear the body from the center of the room. After cleaning the blood and clearing any trash and boxes, find the breakable vents on the wall.
Clearing these away reveals a hidden room with yet more boxes to move to the living room.
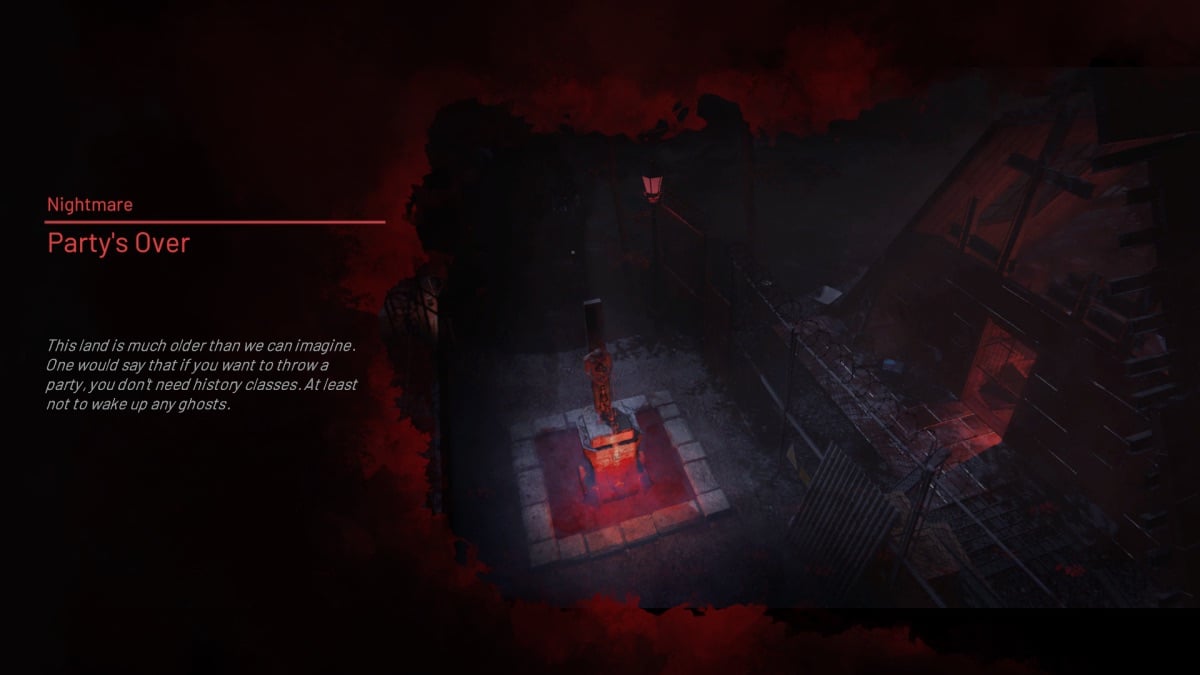
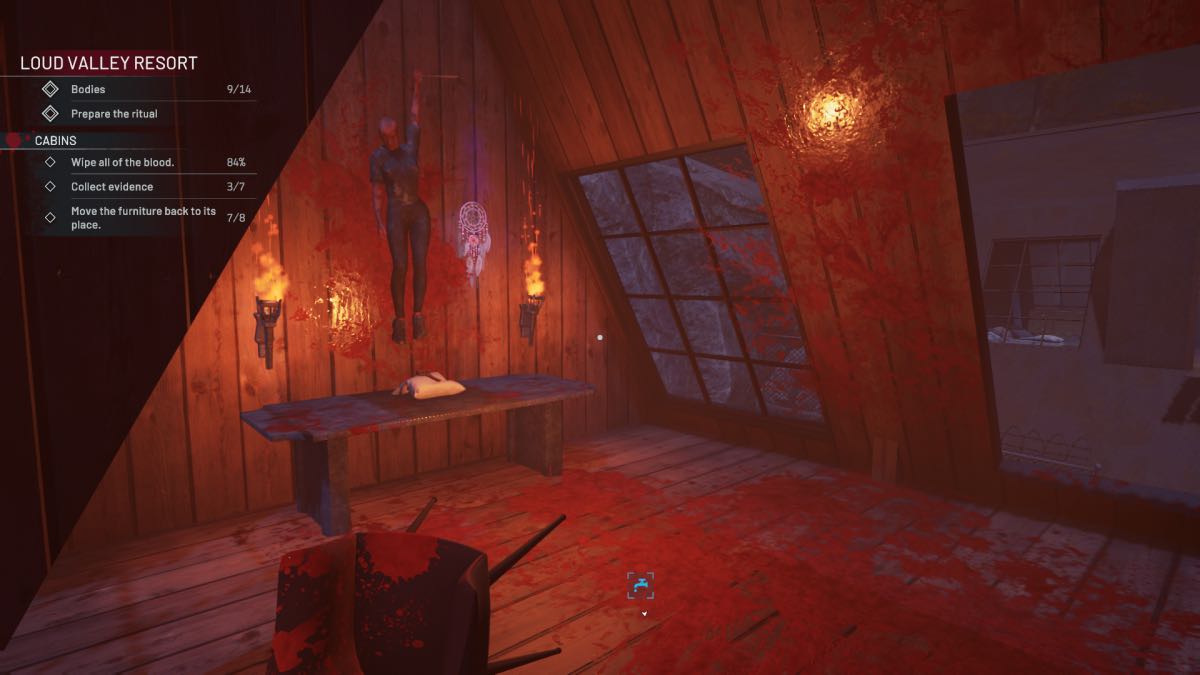
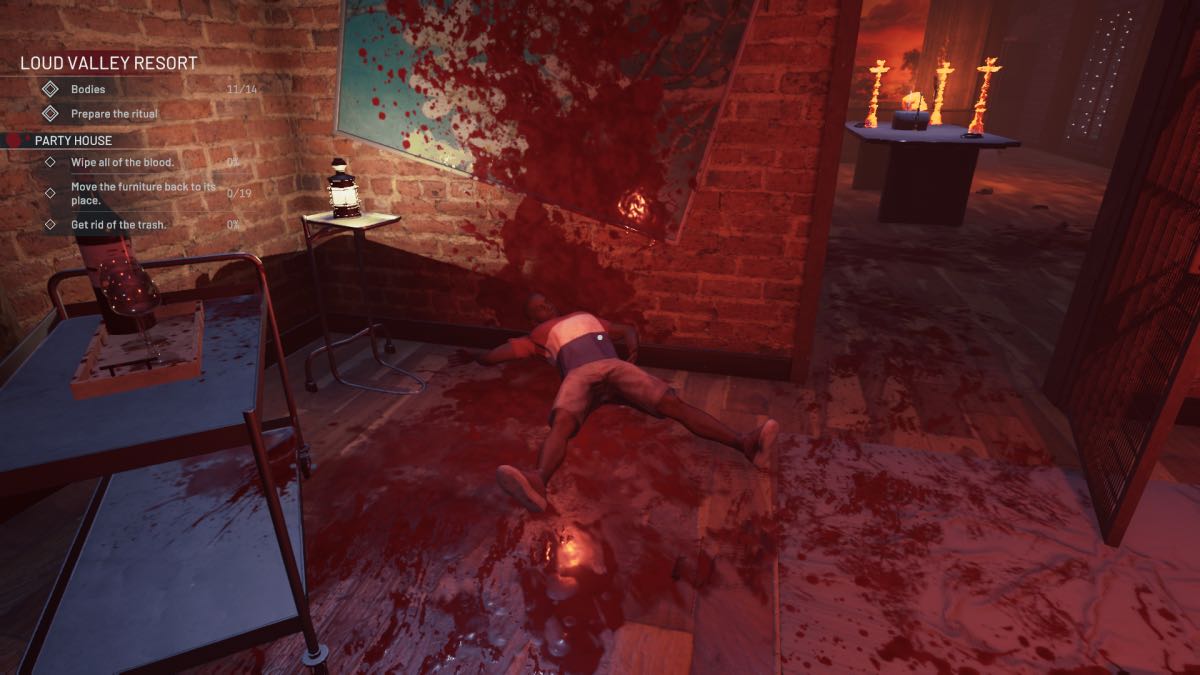
Party’s Over Nightmare
- Get rid of 14 bodies:
- Garden x2
- Porch
- Cabin A x 2
- Cabin B x 3
- Cabin C x 3
- Kitchen
- Bedroom
- Ancient Temple
- Find all evidence:
- Garden
- Porch
- Cabin B
- Cabin C
- Bedroom
- Rearrange the furniture
- Clean the blood
- Remove all trash
- Find the music disk.
- Prepare the Ritual in the Lounge.
Garden and Porch
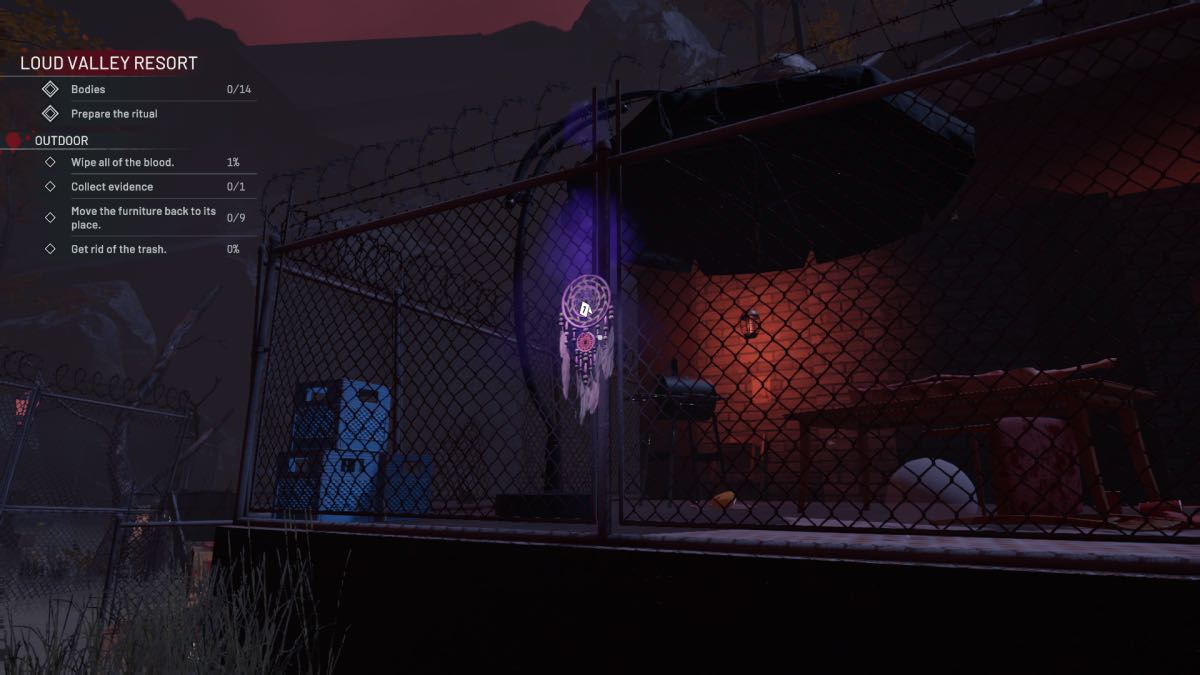
The first thing to do is to find the water point to the left of the Pool. Place one of your buckets there, so you are ready for cleaning. Find the first dreamcatcher evidence on the chainlink fence. Cabin A isn’t accessible yet and requires a key. Go to the first body, situated on a pedestal outside Cabin C, holding a candlestick.
Remove the body but leave the candlestick there to collect later. Behind the location of the first body is a gate in the fence and a passage in the rocks that leads to a secret area. There is a bench with balloons and a key.
Take the key and go back to the locked gate, leading to the cabins.
A second body is on another pedestal behind the chainlink fence to the right. Take the body, but again, leave the candlestick to collect later. Take the chair from near the dumpster to the porch table, and move the metal barrel and put it on the porch, ready to put inside the house.
The porch needs a lot of cleaning and tidying. Find another body in the sunken seating area to the right, and another metal barrel there, which needs to go inside when the house is unlocked.
The chairs are in the garden area, the Pool, and just lying nearby. The cheese wheels are under the table, in the room with the water point, and in the Pool.
Cabin A
The key to this place is on the bench in the secret area behind that first body on the pedestal. There is another secret hidden area behind the cabin—this is where you will find the collectible music disk.
Clean and move the chair from the front of the cabin. Inside is some furniture to clean and rearrange, and a ladder to the top space. Find a body here, and two barrels to take back to the house.
Access the back of the cabin and a body that lies here by going over to Cabin B and heading around the back. Breakable boxes are blocking the way.
Cabin B
Get inside this cabin via the top floor overpass from Cabin A. There is another body on a pedestal nearby to collect, and another candlestick to find. Leave it there until you have unlocked the main house and can put it where it belongs.
Cabin B has a body downstairs in the lounge area, and another in a space behind breakable wooden slats, pinned to the wall with bolts, which you take as evidence.
Cabin C
Gain access to Cabin C from the upstairs of Cabin B. Jump down and crouch to get through the front door. A body is in the lounge area, and another is behind a blocked-off crawlspace.

The third is upstairs, accessed by going outside, finding the ladder on the wall, and jumping across to the platform.
Upstairs contains the body, secured by a bolt, and a dreamcatcher. You can also find a chair and a key to the house on the pillow. Take the chair downstairs.
House
You can start collecting the candlesticks now that you have the key to unlock the house. Place each one on the table in the center of the lounge area.
Place all the metal barrels you found against the back wall. They should be in the following places:
- By the altar.
- The Bedroom.
- The porch area.
- From near Cabin A.
- The garden area.
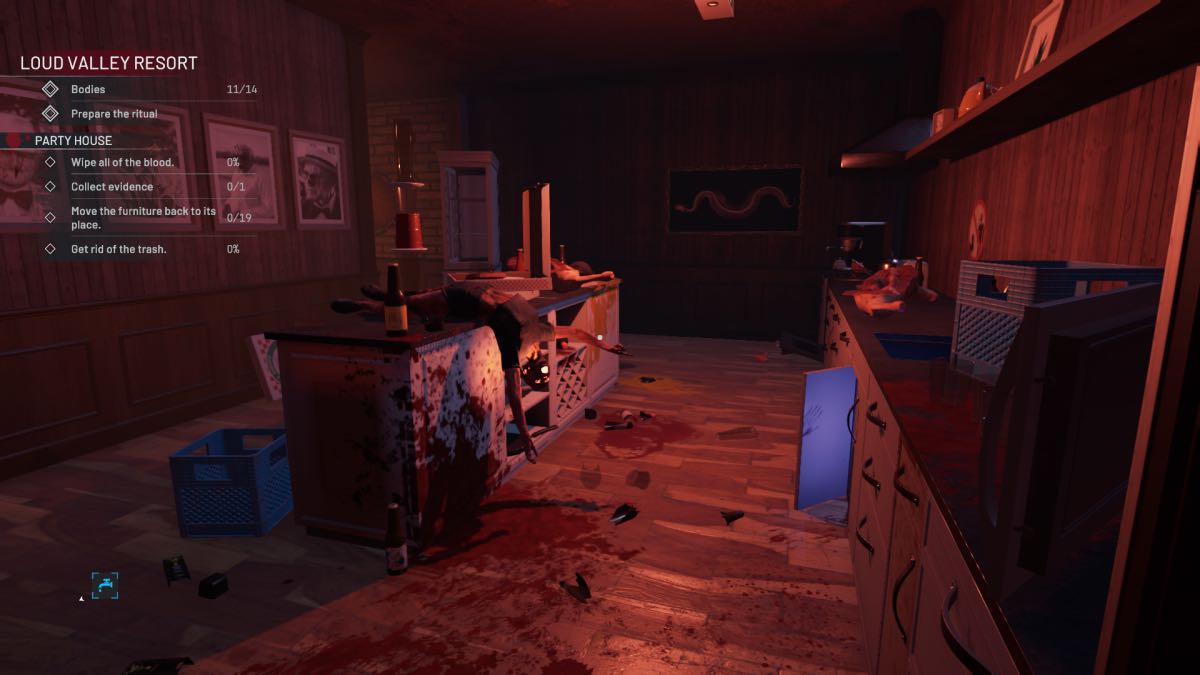
A Bedroom to the left has another body and a dreamcatcher nearby. You can also open the window here to access the truck more easily.
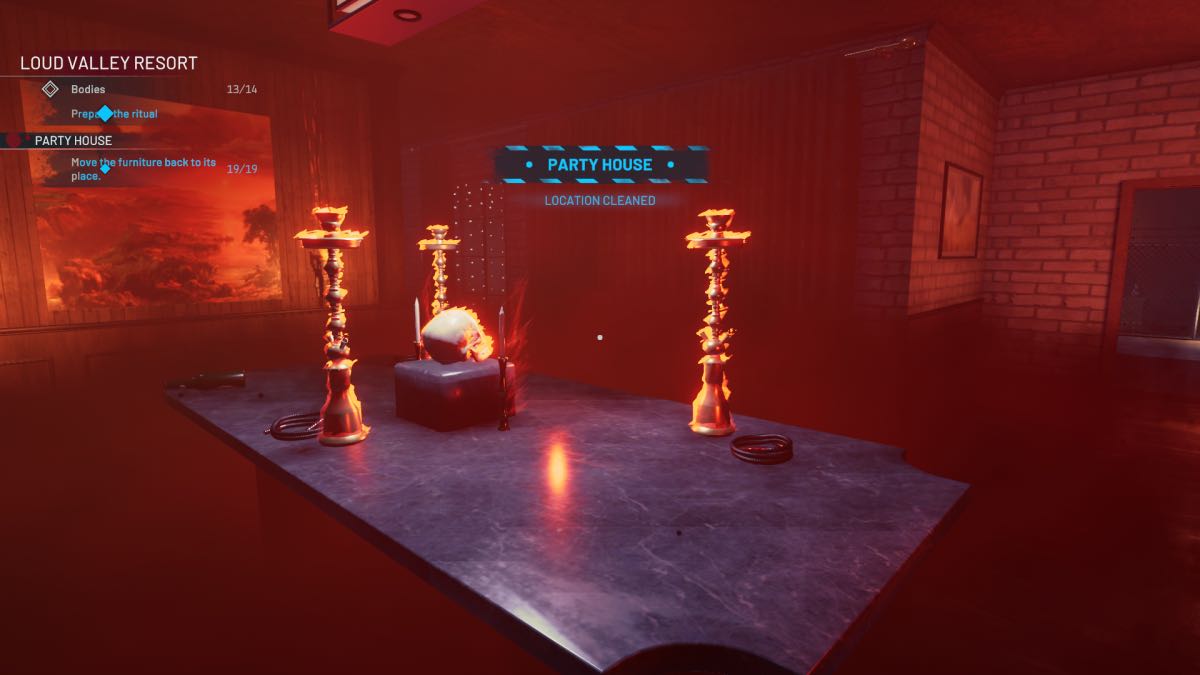
Go to the Kitchen to find another body. There is a skull in the cupboard that should be placed on the table altar in the living area.
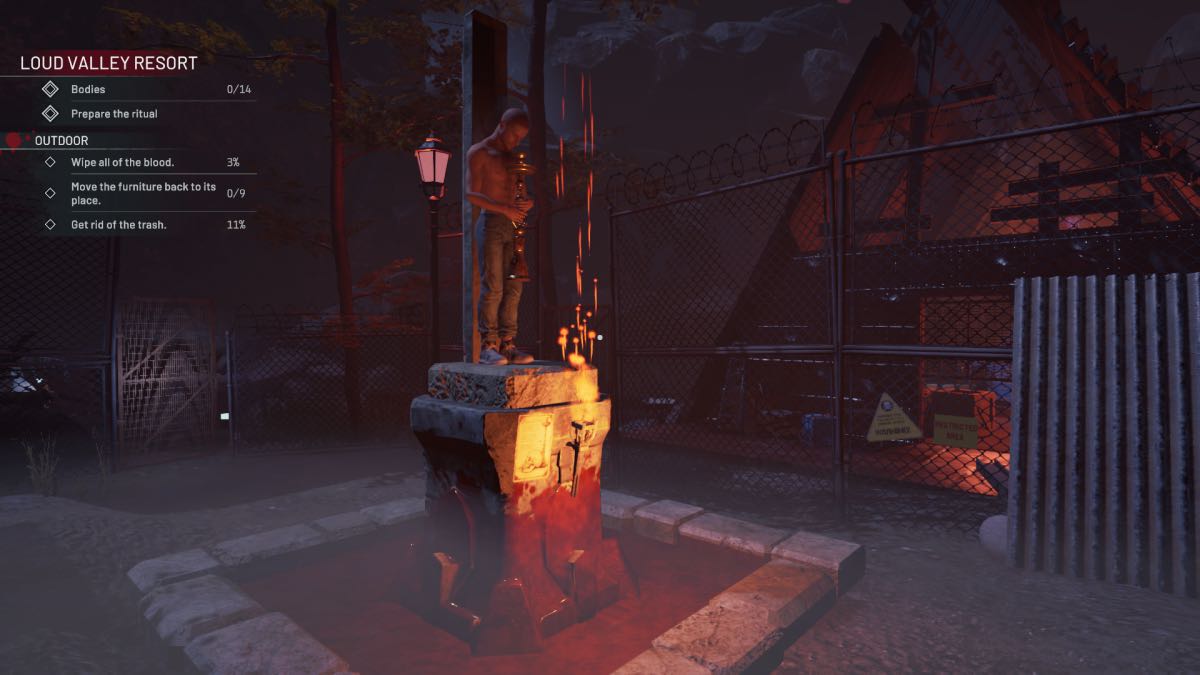
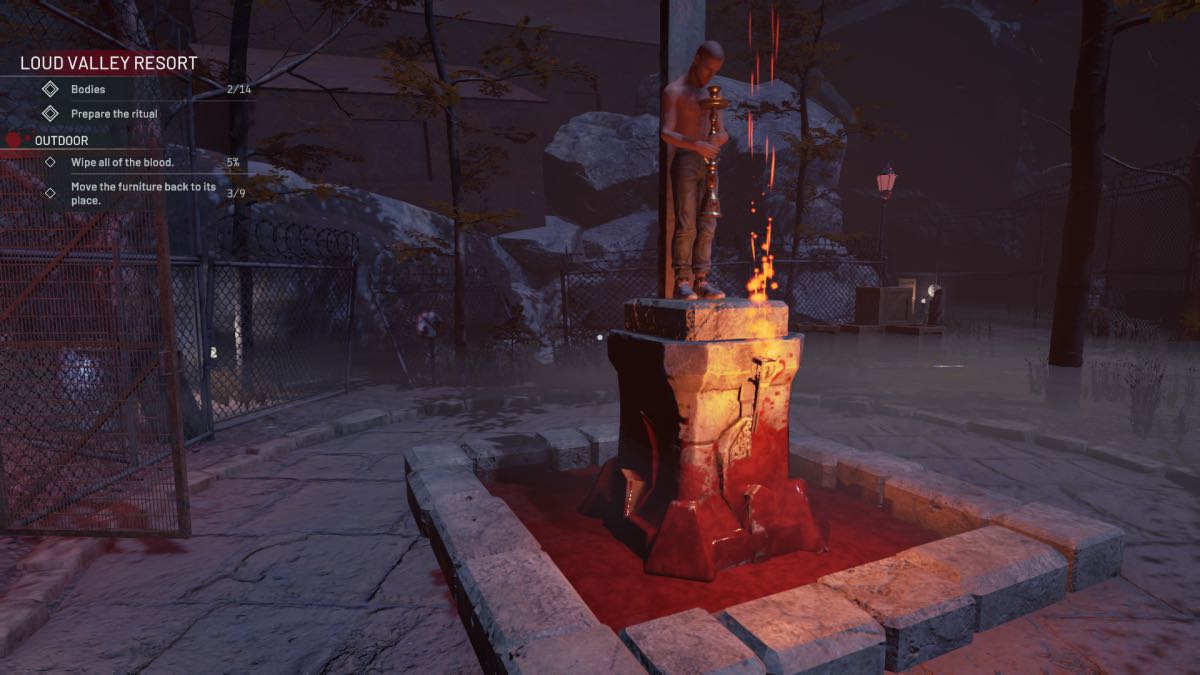
Ancient Temple
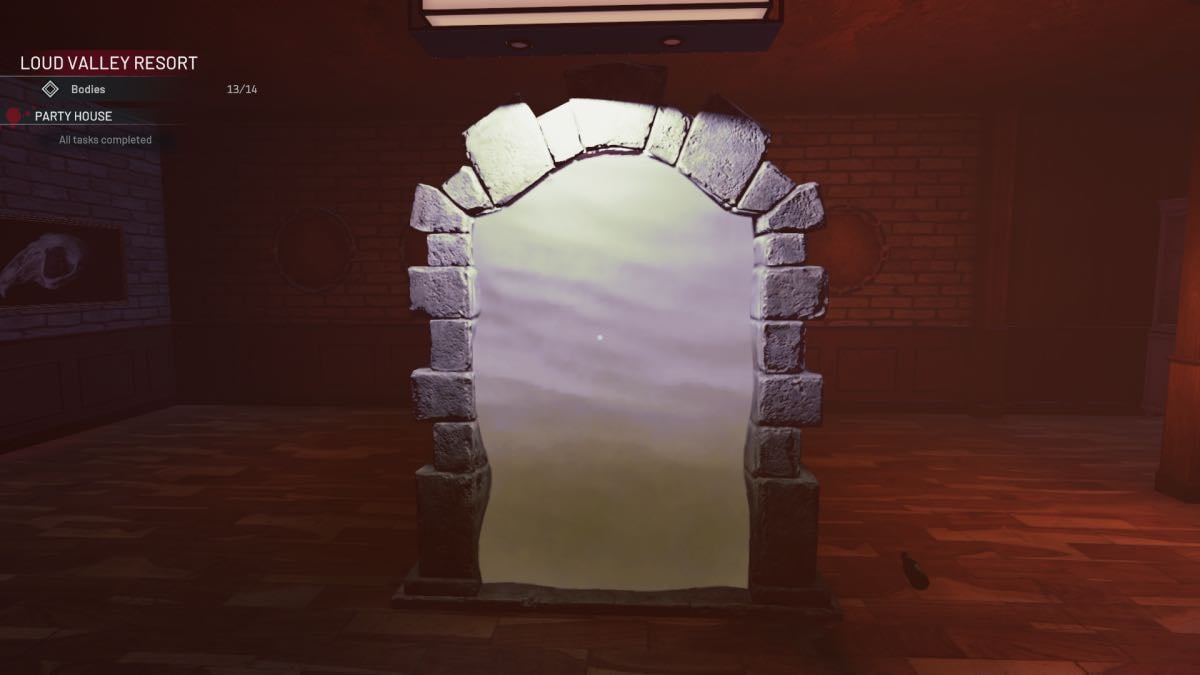
To access the Ancient Temple, you have to perform the ritual by placing the candlesticks and skull on the altar.
Inside, there is a body trapped under a grate. To open the grate, find each of the orbs and place them on the pedestals. A skeleton in the center holds the first orb, and the other two are among the trash by the pedestals.
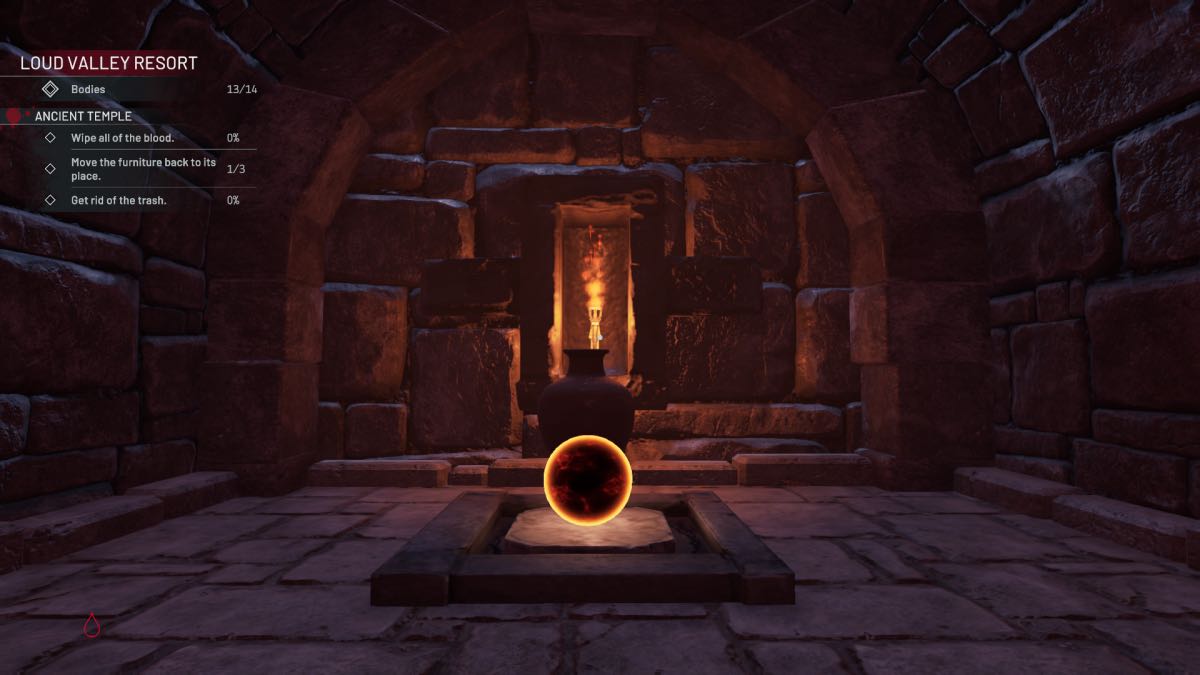
After removing the trash and the body, make sure you clean the blood before leaving.
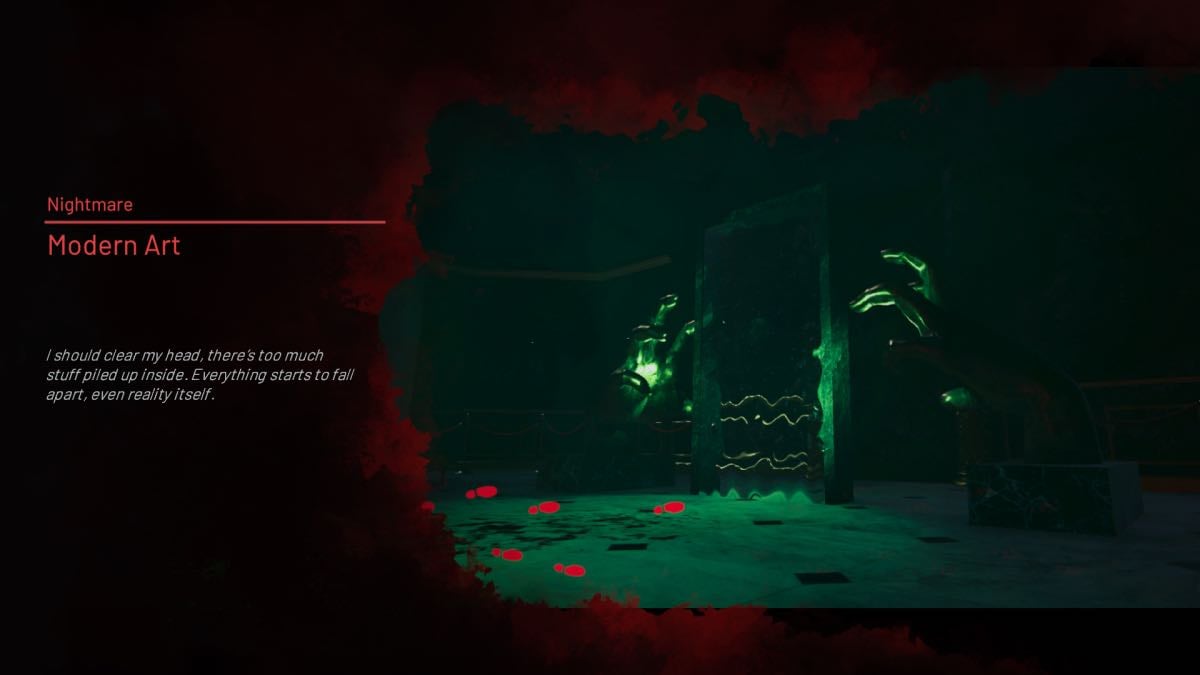
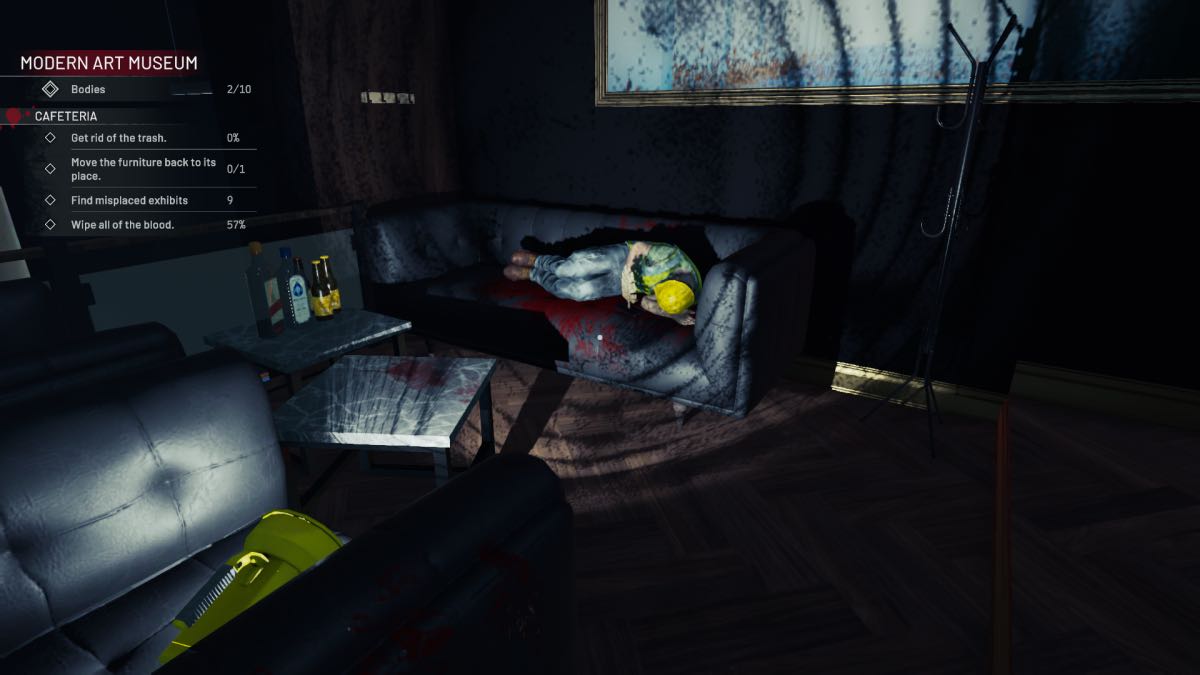
Modern Art Nightmare
- Find 10 bodies:
- Foyer
- Furniture Exhibition
- Cafeteria
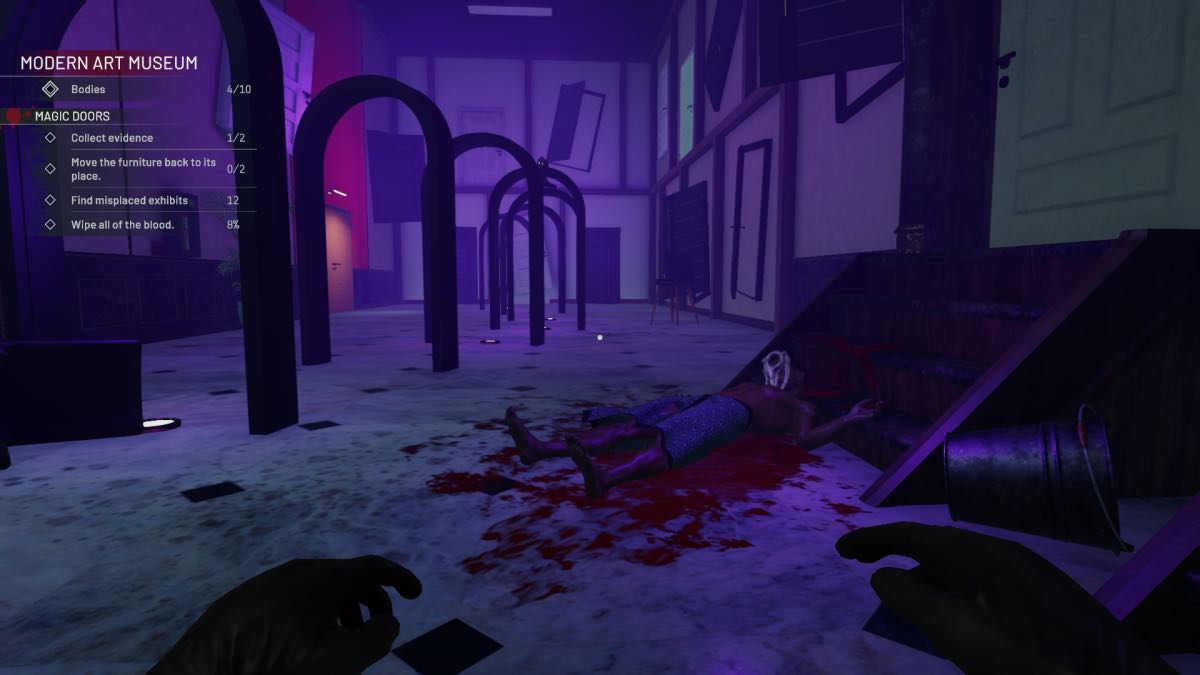
- Magic Doors
- Upper Passage
- Music Exhibition
- Ancient Exhibition
- Sewage Exhibition
- Two in the Ducks Exhibition
- Collect the evidence:
- Foyer
- Furniture Exhibition
- Magic Doors
- Upper Passage
- Sewage Exhibition
- Ducks Exhibition
- Rearrange the furniture
- Clean the blood
- Remove all trash
- Find the music disk.
Foyer
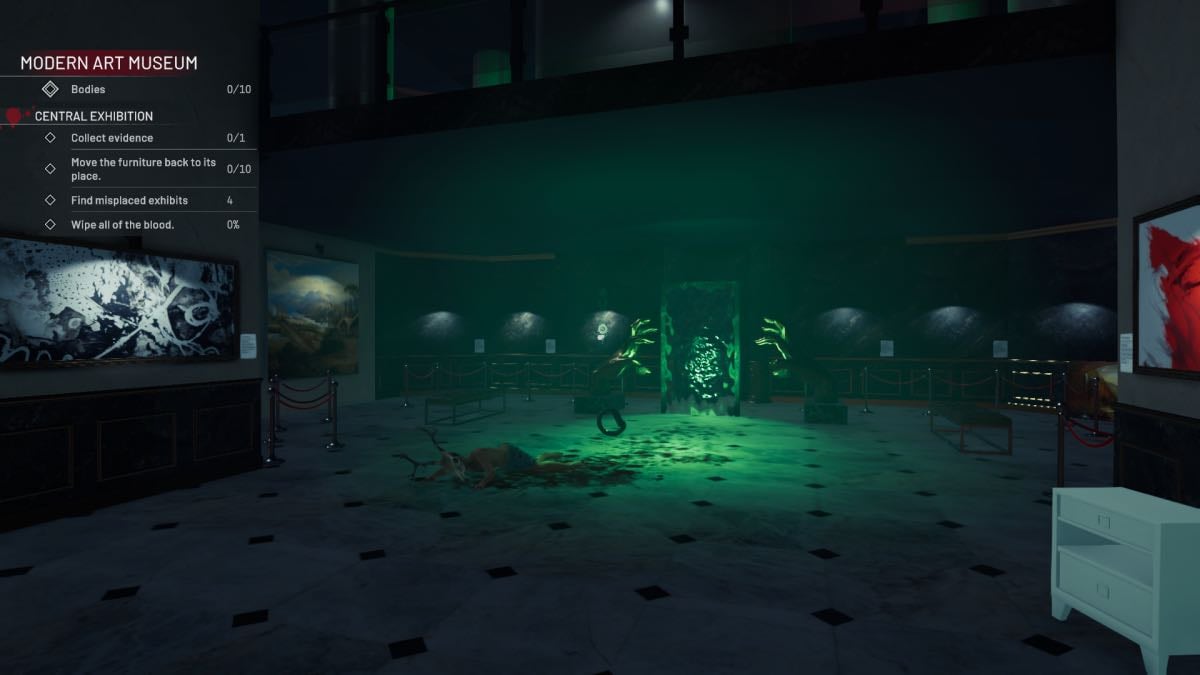
There is a pool of blood and a body to clean up in the center of the room, and a dreamcatcher behind the portal held by two hands. Take the body through the portal where the bin and water point are located.
A round sculpture on the floor needs to go to the Ancient Exhibition area, and a flower painting goes to the Upper Passage (blue portal door). Lastly, a white nightstand needs to go to the Furniture Room (white portal door).
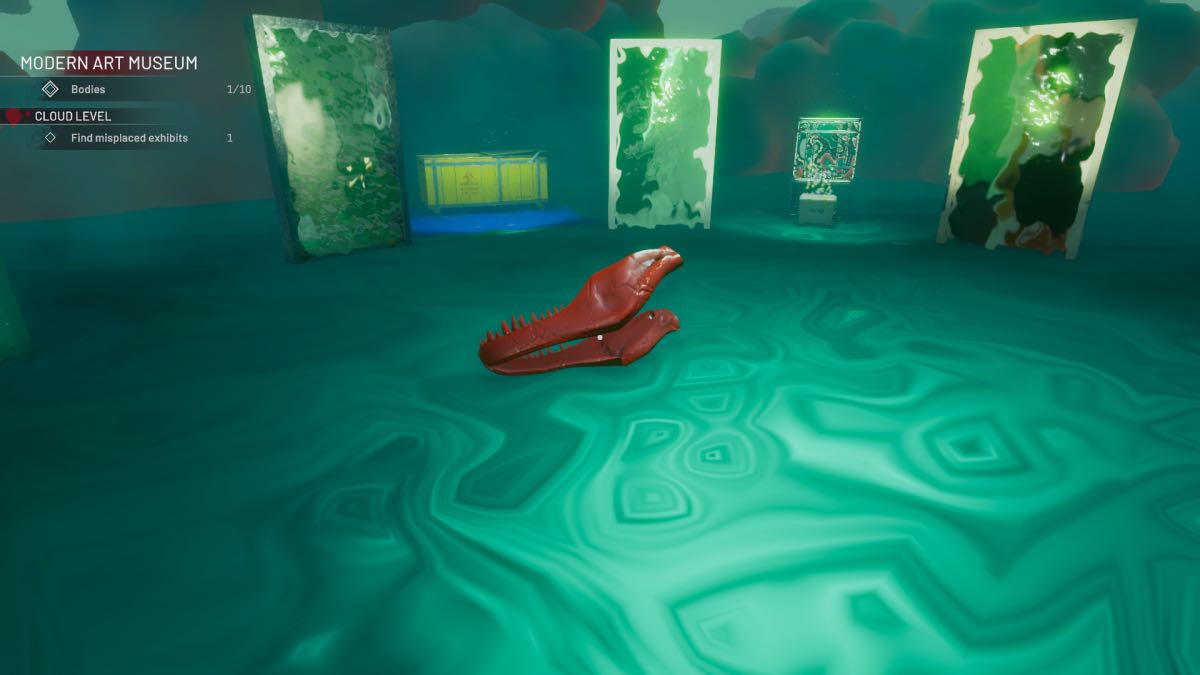
Cloud Level
There are eight portal doors leading to:
- Foyer – Black
- Furniture Exhibition – White
- Cafeteria – Black and White
- Duck Room – Red
- Music Exhibition – Grey
- Upper Passage – Blue
- Sewage Exhibition – Bronze
- Ancient Exhibition – Green
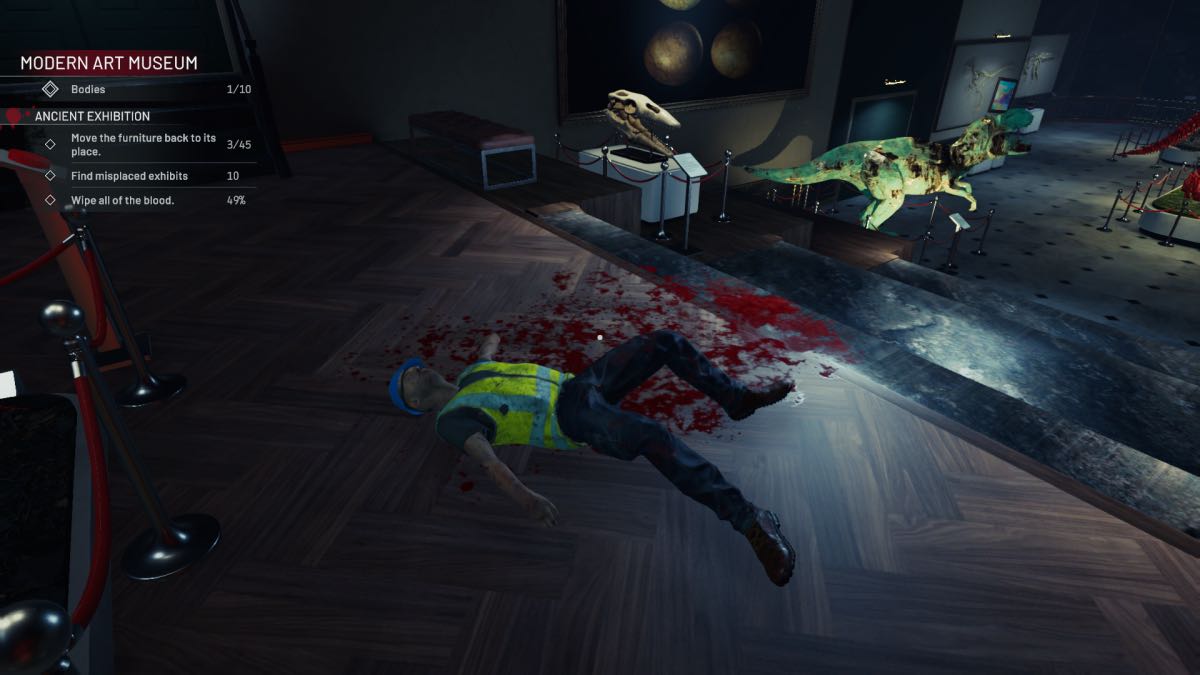
In the portal area is a red dinosaur jaw that needs to go to the Ancient Exhibition (green portal door).
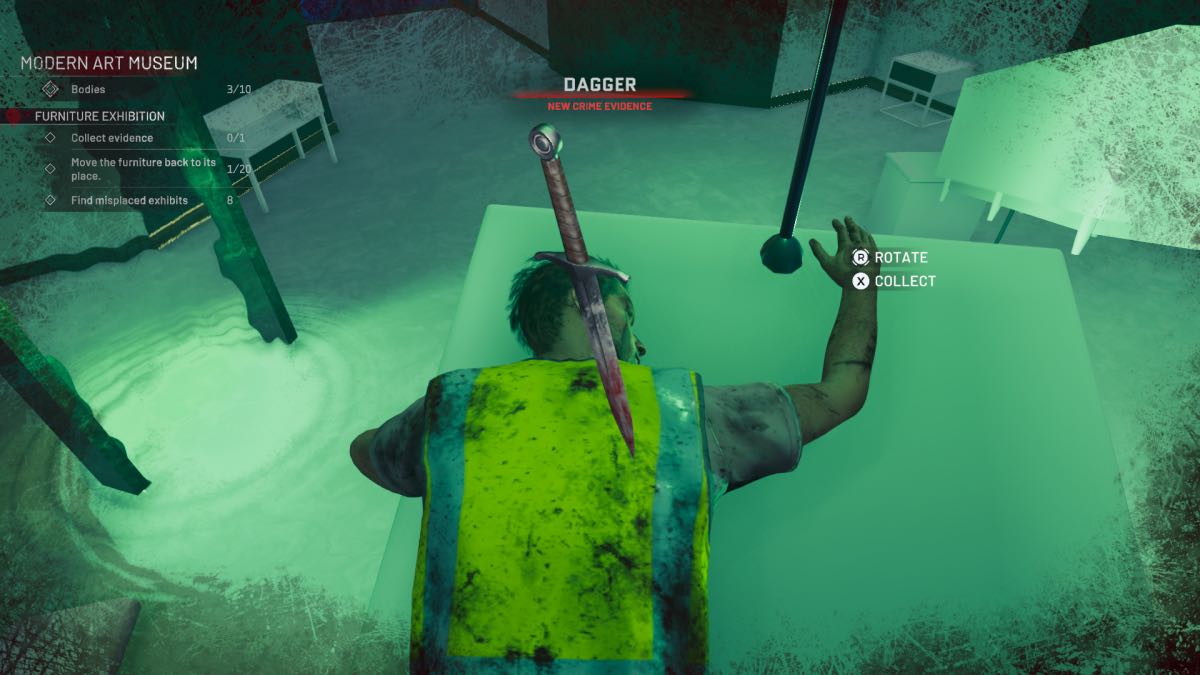
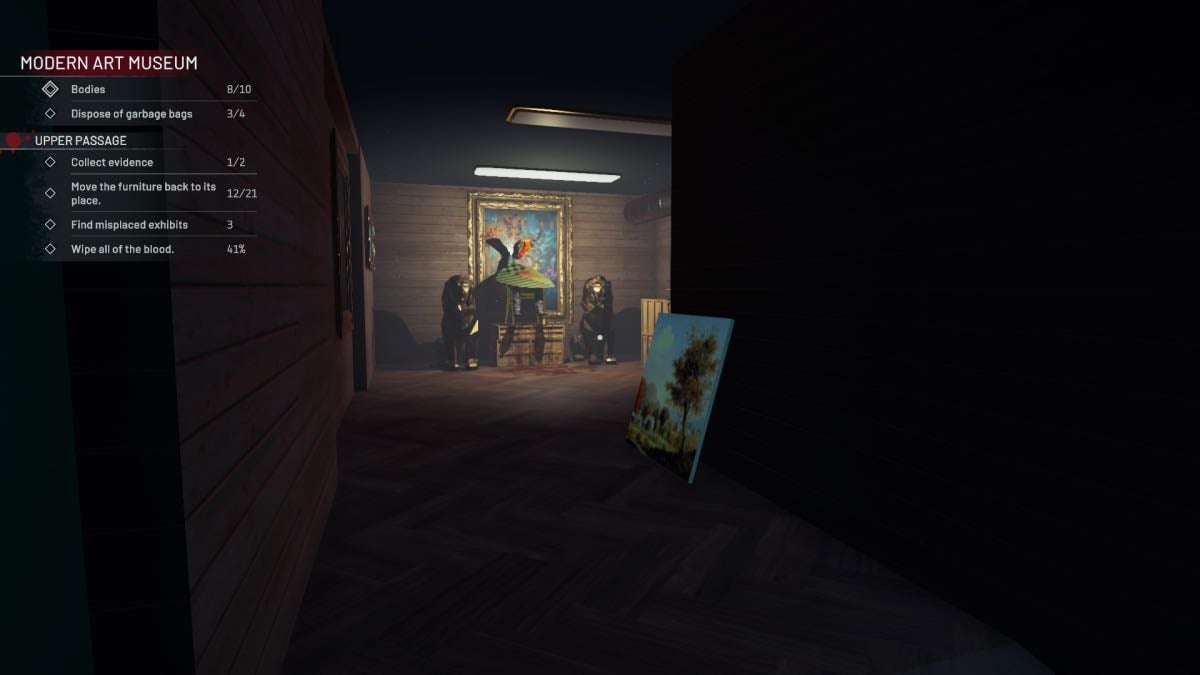
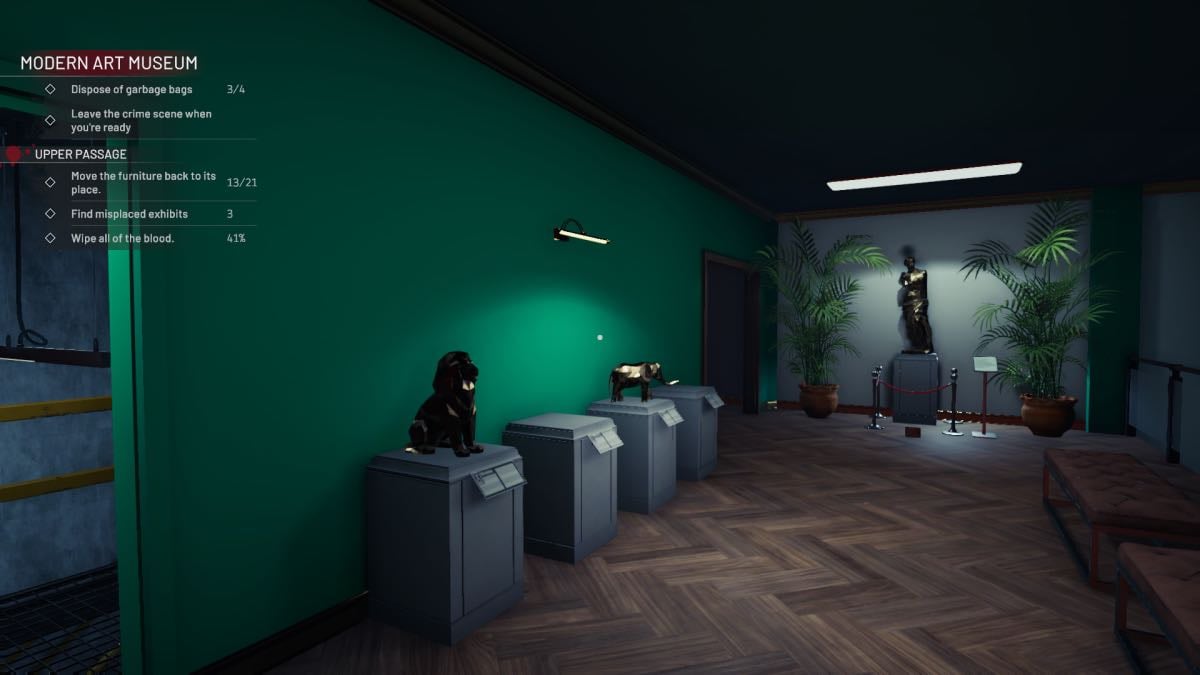
Furniture Exhibition
This room is accessed via the white portal door in the Cloud Level. There are two spaces, one blue and yellow, and the other is white, with various furniture that needs to be returned. There is a flower painting to take to the Ancient Exhibition room, and a mask on a suspended round table to go to the Music Exhibition.
There is a body with a dagger to clear up and a lot of white furniture to find in other areas:
- Nightstand – Foyer
- Wooden Chair – Cafeteria
- Wooden Chair Cushion – On the floor
- Wooden Chair Cushion – Blue Room
- White Chair – Magic Doors Bathroom
- White Chair – Music Exhibition Surveillance Room
- Round Table – Upper Passage
- White Chair – Ancient Exhibition
- White Chair – Sewage Exhibition
- White Chair – Ducks Exhibition
- Round Table – Duck Exhibition
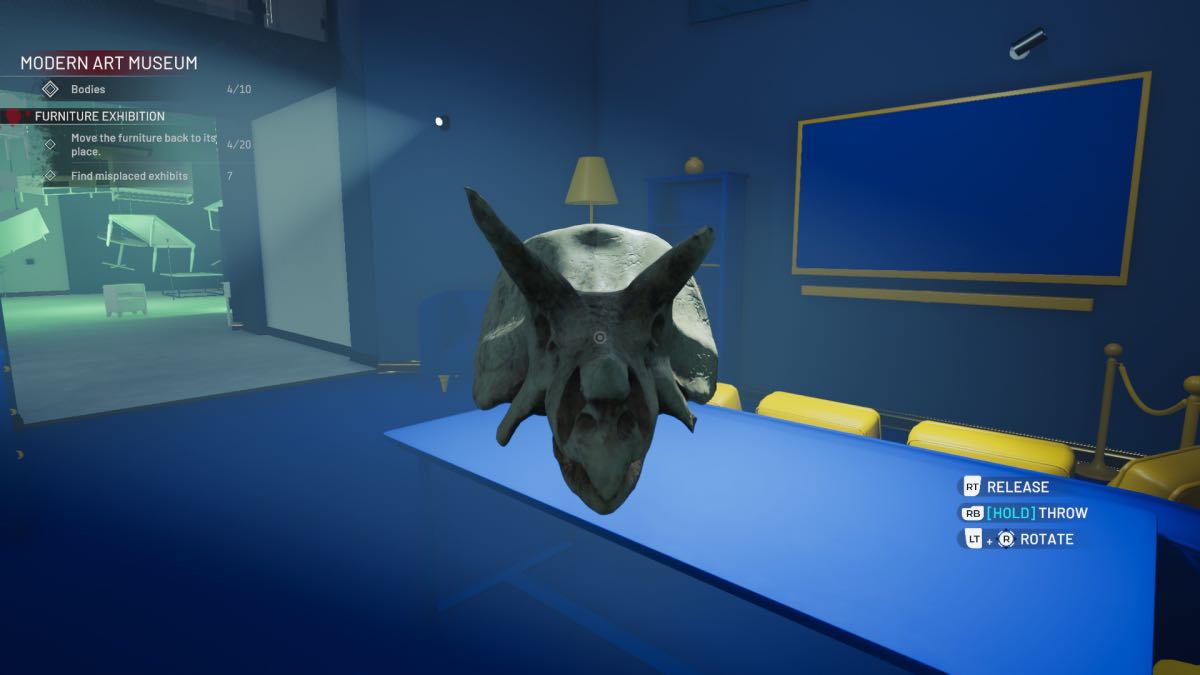
The yellow and blue room has various items to rearrange and take back to other rooms. Take the Triceratops skull to the Ancient Exhibition, the pink and blue painting to the Upper Passage, and the black desk chair to the Music Exhibition. There is a leaf in the Yellow Pot to take to the Ancient Exhibition, a bull statue for the Ancient Exhibition room, and a White Cushion for the Wooden Chair in the next room.
- Yellow Pot – Bathroom sink
- Yellow Chair – upstairs in the Bedroom area
- Yellow Chair – Upper Passage Briefing Room
- Yellow Chair – Ducks Exhibition
- Yellow Gaming Chair – Music Exhibition Surveillance Room
- Round Table – Sewage Exhibition
- Globe – Music Exhibition
Cafeteria
When you go through the black and white portal door in the Cloud Level, you go to the cafeteria and bar area. From here, you can access the Upper Passage and some black seating. A body is on the black sofa upstairs, and a small table needs to be moved into place.
As is the case with all other rooms in this level, there is a bunch of stuff to move to other areas:
- Ammonite – Ancient Exhibition
- Faces Painting – Upper Passage
- Blue/purple Painting – Upper Passage
- Ibex – Upper Passage
- Leaf – Ancient Exhibition
- T-Rex Tail – Ancient Exhibition
- Elephant – Upper Passage
- White Chair – Furniture Exhibition White Room
Magic Doors

You can get to the Magic Doors via the Cafeteria, just at the bottom of the stairs to the Upper Passage. In this area is a body in the middle of the room, and a dreamcatcher on the wall. There is a toy gun on the floor, and a couple of chairs to rearrange.
The rest of the items to take back to other areas are:
- T-Rex Leg Bone – Ancient Exhibition
- Small Statue (in a plant pot by the door) – Ancient Exhibition
- Dino Egg – Ancient Exhibition
- Horse Statue – Upper Passage
- Square Painting – Foyer
- Blue Painting – Upper Passage
- The Thinker Statue (toilets) – Ancient Exhibition
- Long Fish Skeleton (toilets) – Ancient Exhibition
- White Chair (toilets) – Furniture Room
- Hands Statue – Ancient Exhibition
Upper Passage
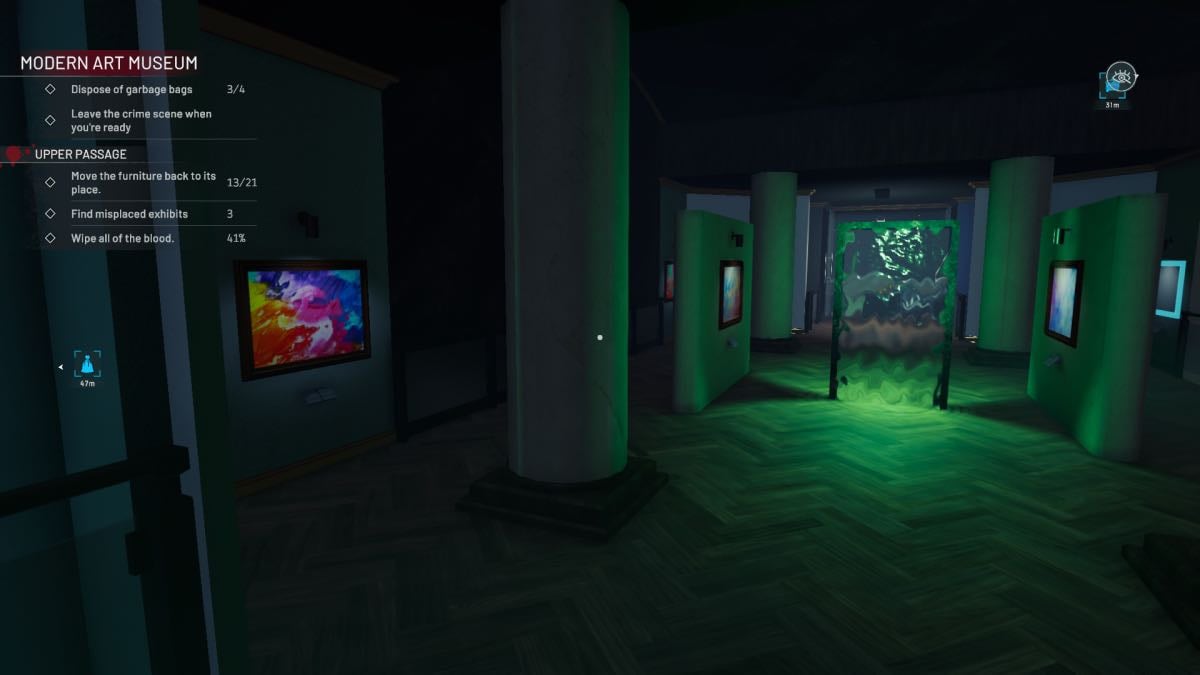
This area is upstairs from the Cafeteria, accessed via the Music Exhibition Surveillance Room, or through the blue portal door in the Cloud Level.
From here, you can throw down any item to its relevant space if you need to, such as white or yellow furniture to the Furniture Exhibition. It is split into three sections: Colorful Paintings, Briefing Room, and Animal Sculptures.
All of the paintings in this area are rectangular, while the ones downstairs in the Foyer are square. This can be helpful to remember.
Briefing Room
A door leading off from the Upper Passage is the Briefing Room, where you can find items to return to other spaces, a body to dispose of, and a shield as evidence. The items are a Yellow Chair belonging to the Furniture Exhibition and a T-Rex Bone belonging to the Ancient Exhibition. There is also a painting to return to a space among the colorful art in the Upper Passage, and another to take to the Foyer.
Colorful Paintings
In the Upper Passage Colorful Paintings area, there are a lot of paintings to find and place in the spaces on the walls:
- Colorful Painting – Briefing Room
- Colorful Painting – on the floor in the Upper Passage
- Colorful Painting – Ancient Exhibition
- Floral Painting – Foyer
- Colorful Faces Painting – Cafeteria
- Colorful Painting – Cafeteria
- Blue Painting – Magic Doors
- Colorful Painting – Furniture Exhibition Blue Room
- Colorful Painting – Ancient Exhibition Statues Room
- Colorful Painting – Sewage Exhibition
- Colorful Painting – Ducks Exhibition
Return the rest of the items to their correct areas:
- Dinosaur Skull – Ancient Exhibition
- Snail – Ancient Exhibition
- Square Paintings x 2 – Foyer
- T-Rex Toe Bone – Ancient Exhibition
Animal Sculptures
Find a dreamcatcher on the green wall close to the Briefing Room. Track down the paintings and animal sculptures:
- Framed Painting – Animal Sculpture wall
- Framed Painting – Music Exhibition Surveillance Room
- Framed Painting – Music Exhibition
- Framed Painting – White Furniture Room
- Framed Painting – Ancient Exhibition Statues
- Elephant – Cafeteria
- Horse – Magic Doors
- Ibex – Cafeteria
- Lion – Music Exhibition
A bunch of stuff needs to go back to their proper areas:
- T-Rex Tail – Ancient Exhibition
- Bust Statue – Ancient Exhibition
- White Round Table – Furniture Exhibition
- Round Sculpture – Ancient Exhibition
Music Exhibition
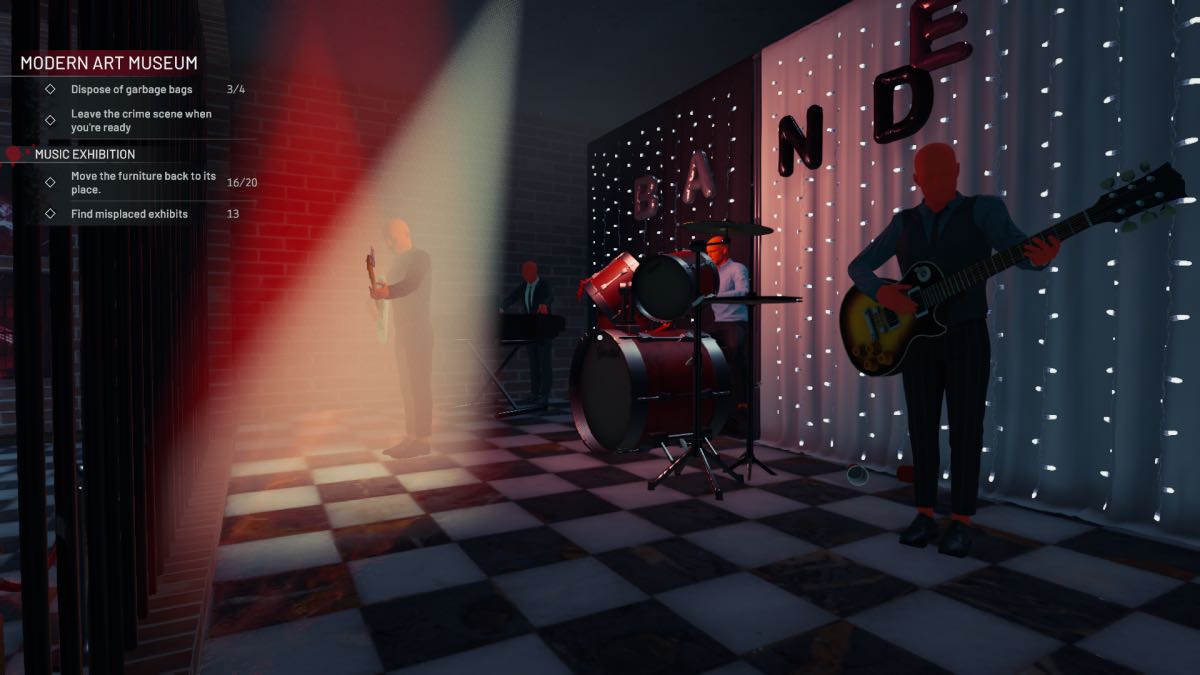
This area consists of the main Cassette Room and stage, the Surveillance Room behind, and a backstage exhibition with a portal to the Cloud Level. As usual, there is a lot of pieces to rearrange and return to their proper place.
In the main Cassette Room, there are four stands to move back into place, and two benches to slide back into their spaces. The stage’s mannequins need putting back in place, and some of their instruments are missing:
- Guitar – by the portal
- Cymbal – in the corner
- Drum – backstage exhibition room
- Cymbal – Ancient Exhibition
- Cymbal – Surveillance Room
- Guitar – Ancient Exhibition
There is also a lot of furniture and art to go to other areas:
- Square paintings x 2 – Foyer
- Circular sculpture – Ancient Exhibition
- Dinosaur Skull – Ancient Exhibition
- Metal Framed Art – Upper Passage
- Lion Statue – Upper Passage
- Dinosaur arm bone – Ancient Exhibition
- Yellow Globe – Furniture Exhibition
Surveillance Room
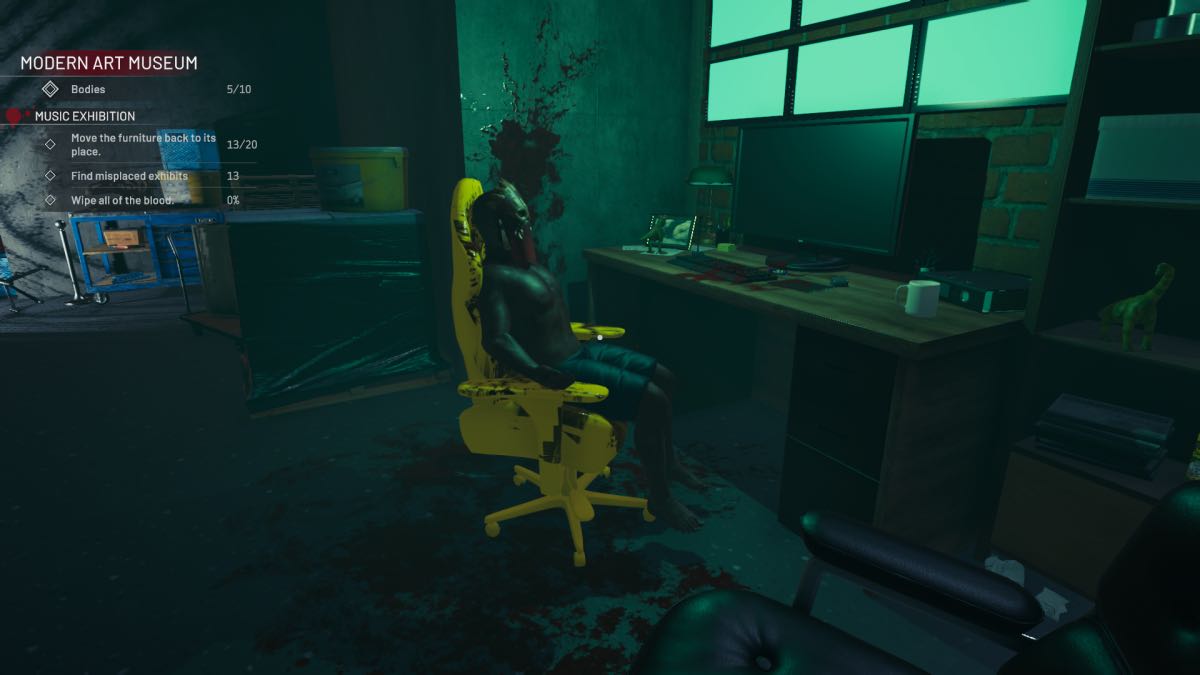
There is a body in the Surveillance Room backstage, and a yellow computer chair to clean. Two items are missing from this area: a black computer chair, found in the yellow Furniture Exhibition room, and a folding chair. to simply rearrange here.
The stairs lead to the Upper Passage, but the door is locked and can be opened from the other side.
Various furniture and art should be returned to the rightful rooms:
- Yellow Computer Chair – Furniture Exhibition
- Circular Sculpture – Ancient Exhibition
- Metal Frame Art – Upper Passage
- Dinosaur Skull – Ancient Exhibition
- White Chair – Furniture Exhibition
- Cymbal – Music Exhibition stage
Backstage Music Exhibition
This room is accessed off the Surveillance Room space. It has a portal leading to the Cloud Level but can’t be accessed there. Two masks are missing, but they can be found in the Furniture Exhibition white room and in the Duck Exhibition. Other items need to be moved back to their proper spaces:
- Drum – Music stage
- Square painting – Foyer
- Spiky Sculpture – Ancient Exhibition
- Dinosaur Skull – Ancient Exhibition
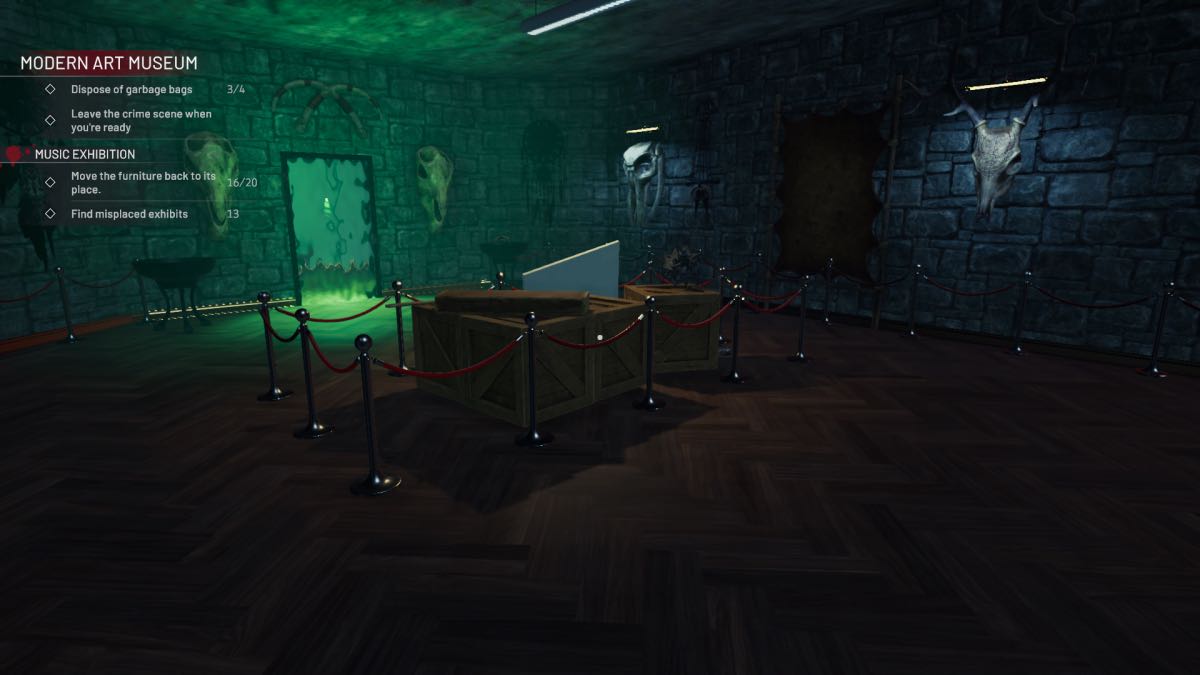
Ancient Exhibition
The Ancient Exhibition can be accessed via the green portal in the Cloud Level or the Upper Passage by hopping over the balcony. Once inside the Sewer Exhibition, you can easily open the doors to this area and go between the two.
The portal leads to the statues section, and from there, you open the doors to the dinosaur section, where a body is on the steps. Many of the items around the museum need to be moved back to both of these areas, so we have separated them into two, starting with the Statues.
Statues
First up, the items that need returning to other rooms:
- T-Rex Shoulder – Dinosaur room
- Red Painting – Music Exhibition
- Yellow Chair – Furniture Exhibition
- Metal Frame Painting – Upper Passage
- Dinosaur Skull – Dinosaur room
Now, every item found around the museum that should be returned to the Statues:
- Pharaoh bust – on the floor near the pedestal
- Horus – Ancient Exhibition Dinosaurs
- Nefertiti – Ducks Exhibition
- Round Sculpture – Music Exhibition Surveillance room
- Round Sculpture – Sewage Exhibition
- Round Sculpture – Ancient Exhibition Dinosaurs
- Round Sculpture – Upper Passage
- Bust – Magic Doors
- Bust – Upper Passage
- Bust – Sewage Exhibition
- Circle Sculpture – Ducks Exhibition
- Hands – Magic Doors
- Angel – Cafeteria
- Thinker – Magic Doors
- Spiked Circle Sculpture – Backstage Exhibition room
- Wavy Circle Sculpture – Music Exhibition cassette room
Dinosaurs
There is a body lying on the steps and two sets of double doors leading to other areas, accessed from the other side. Let’s start with the items lying around here that belong elsewhere:
- Square painting on the steps – Foyer
- Colorful Art x 2 – Upper Passage
- Cymbal – Music Exhibition
- Guitar (by the T-Rex) – Music Exhibition
- Round Sculpture – Ancient Exhibition
- White Chair – Furniture Exhibition
- Horus – Statues
- Colorful Painting – Upper Passage
Now, the list of everything that needs to be found around the museum:
- T-Rex Leg Bone – by the velociraptor
- Egg – by the velociraptor
- Long Leaf – on the pedestal nearby
- Leaf – Furniture Exhibition
- Leaf – Cafeteria
- Dinosaur Jaw Bone – Cloud Level
- T-Rex Arm Bone – Music Exhibition
- T-Rex Leg Bone – Magic Doors
- T-Rex Shoulder Bone – Statues room
- T-Rex Tail Bone – Cafeteria
- T-Rex Tail Bone – Upper Passage
- T-Rex Toe Bone – Upper Passage
- T-Rex Toe Bone – Ducks Exhibition
- Fish Skeleton – Furniture Exhibition
- Seahorse – Foyer
- Long Fish – Magic Doors
- Ammonite – Cafeteria
- Snail – Upper Passage
- Dinosaur Skull – Statues
- Dinosaur Skull – Backstage Music room
- Dinosaur Skull – Music Exhibition
- Dinosaur Skull – Music Exhibition Surveillance
- Dinosaur Skull – Upper Passage
Sewage Exhibition
You can find this space via the bronze portal at the Cloud Level. You need to set a set of TVs to green, and access the body in the space behind the door.
As you enter through the portal, turn to face directly behind you to see a white table and a dreamcatcher. Some double doors are nearby to get to the dinosaur section of the Ancient Exhibition. Check all around the area for the rest of the items to return to other spaces:
- Colorful painting – Upper Passage
- Bust – Ancient Exhibition
- Yellow Table – Furniture Exhibition
- White Chair – Furniture Exhibition
- Round Sculpture – Ancient Exhibition
- Round Sculpture – Ancient Exhibition
- Dinosaur Egg – Ancient Exhibition
Ducks Exhibition
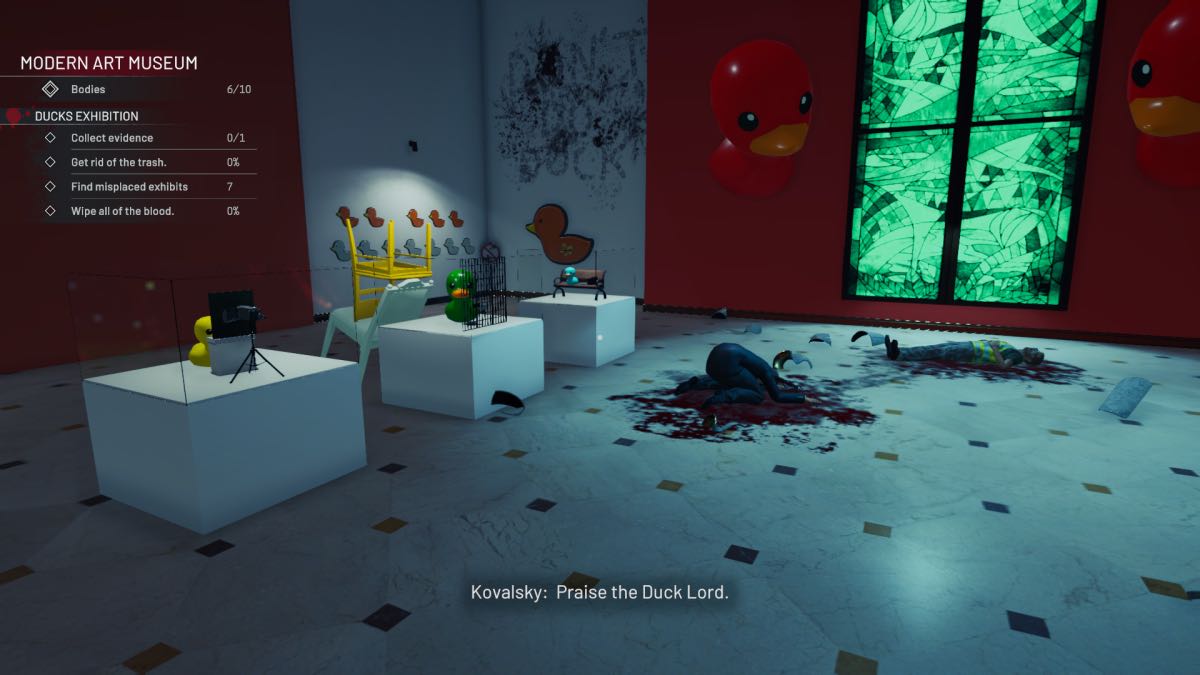
Gain access to this space via the red portal in the Cloud Level. There are two bodies to pick up, with a dagger hidden under one. Before moving items around, head up the stairs and go through the red door. Towards the end of the corridor is a hidden door with the secret music disc inside.
Finally, find and return the items to finish this chapter:
- Colorful Painting – Upper Passage
- T-Rex Toe Bone – Ancient Exhibition
- Yellow Chair – Furniture Exhibition
- White Chair – Furniture Exhibition
- Nefertiti – Ancient Exhibition
- White Round Table – Furniture Exhibition
- Square Painting – Foyer
- Mask – Backstage Exhibition Room
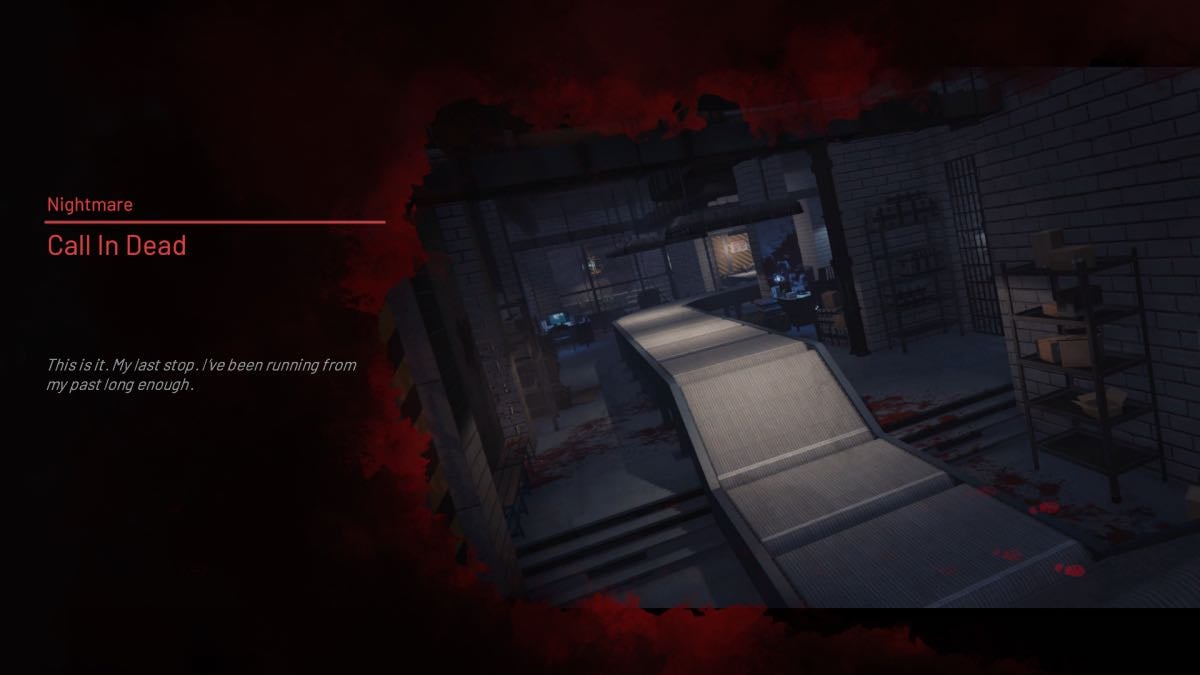
Call In Dead Nightmare
- Find 13 bodies:
- Underground Parking
- Hall 01
- Hall 02
- Hall 03
- Hall 03
- Hall 04
- Hall 05
- Hall 06
- Collect the evidence:
- Hall 01
- Hall 02
- Hall 03
- Hall 04
- Hall 05
- Hall 06
- Rearrange the furniture
- Clean the blood
- Remove all trash
- Find the music disk.
Underground Parking
The Underground Parking area has just a large truck with a body inside, and a lot of blood to clean up. There is a staircase that takes you up to the main section.
Hall 01
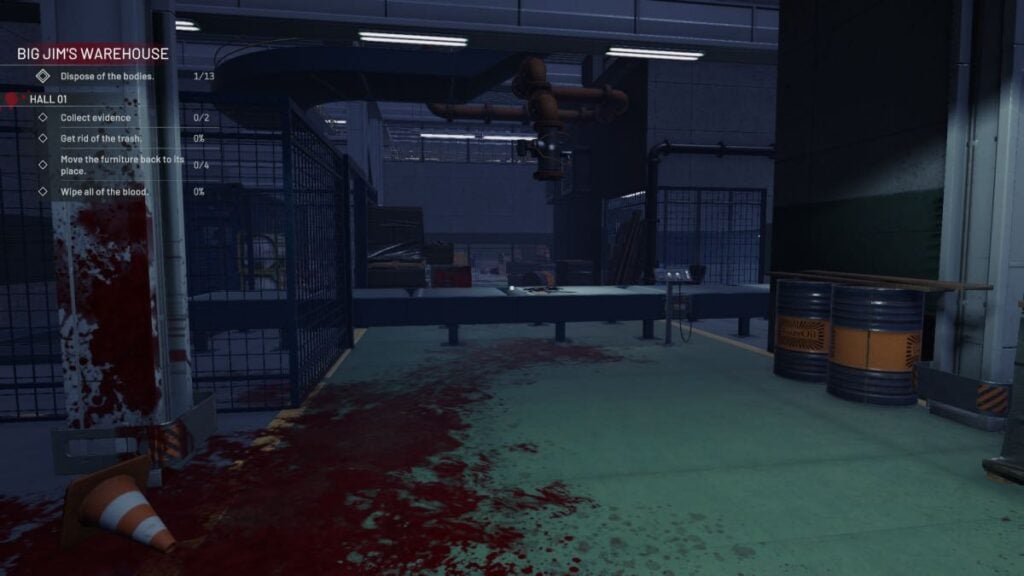
You access this hall via the Underground Parking. There is a conveyor belt that leads to a hole in the floor. That is where you will drop all of the bags of trash and bodies you find.
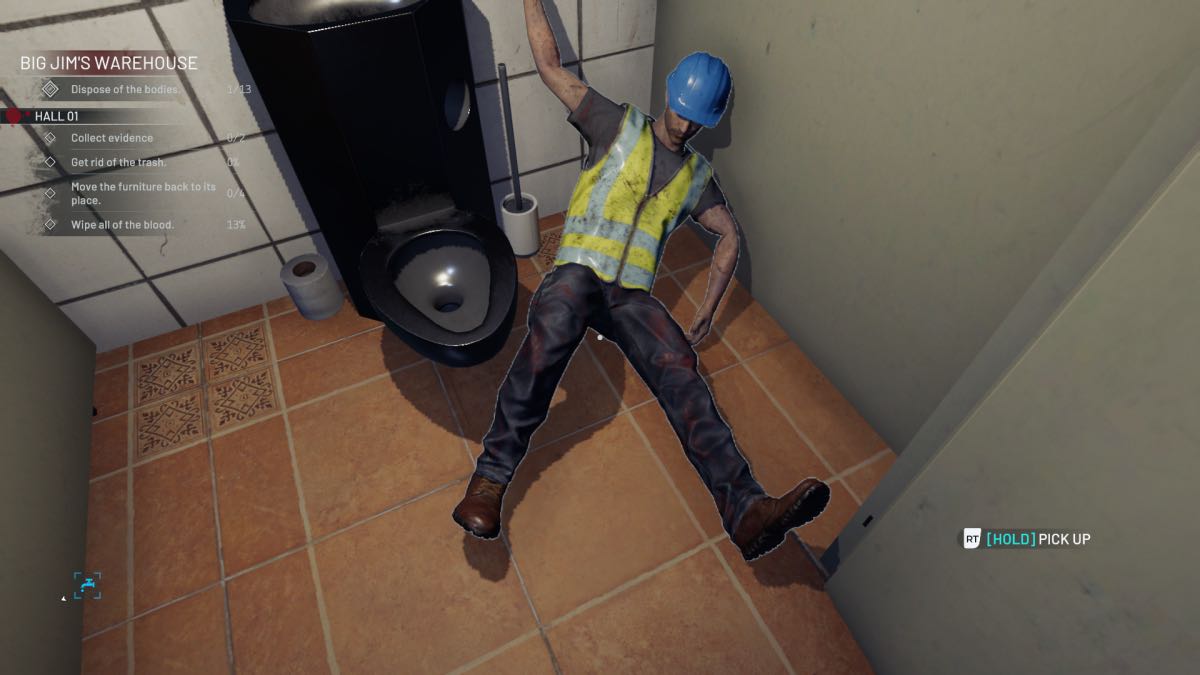
On the left is a set of stairs that leads to the water point in the toilets. There is a body in the toilet to take away.
If you go straight ahead from the Hall 01 entrance, you will find the generator room, and on the right is a closed conveyor belt door and a blocked-off Office.
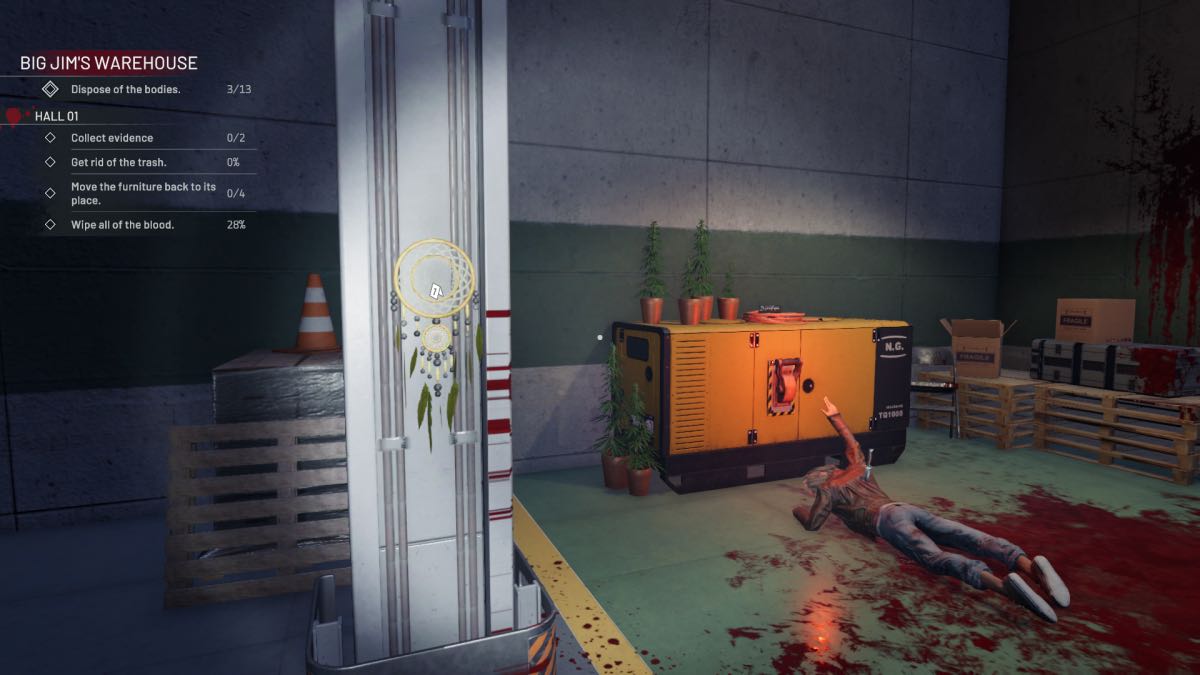
In Hall 01, you will find a body hidden to the left. There is another body and a knife by the generator with a dreamcatcher on the pillar nearby. Turn on the generator to get into Hall 02.
Hall 02
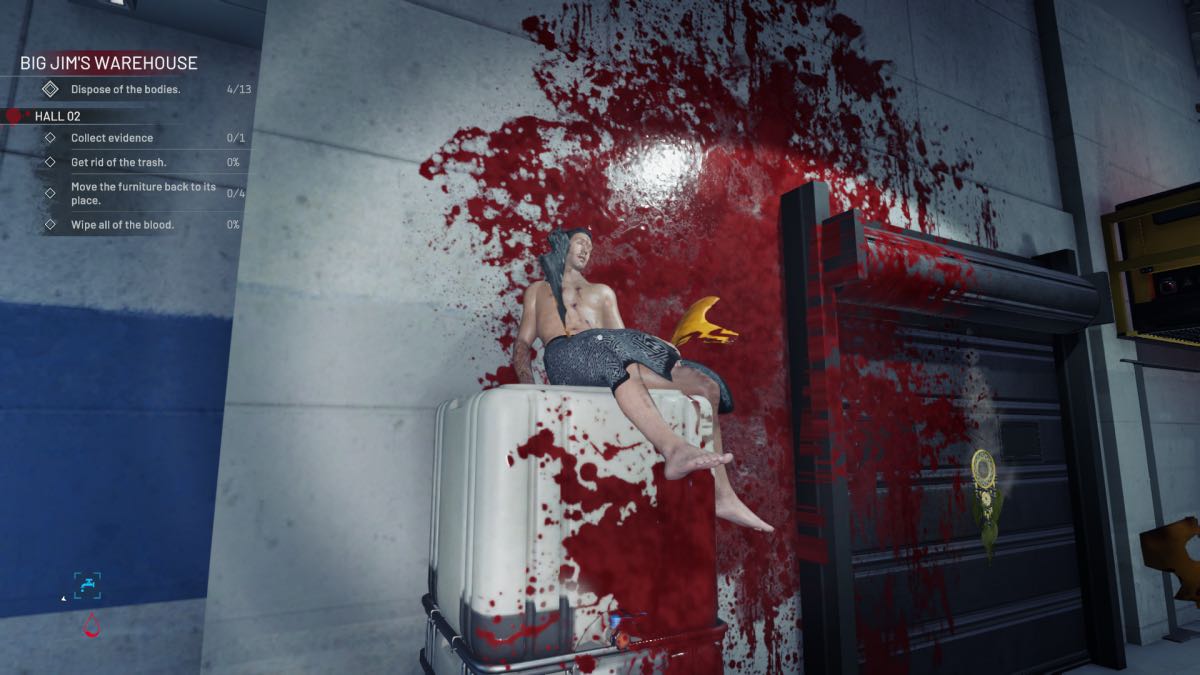
Go through to Hall 02 via the conveyor belt door, and see another locked door. There are two bodies ahead, one impaled by some sharp objects that you have to remove first, and the other hanging from the railing above to the right. There is also a dreamcatcher in the center of the wall.
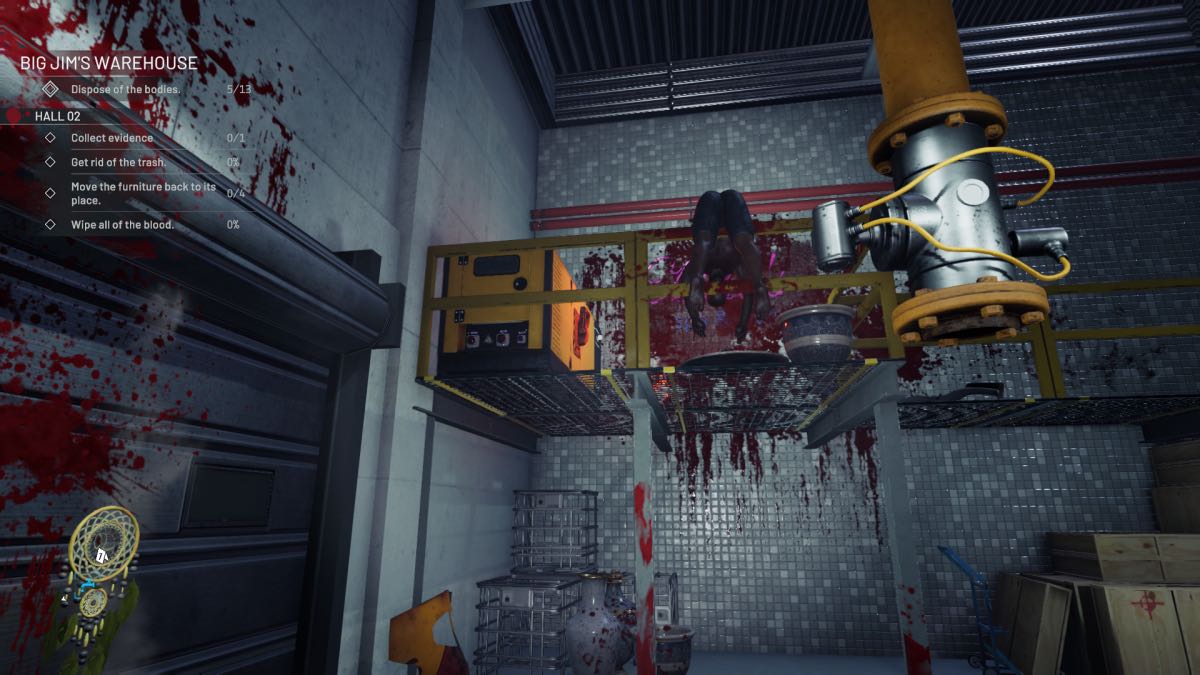
Go to the Arms truck you saw as you entered Hall 02. Behind it is a ladder up to the platform. Climb up to find a crawlspace, then crouch and drop down to the room below. Find the power button to open the door and see that the platform has extended above you.
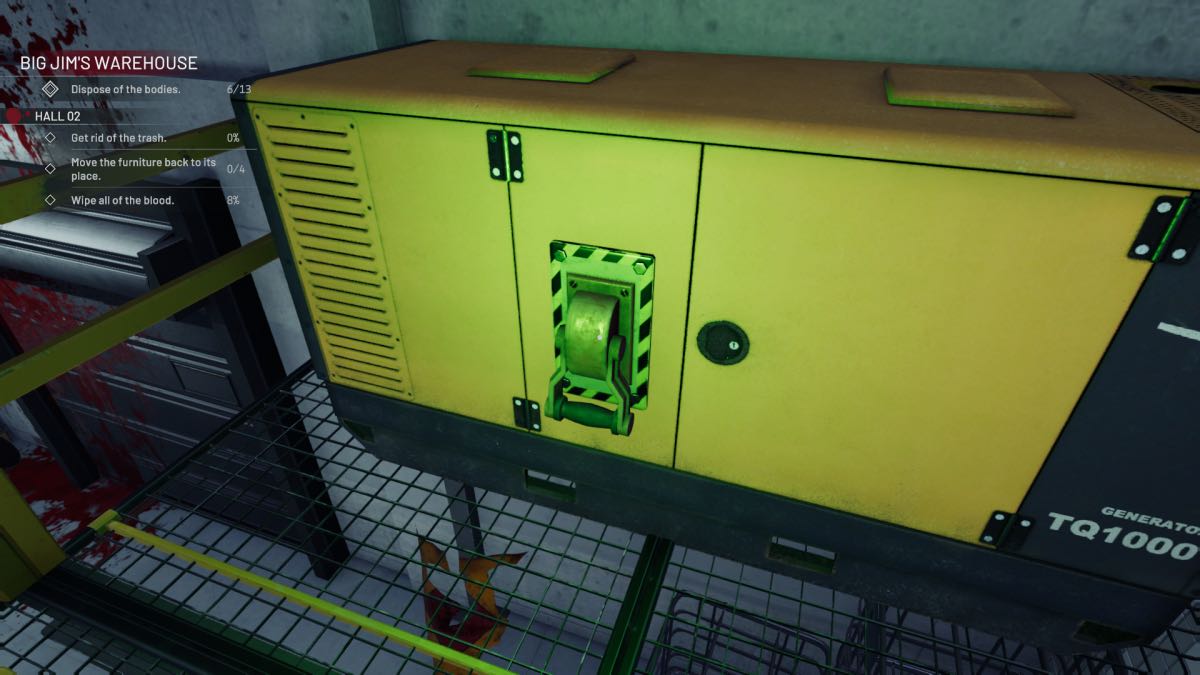
Go back up the ladder and across the platform to where the body was hanging. There, you will find another generator. Switch it on and the next conveyor door will open, giving you access to the Office.
Office
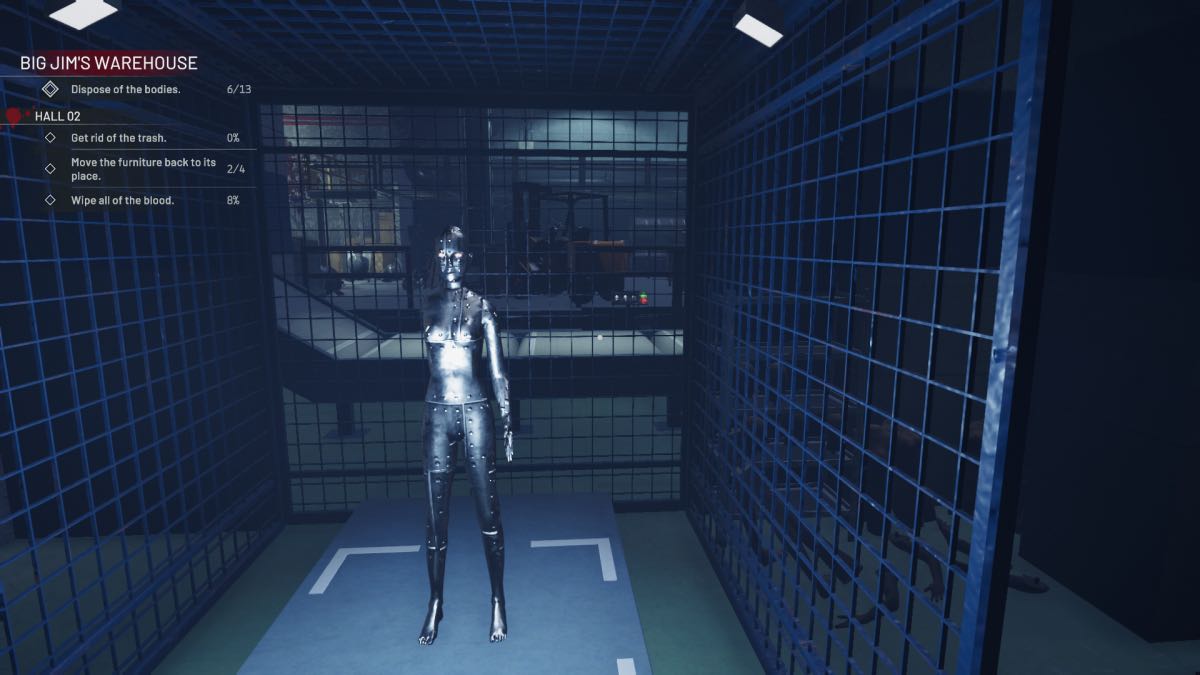
As you go through the conveyor door, don’t continue up yet; go to the left to find the Office. Here is some blood to clear up, and a metal mannequin that is classed as furniture; you will have to find all its pieces.
- Metal Arm – Office desk
- Gun – Office trolley
- Head – Office shelves to the right
- Red Arm – On the floor near the head.
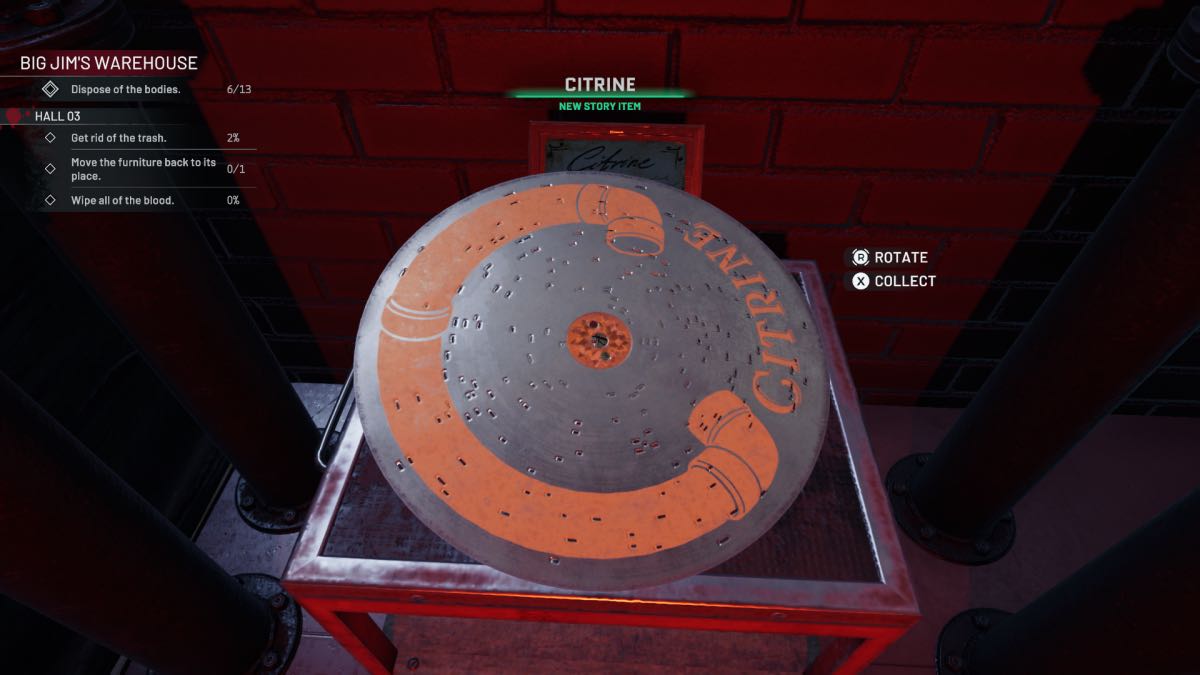
Hall 03
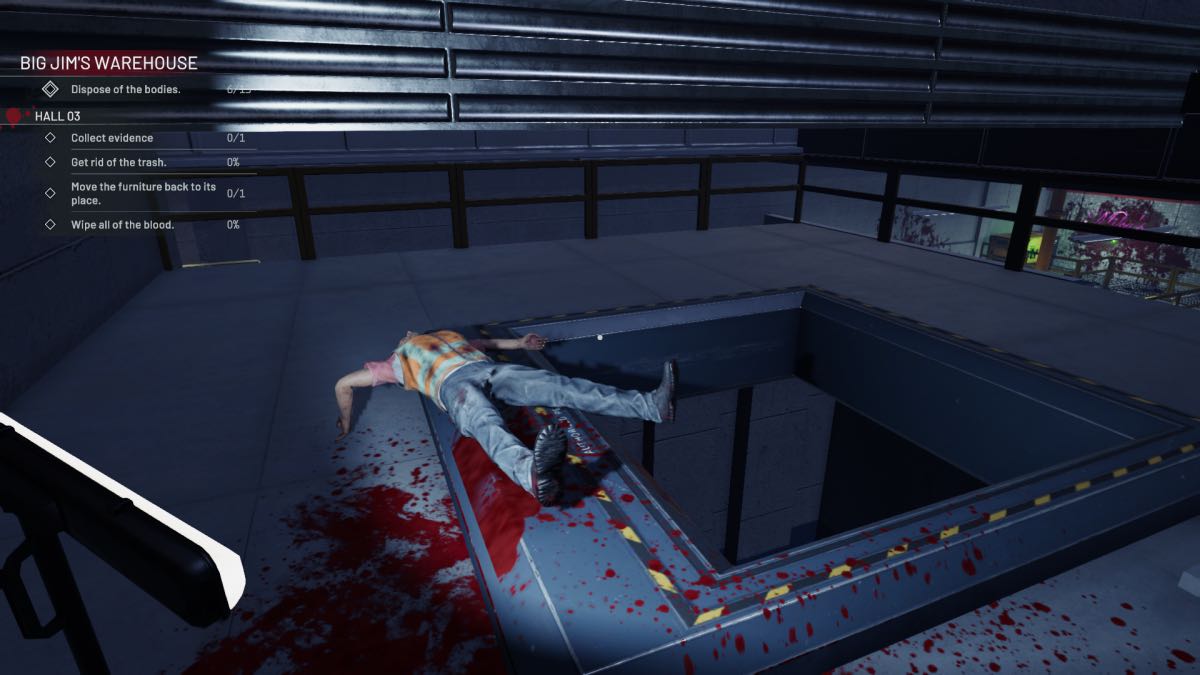
As you head up the conveyor belt to Hall 03, you will see a body on your left by a hole. Just move him onto the conveyor belt. The next body is to the right as you go up the conveyor belt, inside a white container.
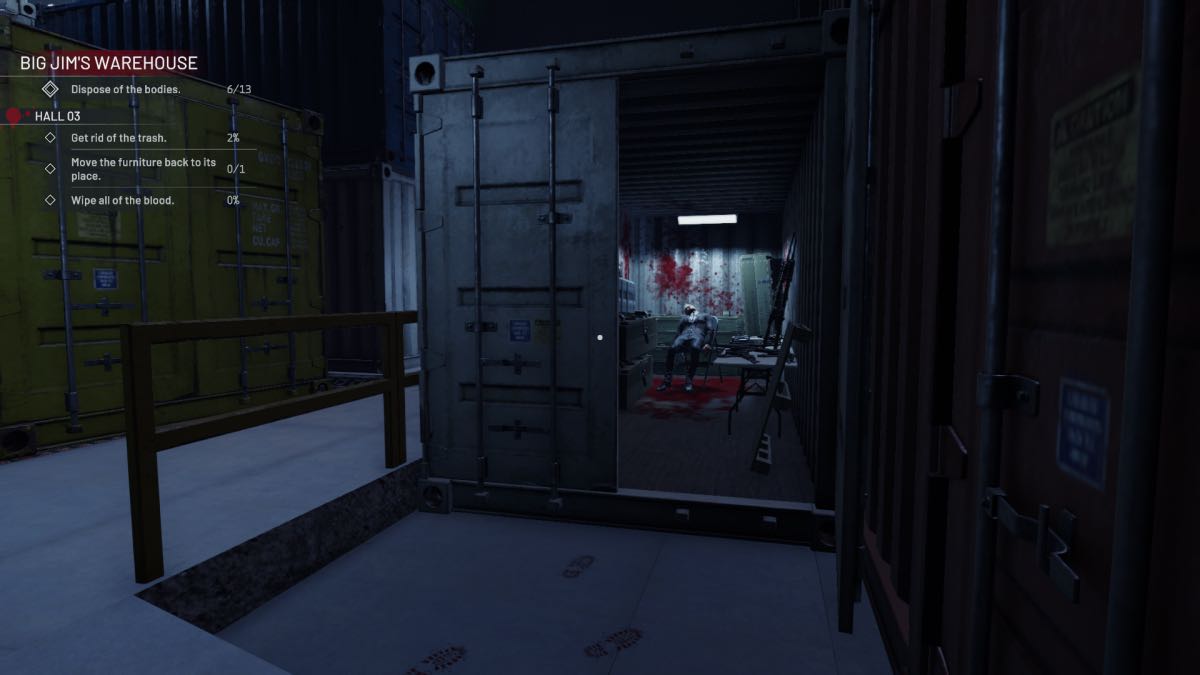
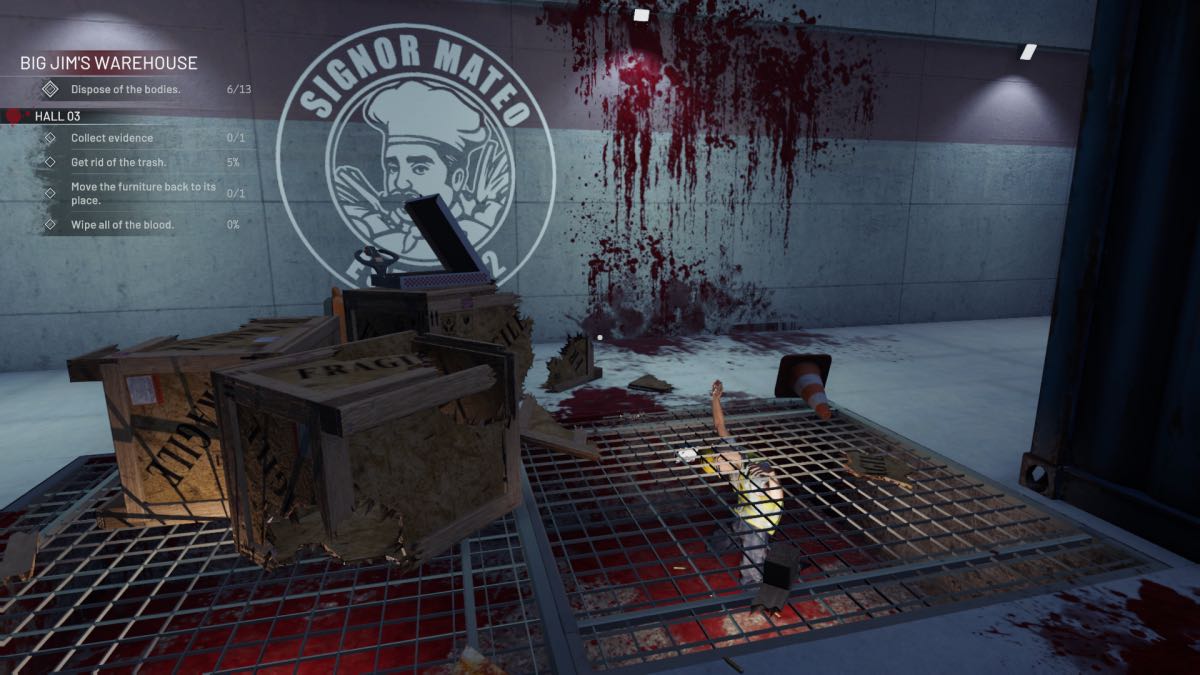
There is a water point by the yellow container to save you running up and down with a mop. A body is stuck in the grate, holding a key. Grab the key. Around the corner is another body by some trash, and a dreamcatcher nearby.
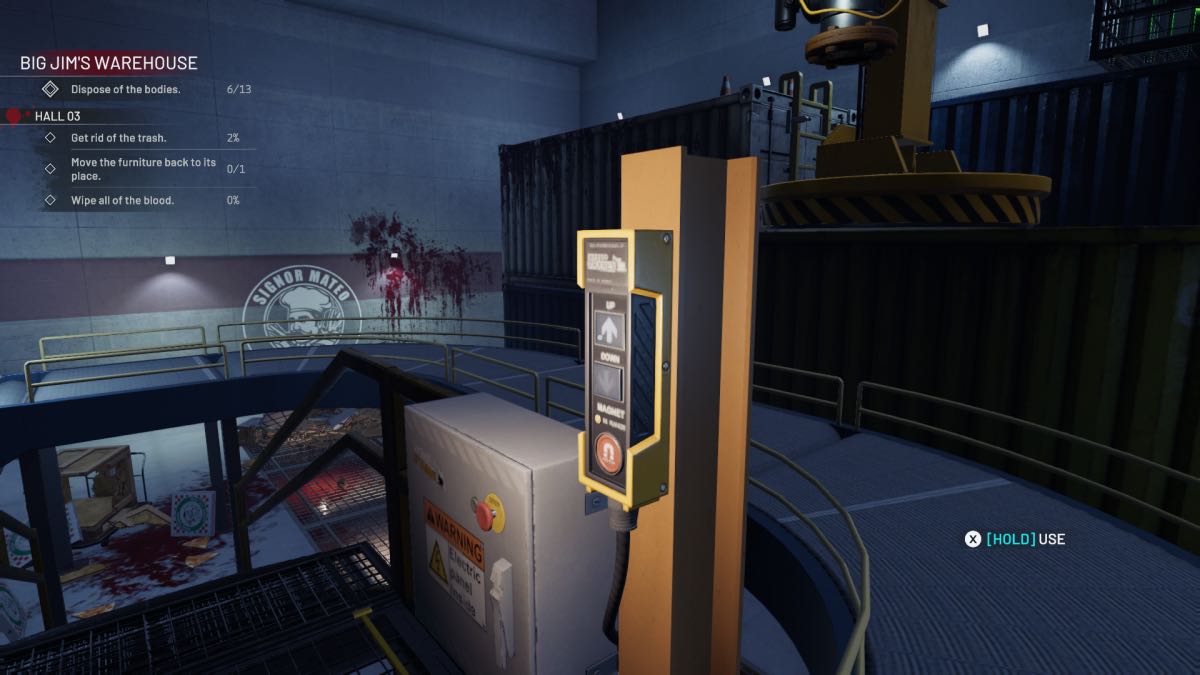
Climb up the ladder by the yellow container to get to the generator, and switch it on. Use the controls by the conveyor belt to lower the magnet and lift the yellow container, revealing a space to crawl to the body under the grate.
Follow the conveyor belt to Hall 04.
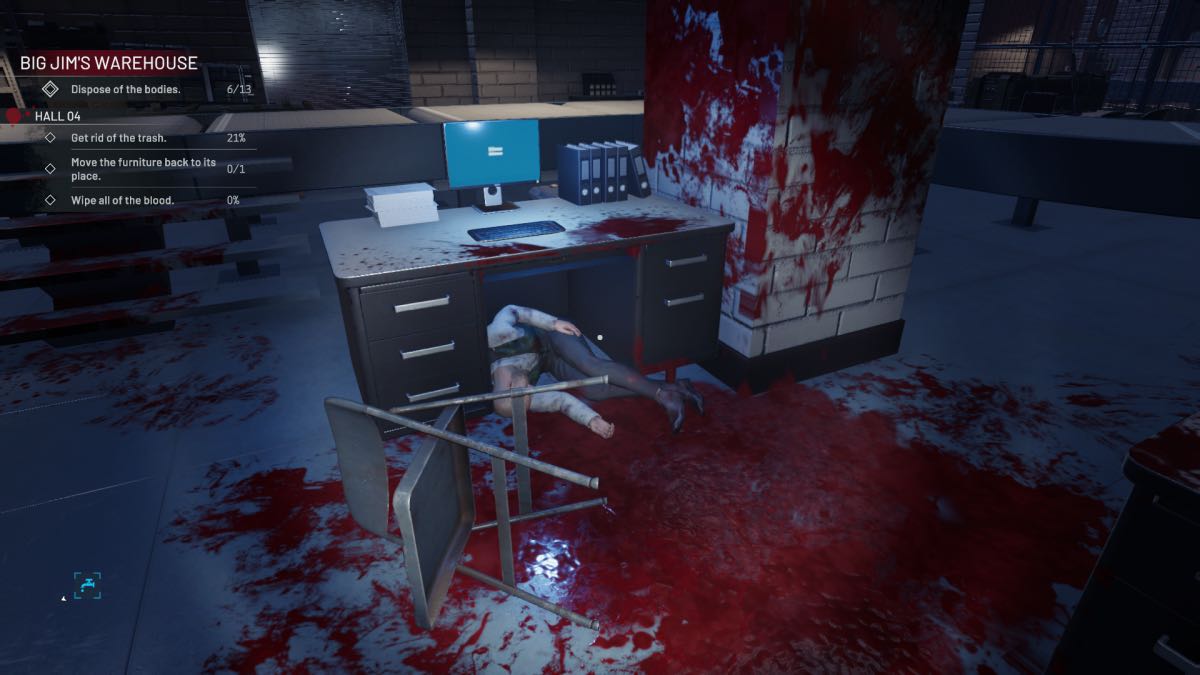
Hall 04
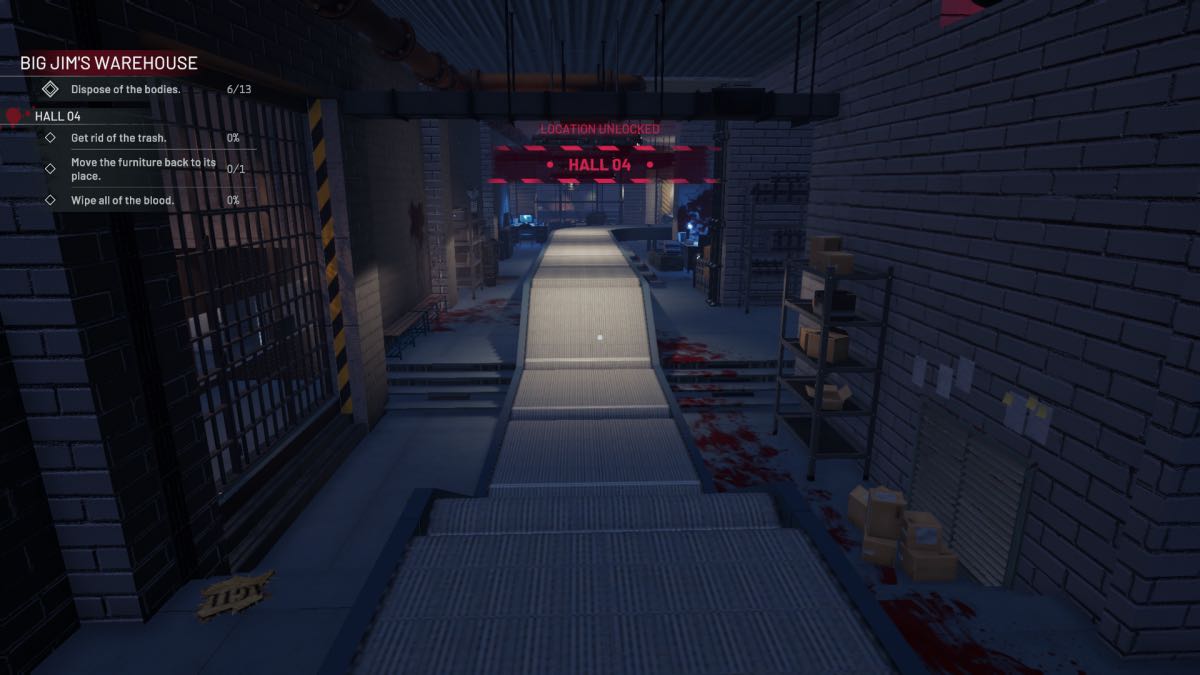
Following along the conveyor a little, you will find some office desks to the right. Under one of these is a dead body. Head back to where you entered and go up the yellow ladder.
Break open the vent and head through along the pipes. Look down and see that the first room you come to is the water point. Jump down to unlock the door from inside. Go back up the ladder and along the pipes to the next room, jump down, and break the boxes to get to the generator.
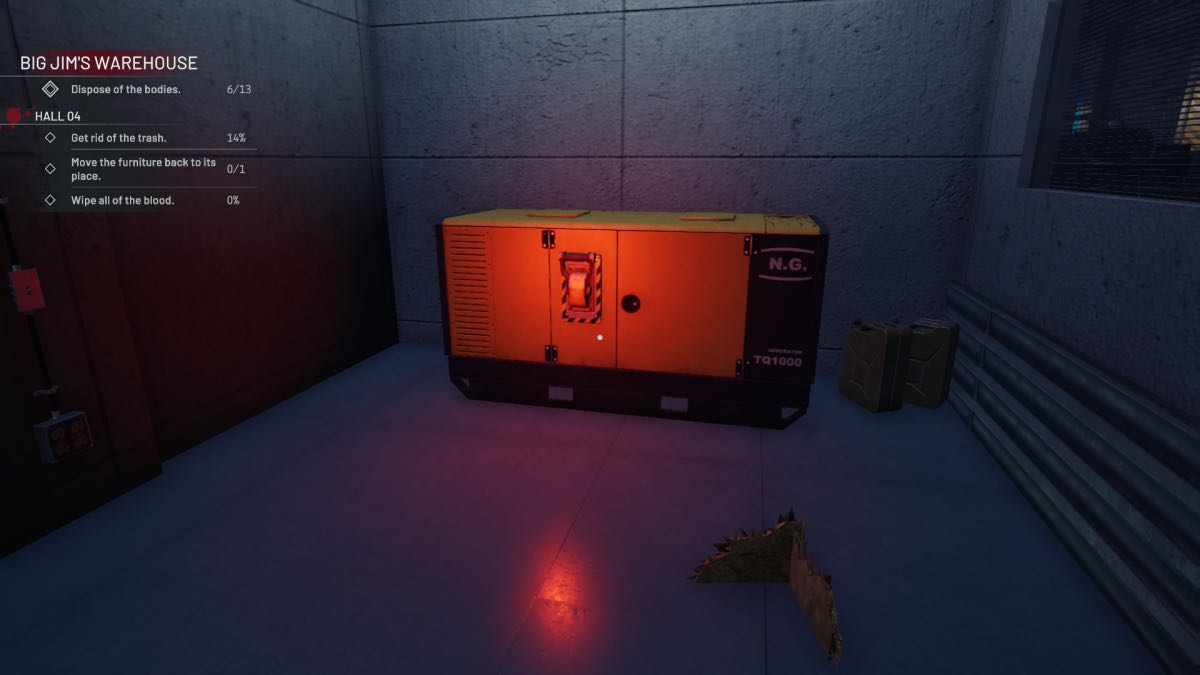
Switch the generator on, go out, and follow the conveyor belt to Hall 05.
Hall 05
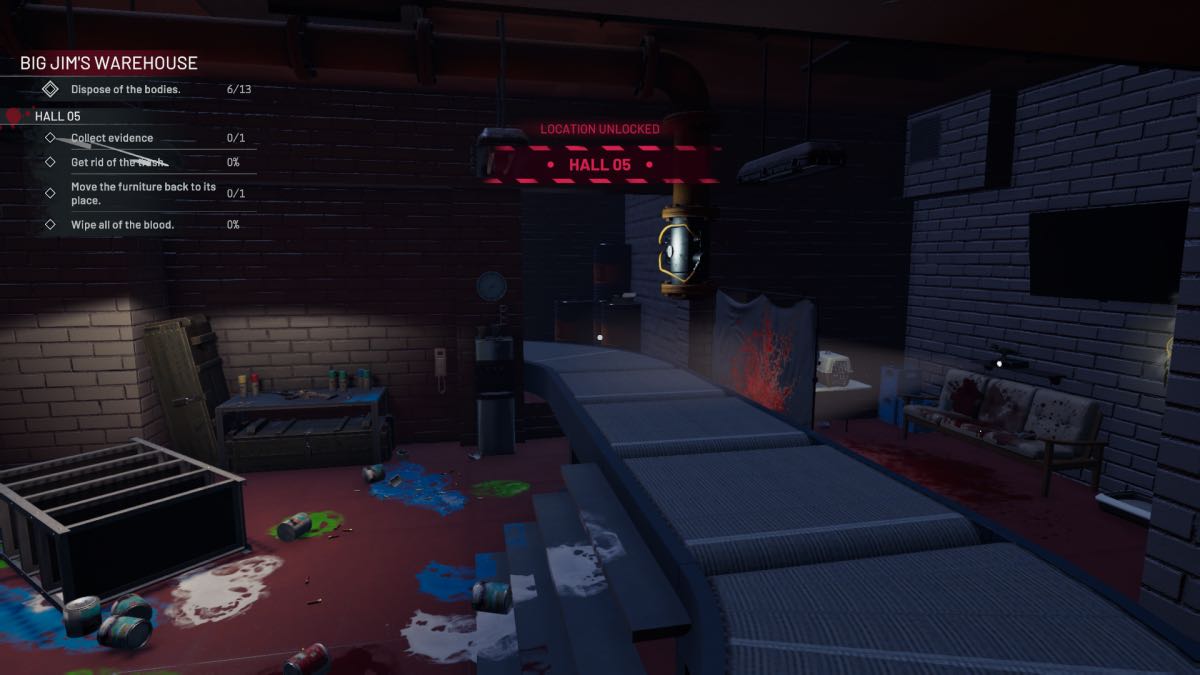
Look behind the white screen to find a body and a dreamcatcher. Head along the conveyor until it starts to go up to Hall 06 (if you reach Hall 06, you have gone too far!)
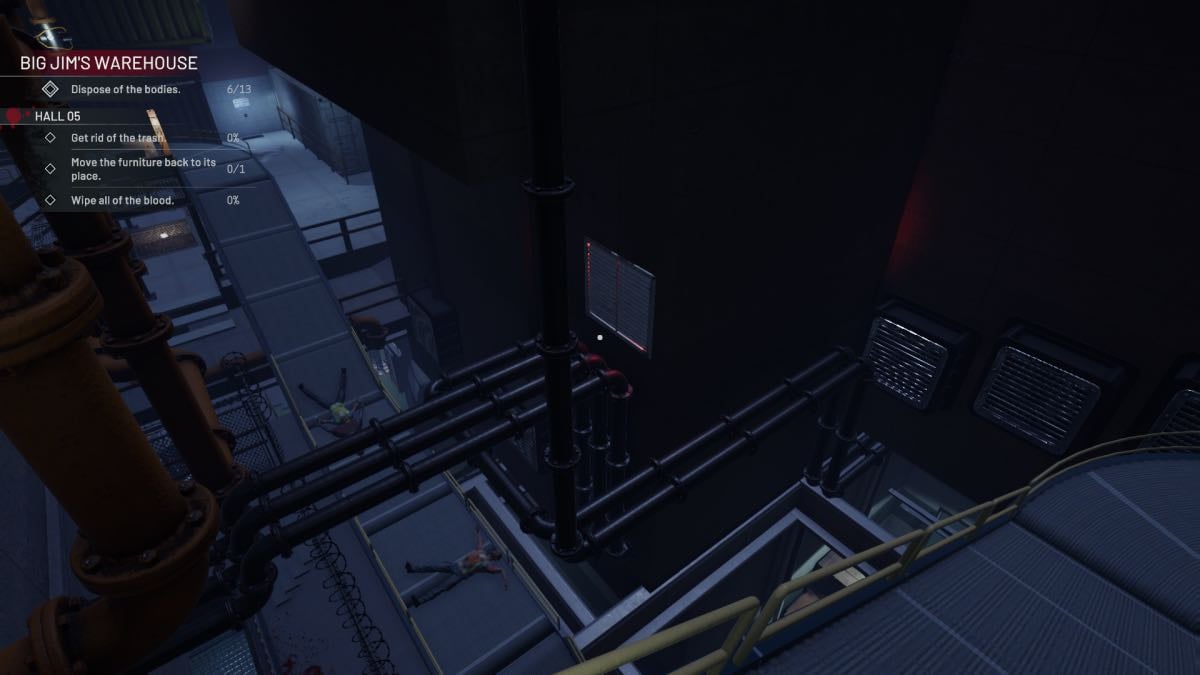
Look down to the space below and look for a vent on the wall opposite. You can get to it by jumping along the three closed vents and along some pipes. Break the vent open and go through to find the music disc in the box at the end.
Next, follow the conveyor to Hall 06.
Hall 06
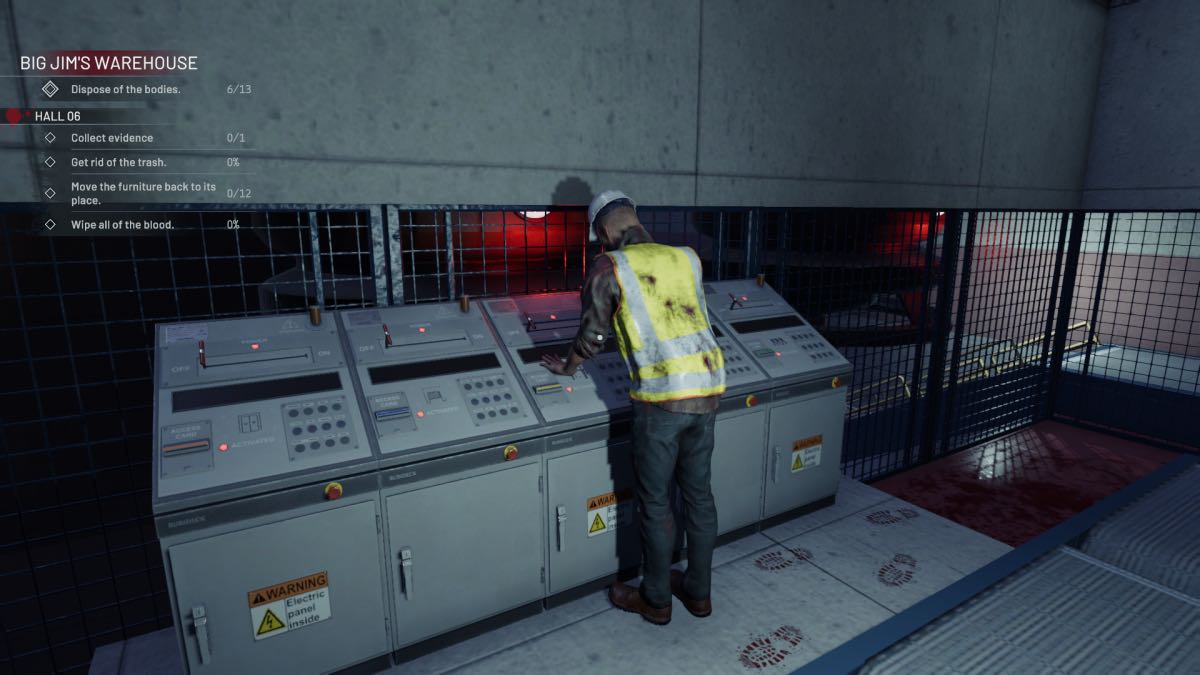
This Hall has a body by the controls, and a dreamcatcher on the wall. There is a bunch to clean up here, and some furniture to rearrange.
Turn on the conveyor and make sure it is traveling the right way, so that all the bodies and trash you have collected and placed on it. Travel to the drop point and go into the van.
That completes Crime Scene Cleaner Nightmare!