Look Up Tables (LUTs) have traditionally been used in cinematography to give a film a consistent look from scene to scene. Think of The Matrix and that green sheen that’s covers everything.
LUTs are useful in photography, but not just commercially where you want a set of images to all have the same tone,. They are useful for enthusiasts too, as they can be used as a quick way of giving your images a specific look without spending any time creating it. Affinity Photo 2 lets you save your own custom LUTs that you can then load as adjustment layers on other images.
1 Create the adjustments
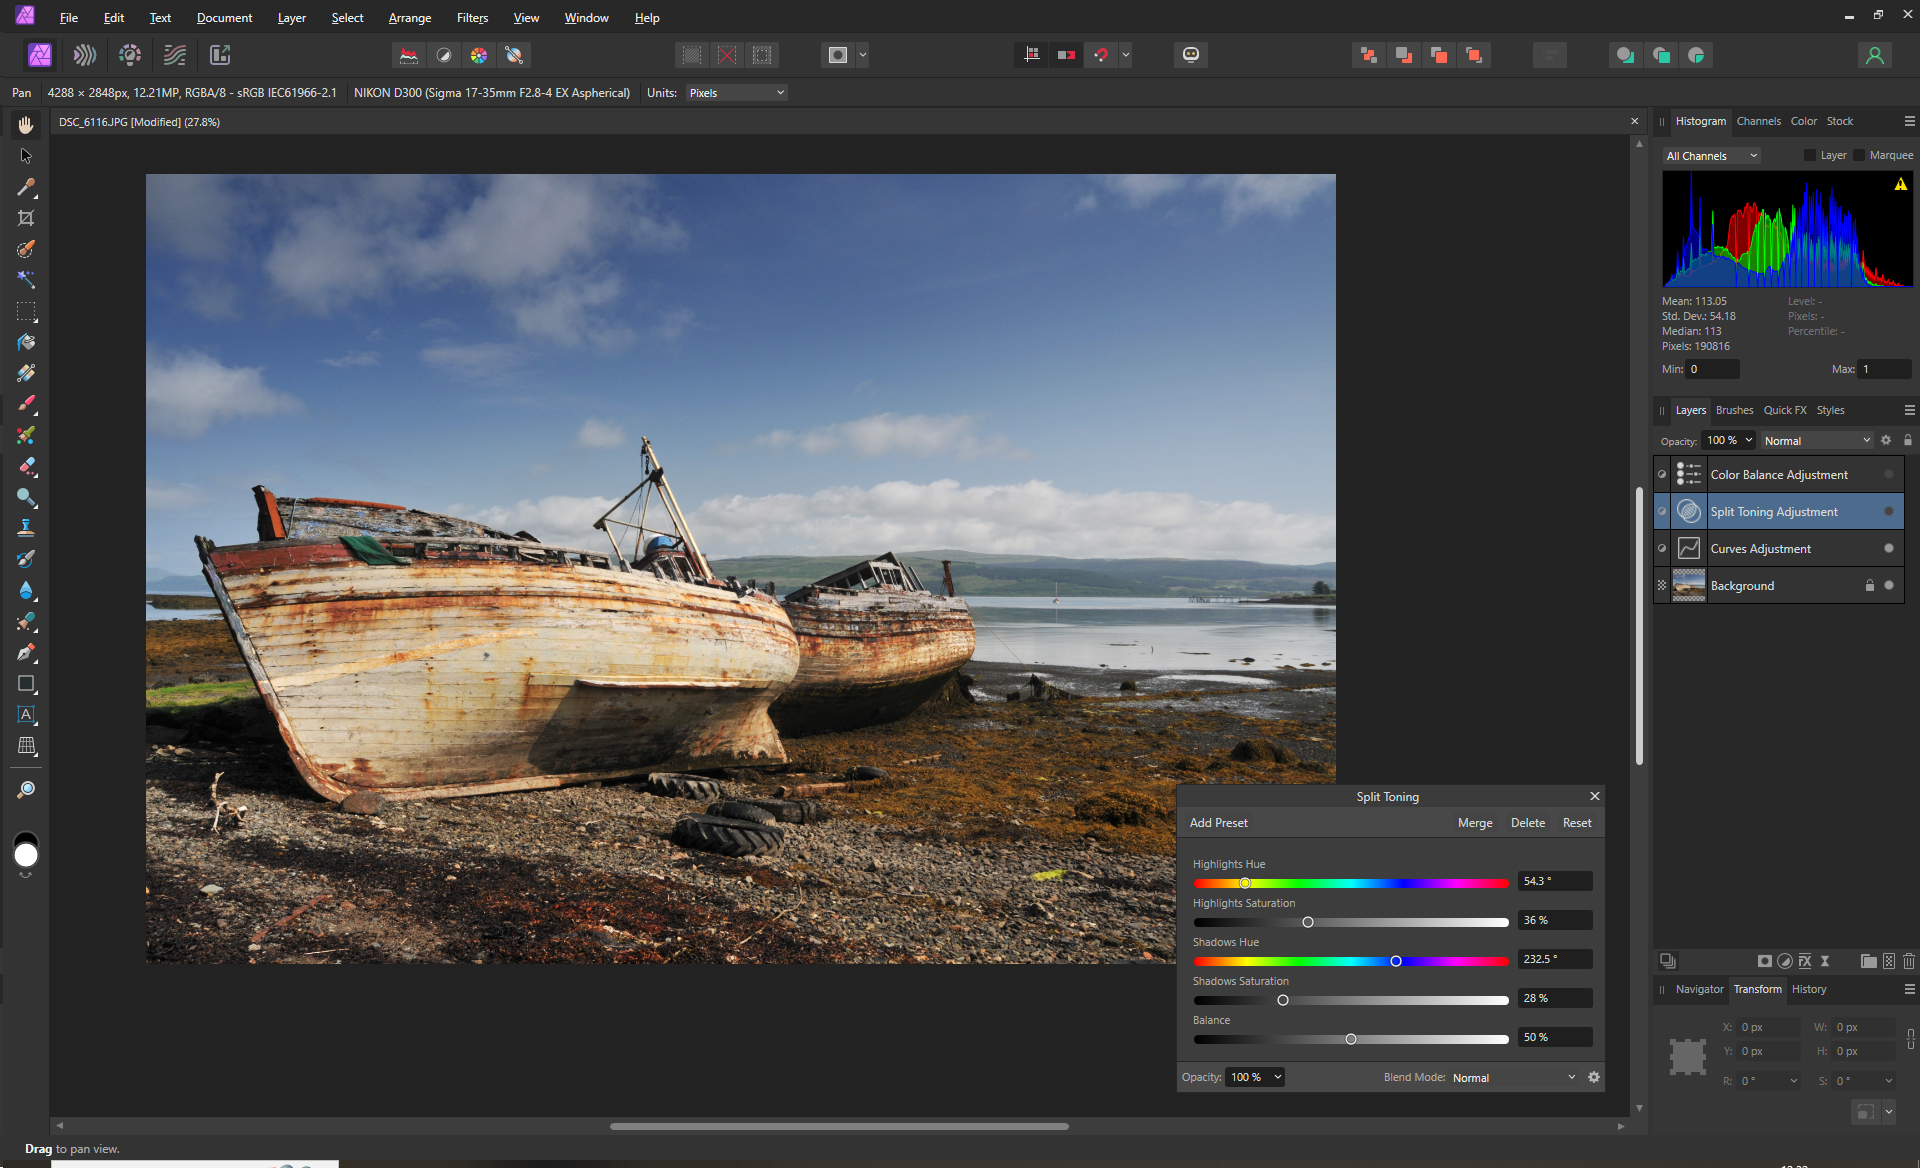
Firstly, load an image that you’re going to create a LUT with. It’s best if it has fairly generic lighting conditions so severe adjustments aren’t required. Add your various colour and lighting adjustment layers until you are happy with the overall effect and that it’s one that you want to save to use on other images.
2 Save as a custom LUT
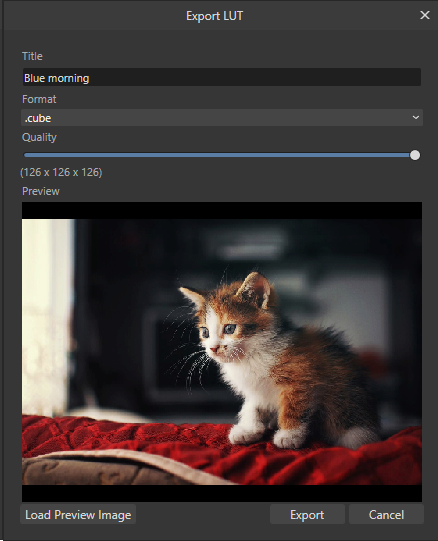
Then go to File > Export LUT. Rename the file that gives an idea of what it will do, select .cube as the file format and move the Quality slider all the way to the right. Click on Export and then navigate to a folder where you want to save your LUT files. Make it somewhere that you can remember. Then click on Save.
3 Use your LUT
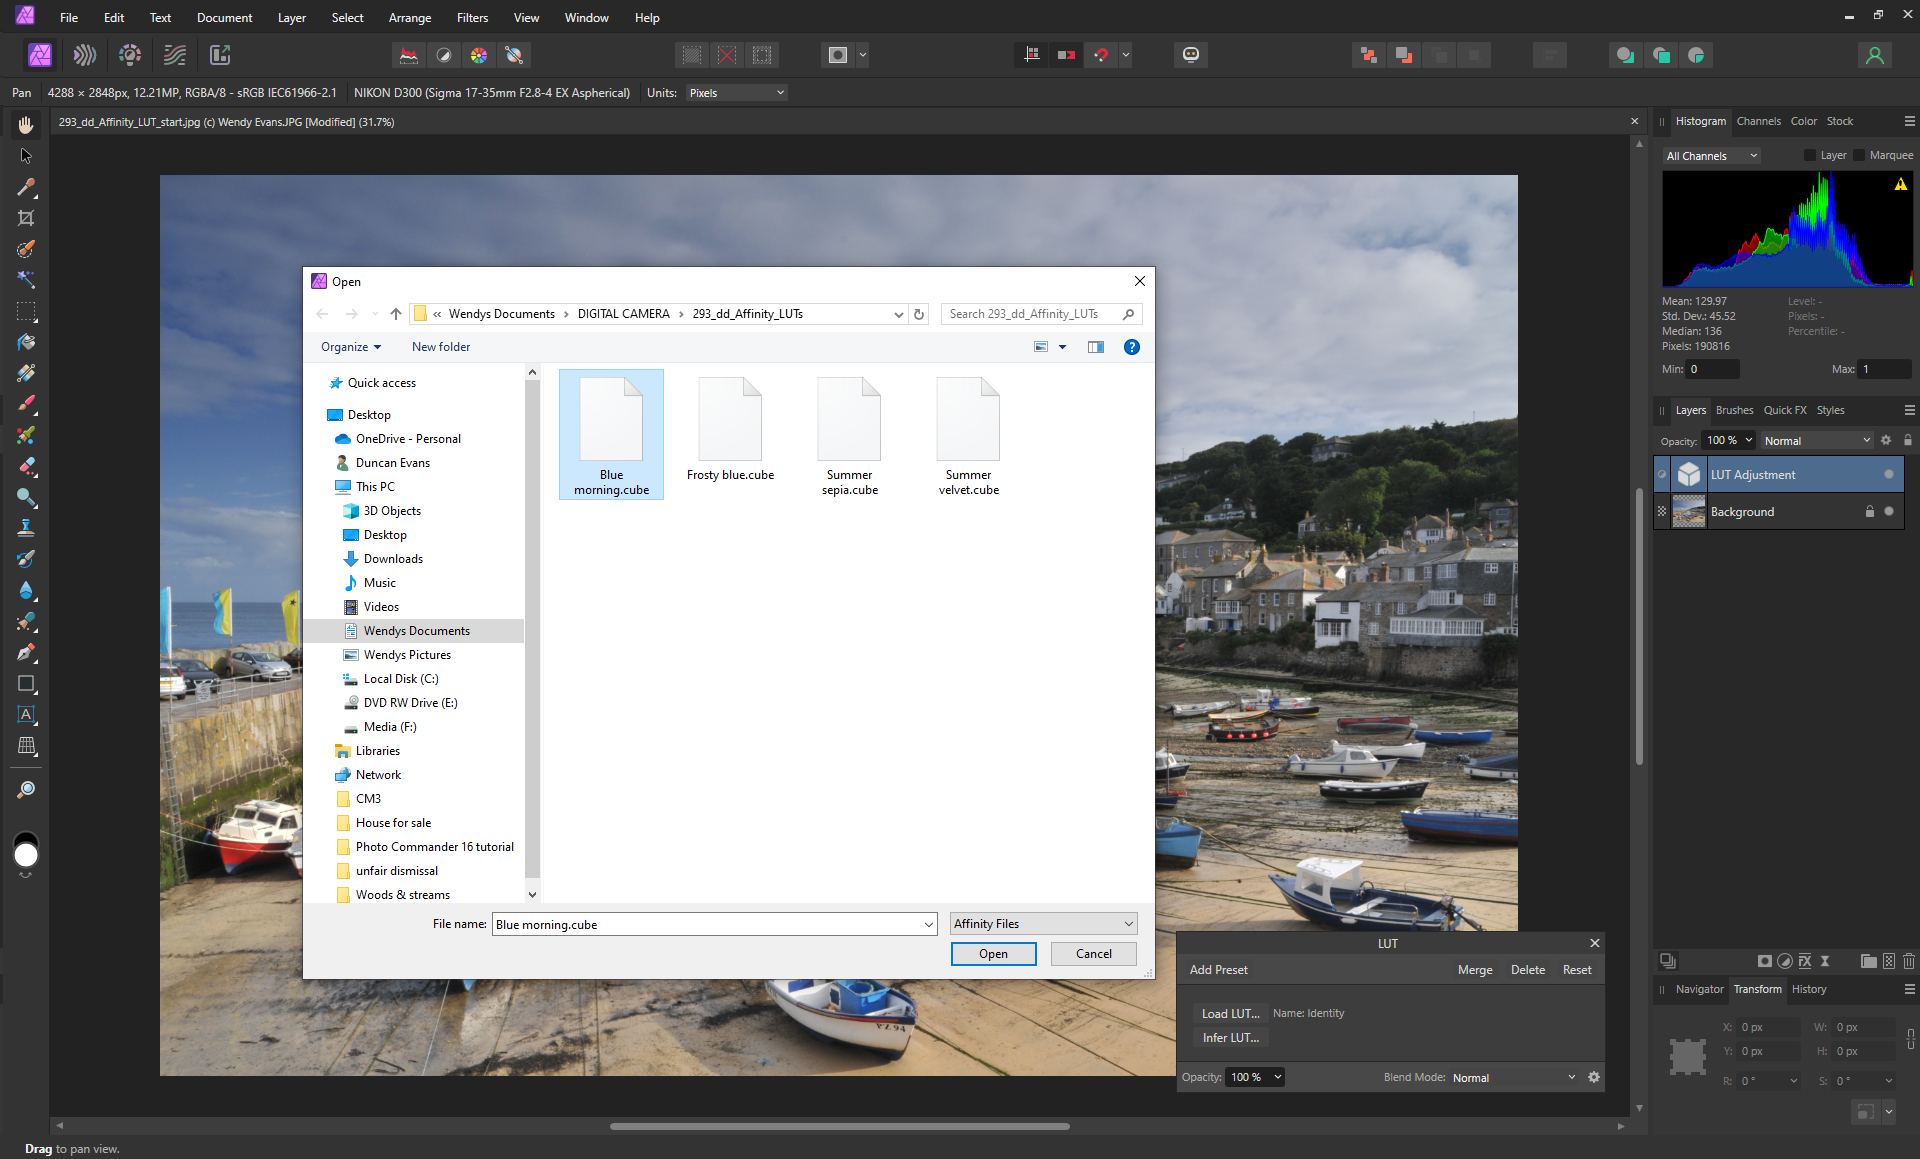
Save the image you were working on and load a new image that you want to have the same look and feel. Ensure you are in the Photo Persona. Go to the Layer panel, click on the Adjustments icon at the bottom and select LUT. Then click on Load LUT and select the LUT you have created. Click on Open.
4 Tweak and blend
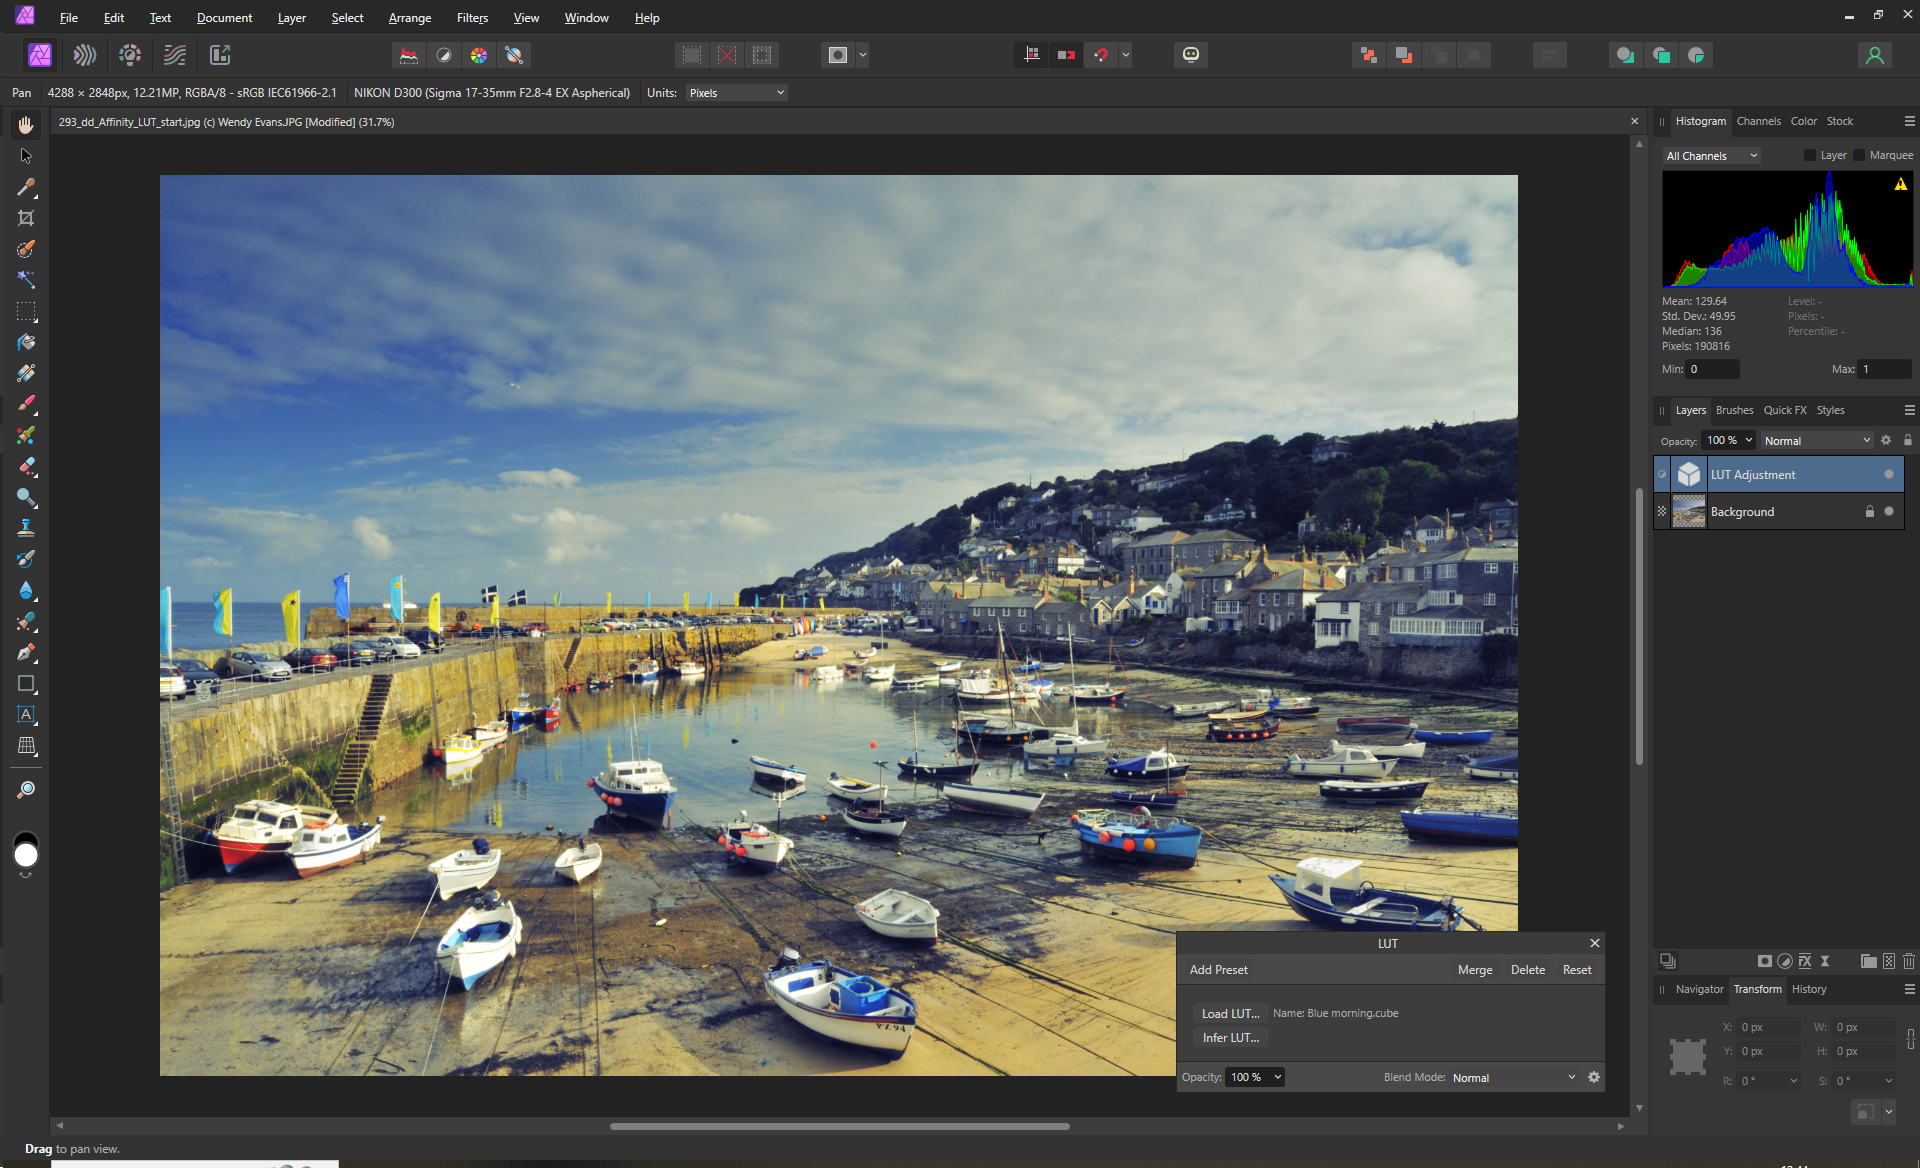
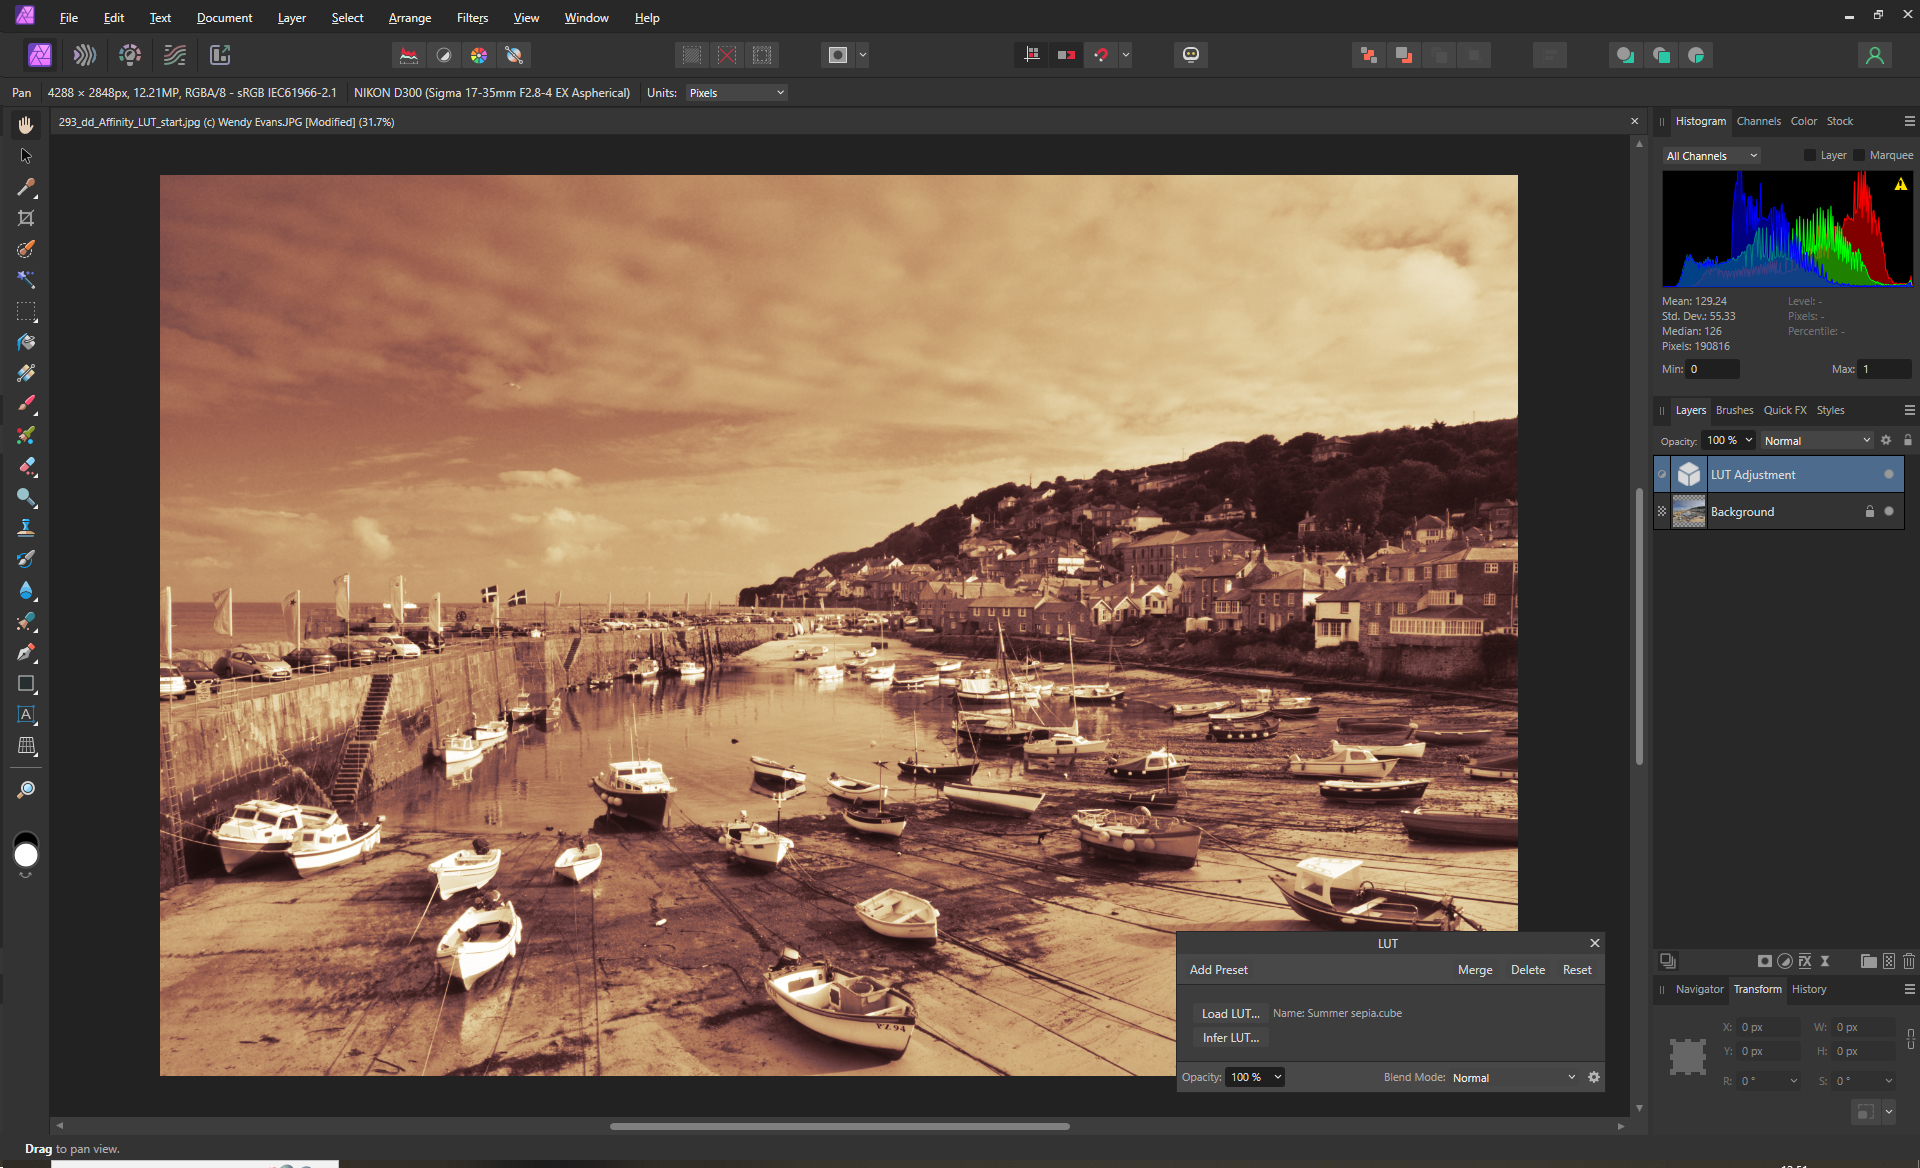
All those adjustments that you saved are now bundled into one LUT adjustment layer which you can change the opacity of to reduce the impact, or experiment with the blend mode. You are free to make any other adjustments to enhance the image but it will now have the same tones as other images using this LUT. If you don’t like the result, simply delete the layer or try one of your other custom LUTs.
What exactly are LUTs?
LUTs are great for giving a set of images a consistent look and feel but what are they? A Look Up Table is exactly that, a table that maps the colours of each pixel in an image (the input values) to a specific colour contained within the table. There are a number of different formats, including .lut which controls a single parameter, usually the gamma, and .cube (used in this tutorial) which has three axes that control hue, saturation, luminosity, contrast and gamma.