Just four years ago, Bambu Lab took the 3D printing world by storm. The company’s printers quickly became some of the most popular 3D machines in the maker community, bringing fast, reliable and relatively beginner-friendly 3D printing to the masses for the first time.
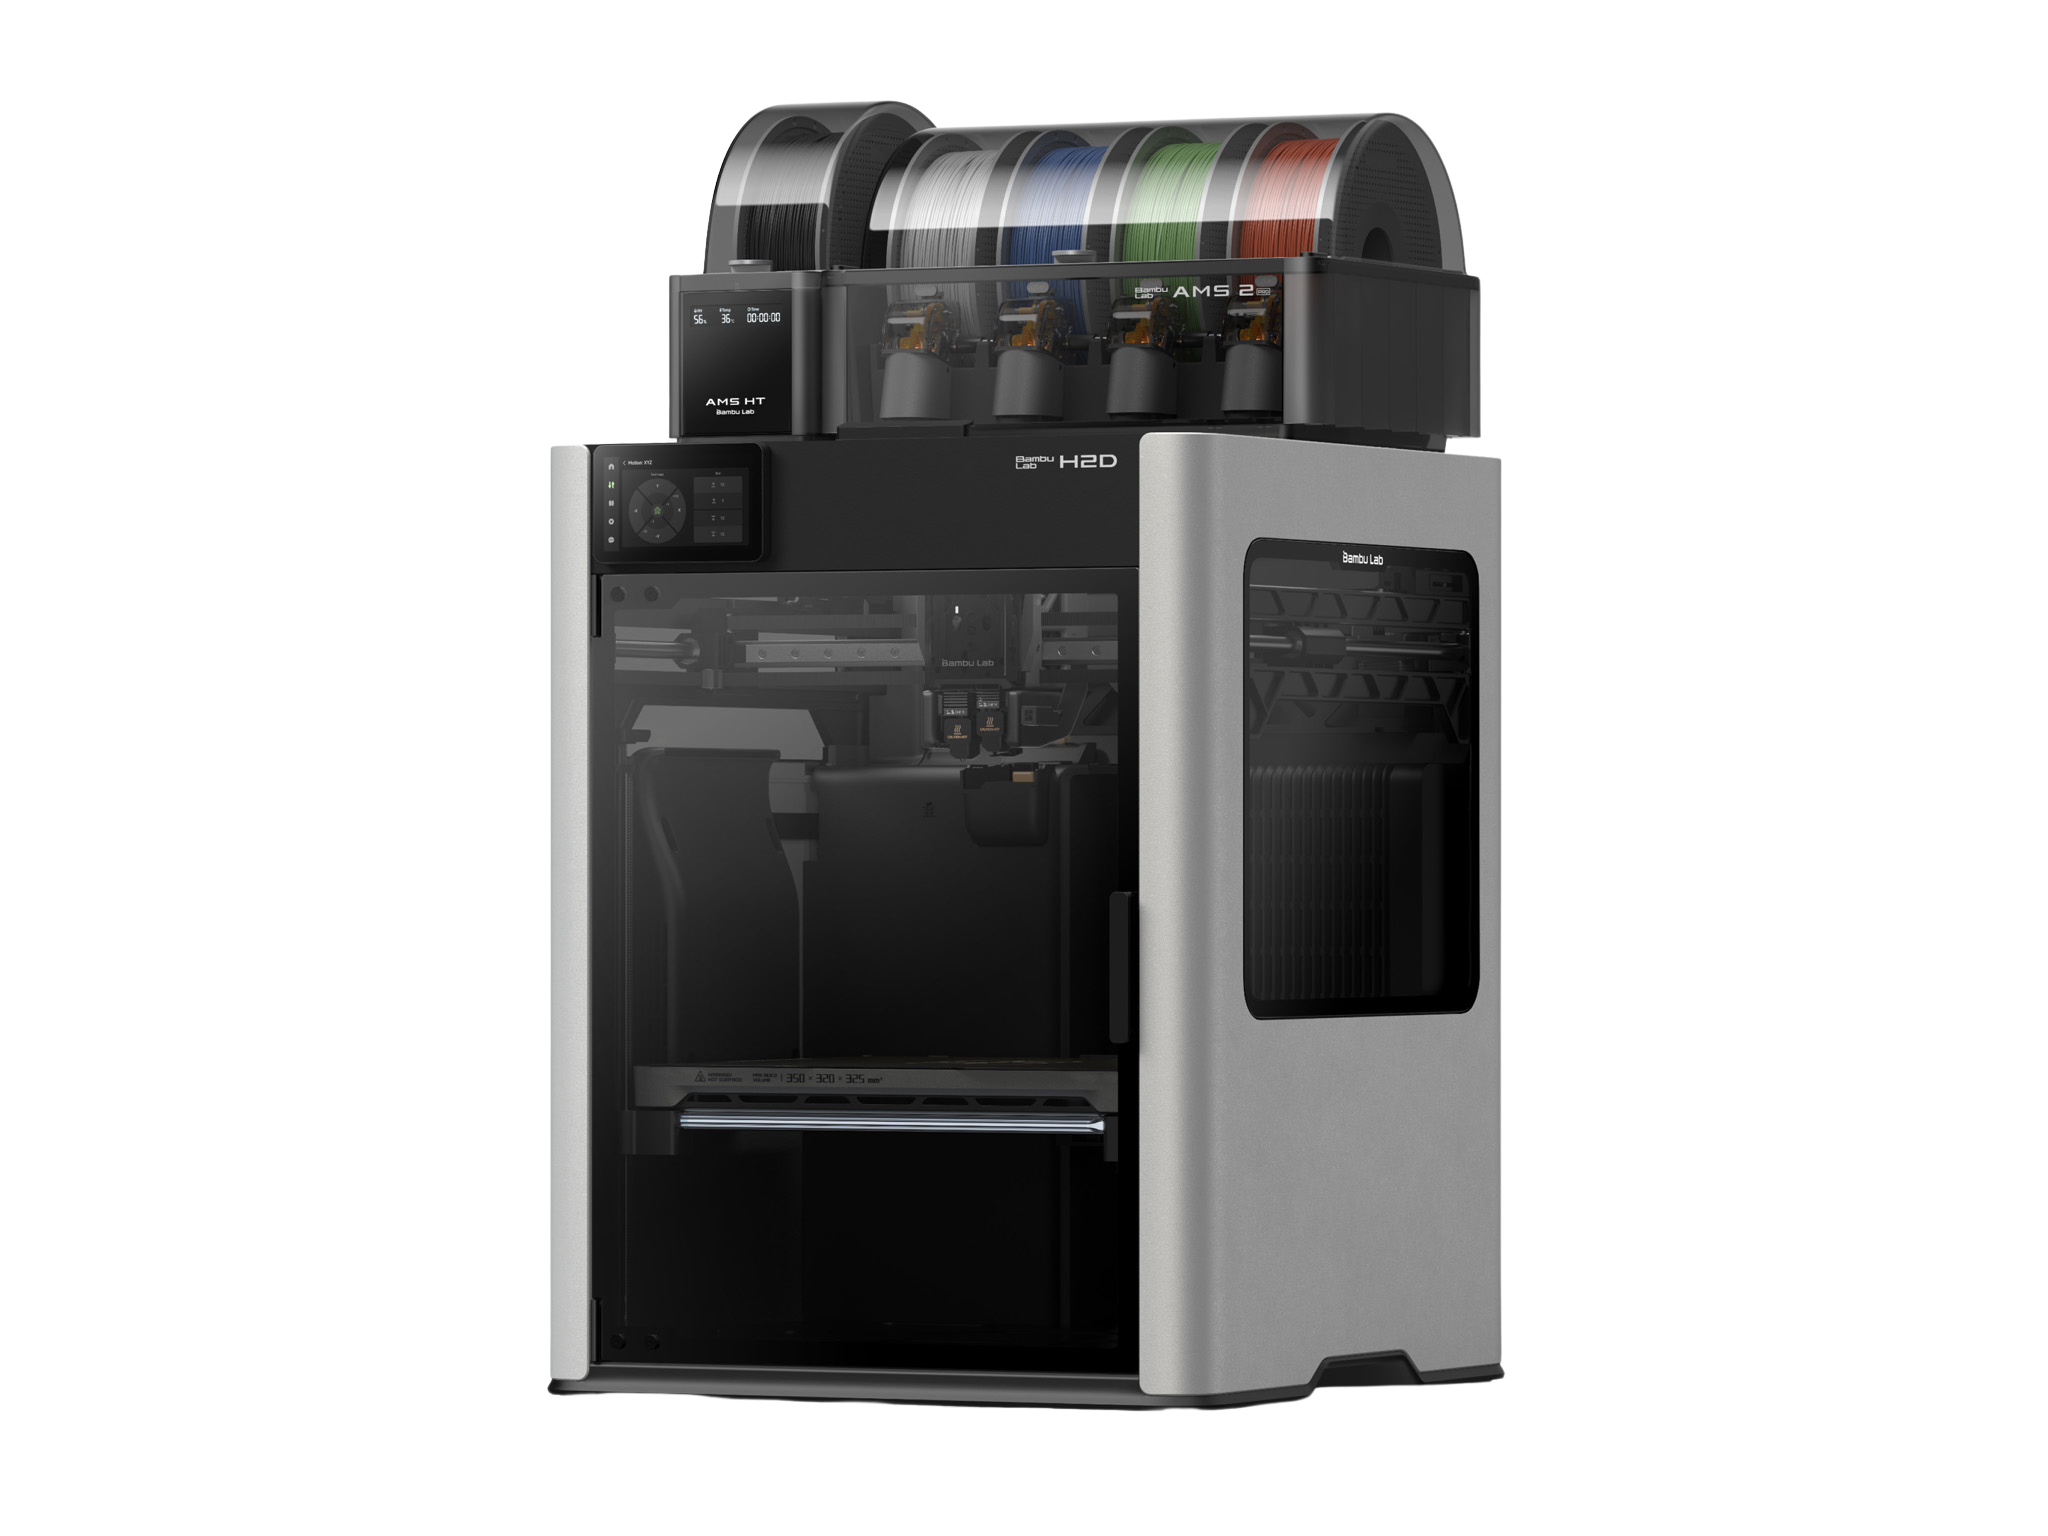
And in March last year, the company did the same thing again with its latest 3D printing workhorse – the H2D laser full combo. But it isn’t just another run-of-the-mill 3D printer, the H2D combines a multifilament 3D printer, laser engraver, cutter and plotter into a single desktop machine, designed to handle everything from prototyping to packaging.
There are two versions available: the standard H2D, focused on advanced multifilament printing, and the laser full combo model I tested here. After several weeks of hands-on use and more than 1,000 hours of testing, I wanted to find out whether the H2D really can live up to Bambu Lab’s ambitious all-in-one solution claims.
Read more: These are the 6 best home printers for your office setup
Bambu Lab H2D laser full combo
Print technology: Fused filament fabrication (FFF)
Build area: 350 x 320 x 325mm sq
Minimum layer resolution: 0.08mm
Maximum layer resolution: 0.28mm
Dimensions: 492 x 514 x 626mm sq
Weight: 31kg
Bed: Heated/laser/cutting
Print surface: Flexible steel plate
Software: Bambu Studio, Bambu Suite
Print speed: 1,000mm/s
Why we love it
- Three maker machines in one
- Easy to use
- Prints two filaments
Take note
- Creates a lot of waste
- If things go wrong, DIY skills are required
Setting up the H2D couldn't be easier. Unlike the fiddly builds of older 3D printers, this machine arrives almost fully assembled straight out of the box. Simply place the AMS unit (the box that holds and automatically feeds the filament into the printer) on top, connect the tubes and cables at the back, and power up. The H2D then takes care of all calibration and setup, guiding you step-by-step through the entire process, including installing the filament.
This is one of the first printers to offer up to five filaments out of the box – four in the AMS multifilament unit and one for standard or specialist materials on the side. These specialist materials, such as carbon-fill and TPU (thermoplastic polyurethane), put far greater demands on printers but offer more flexibility, especially for professional use.

I dived straight in and started printing the benchmarks. One of the big advantages here is that the Bambu Lab software, BambuStudio, is straightforward to use, with plenty of online help to get you started. Compatible with both Mac and PC, you can use it with your computer connected directly, or, if you have the printer in a workshop, you can operate it remotely through your home network.
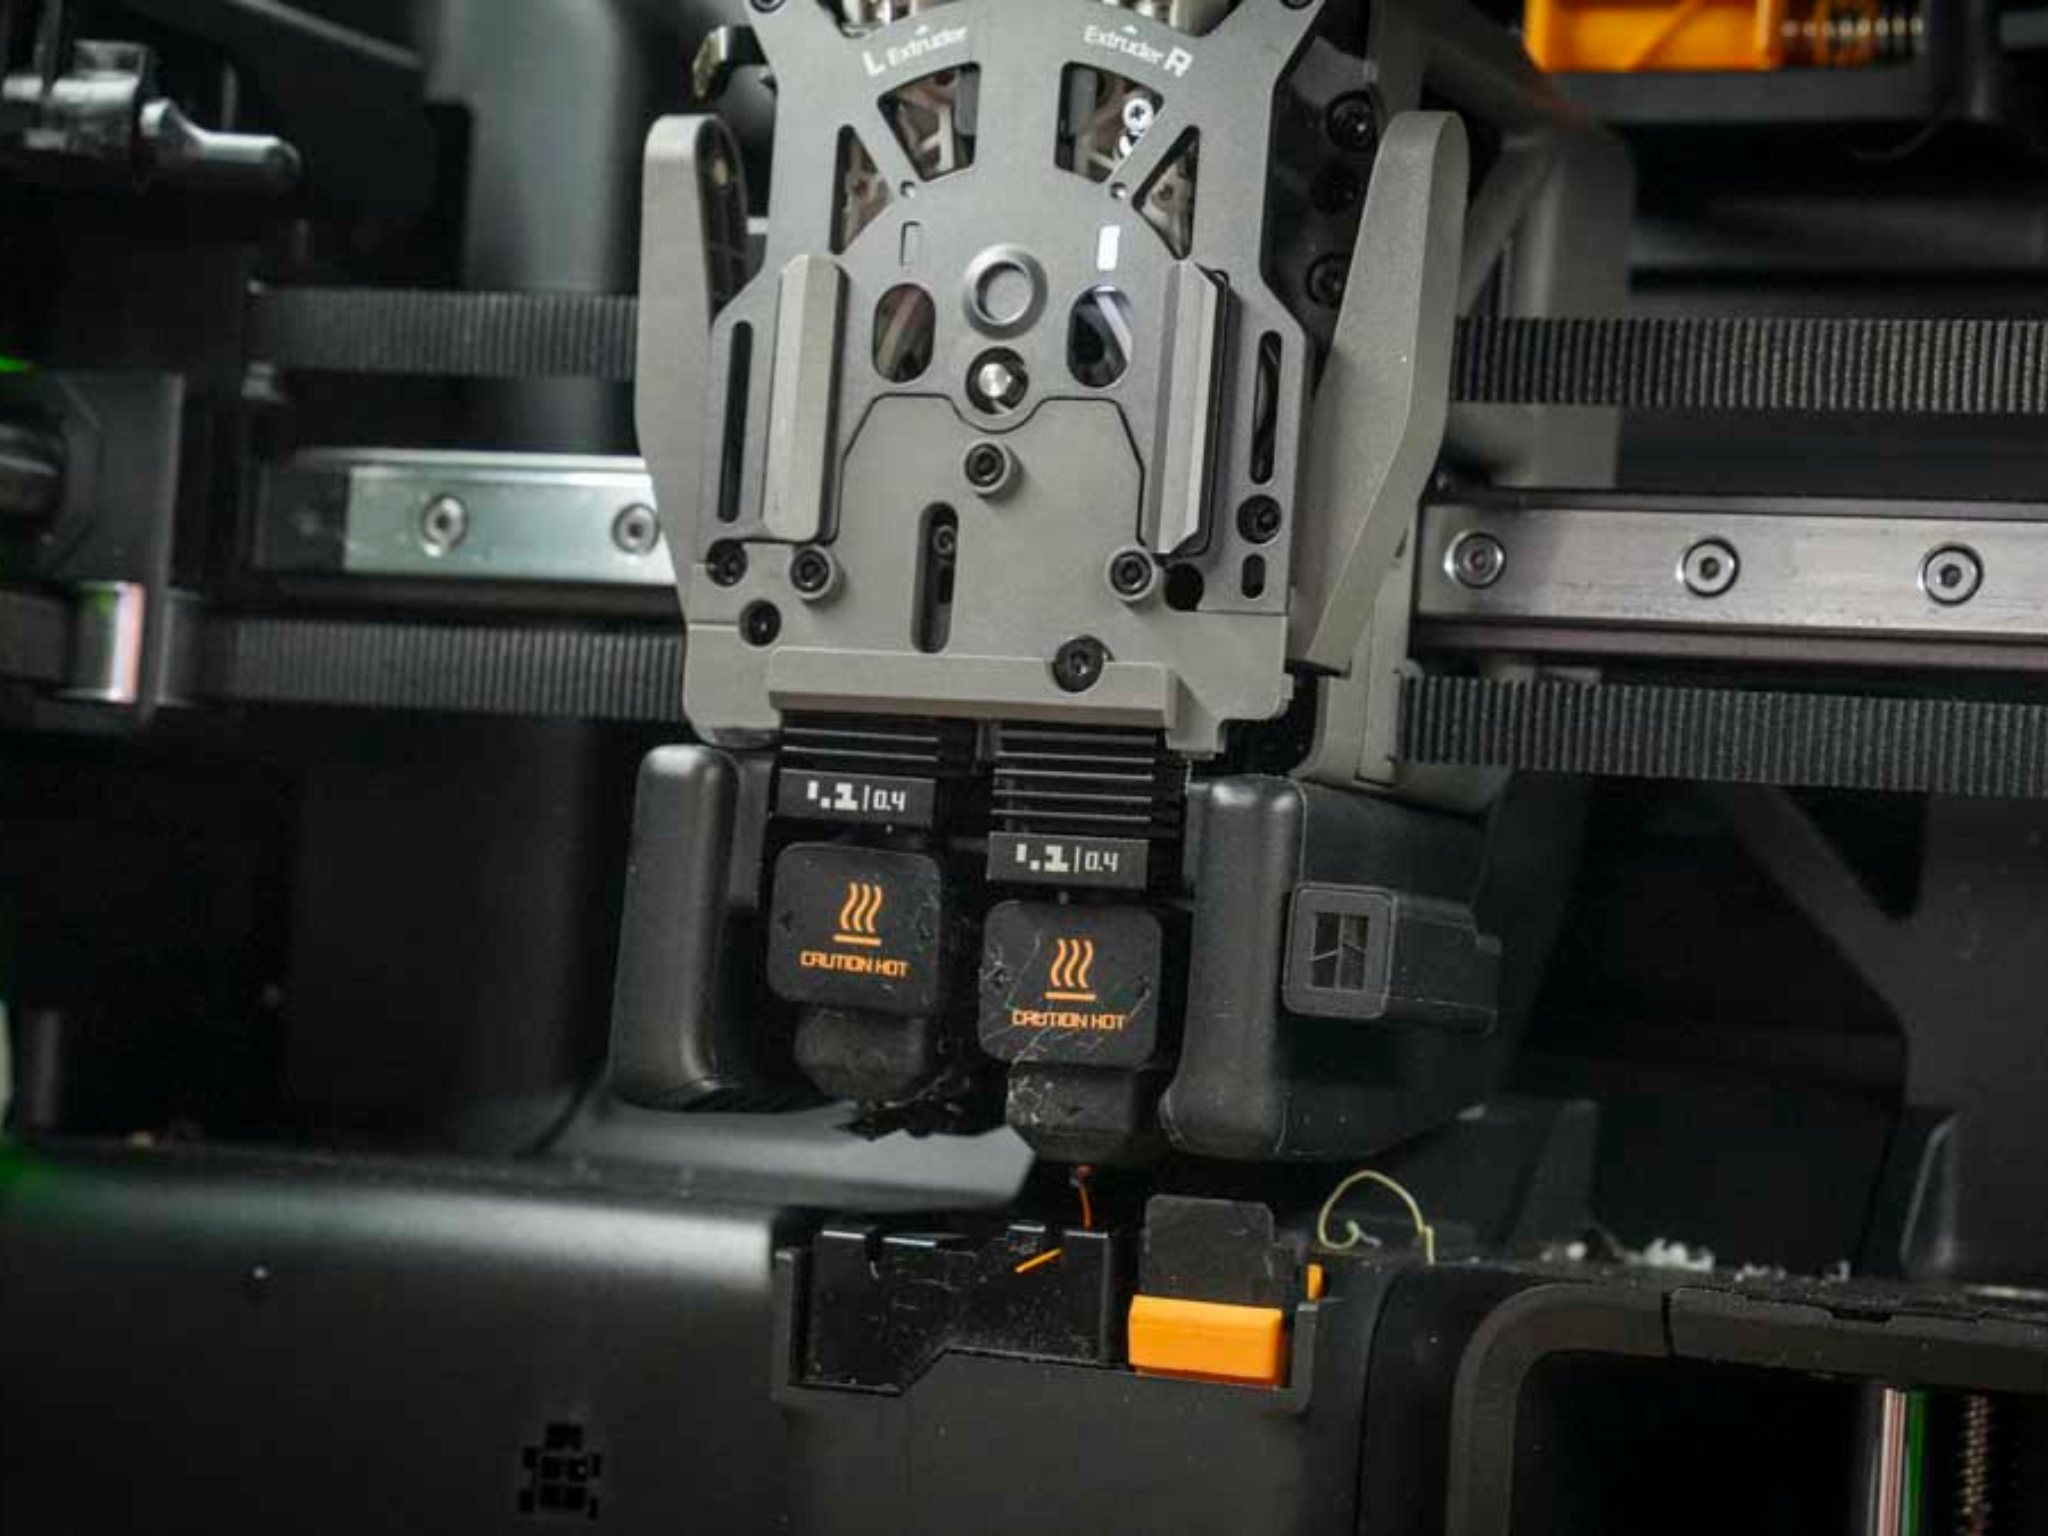
When the H2D laser full combo was announced, many of us hoped for a true multi-toolhead 3D printer, but at the moment, only the Original Prusa XL offers this potential with four tool heads. While the H2D is a multi-toolhead machine, those additional toolheads are modules that clamp onto the front of the main print head. These include the laser, cutter, and plotter modules. The always-in-place 3D printhead features two nozzles, meaning two filaments are always ready to go, double the usual amount, but less than many of us in the community had hoped for.
Why are more heads better than one? Well, it means there is less material waste and more speed, so two nozzles in one toolhead is a good halfway house. The waste issue really only becomes apparent when a third material is introduced, as one filament has to be retracted so the new filament can be used. As the filament swap is being managed and to avoid cross-contamination, the old and then new filament are purged to clear the nozzle, and this is where the filament waste can start to stack up.
For the majority of the test, I placed the black filaments on the outer feeding spool, as it was the most commonly used, and this fed into the left-hand nozzle, cutting down on retractions and purging, with only the filaments in the AMS going through the right-hand nozzle needing to purge as they swapped.
When it comes to the more specialist materials, such as the rubberised material TPU, these can't go through the AMS and must go through the left nozzle supplied by the outer spool. The issue here is that the setup to get TPU printing requires the stretchy filament to be rerouted through the back of the machine through a third hole, which can prove fiddly, however good the end result is.
With standard materials such as PETG (polyethylene terephthalate glycol-modified), PLA (polylactic acid) and ABS (acrylonitrile butadiene styrene), this machine is highly optimised, so print failures were virtually non-existent during the initial tests.
To put the idea of using the H2D as a personal manufacturing hub to the test, I designed a simple GoPro-style handlebar mount. Multiple copies of the design were printed across the platform in a high-impact material, ASA (acrylonitrile styrene acrylate), which is both water- and UV-resistant, making it ideal for small-scale projects. The STL (stereolithography) files that I had created in a computer-aided design (CAD) application were imported directly into BambuStudio and then sent through the network to the machine. The total time for 28 units to print was one day and 11 hours, so it is by no means fast, but still quicker and cheaper than having tooling made for injection moulding. Once the print had finished, it was time to swap the tool head to create the packaging.
The cutter, plotter and laser all use a new piece of software called Bambu Suite, which, like Studio, is well laid out, but you’ll probably need to spend some time familiarising yourself with the layout before diving in.
The next step was to create a product box. To start, I installed the pen head, which clamps in front of the 3D print head and, in turn, the cutter. Then, the graphics and meshes were loaded into the Bambu Suite software, everything was lined up, and then all that was left to do was hit go. The pen got to work, drawing on the card to create simple graphics. Each pen has one colour, but swapping for another is quick and easy if you want multiple shades on your material.
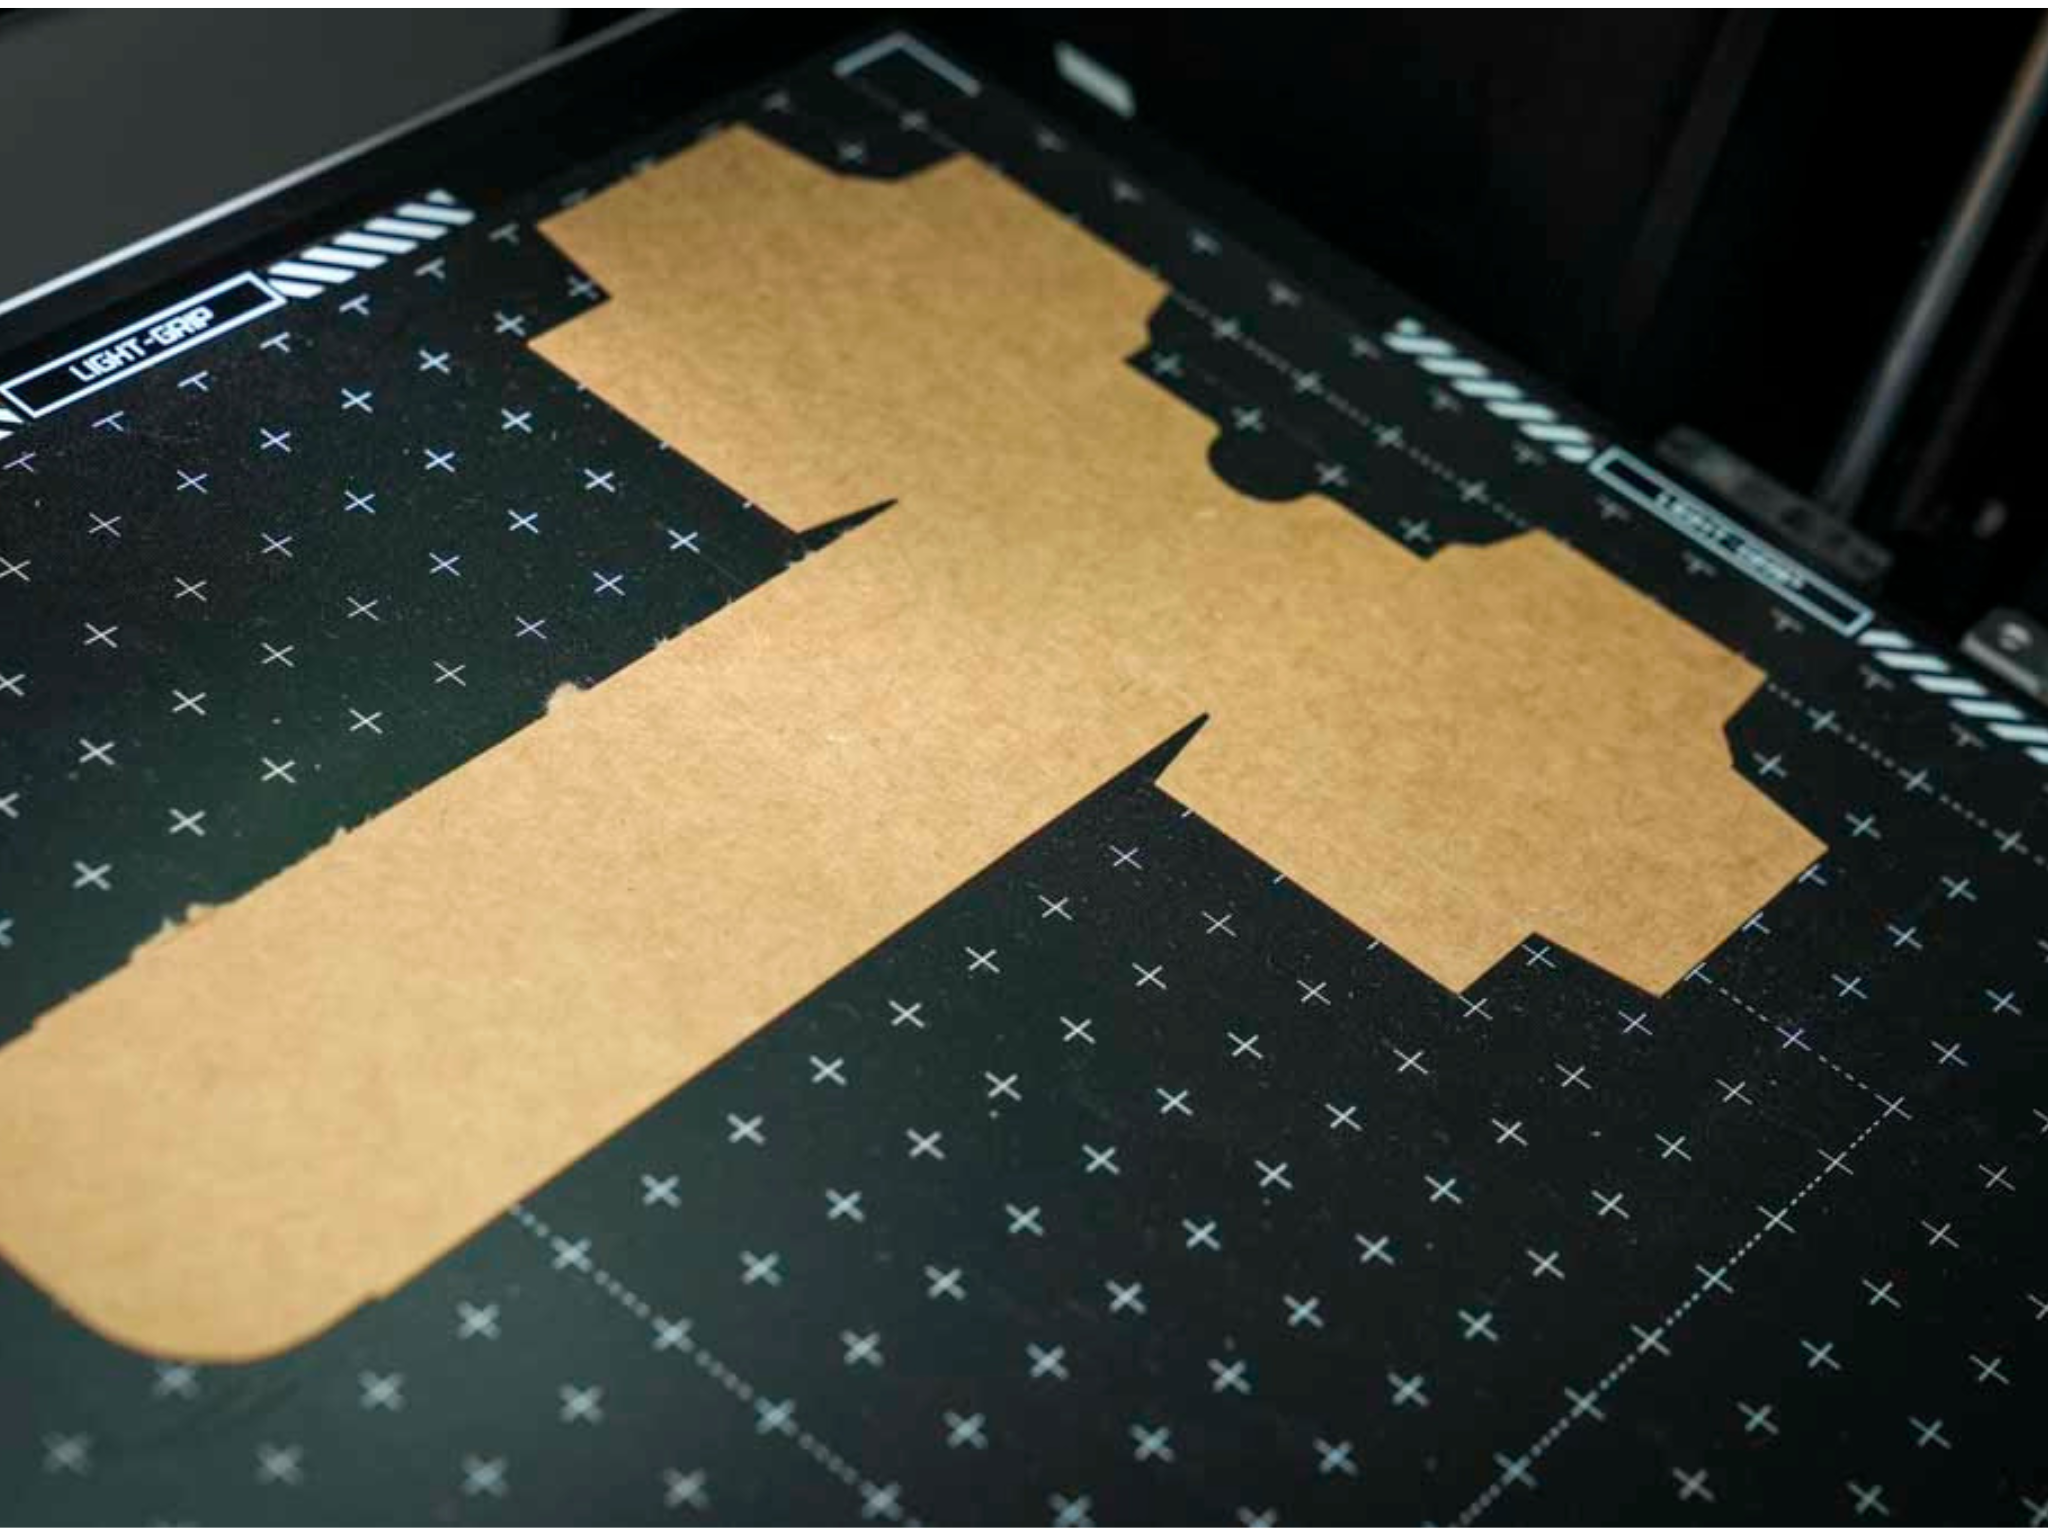
Once the graphics were finished, I swapped the pen for the cutter tool to cut out the box shapes, then manually glued them together. With everything set up in the Bambu software, once I’d hit go, each box was cut out perfectly and, unlike laser cutting, there was no scorching – just clean, precise lines.
The whole process of producing 28 GoPro-style mounts and accompanying packaging took about two days, although most of that time was spent printing. In reality, the active time is mostly spent laying things out in the Bambu Lab software and then assembling the boxes.
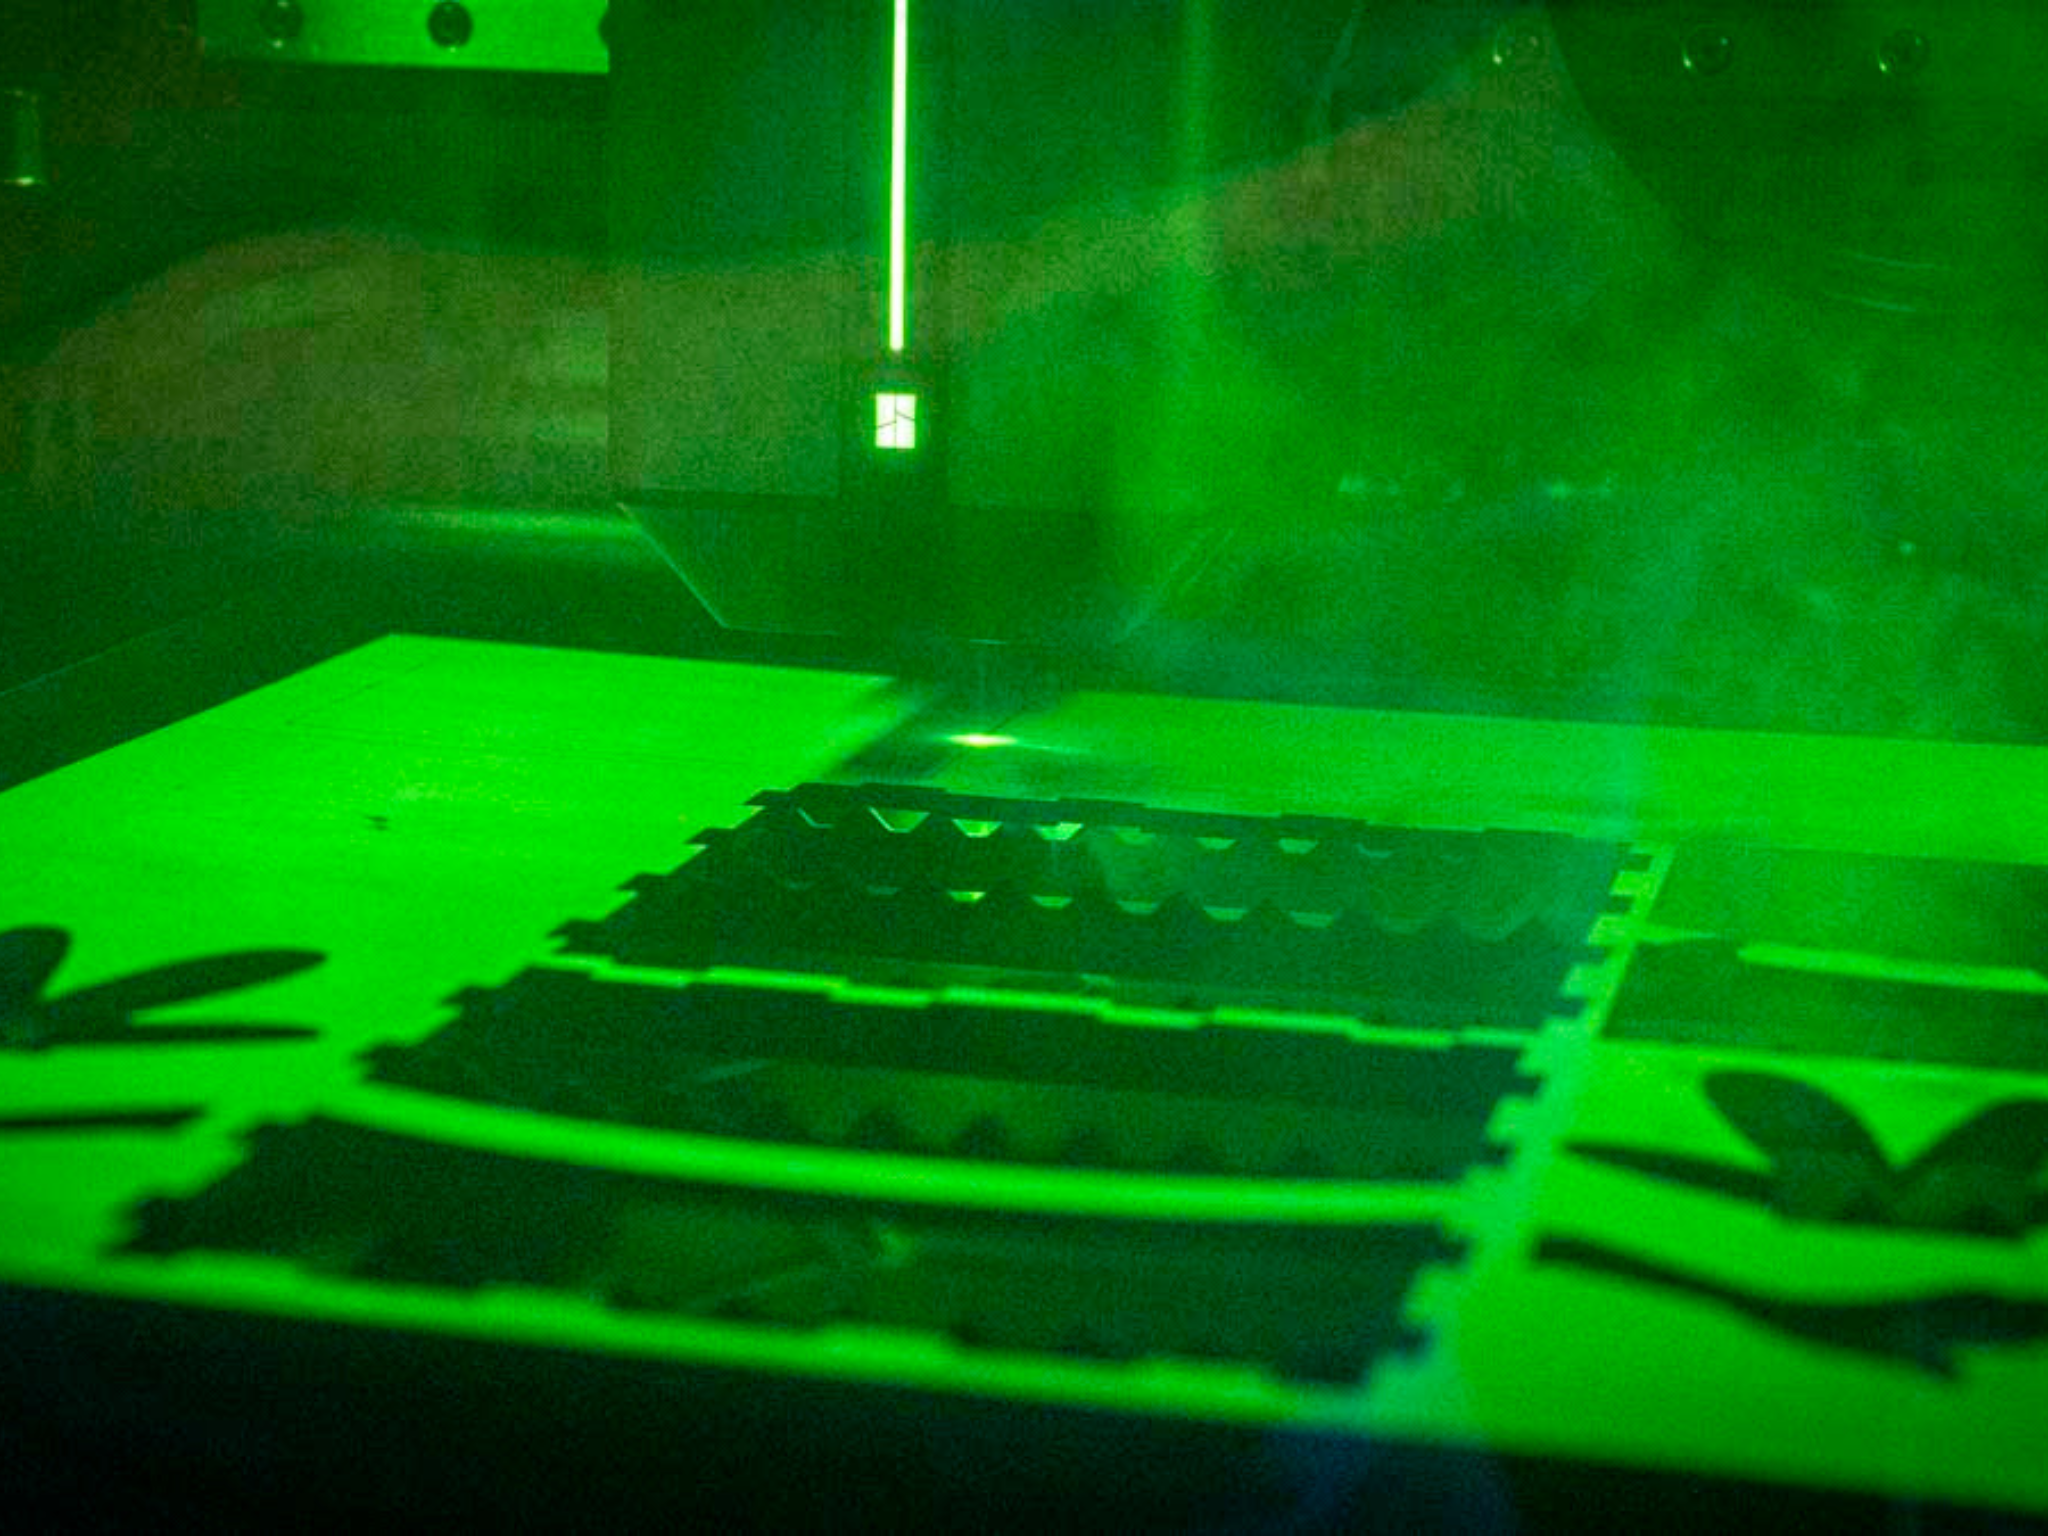
A major part of this machine is the laser cutter and engraver. If you want to sell in shops or at events, you'll need a display to show off your products. Swapping out the toolhead, removing the cutter and replacing it with the laser cutter takes just a couple of minutes. Using 3mm basewood ply, I laid out my design in the Bambu Lab software and sent it through to the H2D – another streamlined process.
Once the laser finishes cutting safely in its enclosed environment, the basewood can be removed. The parts push out and assemble easily with a bit of PVA glue, and I used the engraver to add a logo to the display, for a touch of personalisation.
When using the laser engraver, you do need an extractor. Bambu Lab makes its own, which I used for this review, with the filtration system helping to cut down fumes from both the laser and 3D printing processes.
Buy now £1849, Bambulab.com
Should you buy the Bambu Lab H2D laser full combo?
At the end of the testing period, it seems the H2D laser full combo has all of the tools required to produce multiple products, packaging and display. While the general production process is relatively simple, the software can initially be a little bit complex. While I focused purely on the small production hub use of the machine, using all tool heads, the laser area is rather small, and the real strength here is the multifilament printing. If you're thinking of using the machine for specialist materials, do consider that this is not the most straightforward to set up, but once done, the results are superb.
There are also some tweaks to the AMS system over the previous version, with the feeder funnels now ceramic rather than plastic and far more durable, which, for anyone running a print farm, will be welcome news. This product has huge potential; potential which is only limited by your imagination.
How I tested
I tested this 3D printer with the following criteria:
Why you can trust IndyBest reviews
Alastair Jennings is a photographer, technology journalist and college lecturer with more than 30 years’ experience writing for magazines and websites. He specialises in cameras, drones, 3D printing and consumer tech, combining hands-on testing with practical advice for all skill levels. Alongside his journalism, Alastair lectures in photography, TV and film, sharing his expertise with the next generation of creatives.
Want more recommendations? Check out IndyBest’s dedicated tech section, which is packed with all the latest reviews