Baldur’s Gate 3 can be an overwhelming experience, especially when you spend over 50 hours on Act 1 and arrive in the second act only to find it’s just as large — if not even bigger. Act 2 takes you to the Shadow-Cursed Lands and drastically changes the story’s tone as you fight to take down the Cult of the Absolute and the seemingly immortal warlord Ketheric Thorm.
While the main story in this section is fairly straightforward, there’s a wealth of secrets and sidequests to uncover. With that in mind, we’ve compiled a handy checklist to help guide you through the massive Act 2 of Baldur’s Gate 3.
Baldur’s Gate 3 Act 2 Main Quest List
The main quest list for Act 2 is actually quite small and streamlined, but there’s a ton of content that pops up around that main quest. Your main objective from the end of Act I carries over here, as you’ll finally be able to access Moonrise Towers. Here’s a quick list of the main quests in Act 2.
- Infiltrate Moonrise Towers
- Seek Protection From the Shadow Curse
- Follow the Convoy
- Resolve the Abduction
- Capture Isobel the Selunite Cleric (only available if you side with Flaming Fist Marcus)
- Find Ketheric Thorm’s Relic
- Defeat Ketheric Thorm
Everything to Do in Baldur’s Gate 3 Act 2

Almost the entirety of Act 2 takes place in the Shadow-Curse Lands, and the various buildings that dot the area. It’s important to note that there’s a very specific point of no return in Act 2, during the Gauntlet of Shar when you enter the Shadowfell. The game will notify you, but make sure you’ve wrapped up any major quests before heading in.
With that out of the way, here are the major things you’ll want to make sure you do in each area of Act 2. We’ve listed Last Light Inn first as the game railroads you to that location first.
Last Light Inn
- Find Dammon at the forge and give him Infernal Iron for another Karlach Upgrade. You can also give him other materials for new equipment, like the Devilfoil Masks from Grymforge for bombs.
- Talk to the Strange Ox again (found in Dammon’s forge building).
- Interact with the Bear State at the inn’s entrance for some fun character moments and lore.
- Persuade Mattis to give you the tower-shaped key, or you can buy it from him. This unlocks the Mason’s Guild.
- Speak to Jaheira and Alfira inside the Inn
- Speak to Rolan about his kidnapped siblings. He’ll then move to an area near Moonrise Towers.
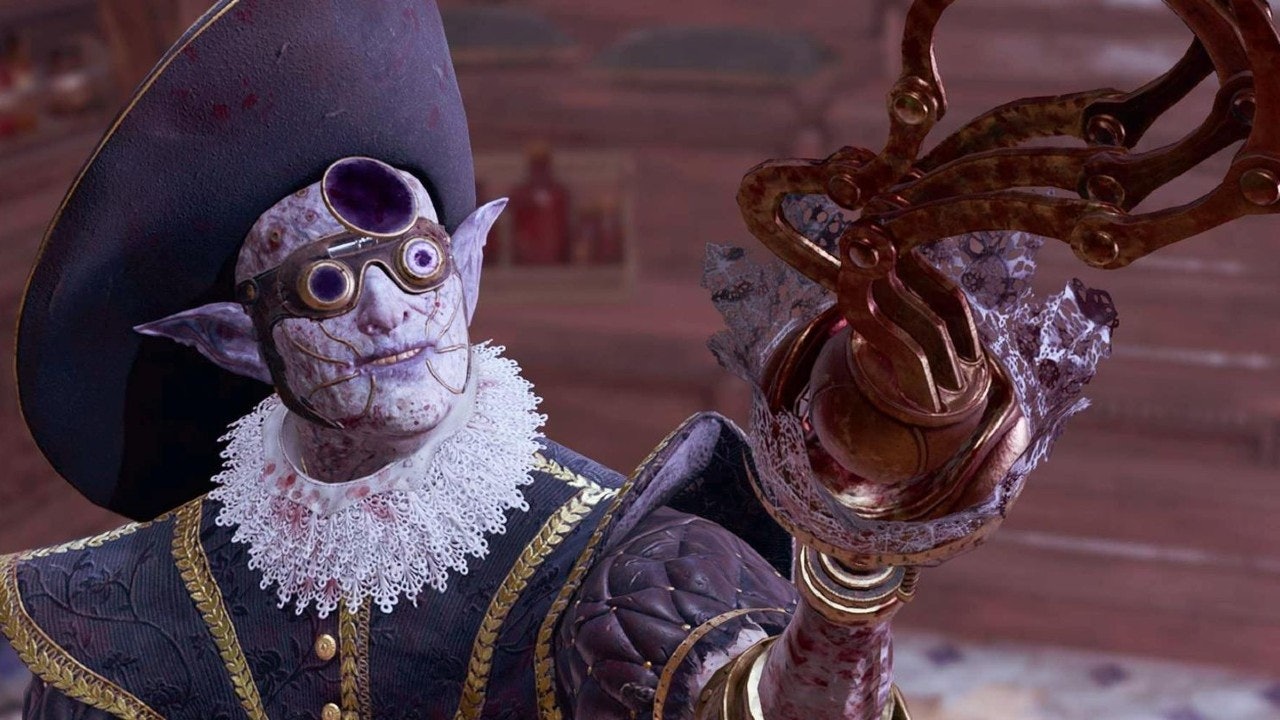
- Find Mol playing chess with Raphael to the left of the inn’s entrance. You can help her, but make sure to talk to her after you speak to Raphael. You can influence whether she should accept the devil’s deal or not.
- Enter the first room on the right to find Art Cullagh, a Flaming Fist in a coma-like state. This will unlock an option to talk to Halsin at your camp, who will then come to the inn. After another conversation you’ll unlock a quest to wake up Art Cullagh, taking you to the House of Healing.
- Find the entrance to the cellar outside of the inn for a hidden area detailing the Selunites.
- When you leave Last Light the first time a group of Harpers will ask for help ambushing a convoy. This will let you get a Moonlight Lantern, which protects you from the darkness.
Shadow-Cursed Lands
- Three ruin areas to find, each of which contains loot and Shadows to fight.
- In the Northeast find the “House with Flowers” and play hide & seek with Oliver. You’ll be returning here later with Halsin to help lift the Shadow Curse.
- In the Southeast find He-Who-Was and decide whether to help him or Madeline.
- To the East of Last Light find the Abandoned Potter’s Workshop, which has more details about the Selunite Resistance.
- Find a Night Orchic then give it to Shadowheart for a scene.
- At some point while resting at camp the Owlbear cub will appear at your camp, if you saved it.
Reithwin
- Find Arabella in the graveyard. She’ll ask you to find her parents and then head to your camp. Her parents are dead, but can be found in the House of Healing. Talk to her at camp afterward.
- The pillar at the center of town has a puzzle that unlocks Shar’s Sanctuary.
Mason’s Guild
- Find Infernal Iron sitting on a table at the back of the guild.
Tollhouse
- Speak to Thorm and pay the toll. You can then convince them they no longer need to collect the toll, which will basically make them implode. You can then loot the body for some valuable gear.
- Explore the basement’s secret room. To solve the puzzle to open the door, simply drag the two stone chairs out of the sequence. Inside the room is a Greataxe +1 and Gloves of Heroism.
- Lockpick the scattered safes for extra loot.

House of Healing
- Find Arabella’s parents in the room to the right. If you use Speak With Dead on them, you’ll have more context when you talk to Arabella again.
- Speak to Dr. Thorm and either fight him or persuade him to kîll himself. This will give you an item to wake up Art Cullagh.
- Explore the library at the top for lore details.
- Explore the morgue for extra loot.
The Waning Moon
- Find Madeline’s ledger for the He-Who-Was quest.
- Talk to the bartender. You can either fight him and his lackeys, or use skill checks to make him drink until he explodes. Loot the body for equipment and a key.
- Find the Rat Killer club by the bar.
- Open the backroom with the key to find some notes and a potion stash.
Moonrise Towers
- Speak to the cook and the Gnolls in the kitchen. Make sure to be nice to the Gnolls, as doing so can make them help you later on.
- Speak to the Ogre on the first floor to learn about the “Suspicious Sounds.” If you follow and find the sounds you’ll get some interesting foreshadowing for future events.
- Speak to the weapons & armor merchant, bring Karlach for some extra dialogue.
- Speak to the Drow potions vendor and give a blood sample for the Elixer of Human Versatility. If you have Astarion in your party she’ll ask him to drink her blood. Astarion will greatly disapprove of doing it, but if you convince him you’ll get a potion that grants permanent +2 strength to one character.
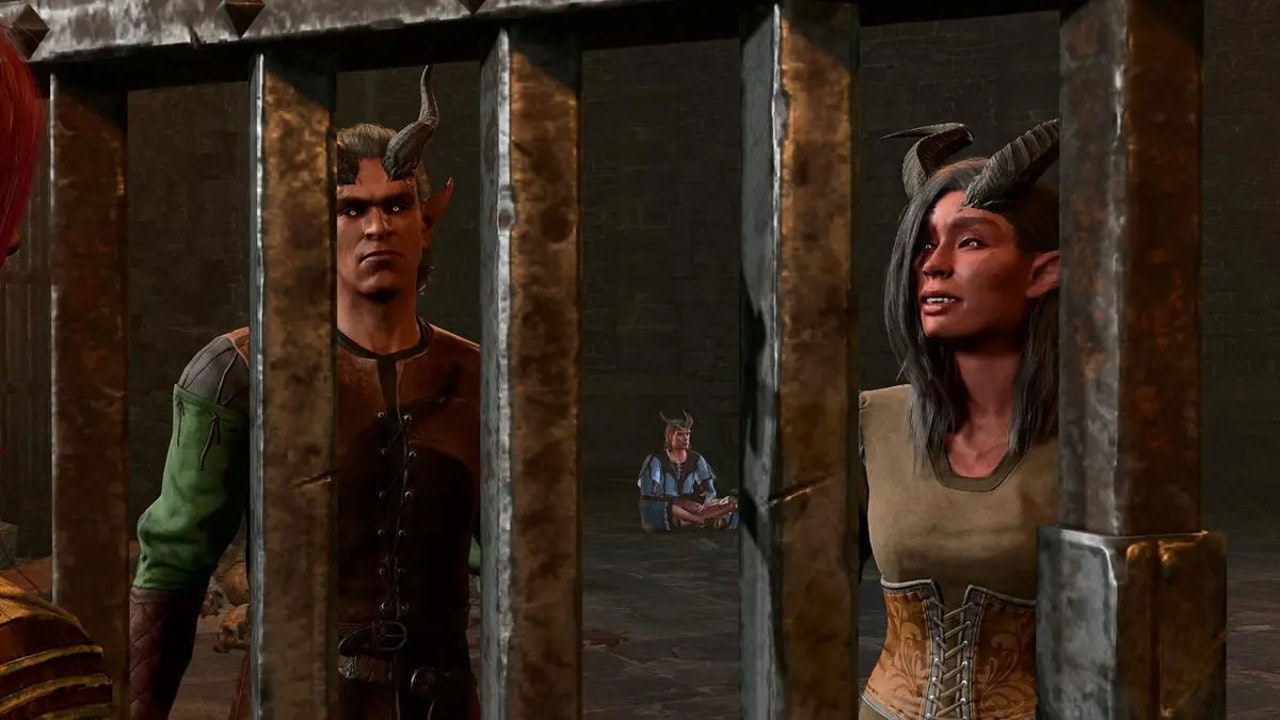
- Save the prisoners from the basement, both the Gnomes and the Tieflings. After the rescue make sure to head back to Last Light and speak to Rolan, Alfira, and Bex to complete the quest.
- Investigate Balthazar’s room on the upper level. Read his books and notes, bring Gale for extra dialogue, solve the book puzzle, and grab another Moon Lantern.
- Investigate Ketheric’s room on the upper level and read his notes and books for a ton of story details.
- Investigate Isobel’s room on the upper level for some extra lore bits.
Grand Mausoleum
- Talk to Raphael outside. Agree or not to help kîll his monster. If you do agree to kîll it, he’ll give you a hint for Astarion’s companion quest.
- Read the books and notes scattered around for a ton of lore on Ketheric Thorm.
- Find the entrance to Gauntlet of Shar.
Gauntlet of Shar
- Find Balthazar in the West room. You can Persuade him to give you a bell that lets you summon Flesh in battle.
- Find Raphael’s target in the East room. Kîll him to help Raphael and Astarion, or convince him to leave (which will upset Astarion).
- Complete all three trails
- Explore the library and solve the puzzles there to get the Dark Justiciar’s Helm and Dark Justiciar’s Armor.
- Explore the bottom of the Shar statue and speak to the rat. If you eliminate all the rats and then the Justiciar you can convince Rapheal’s enemy to leave.
Mind Flayer Colony
- Rescue Zevlor from the pods in the West, and fight three Mindflayers.
- Rescue Mizora, Wyll’s patron, from the Mindflayer prison.
- In the lab find the device that lets you insert “Minds” and speak to them. You can get a permanent perk through one Mind, and lore bits through others.
- Solve the Brain node minigame to unlock the room to the Grand Design relief that shows the Mindflayer’s plan. Also, find one of the Minds in this room.
- After defeating Ketheric Thorm, make sure to loot his body and the table in the Northwest of the room.