Auto Filter is easily one of our most used devices in Ableton Live. It's long been a workhorse tool ideal for shaping sounds, blending elements in and out of arrangements and manipulating tracks for live performances. As of the recent Live 12.2 update, it's received a massive glow-up with multiple new filter models, LFO options and more.
In the first of a new series of tutorials, Ableton Certified Trainer Tom Glendinning walks us through several ways these new filter functions can be used to add character and movement to a variety of track elements. To demonstrate this, Tom uses a track sketch inspired by classic French house composed of drums, bass, keys and a funky guitar loop.
Comb Filter
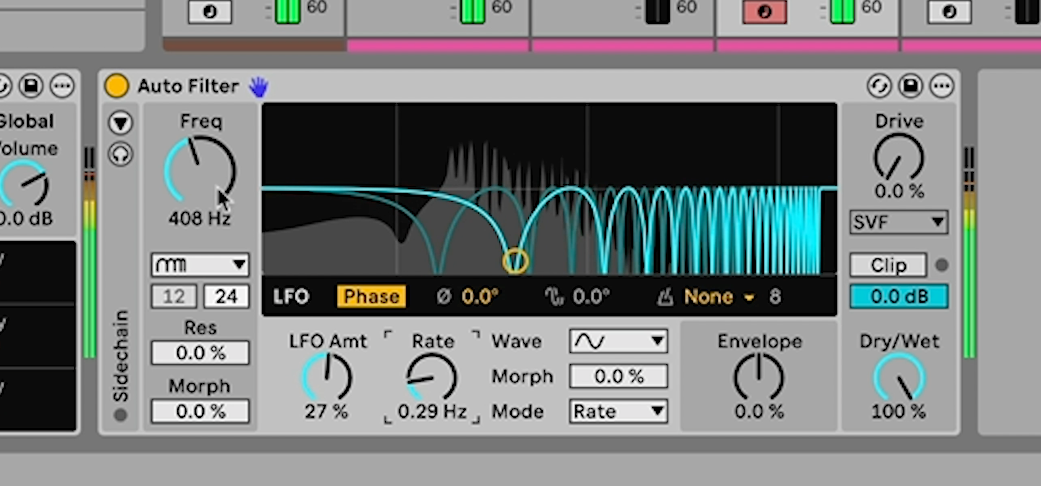
The first track element that Auto-Filter is applied to is a keys loop. The new Comb Filter mode is used to create a phasing effect that runs through the chord pattern. This is only really audible when the filter moves through the frequency range, so Auto Filter’s LFO is used to modulate the cutoff. By increasing the Phase Offset option, we get variations in the cutoff position between the left and right channels, adding extra stereo width.
Resampling Filter
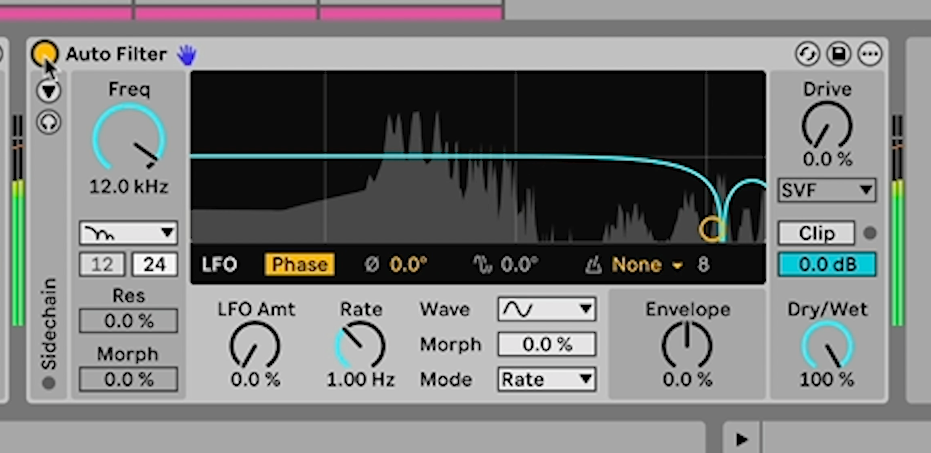
A second instance of Auto Filter is also added to the keys track. This time it’s set to Resampling mode. This creates an effect similar to bitcrushing, emulating the low bitrate tone of old school samplers. This is set with a cutoff of 12kHz to create a subtle retro ‘ringing’ tone.
Vowel Filter
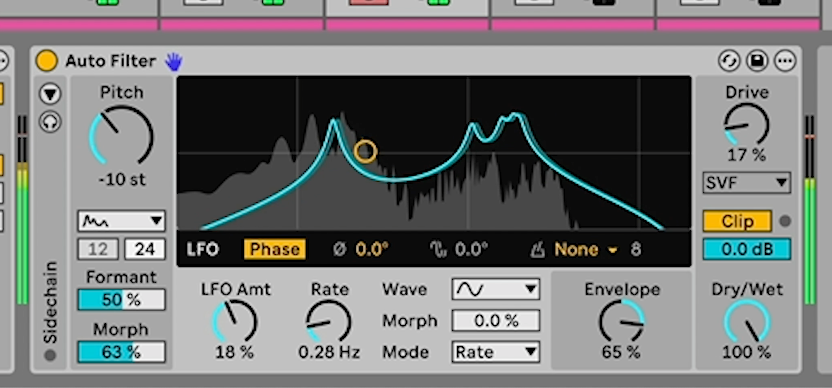
Next Auto Filter is applied to the track’s bass part. This time the new Vowel filter mode is used to create a vocal-like tone that makes the bass sound funkier and more retro. Auto Filter’s envelope follower is used here to create cutoff modulation that follows the volume level of the incoming bass signal. The LFO is used for additional movement, and a little Drive is added for a touch of grittiness.
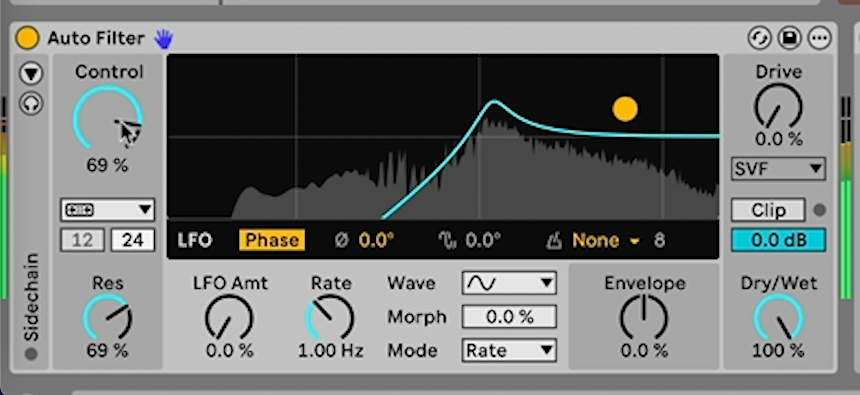
Side-Chained Filter

Another Auto Filter is added to the end of the bass effect chain. This is left in the default low pass mode, but the sidechain functionality is used so that the cutoff frequency responds to the level of a secondary input, in this case the keys. This creates a rhythmic effect where the bassline fades in and out as the chords play.
Notch+LP Filter
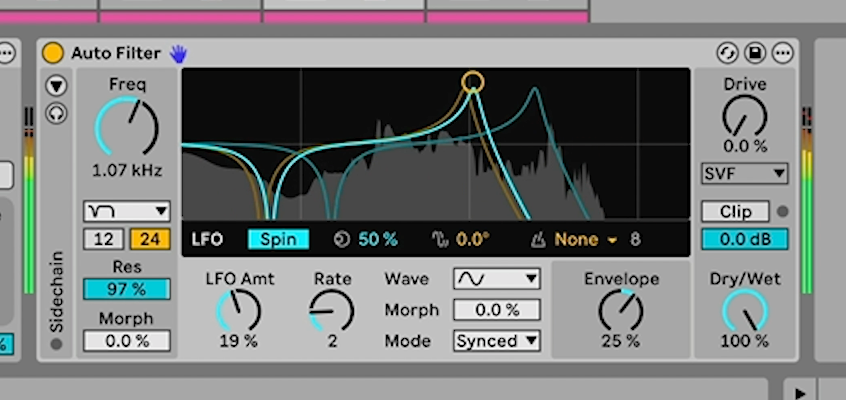
The next element is a guitar loop. Here Auto Filter is used with the Notch+LP mode engaged, another new addition with Live 12.2. This filter mode combines a low-pass filter rolling off the top end frequencies with a more surgical notch filter lower down the spectrum. Here a little resonance bump is applied along with some modulation via the envelope follower and LFO, which creates a more funky and vibrant effect. The LFO is placed in Spin mode, which creates an effect where the guitar moves around the stereo field.
DJ Filter
Finally another Auto Filter is added to the master channel. This is used in DJ mode, which applies low- and high-pass filtering depending on the direction in which the cutoff is adjusted. This is perfect for live performance or for creating arrangements, allowing us to filter out frequencies as a track builds towards a drop.
Tom Glendinning is a session musician, sound engineer, sound designer, music producer, composer, and VJ. As an Ableton-certified trainer he helps musicians be creative with Ableton Live. Connect with him at: https://elphnt.io/