Even the biggest social butterflies tend to be home a little more often in January. Coupled with the dank days and dark evenings, this means we often spot minor flaws in our living spaces that we usually miss.
From drab paint colors to dark corners, discover the five secrets your home gives away in January. They may not be drastic but these little downers can decrease the comfort of a room and make your home feel depressing. Addressing these interior issues is easy and will boost the enjoyment of your home.
Experts advise what you can do to resolve these flaws and refresh your space for the new year ahead.
1. Drab Paint Colors
The way light falls on a wall or surface can affect the way we see the color of it. On gray days and artificially-lit evenings, this can reveal drab paint tones we've not noticed before, particularly once the cheery festive decs are down.
This obviously doesn't mean having to repaint your room every time the seasons change (unless you want to). It can simply entail swapping out accessories when the sun is lower.
Natalie Jones, co-founder of colour consultancy, Etté explains that if the colour is feeling flat, then it’s likely there’s little contrast in the way of temperature.
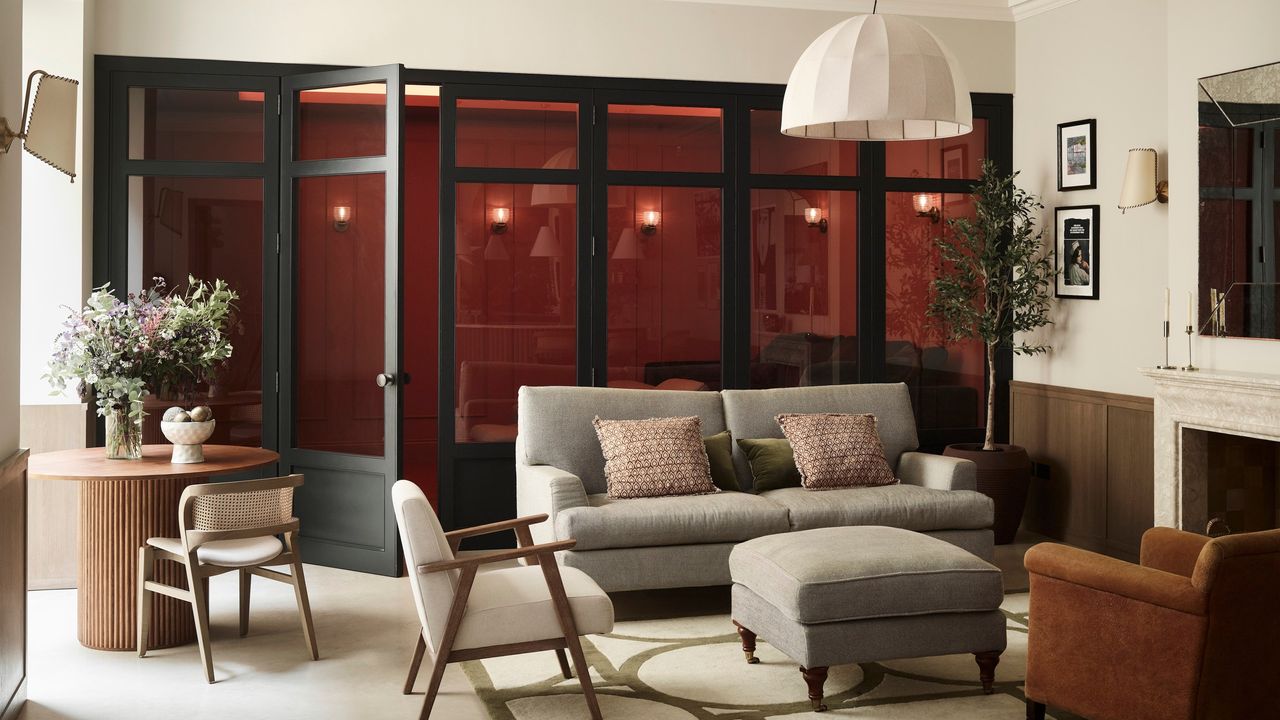
"Drab often means the room is tonally too similar, so add contrast with cushions or throws," says Natalie. "Play with depth by adding texture too, such as a boucle, velvet, wool, or linen. You can also introduce accessories with textured surfaces, such as baskets or ceramics.
"If the walls are cold or gray, consider warm woods or earthy clays, caramels, and rust. If the walls are dark, add chalky or stone whites, or maybe a warm sage green.
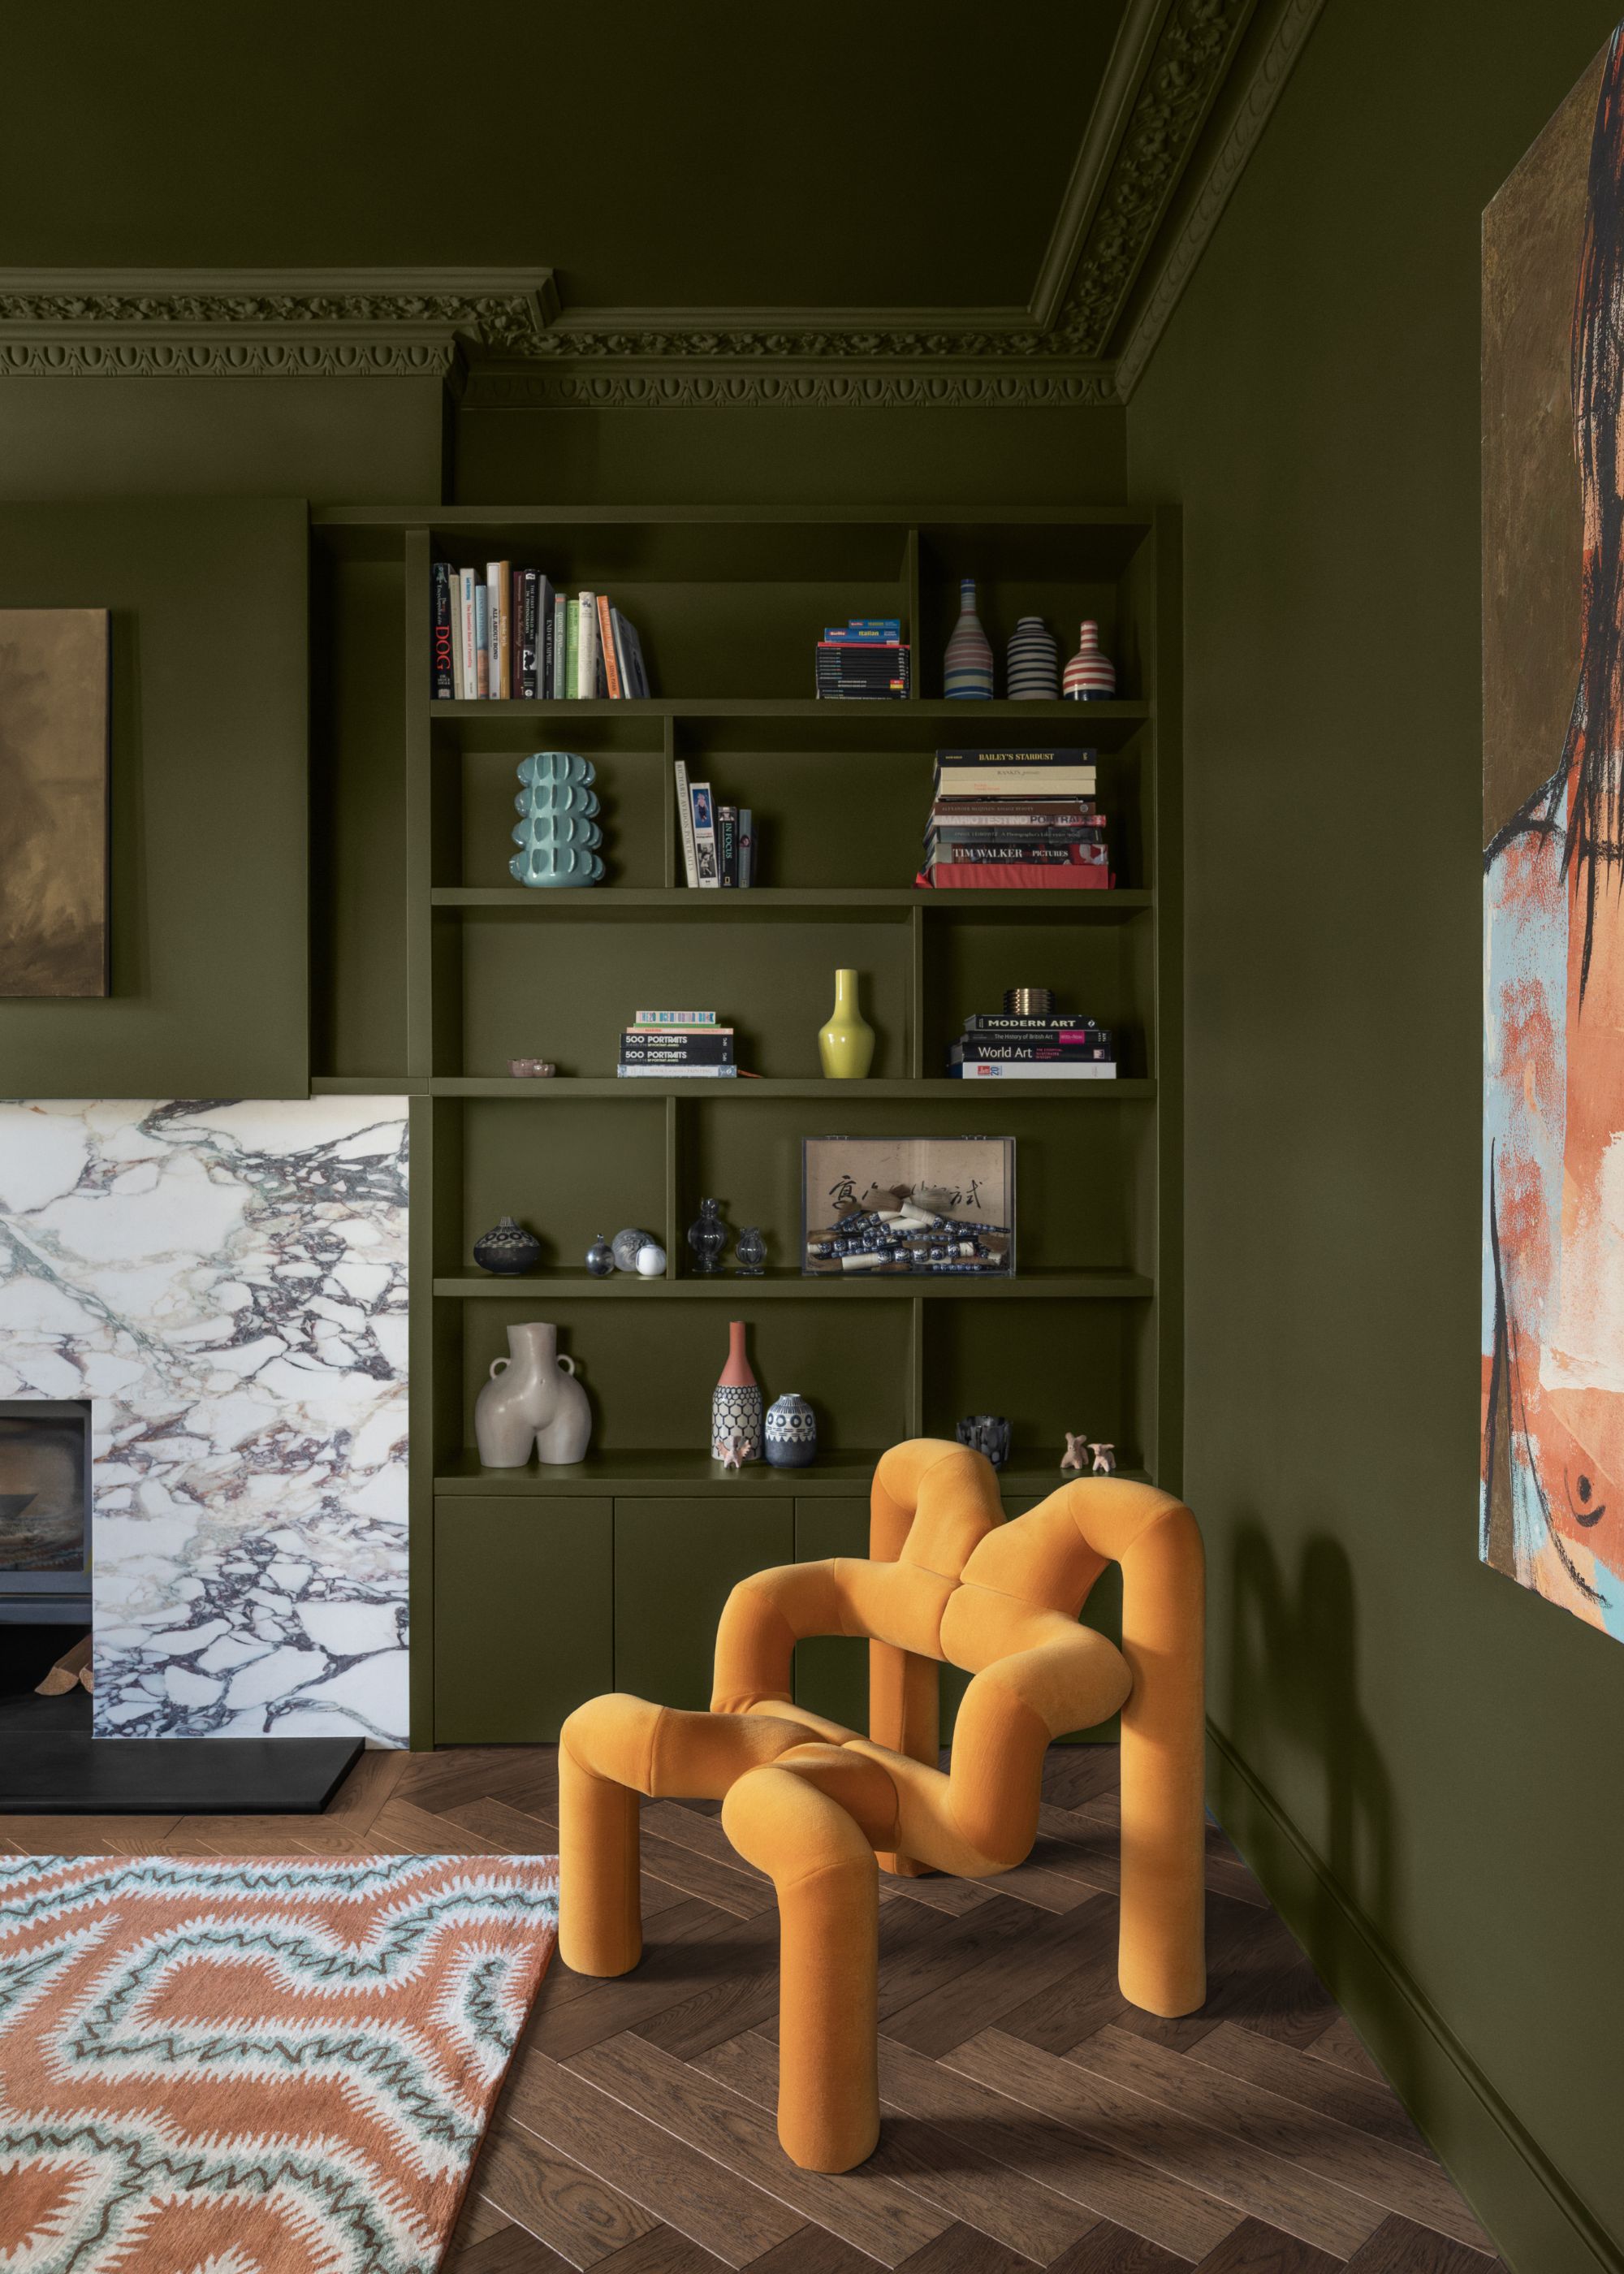
"Make sure you have interesting things to look at rather than just the color on the walls. Add a piece of art to the walls, a mirror, or an interesting shelf of curated things. Include objects that are aged brass or pewter, which have a lovely finish and bounce the light around the room. Always consider flora and fauna, even if it’s some foraged foliage or dried grasses."
"When choosing paint shades, the orientation of the room is vital as the light will change the color. So make sure you test the colors in the room itself," Natalie says, and suggests weighing up warm vs cool colors. "The temperature of the color is key, you don’t want a shade with undertones of too much yellow, as this will be ramped up when the sun starts shining. Conversely, you don’t want colours that are too cold either."
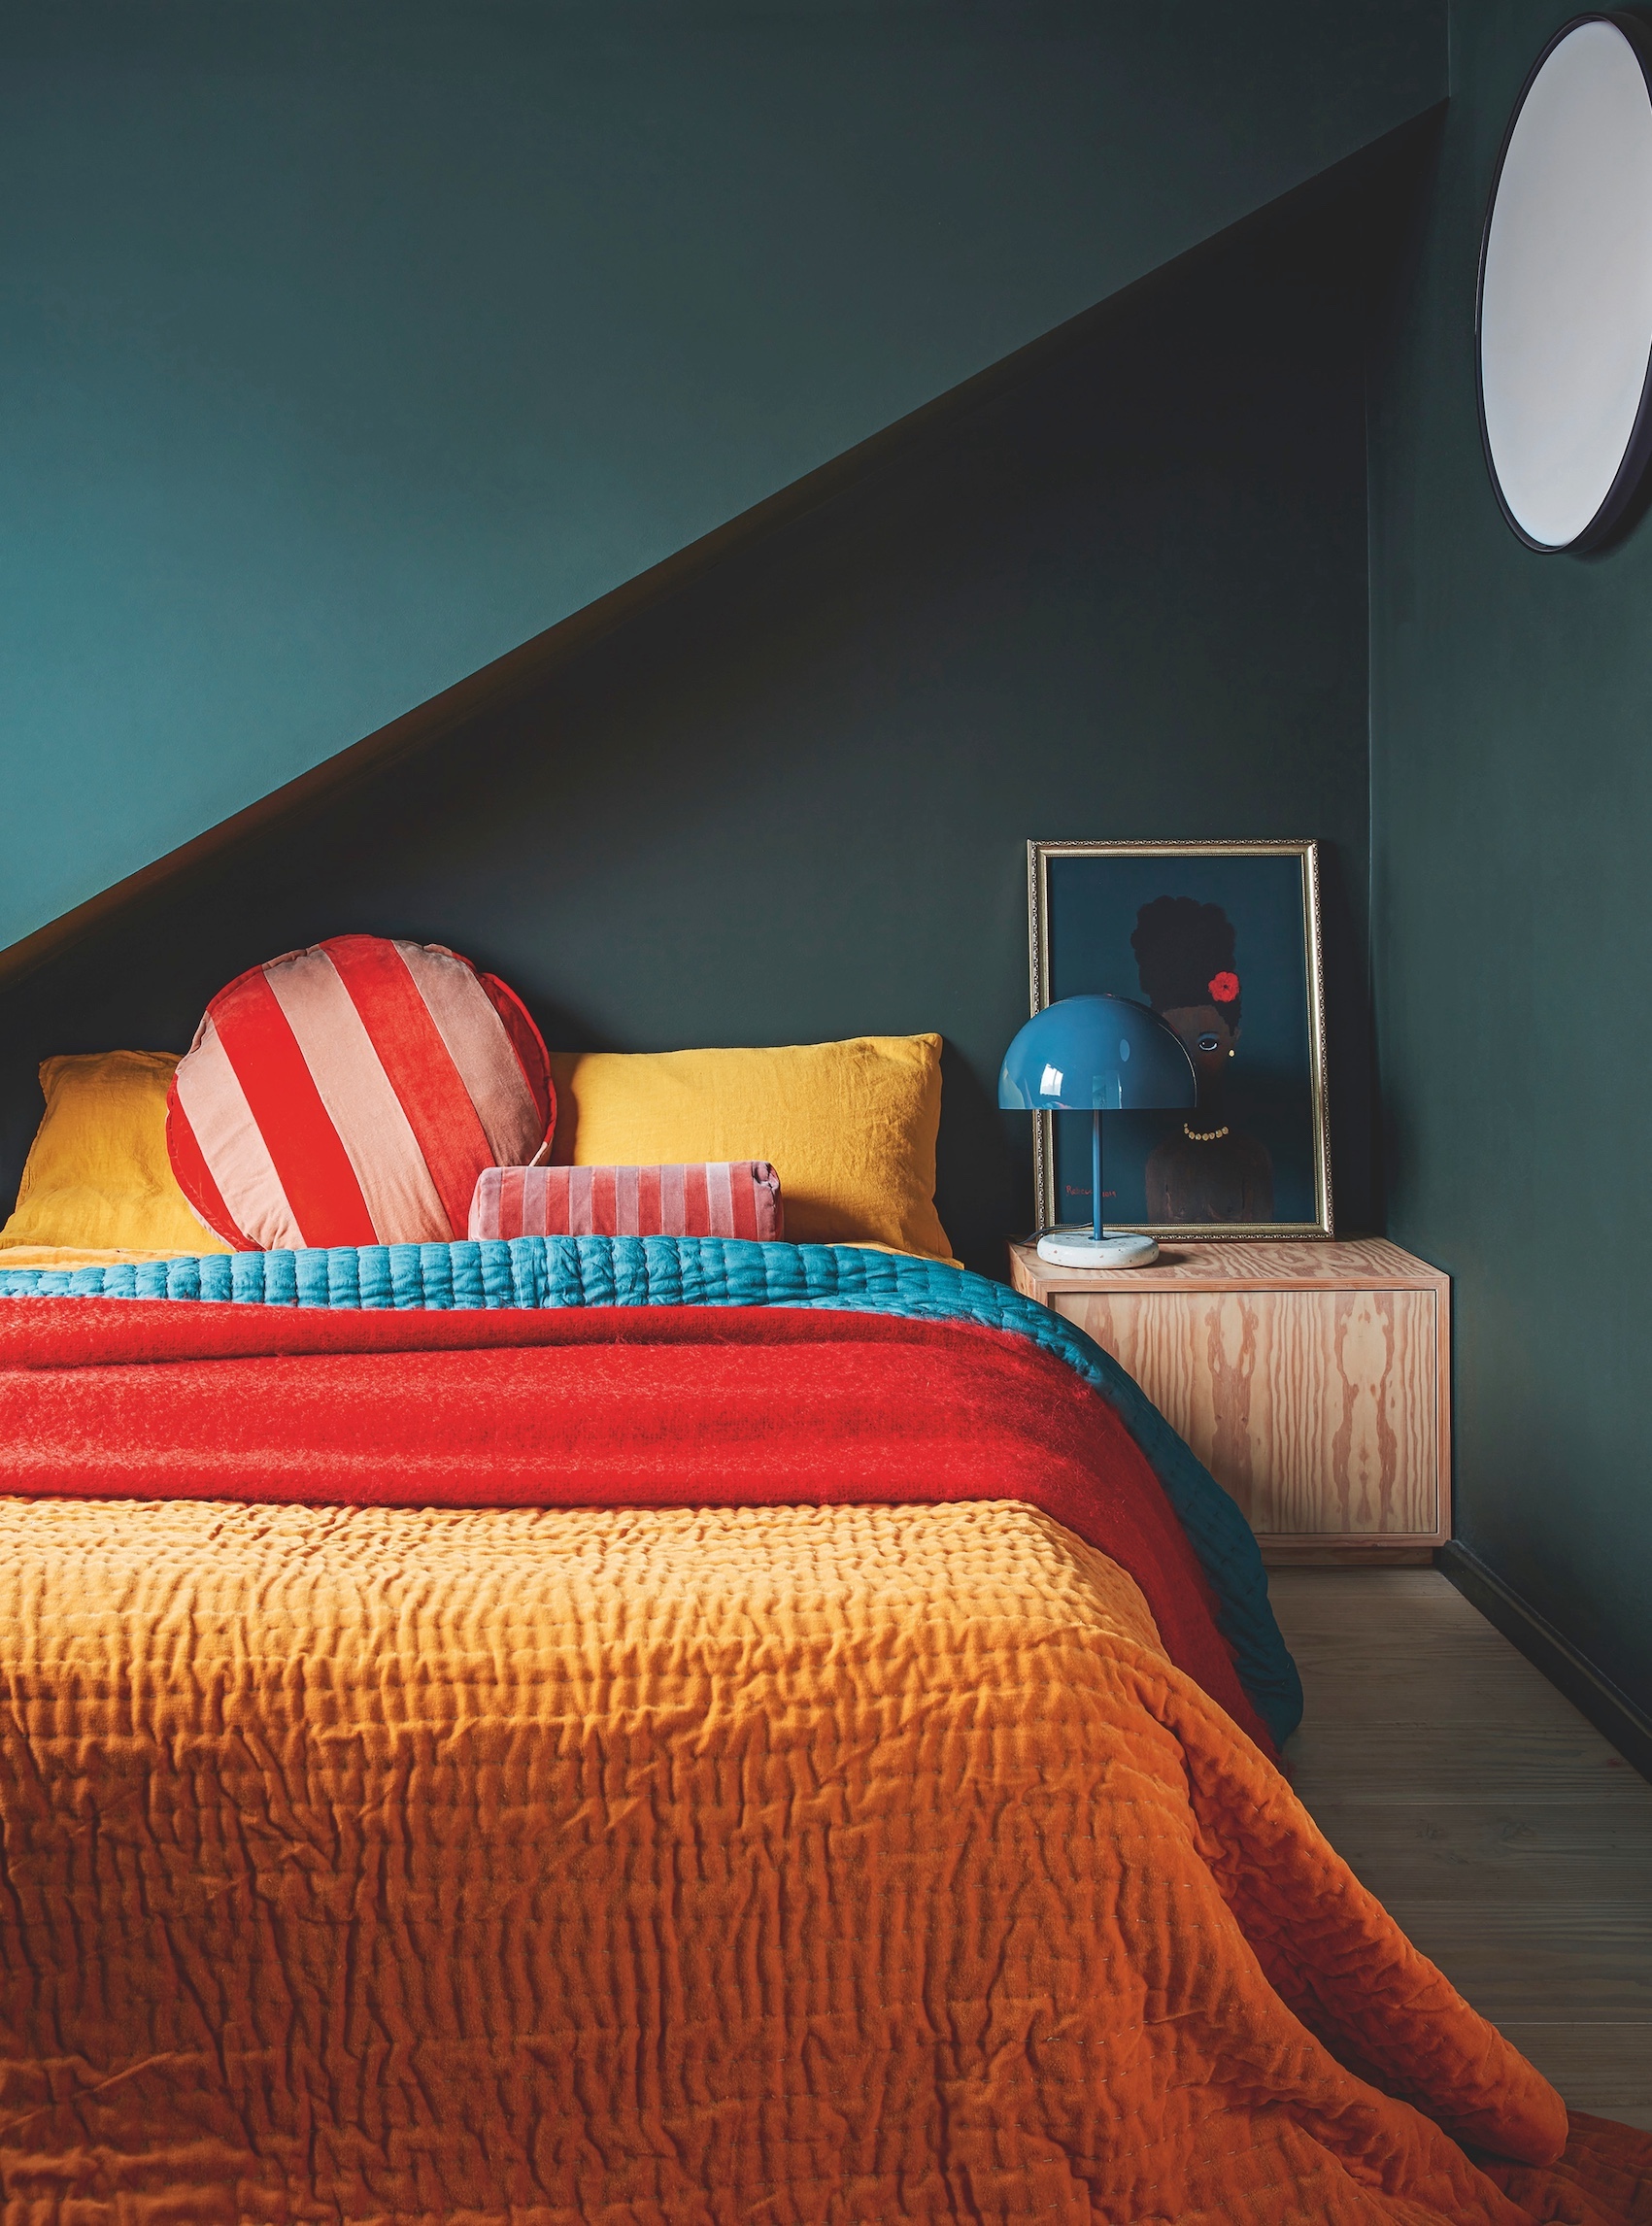
Mid-tone palettes are the safest option, Natalie explains: "Very dark colors accentuate the change in seasons. Very light colors need light for their undertones to come through. You can always add accent colour with furniture, materials, and accessories.
"Colour that's too crisp can feel soulless and sterile. However, if you love using more vibrant colours and you’re not a safe person, go for it. It can be a lovely experiencing the different qualities of a color throughout the seasons."
2. Dark Corners
A home lighting scheme is all too often an afterthought. If your fixtures and light sockets were not planned in the initial stages, it's likely that dark corners will become apparent in some of your rooms when winter hits.
Layering lighting with a combination of overhead fixtures, wall sconces, floor, and table lamps is the best way to achieve evenly distributed illumination.
"With dark corners of a room, strategic lighting placement is key," says Mara Rypacek Miller, founder of lighting brand Industville. "The goal is to create a space that feels inviting and balanced between too bright and not illuminated enough."
Ideally, avoid harsh, direct light and opt for soft, diffused lighting. "Choosing fixtures made with smoked or textured glass will help to scatter light evenly, reducing glare and creating a softer, more ambient effect," says Mara.
"Accent lighting will create inviting pools of illumination in darker corners. Table or floor lamps offer a flexible way to experiment with accent lighting without committing to permanent fixtures. When thoughtfully positioned, they become part of the room’s display, casting light at just the right height on tables, sideboards, or shelves, and gently highlighting framed artwork and prized possessions."
Your choice of light bulbs is important, too, and consider warm vs cool light choice. Many modern LEDs cast a miserable gray light. Lumens measure the brightness of the lights, so be mindful when choosing bulbs. Mara explains what to look for.
"For living spaces and bedrooms, 1,500-3,000 lumens is generally recommended," she says. "Look to the higher end of this scale if you require more brightness. However, still opt for warm white bulbs (around 2700K–3000K) to keep a welcoming glow that feels natural and complements most interior tones.
"A dimmer is a low-cost, hassle-free addition to control the amount of light at any given time. Just make sure the LED bulbs you use are dimmable, and when selecting a dimmer switch (or checking an existing one), ensure it is LED-compatible and uses a trailing-edge design."
Mirrors can also be a secret weapon when brightening a dark corner. "Mirrors not only reflect light but can increase the perceived brightness of a space by up to 30%," says Mara. "Place them opposite a light source to maximise the reflection and spread illumination more effectively throughout the area."
3. Cold Spots

Cold spots in a room can be from more than one source. The most frequent is insufficient output from your heating system or draughty doors and windows. However, these are generally easy to sort with a simple DIY fix.
"Cold spots could have a few different causes," says Angie Hicks, co-founder of home maintenance company Angi. "First, if the cold spots are near doors or windows, it could be from improper insulation or air leaks. You can fix this by adding caulk or weatherstripping around leaks near your doors or windows.
If it's not the causes mentioned, other reasons for cold spots could be due to lack of attic insulation, a thermostat malfunction or other issues .
4. Condensation on Windows
When it's cold outside, it's not unusual for condensation to build up on the inside of windows, particularly in bedrooms, bathrooms and kitchens. This can make the room feel chilly and could cause water damage to the sill.
Angie explains that window condensation happens when there is too much moisture in the air. "This could be from windows with low (or no) ventilation or from the indoor air temperature being higher than the outdoor air temperature," she says.
So how do you stop window condensation? "The simplest way to deal with this is to open your windows if you can. This will help balance the indoor/outdoor temperature differential, which will lead to less condensation. Similarly, you can also turn down the heat in your home or turn on your ceiling fans."
"The higher moisture in the air inside your home will always build up," says handyman Dan Shirley from Handyman Chicago. "The best options are regular maintenance by manual cleaning and lower humidity output from your hvac systems.
"Alternate solutions may include a moisture-eating product placed by the windows, or window water absorption stickers — these are decorative stickers that are applied to the bottom of a window (while dry) that will absorb water as it drips down from the window. If condensation is inside the glass, it needs to be repaired or replaced." You can buy condensation strips from Amazon.
5. Insufficient Storage
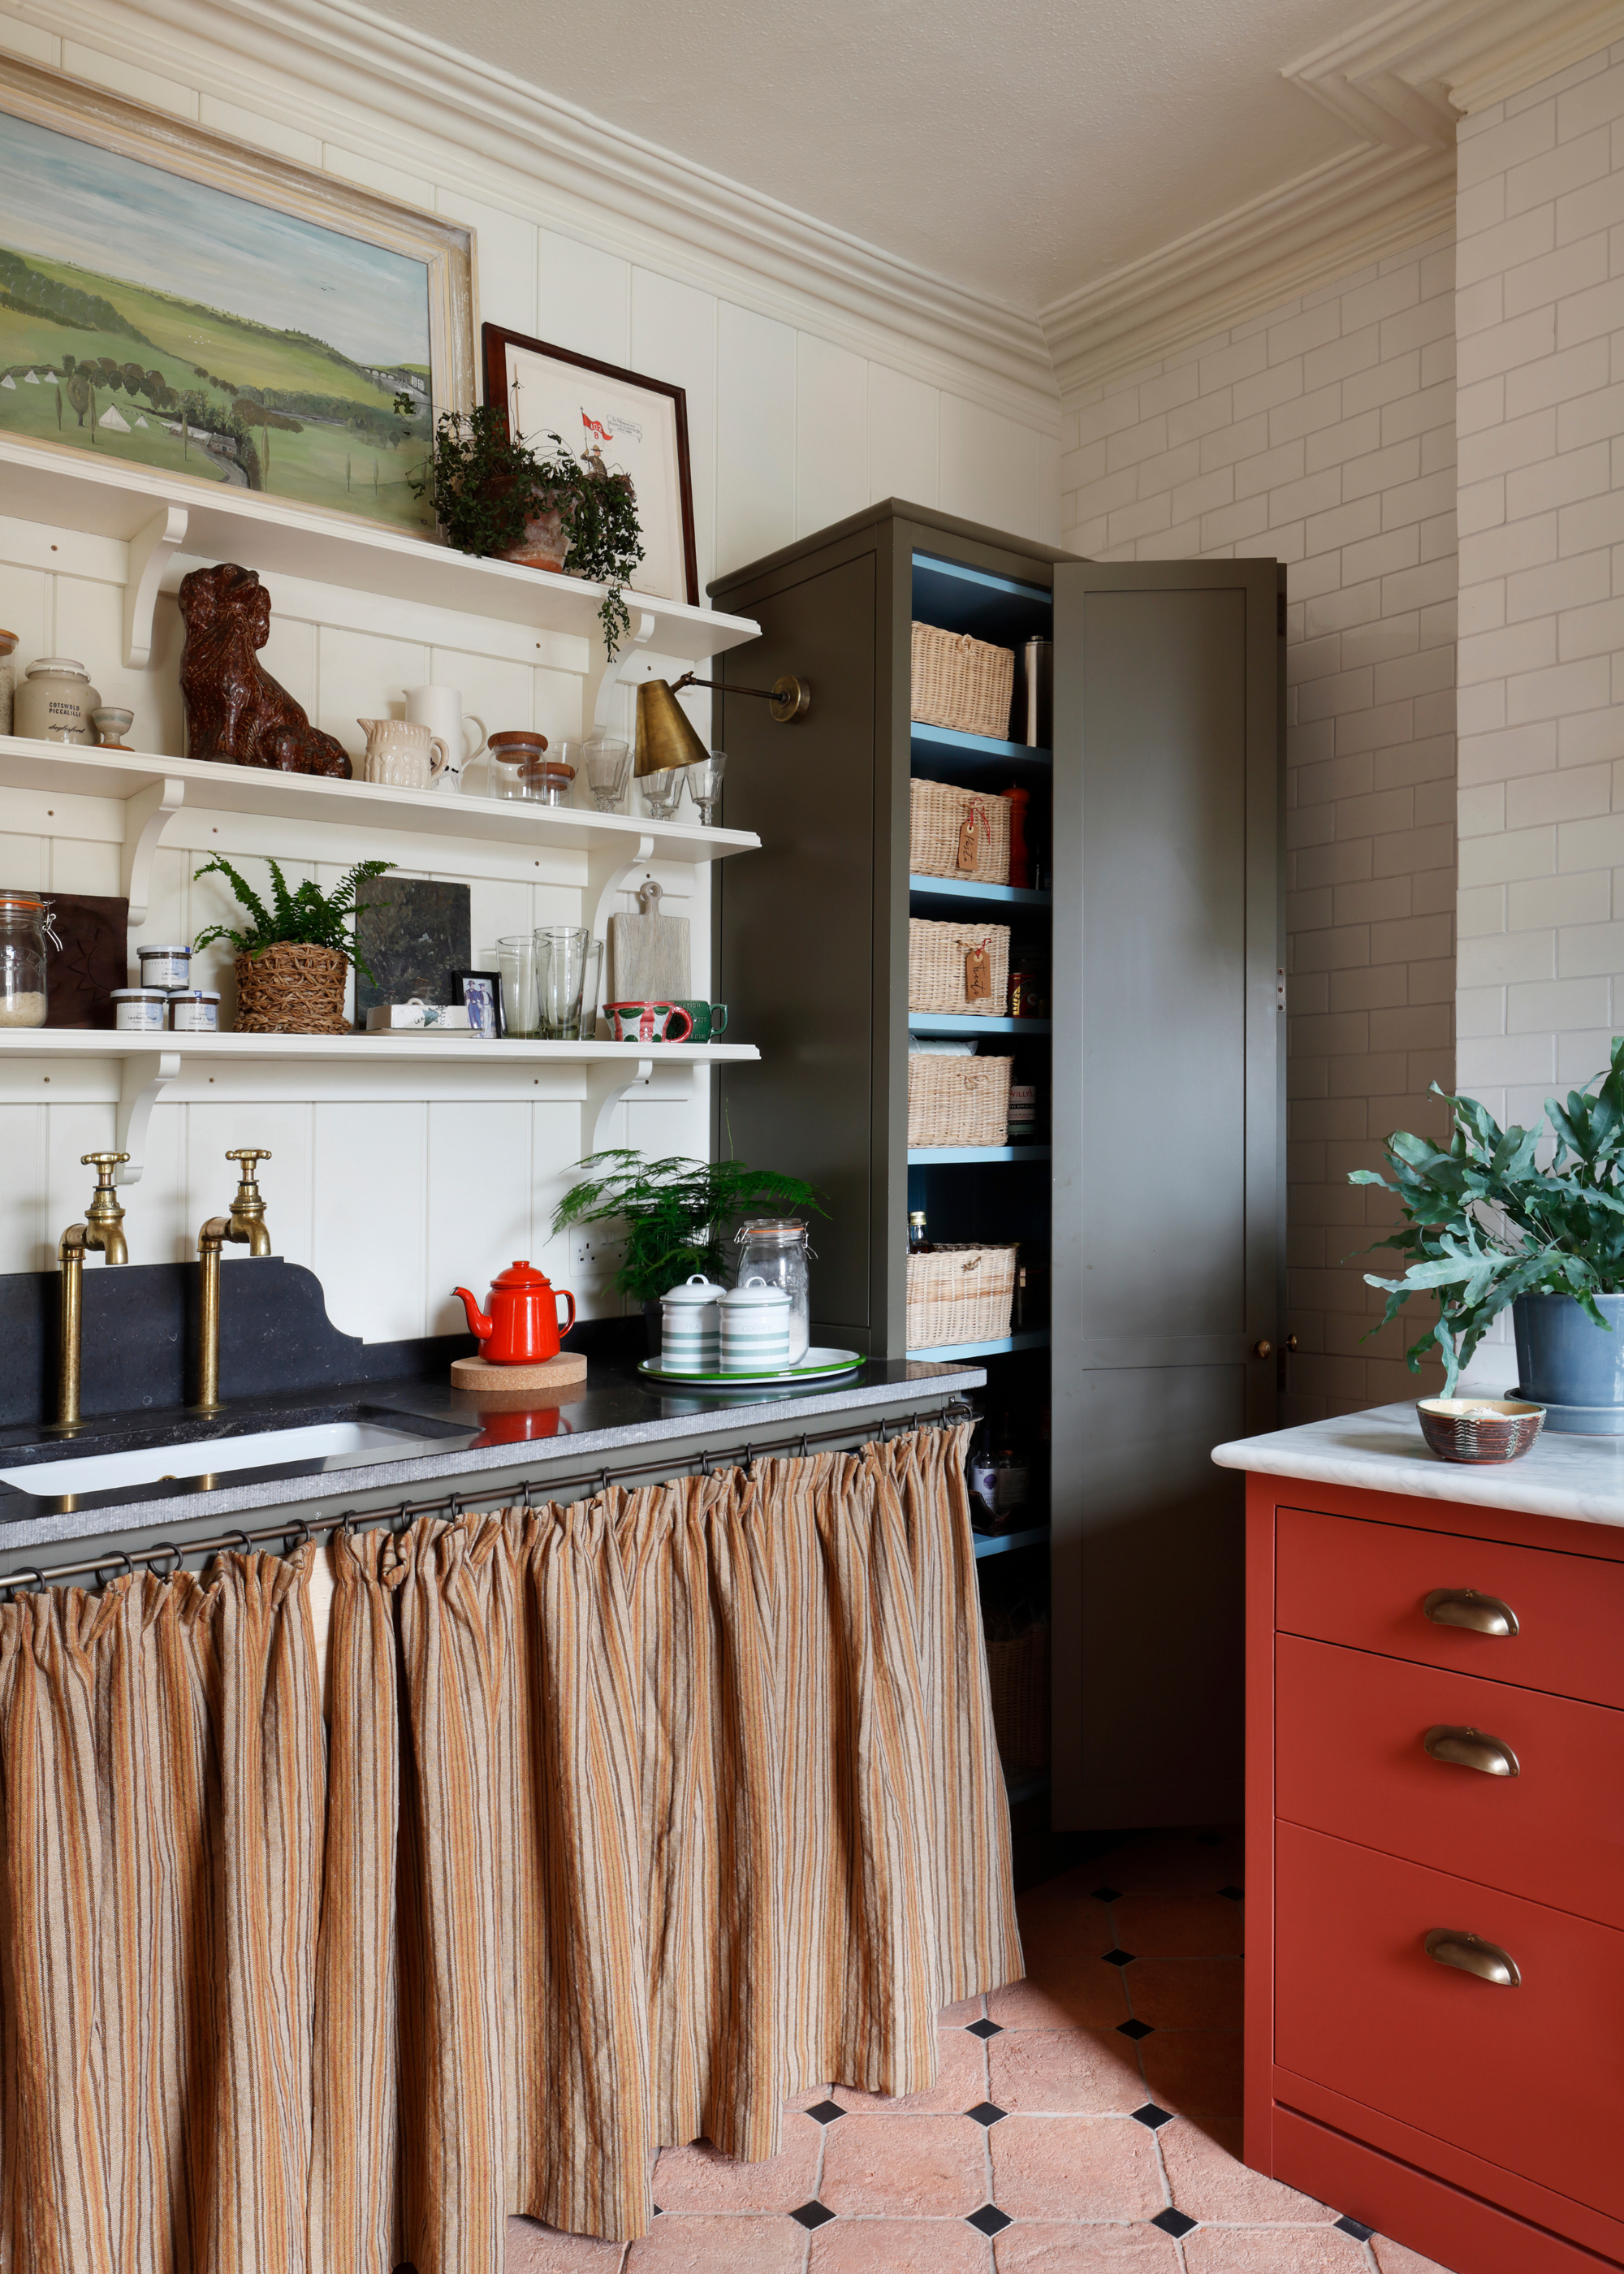
After the gift-giving season, our home storage ideas often need an upgrade – or at least a reshuffle. Finding homes for all those extra items can equate to bulging cupboards and stuffed drawers.
There are two ways to approach this. The first is with a radical declutter-room-by-room — and the second is with some extra storage and organization. A combination of the two usually works best.
Once you've de-cluttered, if you need extra storage, a simple solution is shelving. Practical items can be stored in jars or boxes, labelled and placed on shelves, so you can find them easily, for an organised approach.
If you've never fitted a shelf before, Justin Kelly, founder of How To Basically, explains how. "First, make sure you’re not going to drill into any pipework or wiring," says Justin. "Generally, this means avoiding drilling vertically or horizontally in line with any socket or tap.
"There's a wide variety of detection tools if need be. Aim for at least mid-price and a decent brand like Bosch, and take the time to read the instructions." You can find a Bosch one on Amazon. "Bear in mind they are not infallible, so if in doubt get a professional in. Ideally, turn off the water and electricity before drilling."
"Then figure out what your wall is made of as this will dictate the fixings you should use. Typicall,y outside walls are made of brick (if so, use plastic rawl plugs,) whereas inner partition walls are built out of wooden studs and plasterboard (here, use self-drill fixings if the shelf is for a light load or Fischer DuoTec for heavier loads).
"If you're fixing into wood, then just drill a pilot hole and screw the screw straight into the wood. The type of wall will dictate what drill bit to use to make the hole (spikey-ended drill bits are just for wood, whereas those with a chisel-like ending are for brick and plasterboard."
"The packaging of shelf fixings will have all the info you need regarding which size drill bit to use, depth of drilling, acceptable weight load, and any specific things to do with the type of fixing.
"Drill a small hole to start with to confirm the type of wall, then use a bigger drill bit to match the required size. Drill at a right angle to the wall and stick an old envelope underneath to catch the debris. If you need to drill to a certain depth, wrap some tape around the drill bit to match the depth you need."
Although they're not major issues, dealing with these winter home flaws will make your space so much more inviting and comfortable to spend time in, and they're generally quick weekend projects.
And who wouldn't want that in January?