Blender has long had a place in our pick of the best 3D modelling software, but it can be a bit of a rollercoaster, particularly for beginners. You start with a vision, and suddenly everything looks... wrong.
I've been there many times. I've learned many lessons through trial, error, and more frustration than I care to admit, but I'm here to make it a little easier for you. In this quick guide, I'll cover five common issues that can throw your project off the rails and how to fix them fast.
From weird shading to objects straight-up vanishing in renders, these tips will hopefully save you some headaches. You can follow the video below, or see a written breakdown of each issue further down on the page. For more pointers, you might want to see our bumper roundup of Blender tutorials.
5 Blender problems with quick fixes
01. Scale not applied in Blender
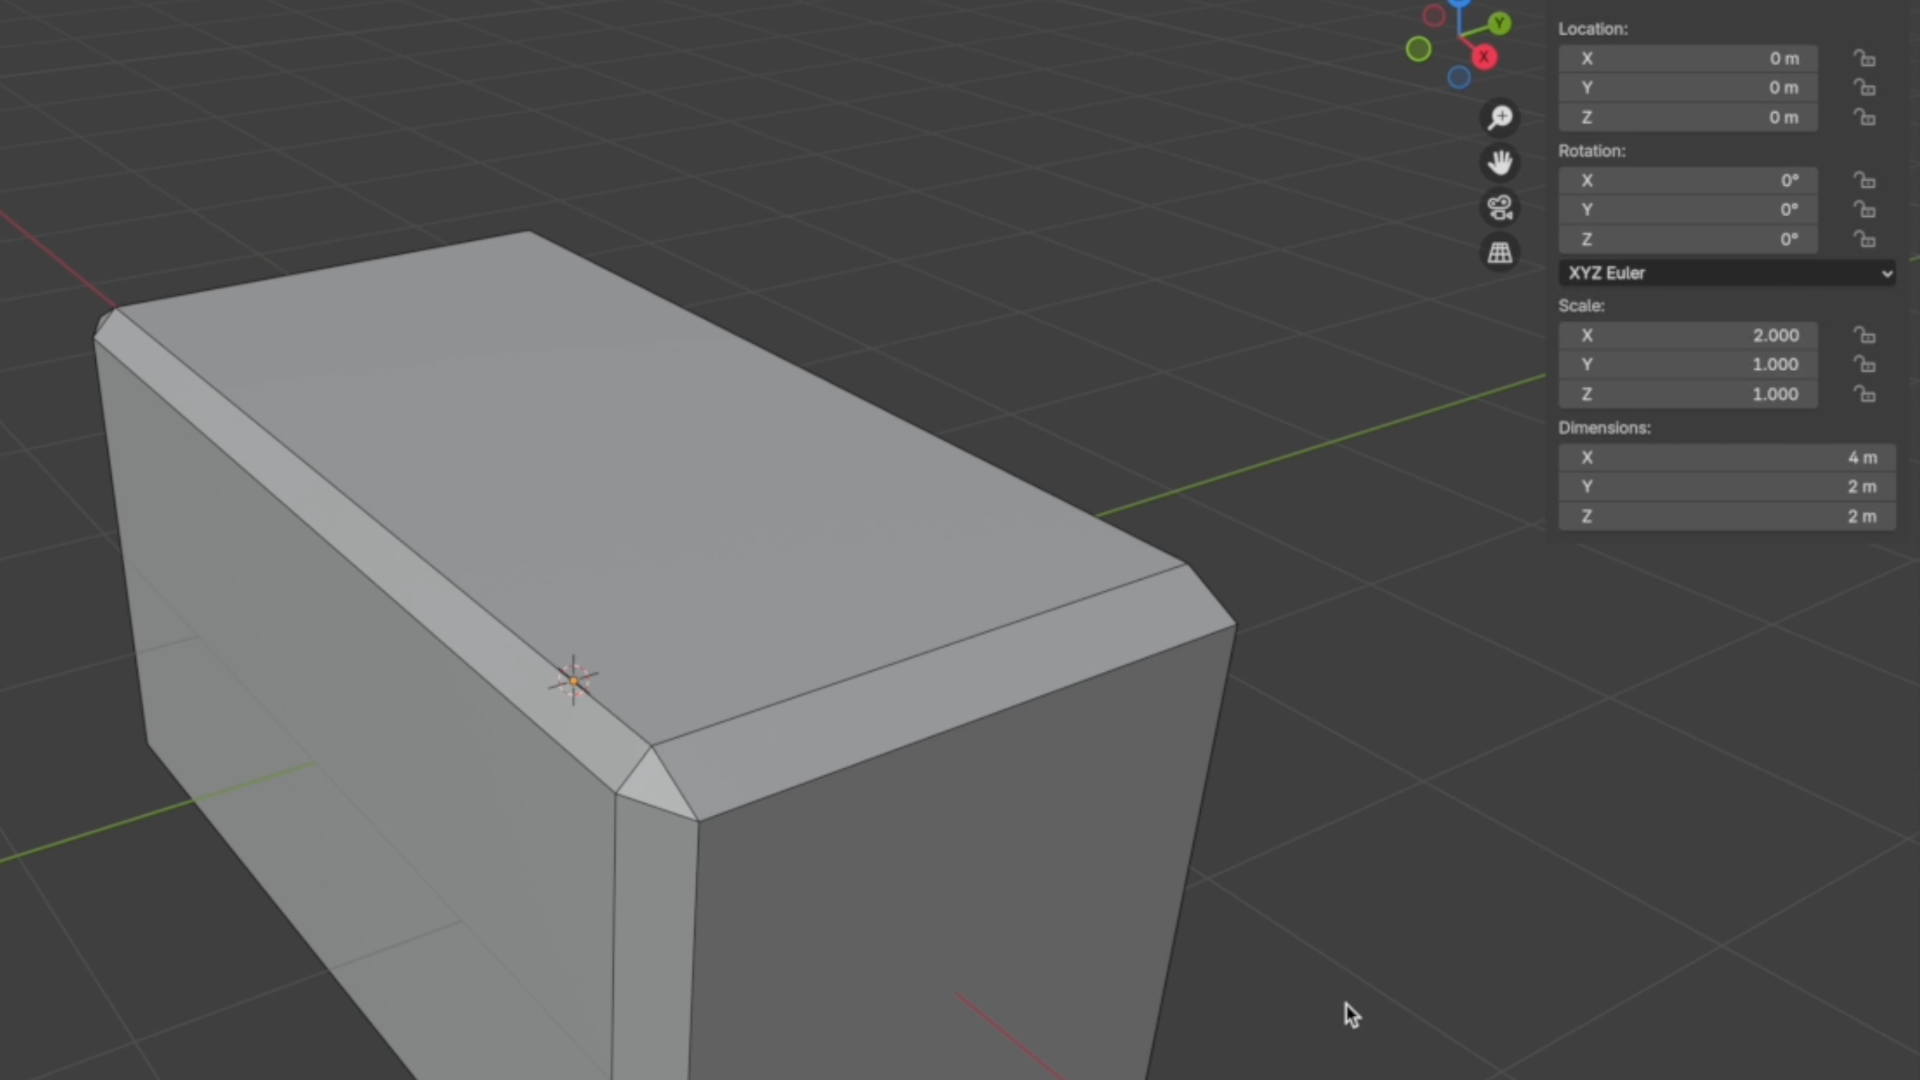
If your modifiers are acting weird, scale might be the problem. You can check the scale values by pressing N and looking in the sidebar. Ideally, all values should be set to one. To fix it, select your object and press Ctrl + A, then choose Scale. Problem solved. Always apply your scale before using modifiers!
02. Fix double vertices in Blender
Sometimes your model looks chunky or glitchy because you’ve got overlapping geometry. Go into Edit Mode (Tab), select all vertices (A), then press M and choose Merge by Distance. You’ll see a message telling you how many vertices were removed – congrats, your model just got a cleanup.
03. How to fix flipped normals in Blender
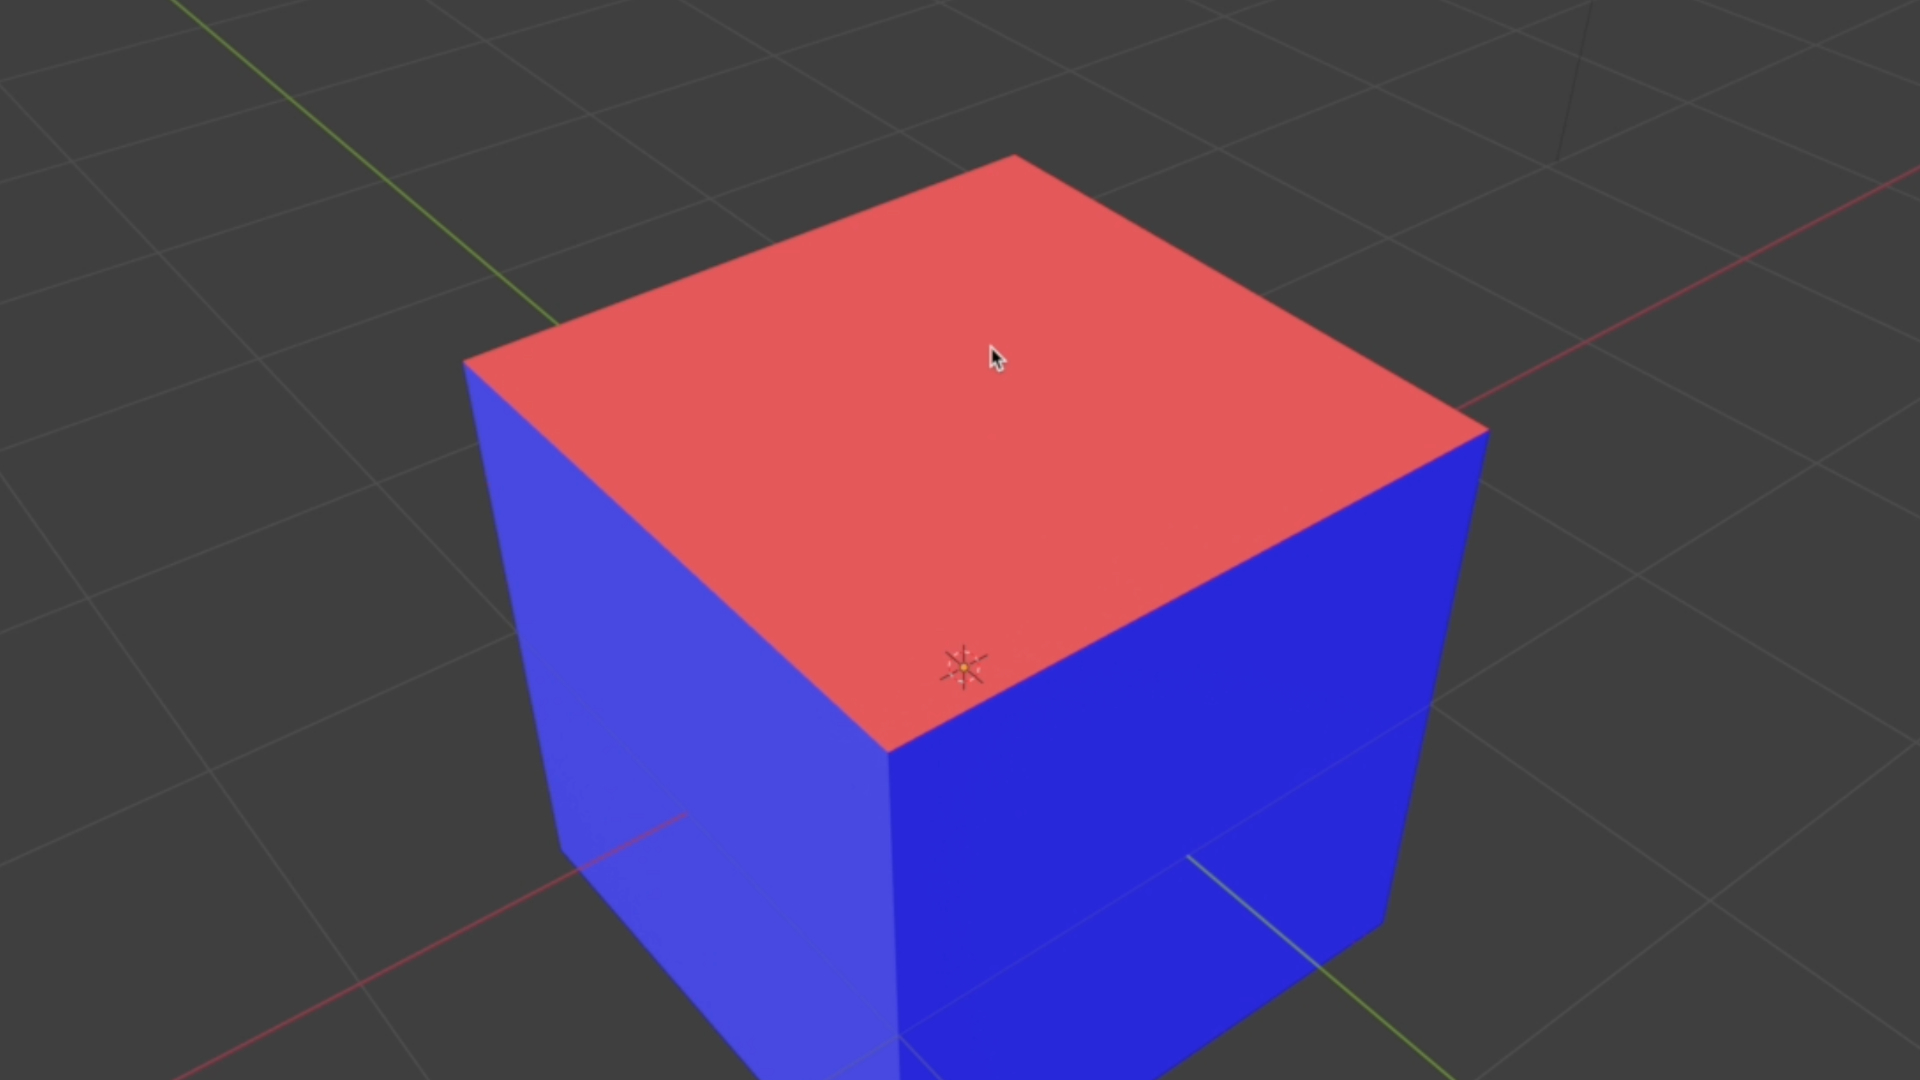
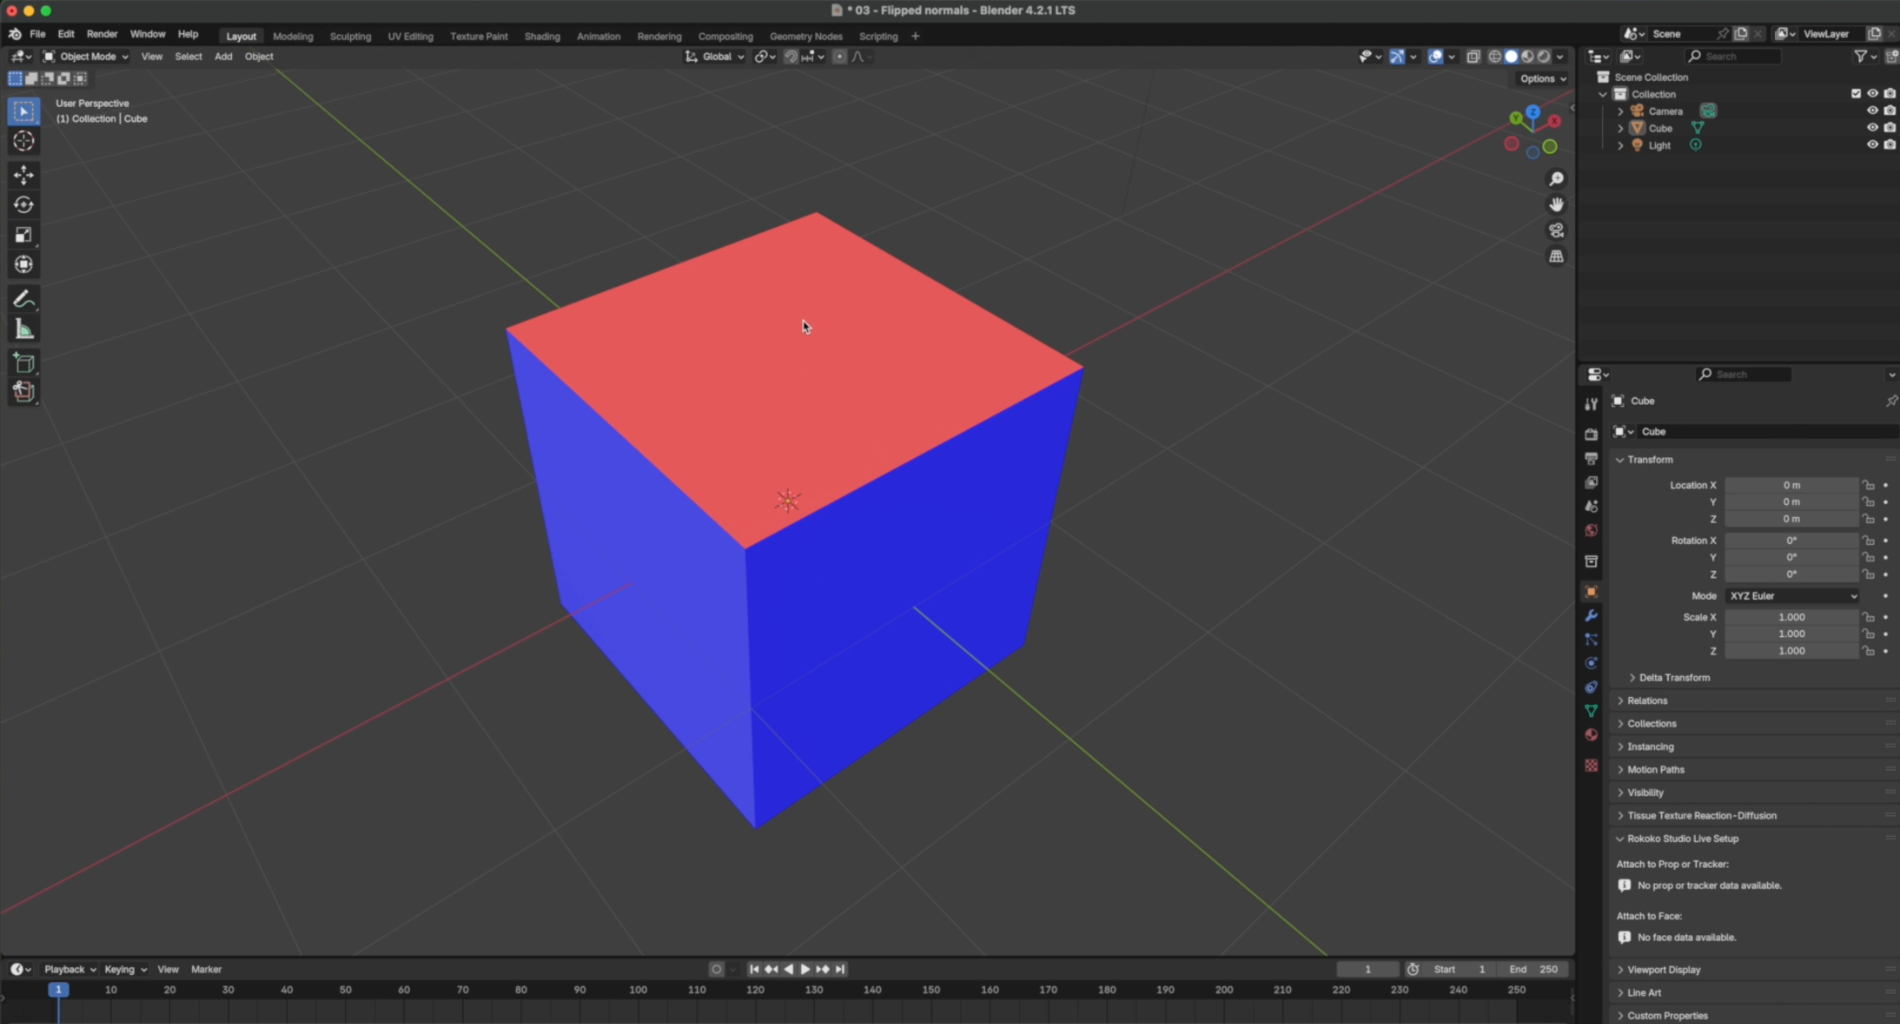
If one side of your model looks darker or completely wrong when lit, flipped normals are probably to blame. You can spot them by enabling Face Orientation in the Overlays menu – bad faces will be highlighted in red. To fix it, go to Edit Mode (Tab), select all faces (A), and press Shift + N to recalculate normals. Your model should look normal again – literally.
04. Object origin points causing weird rotations
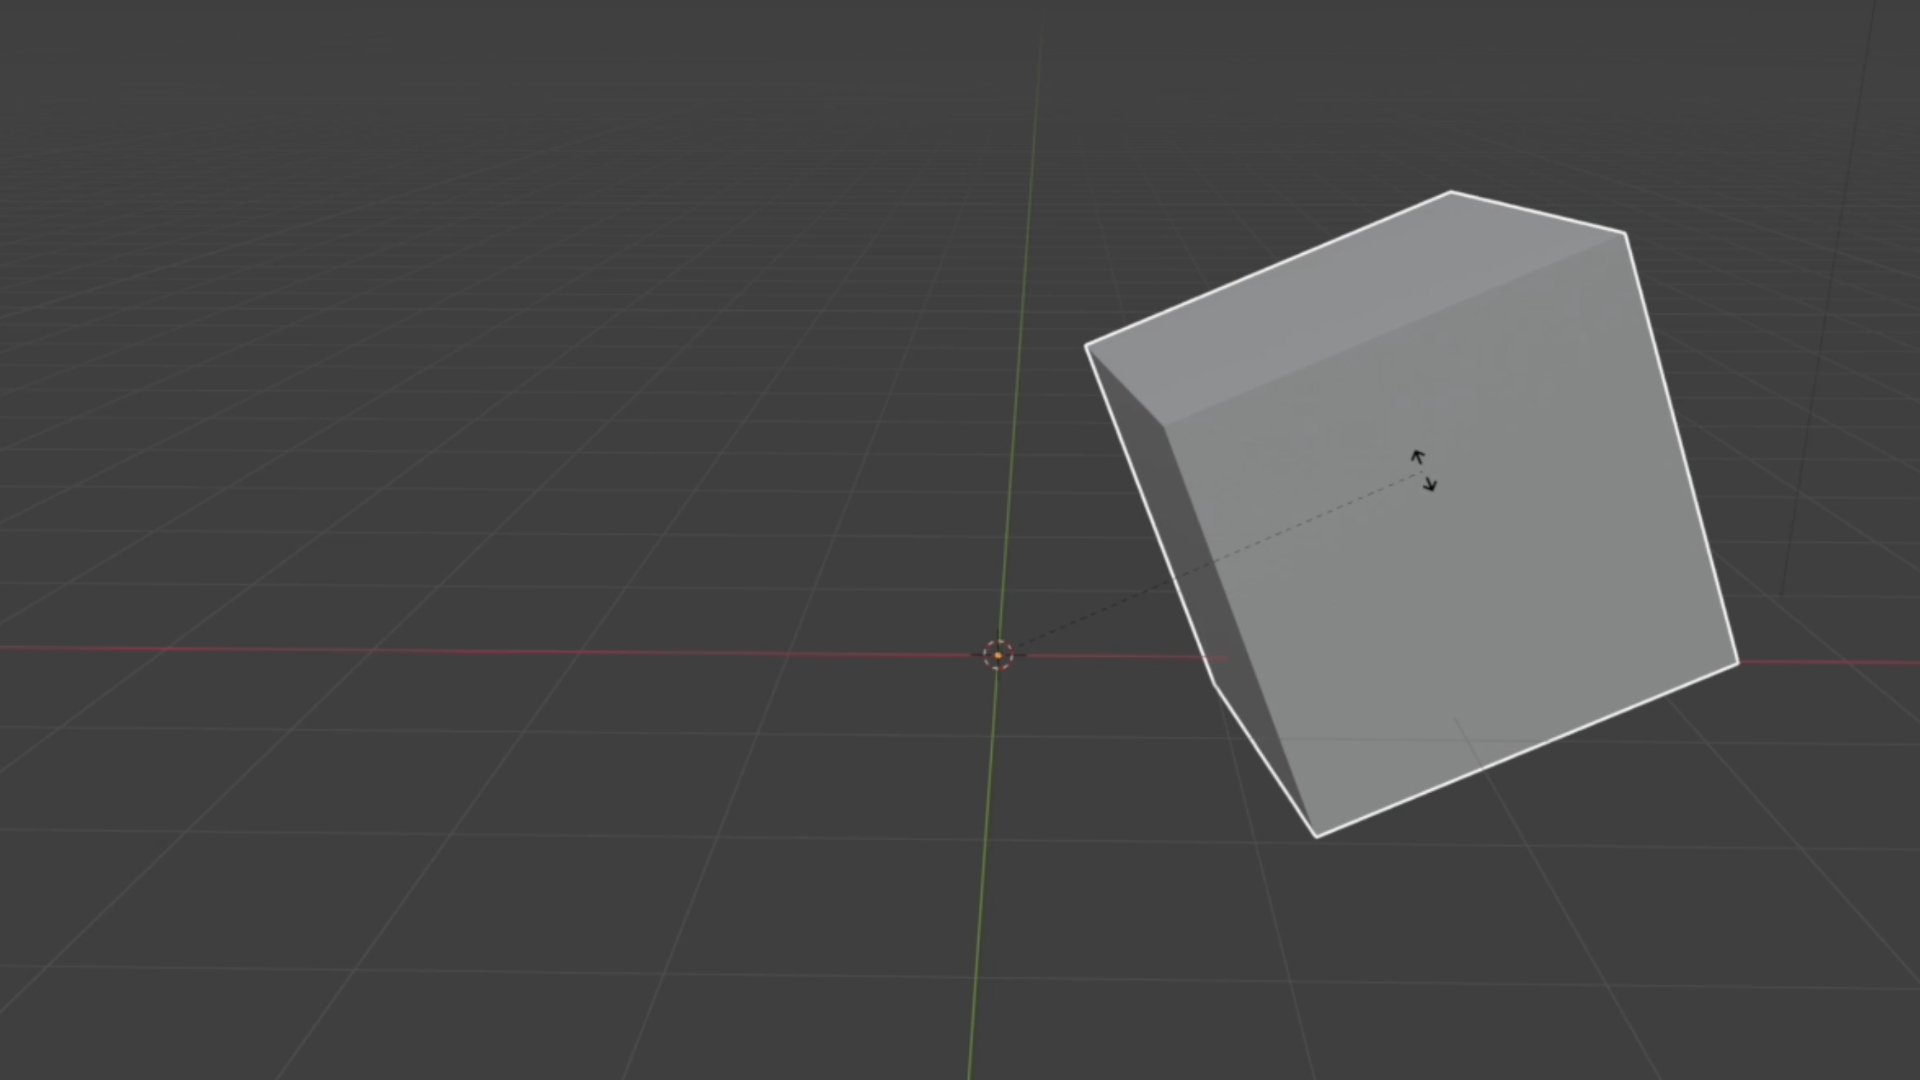
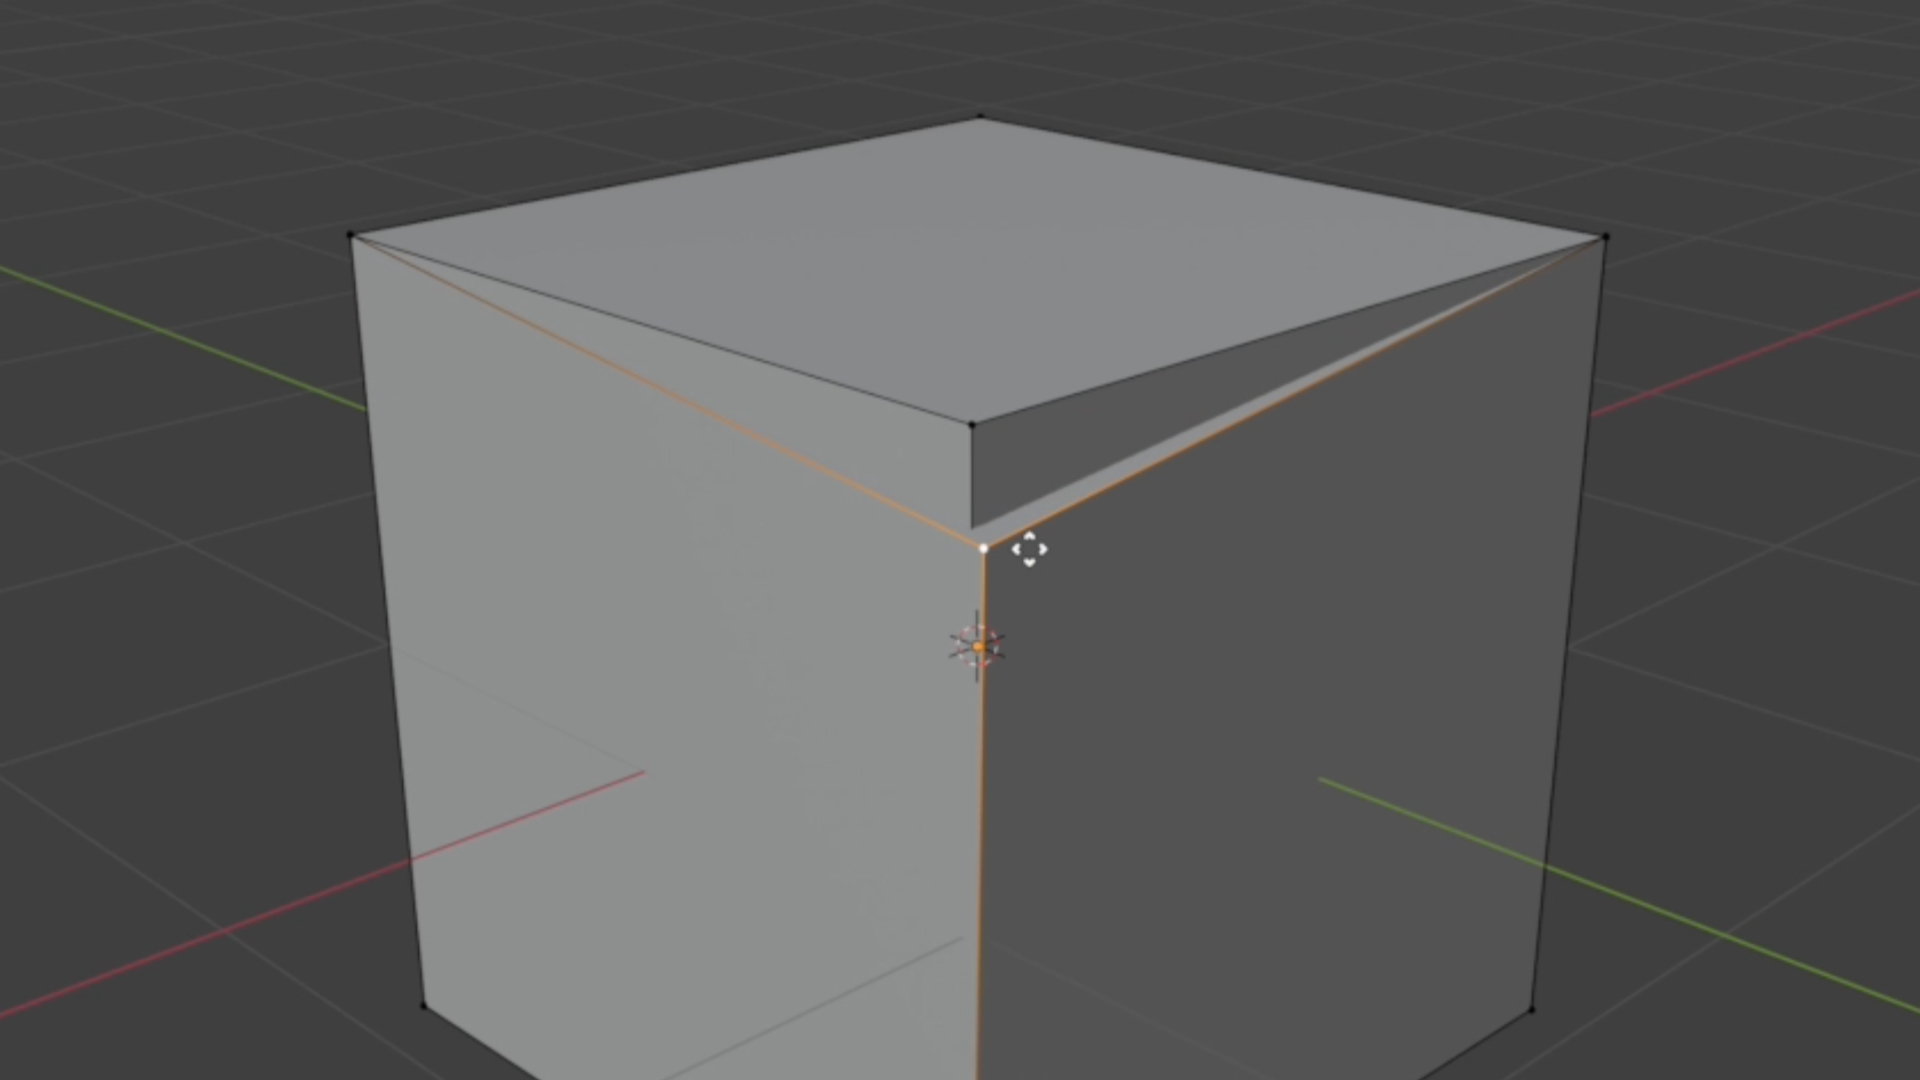
If your object rotates like it’s possessed, the origin point is probably in a weird place. You can see the origin as a little orange dot. To fix it, right-click the object and choose Set Origin → Origin to Geometry. Now, your object will rotate around its center instead of orbiting some random point in space. Much better.
05. Render visibility issues in Blender
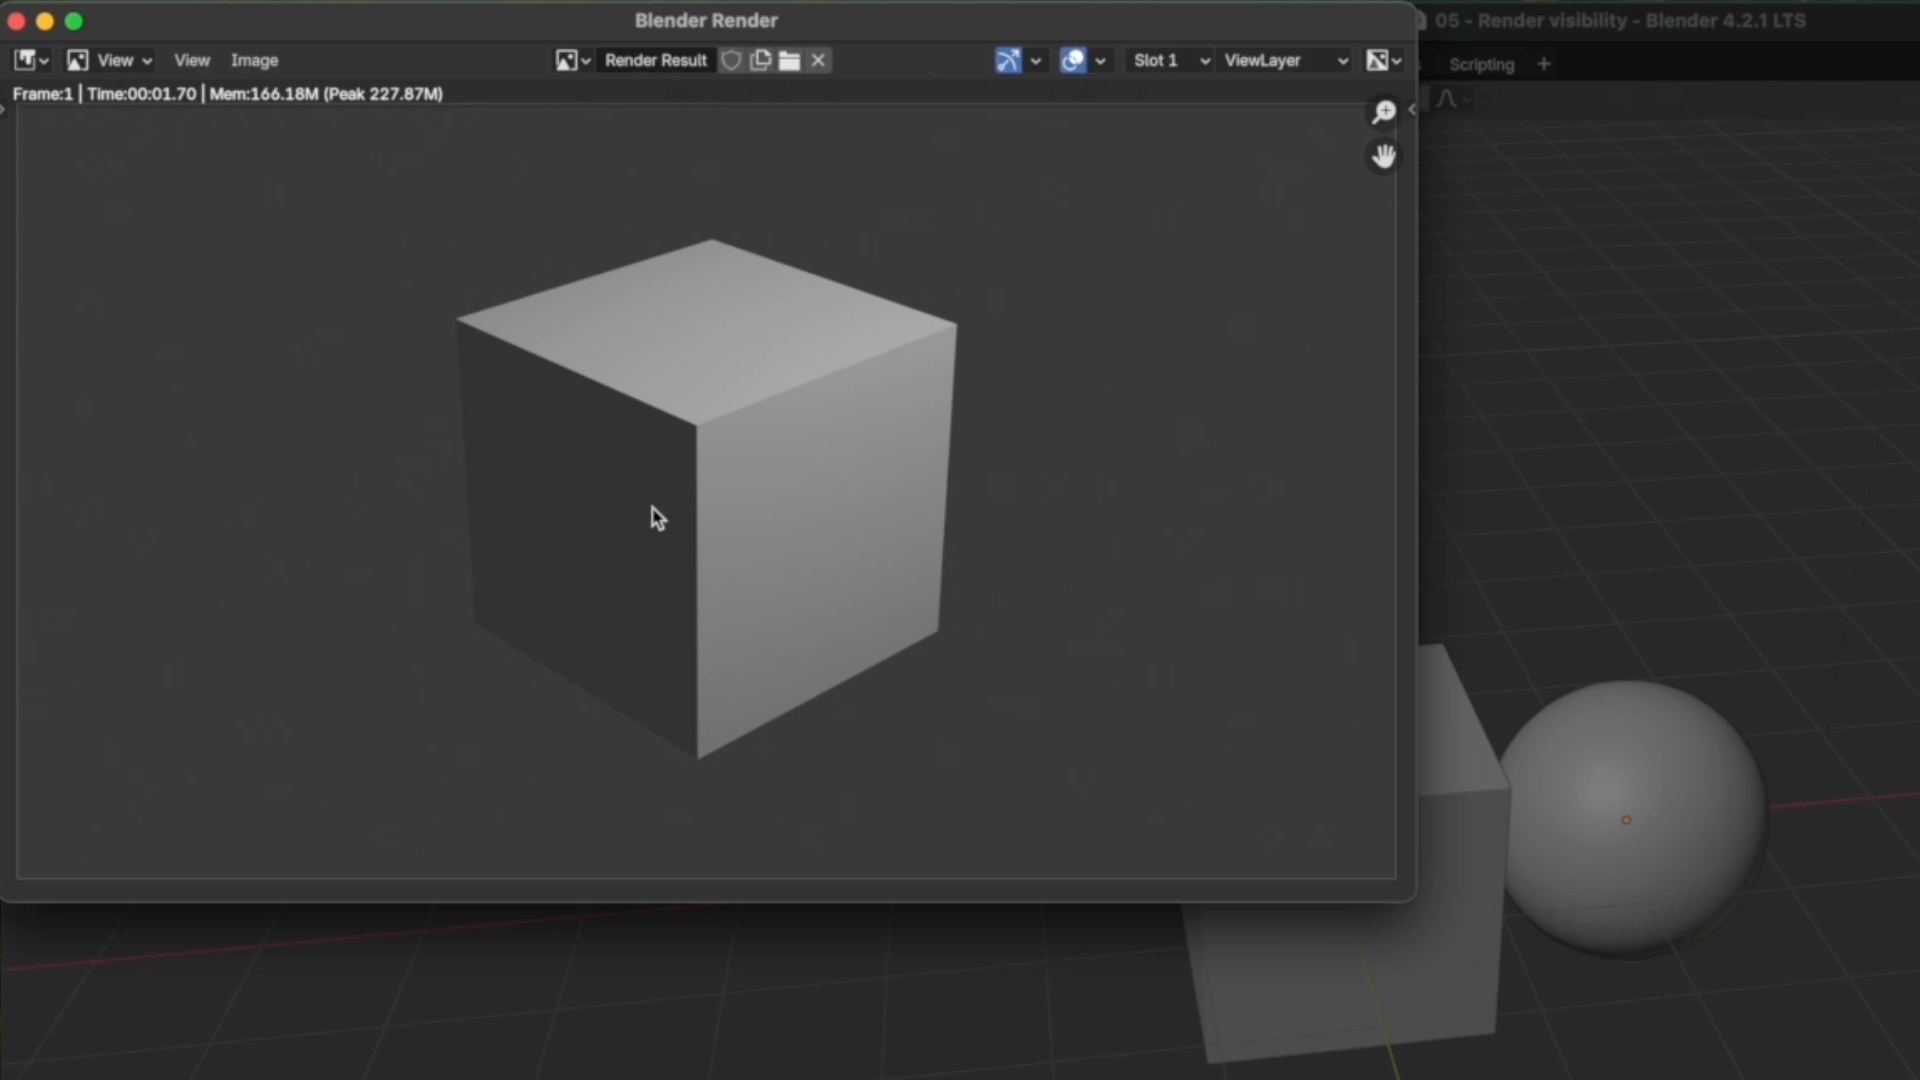
Ever had an object disappear from your render but look fine in the viewport? Check the Outliner – there’s a little camera icon that controls render visibility. Make sure it’s on. Also, remember that hiding an object in the viewport doesn’t automatically hide it from the render, so always double-check both settings.
Get that visibility under control, and your object will reappear like magic.
I hope these quick fixes help you dodge some Blender headaches. It’s all about knowing what to check when things go sideways. Don’t give up!
Blender does require a decent amount of computing power, so check out our guide to the best laptops for 3D modelling if you think you might need an upgrade.