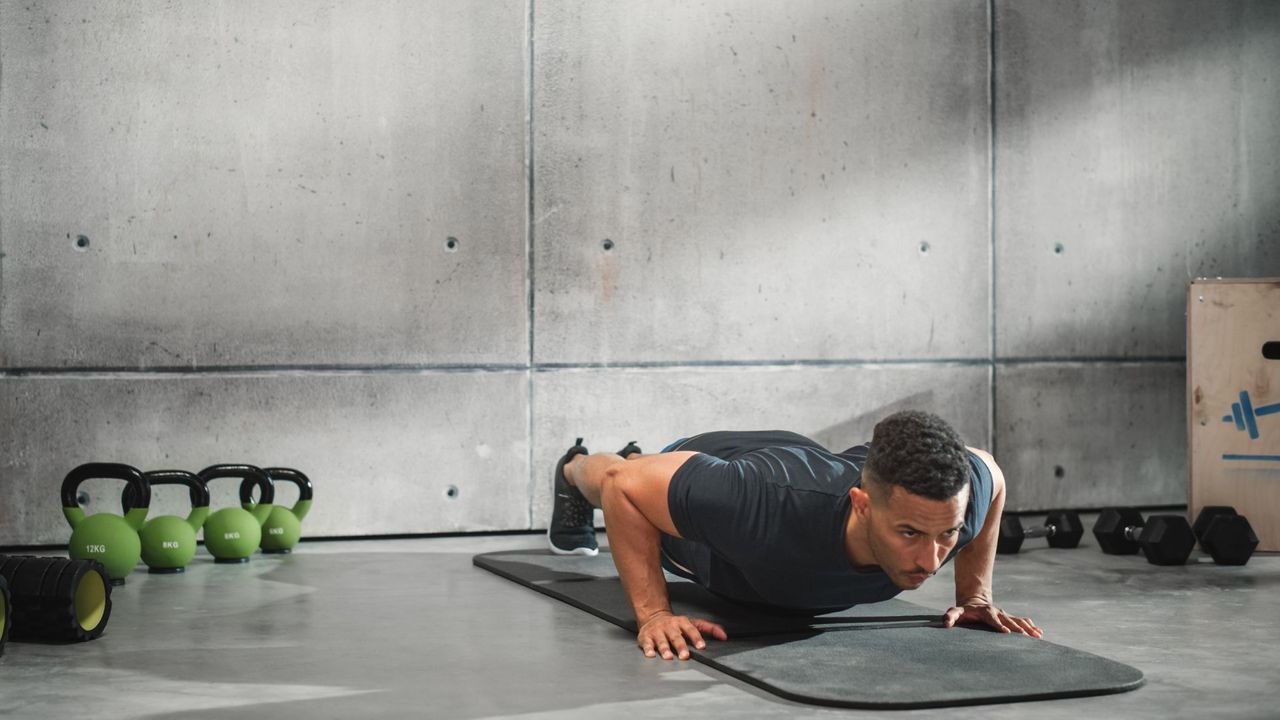
In most strength routines, the push-up is the go-to move for building upper-body strength. It strengthens the chest, shoulders and triceps, improves core stability and requires no equipment. But like any exercise, sticking with the standard version will only take you so far.
Sometimes you need to take things to the next level, which is where the tiger push-up comes in. This more advanced variation shifts the emphasis towards the triceps and shoulders while increasing the demand on your core and coordination, making it a smart upgrade if you’re ready to take your upper-body strength further.
What is the tiger push-up?
“The tiger push-up - also called a Russian push-up - is one of my favourite advanced push-up variations,” says Meghan Callaway, Instagram’s pull-up and muscle-up coach. “This exercise requires a lot of triceps strength, lumbo-pelvic stability, and shoulder and scapular controlled mobility, almost like a moving plank.”
Because the movement involves lowering from your hands onto your forearms and pressing back up again, it challenges your body in a completely different way from a standard push-up, helping build strength, endurance, and control throughout the upper body.
How to do a tiger push-up
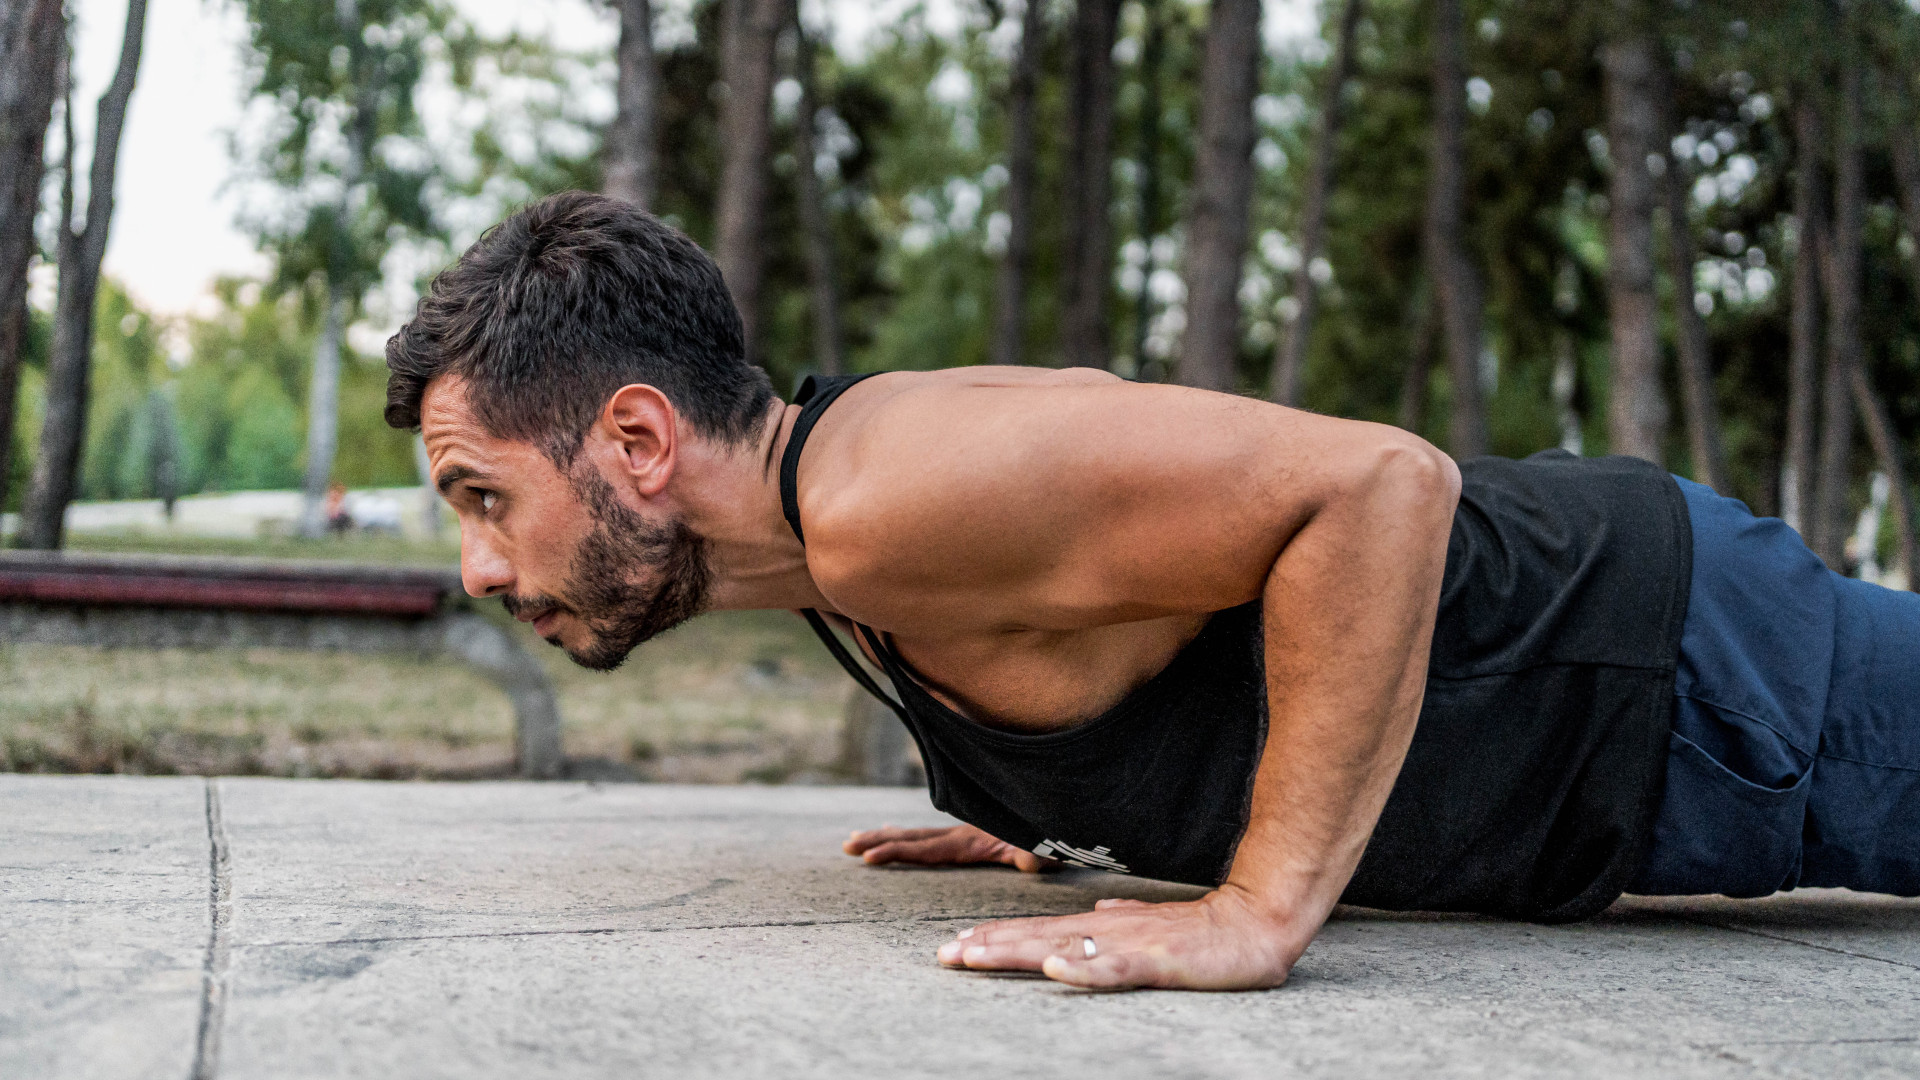
- Start in a push-up position with your shoulders stacked directly over your hands.
- Lower your forearms and elbows towards the floor while keeping your elbows tucked close to your sides.
- Once you’re in the bottom position of your push-up, press your body slightly backwards so your forearms make contact with the ground.
- Pause for a second, before pulling your body forward again so your elbows move back over your wrists and your forearms return to a vertical position.
- Once there, press back up powerfully through your triceps to return to the start position.
- If the movement feels difficult at first, begin from the bottom position with your forearms already on the floor and practise pressing up from there, or perform on your knees.
Tiger push-up do’s and don’ts
- Dos
- Keep your elbows tucked as you descend.
- Brace your core and squeeze your glutes.
- Lower until your forearms fully contact the floor.
- Press back up using your triceps rather than your shoulders.
- Don’ts
- Ignore wrist discomfort - elevate your hands slightly if needed.
- Let your hips drop or flare outward during the press.
Five reasons to add tiger push-ups to your workout
1. They seriously challenge your triceps
The tiger push-up places emphasis on the lateral head of the triceps and serves as a bodyweight alternative to cable push-downs. Because the move also includes a standard push-up after the initial lowering phase, you’ll still train the chest as you would with regular push-ups. The caveat, however, is that your triceps will fatigue sooner, so you likely won’t be able to perform as many repetitions.
2. They strengthen your core
Your body must stay rigid throughout the transition from forearms to hands, meaning your core works overtime to stabilise the movement and keep your body in a straight line from your head to your heels. It’s also an advanced exercise that challenges coordination and balance.
3. They improve shoulder stability
Moving through multiple pressing angles helps develop stronger, more controlled shoulders. “The key is not to sink into your shoulders or allow your body to collapse towards the ground. This will be one of the most challenging components of the exercise,” says Callaway.
4. No equipment required
Like standard push-ups, they can be done almost anywhere, making them ideal for working your triceps, chest, shoulders and core from your living room, the gym or outdoors.
5. They build coordination as well as strength
The hand-to-forearm-to-hand transition challenges timing, control, and body awareness in a way traditional push-ups don’t. The tiger push-up also increases time under tension because it combines two movements. As a result, your muscles stay under load for longer without needing to increase volume.
Even after a few weeks of practising them, the tiger push-up can feel humbling - even for experienced lifters. Focus on lowering your torso in a straight line and pressing back up by hinging through the elbows rather than the shoulders.
If you need to (like me), start by practising the move on your knees. If, on the flip side, it feels as easy as a close-grip push-up, you’re probably not moving through the full range of motion, so try and try again. This one's not easy.