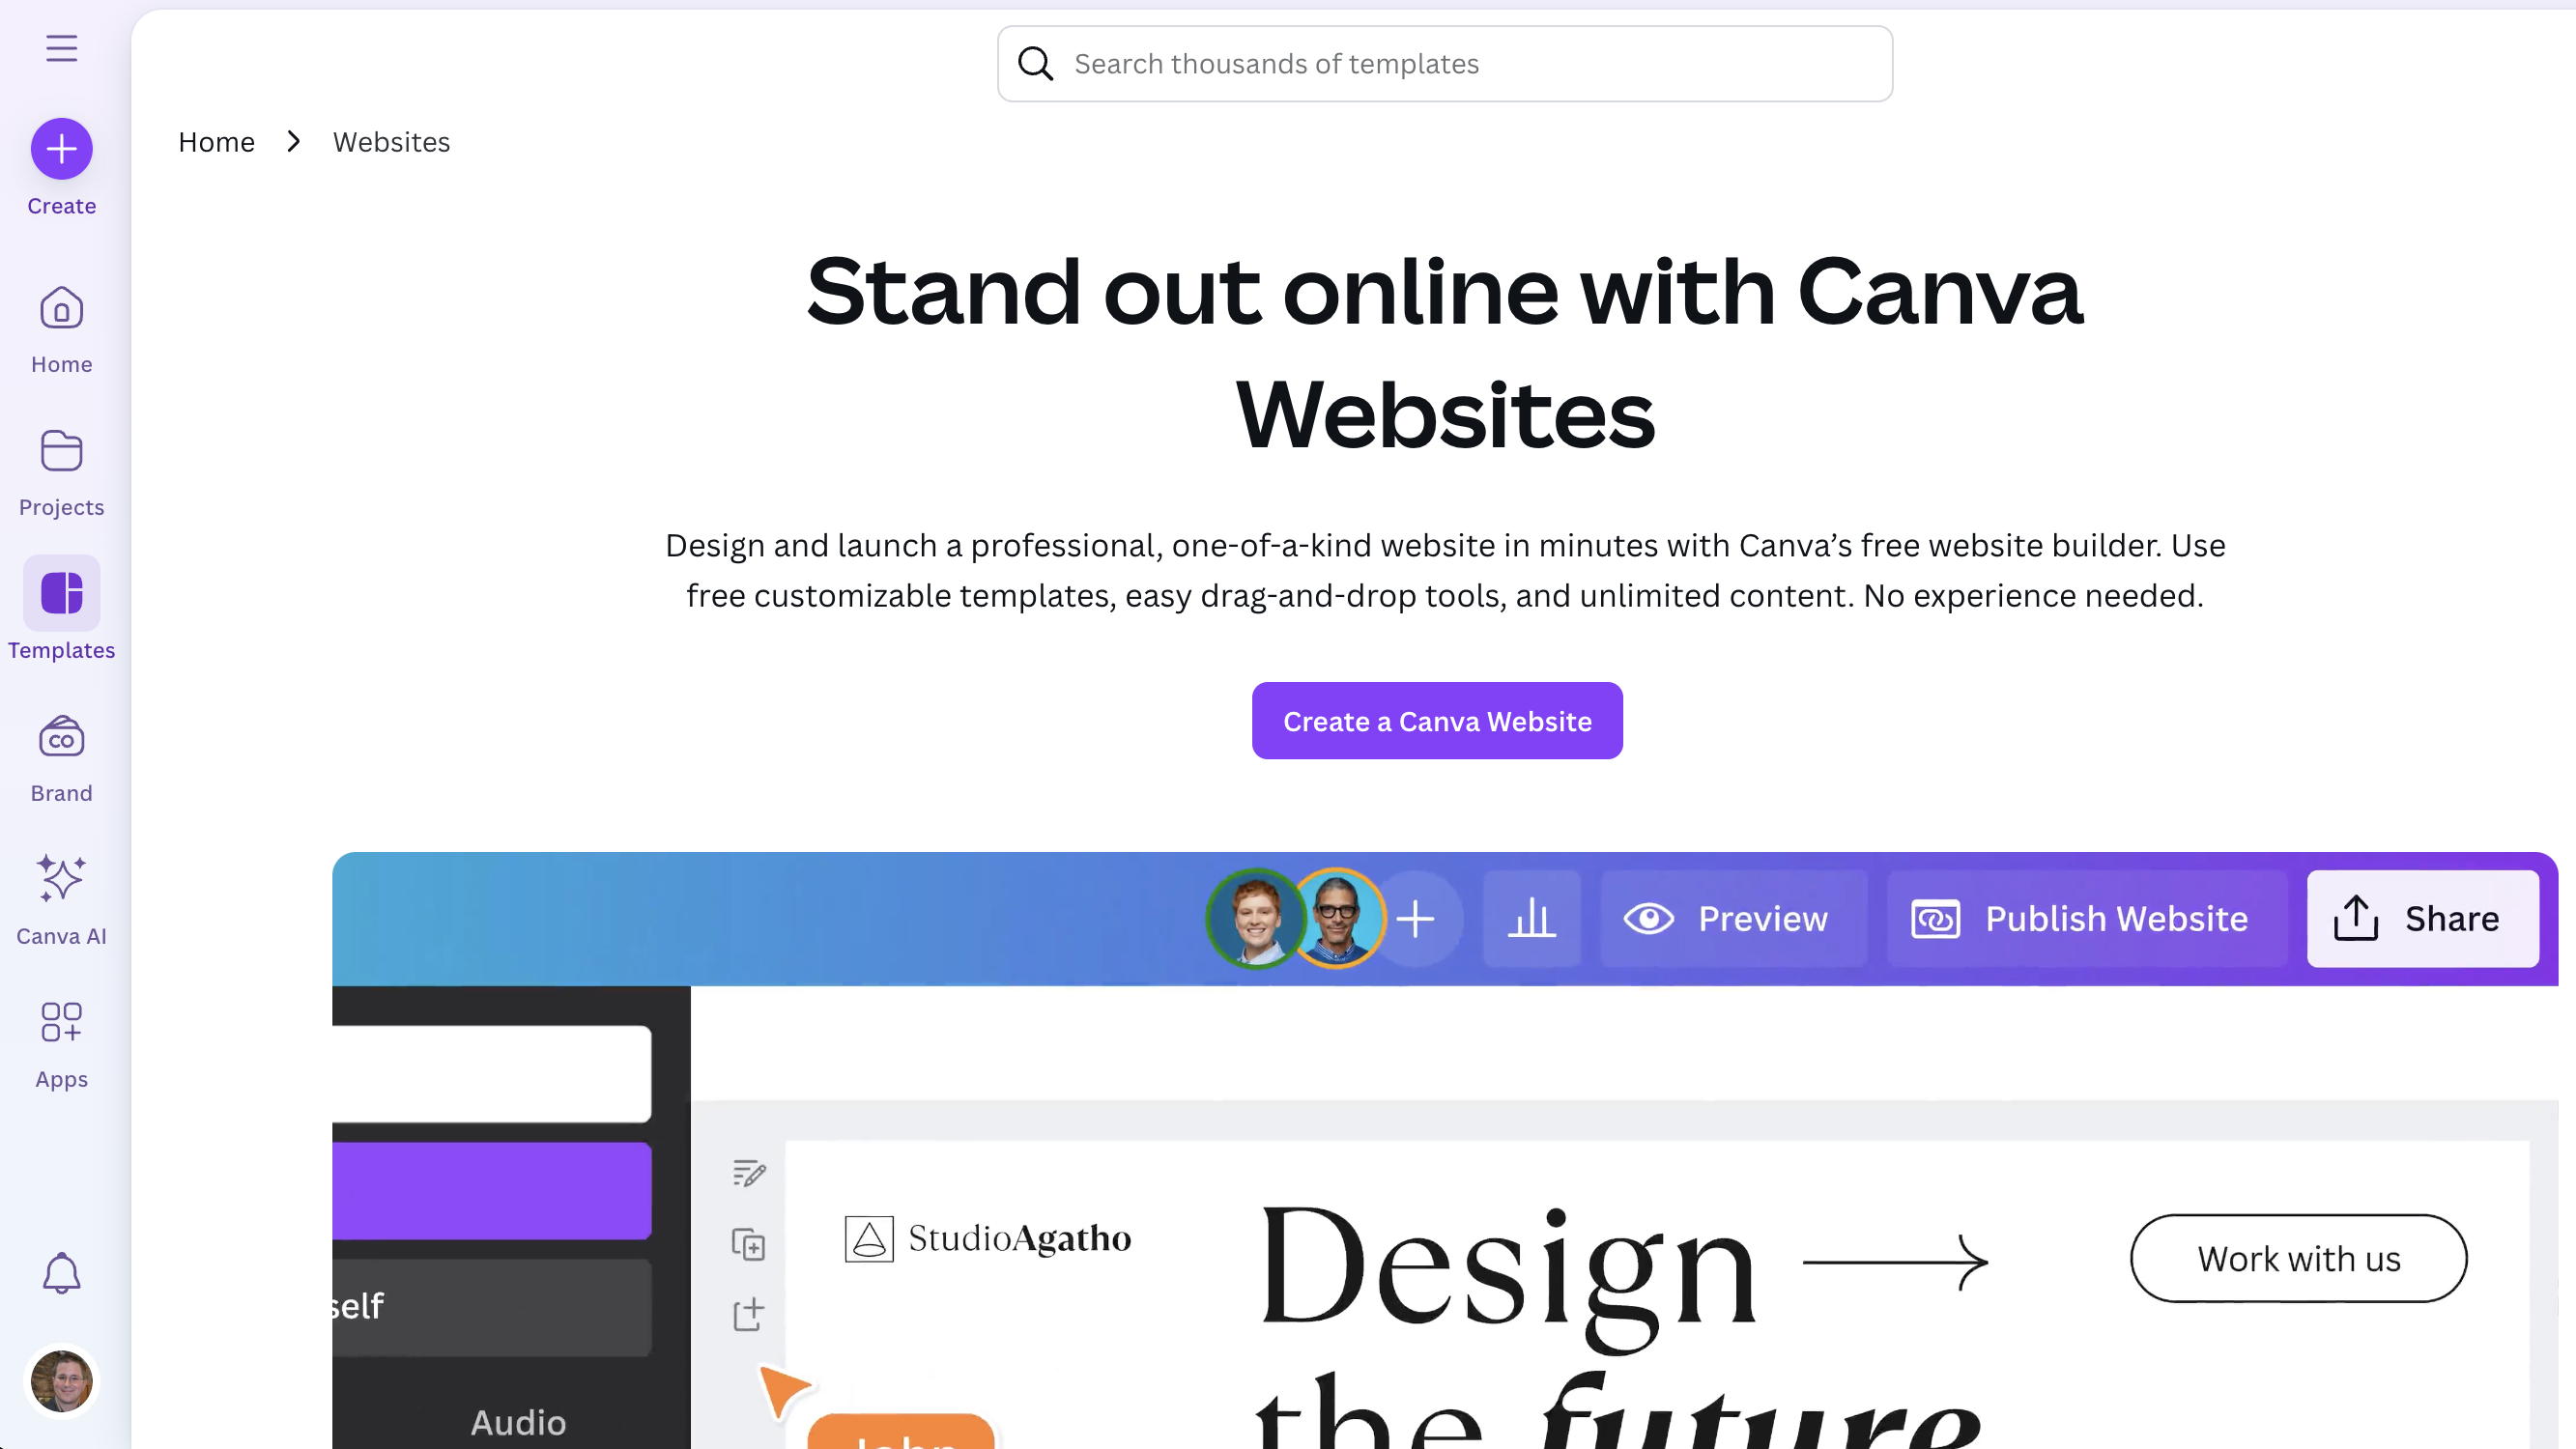
Want to know how to make a website on Canva? It's pretty easy to be honest. And while it's not necessarily the best website builder for small businesses (more fitting as a web builder for artists, really) it is a great choice for independent creatives; particularly if you're already familiar with Canva, the original design app.
You see there's Canva the design tool, and then there's Canva Websites, a platform with a vast template library and user-friendly approach. You can choose from hundreds of professionally designed templates, customise them with your own images and content, and publish your site within hours rather than weeks.
In this article, I'll walk you through how to make a website on Canva, step by step. Before you get started, note that the platform is primarily designed for making single-page scrolling experiences. But as long as that's not a deal-breaker, it's a great choice for making a basic portfolio site, quickly and easily.
1. Getting started
The first step is to type the following URL into your webs browser, https://www.canva.com/website-builder/. Click the purple button 'Create a Canva website'. You're immediately taken to the editing screen.
By the way, here's one of the best things about how to make a website on Canva. If you make a mistake or change your mind about anything from hereon in, you have the option to undo by pressing Ctrl + Z on Windows, or Command+Z on Mac.
2. Pick a template
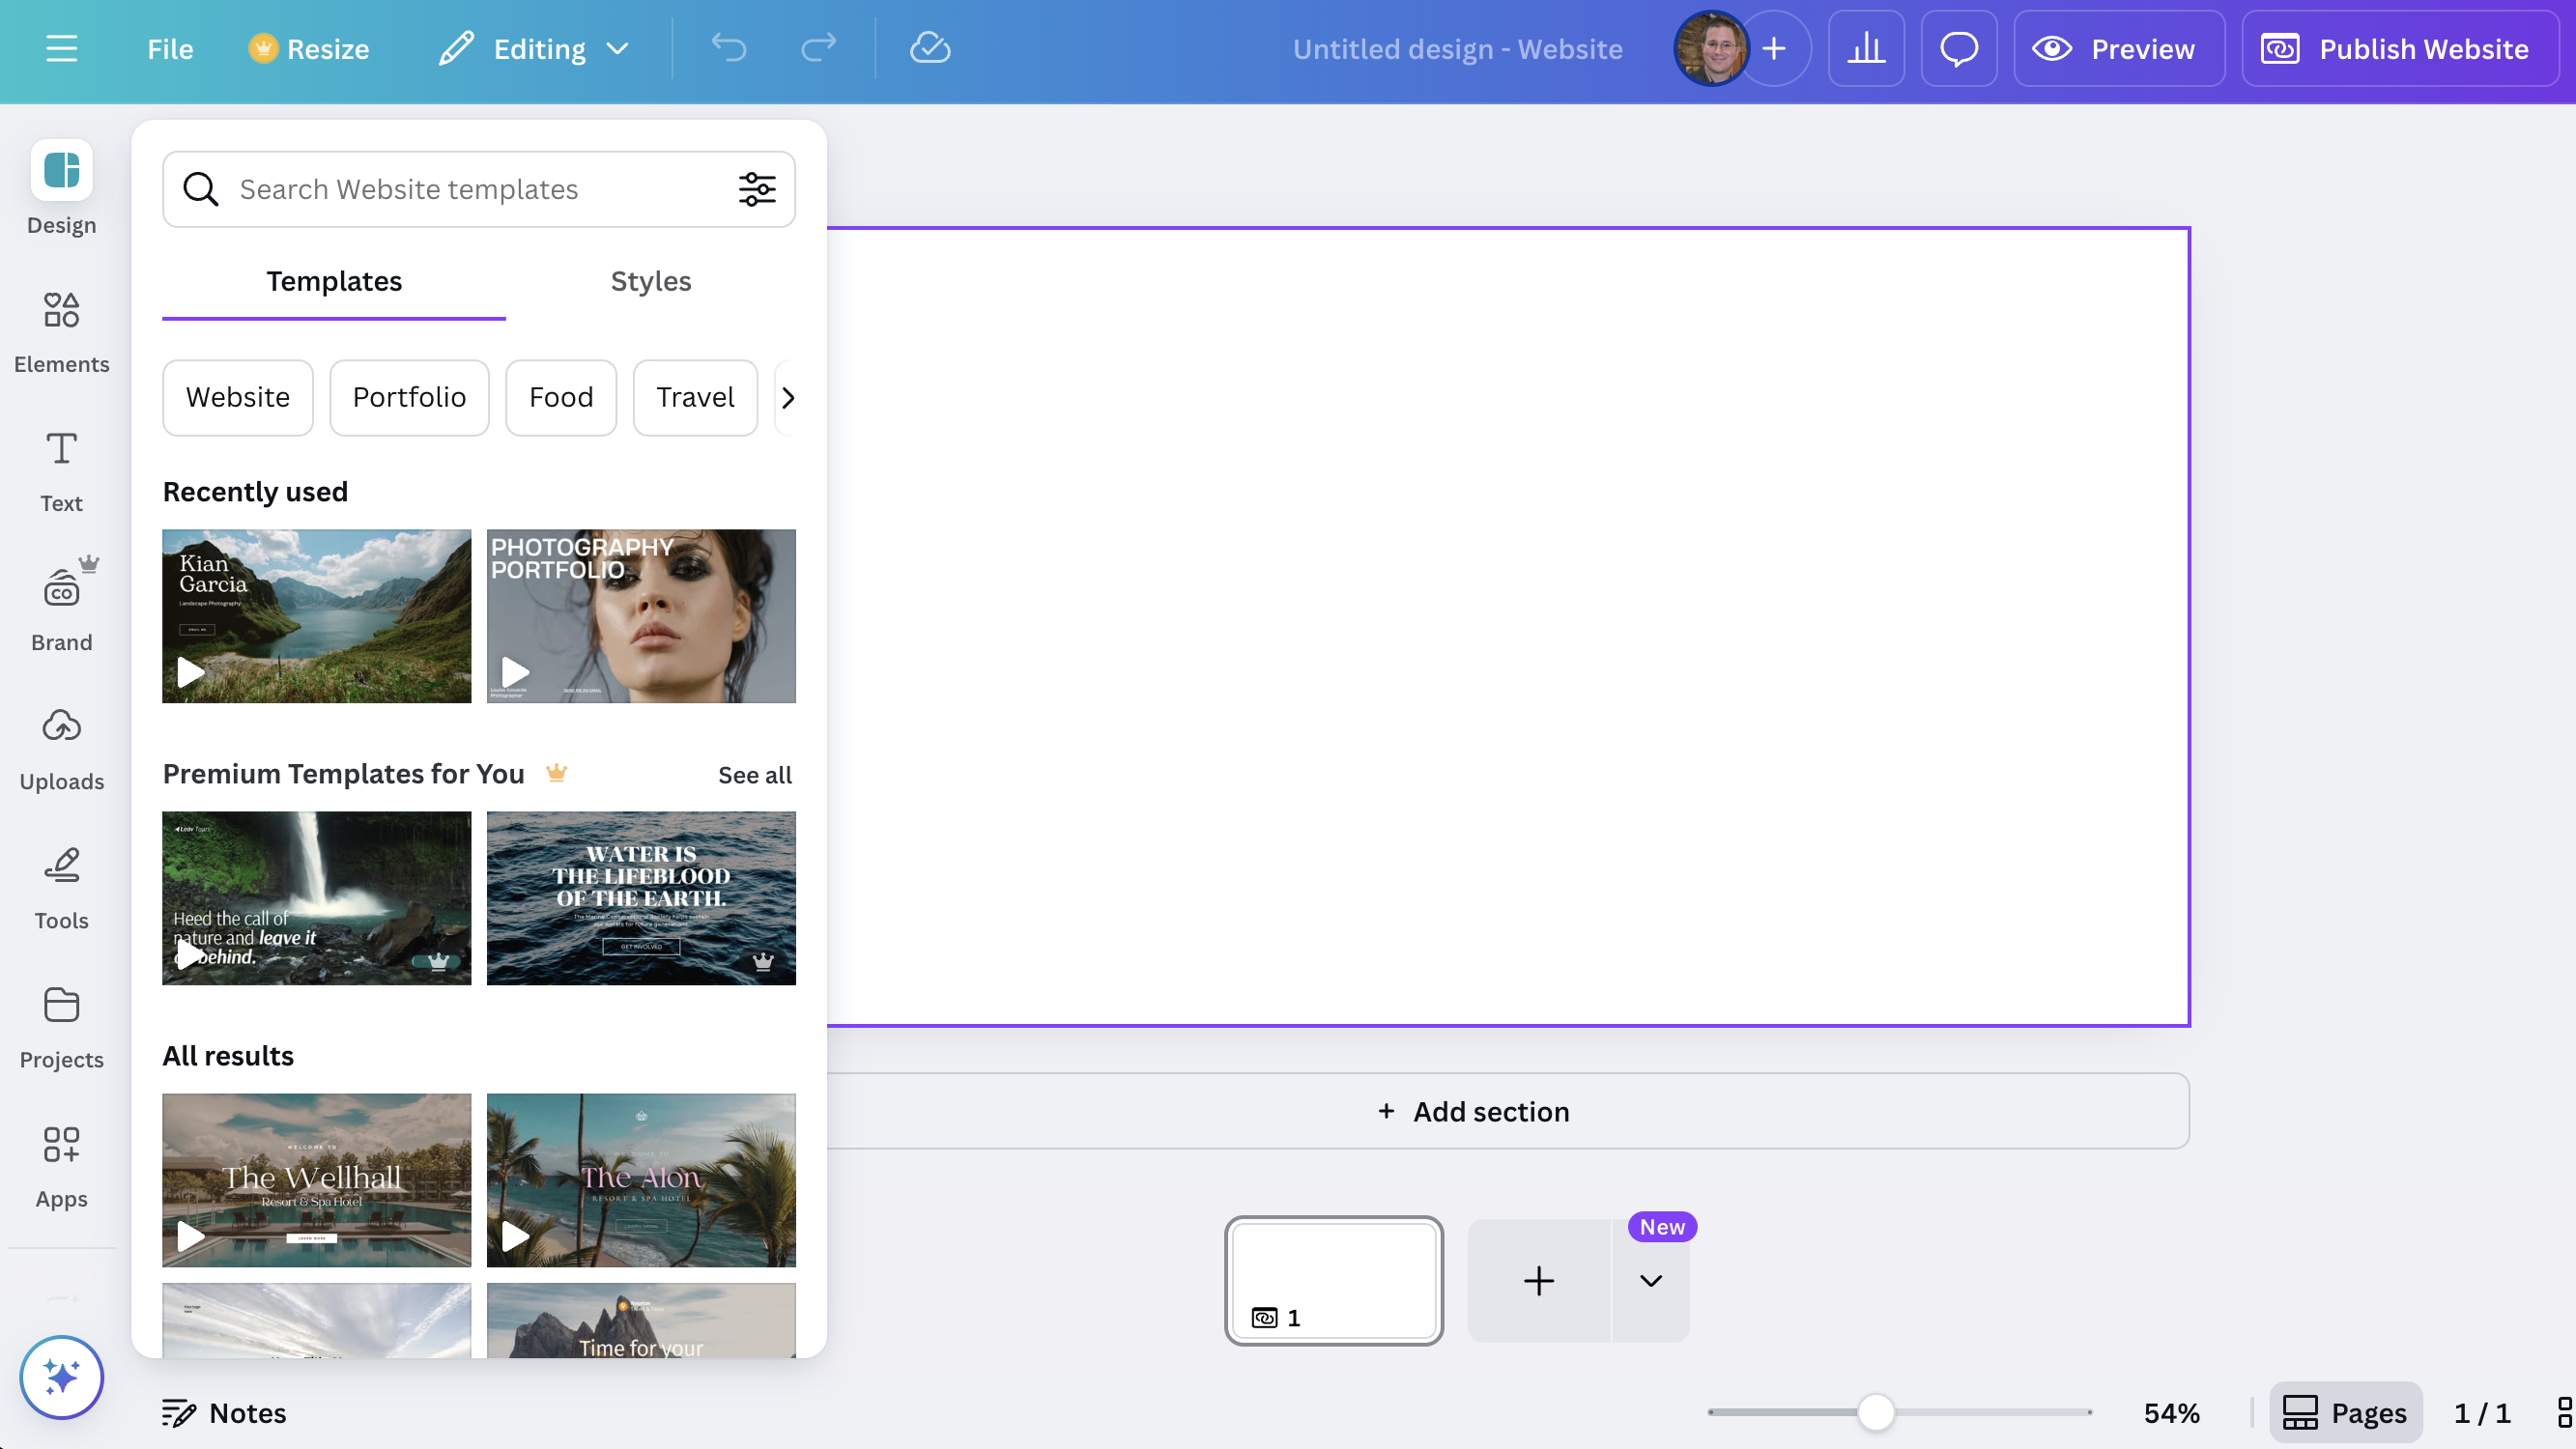
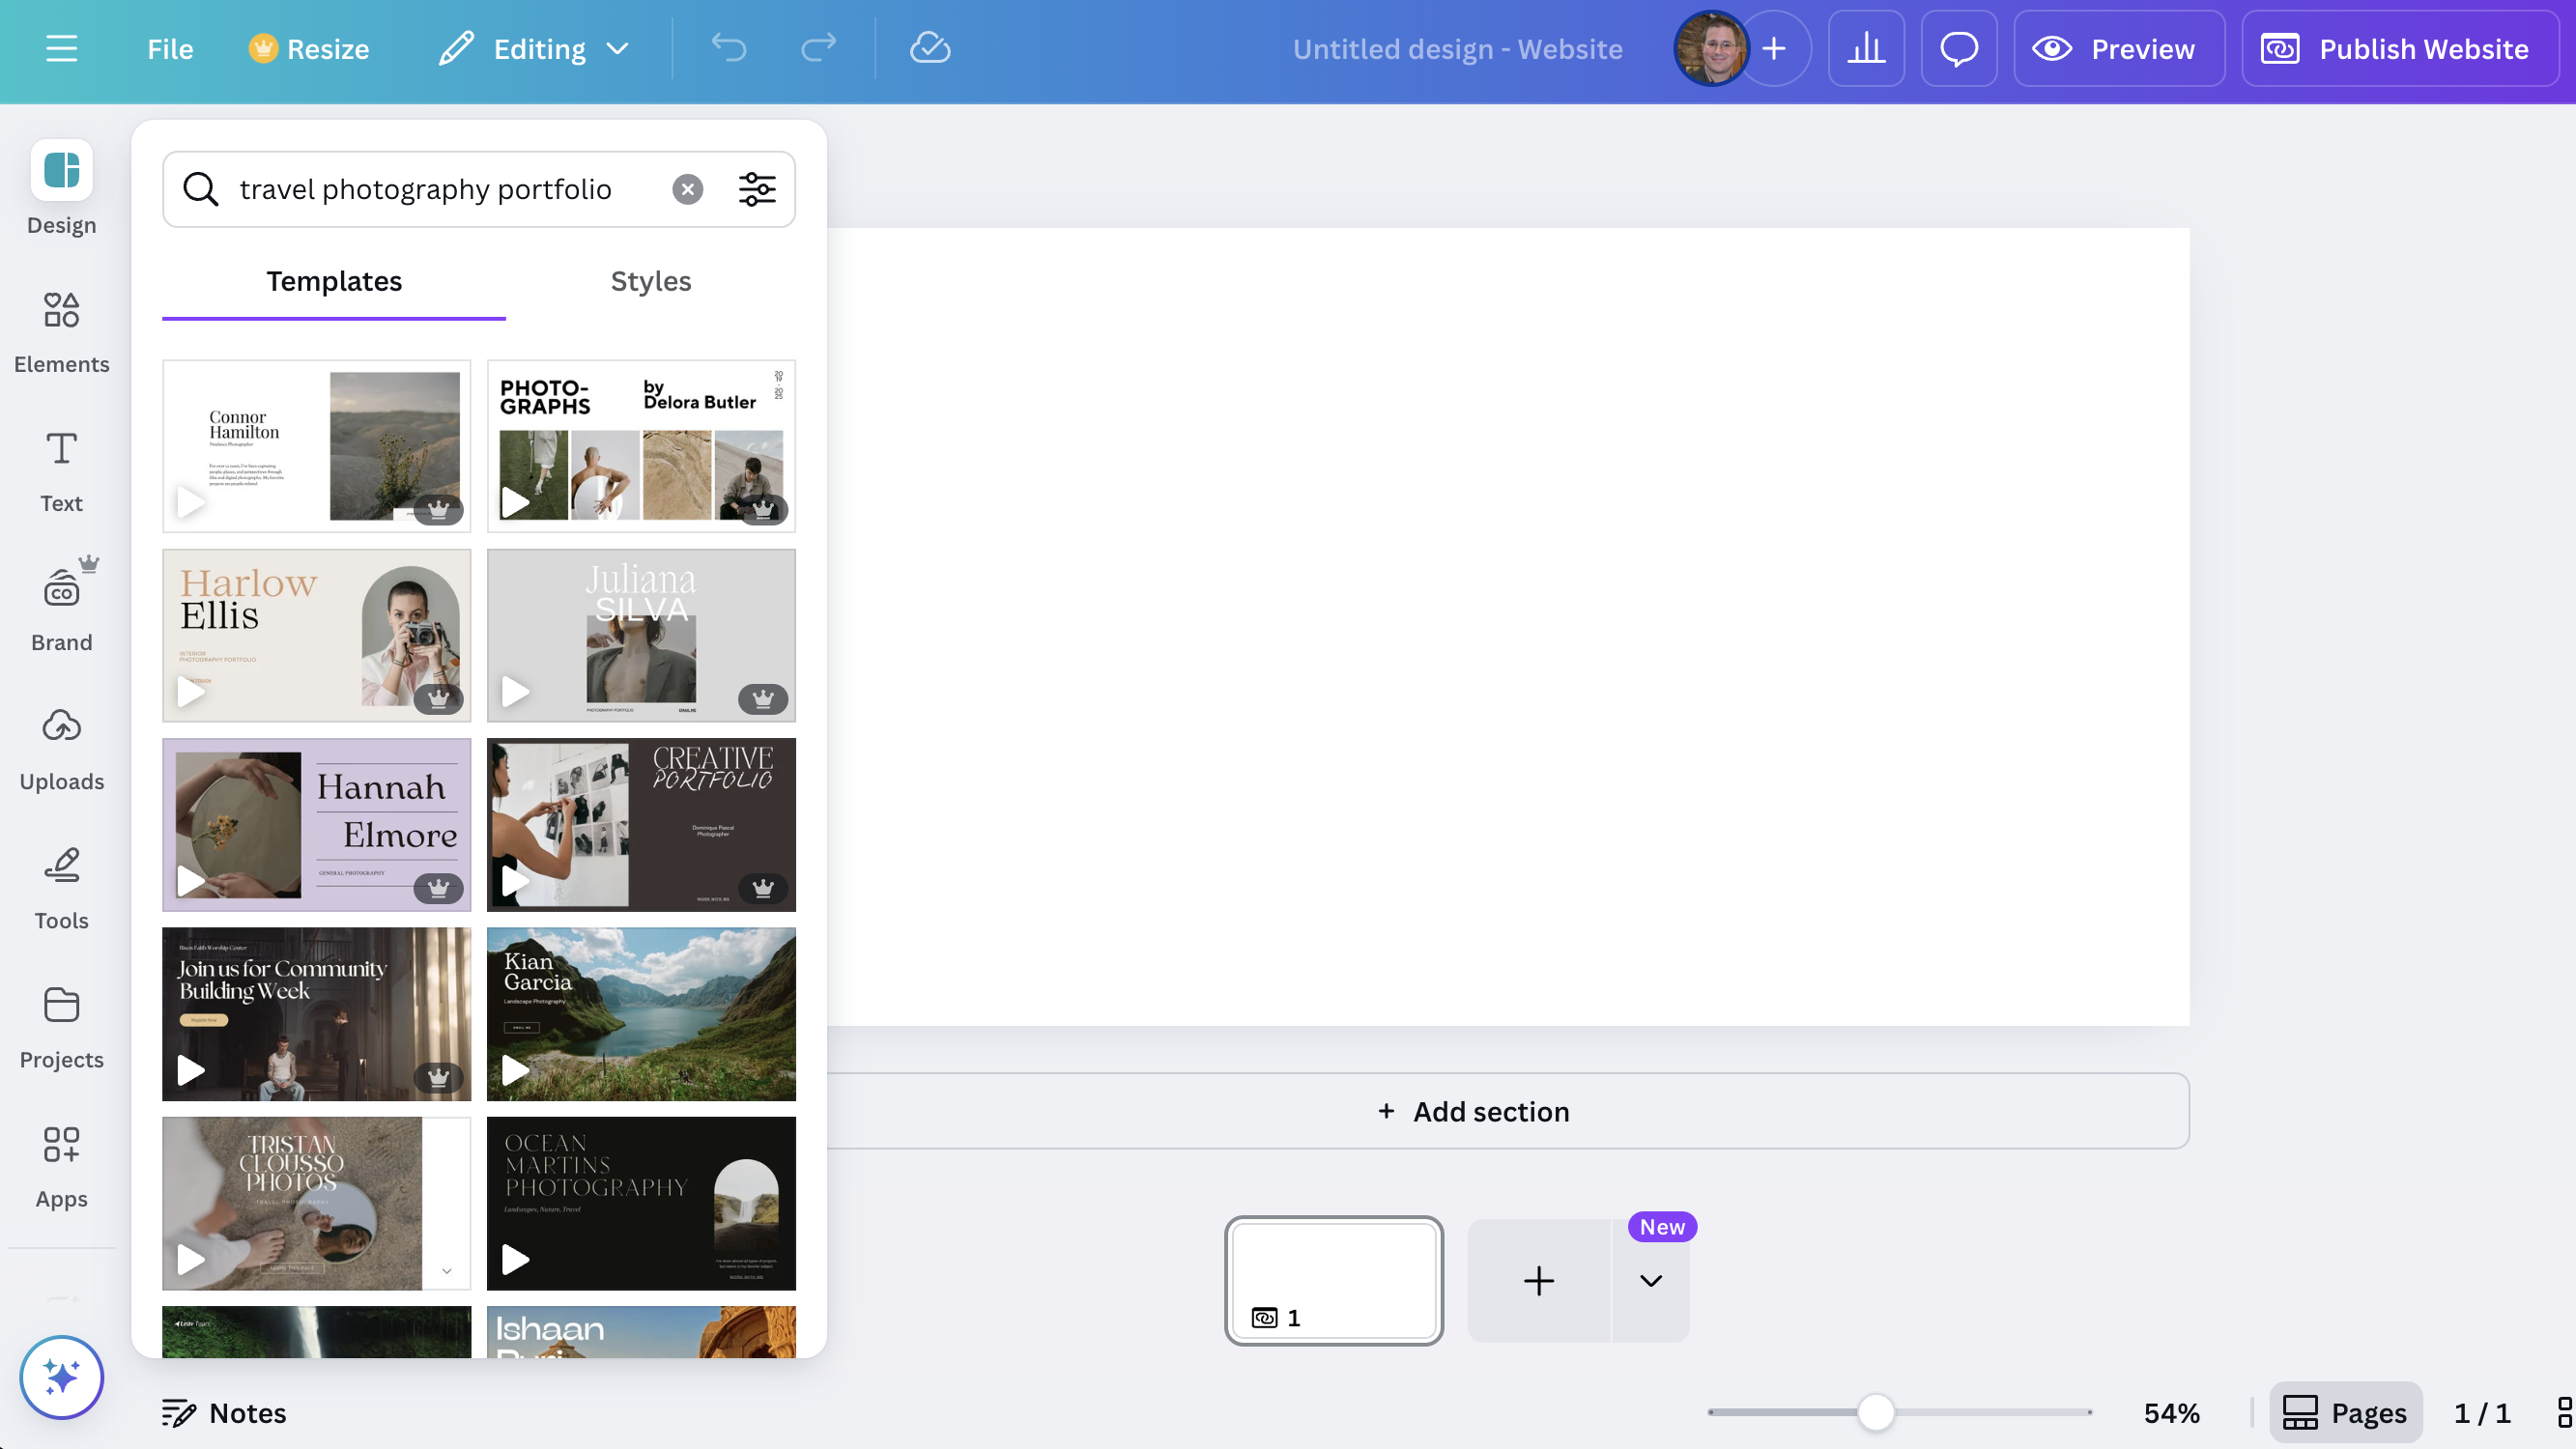
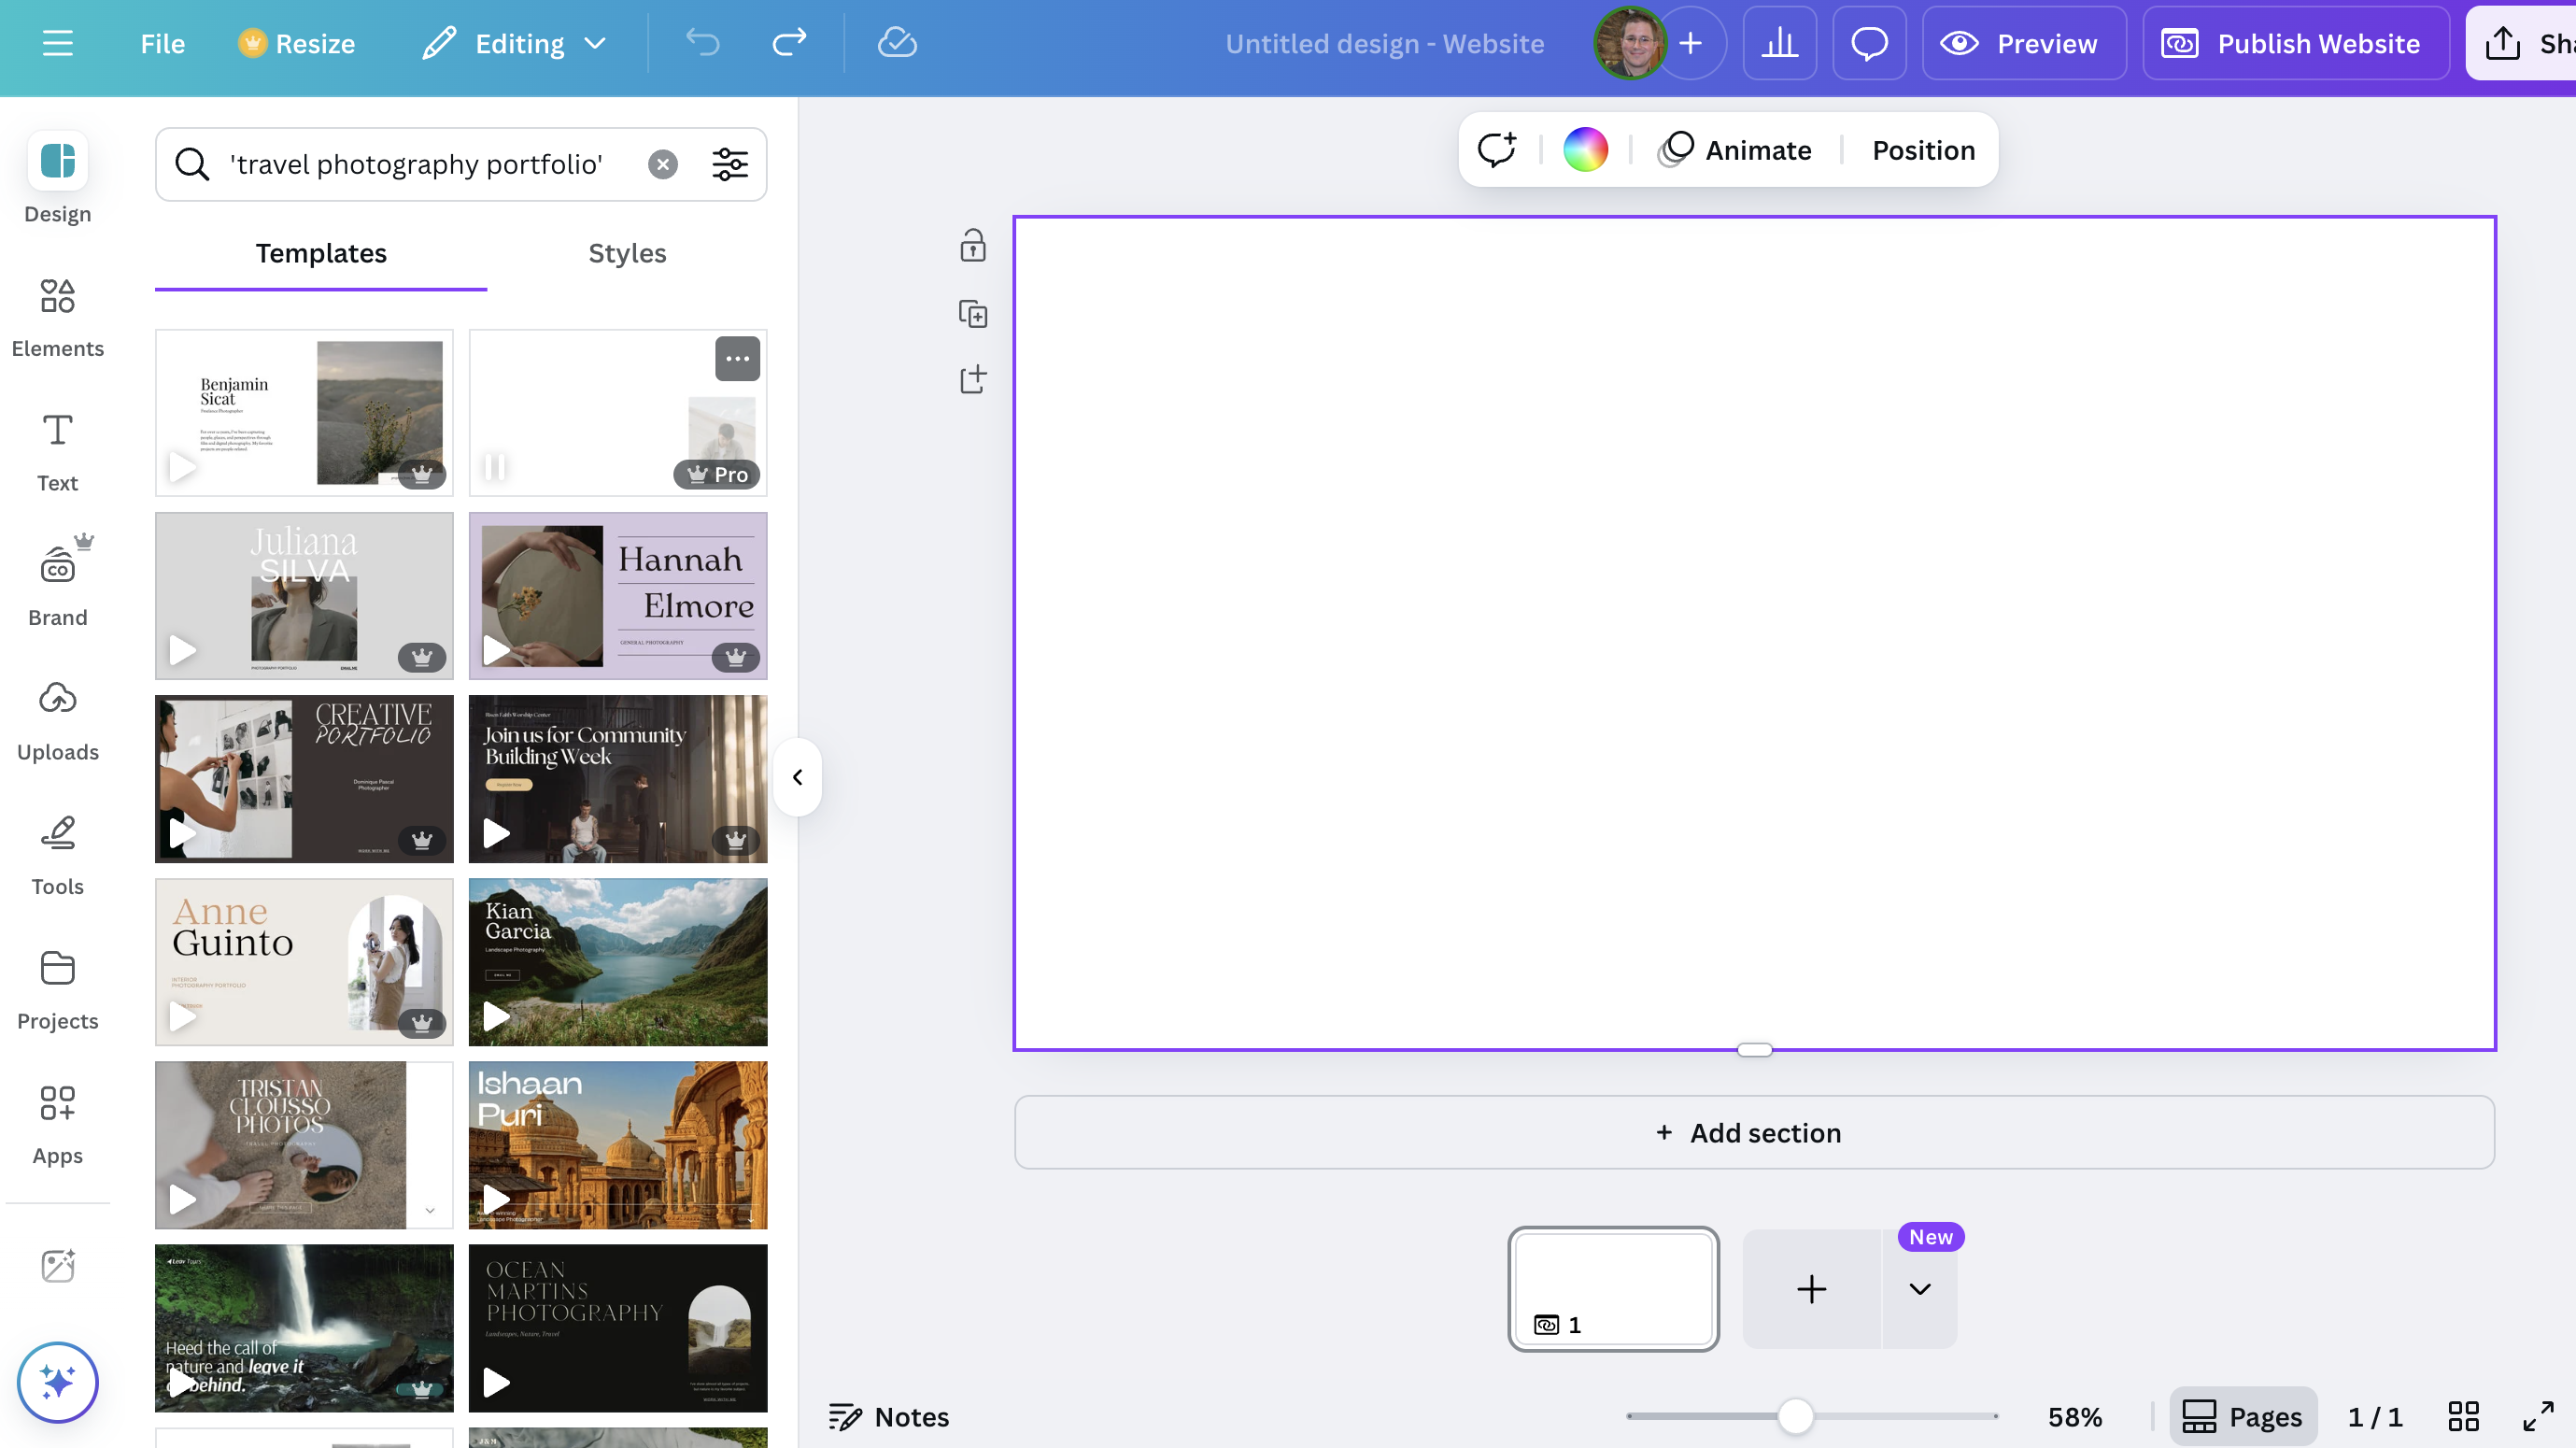
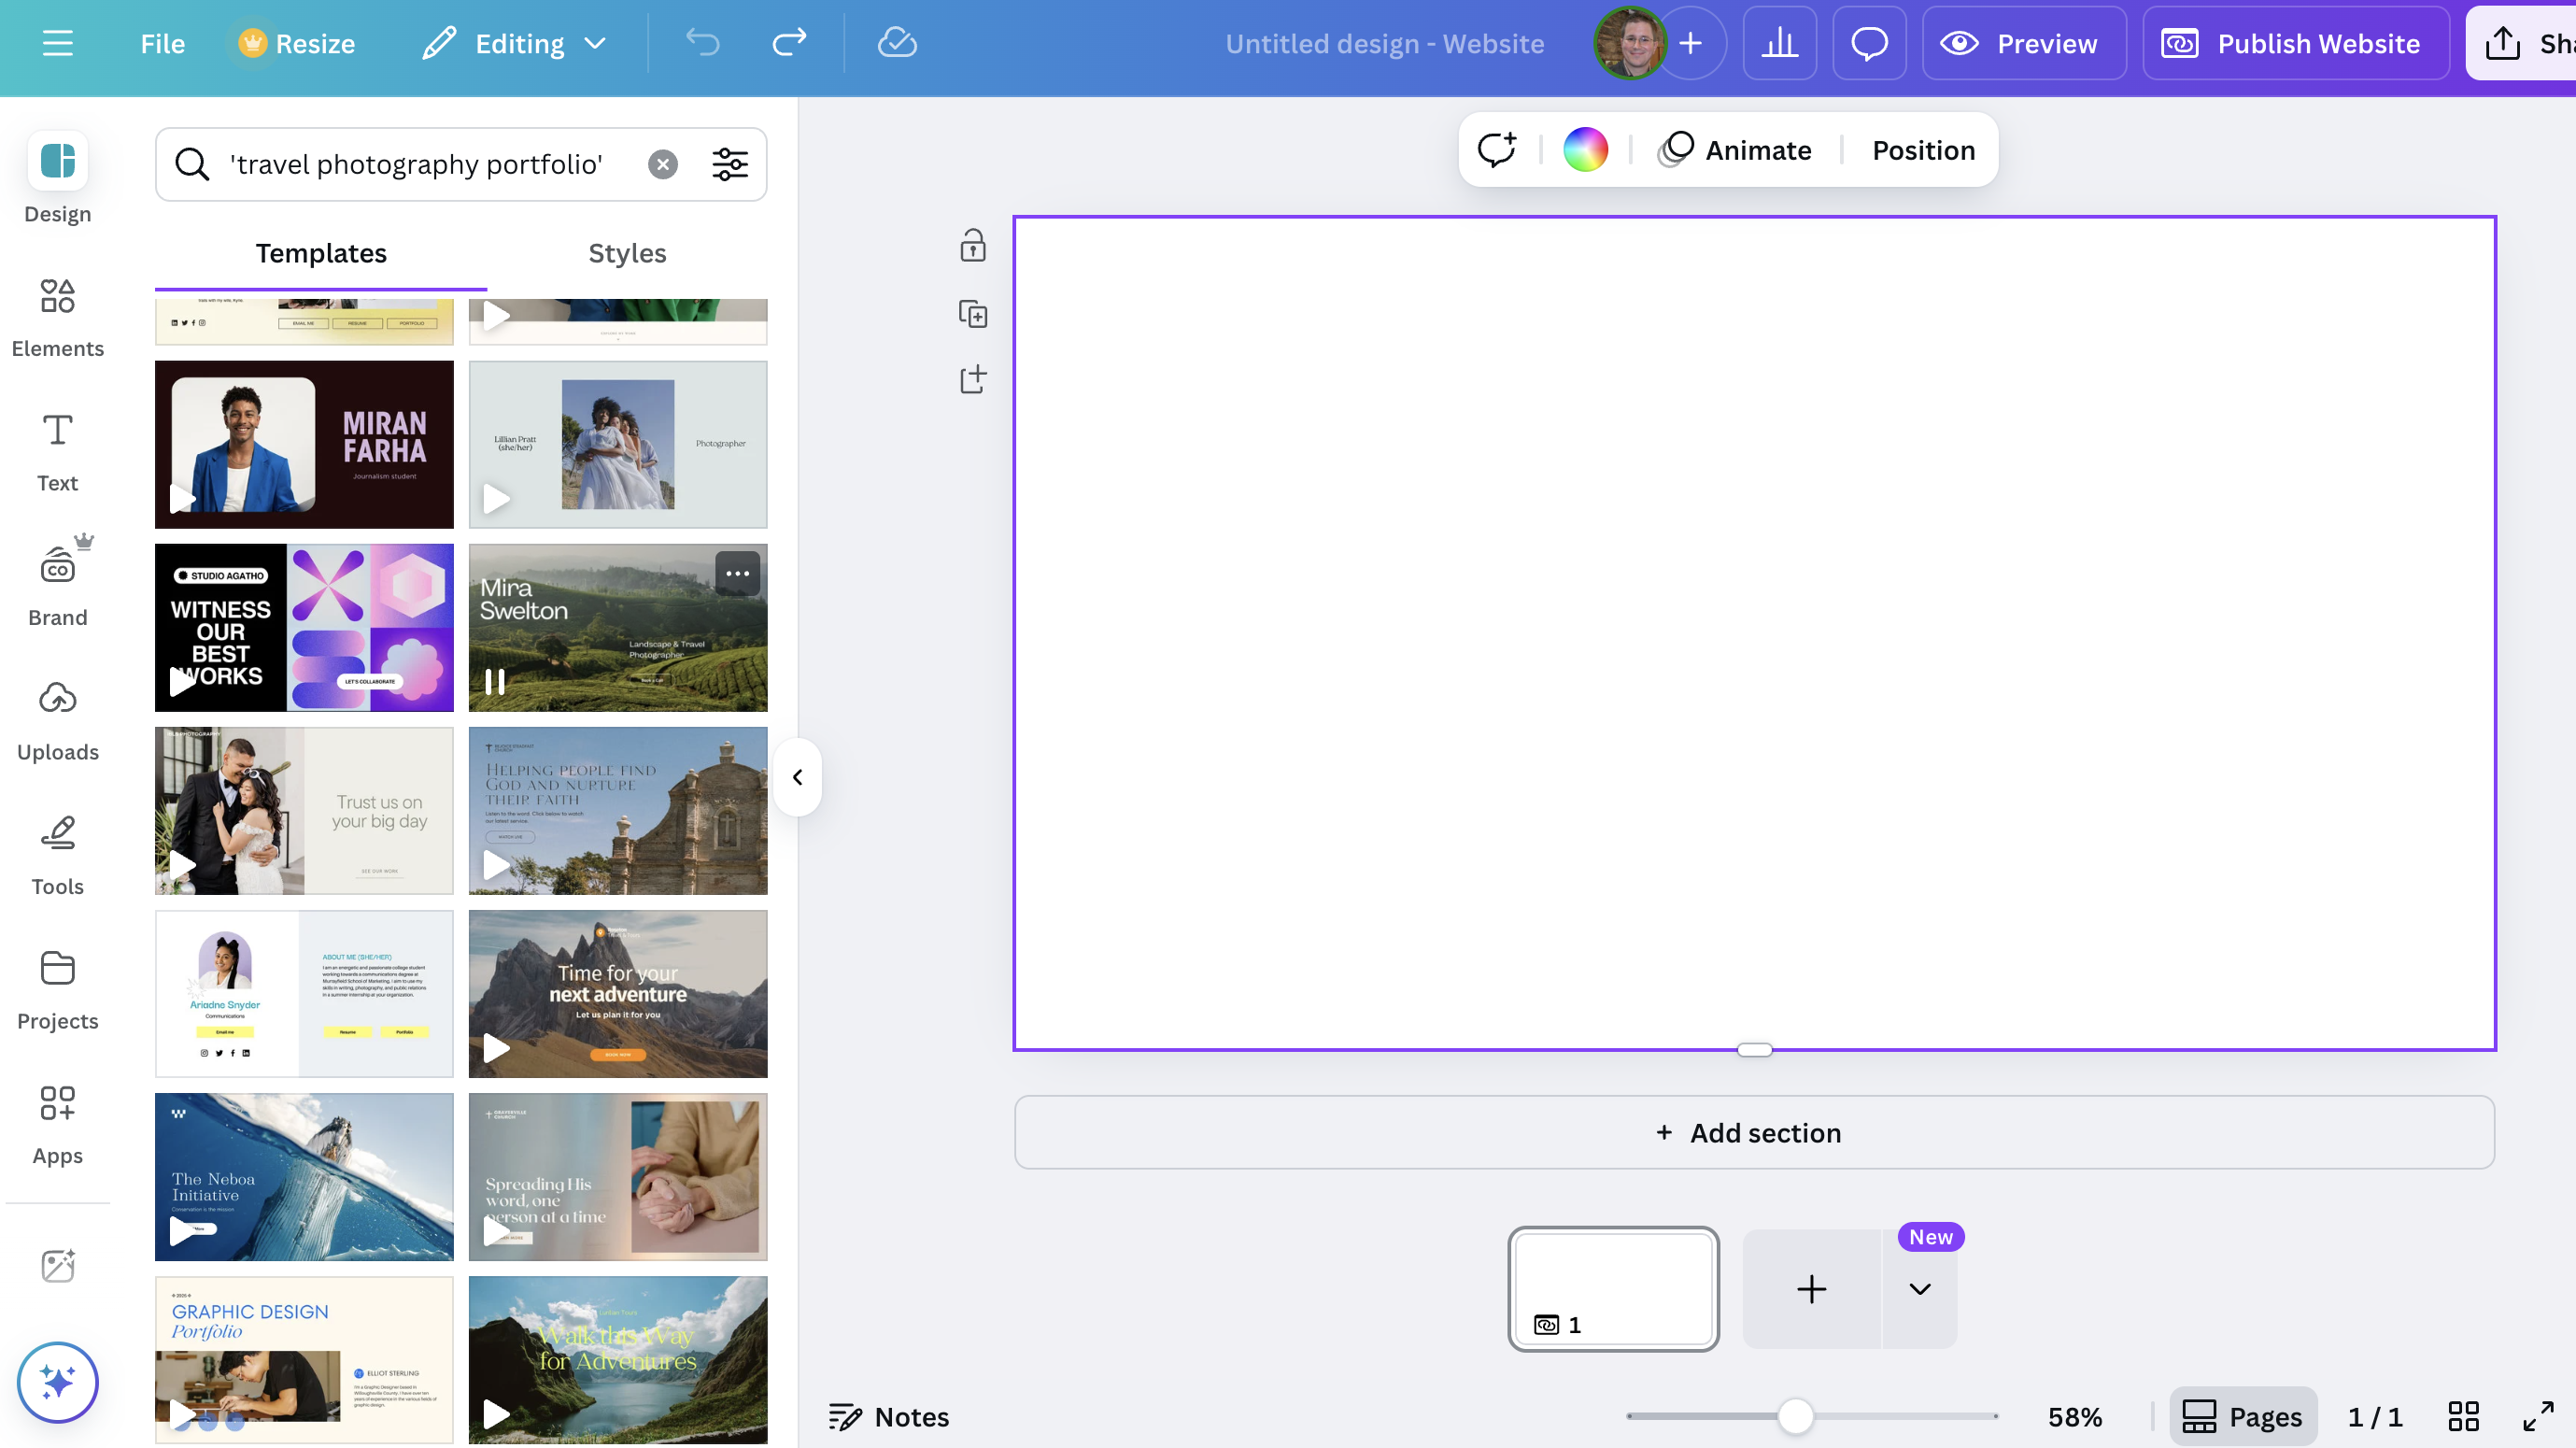
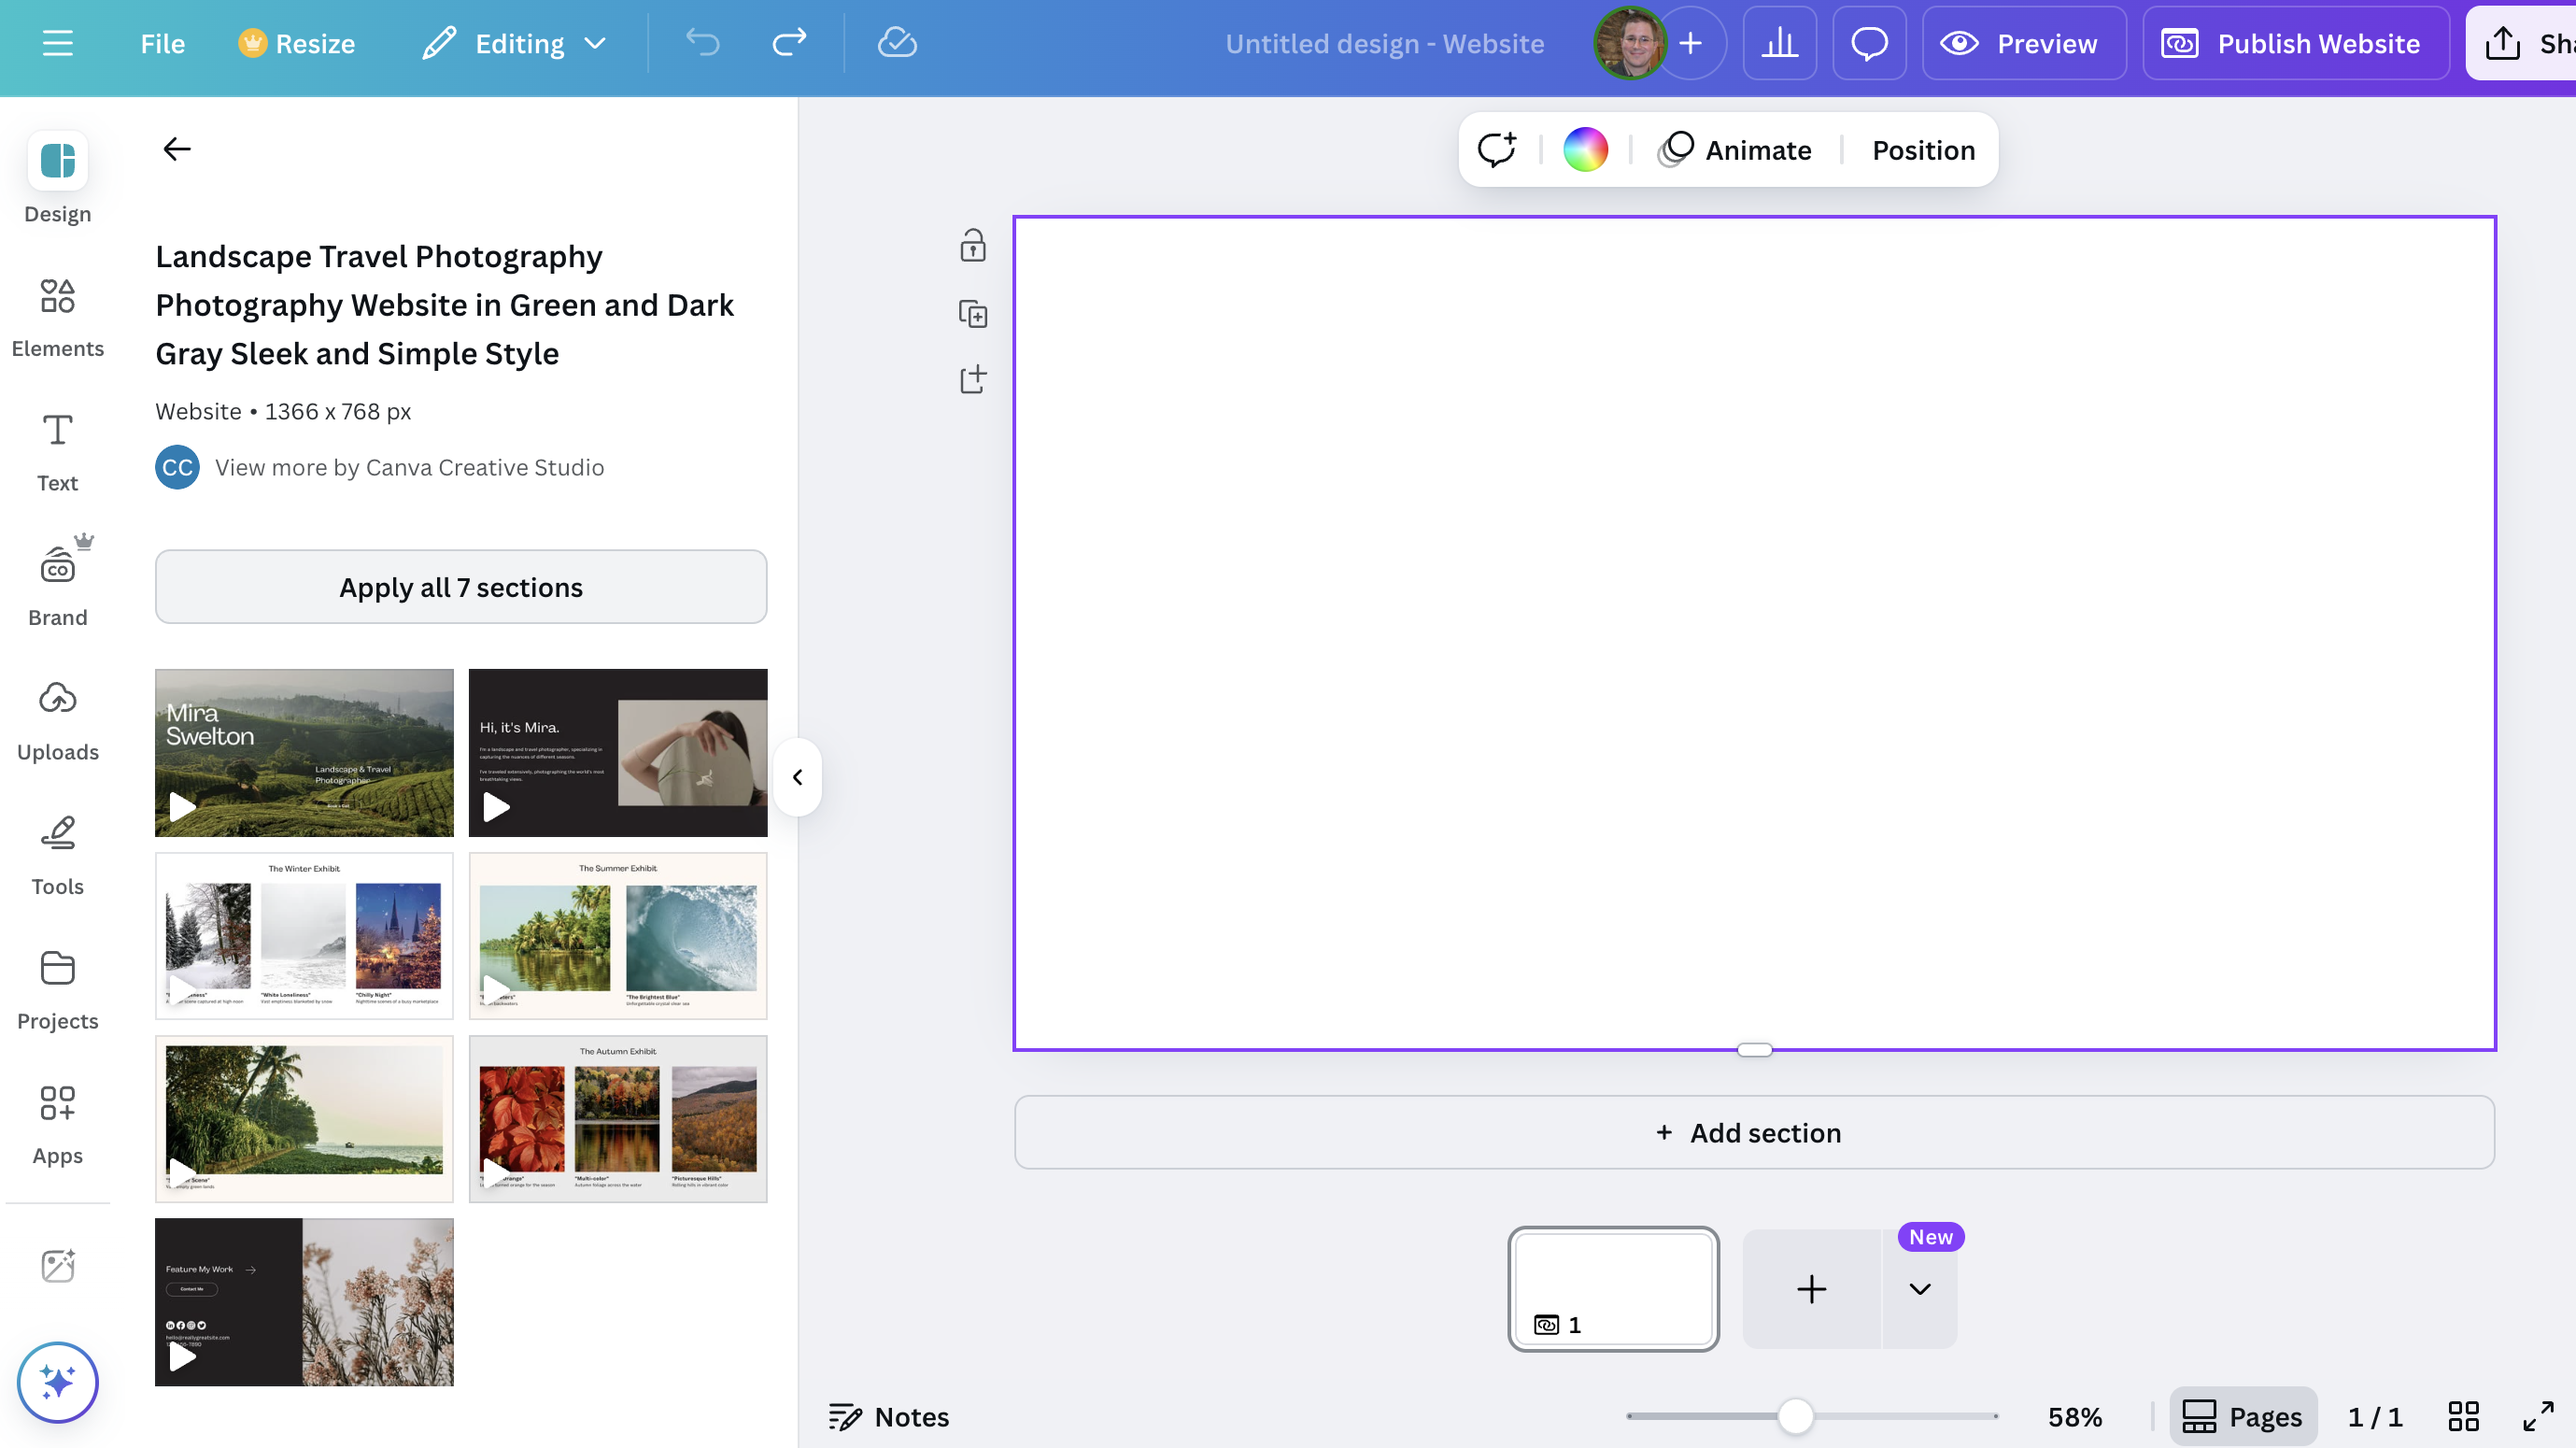
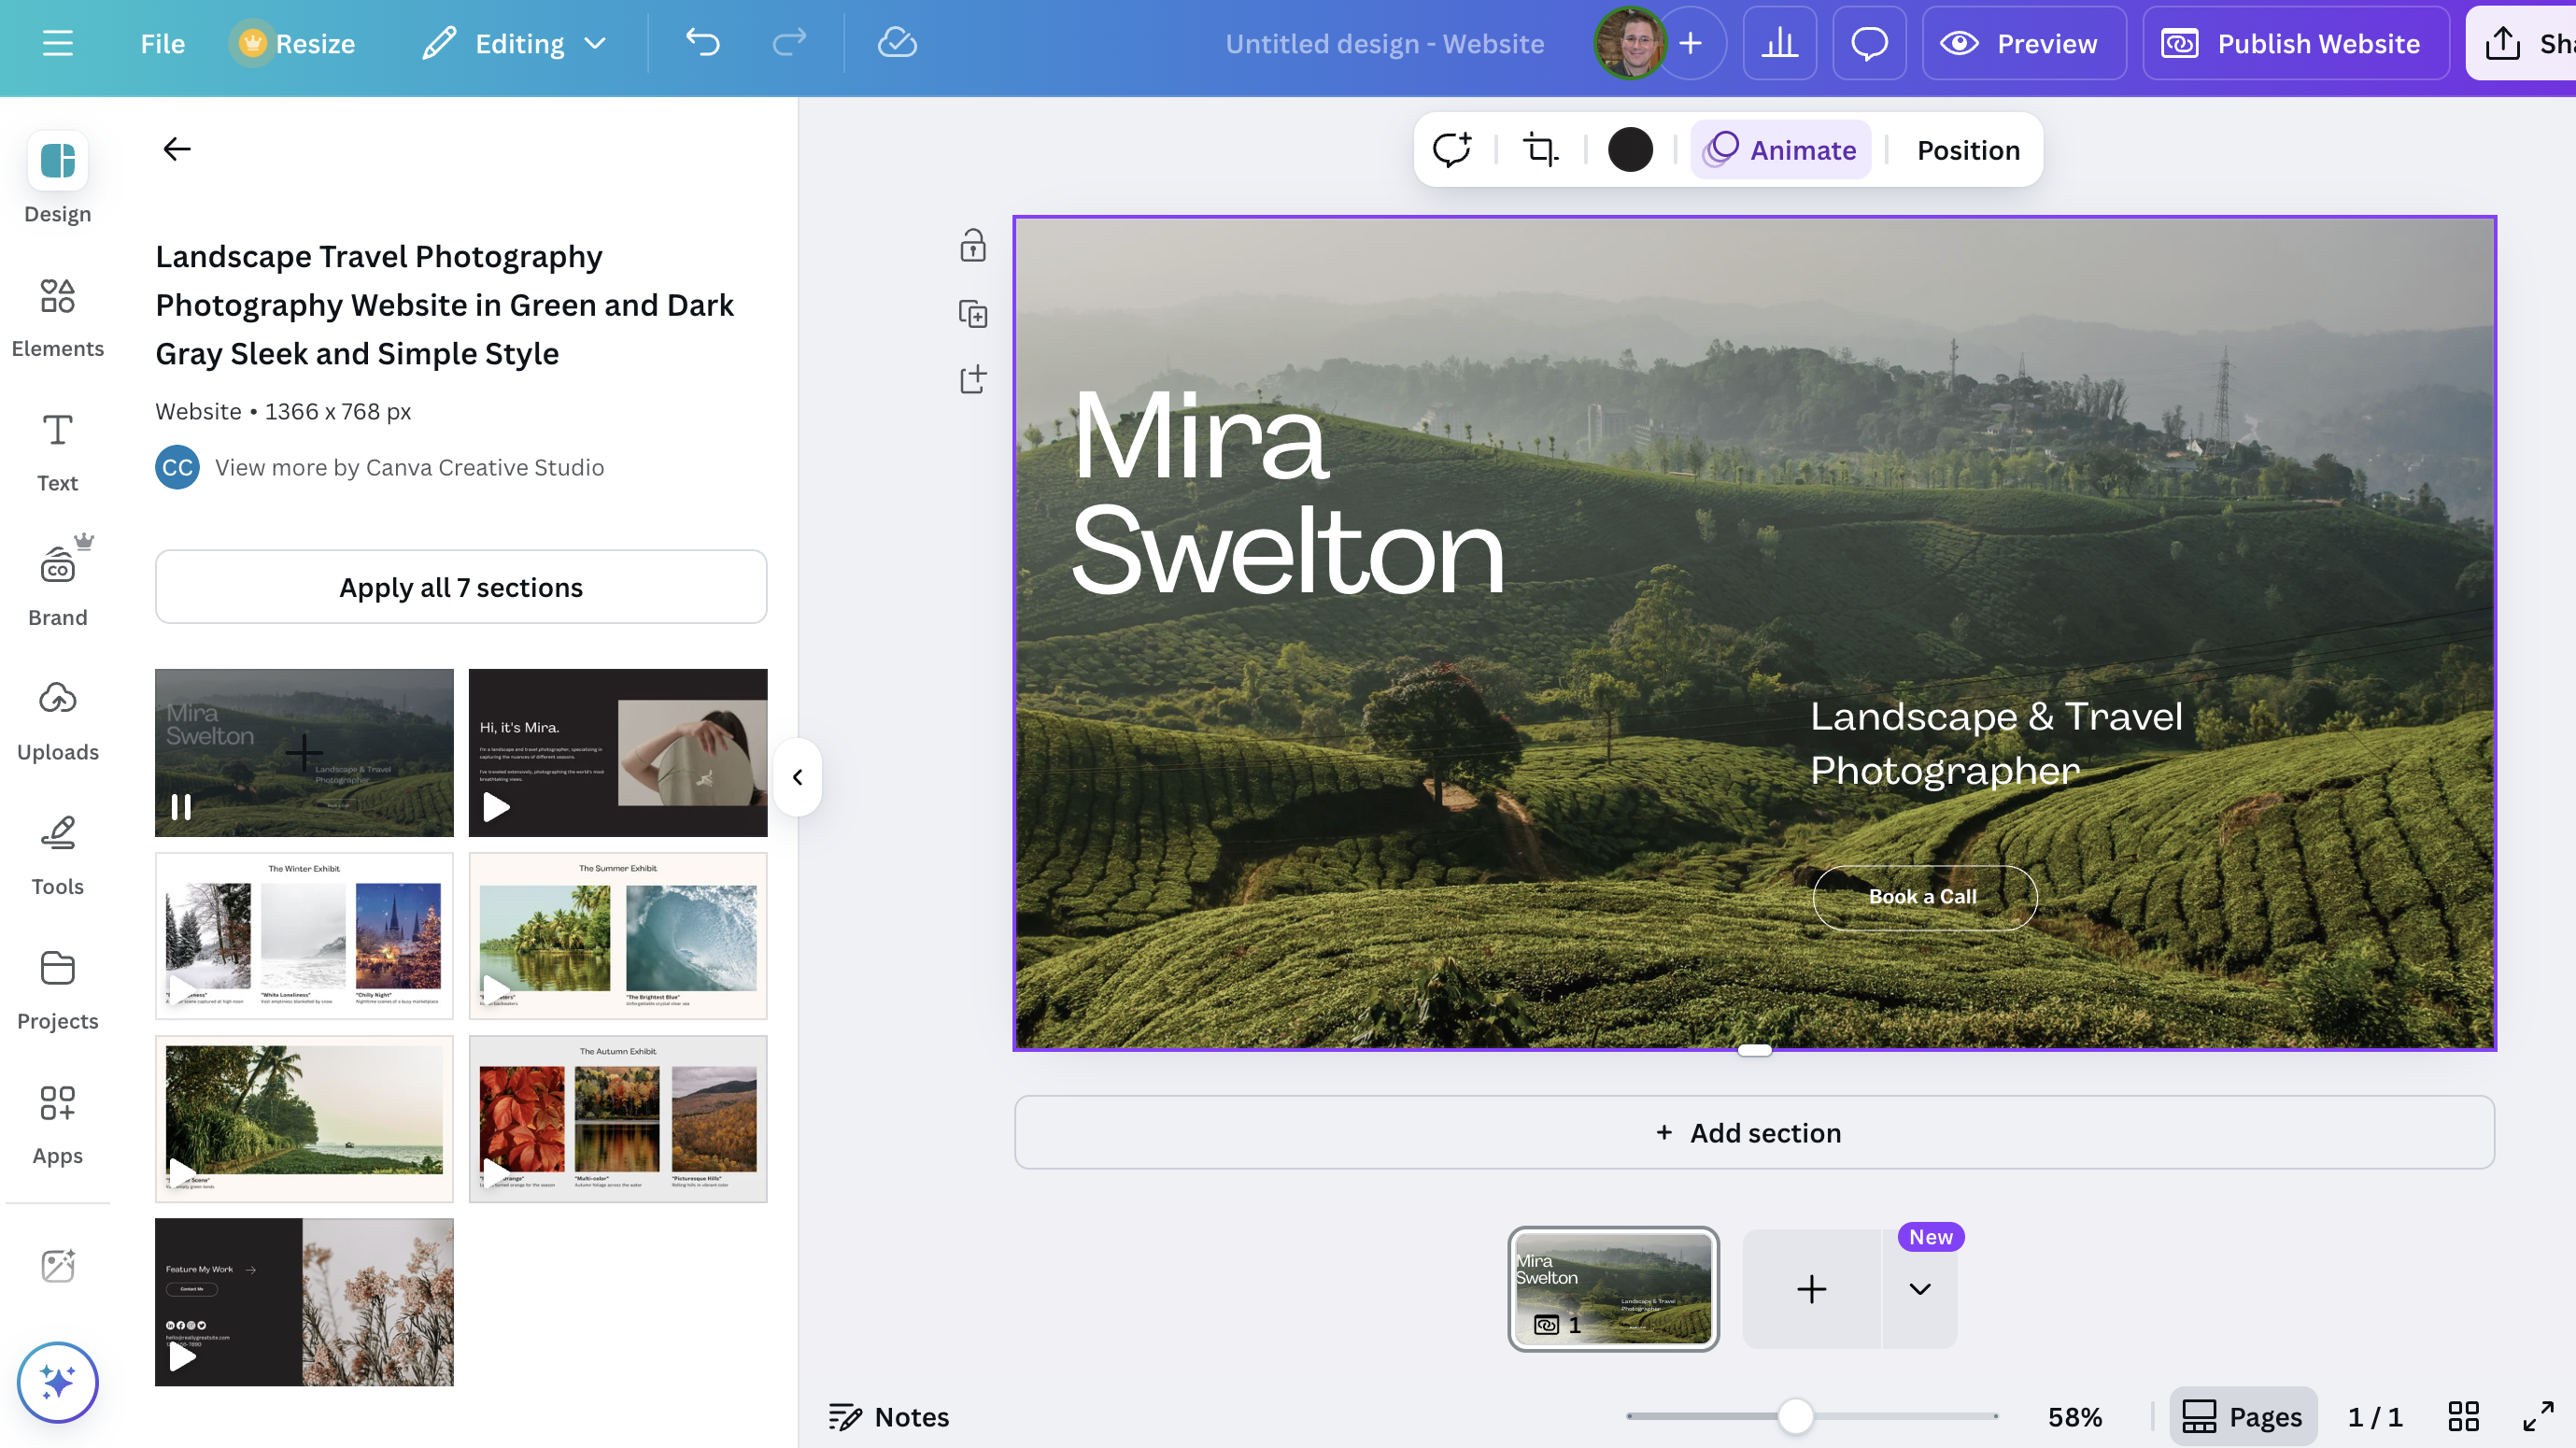
The first step in our Canva website tutorial is to search for a template. There are an enormous amount of these, and the titles can be very similar, so this can take some time. The key, in my experience, is to use as many search terms as possible. I entered 'travel photography portfolio' into the search bar and picked a template called "Landscape Travel Photography Portfolio Website in Green and Dark Gray Sleek and Simple Style".
Once you've found a template you like, click on "Apply all seven sections" (or whatever number of sections the template has). The website template then appears in the main view.
3. Upload and replace images
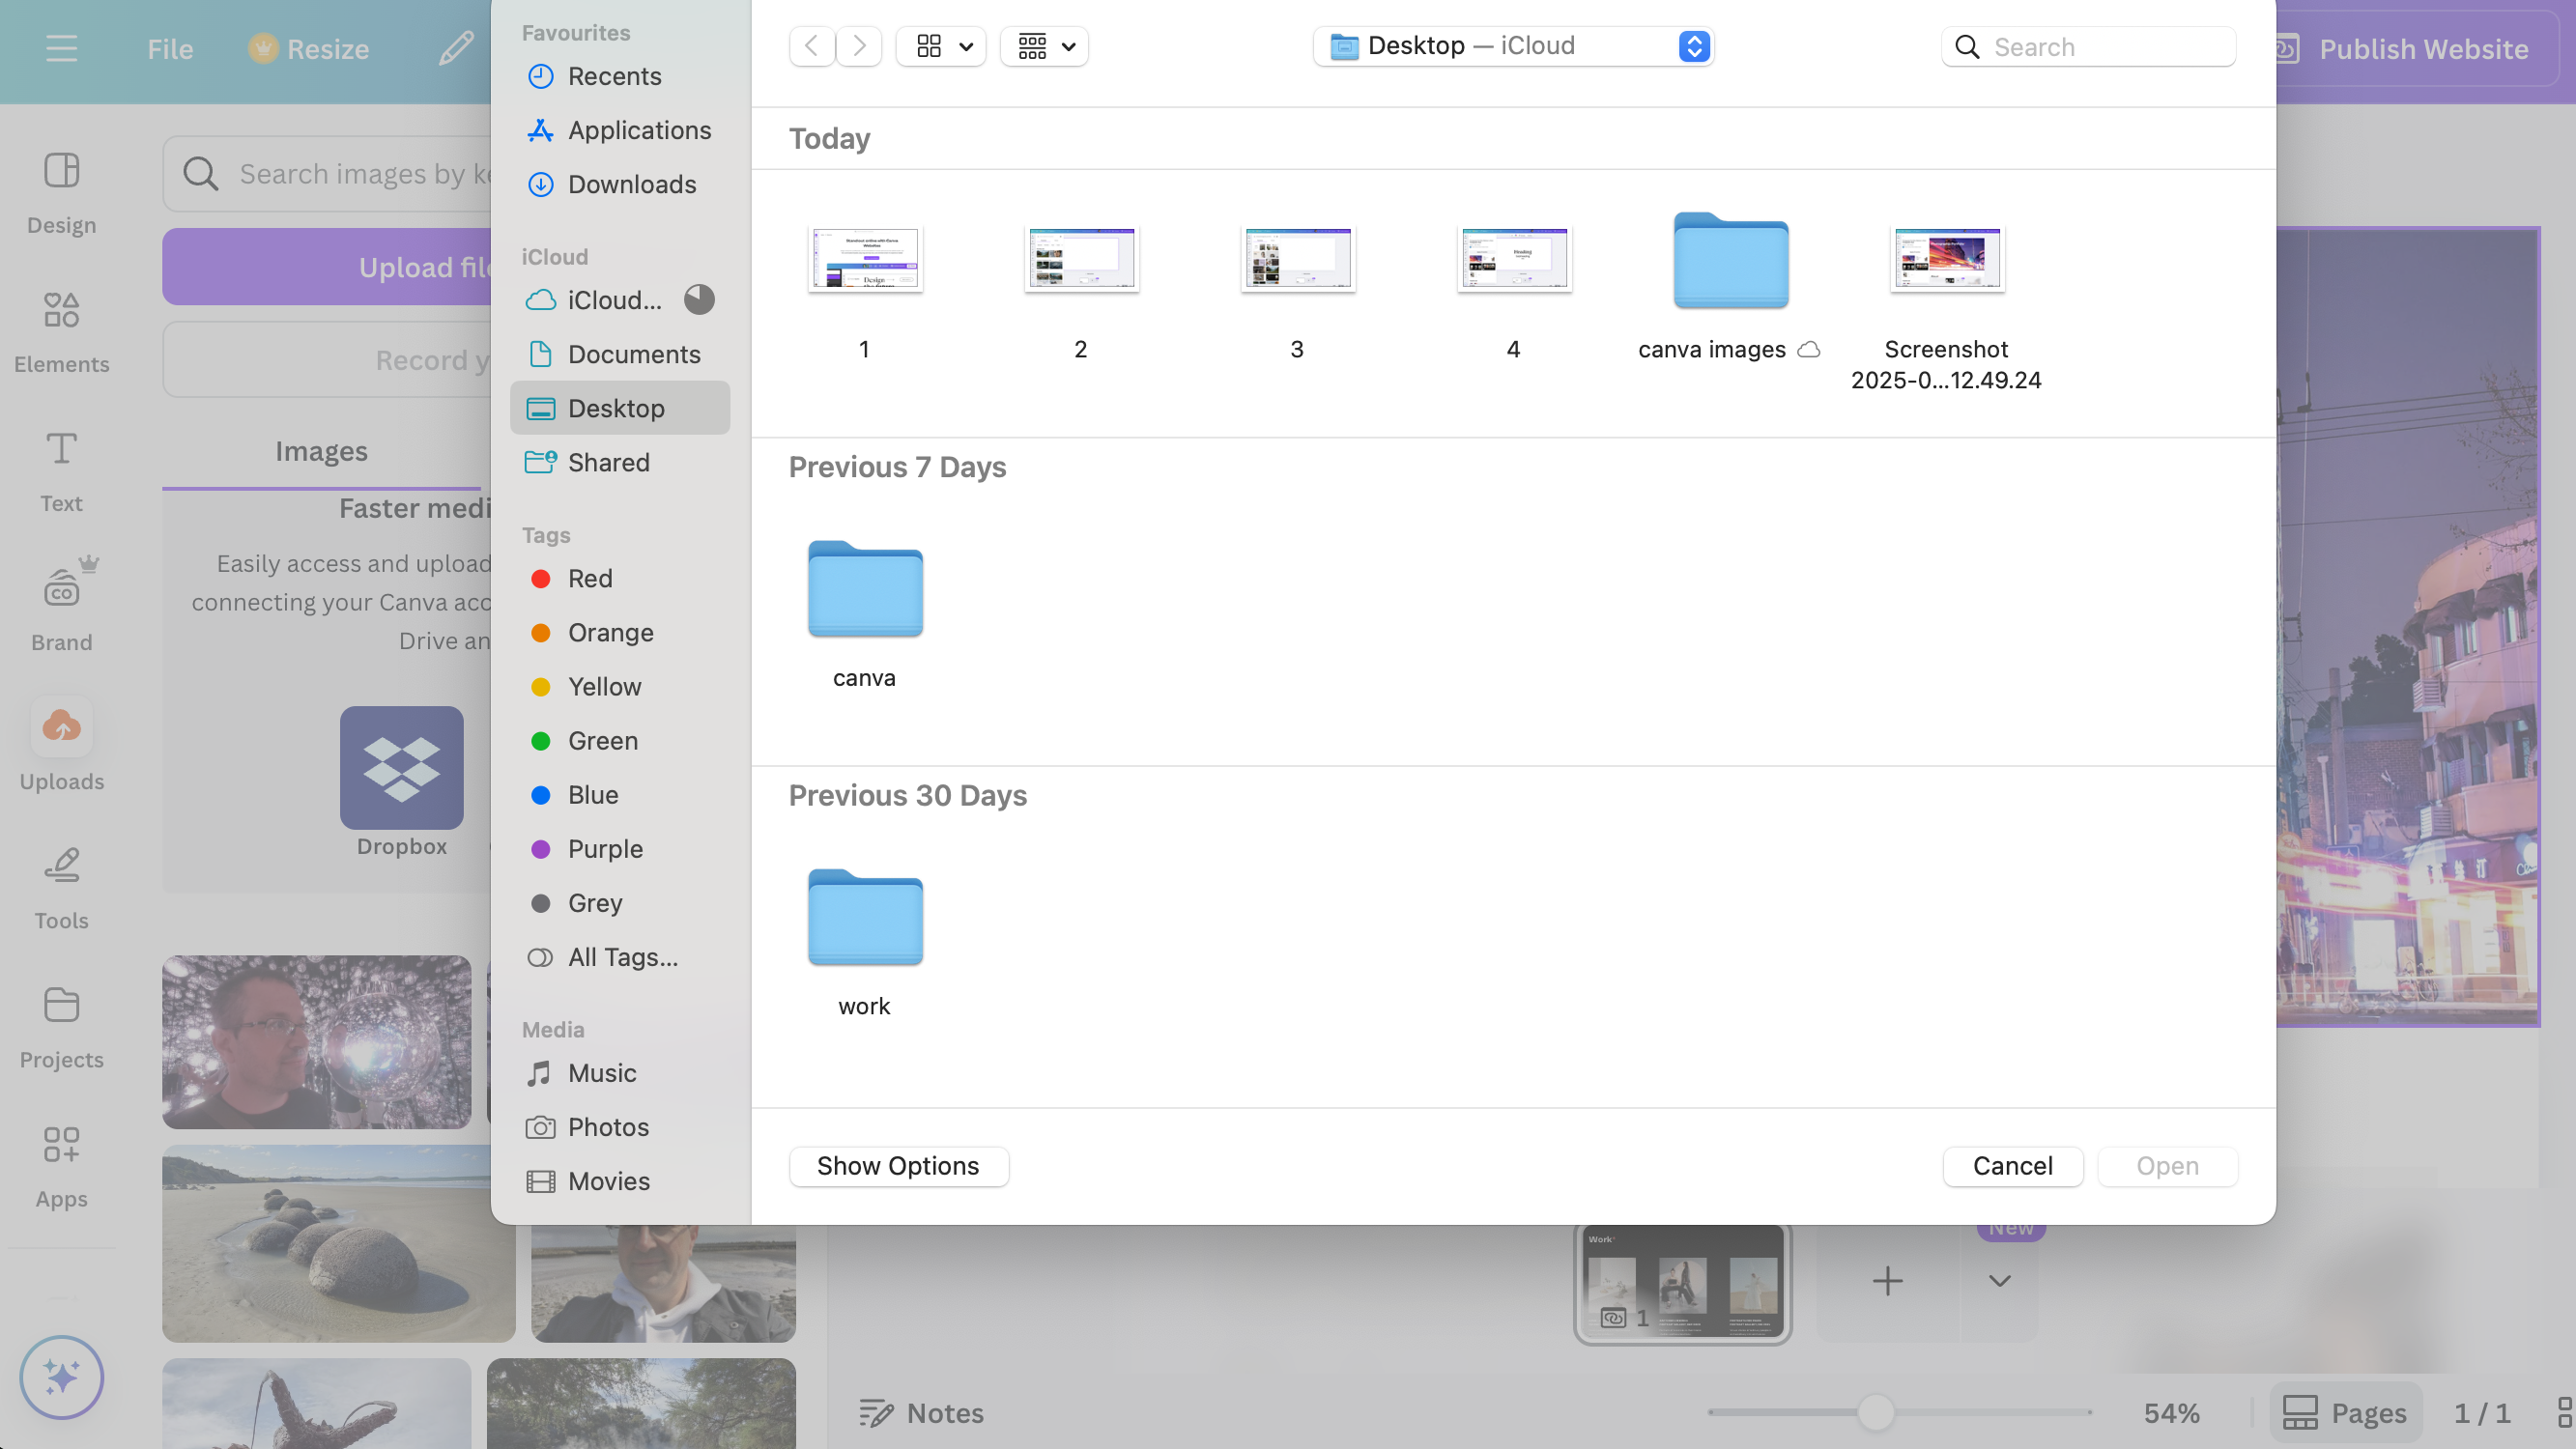
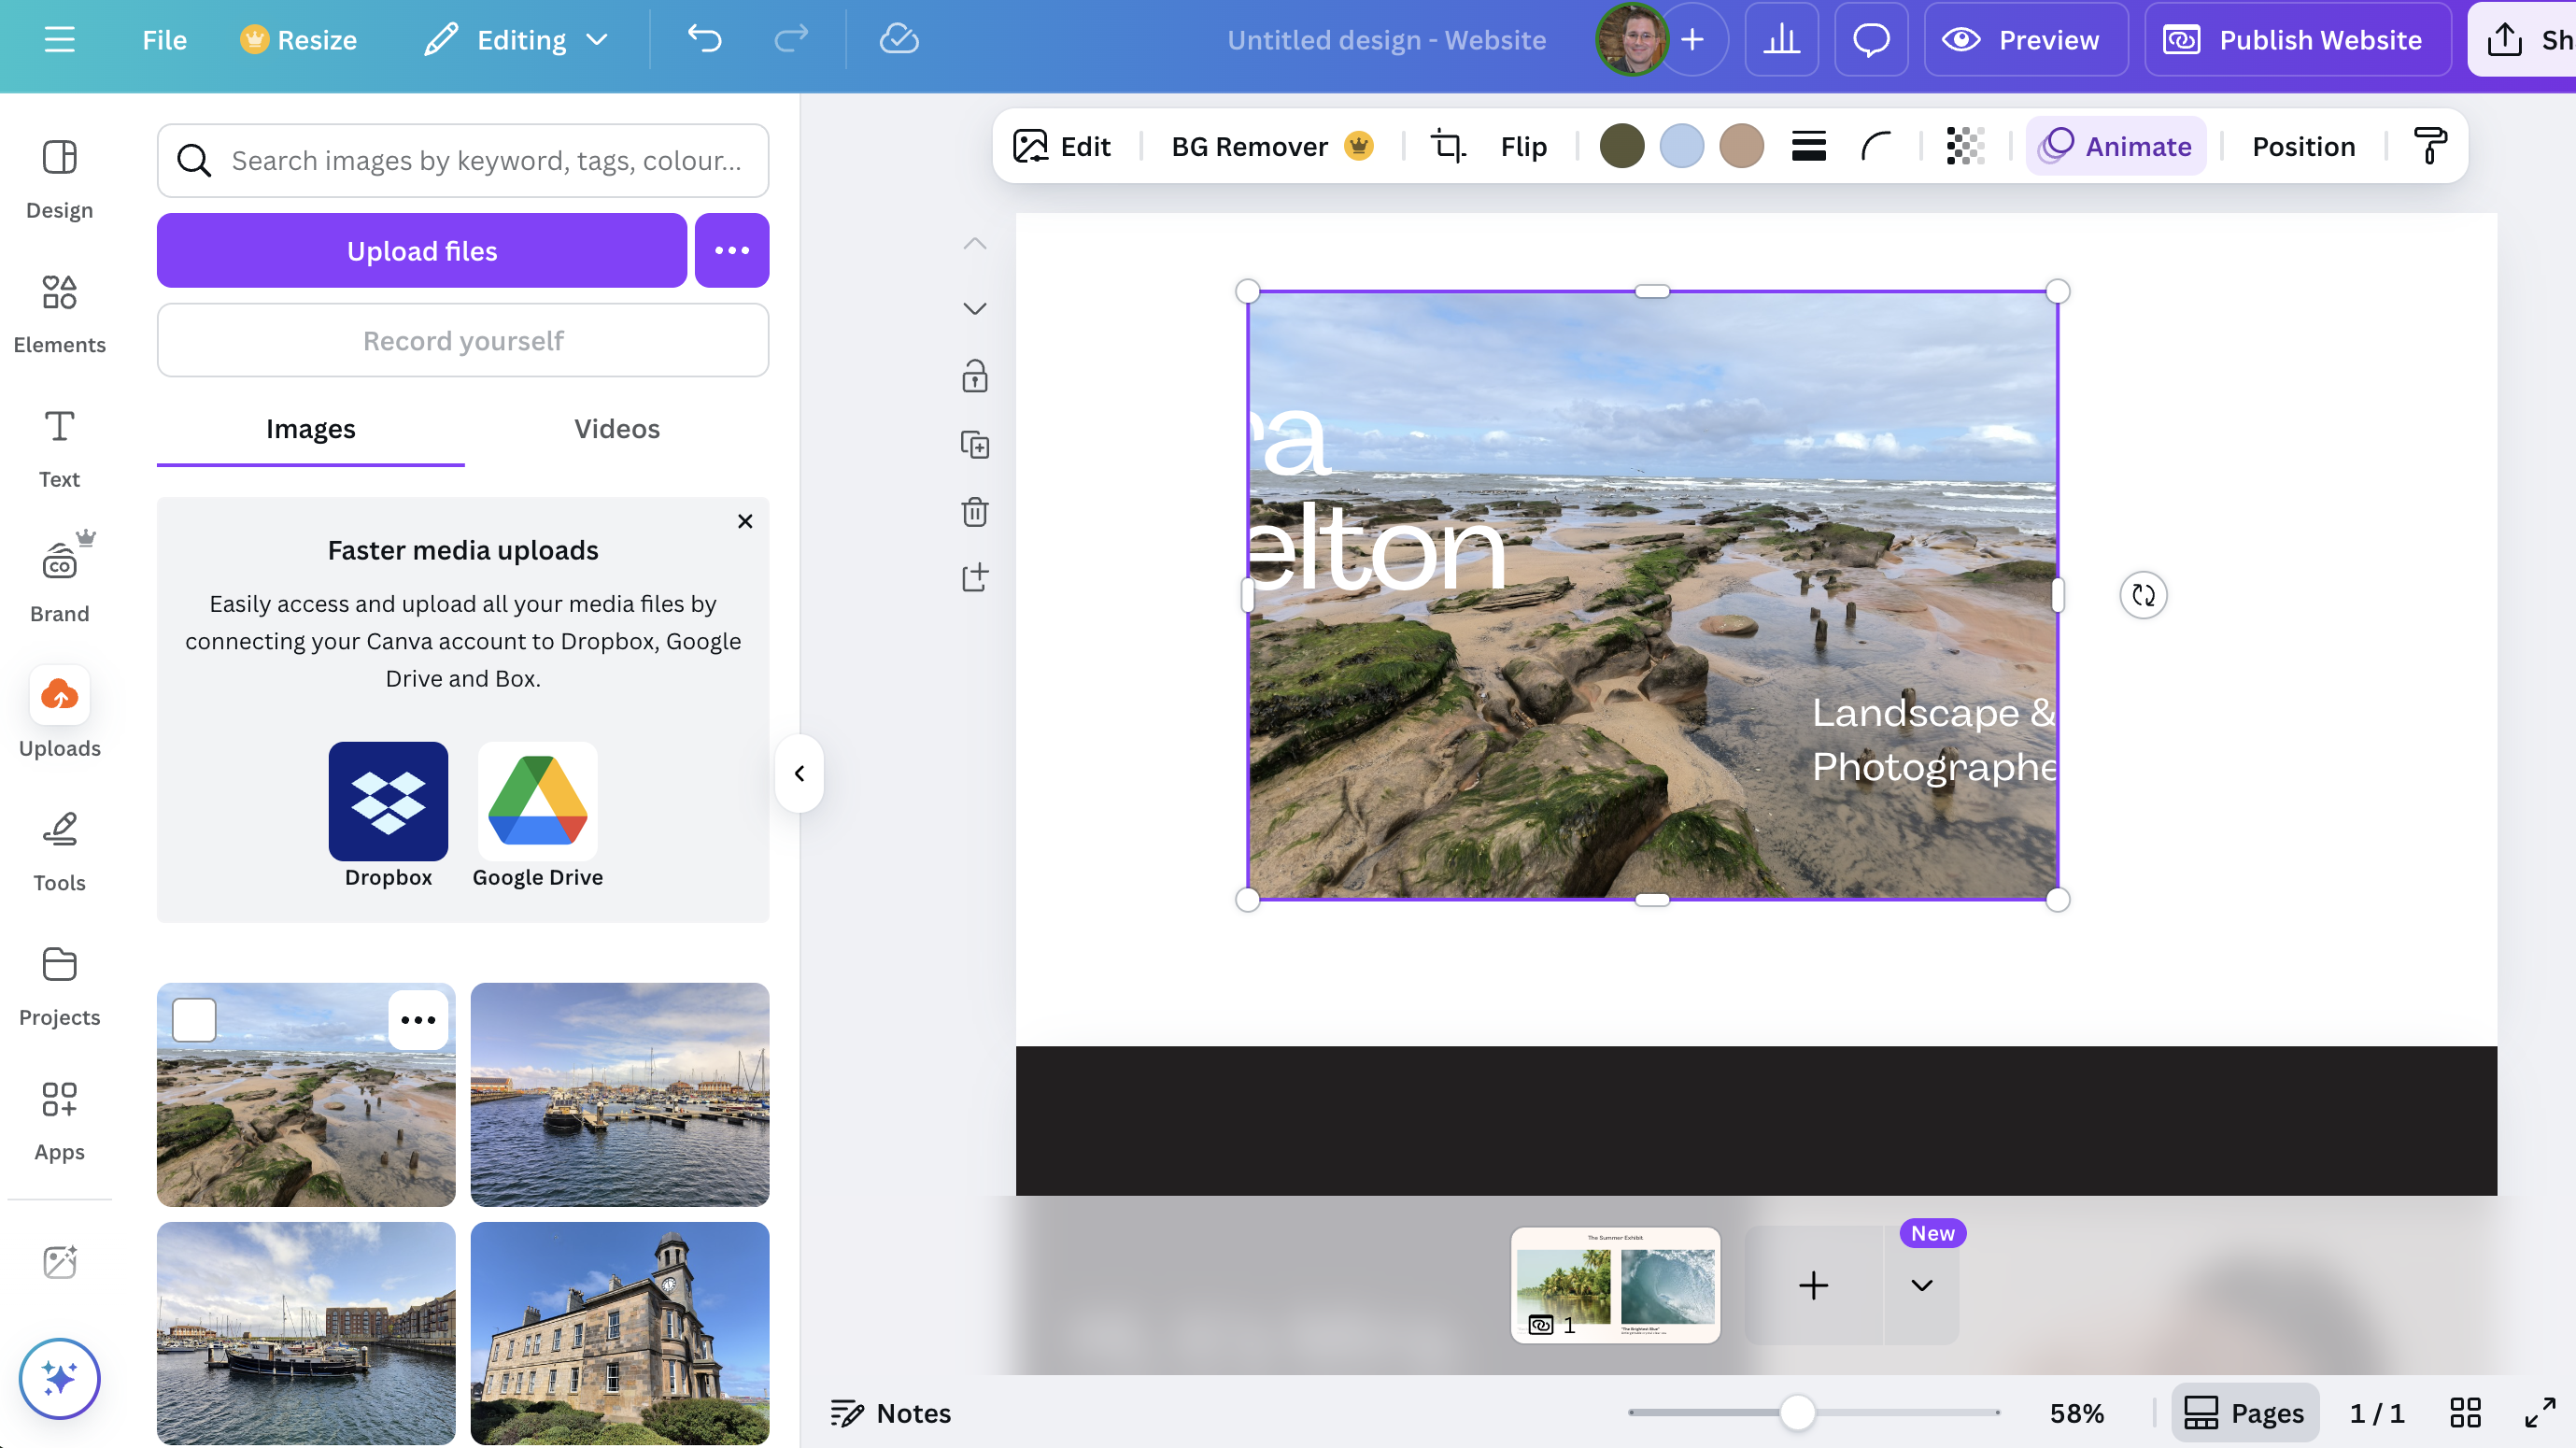
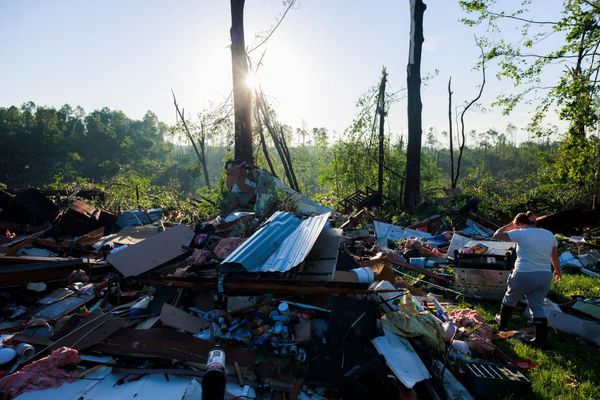
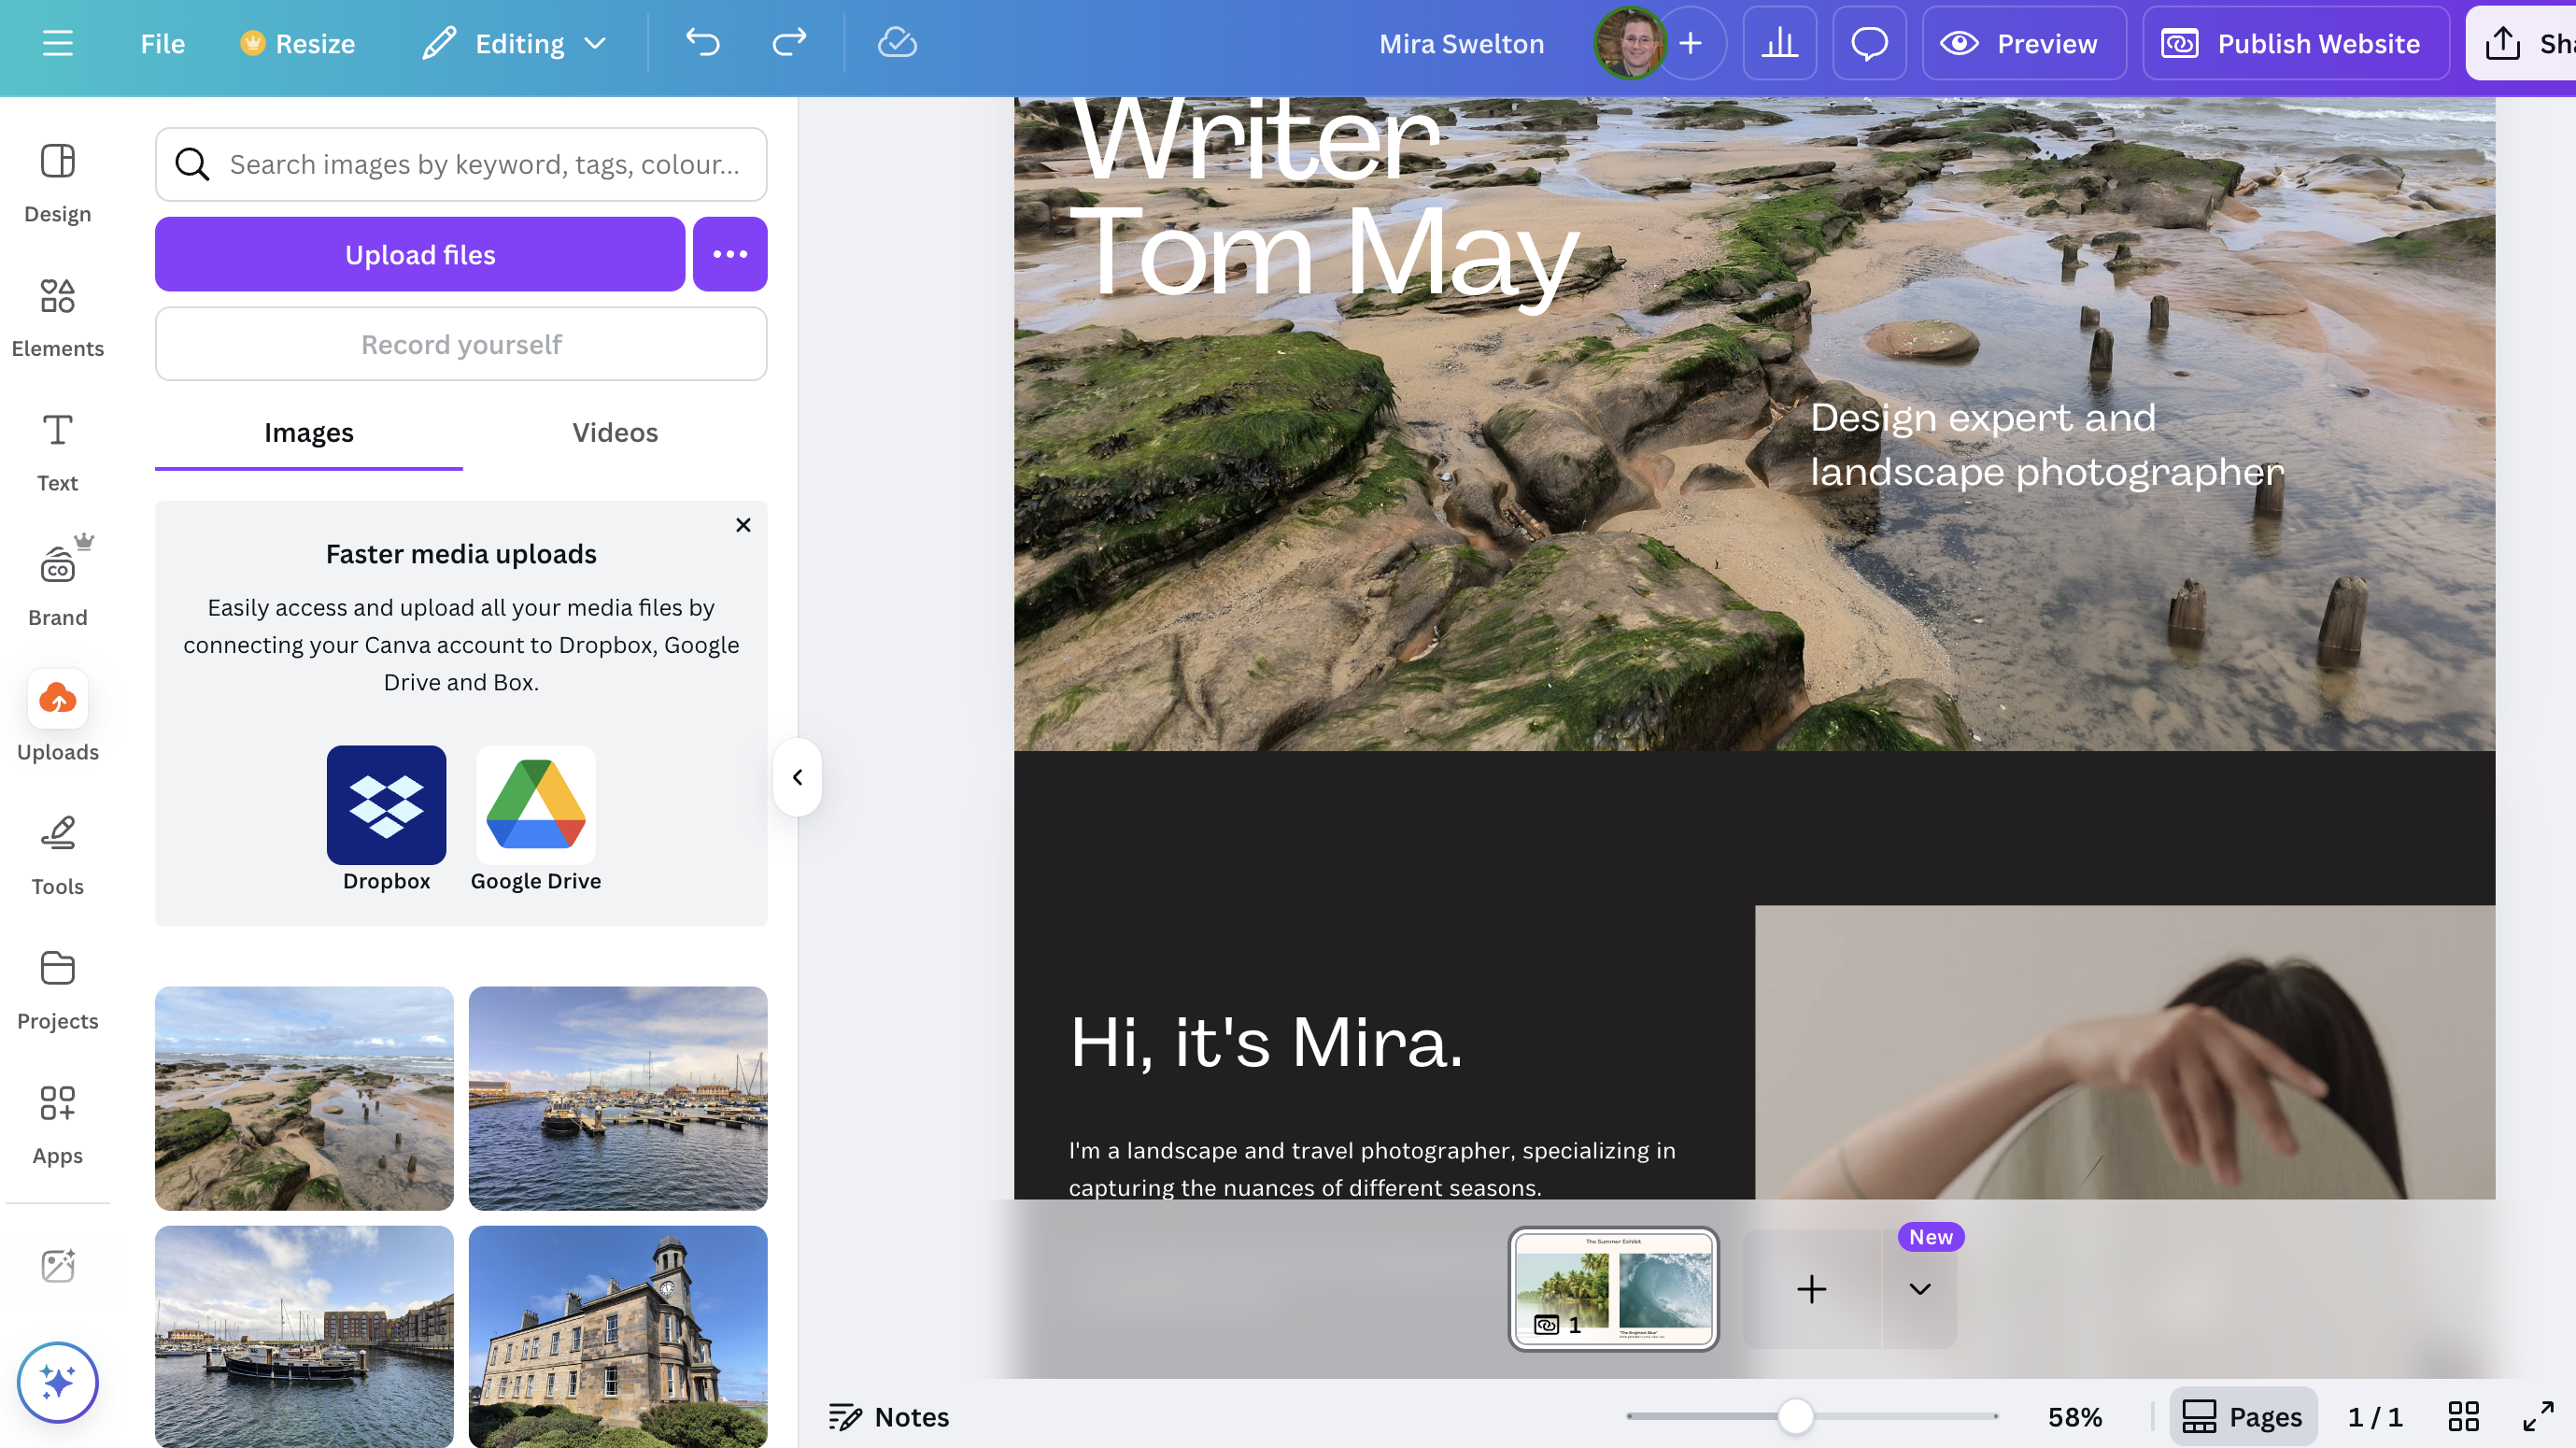
Now it's time to start uploading your own images to replace those in the template. Click 'uploads' in the vertical list on the left-hand side. Then click the purple button marked 'Upload files'. Find the image or images you want to upload from your computer. Select the ones you want and upload them to your library. The images will now appear in the bottom of the left-hand panel.
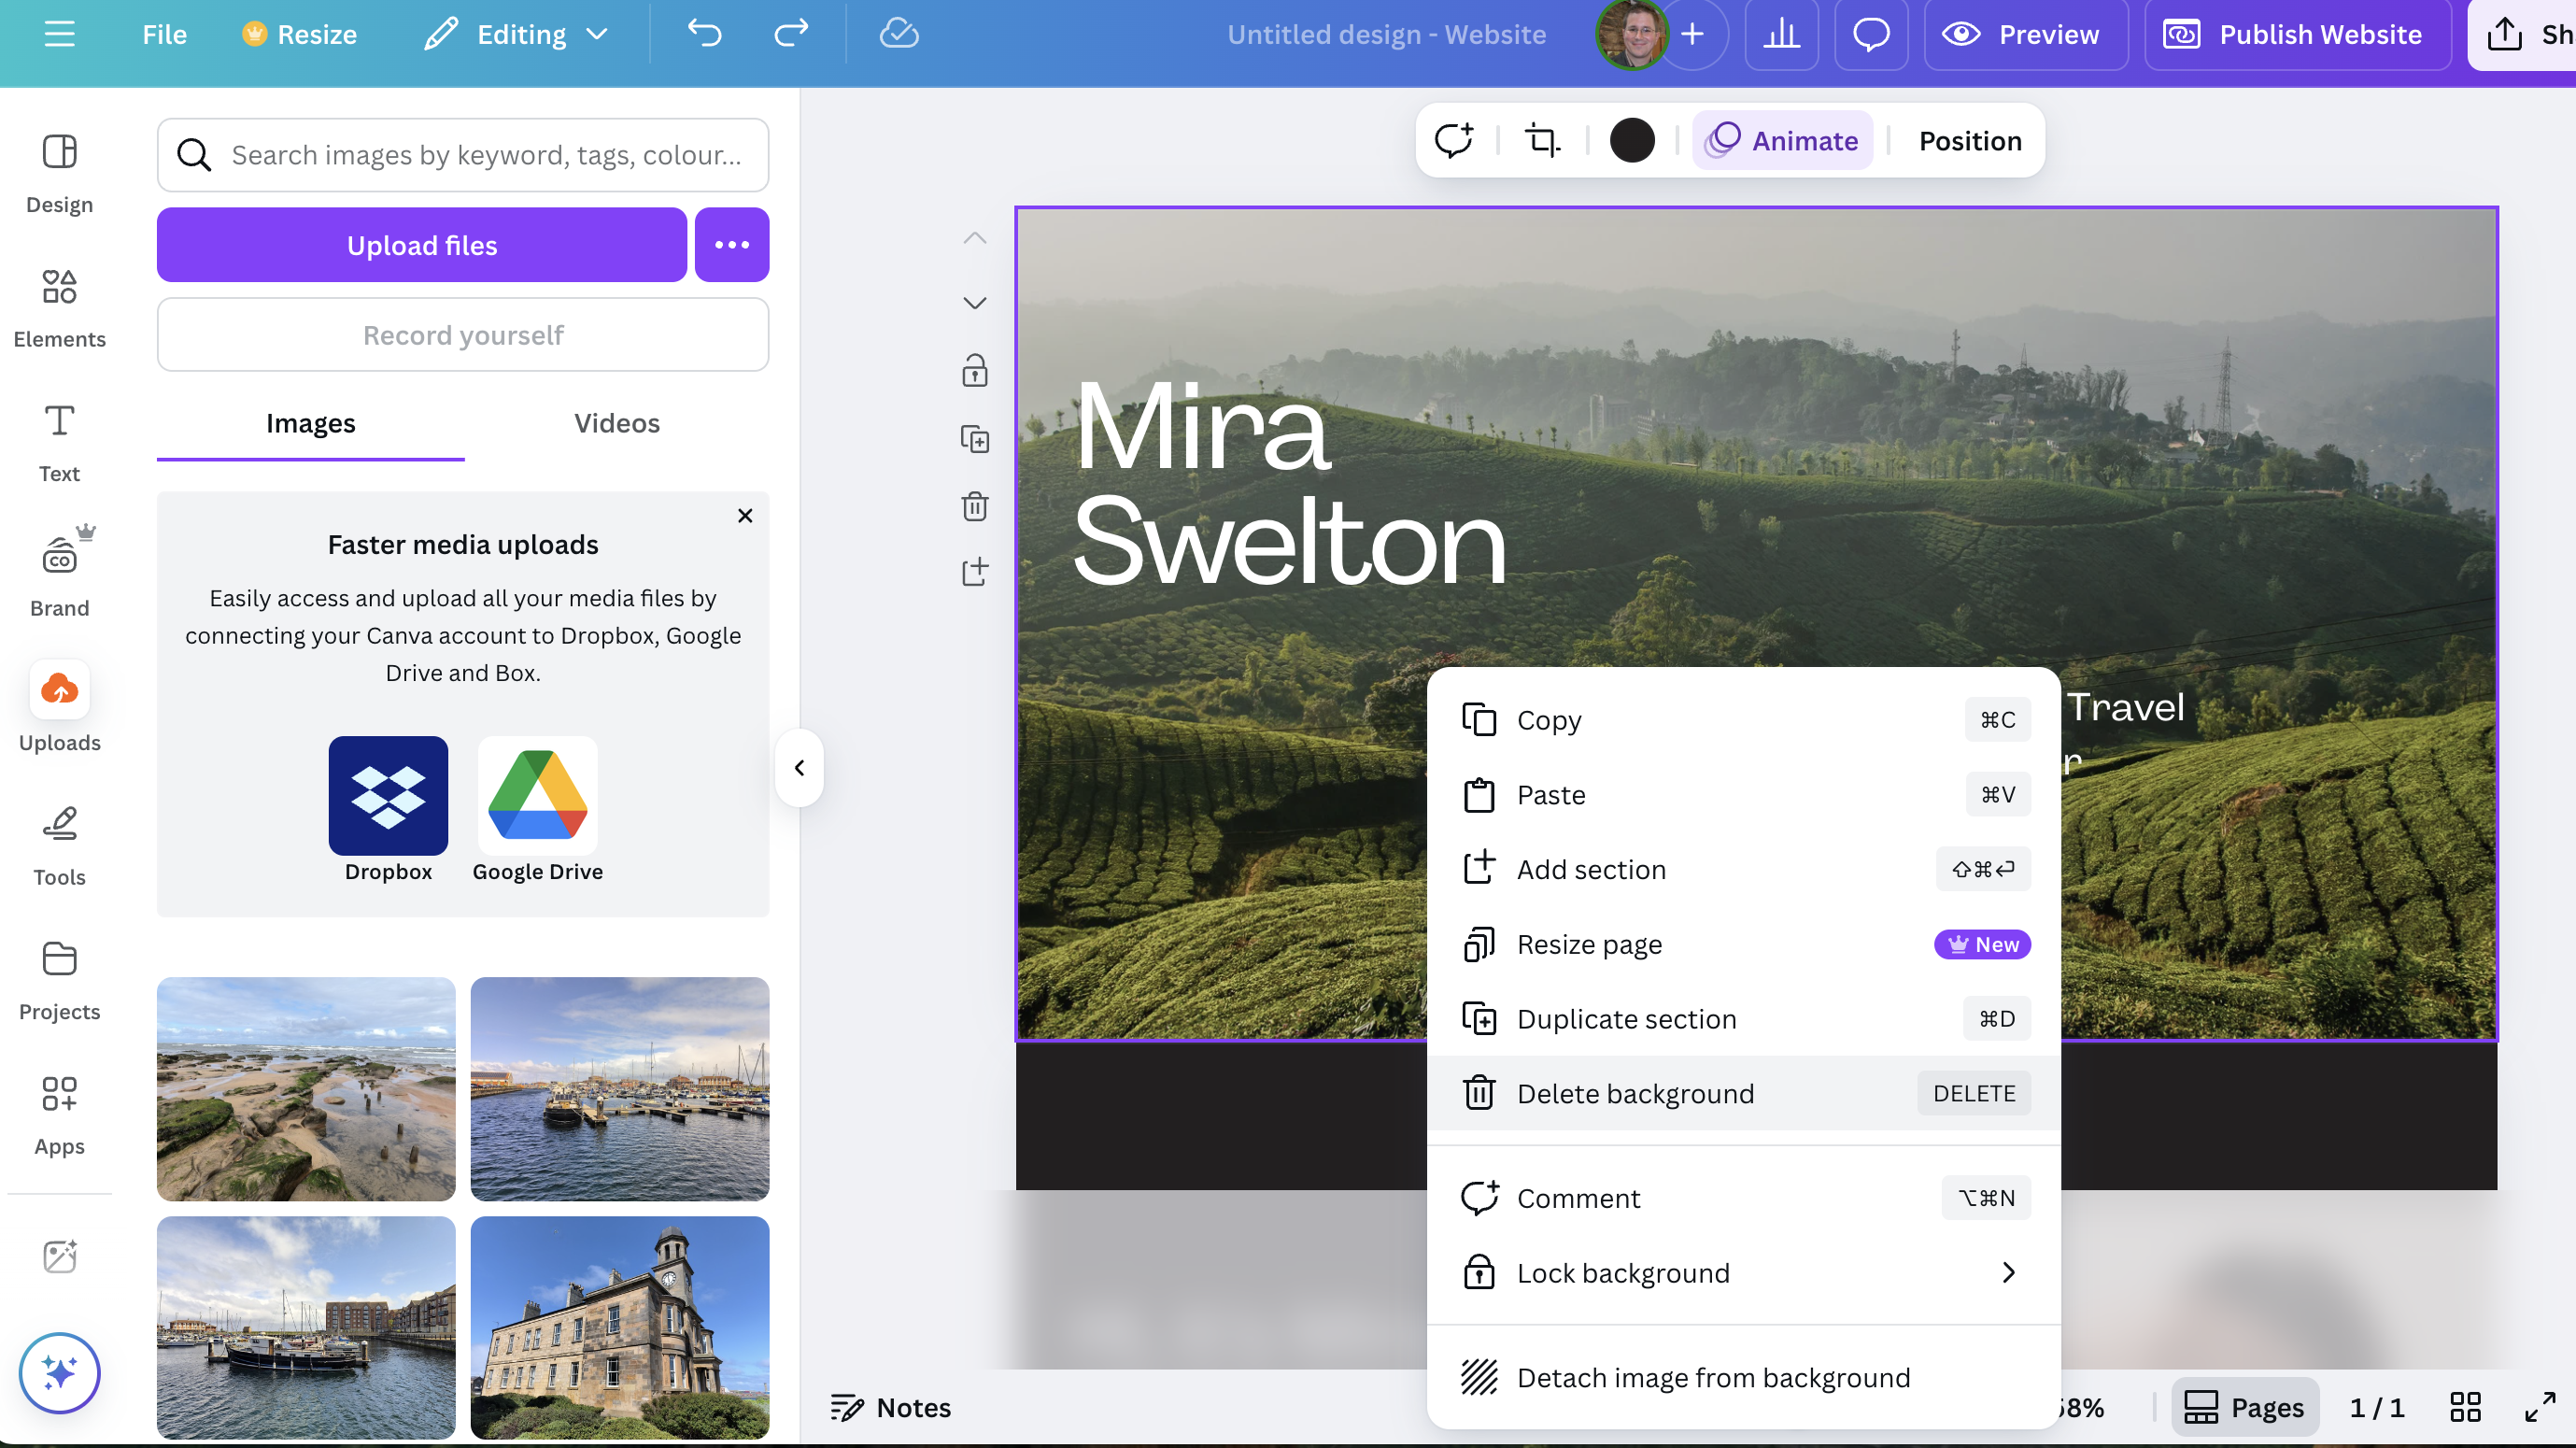
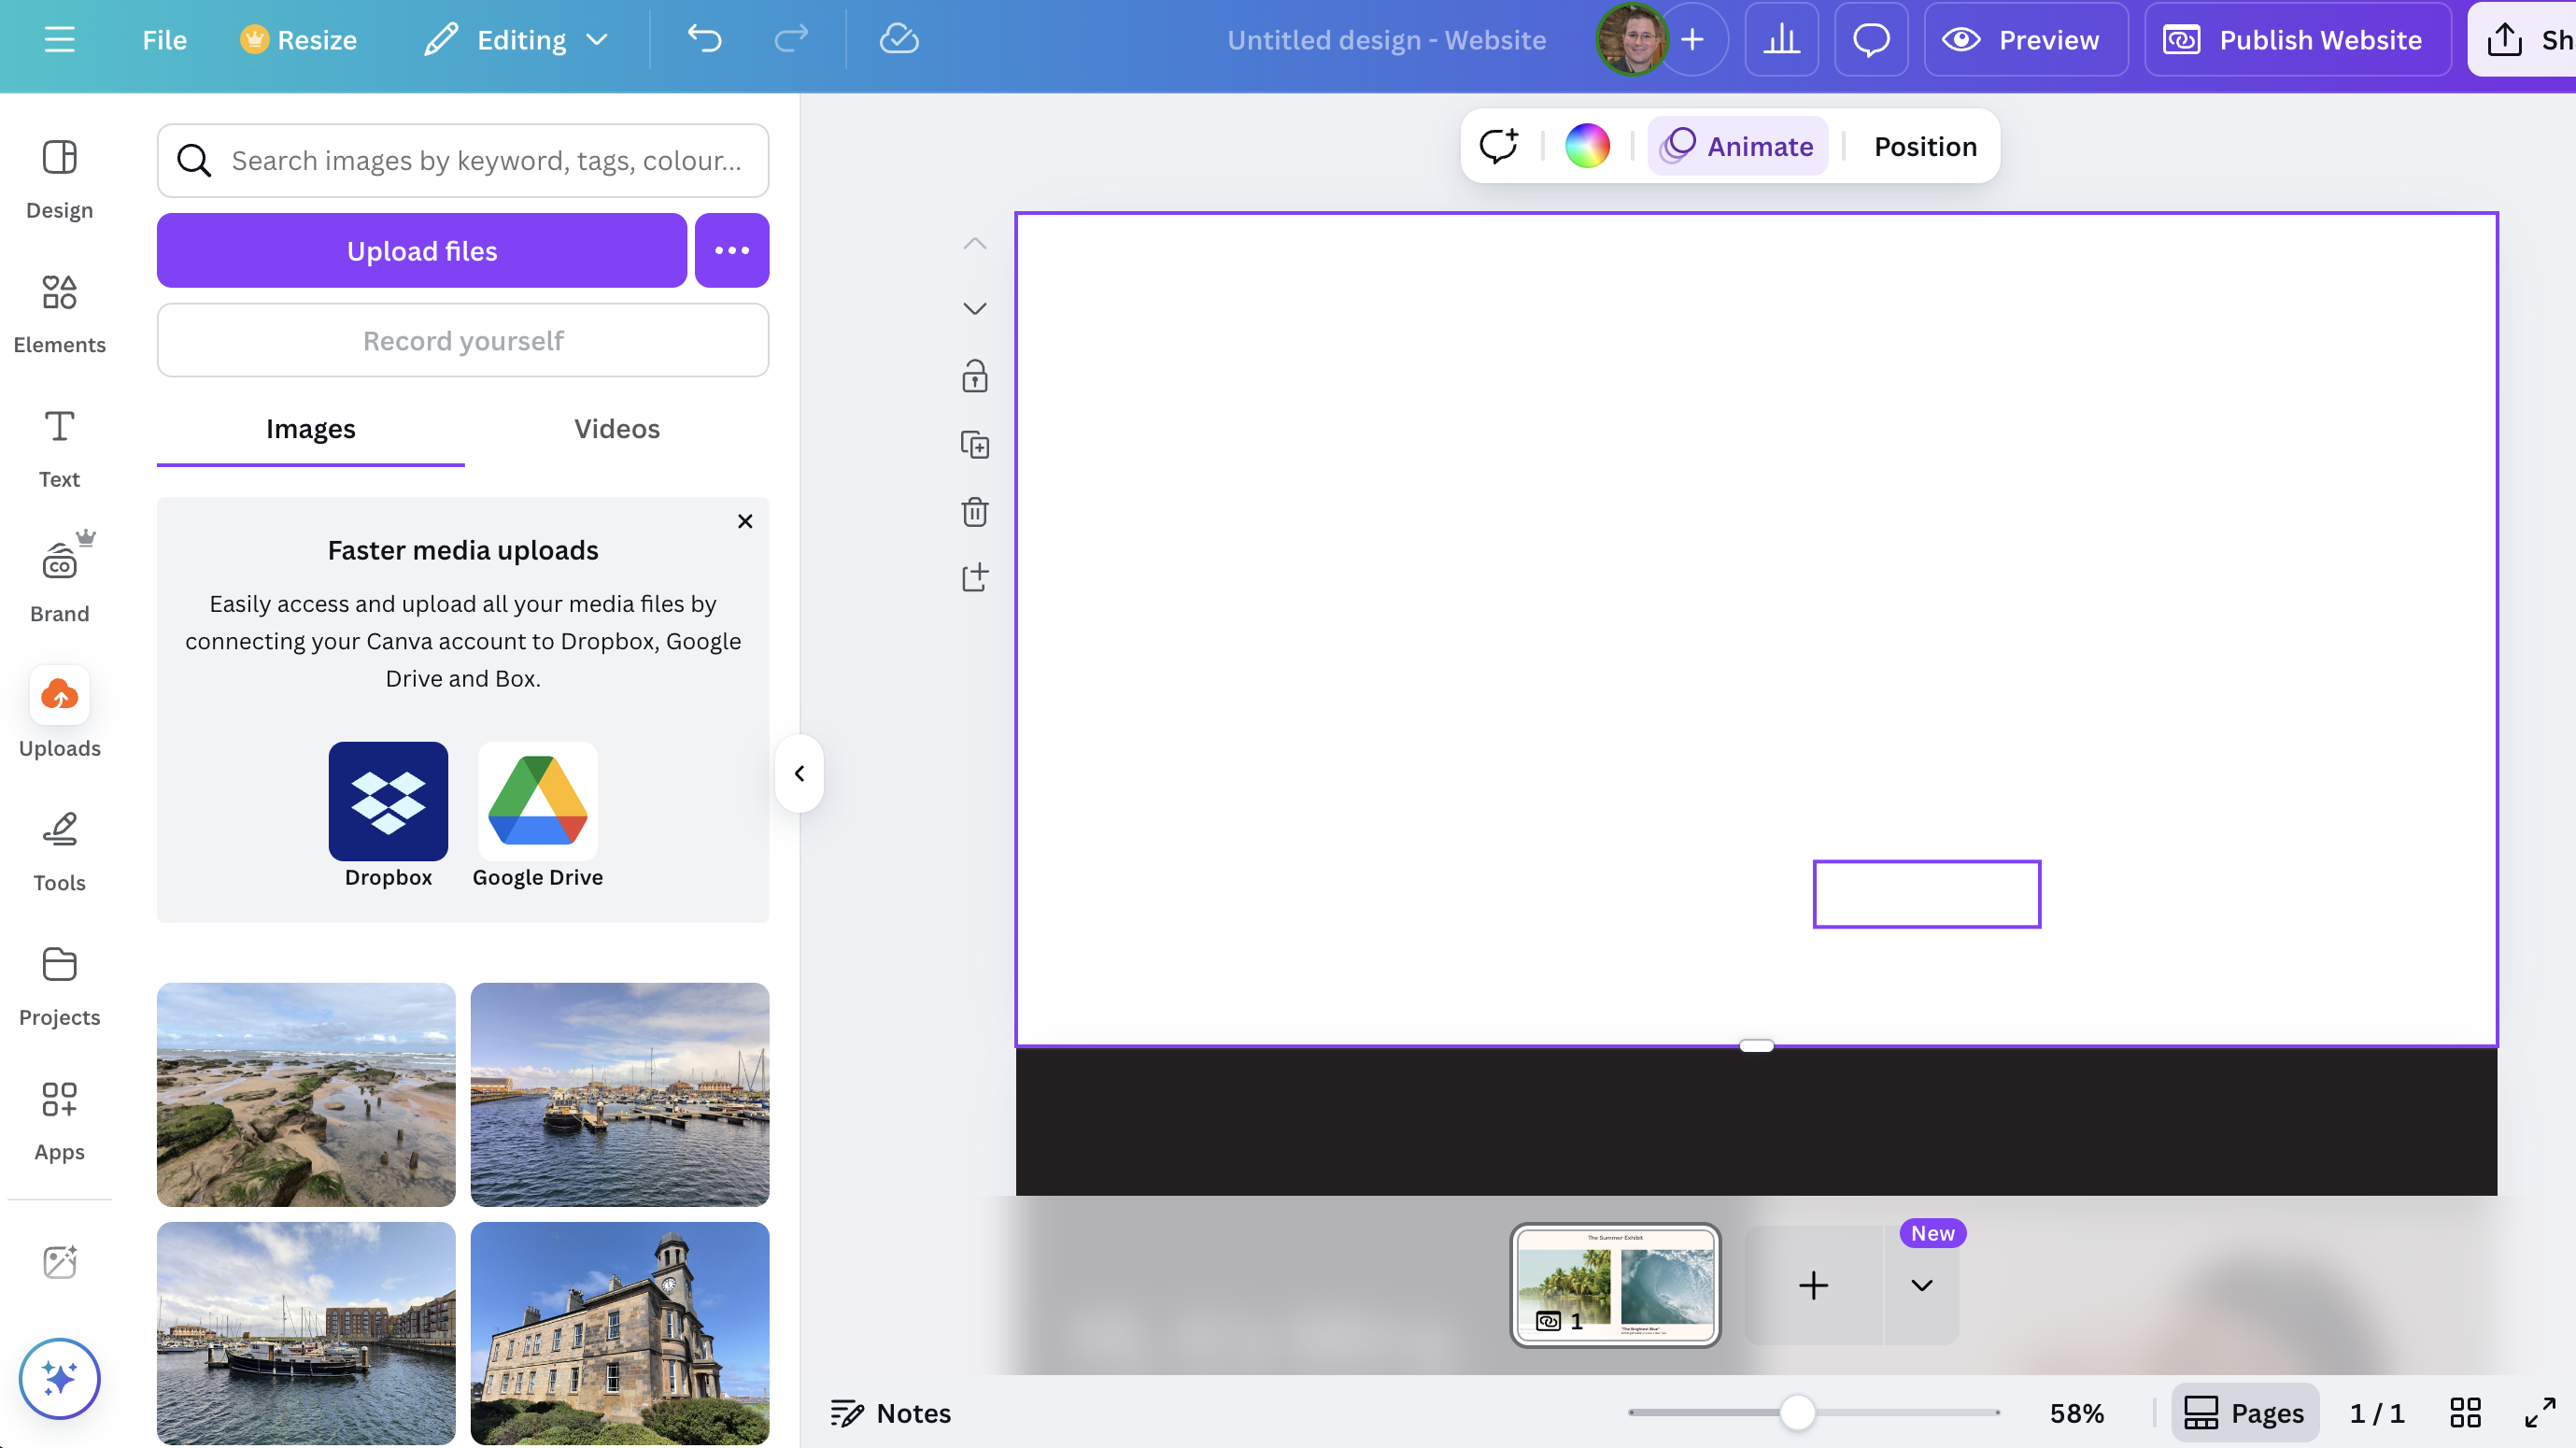
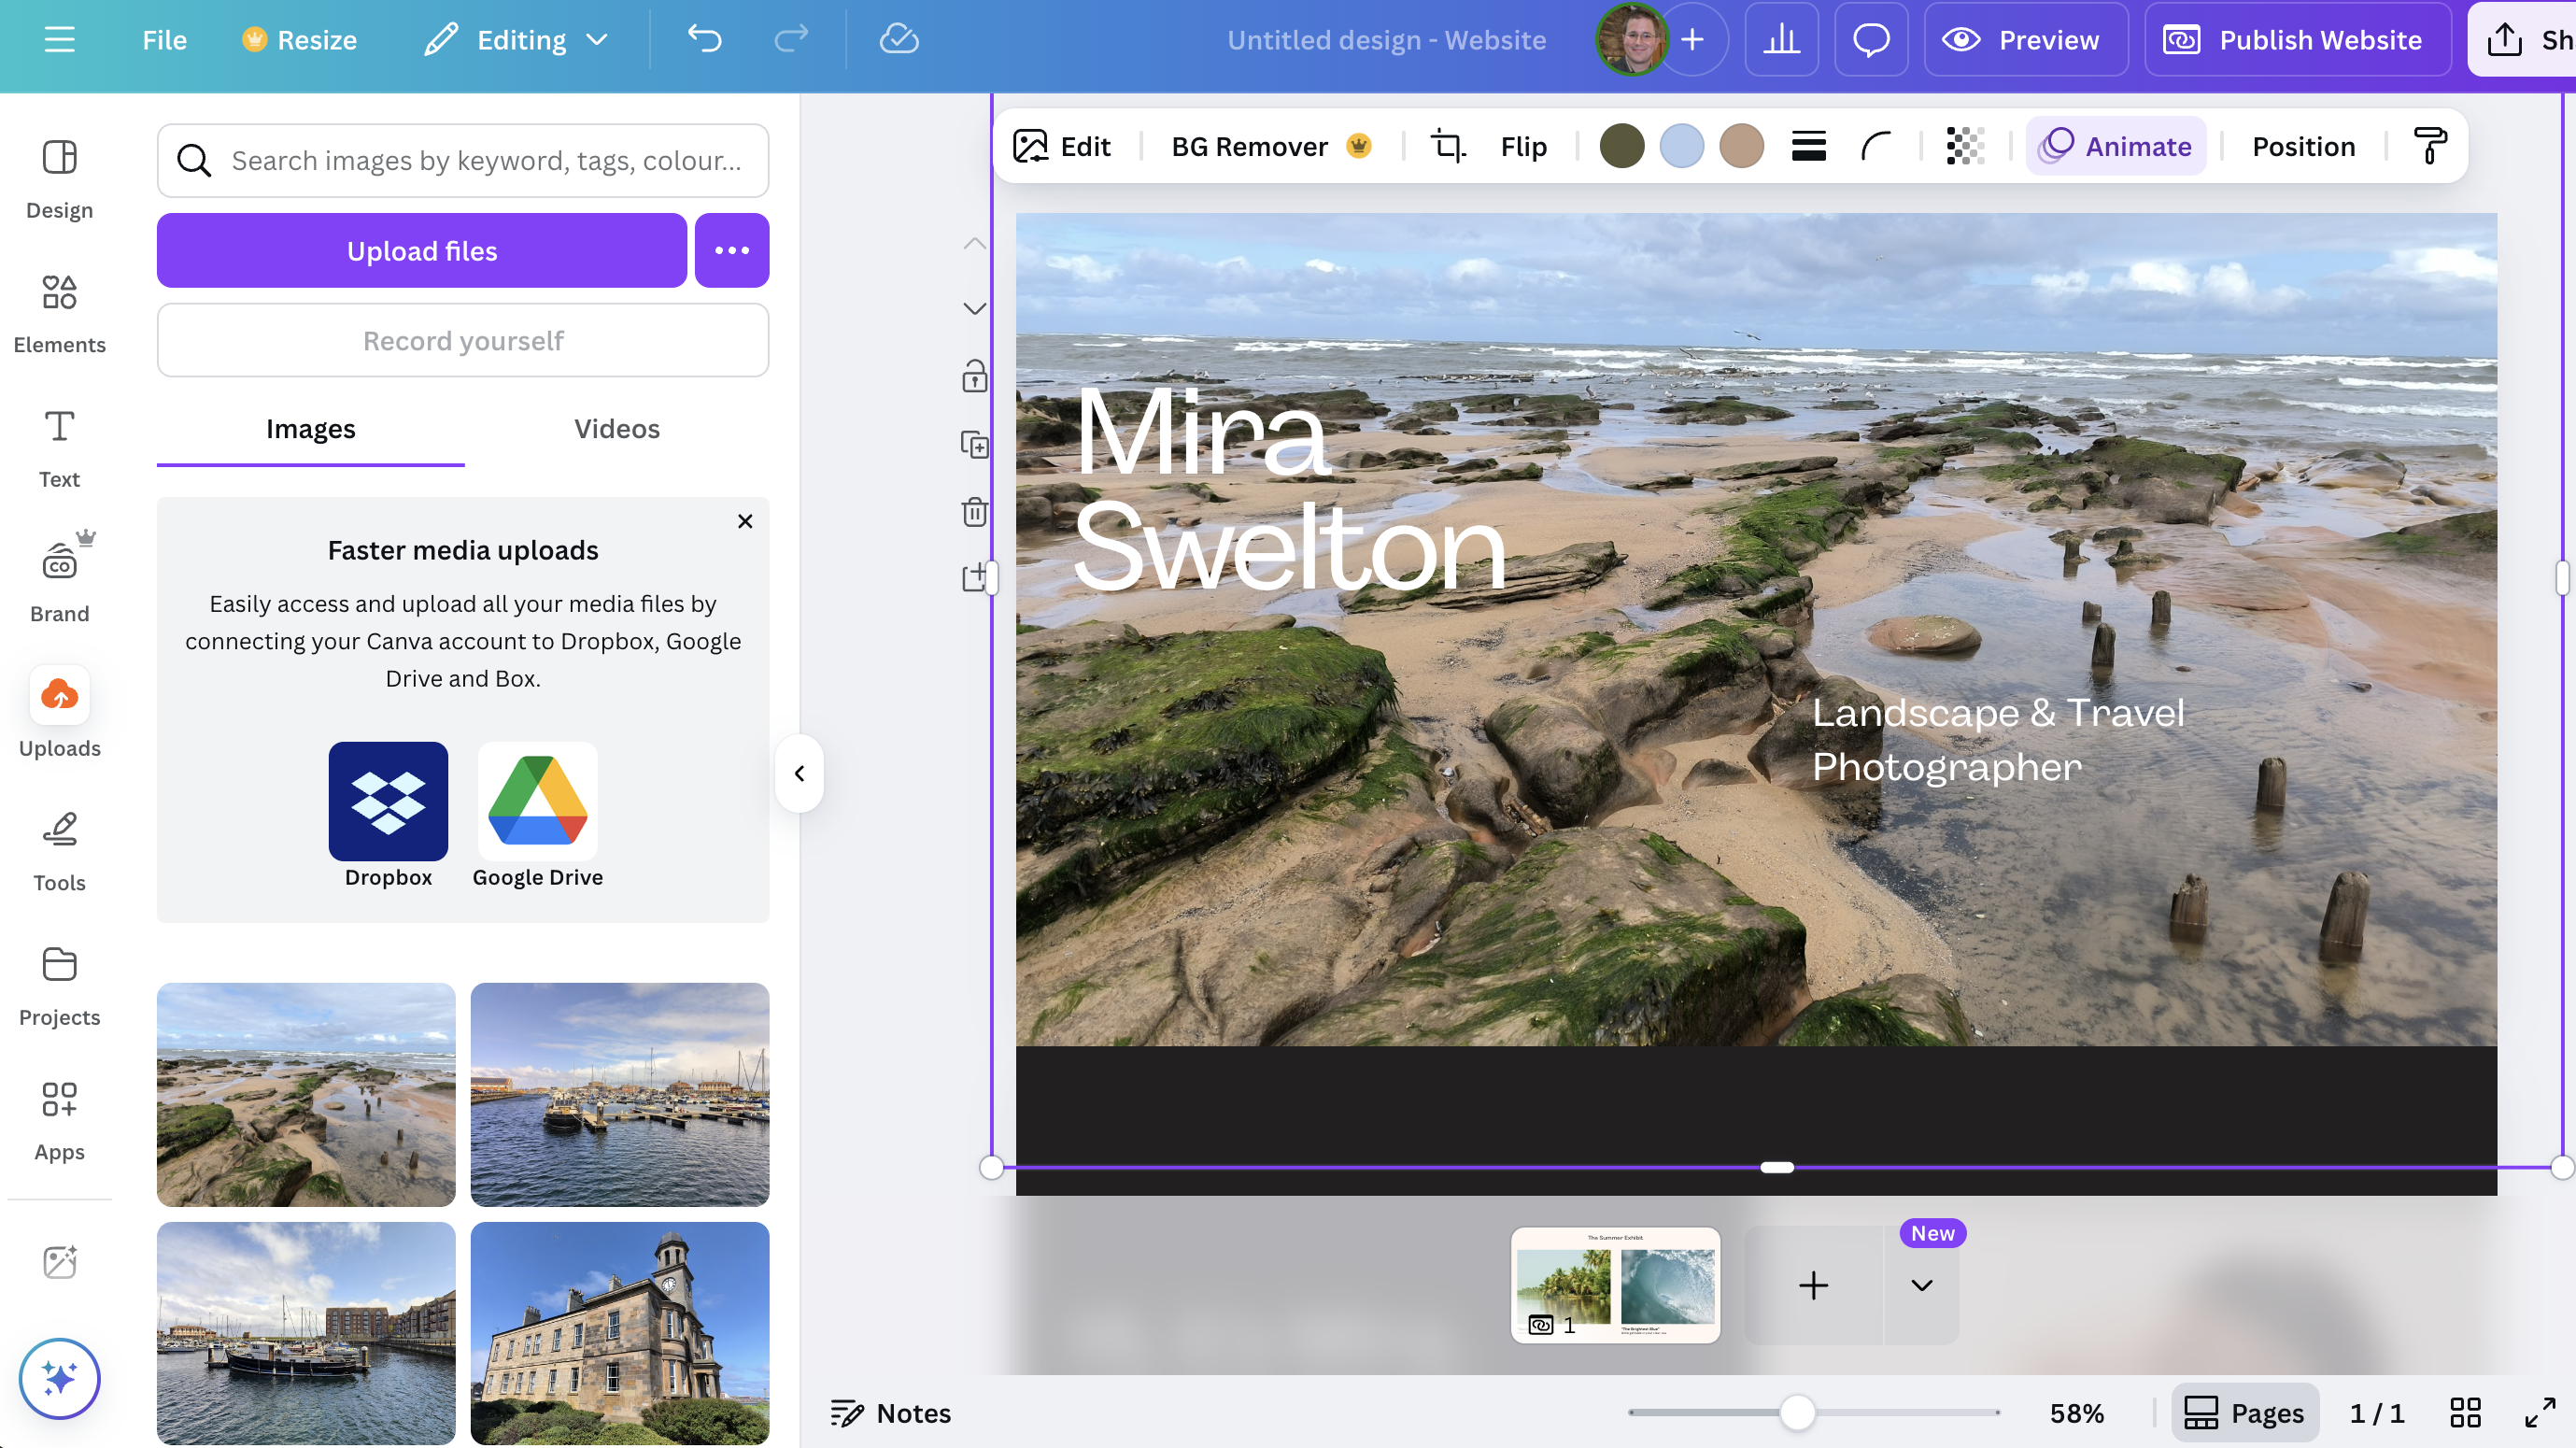
Next, let's replace our homepage background. First, right-click on the main homepage image in the editor and select Delete Background. Then drag and drop a new image from your Uploads collection over the empty space, and resize it to fit.
4. Edit the text
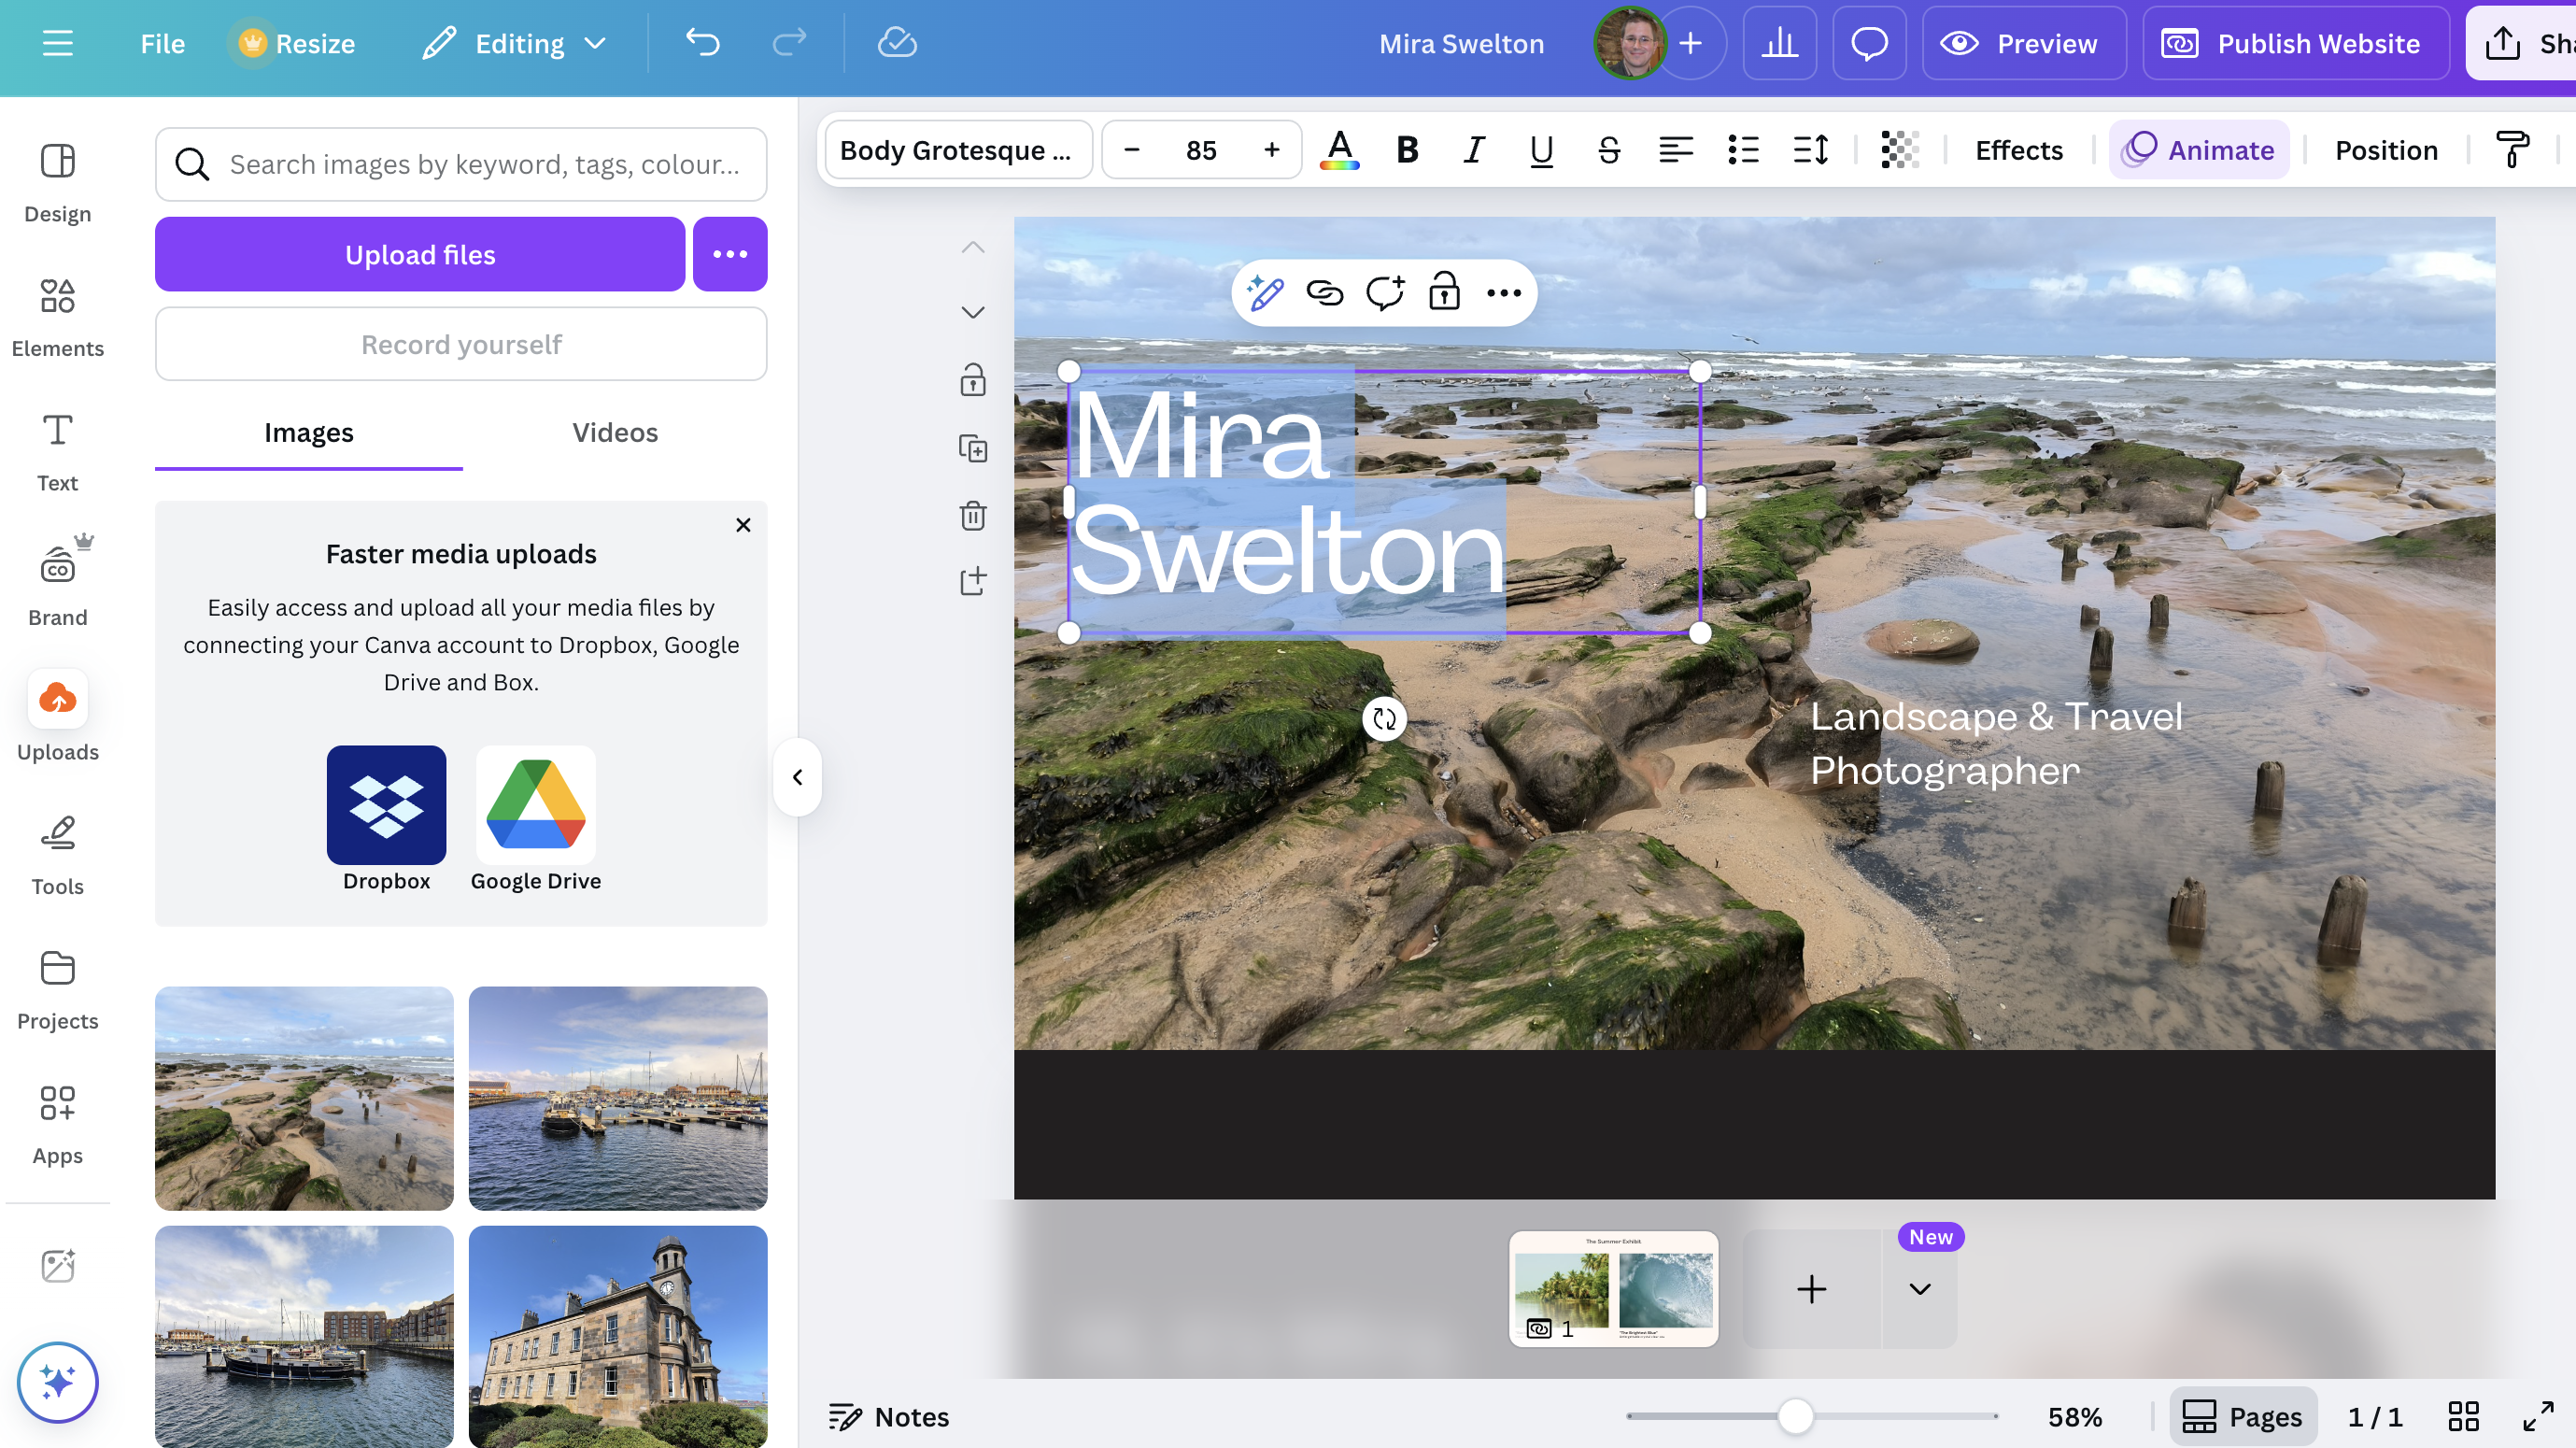
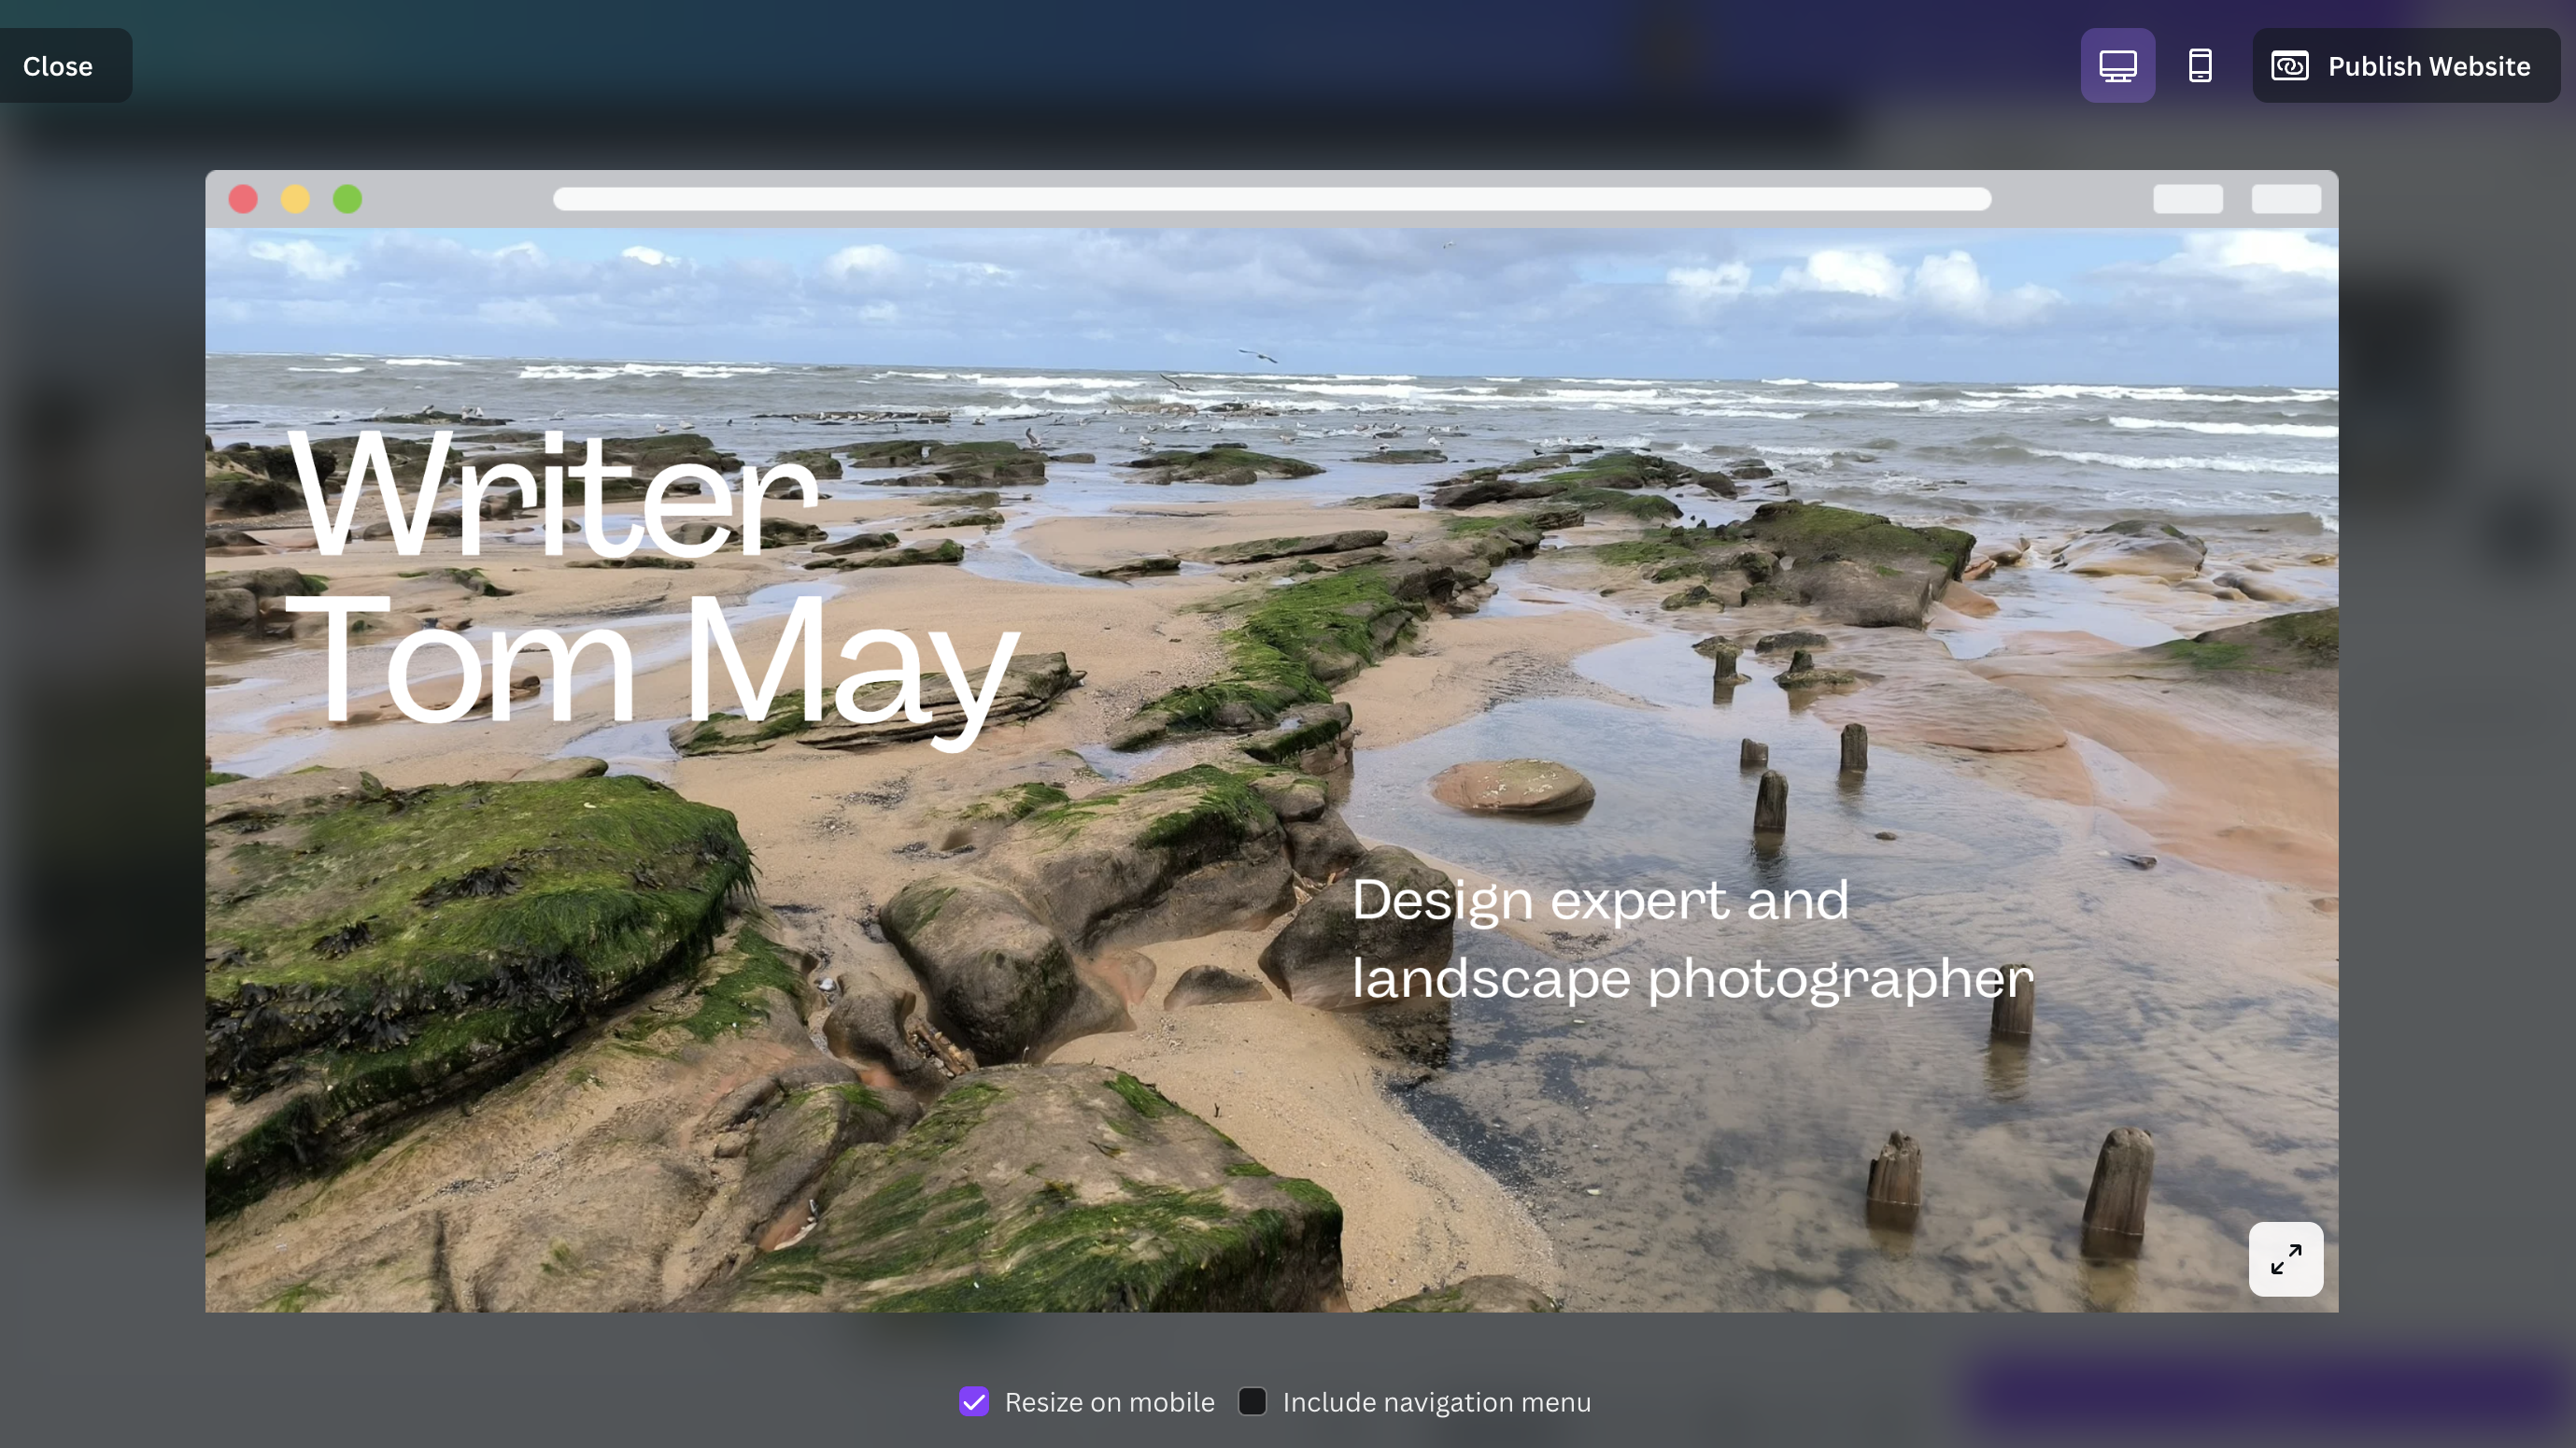
Now let's edit some text, namely the generic name of the photographer that came with the template, Mira Swelton. To change that, you simply click once on the text and a bounding box will appear around it, indicating it's selected. Once the text box is selected, double-click inside the text box. This will highlight the existing text and place your cursor there, ready for you to type. The old text will be replaced with your new content.
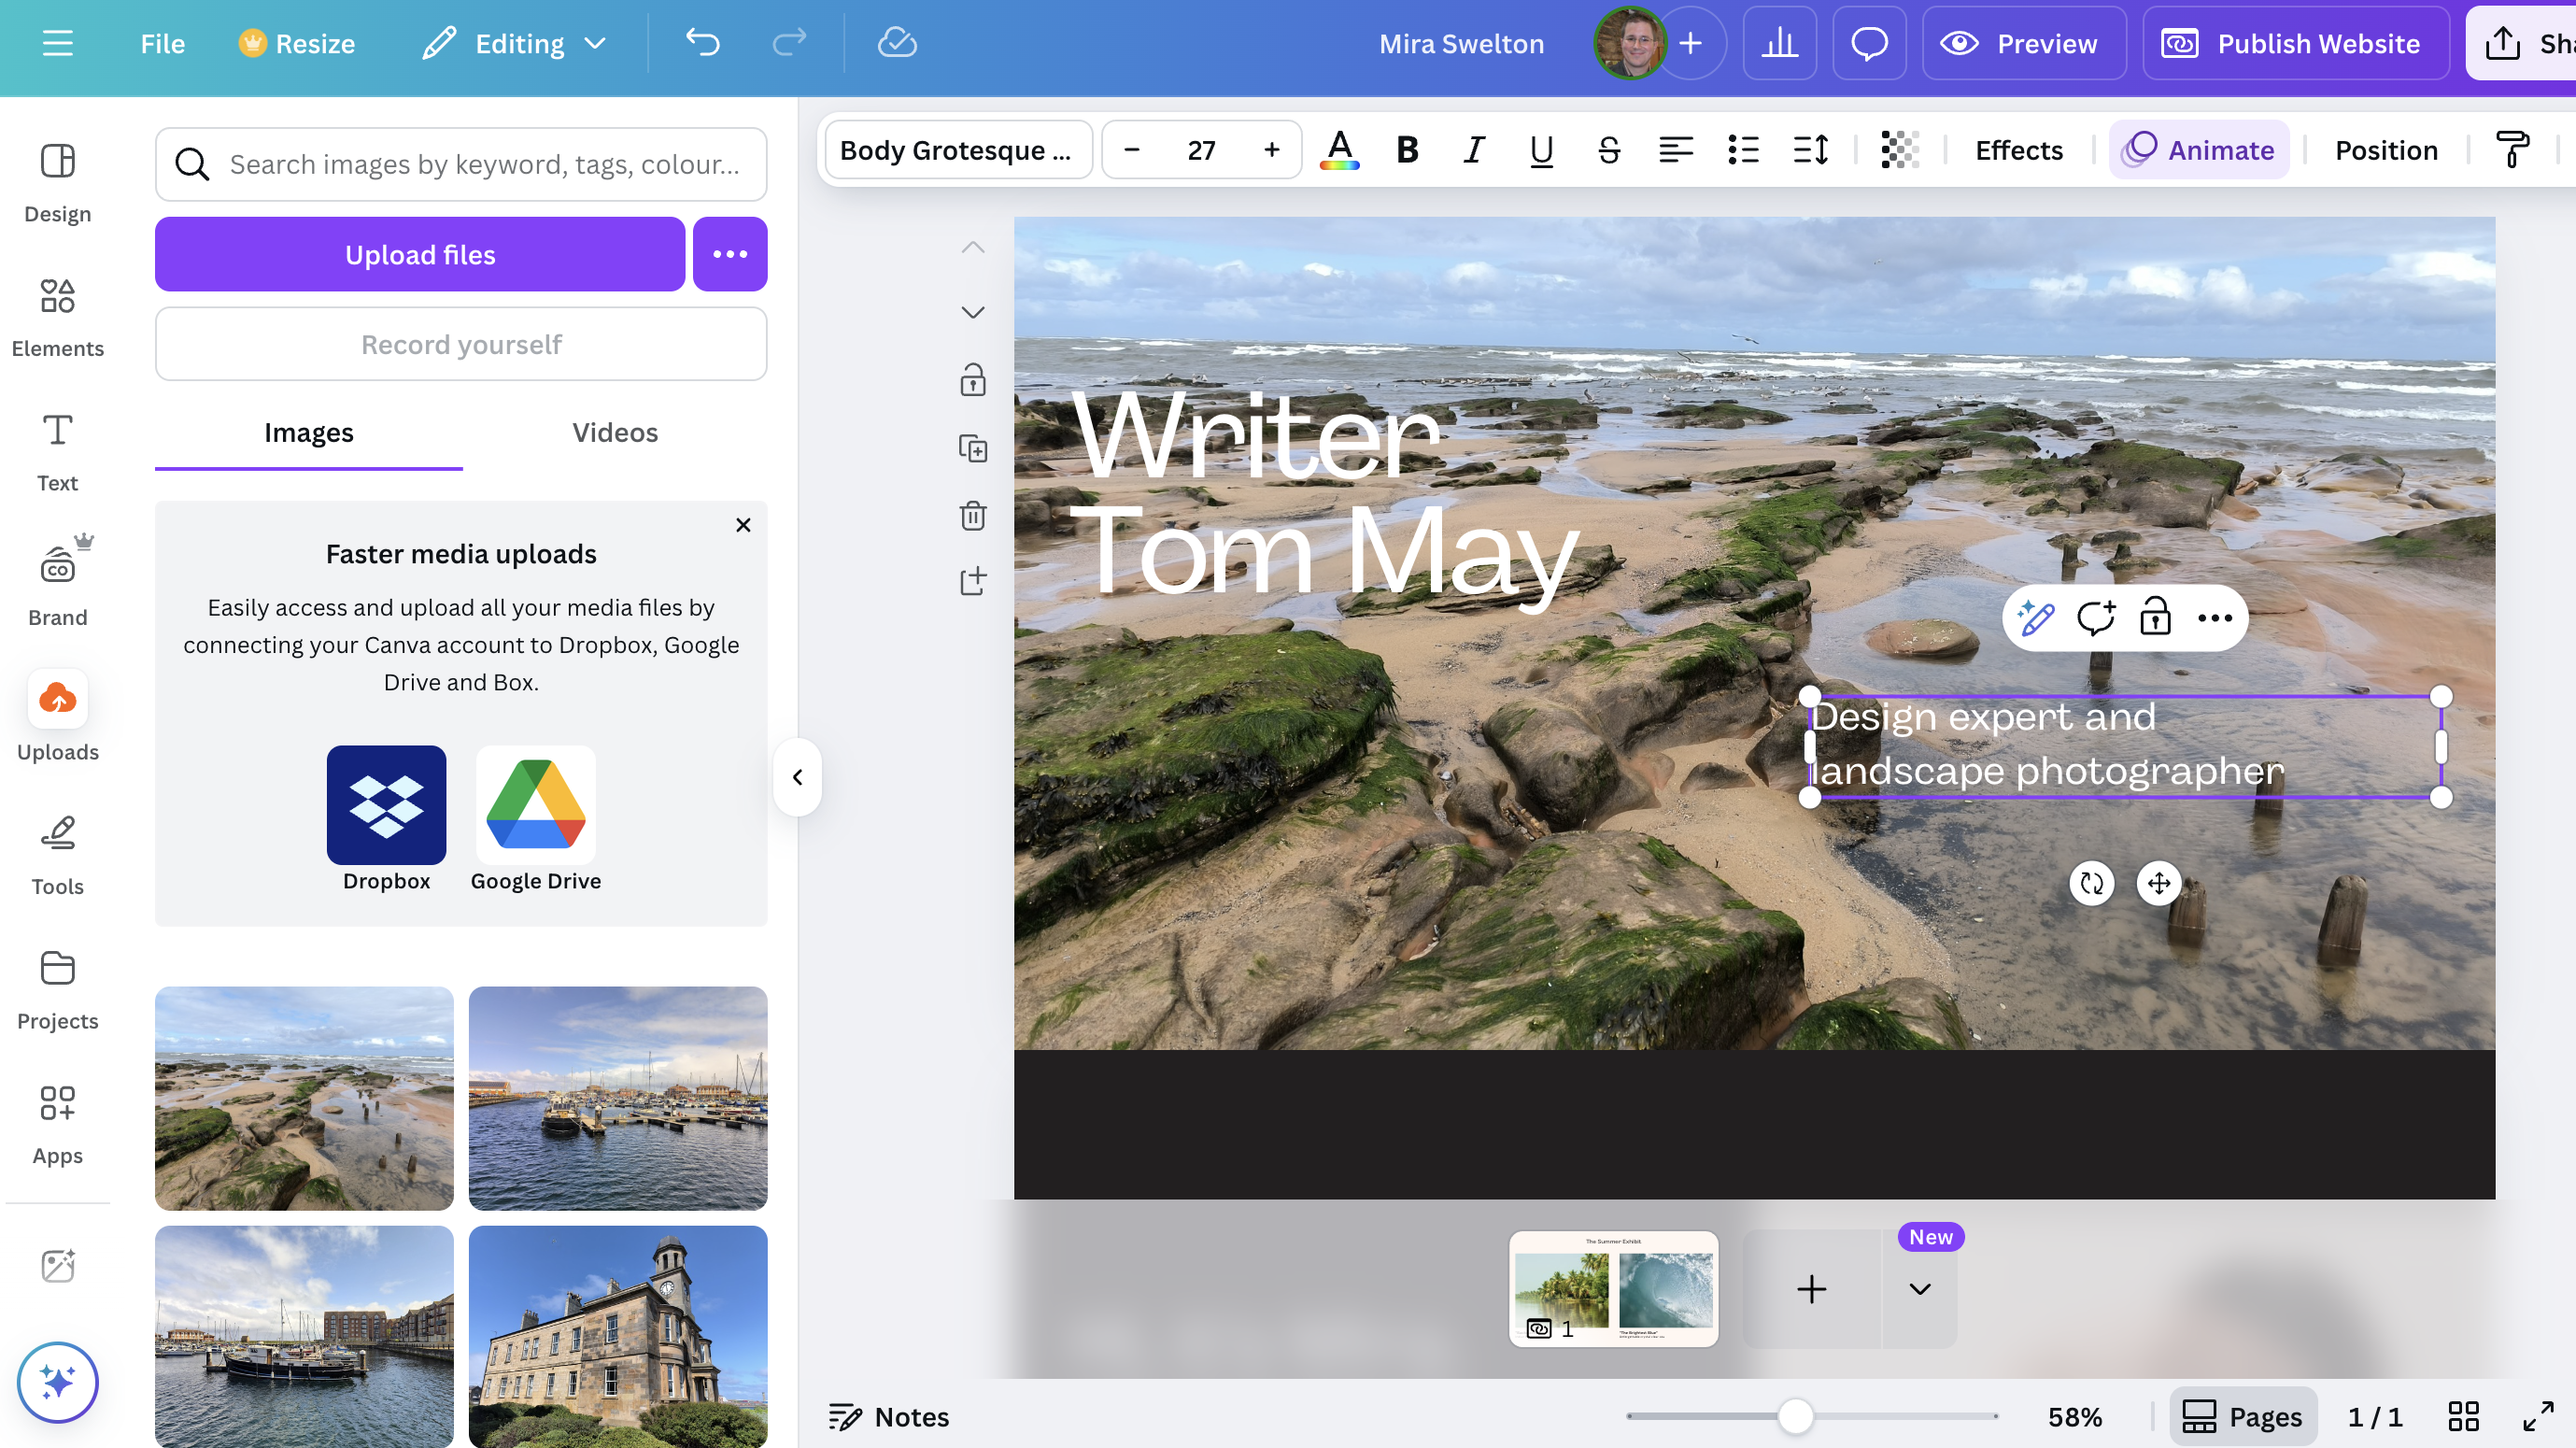
After typing your new text, or even before, you can use the options in the toolbar that appears at the top of the Canva editor when text is selected. These options allow you to customise your text:
- Font: Click the dropdown menu to choose a different font style.
- Font Size: Adjust the size using the number input or the "+" and "-" buttons.
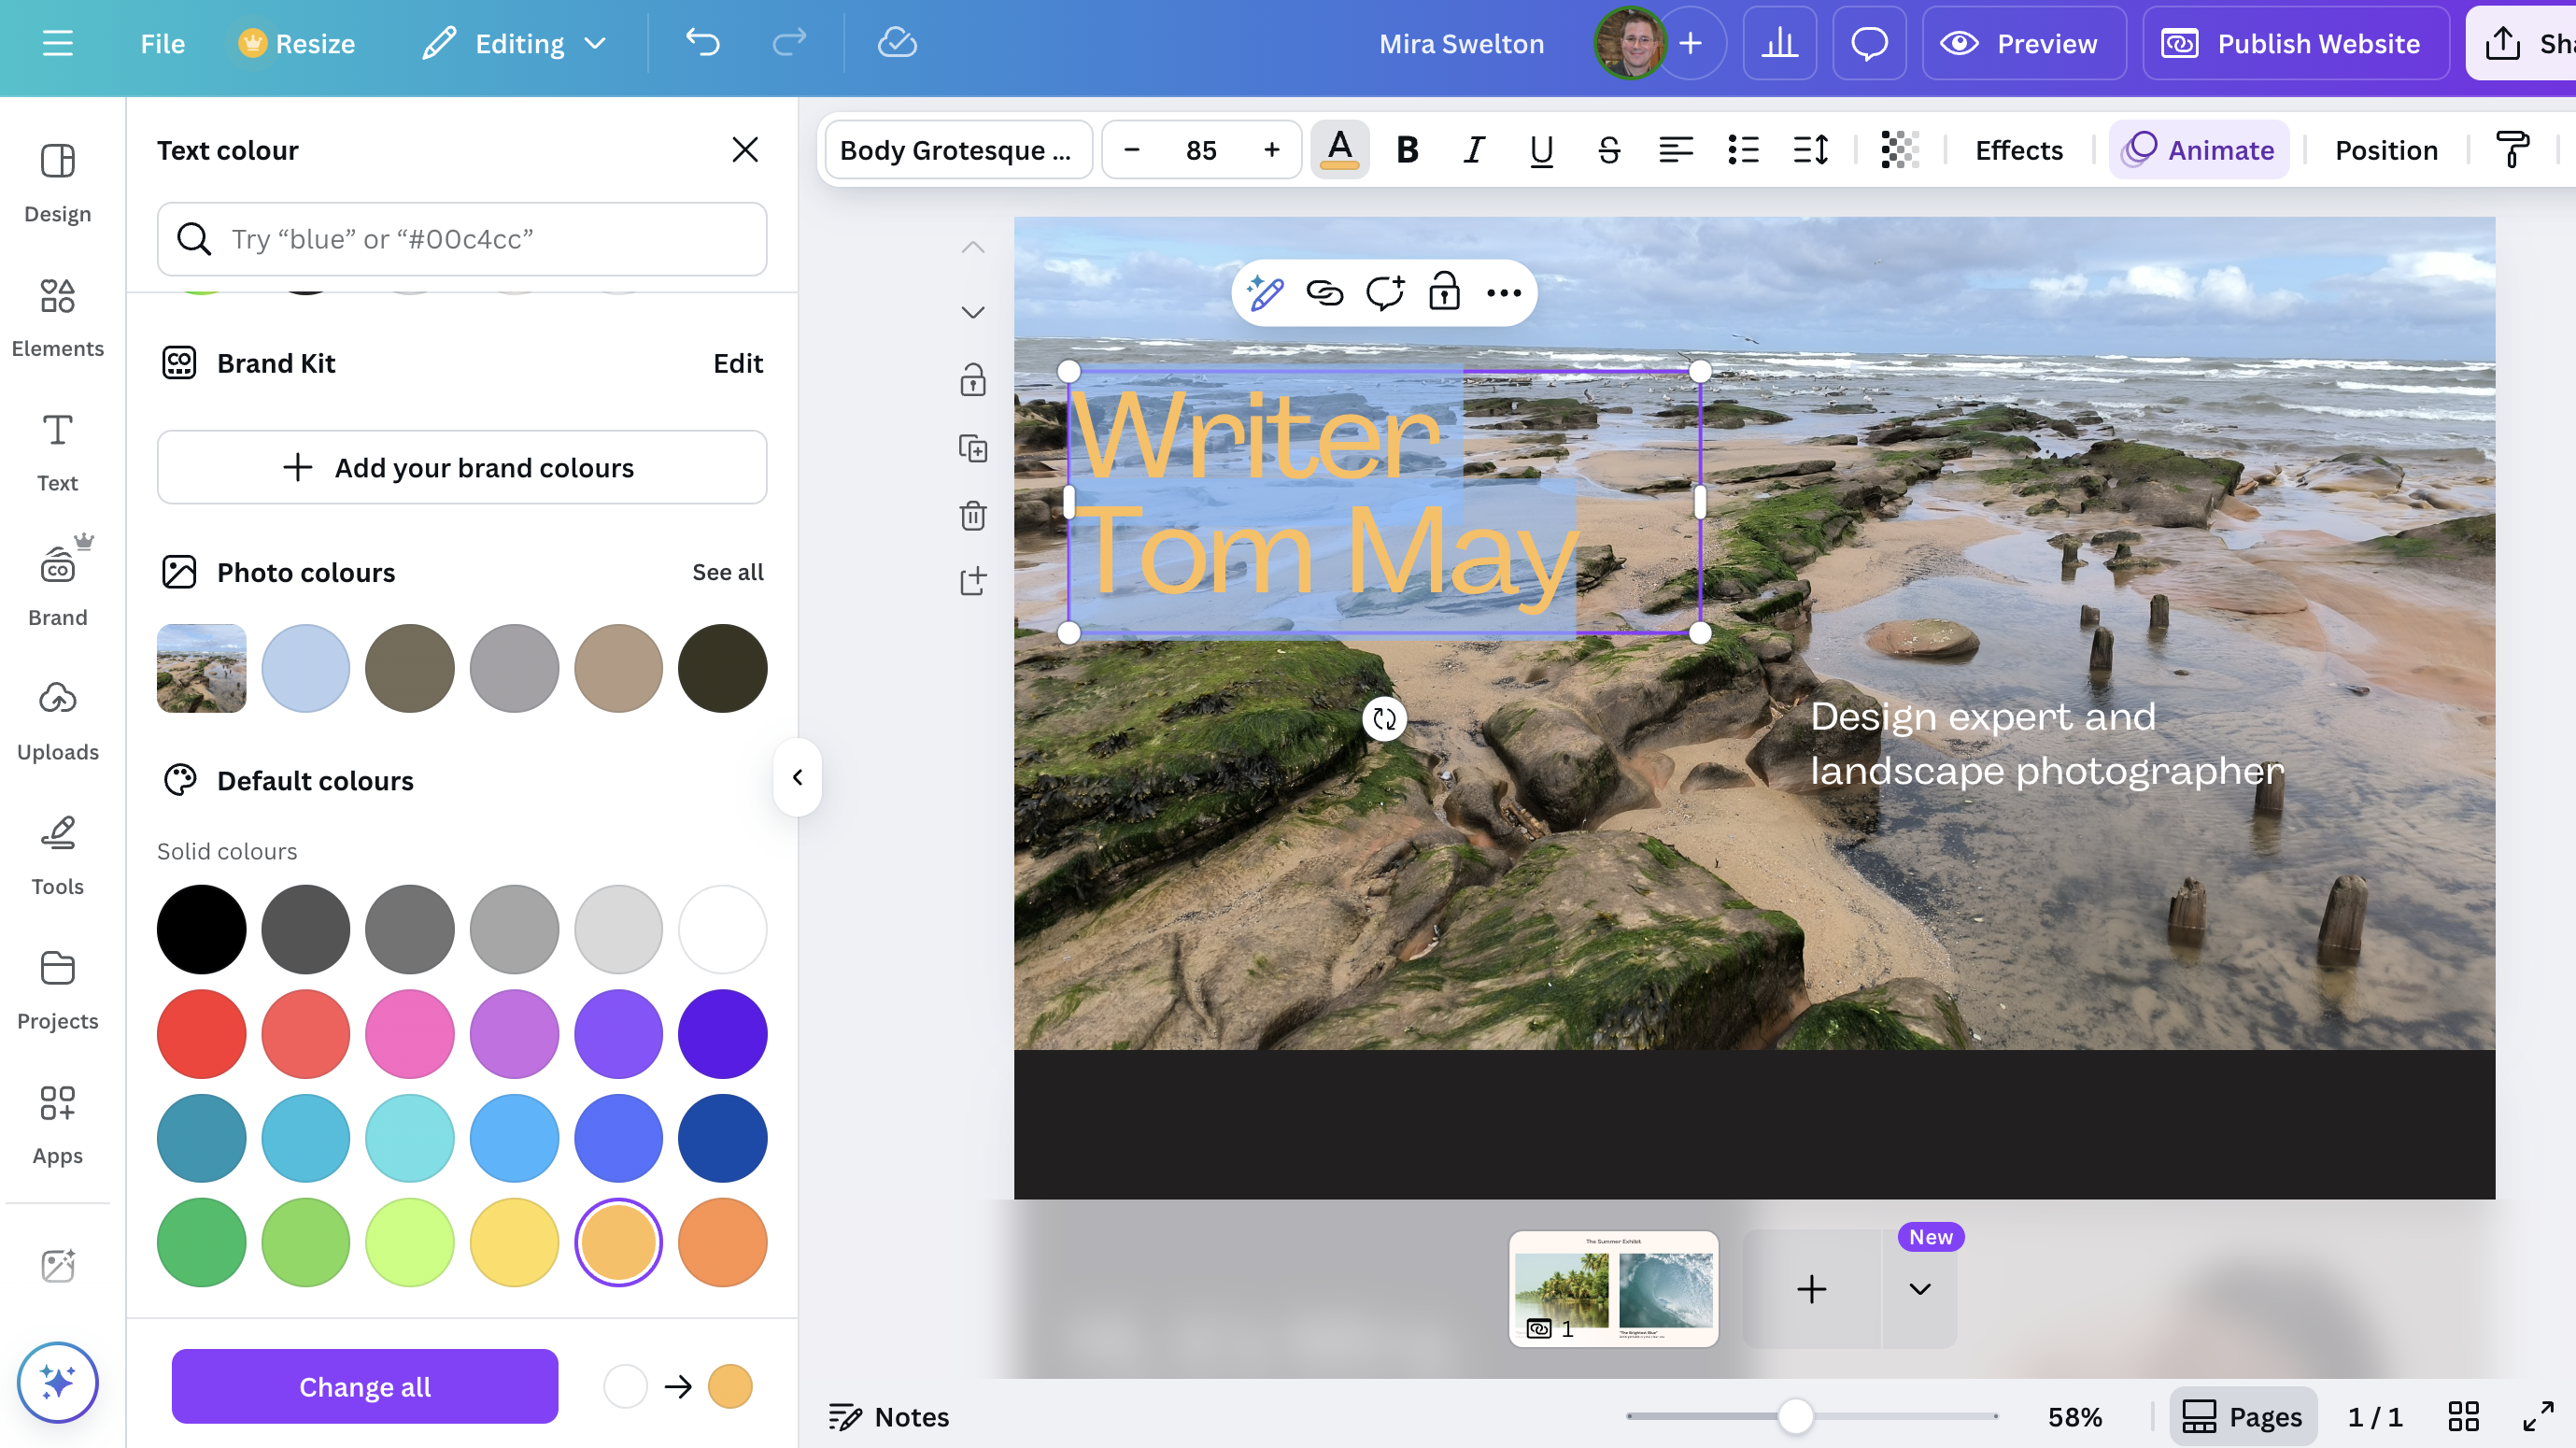
- Colour: Click the "A" icon with the rainbow bar to change the text colour.
- Bold, Italic, Underline: Apply these styles by clicking the respective icons.
- Alignment: Left, centre, right, or justified alignment.
- List: Create bulleted or numbered lists.
- Spacing: Adjust letter spacing (kerning) and line spacing.
- Effects: Add cool effects like shadows, hollow, neon, curve, etc. (click "Effects" in the top toolbar).
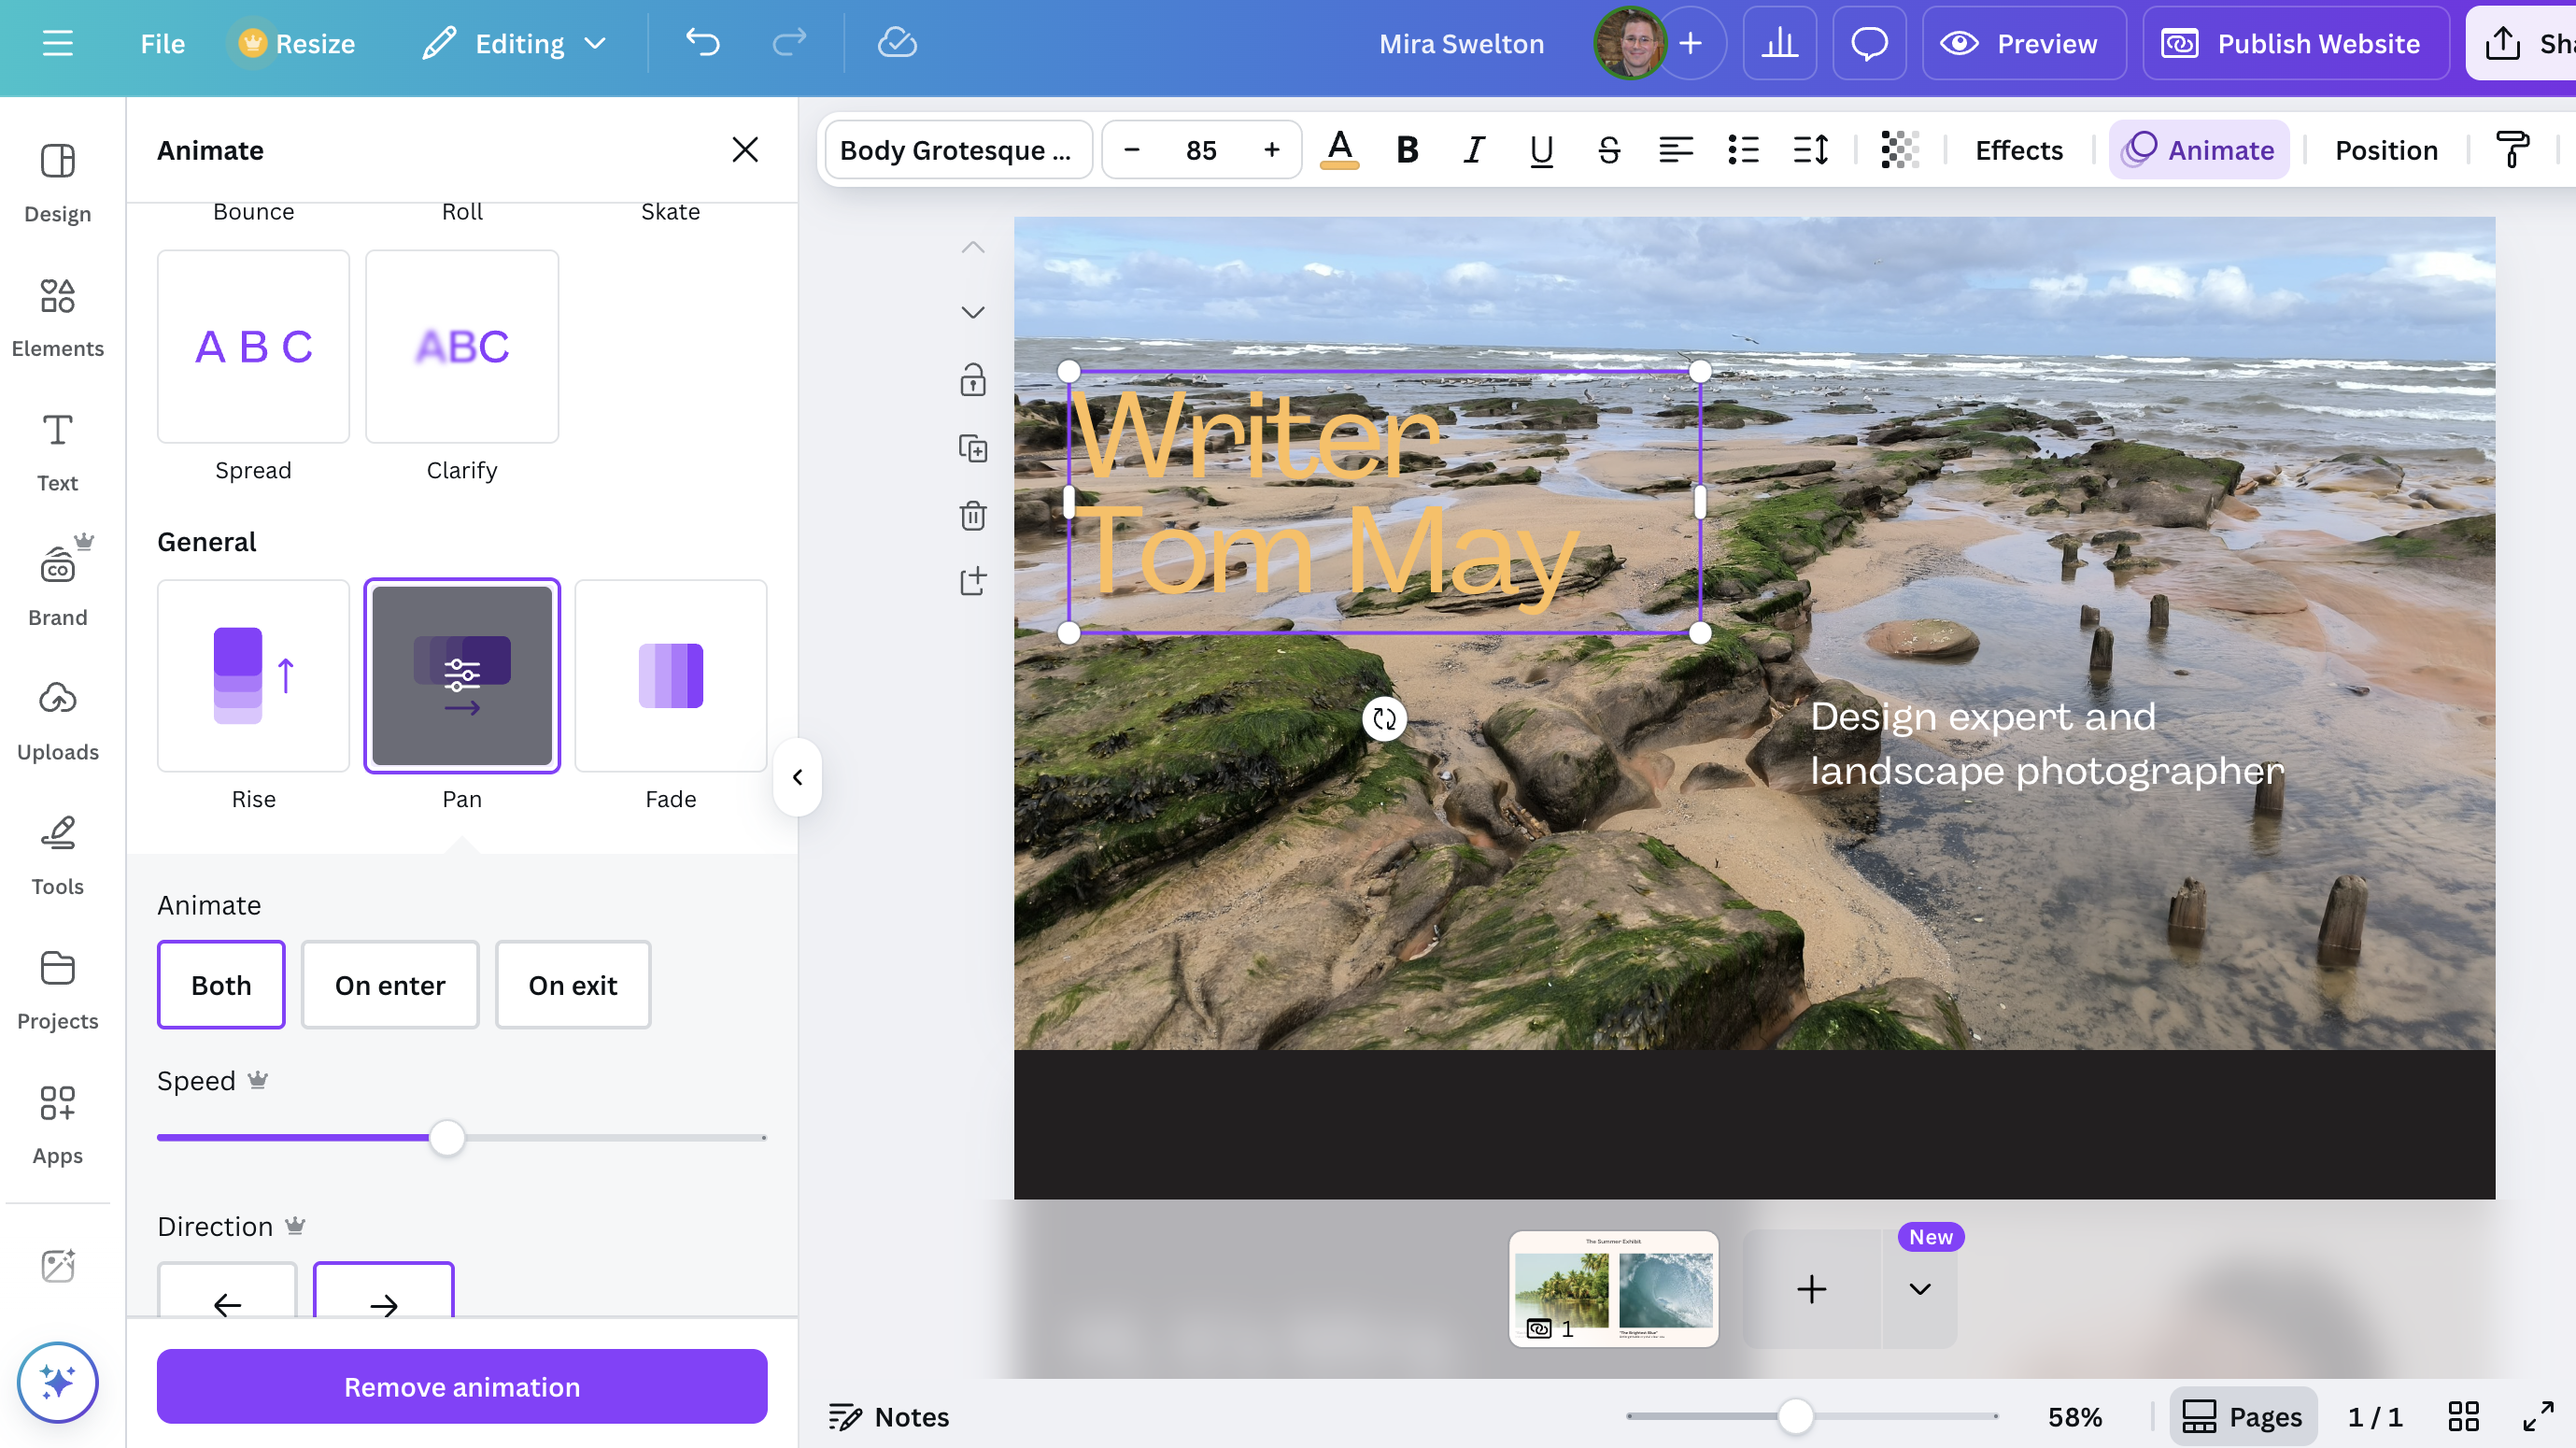
- Animation: Make your text move (click "Animate" in the top toolbar).
Once you're done editing and formatting, simply click anywhere outside the text box to deselect it.
5. Move beyond the homepage
Unlike traditional multi-page websites, Canva websites are often designed as a long, continuous page divided into different sections (or "pages") visually. To edit other sections of your template, it's just a continuation of the same principles we've discussed: scroll down and click on the elements you want to change.
Here are the most common elements of a template you may wish to edit.
- Text: Click and double-click to edit any text (headings, paragraphs, bullet points, contact info).
- Images/Photos: Click to select, then drag and drop new images from your "Uploads" or "Photos" tab, or use the "Edit Photo" options in the top toolbar.
- Shapes/Icons/Graphics: Click to select, then use the colour palette, resize handles, or other options in the top toolbar to modify them.
- Videos: Click to select, and options for trimming, playback, and volume will appear in the top toolbar.
- Buttons: These are usually made of a shape and text. Click the text to edit it, and click the shape to change its colour or size. You'll also see an option to add a link to the button in the top toolbar (often a chain-link icon).
6. Change the structure of your website
Want to alter the basic structure or layout of your website? You can do that too! These options are all grouped vertically to the side of each "page" (section) in your website template.
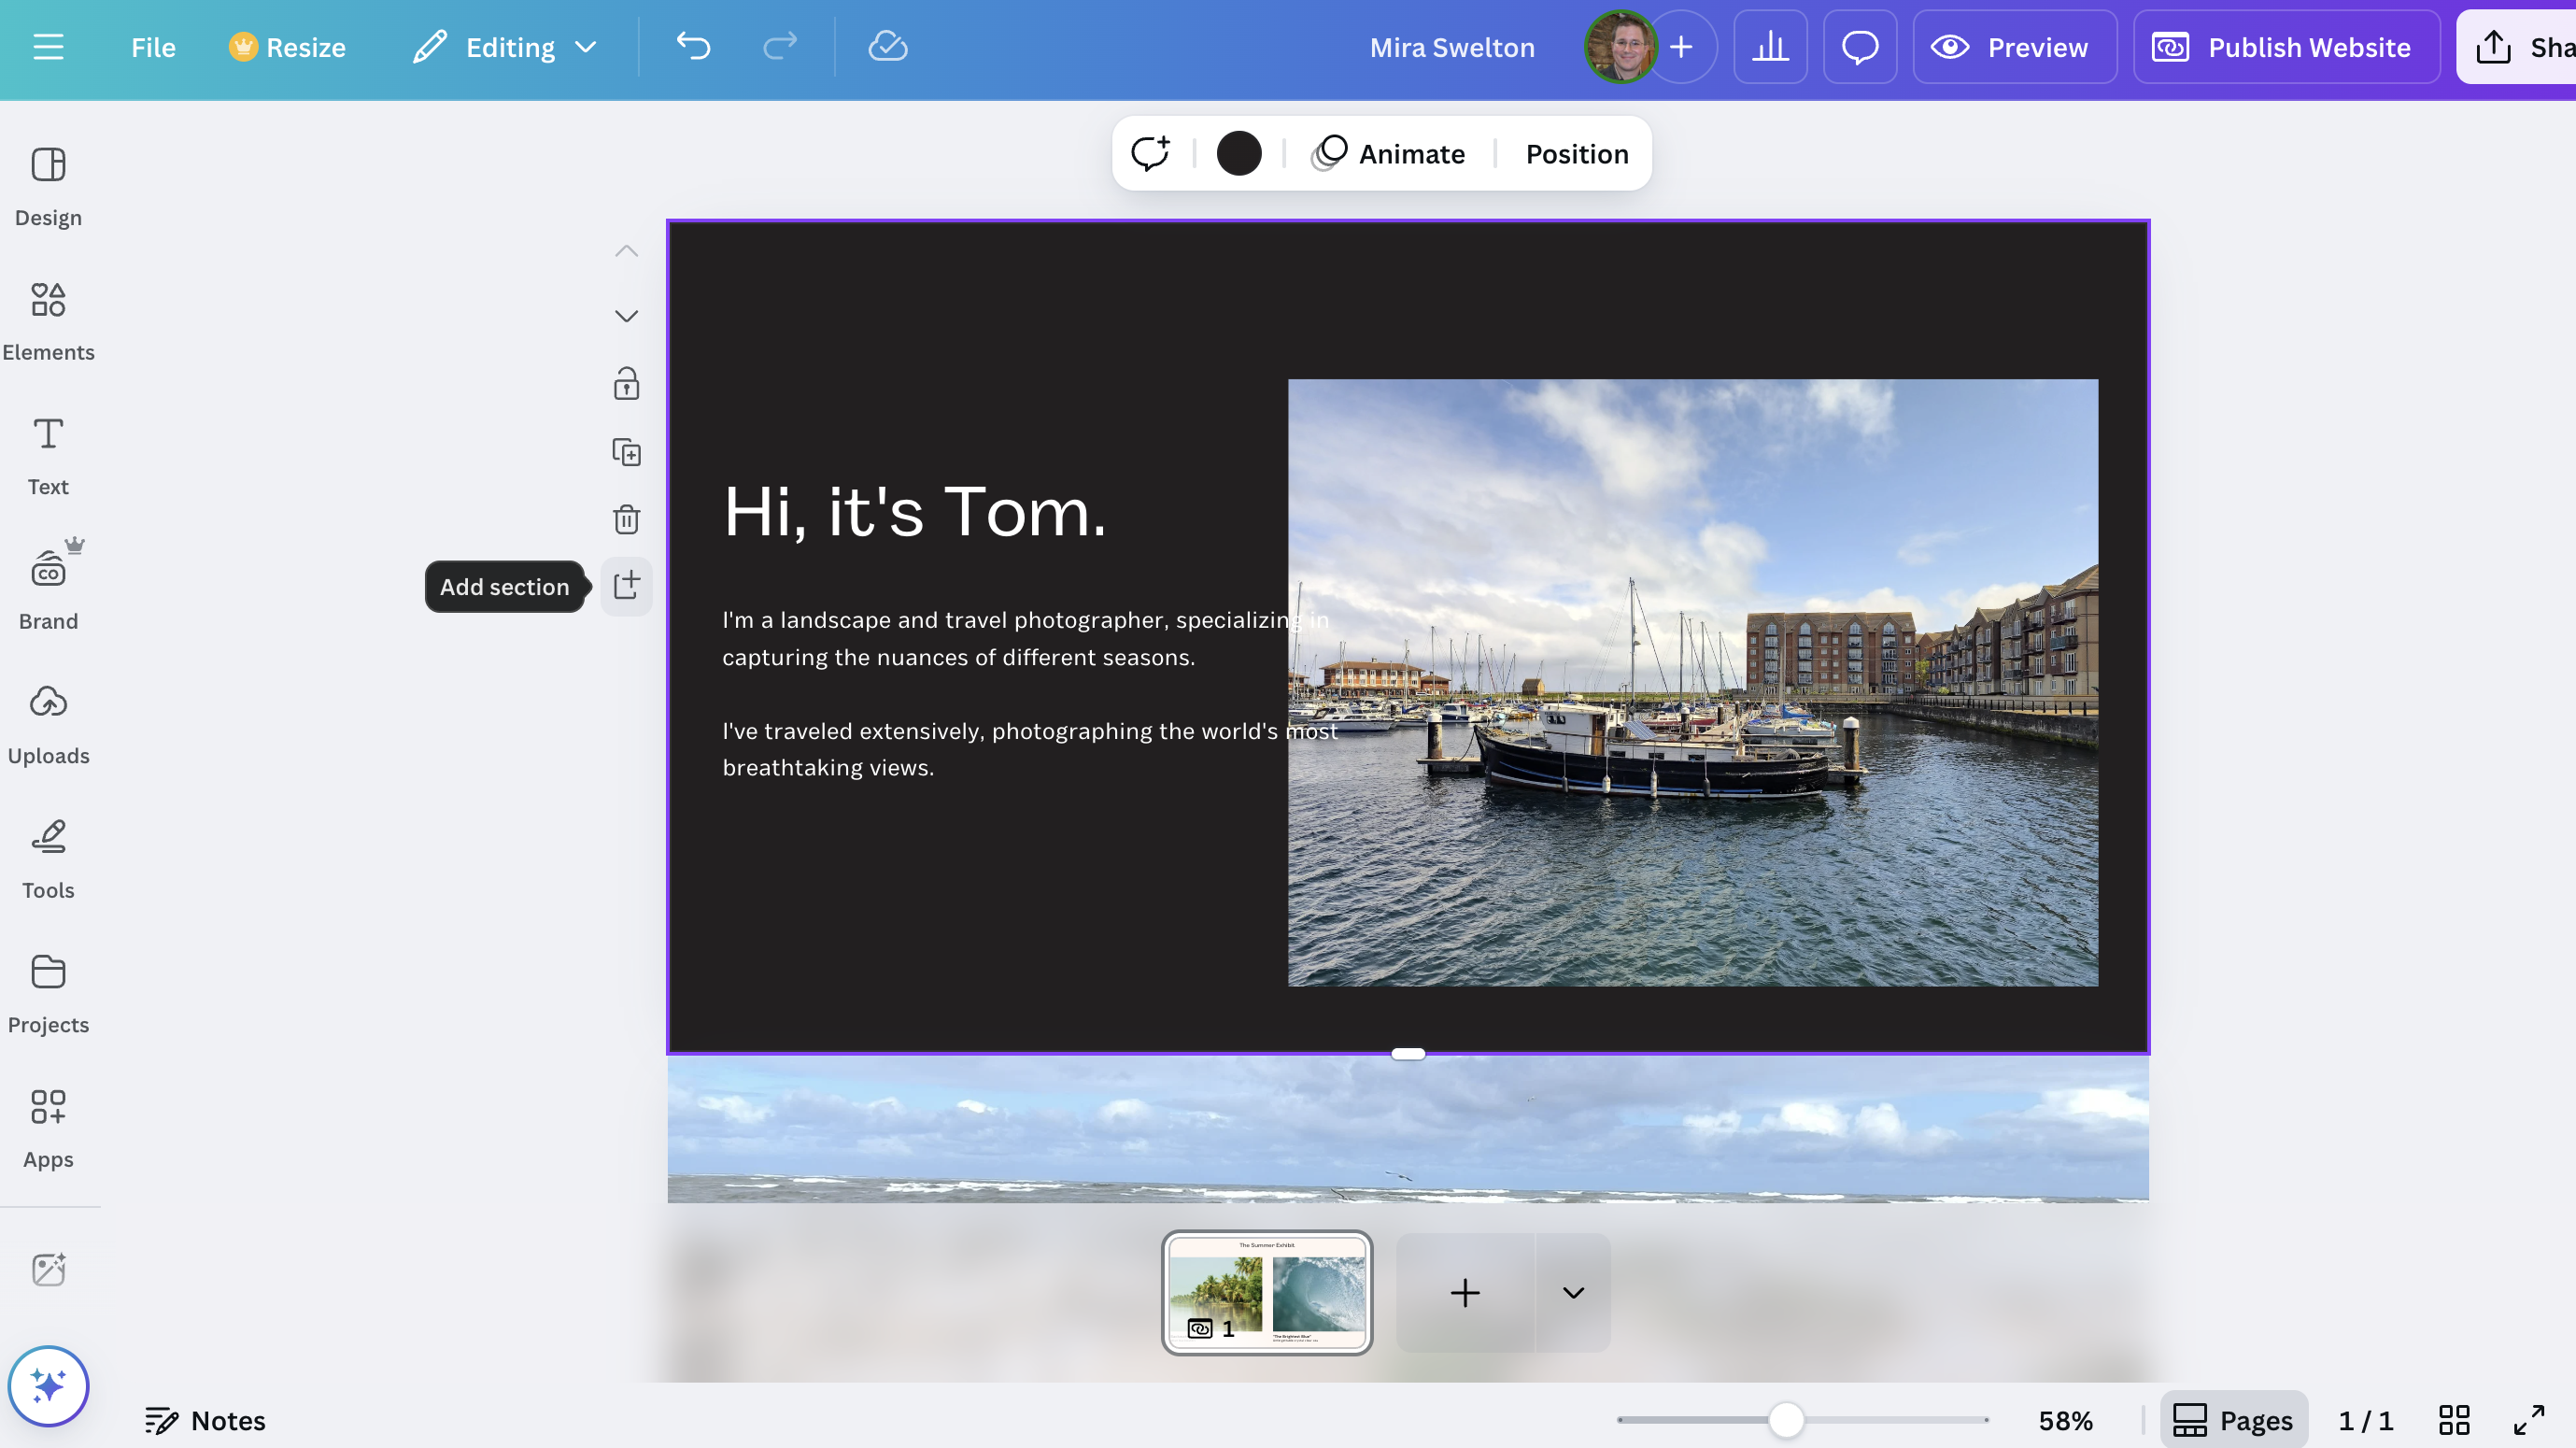
Adding a New Section/Page: Click the "+ Add section" icon (which features a plus sign) to add a new, blank section.
Duplicating a Section/Page: Click the "Duplicate section" icon (two overlapping squares) to quickly create a copy of an existing section, which you can modify.
Deleting a Section/Page: Click the "Delete page" (trash can) icon on the bar next to the section you want to remove.
7. Publish your site
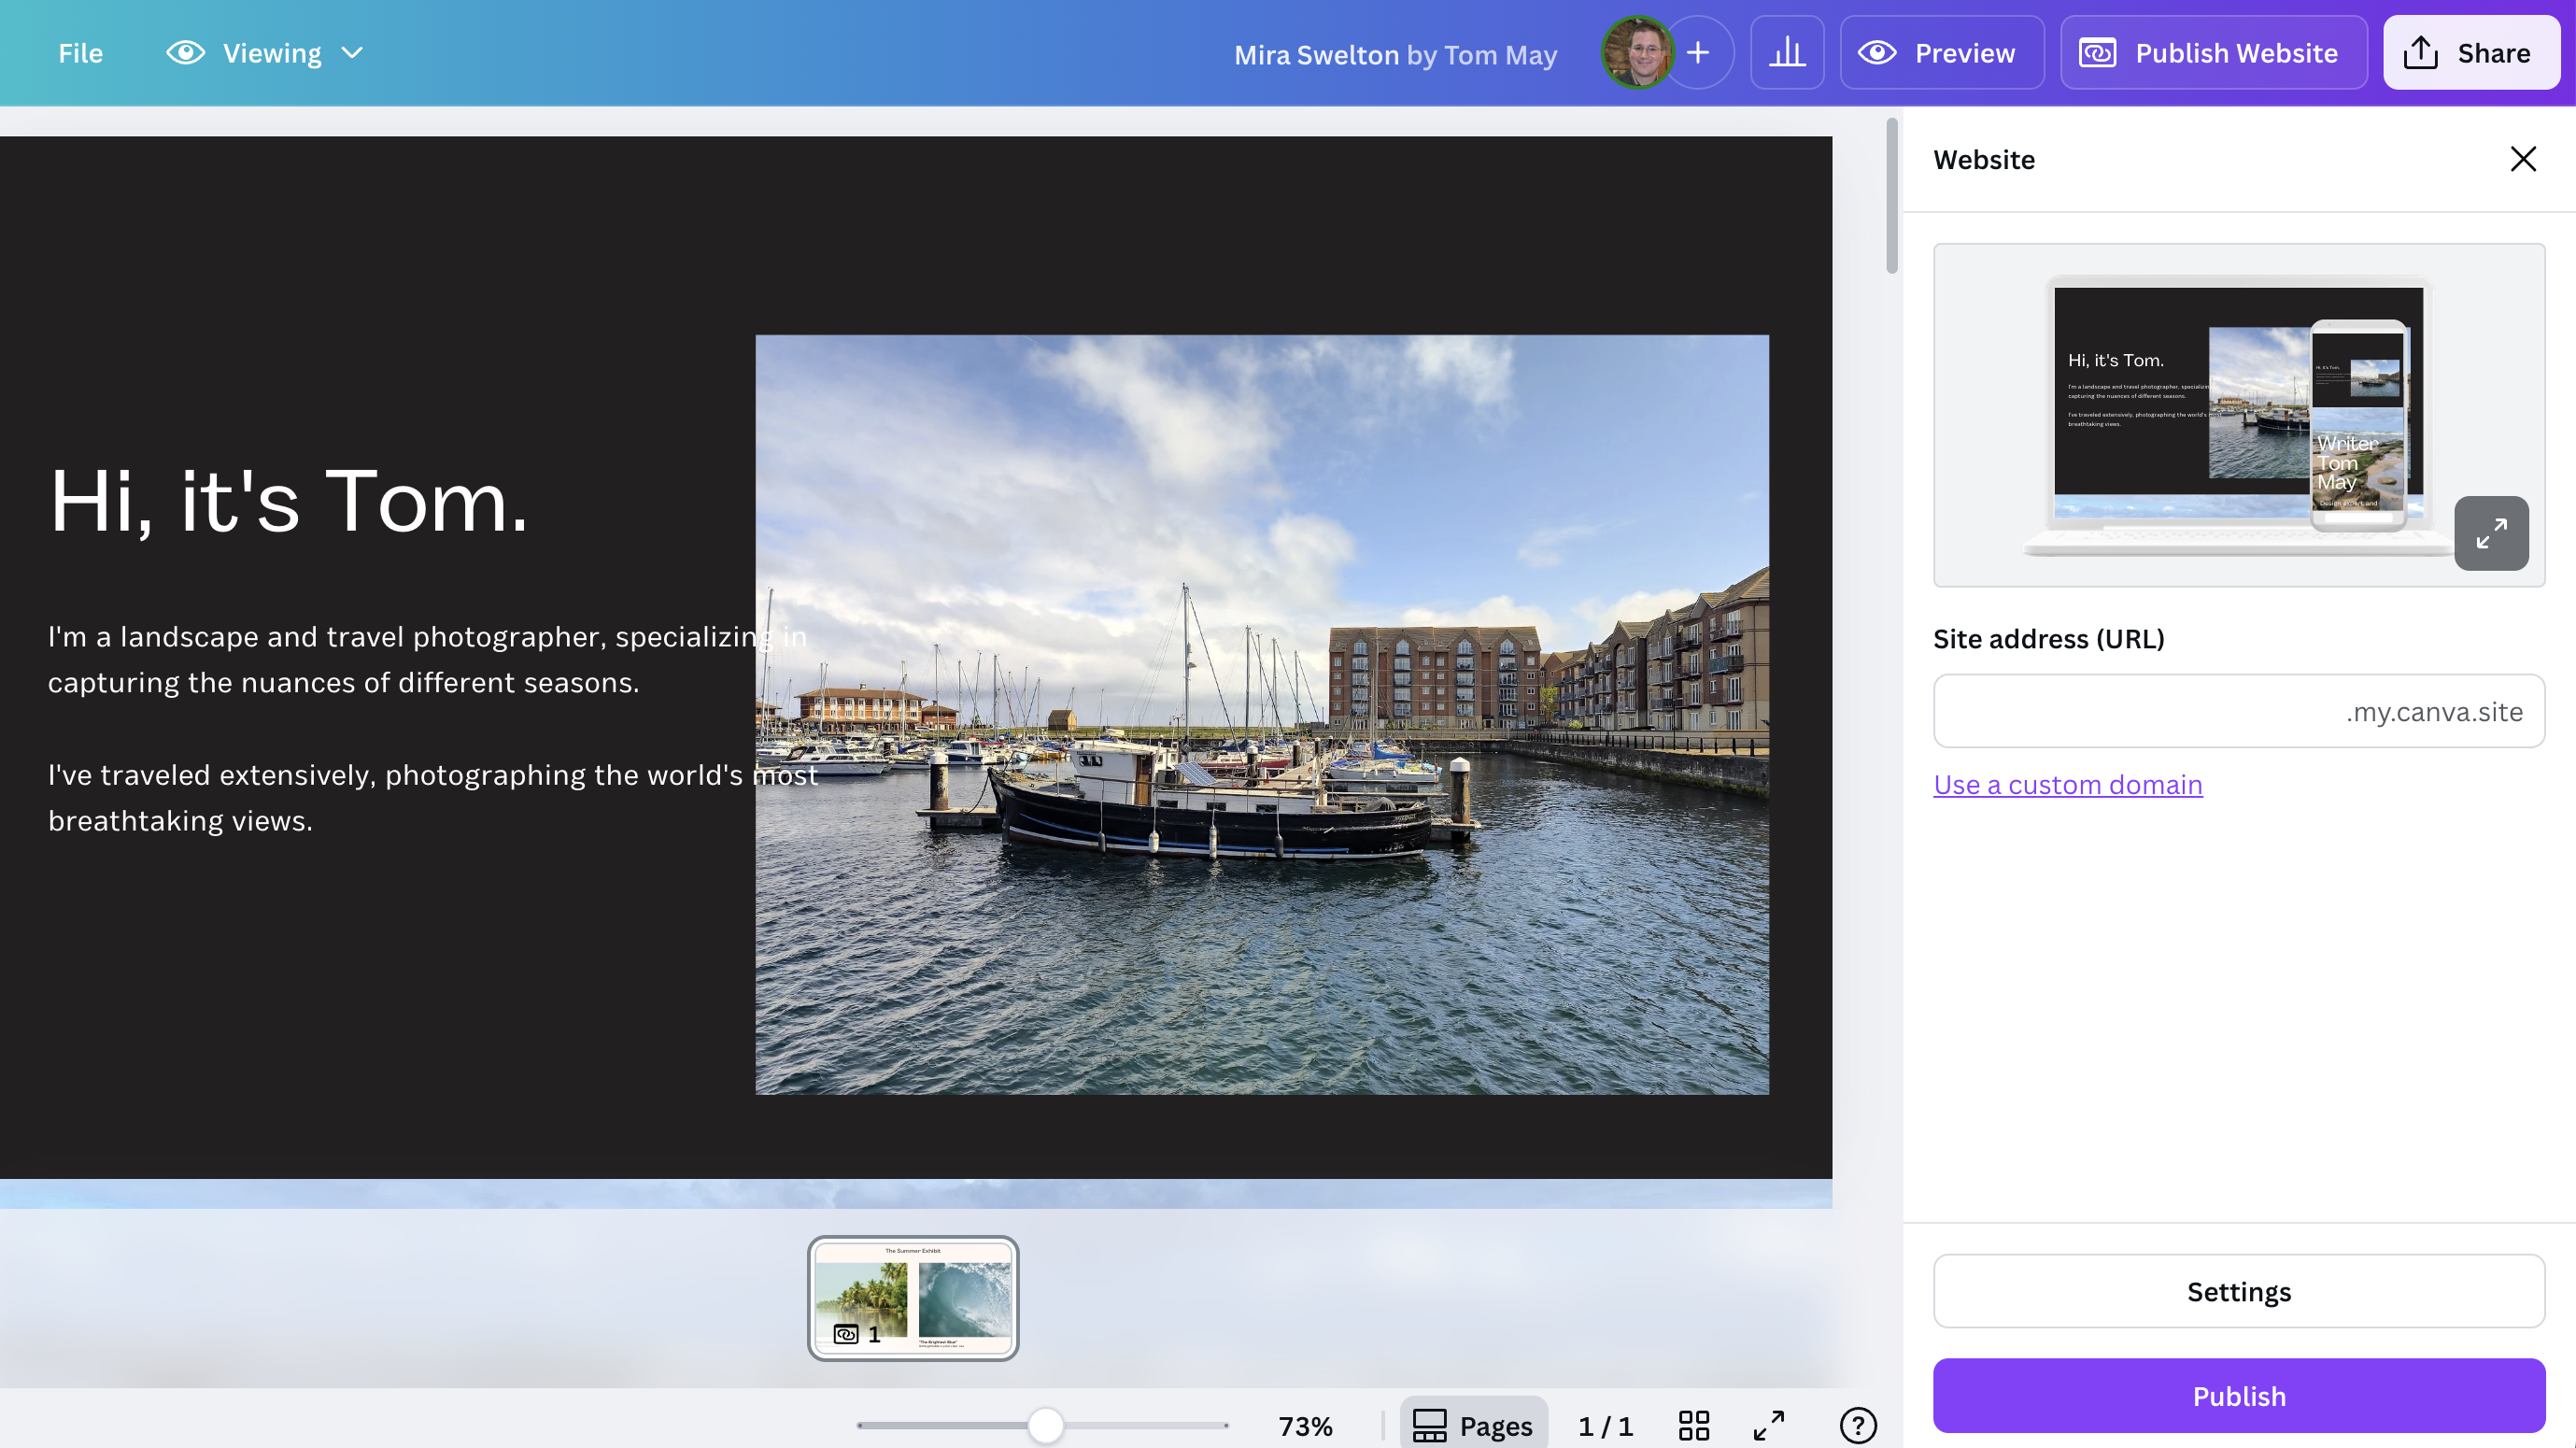
We've nearly reach the end of our Canva website tutorial. Once you're happy with your design, publishing it is a straightforward process. Simply click the "Publish Website" button in the top-right corner of the Canva editor. Now, choose your domain option: Canva offers a few ways to publish your website depending what type of URL you want and how much you're willing to spend.
Limitations of Canva Websites
These are the basics of in how to make a website in Canva... but bear in mind that Canva Websites isn't perfect. Here are a few obvious limitations. Firstly, while you can publish to a free Canva domain with a free account, connecting a custom domain (one you own or purchase) requires a Canva Pro, Canva for Education, or Canva for Teams subscription.
Secondly, if you make any changes to your Canva website design after publishing, you will need to go through the "Publish Website" process again for those changes to go live. Thirdly, Canva allows you to set a title and description, its built-in SEO features are more basic compared to dedicated website builders like WordPress or Squarespace.
Making a multi-page website in Canva
Wondering how to make a website in Canva with multiple pages? That's not a dumb question, as Canva Websites are primarily designed for single-page scrolling websites. You can, however, create a workaround for multiple "pages" by linking to different Canva designs. Here's how it works.
1. Design your homepage: Create your main website design (as a single-page website) in Canva and publish it (e.g., yourwebsite.my.canva.site).
2. Design your additional "pages": For each additional page you want (e.g., "Services," "Contact," "Portfolio"), create a completely new Canva website design. This means you'll have separate files for each.
3. Publish each new design: Publish each of these new designs as a separate Canva website. They will each have their own unique Canva URL (e.g., services.my.canva.site, contact.my.canva.site, or even just different subpaths like yourwebsite.my.canva.site/services).
4. Create navigation: On your homepage, create a navigation menu (using text boxes, buttons, etc.).
5. Link the navigation: For each menu item (e.g., "Services"), add a link that points to the published URL of the corresponding Canva website design.
A bit clunky then, but it does at least work!