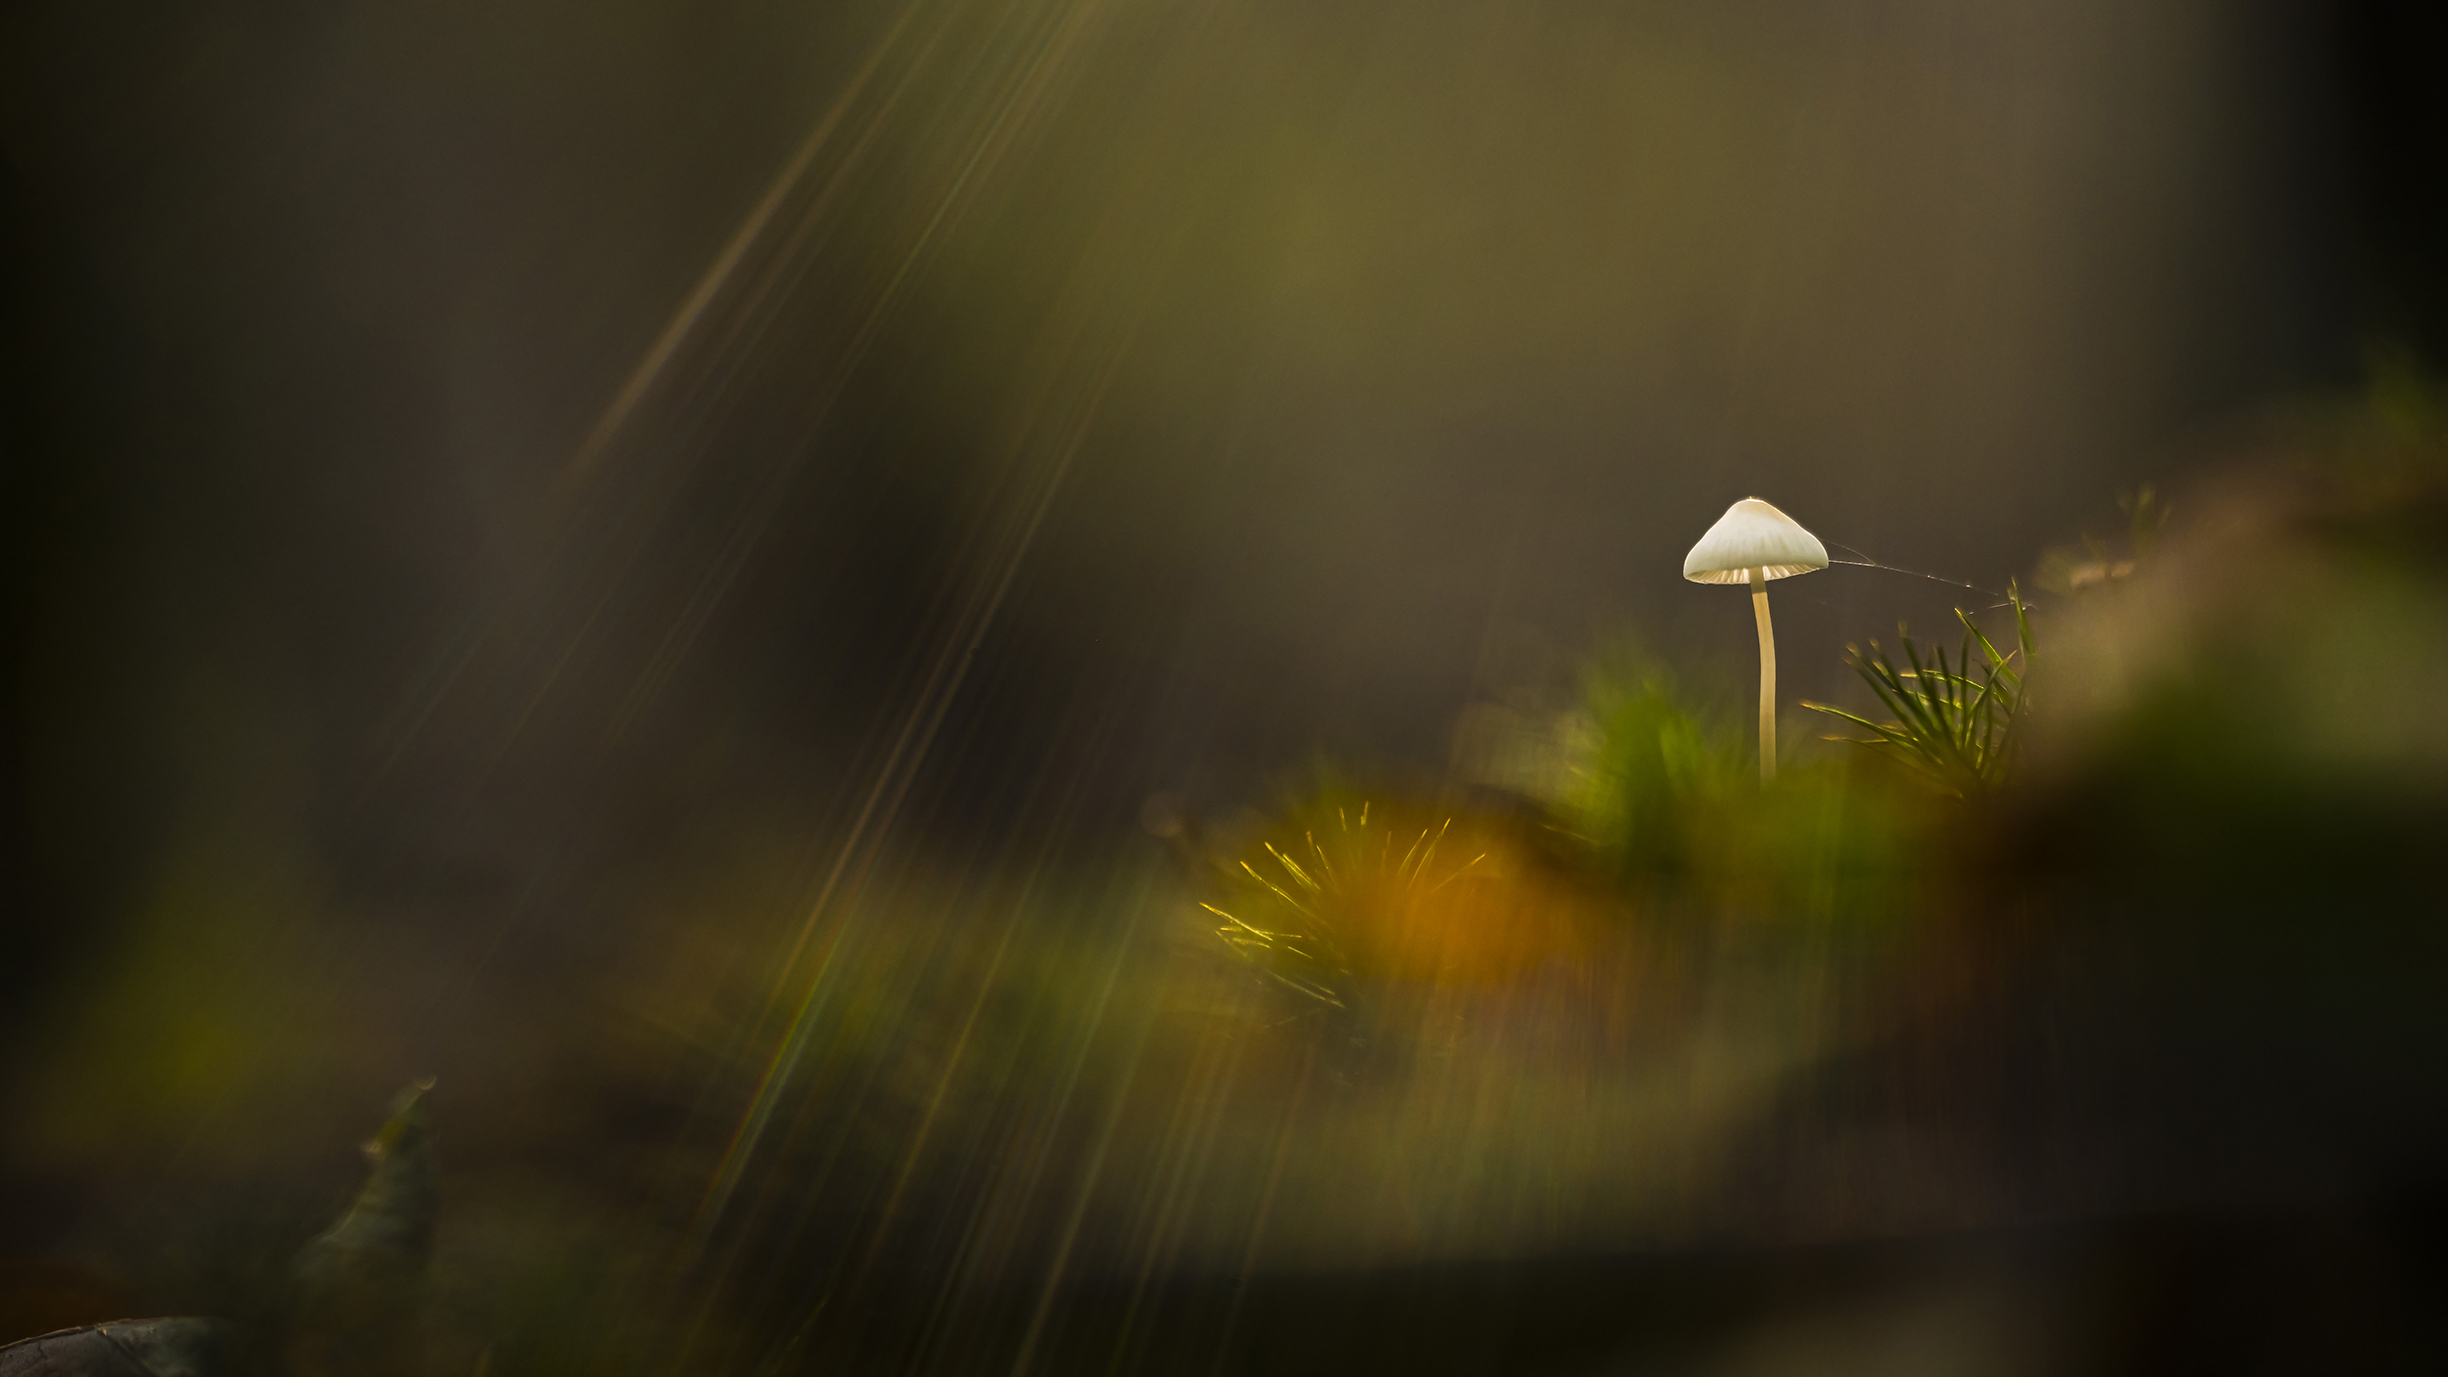
A beautiful play of light is the best way to elevate your closeup images above the ordinary. Unfortunately, this isn’t always easy to achieve in macro photography, especially when you are working with natural light and relying on the weather conditions.
Backlighting, rimlighting and the play of transparencies are all synonymous with sunlight, but what happens when the sun isn’t out in force while you are shooting?
I prefer to include natural lighting effects in my photographs, so I’m always on the lookout for the slightest ray of sunshine when I go out photographing. As much as I can, I try to incorporate this play of light into my composition.
If the weather remains overcast, or even rainy, I still aim to create beautiful bokeh by playing with the light holes in the vegetation in the background. It’s all about making the most of the natural light you have at the time you take your photographs.
1. Wait for the light
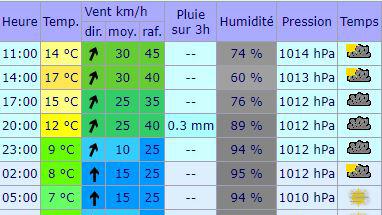
The best times for your shoots are when the sun is out but low in the sky, either just after sunrise or just before sunset. If you’re photographing in places with a gradient, as I do when I go into the woods, you can stagger the times.
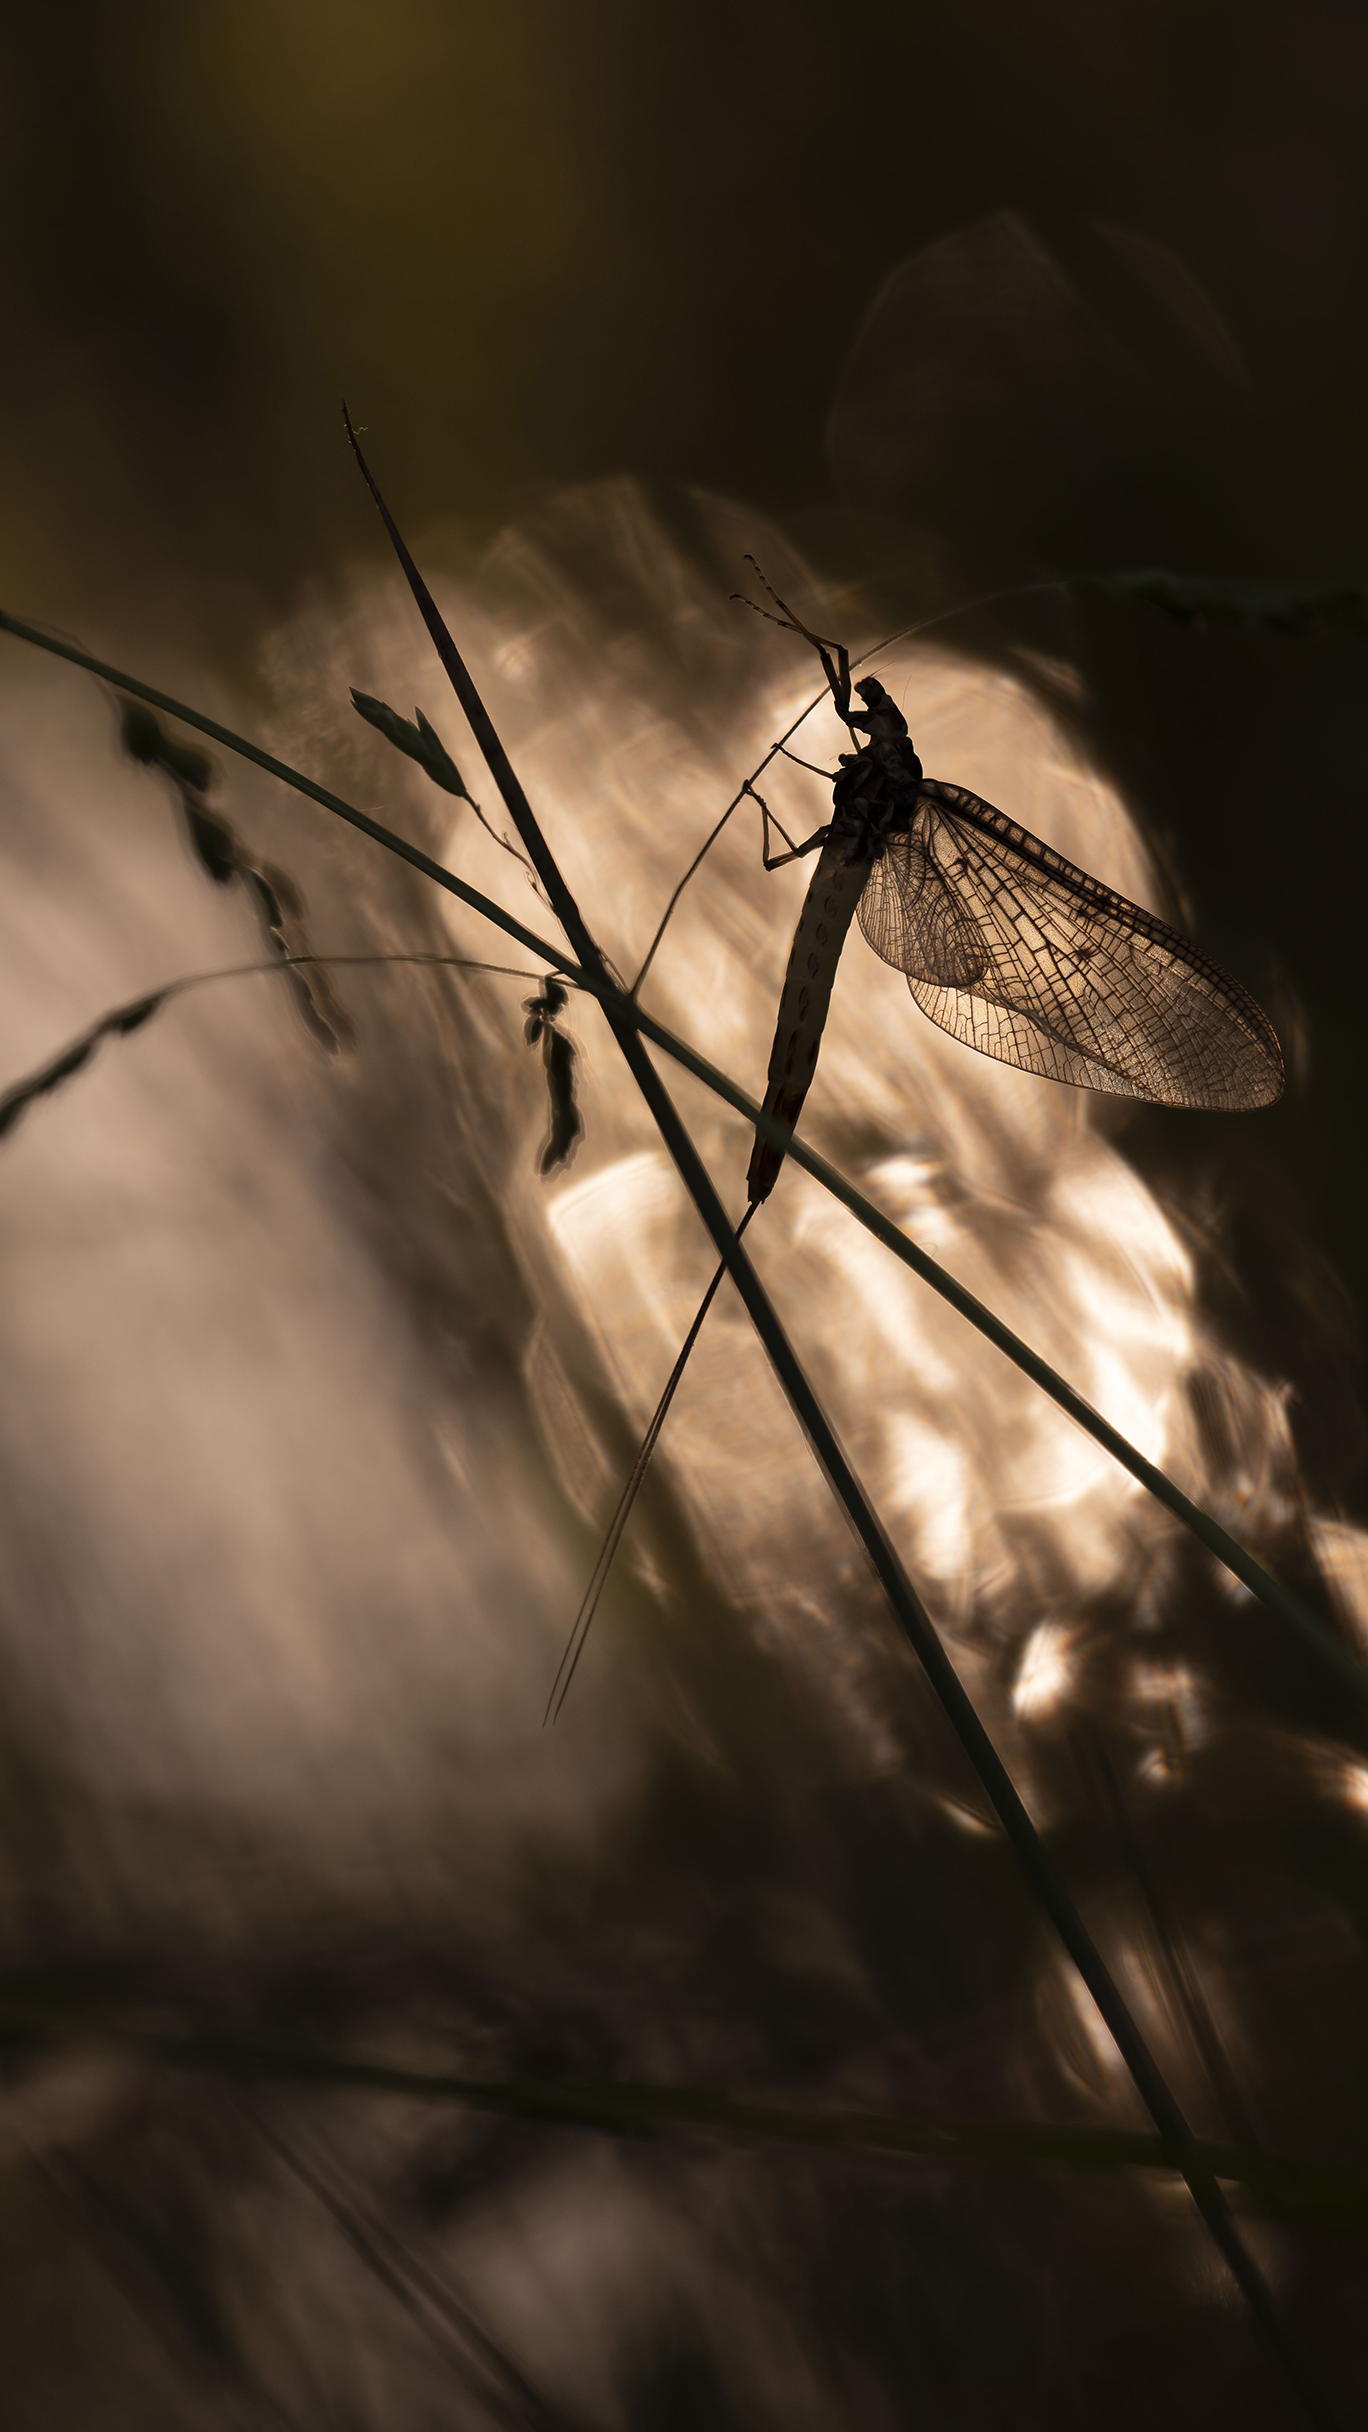
2. Choose your subject
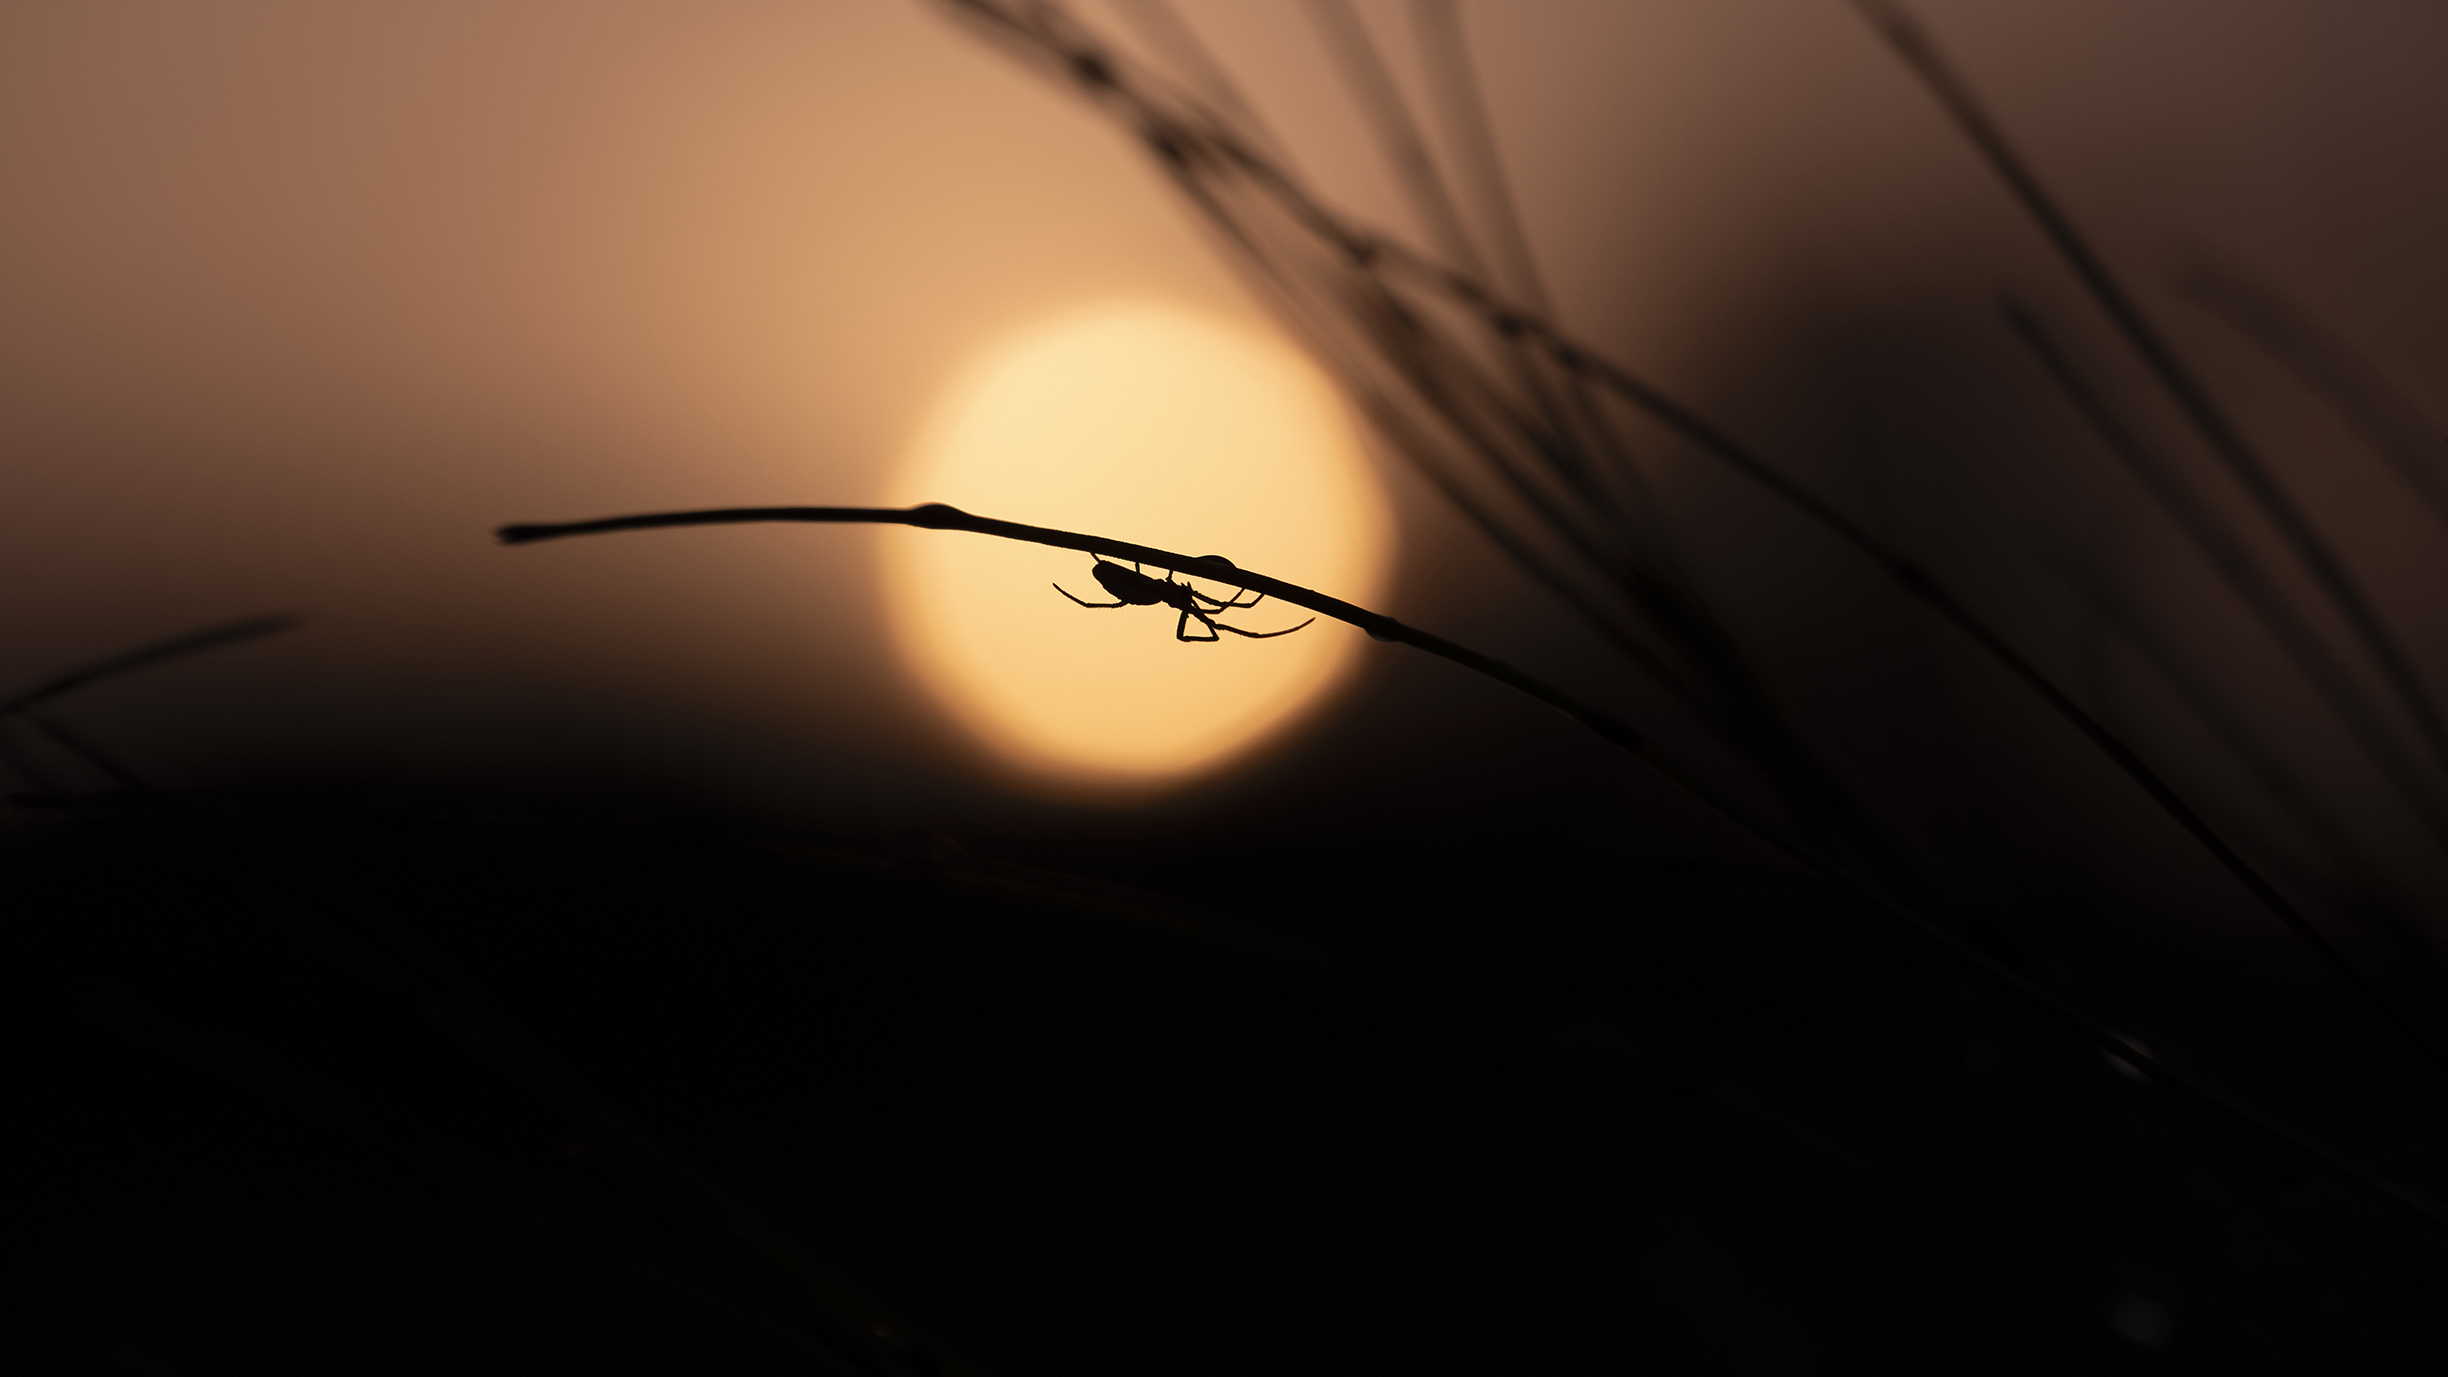
It’s best to shoot against the light so, facing the sun, look for subjects where you can make a simple silhouette. Also, see whether you can shoot golden halos generated by the sun or areas made translucent by the sun’s action.
3. Use screen articulation
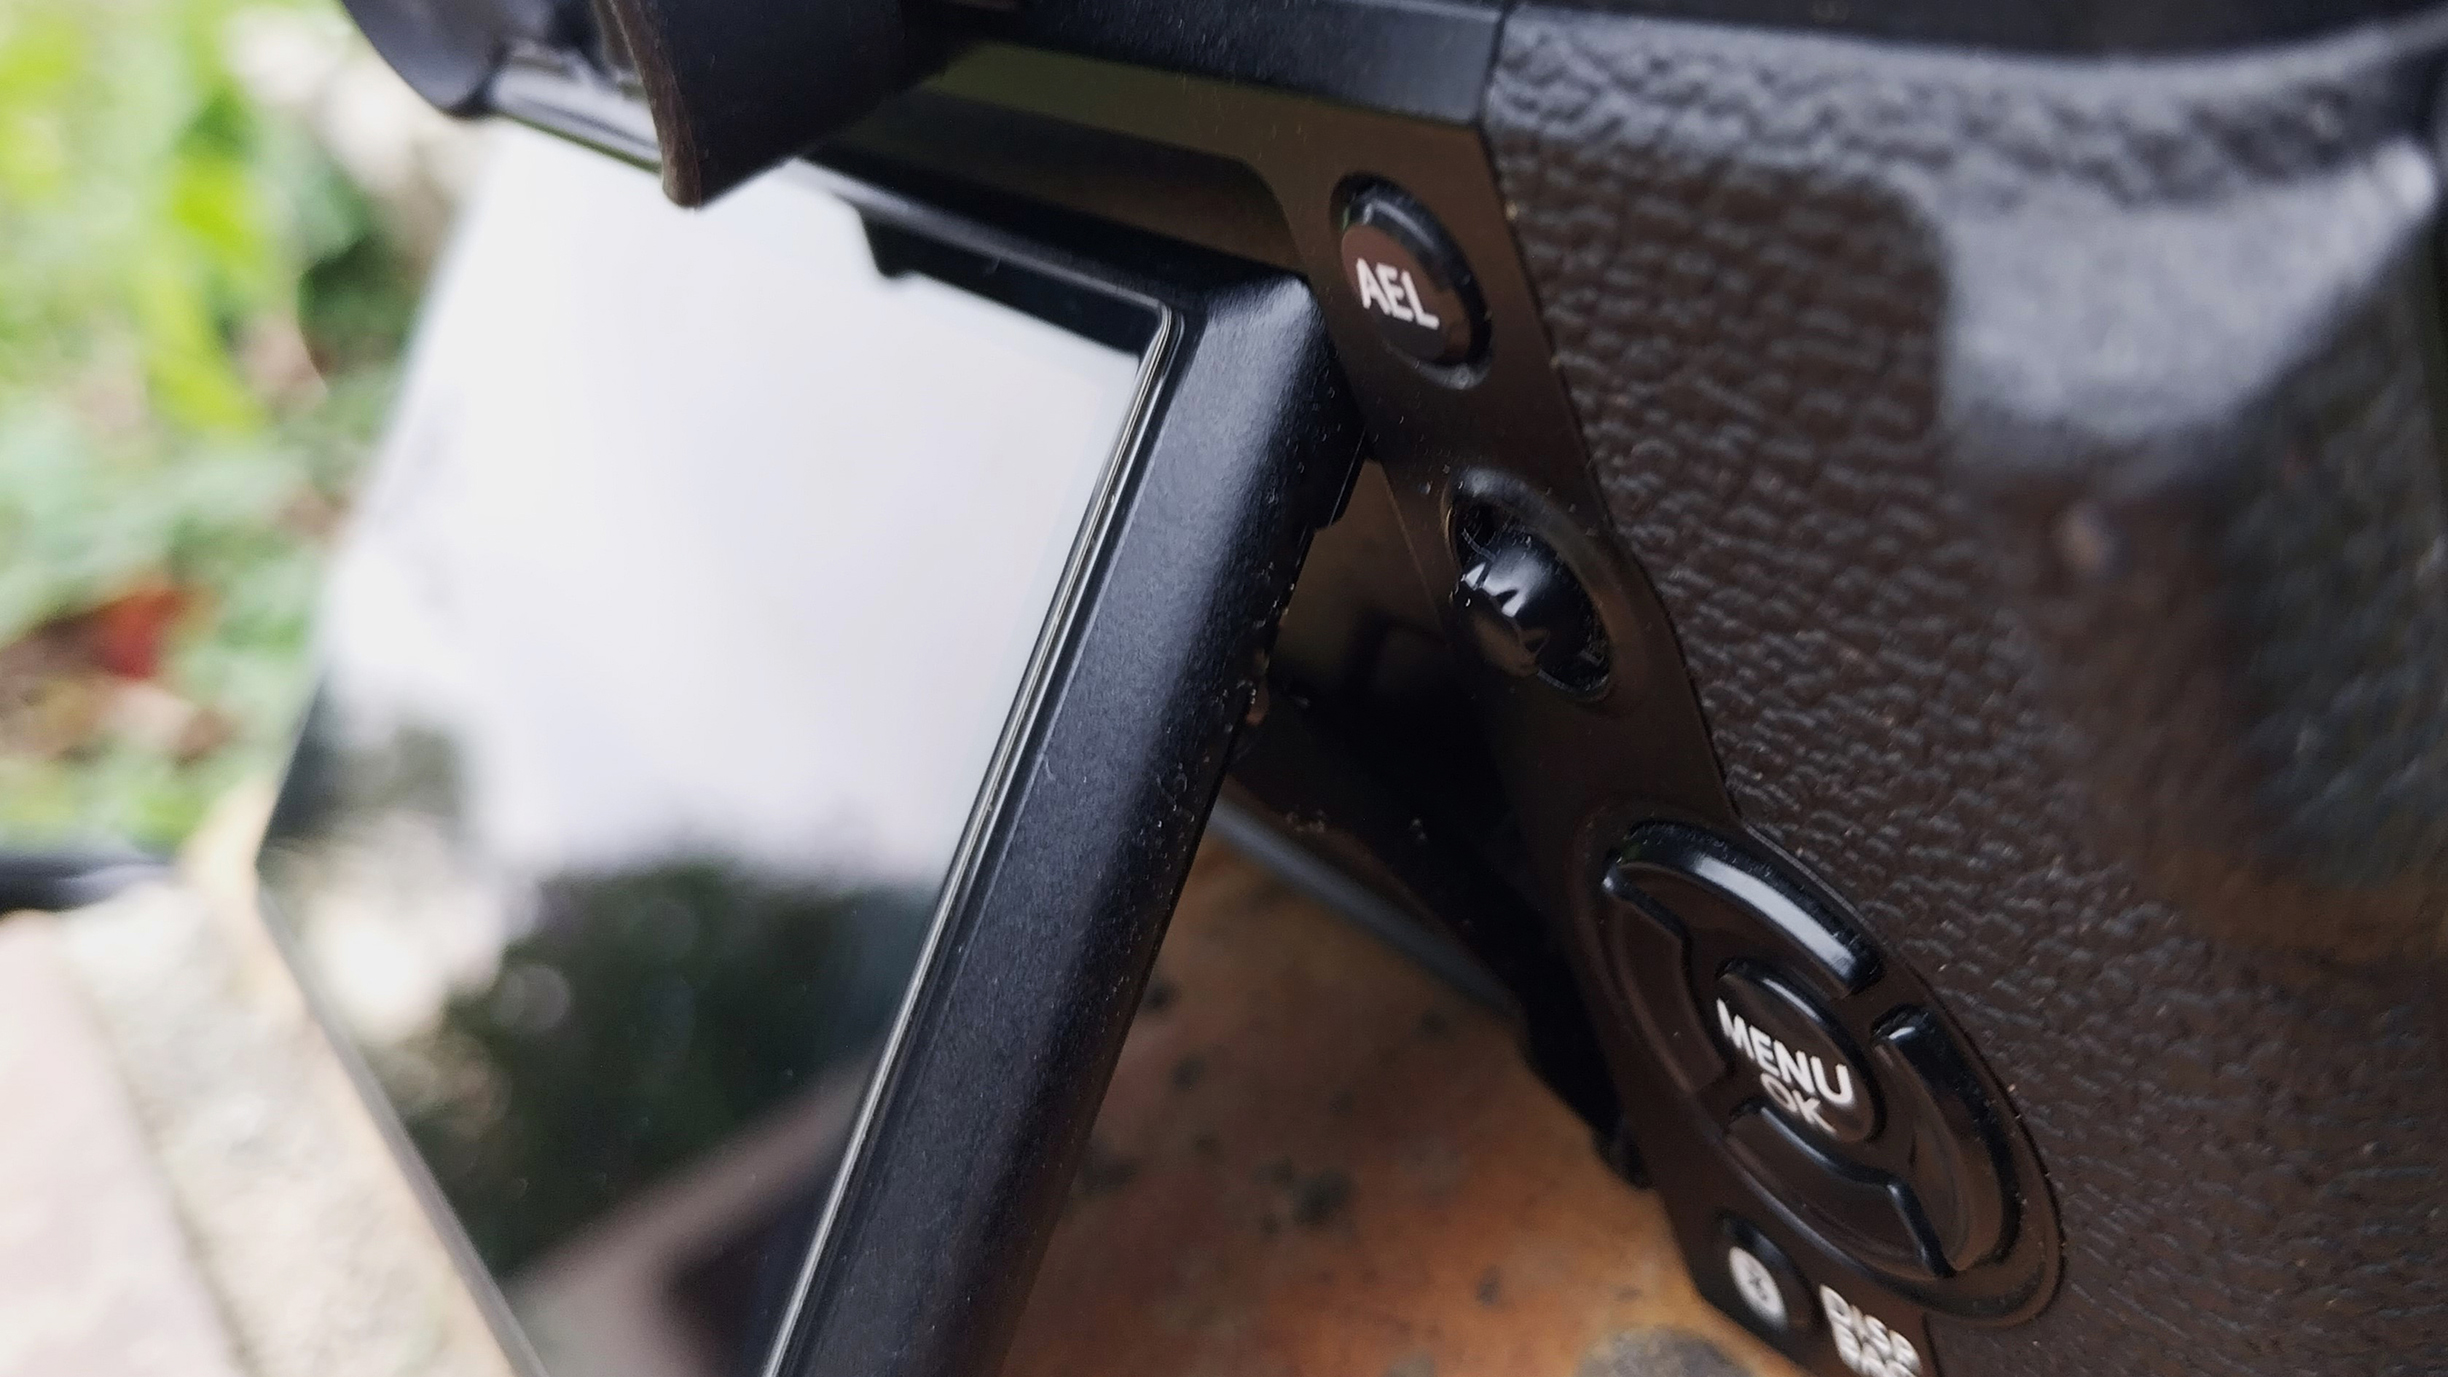
Once you have found your subject, position yourself and move your camera to see if you can include a few rays of sunlight in your composition. Live View on your articulating or tilting screen is useful at this stage.
4. Adjust your white balance
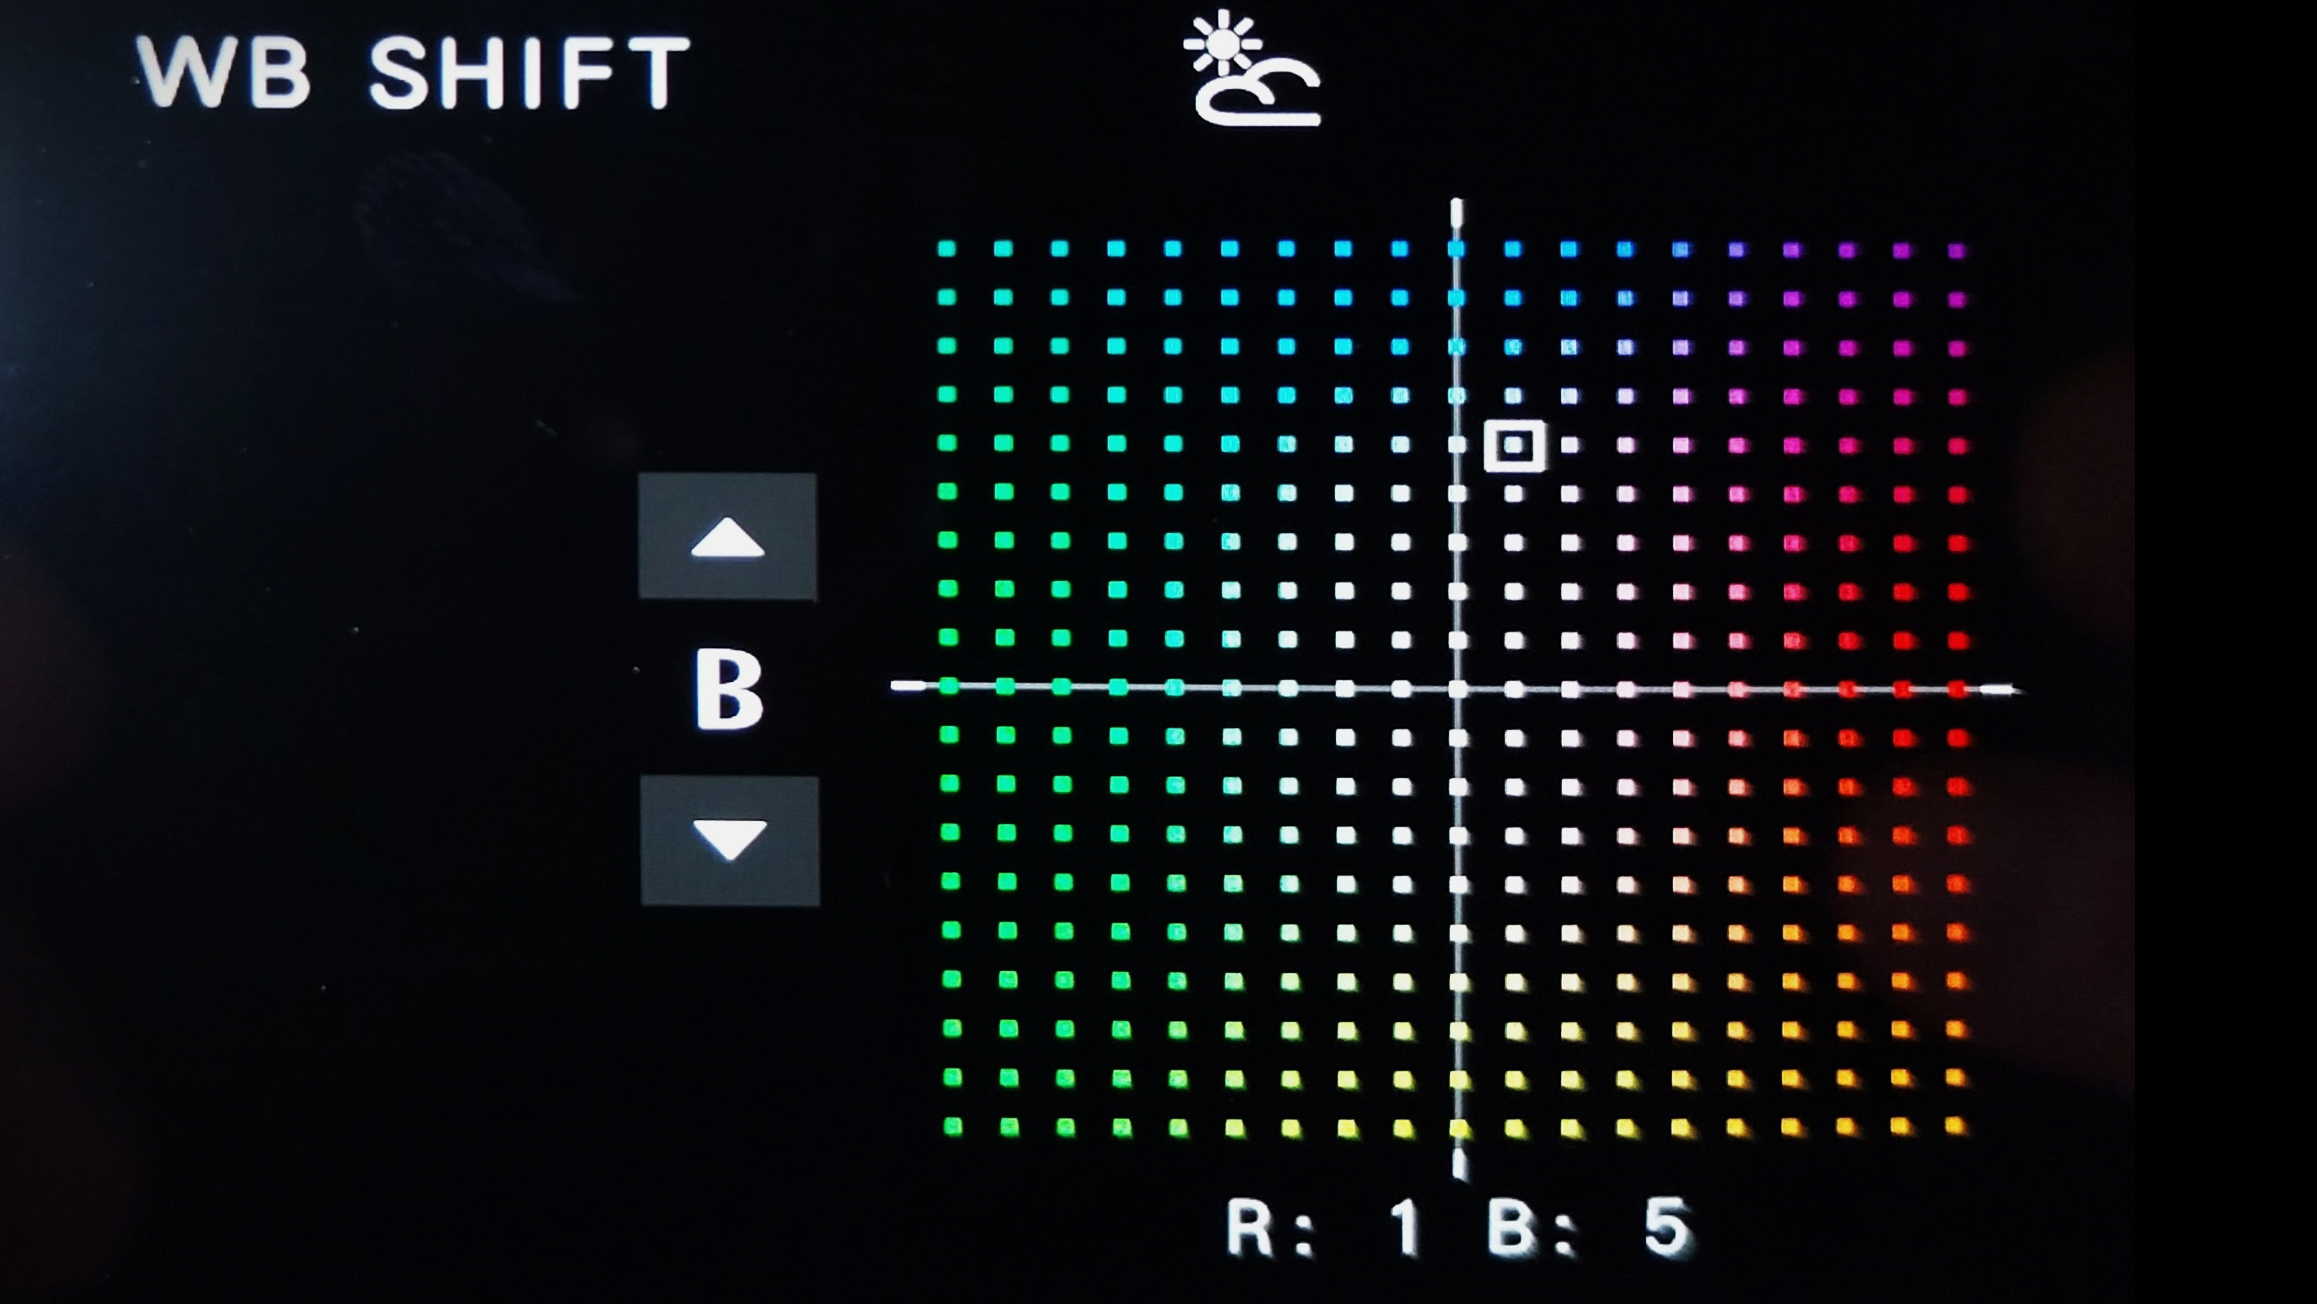
I often use the Cloudy Sky white balance, even on sunny days, because I like the way it looks in macro shots. Then, I adjust it manually to obtain the color temperatures that I feel are best suited to my composition.
5. Photometry
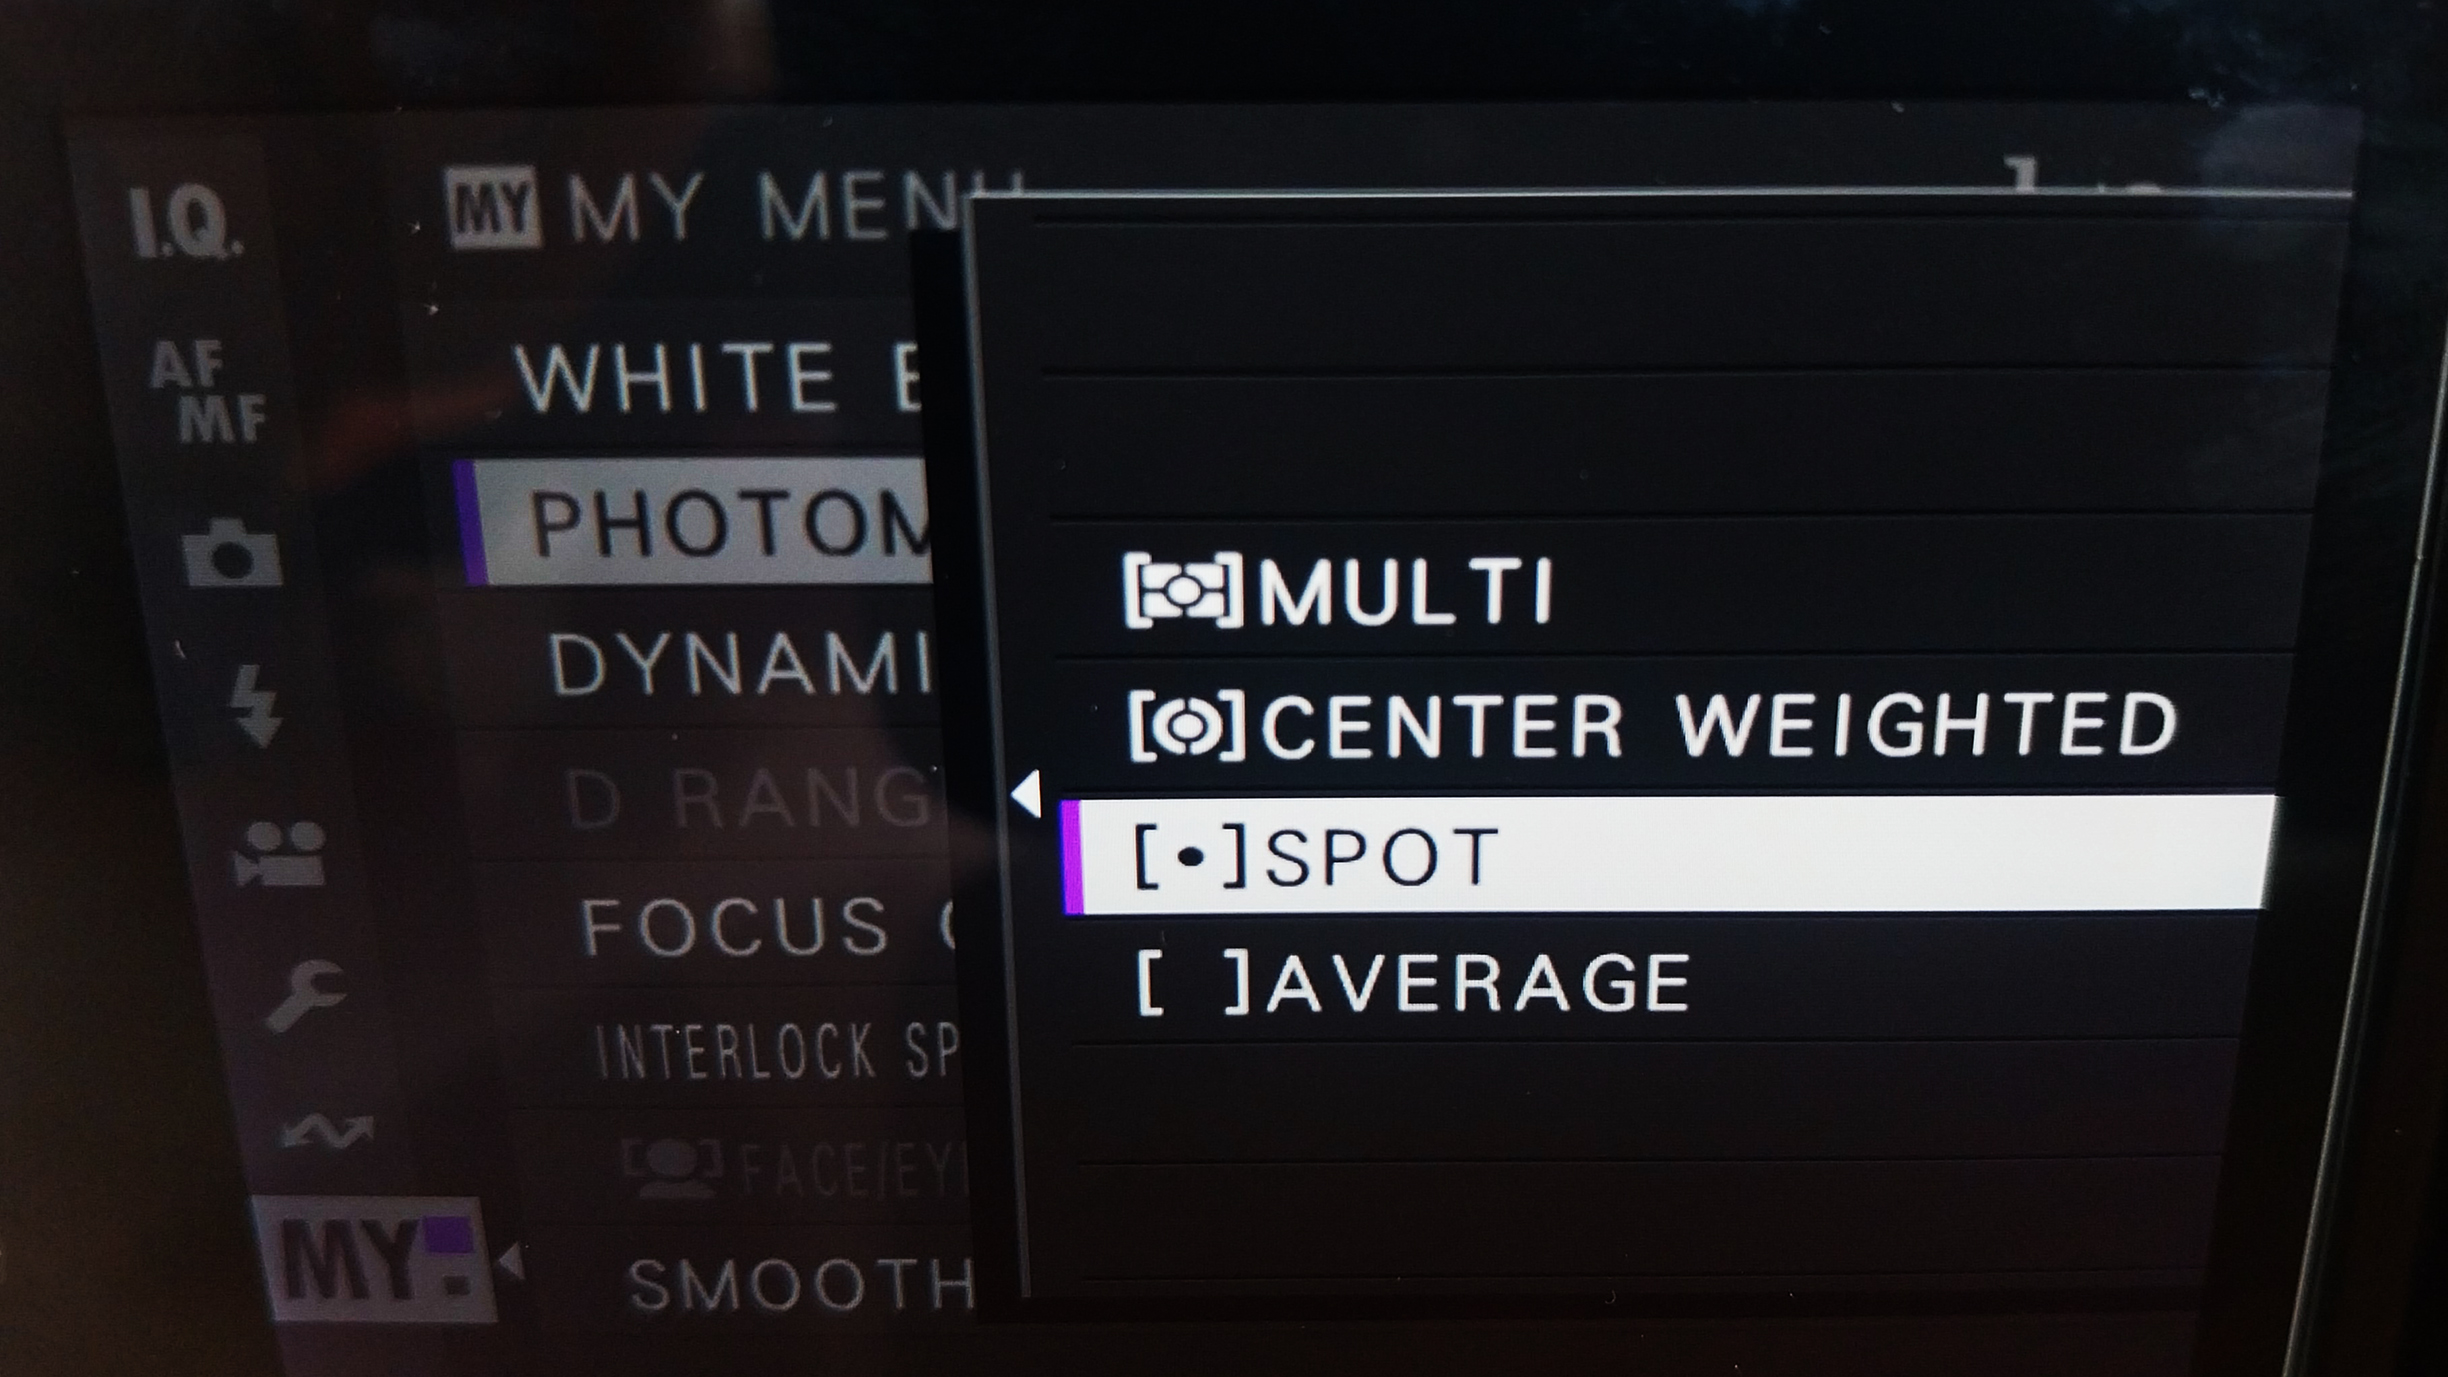
Spot metering mode is best suited to backlit shots. It avoids burning whites or blacks that need to be recovered afterwards. However, you can also try the multi metering mode, which may also be sufficient in certain light conditions.
6. Set your f-stop
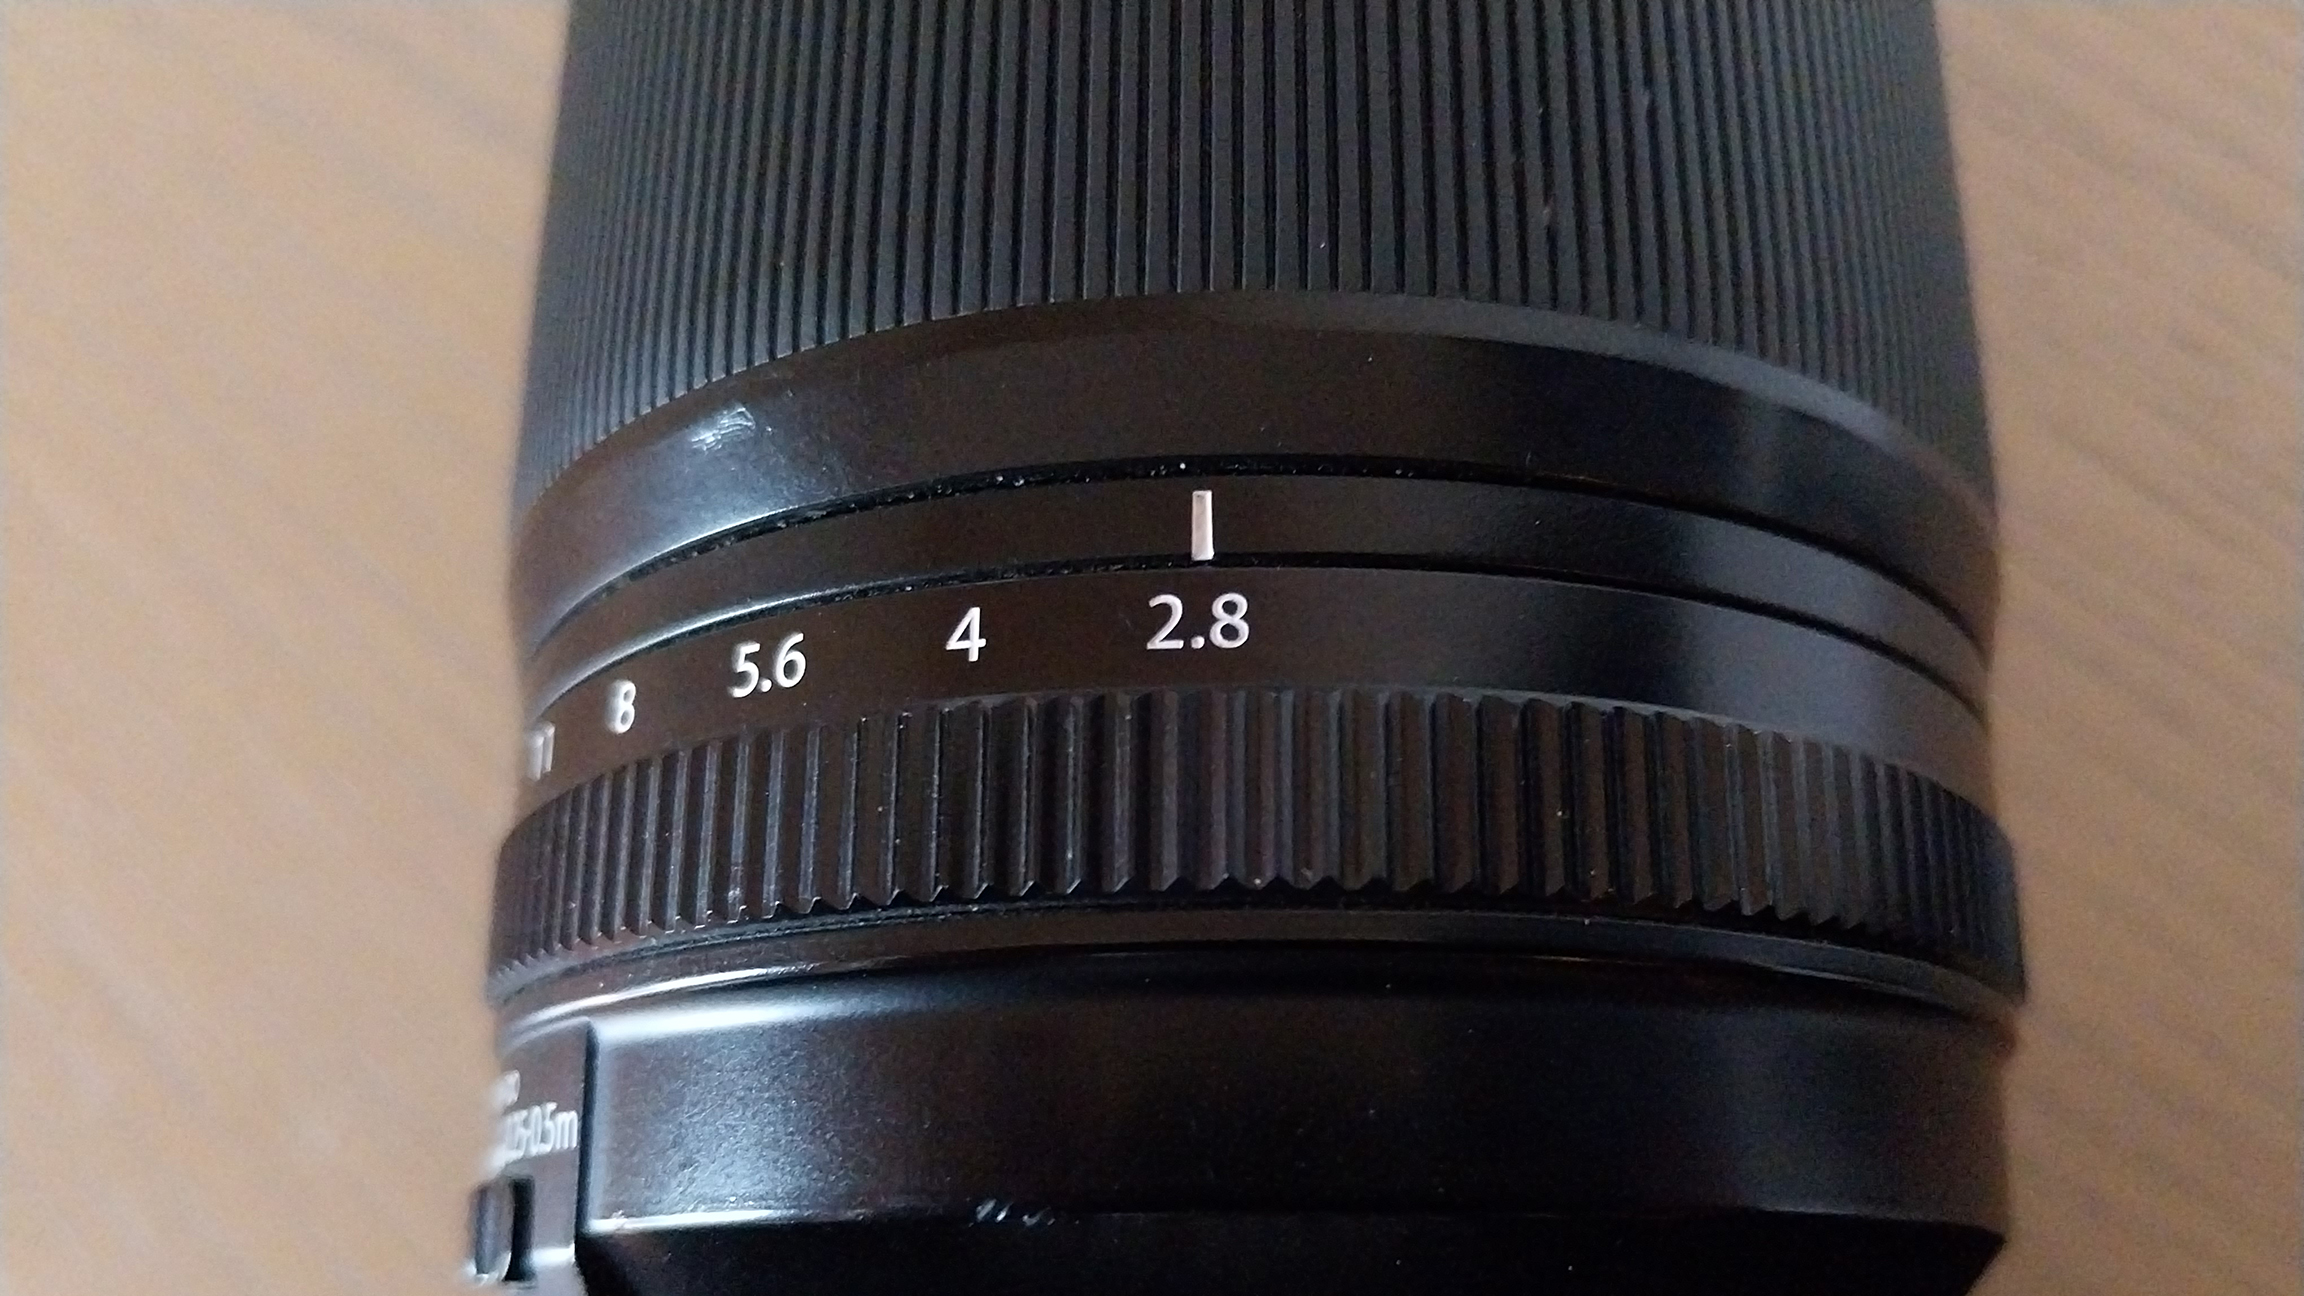
For dreamy macro photography, I find that larger apertures usually offer the best results. However, depending on the light you want in your shots, closing the aperture down can achieve creative effects too, with stronger bokeh.
You might also like…
If you want to master macro, take a look at the best cameras for macro photography, along with the best macro lenses.