Roblox's Dead Sewers repackages the Dead Rails experience into exploring a slimy underground sewer system but the class mechanics are the same. The best classes are usually those that provide a powerful long term benefit for the run so that you can reach as far as possible. Let's analyze all classes to find the strongest ones in this Dead Sewers class tier list and guide.
Table of contents
Best Dead Sewers Class Ranking
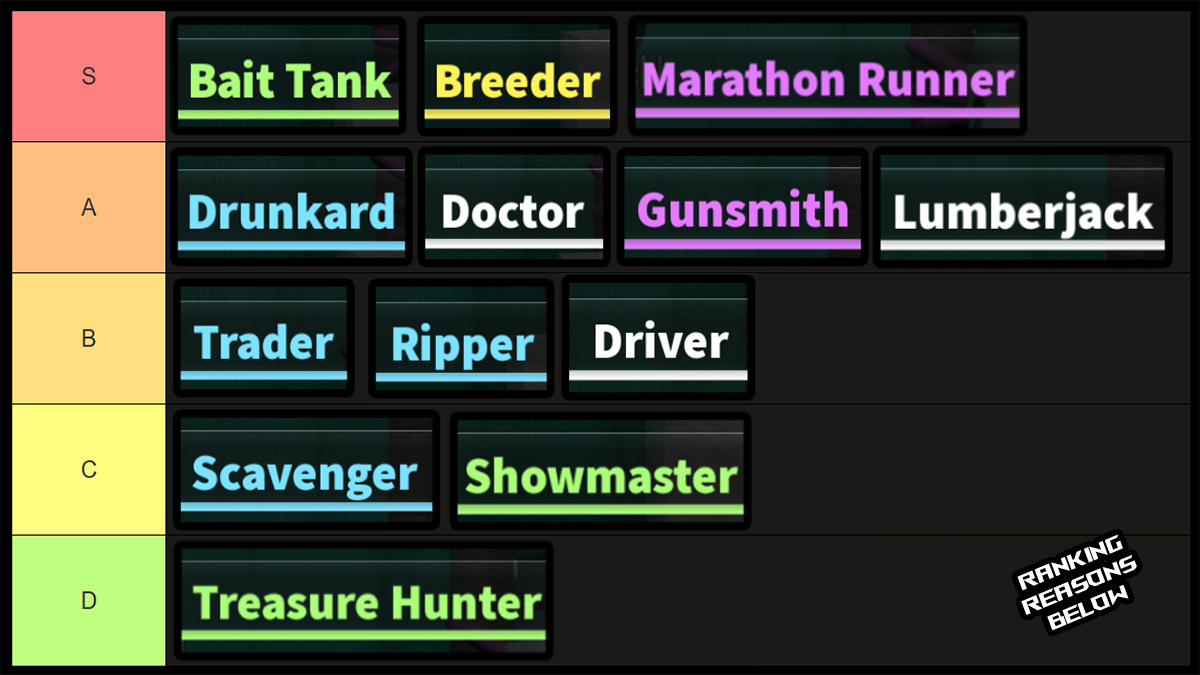
How good a class is in Dead Sewers is directly tied to how much team-wide utility it provides and whether it's worth investing in for higher level upgrades. The best classes are those that help you save resources or provide value in the long run in various ways. That said, there are some great ones that just start you off strong like the Gunsmith. Either way, let's take a look at all classes separately below with some tips for each one.
S-Tier Classes
| Class | Effects | Ranking Reason/Tips |
|---|---|---|
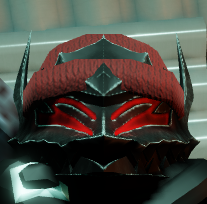
 Bait Tank Uncommon 35 Bonds |
Enemies will prioritize you and automatically aggro to you instead of other players until you die. Your Max HP increases by +50%. • Player Level 5: +65% Max HP • Player Level 9: +85% Max HP • Player Level 13: +100% Max HP • Player Level 18: +200% Max HP |
• A sleeper OP class option since you can use Bandages really effectively by focusing them on one player instead of everyone needing to use them • Plus, if all monsters aggro on one player they're easier to kill since they'll have even more predictable movement • Only one player should have this class as other kill monsters from the side and give Bandages to the Bait Tank |
 Breeder Legendary From Daily Reward |
Your bait food can be placed to aggro and attract monsters similar to the Bait Tank class. Monsters will attack the bait (10 HP) until it's destroyed and then it blows up dealing AOE damage. • Player Level 5: 20 Bait HP • Player Level 9: 30 Bait HP • Player Level 13: 40 Bait HP • Player Level 18: 50 Bait HP |
• Amazing tanking class similar to Bait Tank to pull aggro off of other players • The more HP the bait has the more monsters it has time to attract so upgrading is worth it • Upgrades also give you more time to kill monsters taunted by the bait • Good for grouping the monsters in front of a Safe in one place to kill them and get the code for the safe • Overall it makes monsters easier to deal with, especially in groups and saves you some Bandages |
 Marathon Runner Epic From GamePass |
Increases your movement speed by 30% • Player Level 5: 40% • Player Level 9: 50% • Player Level 13: 70% • Player Level 18: 100% |
• The least powerful S-Tier and the least flashy but that extra movement comes incredibly handy for everything • You can run through loot stations between monster camps without fighting and just pick everything up • You can reach key locations in monster camps better like the medicine cargo stations or Safes • You can run around and aggro all monsters for your team in monster camps • You have an easier time maneuvering around monsters and bosses • You can more easily catch up to the boat if you're left behind |
A-Tier Classes
| Class | Effects | Ranking Reason/Tips |
|---|---|---|
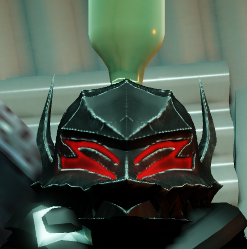 Drunkard Rare 65 Bonds |
Start with 1 Glass Bottle and get +4% ATK boost per Flask carried. • Player Level 5: Start with 2 Bottles and the boost increases to +5% ATK • Player Level 9: Start with 4 Bottles and the boost increases to +7% ATK • Player Level 13: Start with 6 Bottles and the boost increases to +8% ATK • Player Level 18: Start with 10 Bottles and the boost increases to +10% ATK |
• As you can see both the ATK bonus and the bottles you start with increase drastically through levels • You'll be getting a decent damage boost on level 5 but the latter levels massively boost your damage • It's one of the highest damage classes in the game but be careful of upgrading to Level 18 since you'll lack inventory |
 Doctor Common 16 Bonds |
Start with 1 Bandage. Each time you use a Bandage there's a 50% chance to not consume the bandage. • Player Level 5: 55% Chance • Player Level 9: 60% Chance • Player Level 13: 70% Chance • Player Level 18: 100% Chance |
• This is one of the most powerful classes when it's upgraded fully but early it's a gamble • Still a great class overall if your team gives you all their bandages • You essentially have the potential to double or triple the Bandages you found for yourself and allies • At max level you're just a healing dispenser but it's expensive to reach |
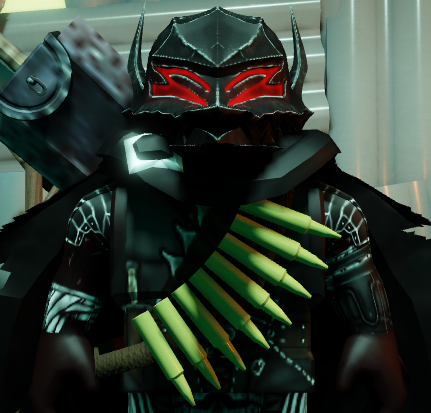 Gunsmith Epic From Roll Box |
Start with 1 Pistol and 30 Ammo. All firearms gain +1 Magazine Capacity. • Player Level 5: +2 Capacity • Player Level 9: +3 Capacity • Player Level 13: +4 Capacity • Player Level 18: +8 Capacity |
• The Gunsmith should perhaps have been S-Tier depending on the player • If you're playing conservatively with your ammo and using it for key situations like bosses then it's worth it • If you just waste your ammo on easy monster camps then it's not the most useful • Generally you can kite regular mobs around while hitting them with melee so you should save bullets for boss-like encounters • Note that you'll easily find Pistols while exploring, this class just allows you to have more players with pistols earlier |
 Lumberjack Common 16 Bonds |
Start with 1 Sharp Axe. Gain 30% attack speed with melee weapons. • Player Level 5: 50% attack speed • Player Level 9: 70% attack speed • Player Level 13: 100% attack speed • Player Level 18: 200% attack speed |
• Actually a pretty great beginner damage class and can be decent if you know how to kite and outzone monsters in melee • The Sharp Axe is a good boost but you'll find good melee weapons soon anyway • You want this for the attack speed buff, just make sure to kite monsters around so they don't hit you |
B-Tier Classes
| Class | Effects | Ranking Reason/Tips |
|---|---|---|
 Ripper Rare 65 Bonds |
Attack speed for guns is increased by +25% but your movement is reduced by 10%. • Player Level 5: +50% fire rate • Player Level 9: +75% fire rate • Player Level 13: +100% fire rate • Player Level 18: +125% fire rate |
• The Ripper class is mechanically quite strong against bosses but it largely depends on how much ammo you have • If your entire team always give you ammo for boss-like encounters then this is A-Tier • Otherwise, the extra attack speed won't help much if you run out of bullets and that movement penalty makes it harder to kite monsters |
 Driver Common 22 Bonds |
When you're piloting the boat, it goes +5% faster. • Player Level 5: +7% faster • Player Level 9: +9% faster • Player Level 13: +11% faster • Player Level 18: +15% faster |
• The Driver class is mainly for saving fuel • Makes each corpse or other fuel take you further since you're moving faster • The class gets better the further you reach since you'll save more fuel • Saves you gold in the long run since you're not buying fuel as much • It's slightly worse than in Dead Rails since you're not getting that extra 2 Coal |
 Trader Rare 60 Bonds |
You get 5% more gold when selling at Recyclers. • Player Level 5: 10% more gold • Player Level 9: 15% more gold • Player Level 13: 20% more gold • Player Level 18: 25% more gold |
• This class is only good if you can coordinate with your team to give you all loot to sell and trust you with the gold • It's better if you're with friends on voice chat • This allows you to profit more off of every loot you find and gain more gold to buy stuff for you and your team • You should be the one picking up everything from Safes (You get the code after killing all the monster guards) |
C-Tier Classes
| Class | Effects | Ranking Reason/Tips |
|---|---|---|
 Scavenger Rare From Roll Box |
Start with a Fishing Rod that can excavate water every 200 seconds to give you a random item/monster. • Player Level 5: Every 170 seconds • Player Level 9: Every 140 seconds • Player Level 13: Every 100 seconds • Player Level 18: Every 50 seconds |
• Scavanger is extremely slow on early levels and can give you useless items but can be good later on if you have a lot of Bonds and really want to level it • Overall I would skip on this class but it's not the worst in the game |
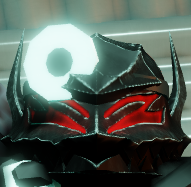
 Showmaster Uncommon 38 Bonds |
Start with 1 Trampoline. • Player Level 5: Start with 2 • Player Level 9: Start with 3 • Player Level 13: Start with 4 • Player Level 18: Start with 5 |
• Showmaster should probably be taken with a grain of salt since that Trampoline can be useless unless you use it right • It's a very specific class with a niche use so I would skip it • That said once you learn the locations where you can use Trampolines well to reach something or to help when fighting boss-like enemies it can be decent |
D-Tier Classes
| Class | Effects | Ranking Reason/Tips |
|---|---|---|
 Treasure Hunter Uncommon 35 Bonds |
Detect gold items within 50 meters of yourself. • Player Level 5: Within 100 meters. • Player Level 9: Within 150 meters. • Player Level 13: Within 200 meters. • Player Level 18: Within 300 meters. |
• You'll usually be exploring every pipe in a monster camp or house on the side of your boat so this ends up being useless • It can be occasionally useful if you don't want to stop for low-tier loot and just for golden loot • So it can be good for speedrunning and trying to reach as far as possible but if you're playing regularly it's useless |
That's it for our Dead Sewers class tier list and guide. Don't forget to check out our Dead Sewers codes to claim free goodies for the game.
The post Ultimate Dead Sewers Class Tier List and Guide appeared first on Destructoid.