A few iPhone Pro camera tips can go a long way to improving your iPhone photography. Photography on iPhones has come a long way since 2007, with modern models sporting four times the number of cameras, larger sensors, more optically complex lenses, and much more besides. A good iPhone in 2025 is a veritable photo and video powerhouse.
Another compelling factor of an iPhone's camera system tends to be how easy it is to use – but even so, there are plenty of tips and tricks you may not have been aware of, helping you make the most of what it offers. The iPhone 16 Pro is the most powerful evolution yet, with a beefed up macro camera and better-than-ever image processing, but you can also achieve brilliant results with older models like the 15 Pro or 14 Pro.
Not yet decided on which phone to buy? See our guide to the best camera phones for more options, including Android alternatives. Otherwise, let's dive into how to improve your iPhone Pro photography.
Top iPhone Pro camera tips for better shots
01. Get to know the iPhone Pro lenses
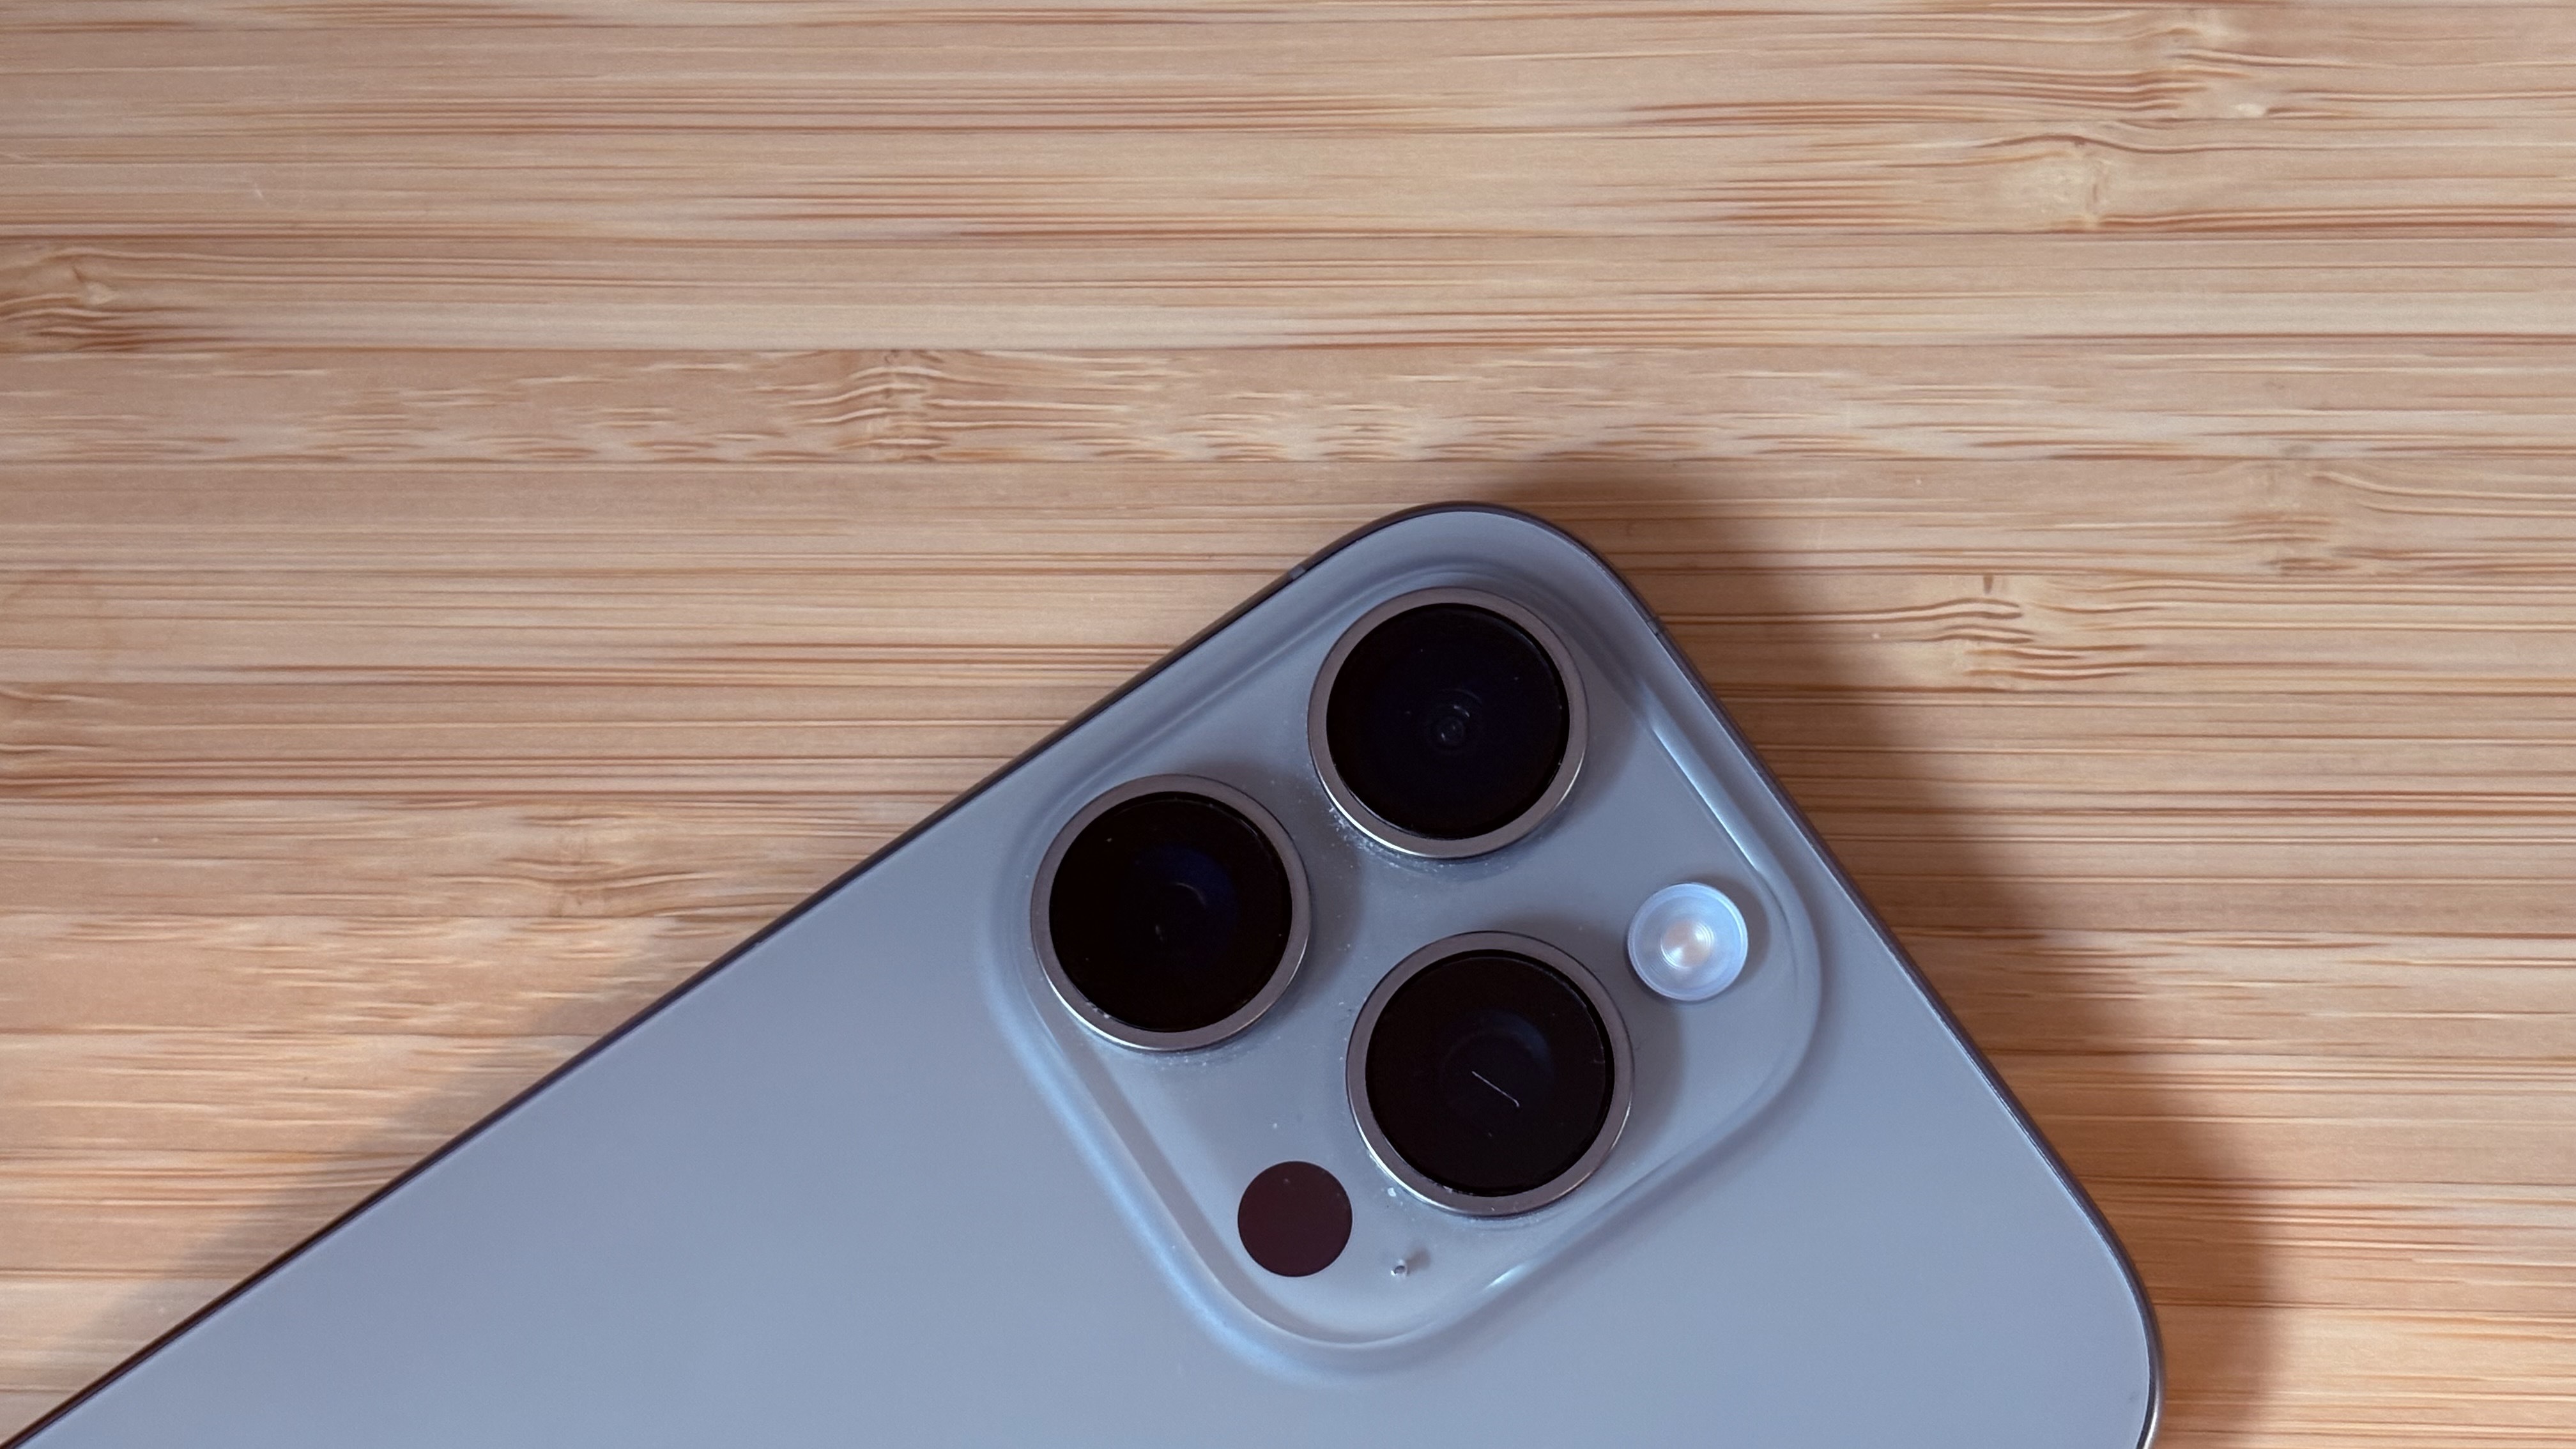
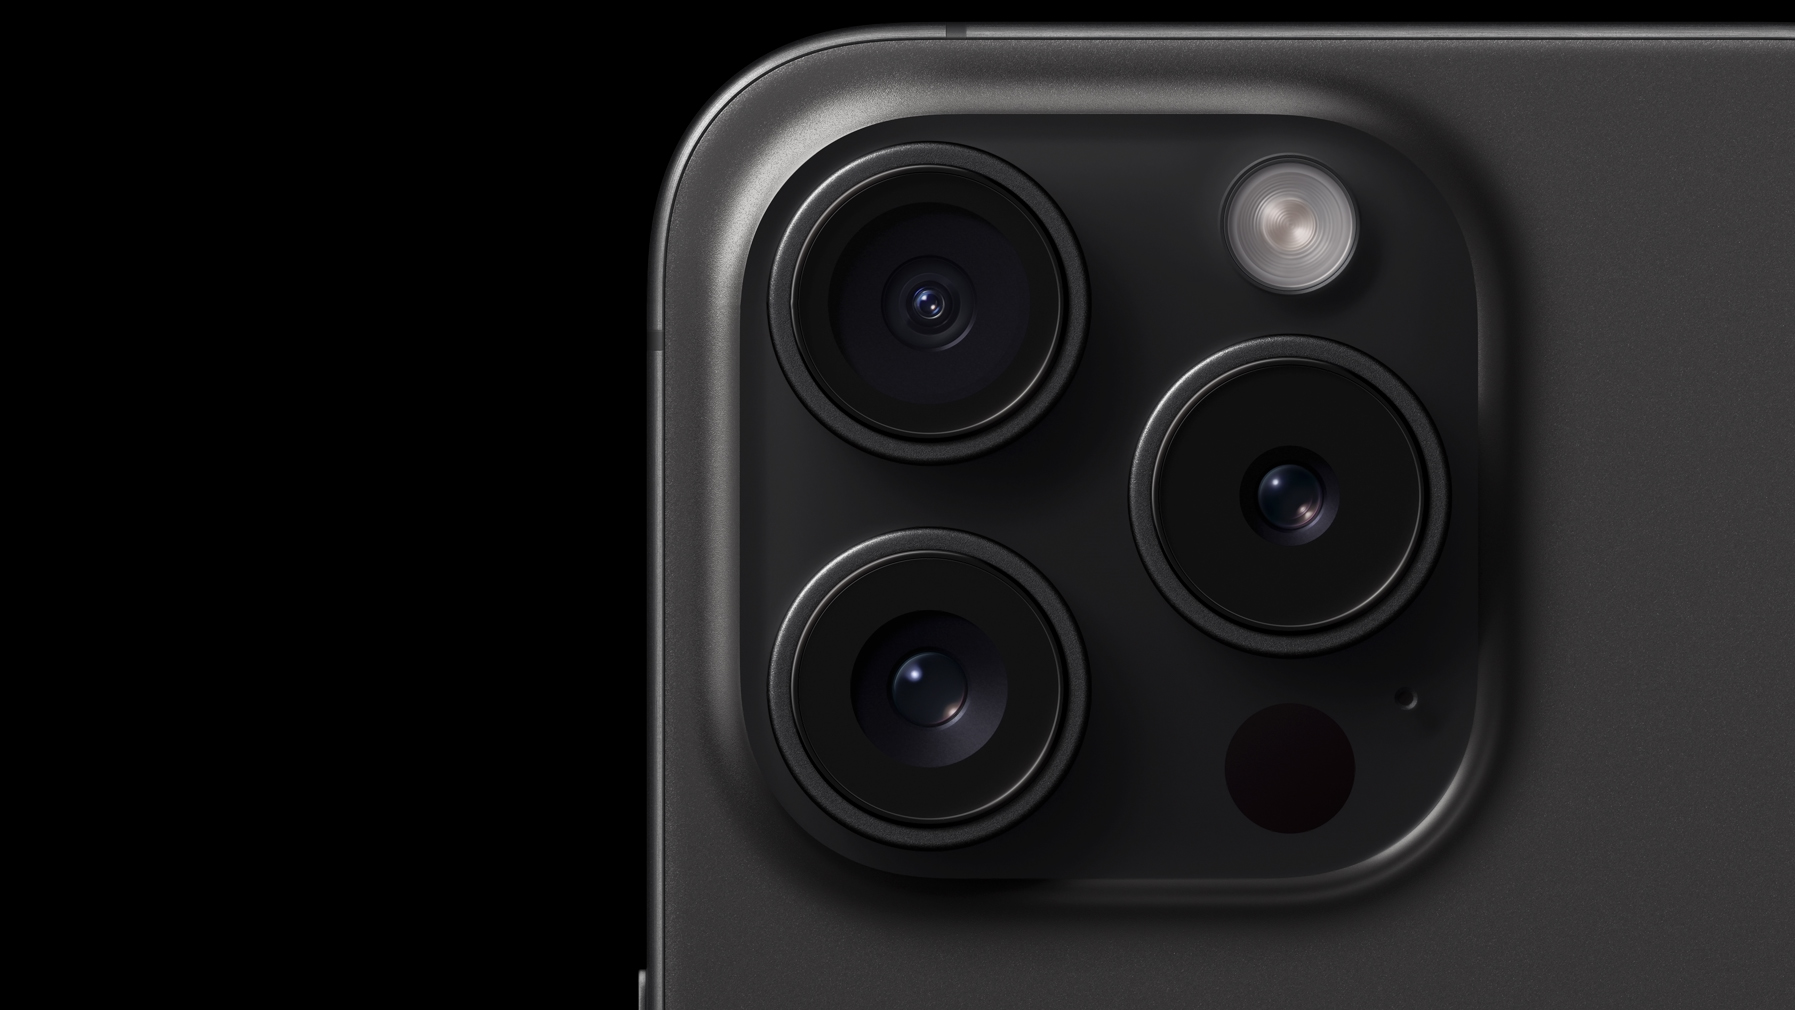
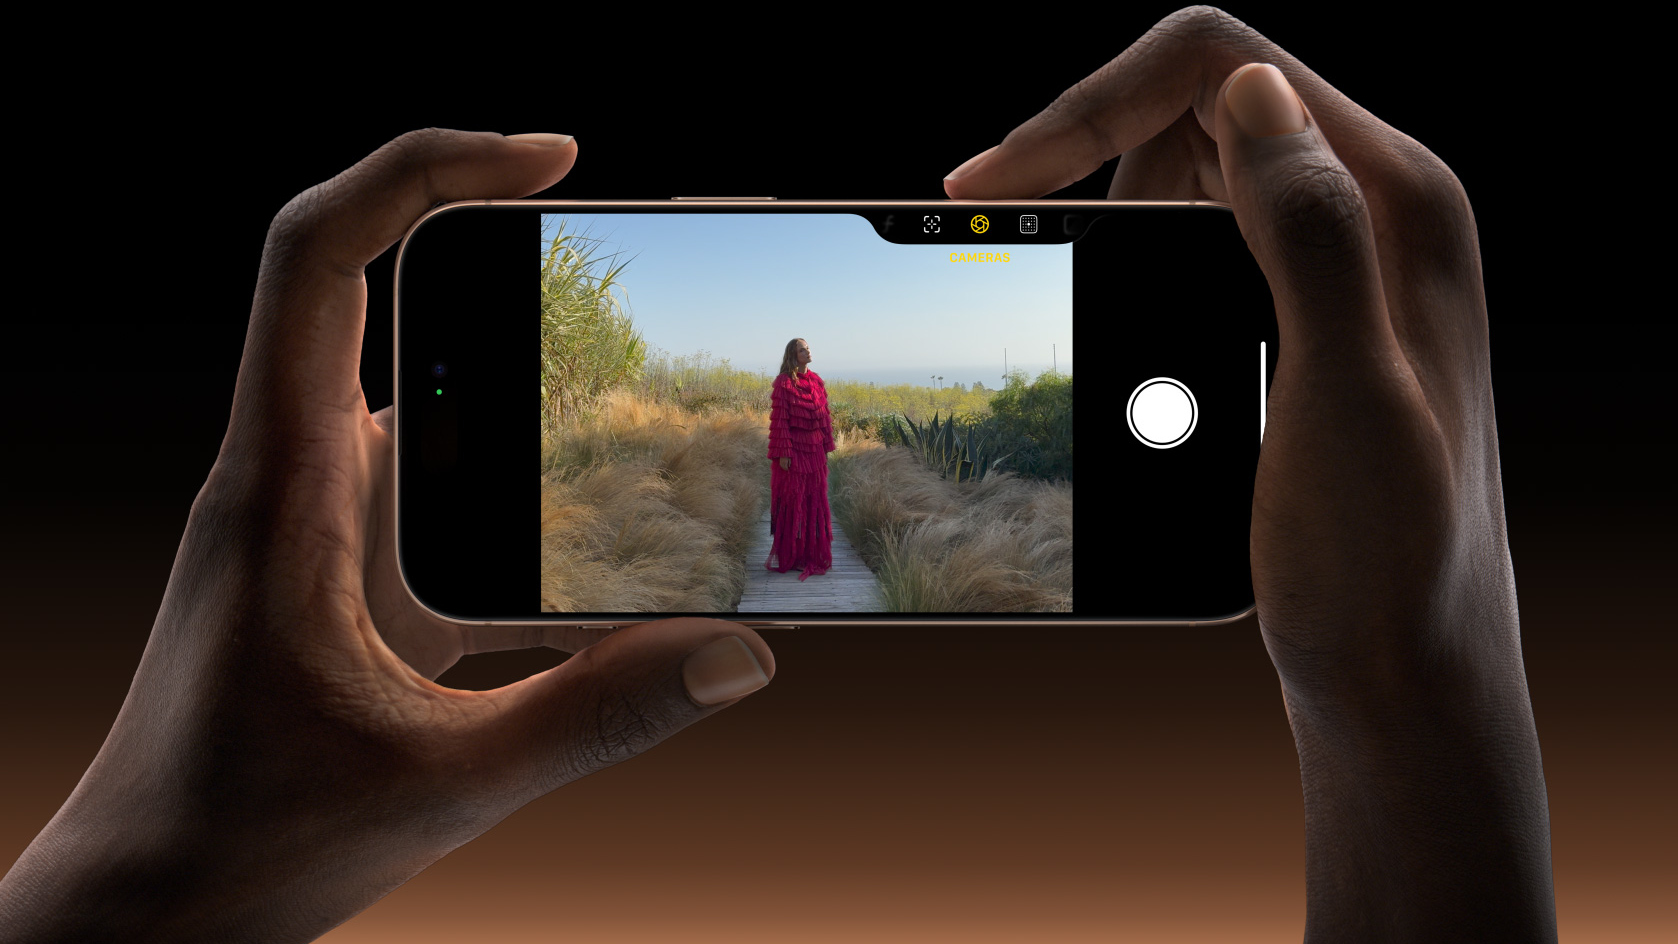
The iPhone 16 Pro features three lenses. Its main camera, the one you'll use to take the majority of your photos, is a 48MP wide lens that offers resolution to spare, meaning you can crop into images without losing too much quality (effectively giving yourself a digital zoom). It also features a 5x optical zoom.
As well as the main lens, Pro iPhones feature an ultrawide-angle lens and telephone lens. For portraits, both can be useful (to switch between them tap on the Portrait option, and tap 1x or 3x in the bottom left corner). The 3x telephoto is also great for making an impressive object like a building stand out in a scene, isolating it from other, distracting elements.
And the ultrawide lens meanwhile has a macro focusing feature that can get great close-up detail shots. The iPhone 16 Pro's macro capabilities have been bolstered compared to previous generations –this is largely down to the fact that the ultrawide camera has been boosted from 12MP to match the main camera at 48MP. Accordingly, close-up images are full of brilliantly stunning detail, and if this is a priority for you, it's definitely worth plumping for the most recent iPhone Pro rather than saving cash with an older model.
There has also been a bit of a computational boost with the iPhone 16 Pro – it's difficult to put hard numbers on this, as Apple can be a little cagey about what's going on behind the scenes, but images taken on the iPhone 16 Pro generally look sharper and more detailed on close inspection than images taken with the previous generation, thanks to improved processing.
02. Shoot in ProRAW
A great feature of Pro models since the iPhone 13 Pro for professional and enthusiast photographers who do post-production editing is the ability to shoot in the ProRAW format. This gives you the advantages of a RAW picture, retaining a lot more detail than what you get with a compressed HEIF or JPEG image, though needing to be processed into a common image format like JPG or PNG before it can be shared. ProRAW images will be BIG files – at around 25MB for each image, you may find your phone filling up fast, but they open up a lot more possibilities for editing your shots later in a programme like Photoshop or Lightroom.
While the iPhone offers editing options like its Auto edit magic wand and the usual editing options, they're not going to give you the flexibility you get with professional editing on high-resolution files that retain more detail in the shadows and highlights. The larger ProRAW files can allow you to rescue overexposed areas or bring back visibility in dark shadows.
To enable ProRAW, go to Settings > Camera > Formats and under the new Photo Capture section, you'll find the toggle. Once enabled, you'll see a new RAW button at the top right, which will now allow you to quickly switch between ProRaw and JPEG. (If you're not sure what programmes to use to edit your ProRAW images afterwards, see our guide to the best photo-editing software.)
03. Get used to the Camera Control button
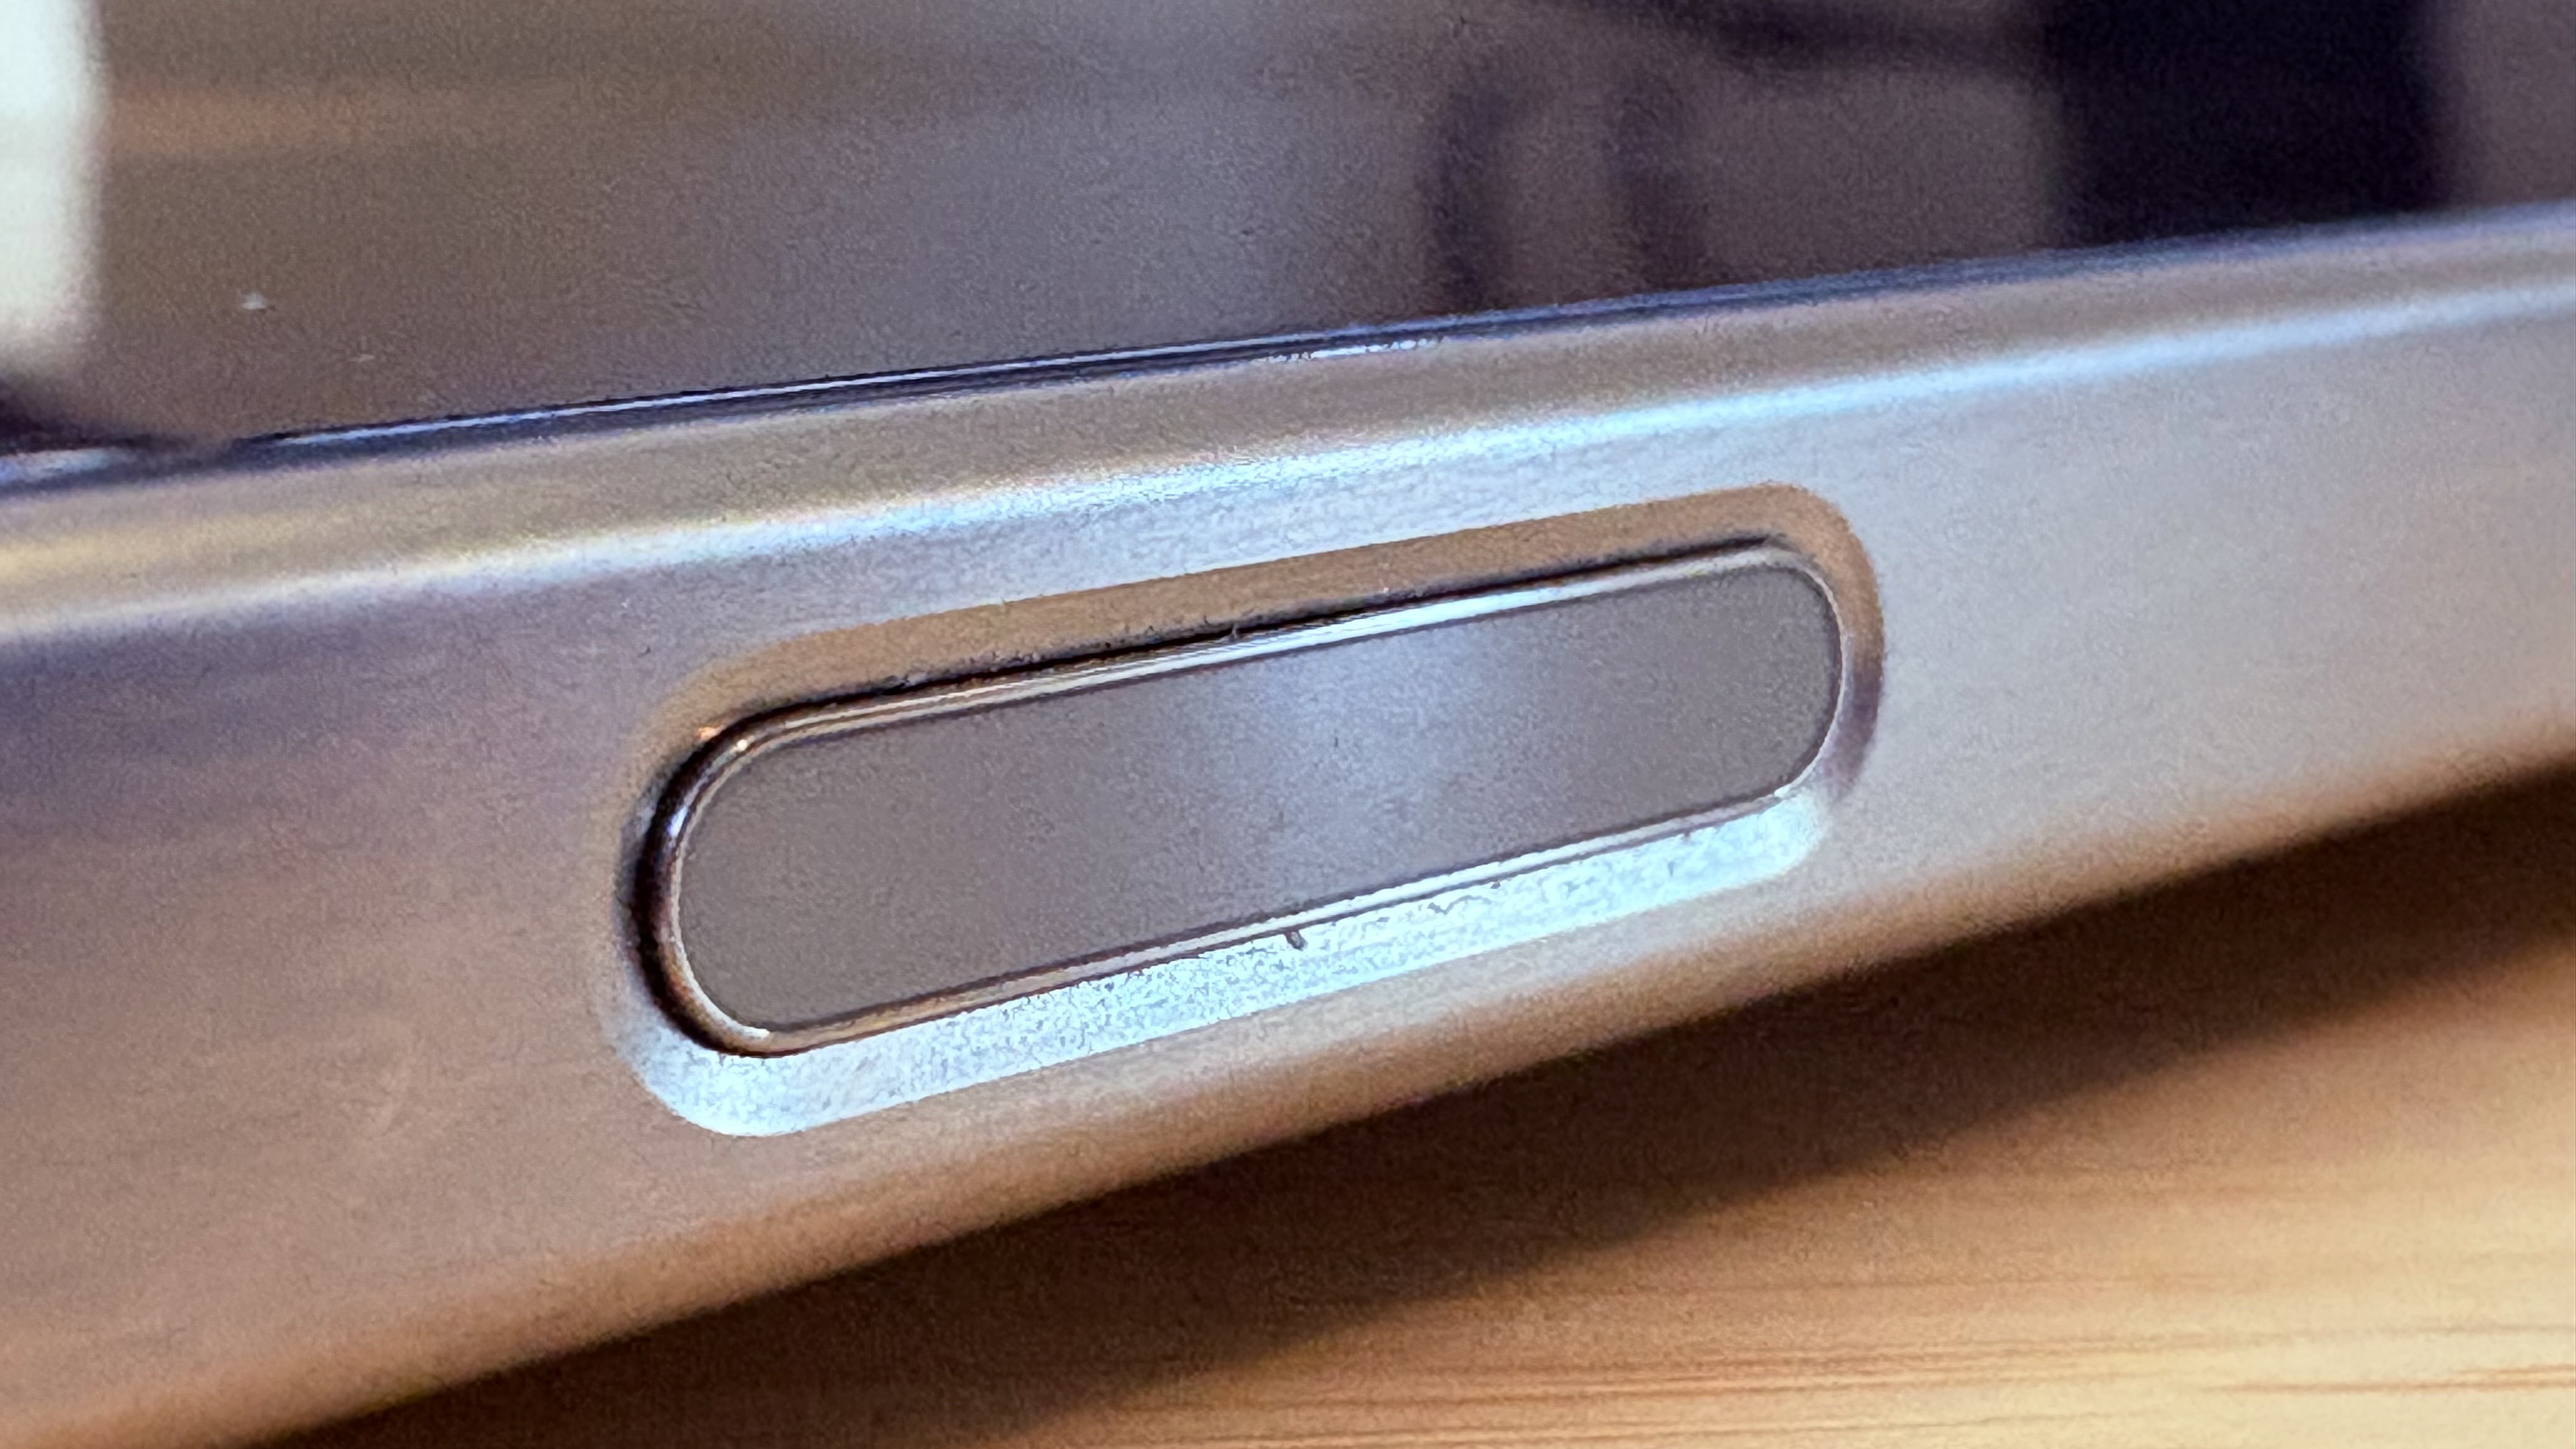
It may not sound like much, but plenty of photographers were hugely pleased by the inclusion of a dedicated, physical Camera Control button on the iPhone 16 series. Press it once and it brings up the camera app; press it again, and it acts as a shutter button.
If you've been shooting on phones for years, you may be very used to navigating to the camera pp via the usual route, but it really is worth getting used to using the physical button, particularly if you use your iPhone Pro for street photography, where fast reactions are paramount.
You can get to your app much faster and more intuitively, and we'd also say that having the physical button makes the phone much more ergonomic to hold. The truth is that a smartphone's smooth oblong has never been a particularly ergonomic tool for photography – hard to grip, easy to drop – but we all put up with it since nobody wanted to carry a bulky, grippy device in their pocket. The iPhone 16 Pro doesn't solve this problem at a stroke, but the physical button goes a hell of a long way, and is definitely worth getting used to.
04. Find a signature look with Photographic Styles
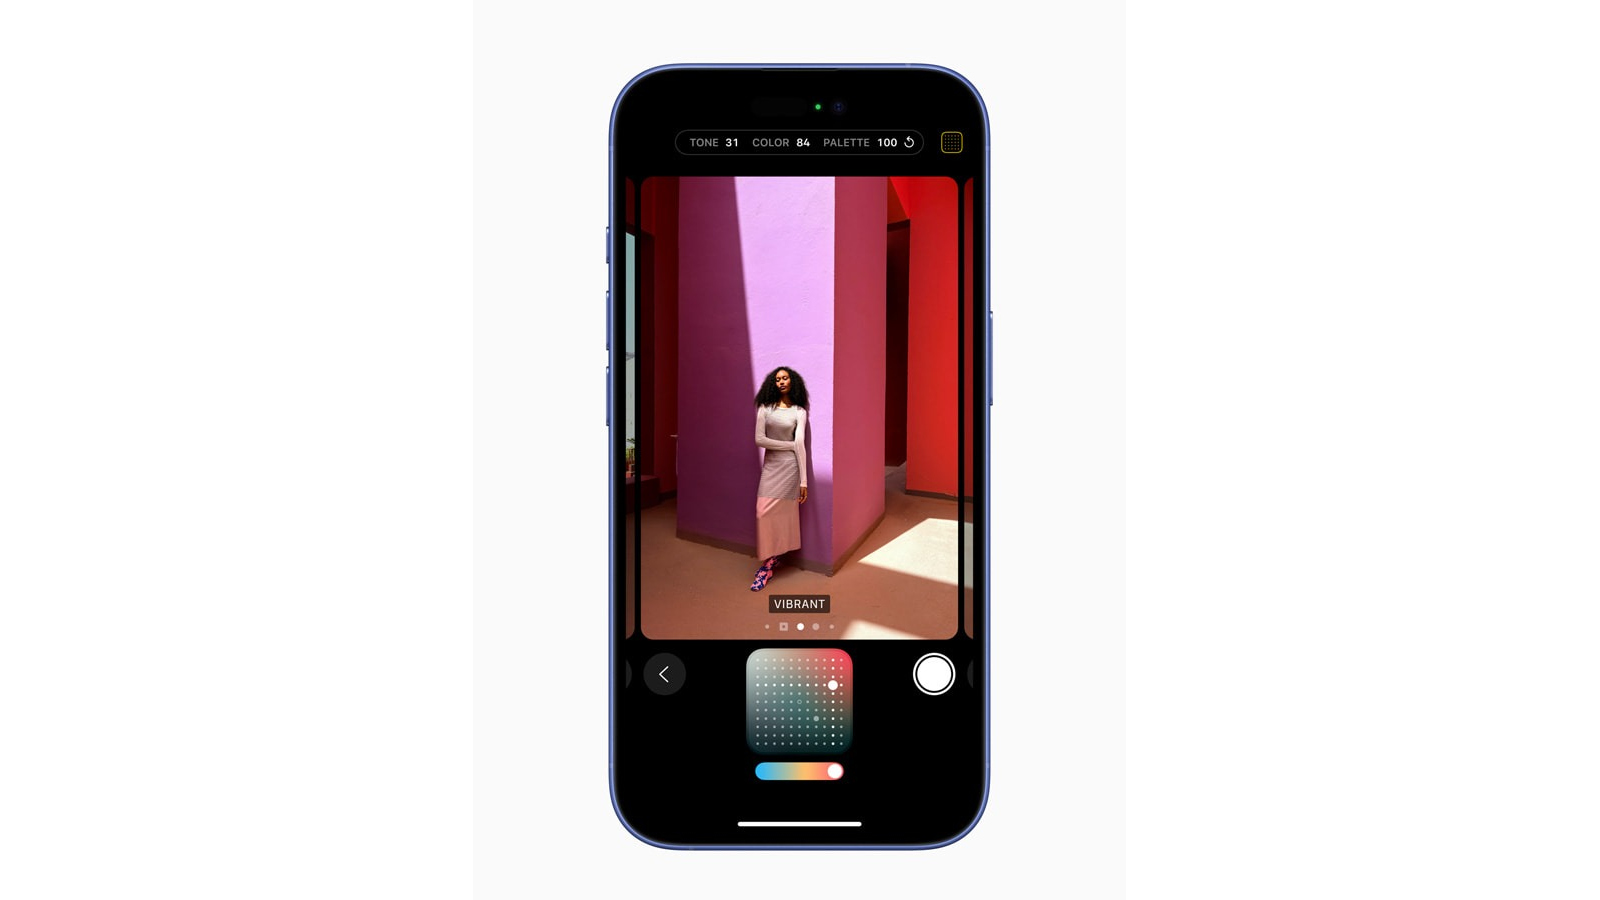
If you don't go in for post-production, you can still create a signature visual style with the iPhone camera. The Photographic Styles feature allows you to define a style before you shoot, rather like a filter applied before rather than after taking a shot.
In previous generations, there were four preset Photographic Styles to choose from (Rich Contrast, Vibrant, Warm and Cool) – the iPhone 16 Pro expands this with a lot more options. Styles can be adjusted to find the balance of tone and warmth you're looking for. To get started, open the Camera app in photo mode, swipe up from the bottom and tap on the icon with the three squares. You can then swipe through the Photographic Styles. Tone and Warmth sliders appear below the viewfinder when you select a style – the phone will remember any changes you make here, retaining them until you change them again.
If you find a style you like and want to adopt it as a signature, you can set it as default: Open your iPhone's Settings app, scroll down to Camera and find the Photographic Styles option. Tap to choose which style you want to shoot in and it will automatically be selected every time you open the camera.
As mentioned, it's also worth noting that for the most recent iPhone 16 Pro, Apple has revamped the styles somewhat, providing a broader suite of options for customising how individual styles look, both pre- and post-capture. It's useful and versatile, but it is also quite confusing at first blush, with lots of different options being thrown at you, so it could be a good idea to sit down and familiarise yourself with what's on offer before heading out on a shoot.
05. Turn off automatic night mode
Night Mode on the iPhone is impressive, but for the best shots, you probably don't want it kicking in every time you're in a low light situation. Sometimes, it makes night shots look like they weren't taken at night at all, which often isn't what you want. It can also lead to blurry pictures if you're trying to shoot a subject that's moving.
You can turn off Night Mode each time while you're in the camera app, but that will soon get annoying if you find yourself having to do that each time you take a shot in the dark. Instead, we'd suggest turning off automatic Night Mode altogether so that you can simply enable it when you want it by tapping the Night Mode icon (a moon). Go to Settings app > Camera > Preserve Settings and toggle the Night Mode switch.
06. Go in close
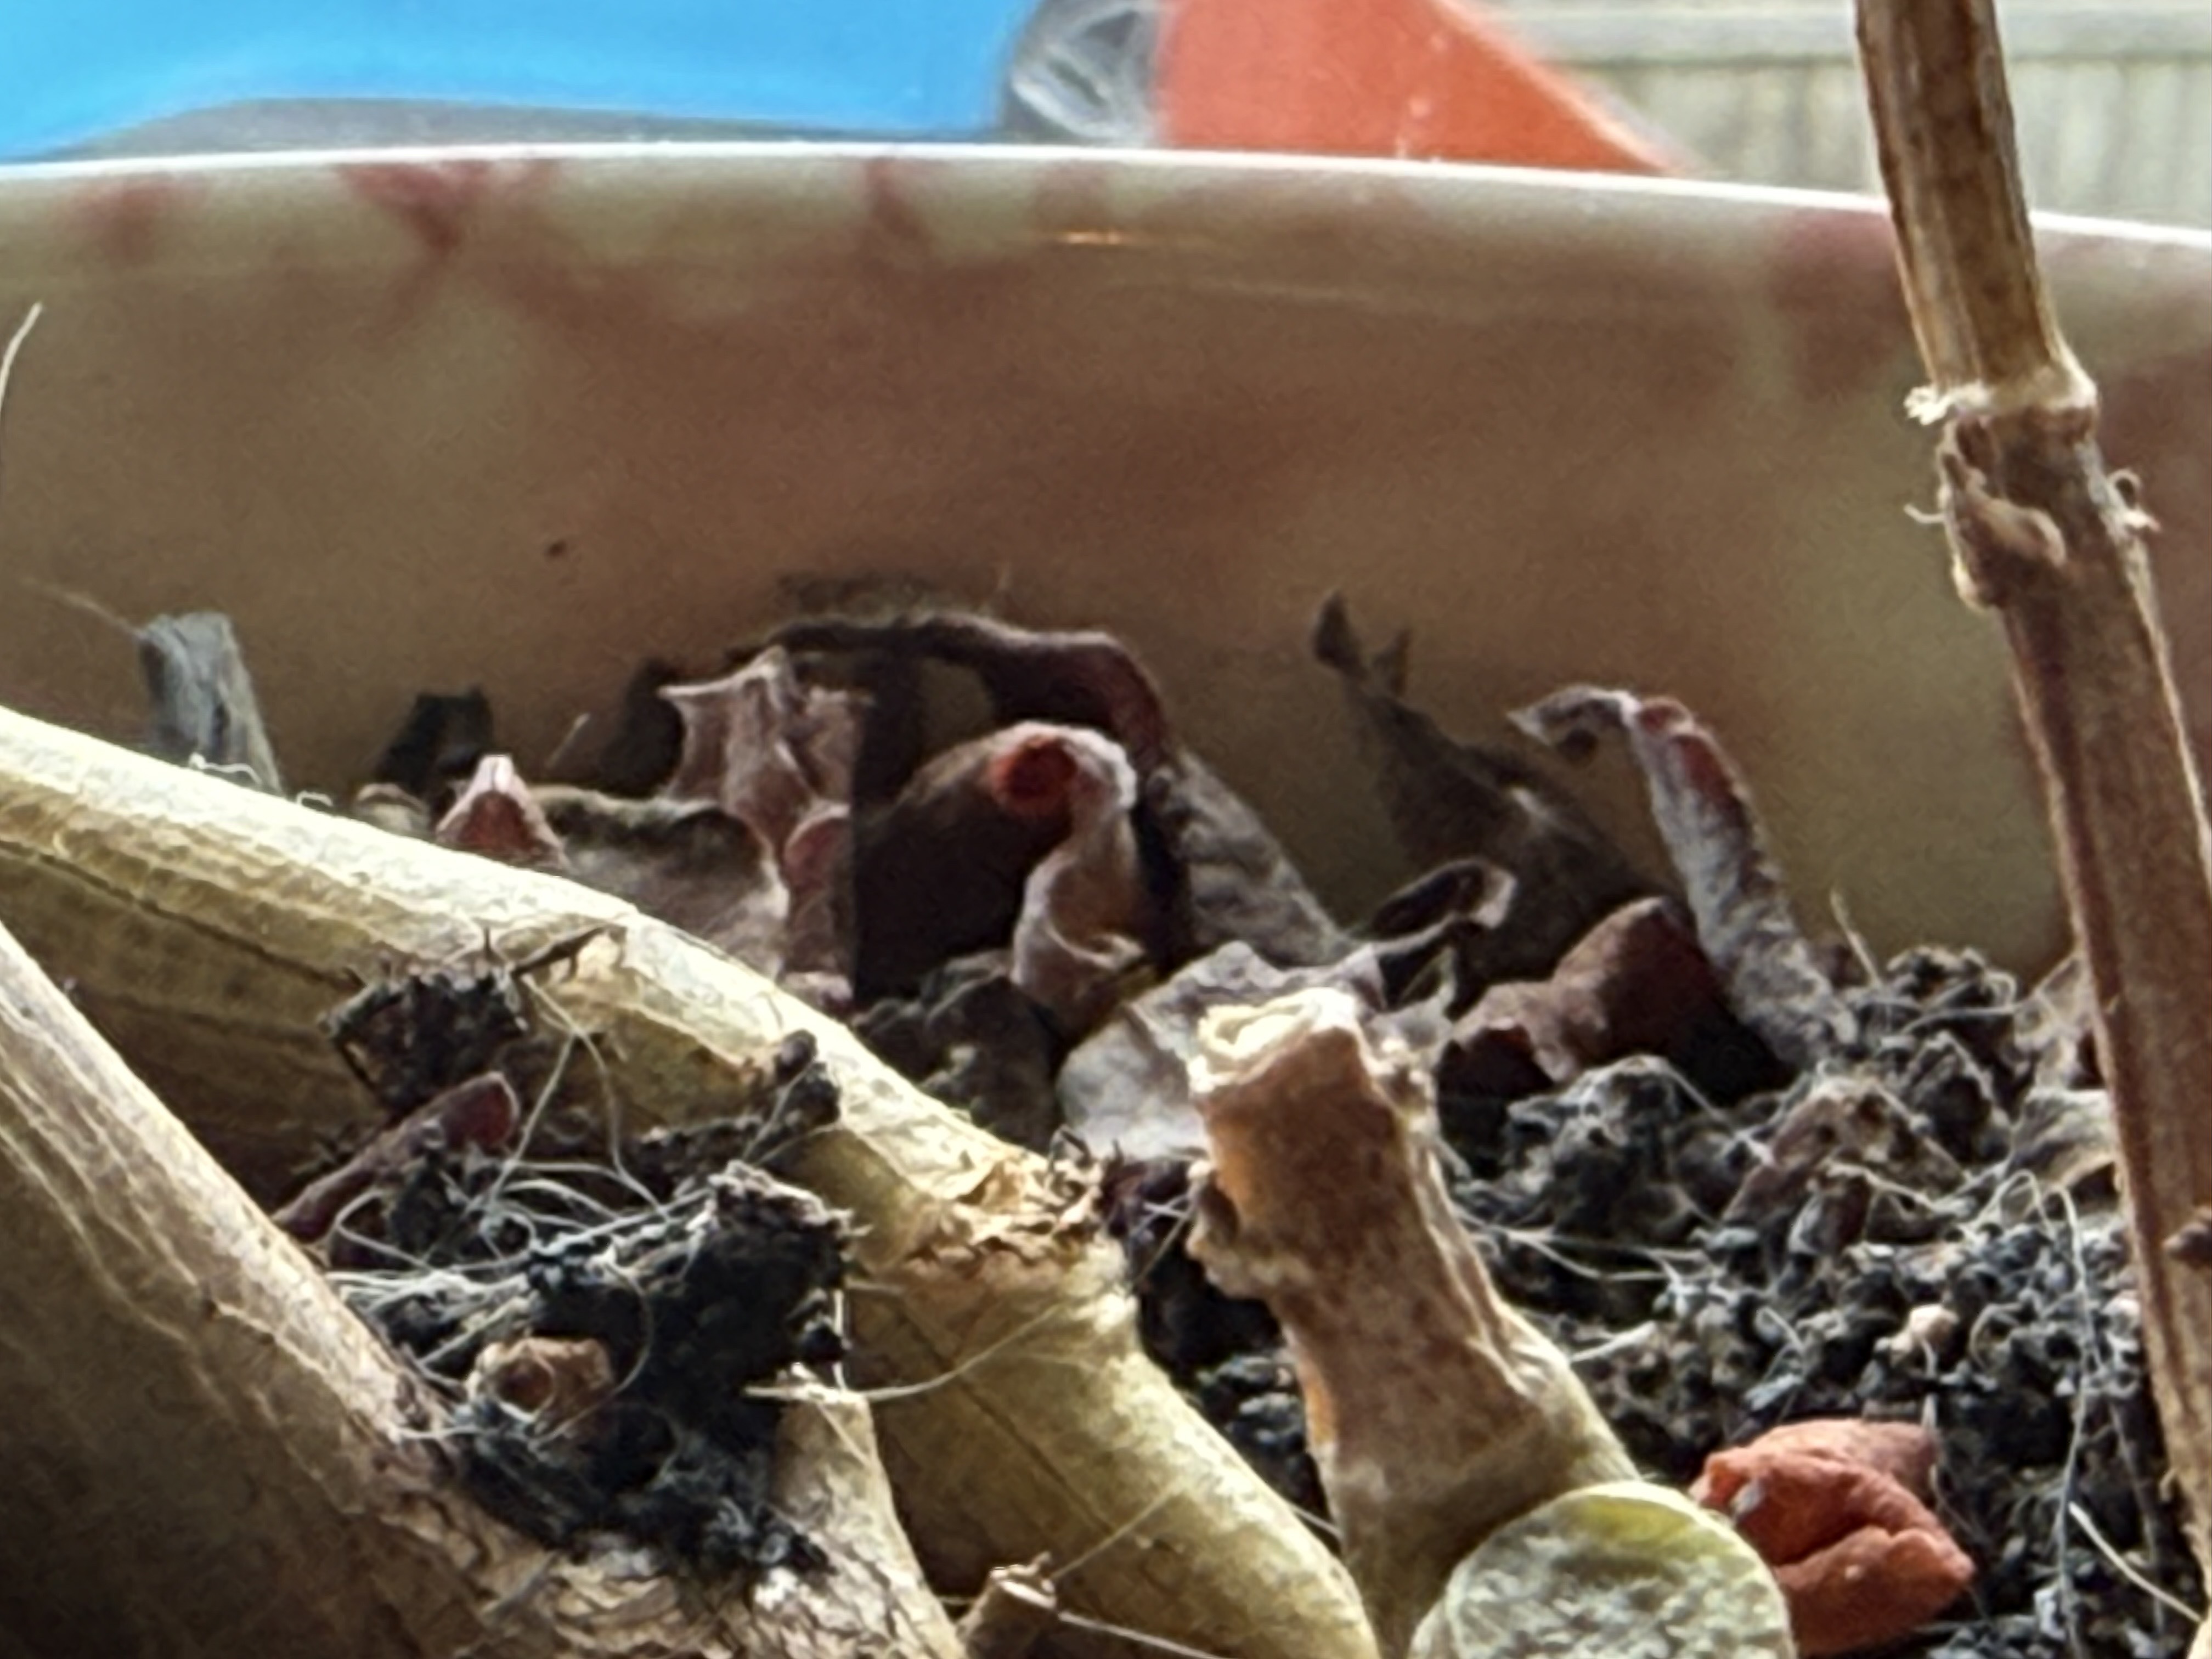
Macro focusing has recently been introduced on the ultrawide lens both for photo mode and video, including slo-mo and time-lapse. You can put this to great use by playing with shots of flowers, bugs, textiles and anything else that would normally be too small to shoot using a phone. Put the main as close to the centre of your frame as possible and tap to select a specific focus point, then choose between x.5 and x1 magnification.
By default, you'll find that Macro Control is switched off and it will kick in automatically when you're within 14cm of a subject. If you want to switch off the automatic macro focusing to give you more control, head to Settings > Camera > Macro Control. A Macro symbol (a flower) will then appear in the bottom left corner to allow you to switch it on and off.
As mentioned previously, this feature is much better on the iPhone 16 Pro series, thanks to the improved resolution of the ultrawide camera (from 12MP to 48MP). However, older models like the 15 Pro and 14 Pro will still produce decent-looking macro images.
07. Shoot more flexible video with Cinematic mode

Cinematic mode is a delight for videographers, allowing you to change the focus in video while filming. You can shoot in Cinematic mode by opening video mode and choosing the Cinematic option at the bottom of the viewfinder above the shutter button. Swipe up on the viewfinder (or swipe right to left if you're holding your phone horizontally) and you can then adjust depth by tapping the 'f' and exposure by tapping on the circle marked + -.
Start recording and then tap a subject in the viewfinder to change focus as you record. You can double-tap to automatically track a subject or you can touch and hold to lock the focus at a specific distance. This is a great tip for content creators and YouTubers, allowing an easy application of creative effects like walking into focus or shifting focus between subjects.
Another quick tip here. You may find parts of your subject out of focus with a shallow depth of field, so hit that f button and step up the depth to around 5.8; you'll likely find a close subject in focus while still getting some blur on the background.
08. Adjust video depth of field after video recording
Cinematic mode also allows you to change depth of field and focus AFTER you've recorded a video. This is something of a gamechanger for post-production on the iPhone itself. To change the depth on a Cinematic video after you've shot it, select the video in the Photos app, select Edit and tap 'f' (note that the changes will apply to the whole video.
You can also edit focus points after recording. As you scrub through a video, the focus point is indicated with a yellow square while other recognised potential subjects will have a white square around them – you can tap those white squares to change the focus point to that subject. You can also try tapping other objects in the frame. Like when recording, you can double-tap to set automatic focus tracking or touch and hold to lock the focus at a specific distance. Tap the focus button to swap back and forth between automatic focus tracking and your own selected focus points.
09. Use Live Photo to shoot long exposures
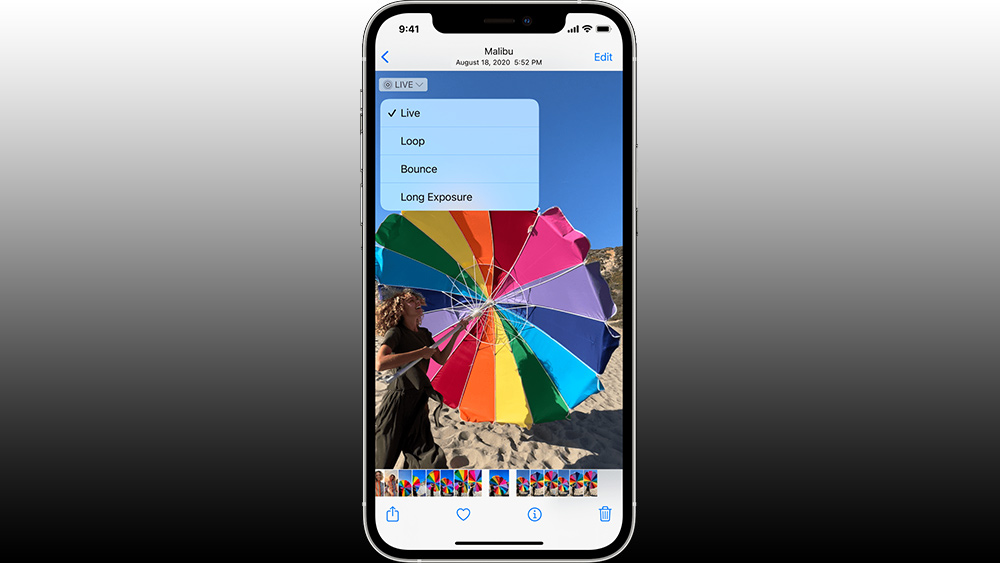
A neat iPhone camera tip is that you can shoot quick videos in photo mode. There are actually two ways to do this. You can hit Live Photo in the top right (a target icon comprising three concentric circles) to record a motion photo. This then gives you options to loop or bounce (click Share and Save as video to save the resulting footage in a video format you can use elsewhere).
But most interestingly you can also turn a Live Photo into a long exposure, which is a great alternative way to get impressive night shots with light streams or blurred movement in shots of moving subjects like waterfalls (we'd suggest using a small tripod to hold your camera steady). To edit a Live Photo, find and open it in the Live Photos album on your phone and hit the Live Photo icon. This will bring up options to loop, bounce or create a long exposure.
You might not realise you can also shoot video in Photo mode on the iPhone by holding down the shutter button. Once shooting, you can slide your finger up to zoom in and down to zoom out, a feature that isn't actually enabled in video mode itself. If you want to shoot a longer video and don't want to keep holding down your finger, simply swipe the shutter button to the right. You can then remove your finger and the video will continue recording, allowing you to also tap the button to take still photos at the same time.
10. Create iPhone camera shortcuts
It doesn't take a huge amount of time to open your iPhone camera app and start shooting, but the minor delay can still be long enough to miss a shot if something happens quickly, particularly if you're taking spontaneous street shots. The iPhone's programmable shortcuts can help here.
The Shortcuts settings allow you to combine several actions into a single command so, for example, you could set up your phone to open the camera app, start shooting video and save the video, when you double-tap on the back of the device. To set up a new shortcut, open the Shortcut app and tap the '+' symbol. You can also use Siri to control your camera.
11. Adjust Depth and Lighting in Portrait mode

The iPhone is great for almost DSLR-like portrait shots, but to get the most out of Portrait mode, you'll need to do a little tinkering. Don't overlook the Depth Adjustment and Lighting Effects to enable truly stunning shots. When you're in Portrait mode and have your subject framed, you'll find the Depth Adjustment button ('f') in the top-right corner of the screen. Tap there, and a slider will appear below the frame (you can also fine-tune this after you've taken the shot).
As for Lighting Effects, you can adjust the position and intensity of each effect, for example, to brighten up eyes and facial features. Choose the Portrait mode and you should notice a carousel with six Lighting Effects at the bottom of the screen. Tap the icon (by default, it will be on Natural Light), and you'll be able to rotate the carousel to select the effect you want.
When you've chosen an effect, tap on Portrait Control button at the top of the screen to bring up the Portrait Lighting slider below the frame so you can fine-tune the effect. Again you can also adjust this after taking a shot. Studio Light will brighten up your subject, while Contour Light will create a more dramatic contrast between highlights and shadows.
12. Save your iPhone camera settings
Our final iPhone camera tip is to save your preferred settings. Once you've found the settings you prefer and use more frequently, you can customise the iPhone Pro camera to remember them to avoid you having to manually adjust them each time you launch the Camera app. Simply go to the Settings app > Camera > Preserve Camera and customise the settings all you want, from aspect ratio to Night mode settings or anything else.
Of course, you might not want to use the same setting forever, but handily you can also set up your iPhone to retain the camera settings that you applied the last time you used the camera app. To do that, go to Settings > Camera > Preserve Camera and toggle on the settings you want to preserve.