There's more to Disney Dreamlight Valley's Storybook Vale than a few biomes. During Aurora's storyline, you'll dive into a tapestry and uncover various trials within it. Doing so directly leads to the Ink-Stained World mission, which branches off into multiple mini-quests.
Table of contents
Explore the Storybook World
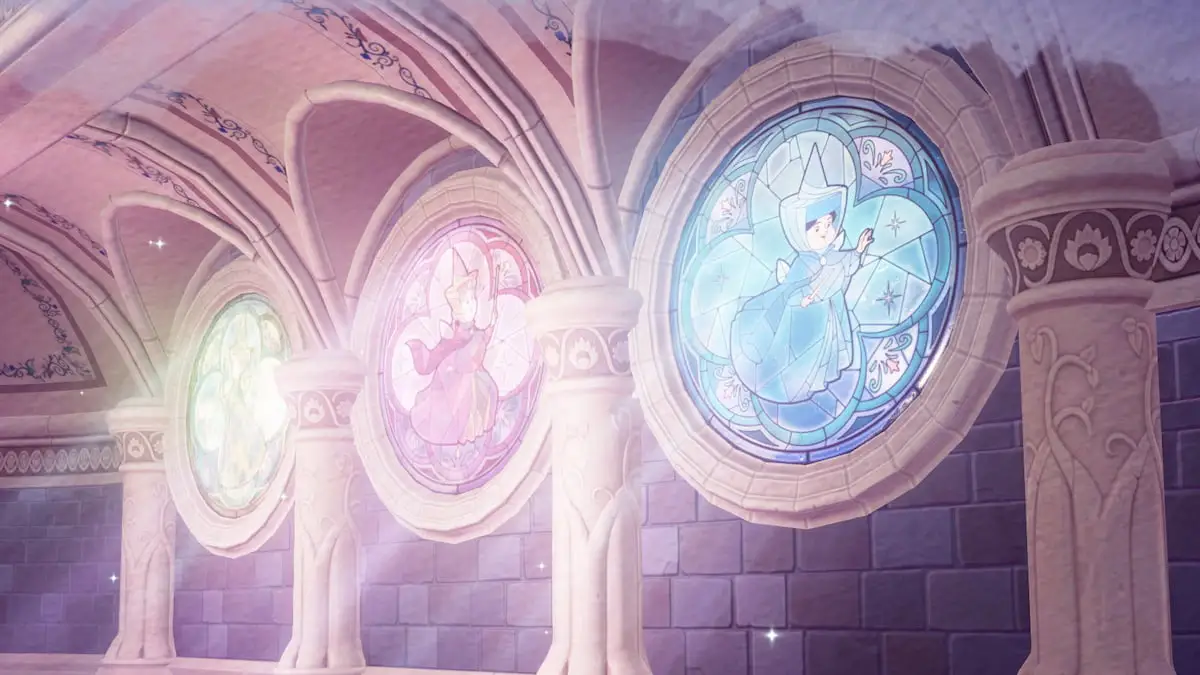
Upon entering the tapestry, you'll enter a Storybook World with your display slightly veiled by a mist-like fog. You'll also find numerous inkies blocking the way to a series of puzzles. Clear them away and descend the staircase to reveal the main part of this area.
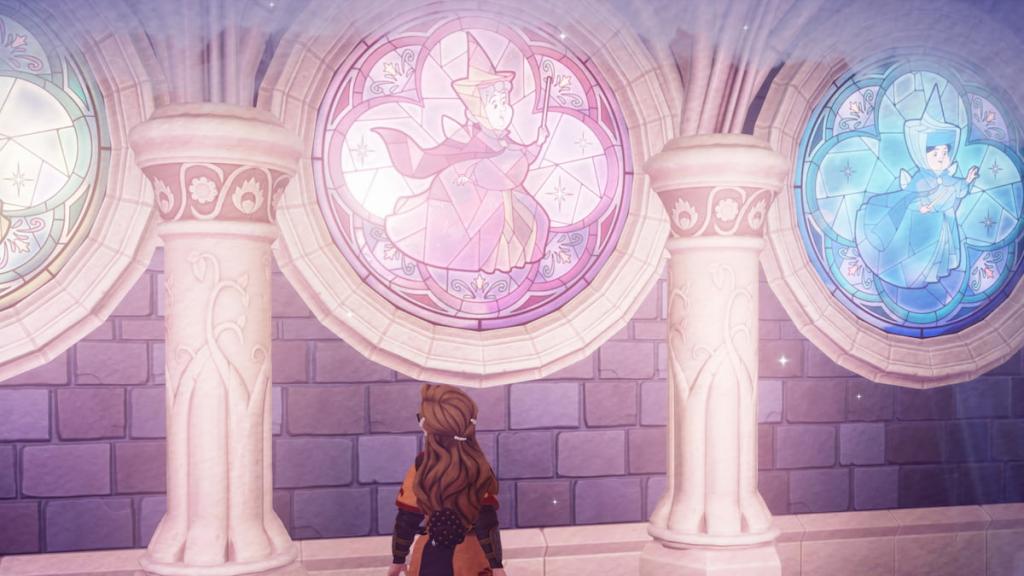
While you'll have time to explore the area, your goal is to reach the back of the room, enter the door, and meet the three good fairies of Aurora's story. Flora, Fauna, and Merryweather will tell you about your current situation, including your next objective: collecting three enchanted gifts. Collecting these three gifts requires completing various trials led by the good fairies.
Complete Merryweather's Trial of Virtue
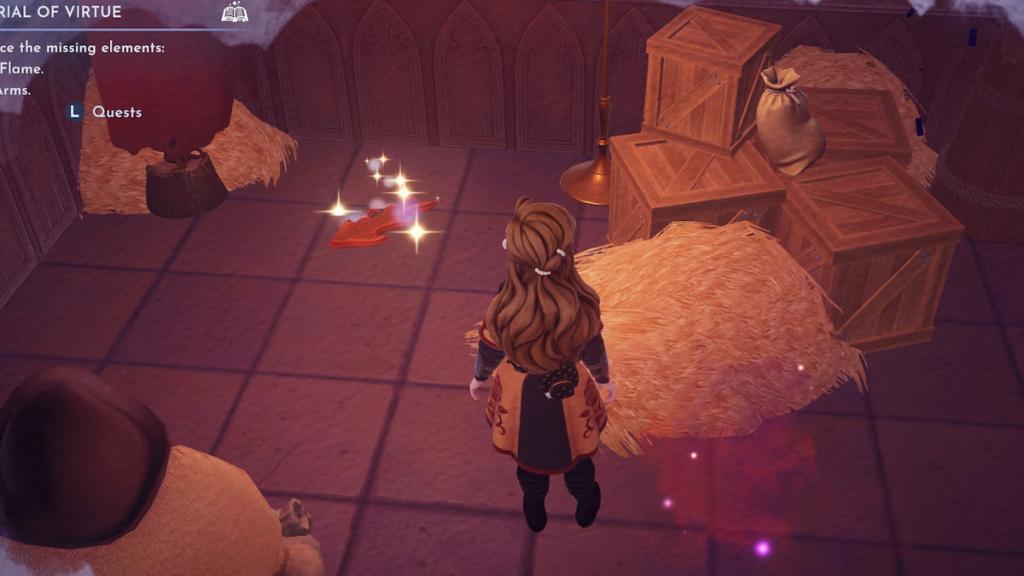
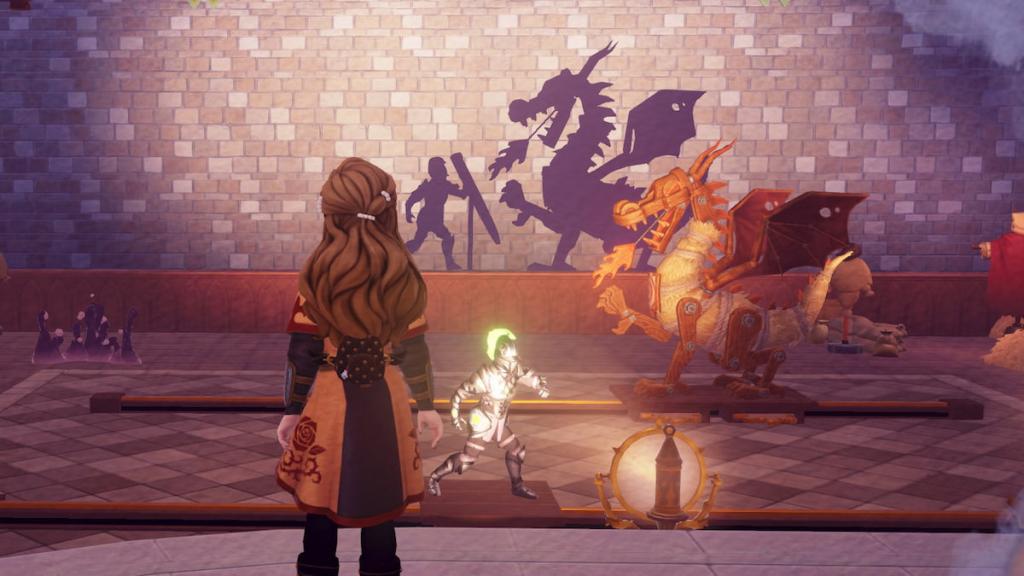
One of the three trials you'll face is the Trial of Virtue, represented by Merryweather. Here, you'll find a knight and a dragon fighting one another. Before you begin, speak with Merryweather to learn more about your objective.
It turns out that the knight and dragon are missing their arm and flame, respectively. You'll find the flame on the opposite side of the room behind some inkies. Head down the staircase and run toward the scarecrows in the room's back corner, closest to the knight. Clearing away the inkies will reveal the dragon's flame.
The knight's arm is slightly trickier to find. Go to the other side of the room near the dragon. You'll spot two large bookshelves near the dragon that you can interact with to reveal a hidden room. Open this space and enter to find the knight's arm. Attach the arm and flame to the two figures.

The final part of this trial is getting the two to face off against one another. To do this, enter furniture mode and look at the wall's shadow. Using these shadows as a guide, move the knight so it is directly under the shield and the dragon so it is close to the shield. Make sure the flames don't touch the shield.
Once you have the knight and dragon in their correct spots, collect the Shield of Virtue before returning to Merryweather. You'll complete Merryweather's Trial of Virtue following a brief conversation, knocking out one of the three trials for the Ink-Stained World quest.
Complete Fauna's Trial of Truth
Next on the list is Fauna's Trial of Truth. While the last room had a valiant battle between a knight and a dragon, this one has cute animals instead.
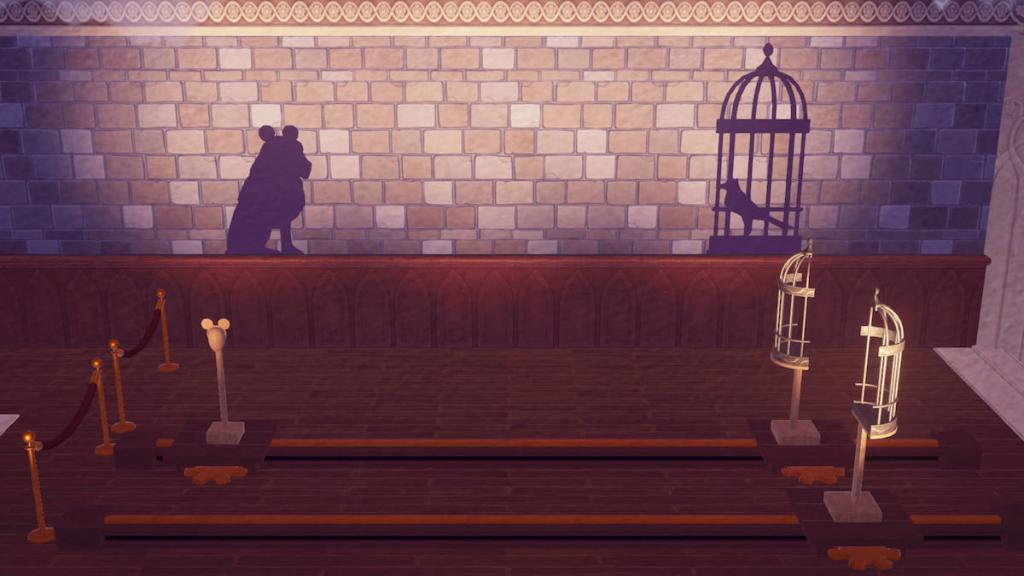
During the first section of this trial, you'll find a puzzle that closely resembles the previous one. This time, there's a lion and bird shadow alongside two cage halves and a set of Mickey Mouse ears. Head into the Furniture menu and move the cave pieces so they surround the bird and the ears so they're on top of the lion's head.
Once you save the bird from the lion's fury, you'll have a new objective to cook food for a Pegasus and rabbit. Head into the kitchen on the room's left side. Here, you'll find an ingredient table, two scrolls containing info about their diets, and a stove.
The hint for the rabbit reads as follows:
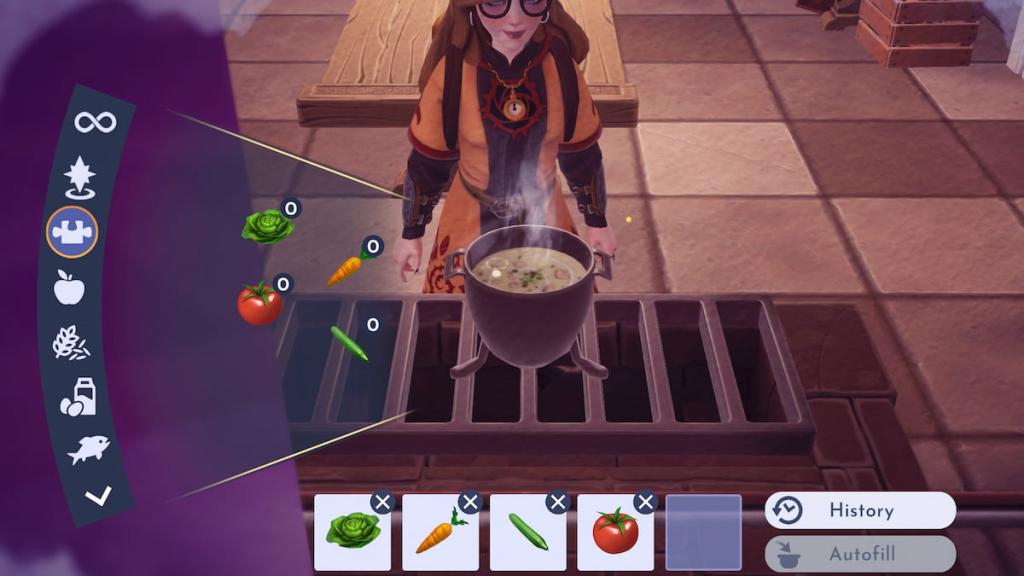
“The rabbit likes a hearty meal. Four ingredients should do the trick. Simply refuses to eat anything with Barley, Wheat, Onion, or Rice.”
Since there are only eight ingredients available on the table, this eliminates half of them, leaving you with the remaining four needed for the recipe. Grab lettuce, cucumber, tomato, and a carrot before using them on the stove to make a carrot salad.
Next is the Pegasus. Below is the hint for its meal:
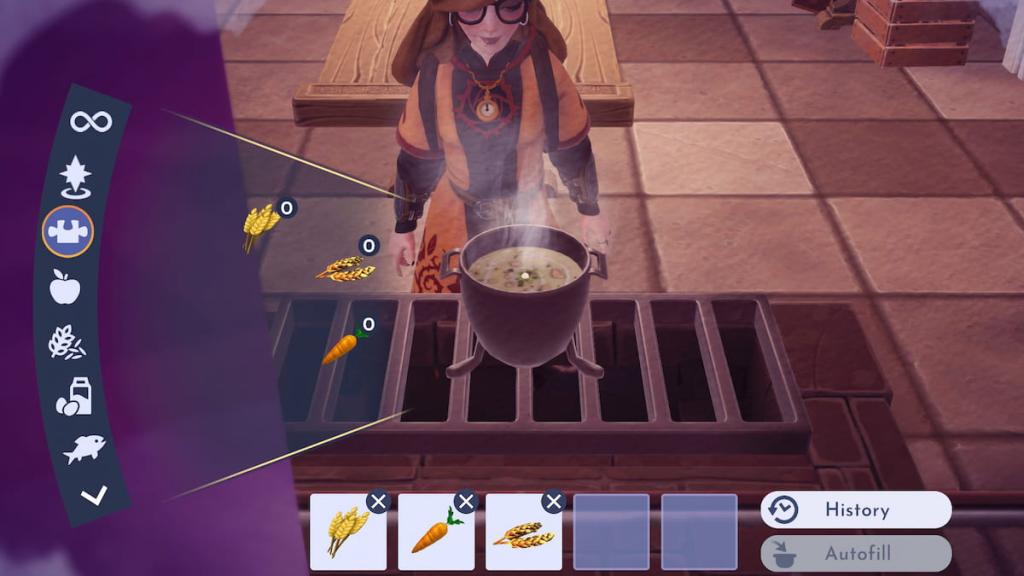
“Prefers simple meals. Something with three ingredients ought to do! He refuses to eat anything with Tomato, Lettuce, Cucumber, Onion, or Rice in it.”
Like before, this eliminates most of the ingredient options required for the recipe. We're left with wheat, barley, and a carrot to use in the dish, resulting in a barley salad to feed the Pegasus.
With both meals on hand, leave the kitchen and ascend the stage to find the two animals awaiting their food. Feed both to unlock the Sword of Truth. Now, you can head down and pick it up before returning to Fauna, wrapping up the Trial of Truth. That's two down and only one more to go.
Complete Flora's Trial of Song
Last but not least is Flora's Trial of Song. Although this is a room centered around music, you won't be playing any instruments. Instead, you'll help dancers enjoy it using a third shadow puzzle.
Your first objective is to find a way to position two dancers so their shadows appear in their correct spots. If you're still near Flora's glass display, turn around to spot two dancer statues. Interact with both to move their shadows closer to the wall's center and activate the puzzle.

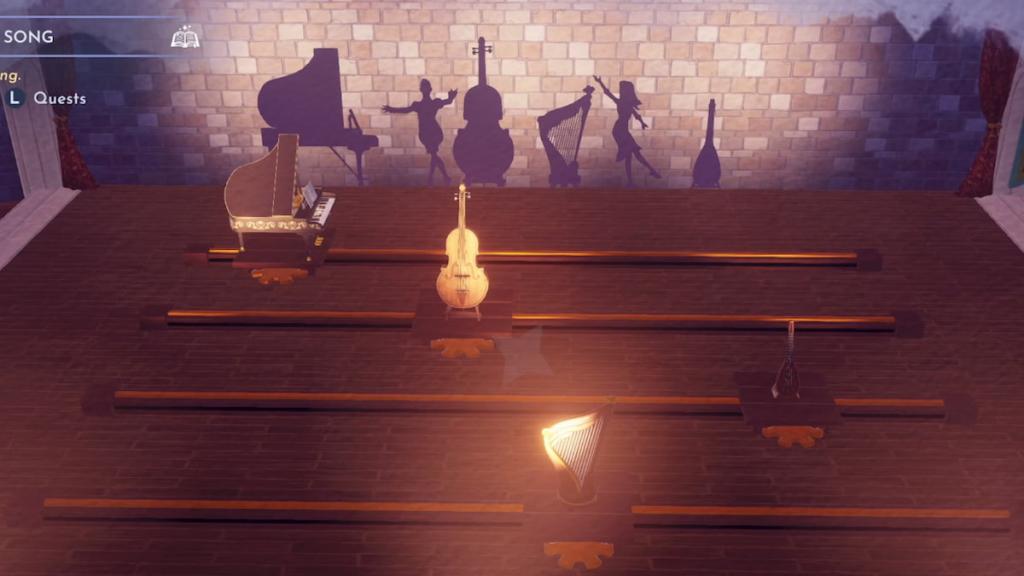
Once you have the dancers in their positions, it's time to enter your Furniture menu again and move some instruments around. To make things easier, you can read two hint scrolls in front of the stage that reveal where to move each one. Below are both hints you'll find here:
"The piano's notes ring truest from this side of the stage. The harp and the cello work best when placed beside each other. One dancer ought to be between the cello and the piano,"
"The lute sounds best on this side of the stage. There ought to be a dancer between the lute and the harp."
Now that we have these two hints, we know that the piano needs to be positioned on the far left side of the stage while the lute is on the far right. From here, we can place the cello and harp based on each dancer's position. You'll see the complete display below.
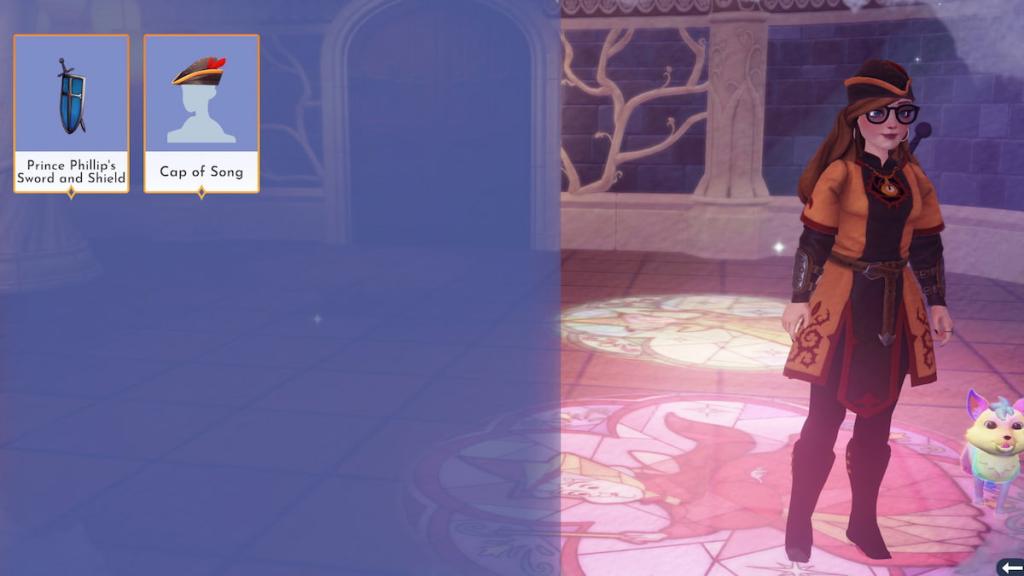
Once you complete the puzzle, you'll receive the Cap of Song as a reward. Pick it up before returning to Flora to complete the Trial of Song.
Finishing the Ink-Stained World quest
Now that you have completed all three of the Good Fairies' trials, you're ready to wrap up the quest and meet Aurora for the first time. Return to the entrance hall where you first met the three fairies to receive your Sword and Shield of Truth, the Cap of Song, and the Hero of the Vale Coat. Equip all three to unlock the door and venture forth.
As you scale the tower beyond the door, you'll eventually meet Aurora, who'll reveal more about yours and her current situation. Following a brief cutscene and conversation, you'll complete the Ink-Stained World quest, leading directly into The Tales That Bind.
The post The Ink-Stained World quest walkthrough in Disney Dreamlight Valley appeared first on Destructoid.