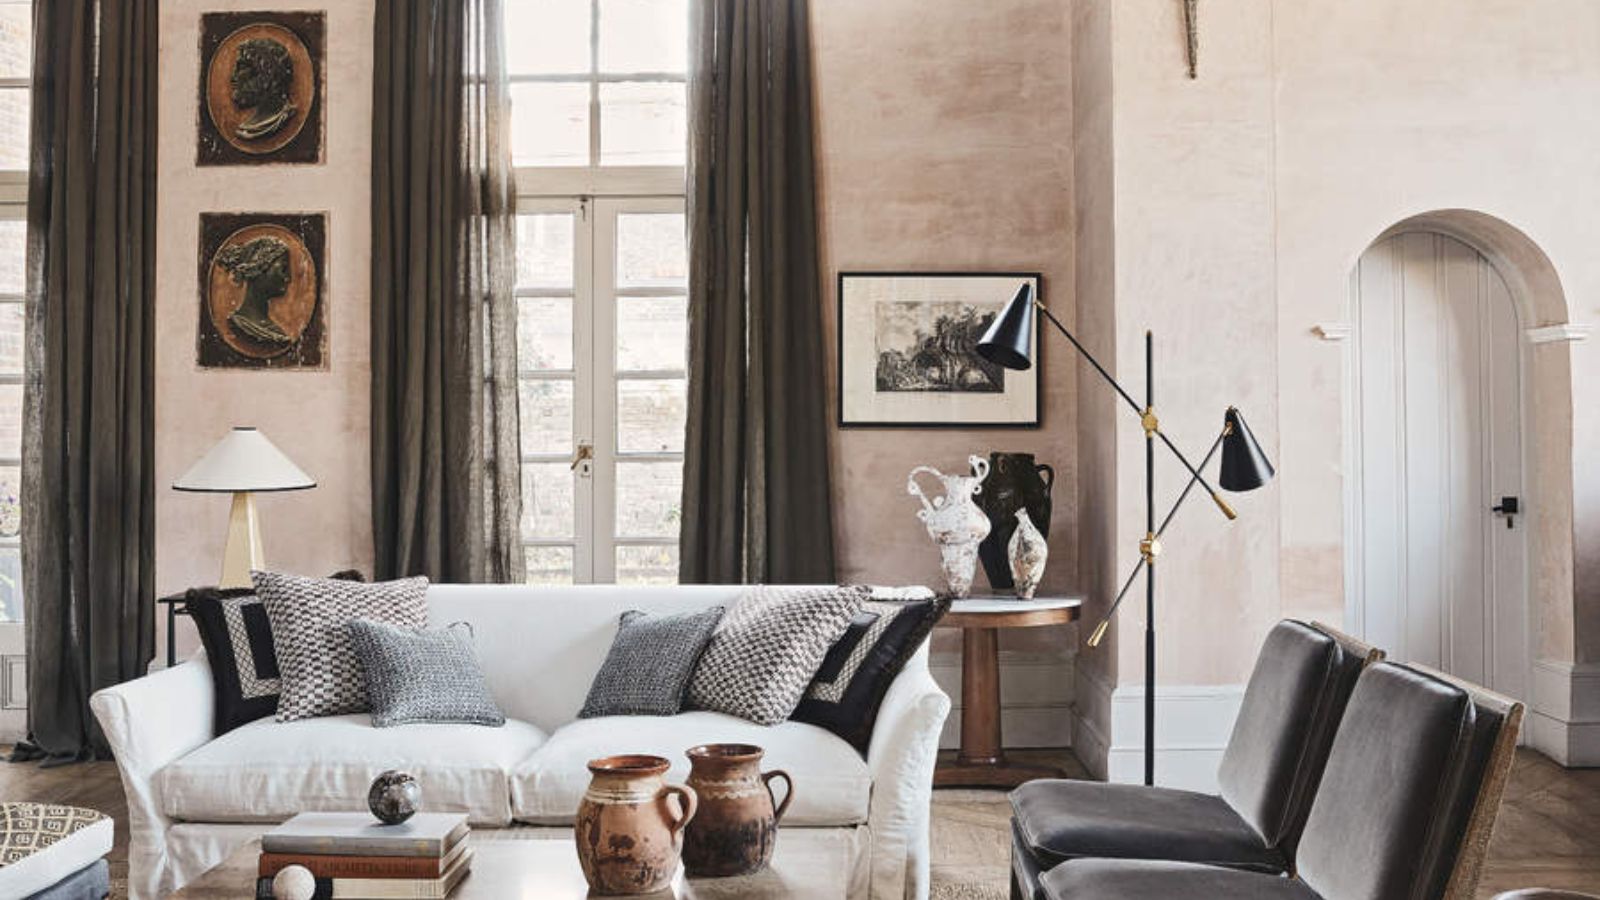
Nothing detracts from the beauty of a well-decorated room like unsightly damage caused by haphazard picture-hanging attempts. Plaster walls, while durable, are highly susceptible to damage, and incorrectly hung pictures can cause cracks or even chunks of plaster to come loose, compromising the structural integrity of your walls.
Unlike drywall, which offers a more forgiving surface, plaster walls require a bit more finesse and consideration. When hanging pictures on plaster walls, it's essential to use the right tools and techniques to ensure they are secure without risking damage to the walls or the frames, so you don't also have to learn how to fix cracks in plaster walls.
Taking the time to understand the best practices for hanging a picture on plaster walls will ultimately help you avoid unnecessary damage, ensuring you don't sacrifice the appearance of your walls in your ambitions to decorate them. Below, our experts explain a few of the proper tools and hanging techniques to ensure this task is done successfully.
The best way to hang pictures on plaster walls
'First and foremost, it's crucial to understand the composition of plaster walls,' says Steven Stokes, Managing Director of Print Panoramics. 'Unlike drywall, plaster is denser and more brittle, requiring careful handling to avoid damage. When hanging pictures on plaster walls, you must take extra precautions to prevent crumbling or cracking.'
For example, we advise against using a hammer on plaster walls as this will cause vibrations. If you tap at the wall over and over, you may loosen the bond between the lath and plaster. Instead, pre-drilling small holes can help prevent the plaster from cracking.
1. Choose your hanging tools
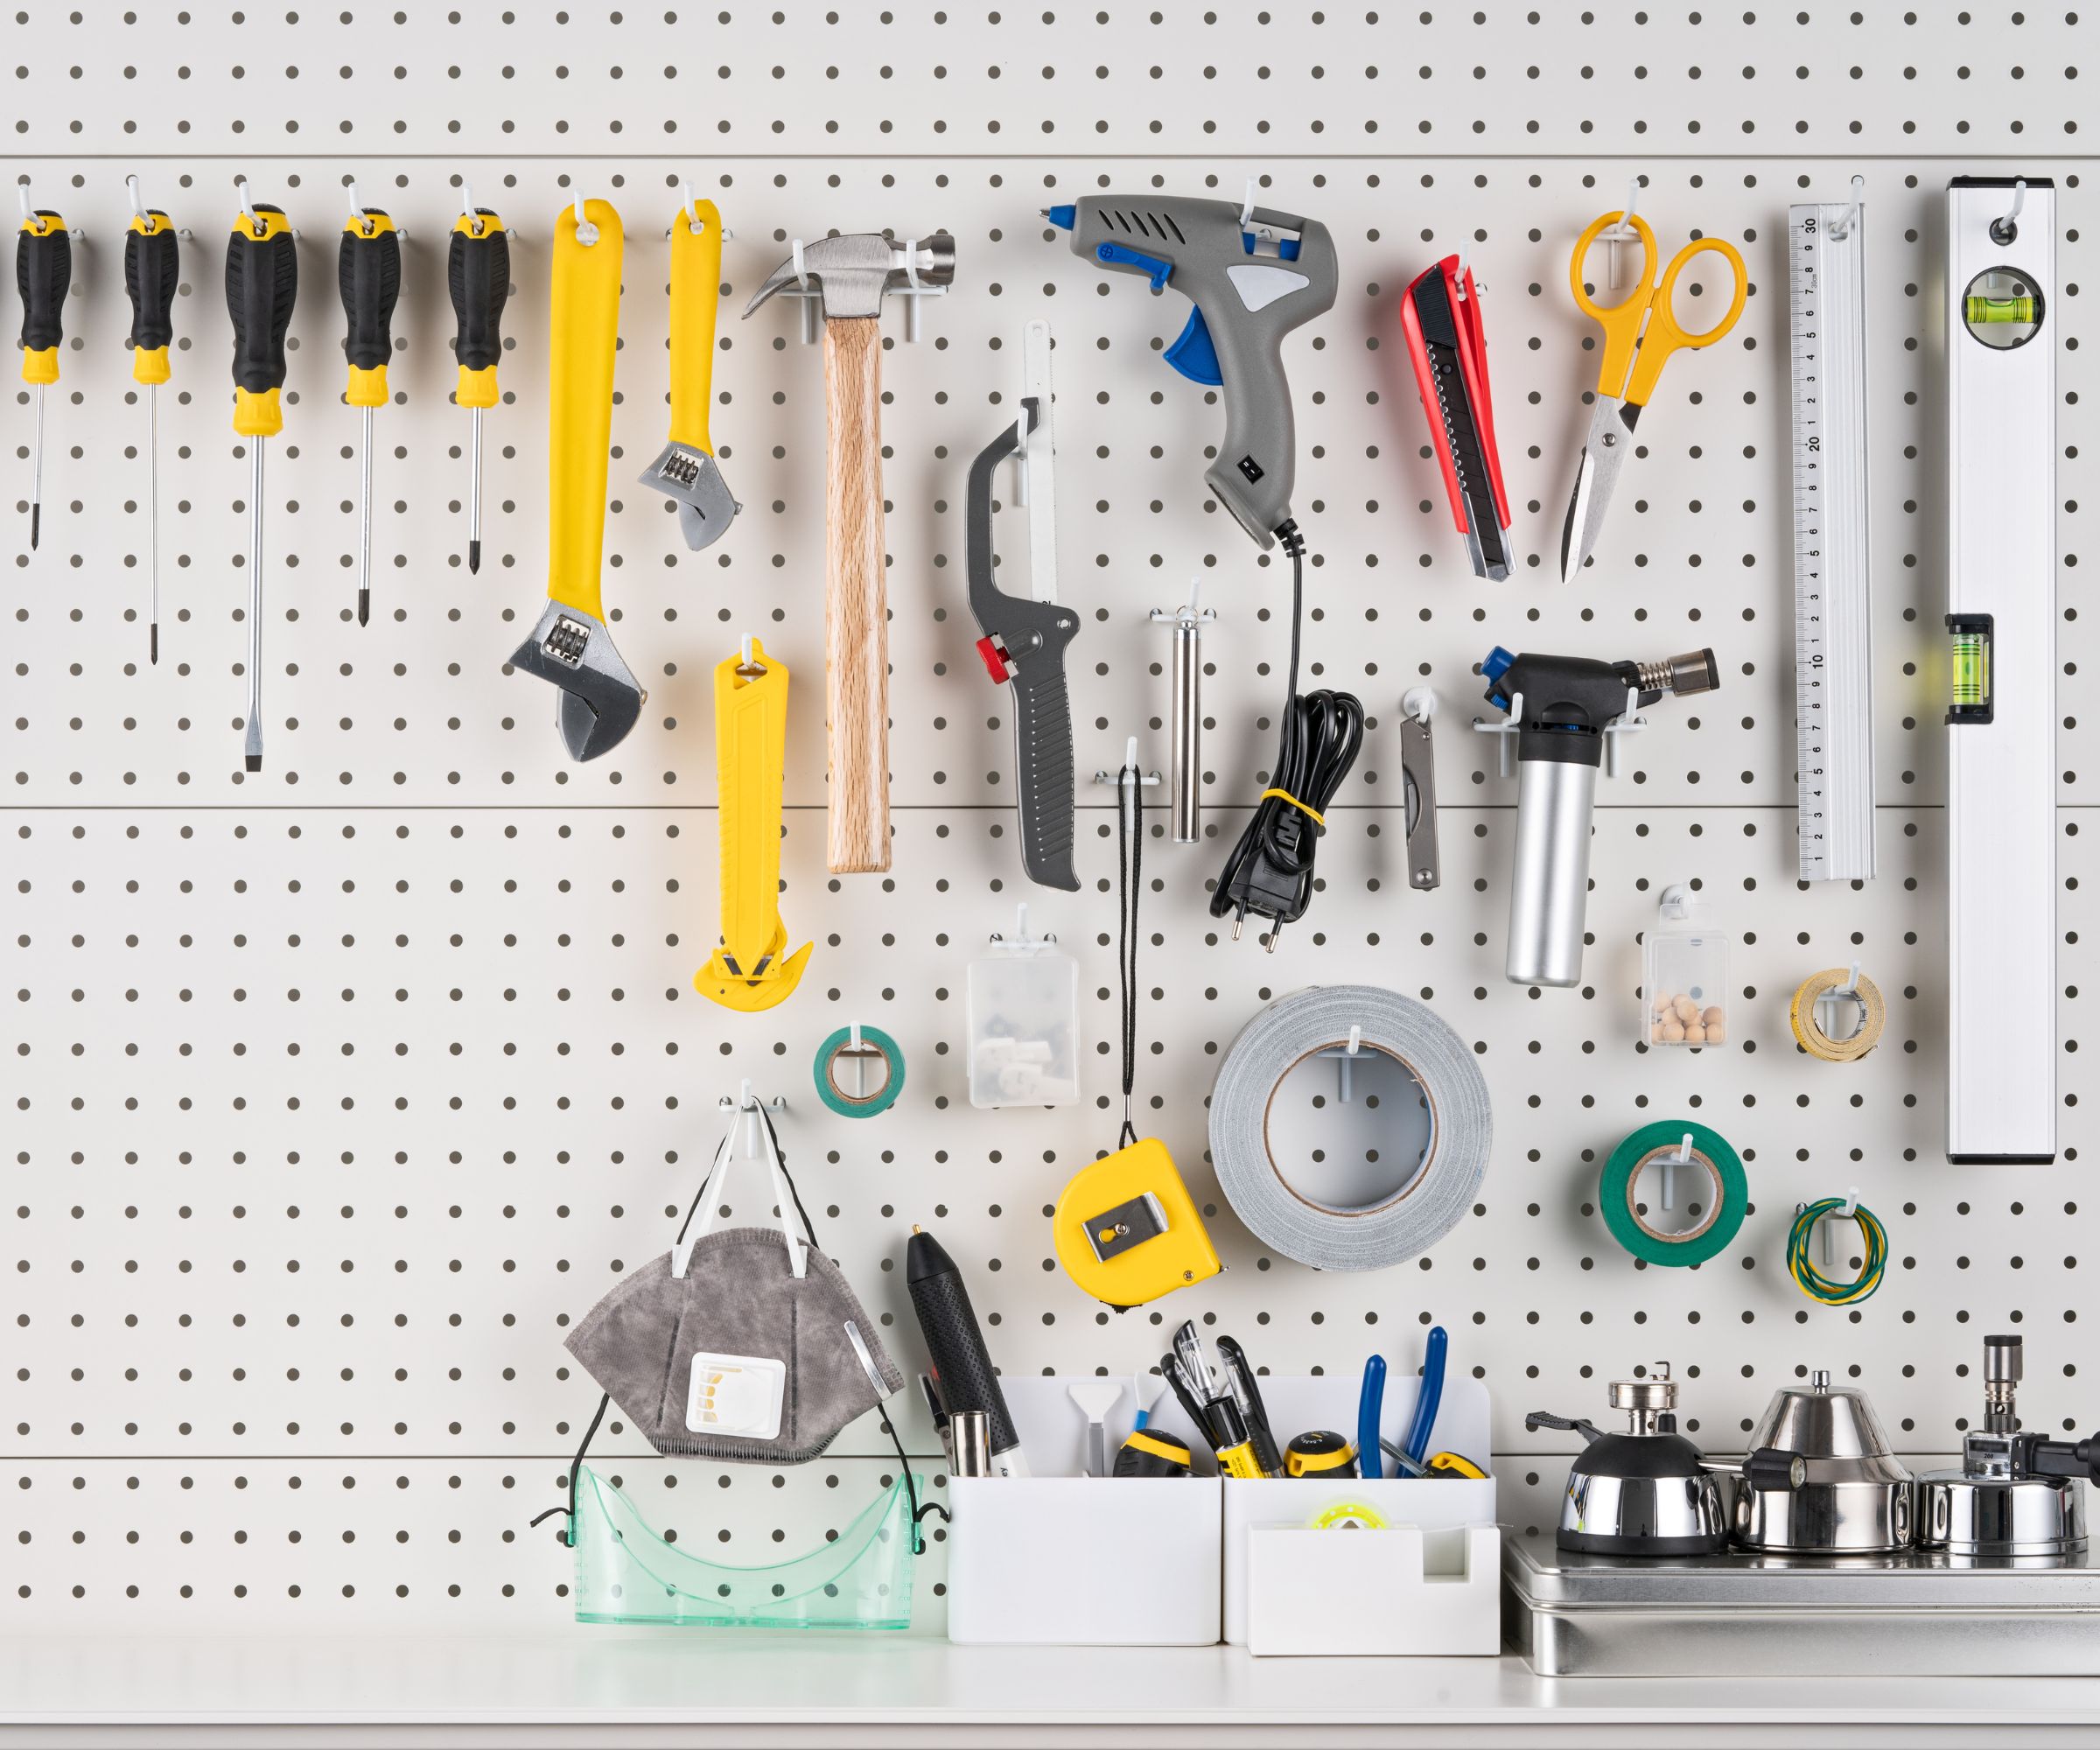
Selecting the appropriate hanging method based on the weight and size of your items – choosing hooks that adequately support the weight of your artwork – is key to protecting the integrity of your walls.
For lightweight times (ideally less than 5 pounds), reversible adhesive hooks are a practical choice, especially on non-textured or low-texture walls, as they minimize the risk of plaster damage.
However, if you are hanging heavier artwork, the best way to avoid damaging the plaster is by using a plaster rail designed as a picture-hanging system. 'These rails are installed directly into the wall and plasterboard, providing a sturdy foundation for hanging larger pieces,' explains Alfie Burrows, plaster expert and Director of AB Drylining.
'When it comes to picture hooks for plaster walls, opting for those specifically designed for plaster walls with sturdy anchors is crucial. These properly distribute the weight of a picture more evenly, reducing the risk of damage.'
For even heavier items, like large paintings or mirrors, molly bolts offer a reliable solution. These expansion anchors provide a secure hold while minimizing stress on the plaster.
Before buying adhesive or command hooks, be sure to check the weight they can carry. Of course, you can use multiple hooks to distribute the weight between them. These hold up to 37 lbs.
This 30-piece pack of molly bolts for plaster walls comes in 6 sizes and includes installation tools, making it incredibly easy to hang pictures on your walls.
Be sure to choose a picture railing the right size in relation to the picture in order to ensure it is structurally stable. The width of the picture railing should be slightly wider than that of the picture frame. This picture railing system measures 4.92 ft.
2. Prepare the wall
Before you start, be sure to clean walls with soap and water or rubbing alcohol, and let it dry completely. Otherwise, dust, dirt, and grime that may have accumulated on walls can compromise the adhesive strength of any hanging mechanism.
You should also carry out any repairs to the walls before you add pictures. This is crucial for ensuring optimal adhesion, reducing the risk of pictures falling and walls being damaged.
Hanging pictures using a picture rail
What you'll need
- A picture rail: Choose a rail that complements your decor and is the right size. A good rule of thumb is to choose a railing width that is 1-2 inches wider than the frame on each side.
- Picture hooks: Opt for hooks specifically designed for use with picture rails.
- A measuring tape and level: This will help you ensure precise alignment.
- A pencil or painter's tape.
3. Measure and mark
'Use a tape measure to determine the desired height for your picture rail,' advises Alfie Burrows. 'Mark the positions where you'll install the rail on the wall, ensuring they are level and evenly spaced using a pencil or painter's tape.'
4. Install the picture rail
Using screws or nails, attach the picture rail to the marked positions on the wall. Since using a hammer to add nails to a wall can risk damaging the plaster, a good alternative can be to make holes for the nails with screws slightly smaller than the nails.
Make sure the rail is secured firmly to the wall.
5. Attach picture hooks
Once the picture rail is installed, attach picture hooks to the rail at the desired heights and spacing to hang your picture frame. Make sure to space the hooks evenly along the rail to provide adequate support for your frame.
6. Hang the picture
Then, simply hang your picture from the hooks, and you're done!
Hanging pictures using a molly bolt
What you'll need
- Molly bolts: Choose those appropriate for the weight of your picture and the thickness of your plaster wall.
- A drill and drill bit: Select a drill bit that is slightly smaller in diameter than the molly bolt.
- A screwdriver and screw gun.
- A measuring tape and level: This will help you ensure precise alignment.
- A pencil or painter's tape.
3. Locate the studs
'Before hammering in the hooks, it's crucial to locate the studs or use wall anchors for added support, especially for heavier frames,' advises Alfie Burrows.
To locate the studs in the wall reliably and easily, you can use a stud finder, such as this one, from Amazon.
4. Measure and mark
Using a tape measure, determine the ideal positioning for your artwork on the wall.
Mark the positions where you'll install the molly bolts, ensuring they're evenly spaced and aligned with any studs in the wall. You can do this by applying a strip of painter’s tape to create a guide: apply a strip of tape where you intend to install the hanger and mark the screw positions on the tape to align with the desired hole locations.
Measure carefully to align the opening on the black hardware installed on the back of the frame with the desired position on the wall.
4. Add holes to the wall
Select a drill bit that is slightly smaller than the molly bolt and drill a hole in the desired location. Be sure to drill the holes straight and at the appropriate depth for the size of the molly bolts you're using.
5. Insert the molly bolts
Insert the molly bolt into the drilled holes, either with the installation tool or by lightly pushing or tapping it with a hammer to ensure they are fully seated in the wall.
6. Secure the bolts
Using a screwdriver or screw gun, tighten the screws into the molly bolts until they are flush with the surface of the wall. This will expand the molly bolts behind the plaster, providing a secure anchor for hanging your pictures.
Alternatively, Lucie Voves, CEO and Founder of framing company Church Hill Classics, says you can also: 'Hand-screw to moderate resistance to open the anchor behind the wall. This will require several turns to open the anchor behind the wall. Then, reverse the screwdriver’s direction to back out the screw so it sticks out slightly.'
7. Hang the picture
'You can then hang the picture on the screw if it has wire, or if the frame has one or two pieces of hardware with a keyhole opening, place the screw(s) through the opening in the hardware,' says Lucie Voves.
Hanging pictures with adhesive hooks
What you'll need
- Adhesive hooks
- A measuring tape and level: This will help you ensure precise alignment.
- A pencil or painter's tape.
3. Measure and mark
Using a tape measure determine the desired positioning for your picture on the wall. Use a level to ensure multiple hooks are evenly spaced and mark the positions where you'll apply the adhesive hooks. Ensure they are evenly spaced and aligned.
3. Apply adhesive hooks
Remove the adhesive protector strip on the back of the hook, place the hook in the marked position, and press it firmly in place for a few seconds to ensure a secure bond with the plaster surface.
4. Allow adhesive to cure
Depending on the manufacturer instructions, allow sufficient time for hooks to cure and bond with the walls surface before hanging pictures.
5. Hang the picture
Use a picture wire or sawtooth hangers attached to the back of the frame to hang each picture from the adhesive hooks.
FAQs
Should you use screws or nails to hang items on a plaster wall?
'Generally, screws are much more secure in plaster than nails as they grip into the wall,' explains Alfie Burrows, Director of AB Drylining. 'The size of the screws you need will vary based on the thickness of the plaster, the density of the board, and whether you are using a metal or timber frame.
'If you decide to use nails, it’s important to be cautious when using a nail gun. If you fire it wrong, you could potentially damage the wall. Plus, you will need to double-check that there are no cables or pipes behind the nailing area.
'For larger framed pieces, you can use a standard picture hanging hook and replace the nail with a drywall screw. You will need a drill and will have to install the screw on an angle consistent with the angle on the hook itself. It is best to select a hanging hook with a larger nail opening (as opposed to the hanging hooks that require 1-3 smaller nails,) to accommodate the size of the drywall screw.
'I recommend the use of a screw because it holds strongly by fastening into the lath behind the drywall.'
If these methods still don't seem like the right fit for you, other options include securing medium-weight pictures between 5 to 10 pounds to walls with nails or hooks driven at a downward angle, or, for heavier pictures exceeding 10 pounds, sink screw anchors into the wall or use plaster hooks for weights up to 25 pounds.
Although hanging pictures on plaster walls may seem a bit of a hassle, mastering this skill opens up endless possibilities for transforming your space with art and décor!