When it comes to updo hairstyles, it’s surprisingly easy to fall into a styling rut. Every few months, a new crop of hair trends floods my TikTok and Instagram feed, convincing me I’ll finally branch out—only for me to end up wearing the same slick bun, claw clip twist, or low pony on repeat. At this point, getting my hair out of my face has become less of a styling choice and more of a survival tactic.
Whether I’m racing to the office, spending all day at events, commuting through sticky New York City heat, or simply trying to keep strands from blowing into my lip gloss every five seconds, I need hairstyles that are equal parts practical and cute. The best easy updo hairstyles manage to do both: They take just a few minutes to recreate but are still versatile enough for dinner plans, weddings, or even running errands.
So instead of continuing my cycle of the same three hairstyles, I decided to ask the experts. I consulted celebrity hairstylist Dimitris Giannetos and Bea Watson, a hairstyling expert at Aveda, to break down the best updo hairstyles to try this season—from effortless everyday looks to elevated styles for special occasions. Ahead, discover the chicest updos for every hair type, texture, and event, plus expert tips for making each one last all day.
The Slick-Back Bun
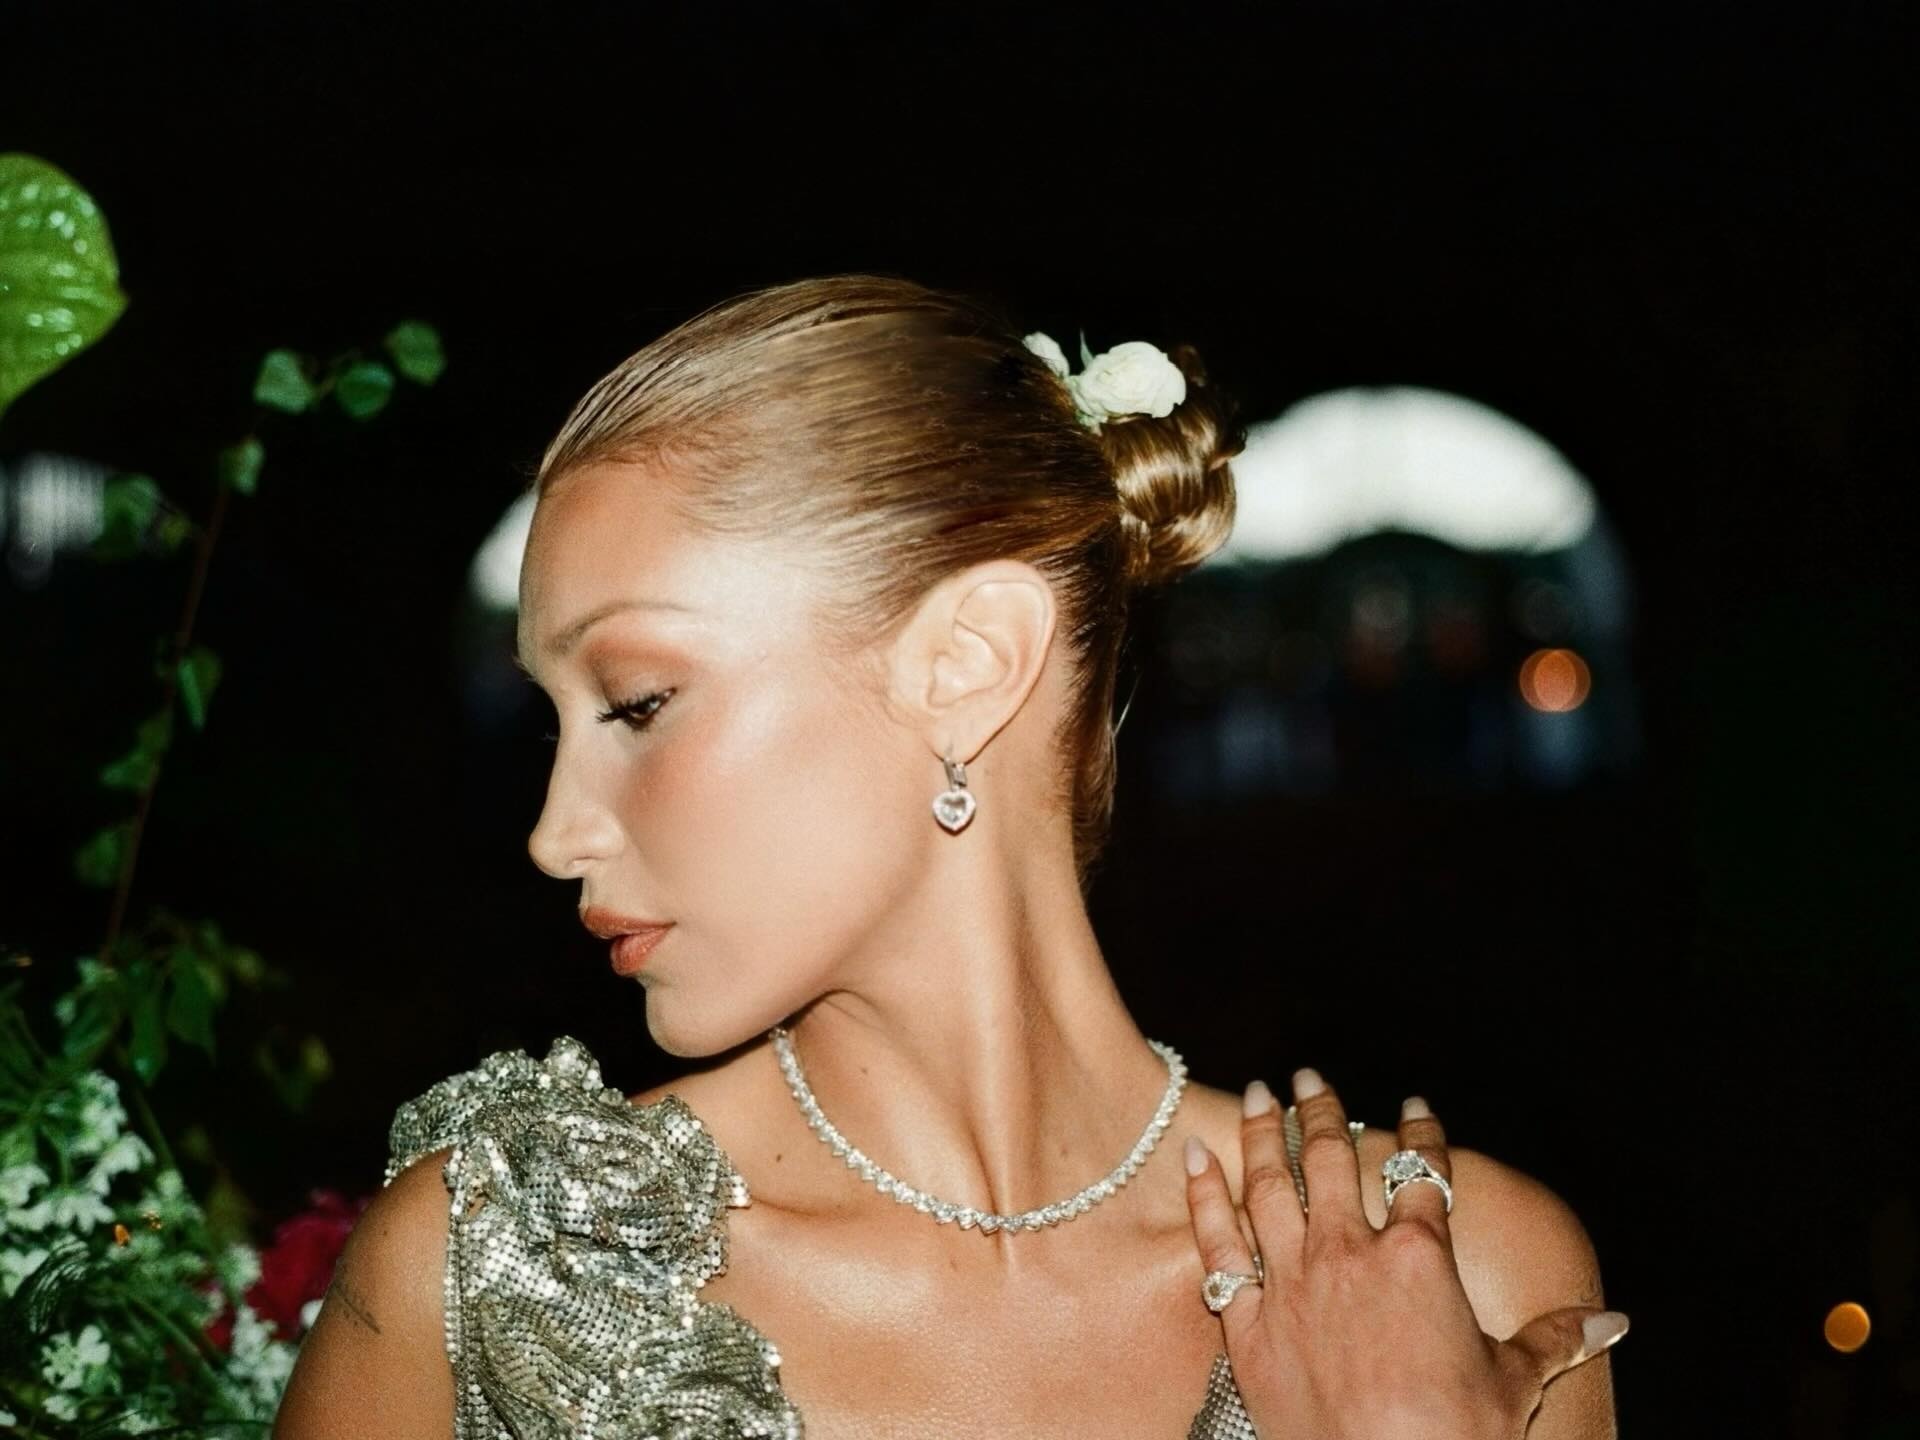
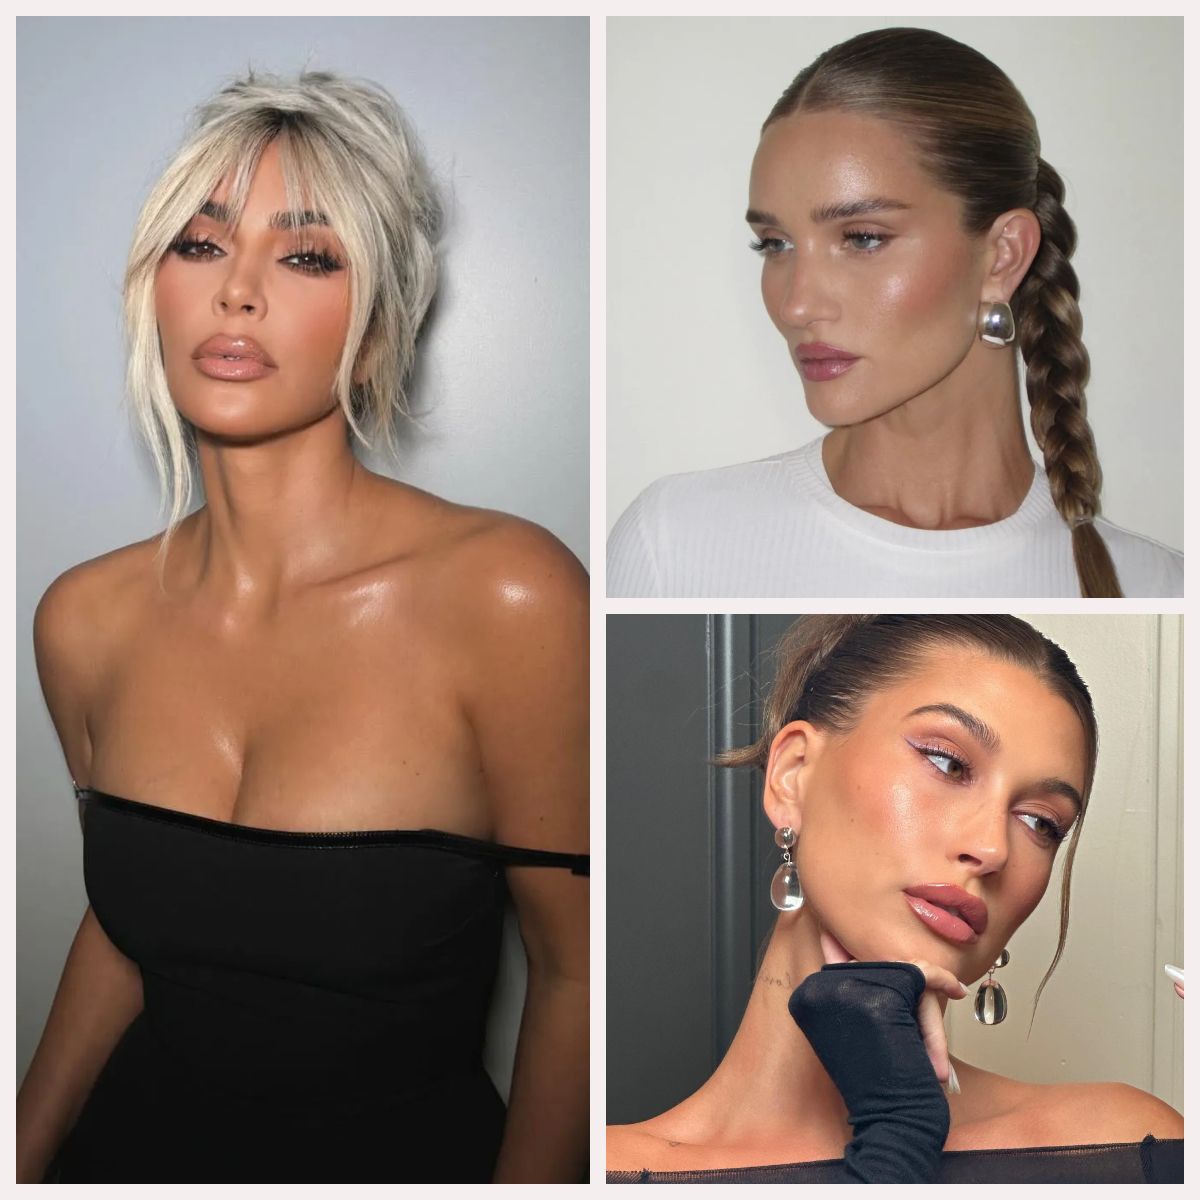
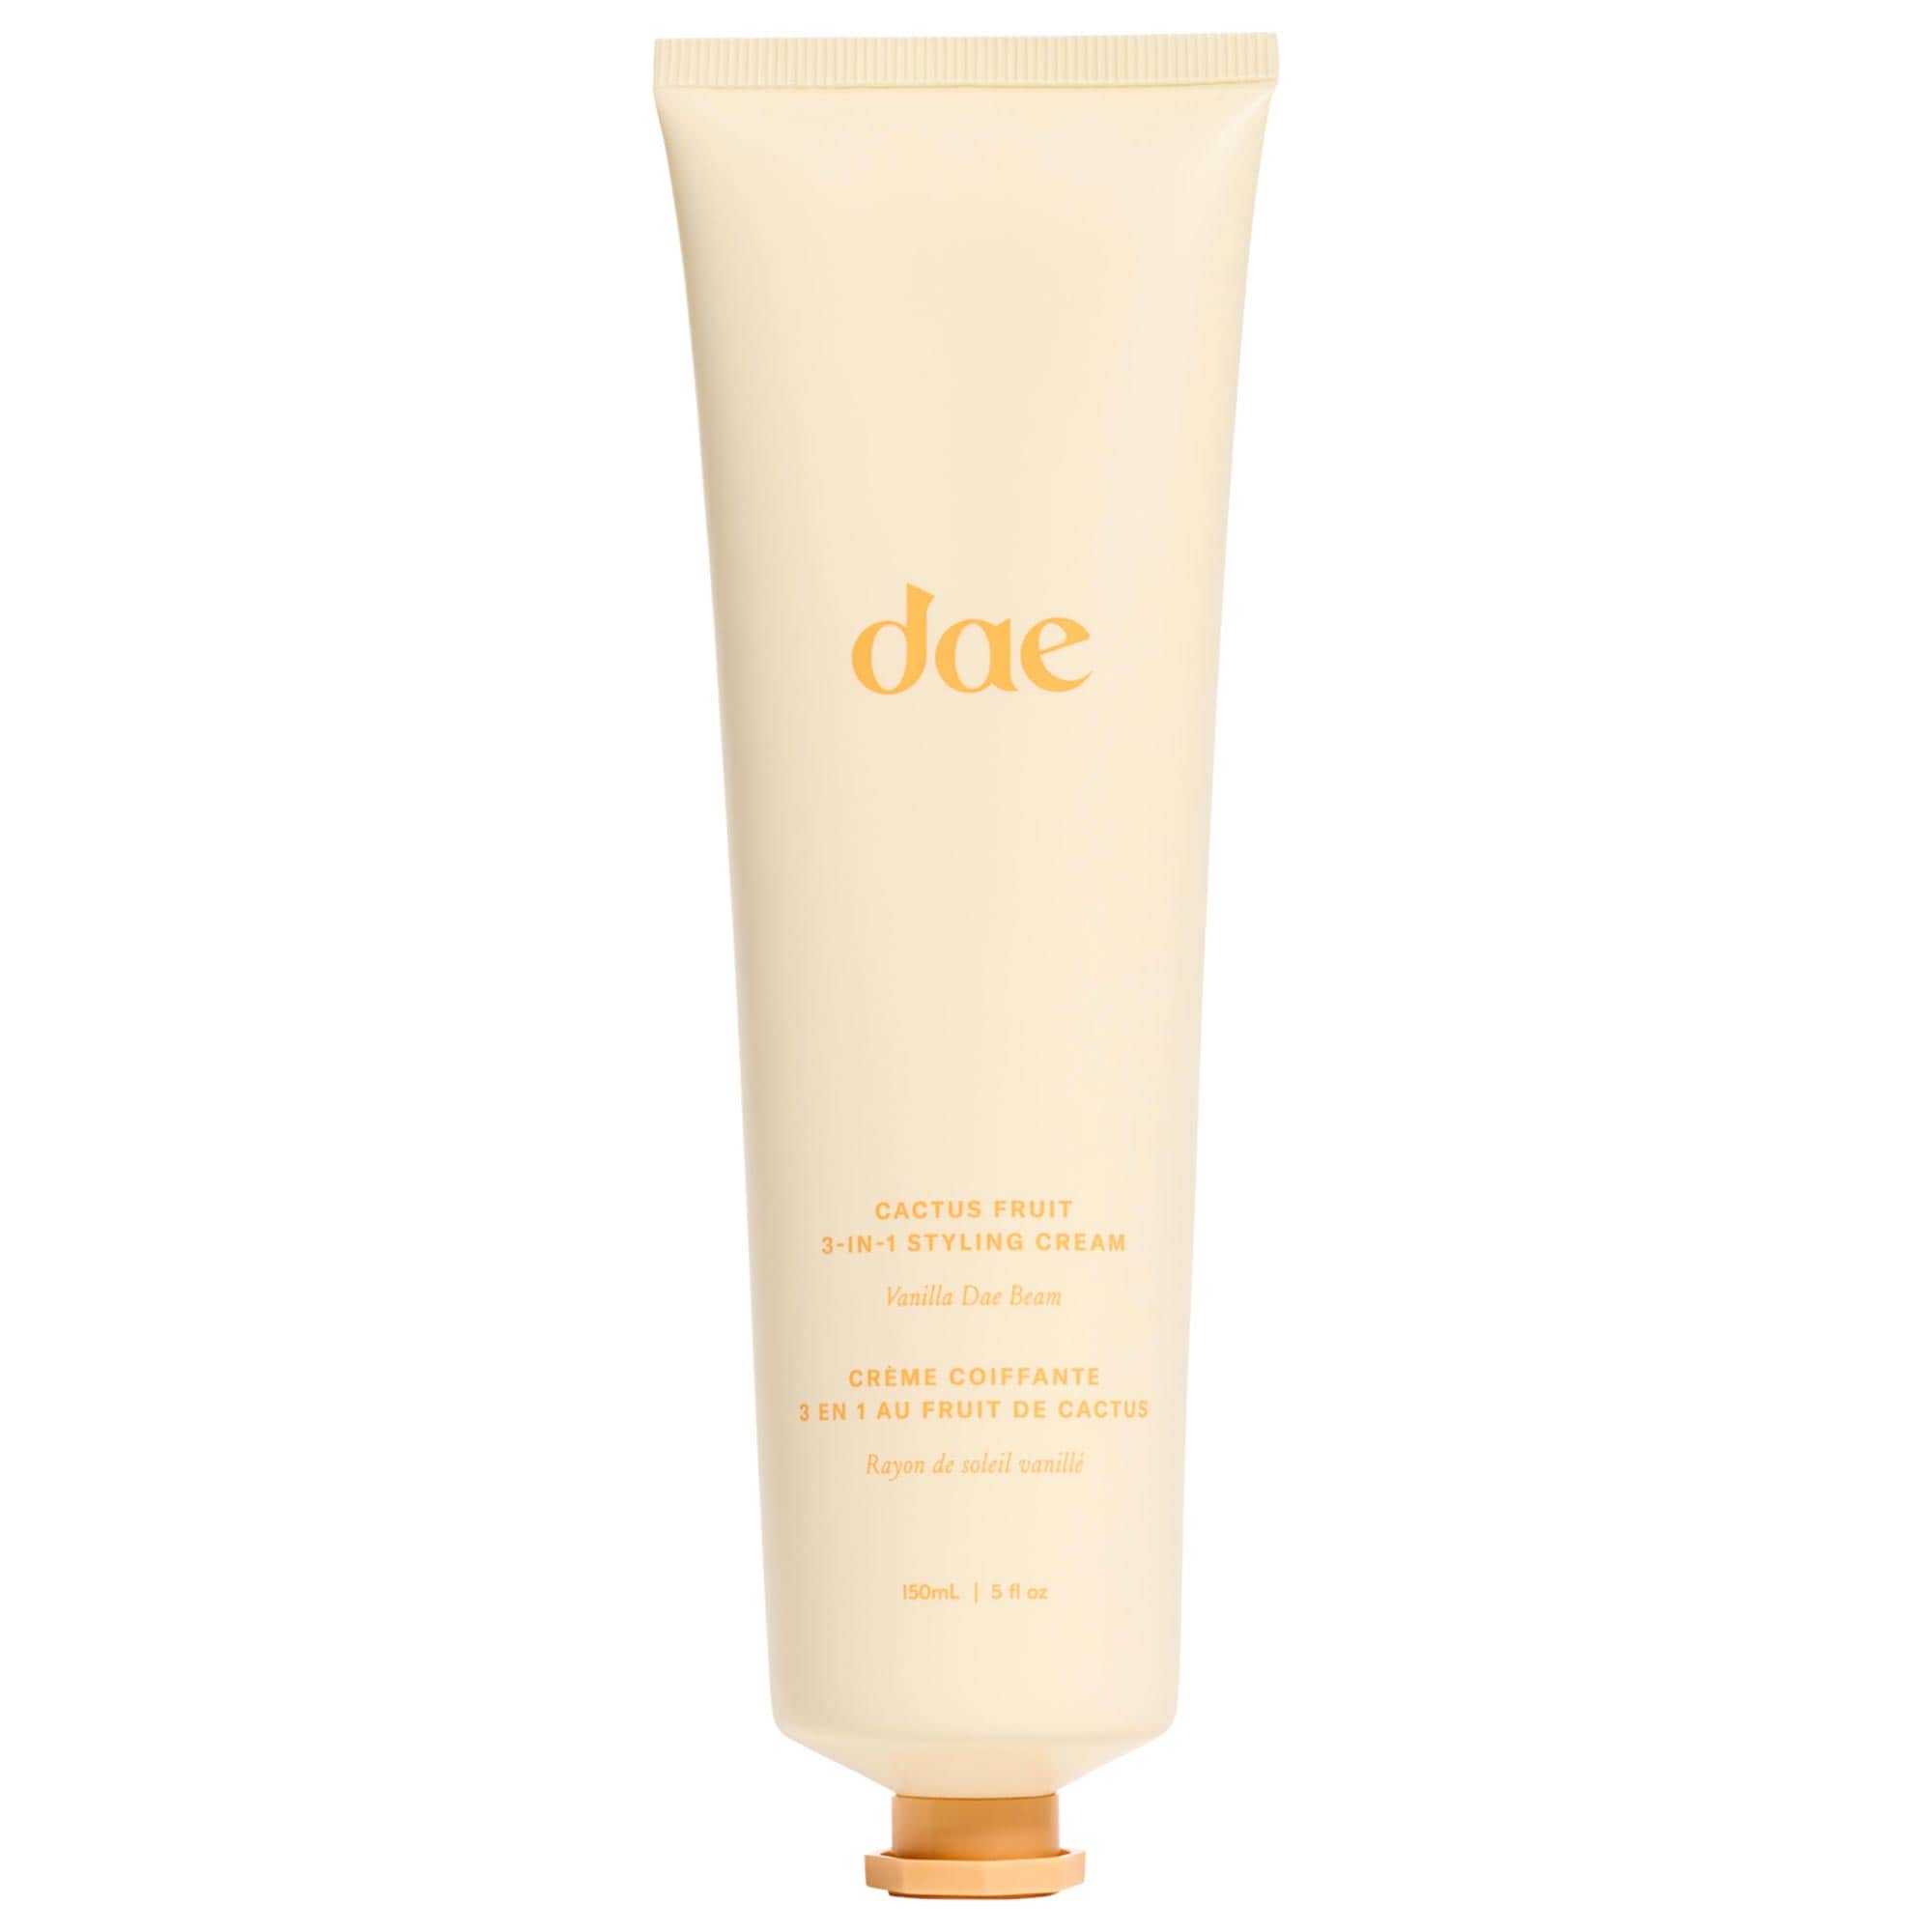
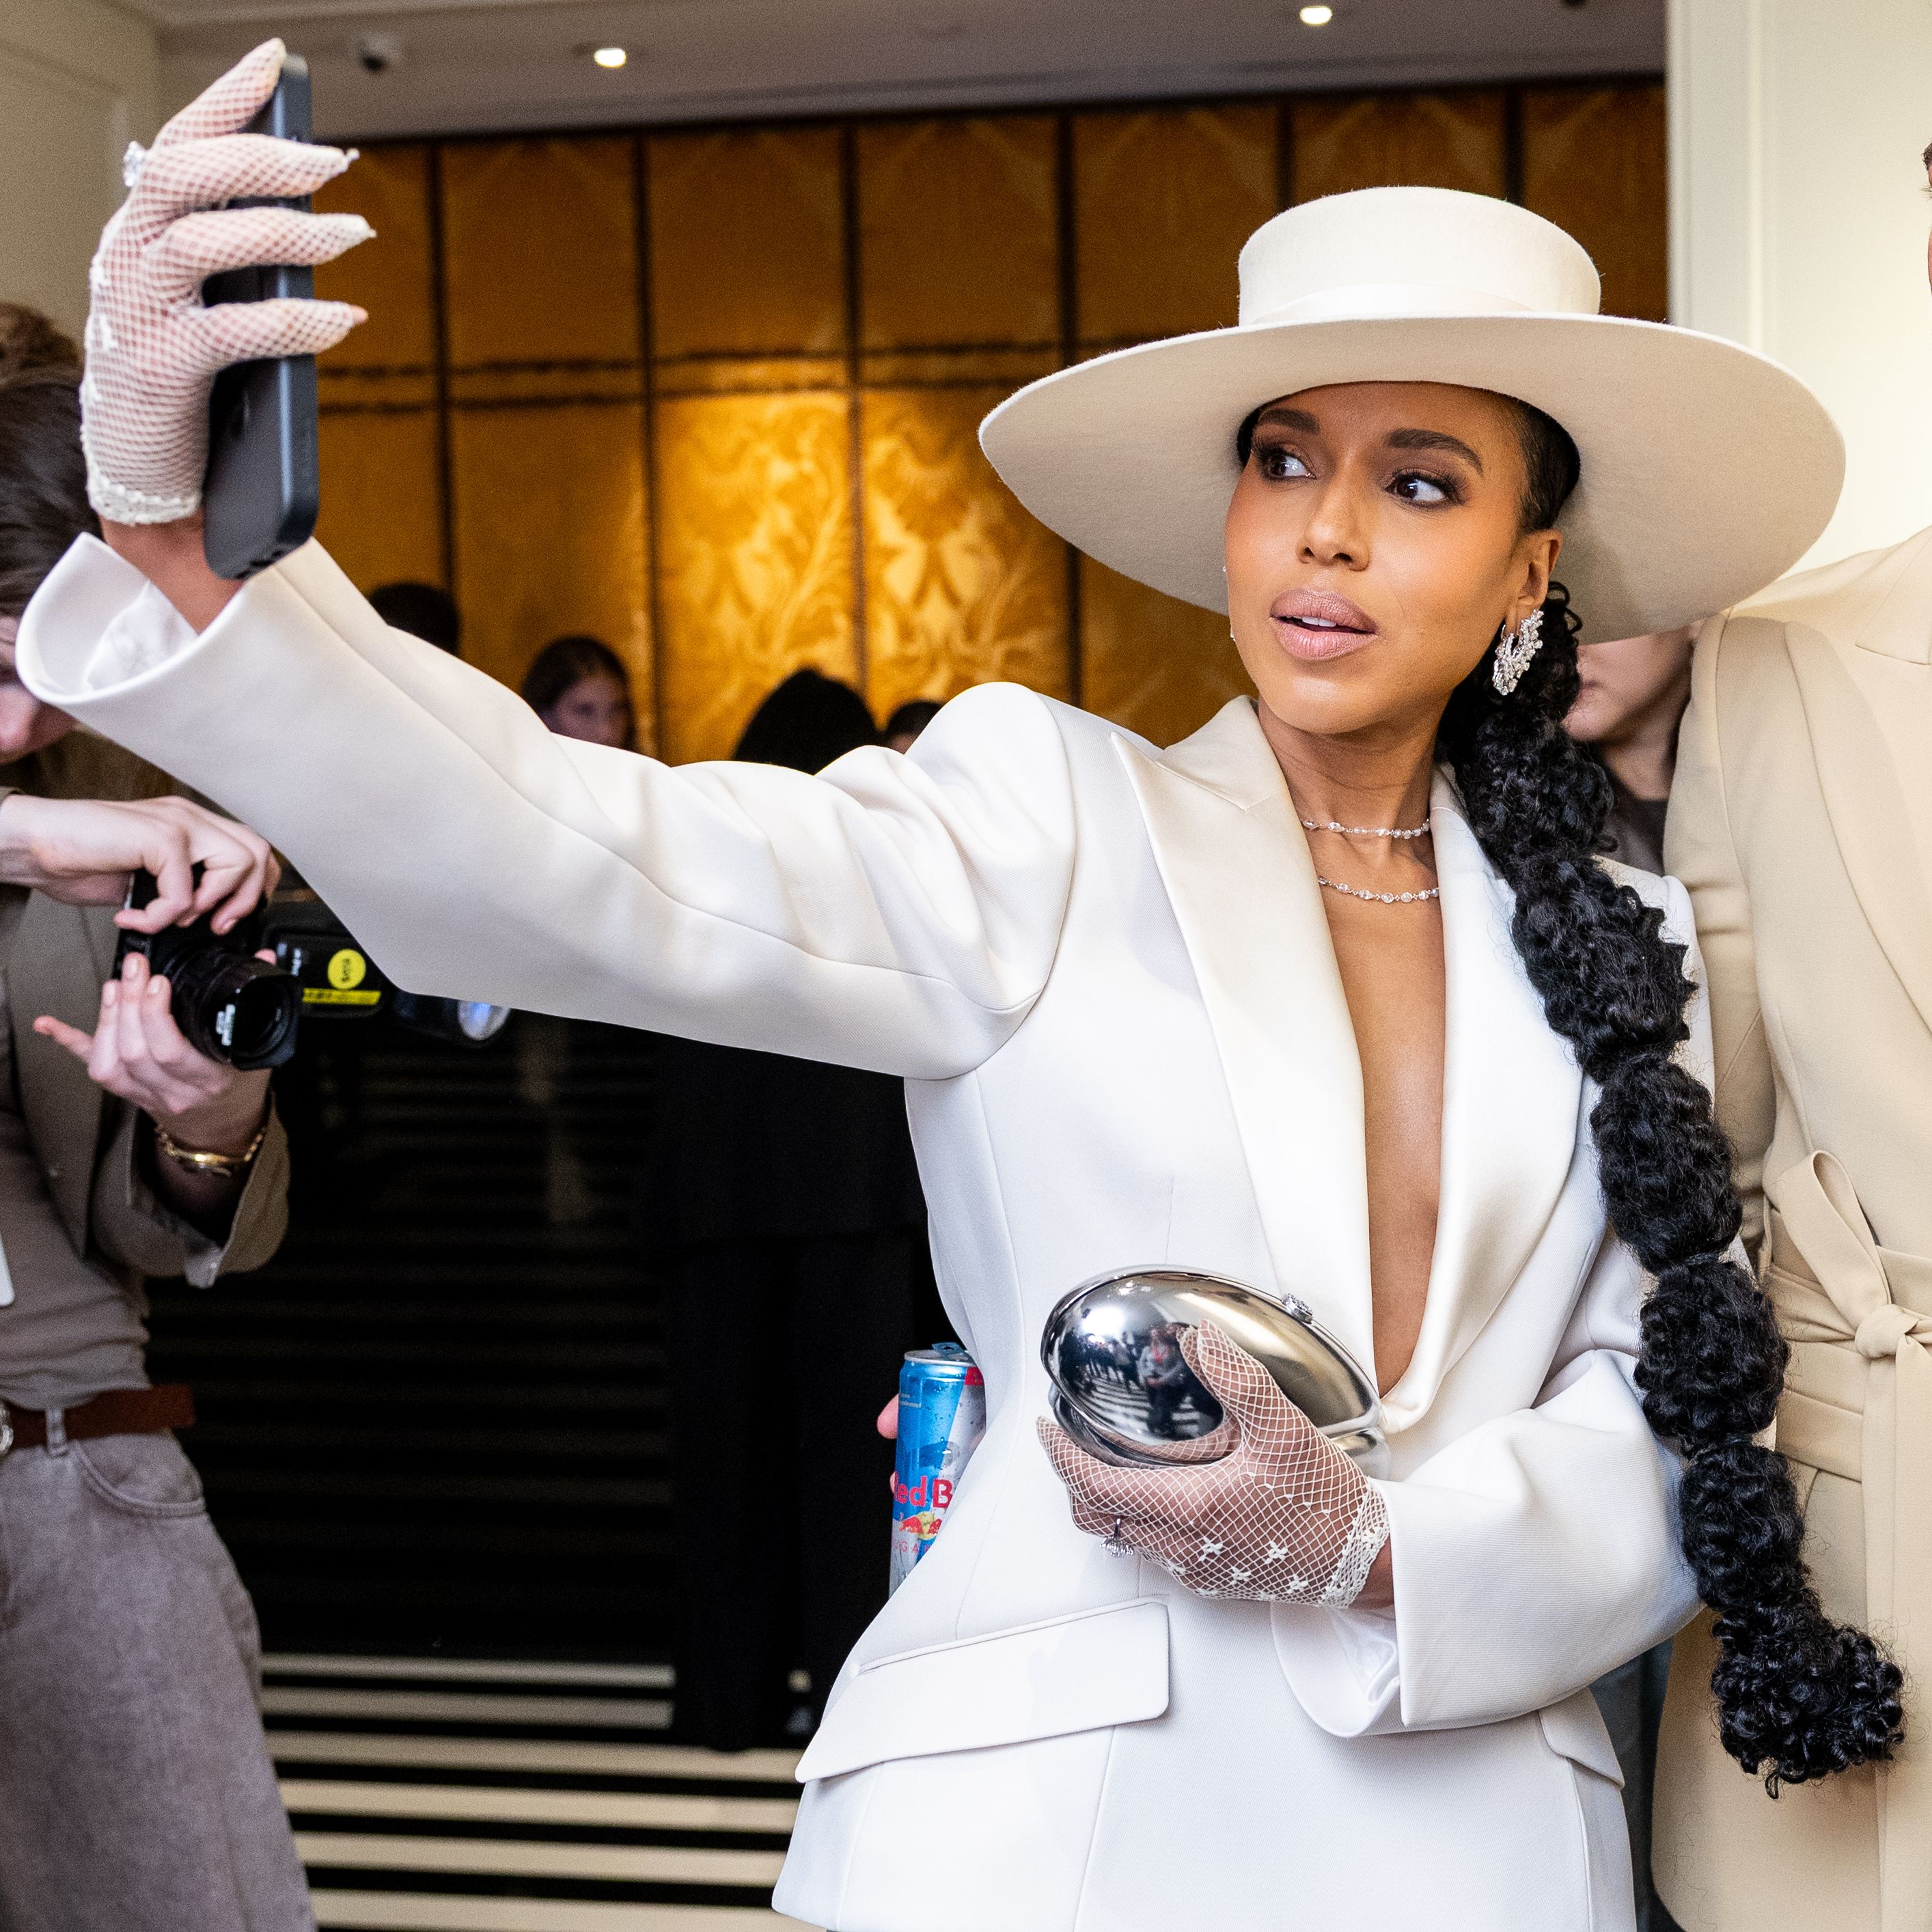
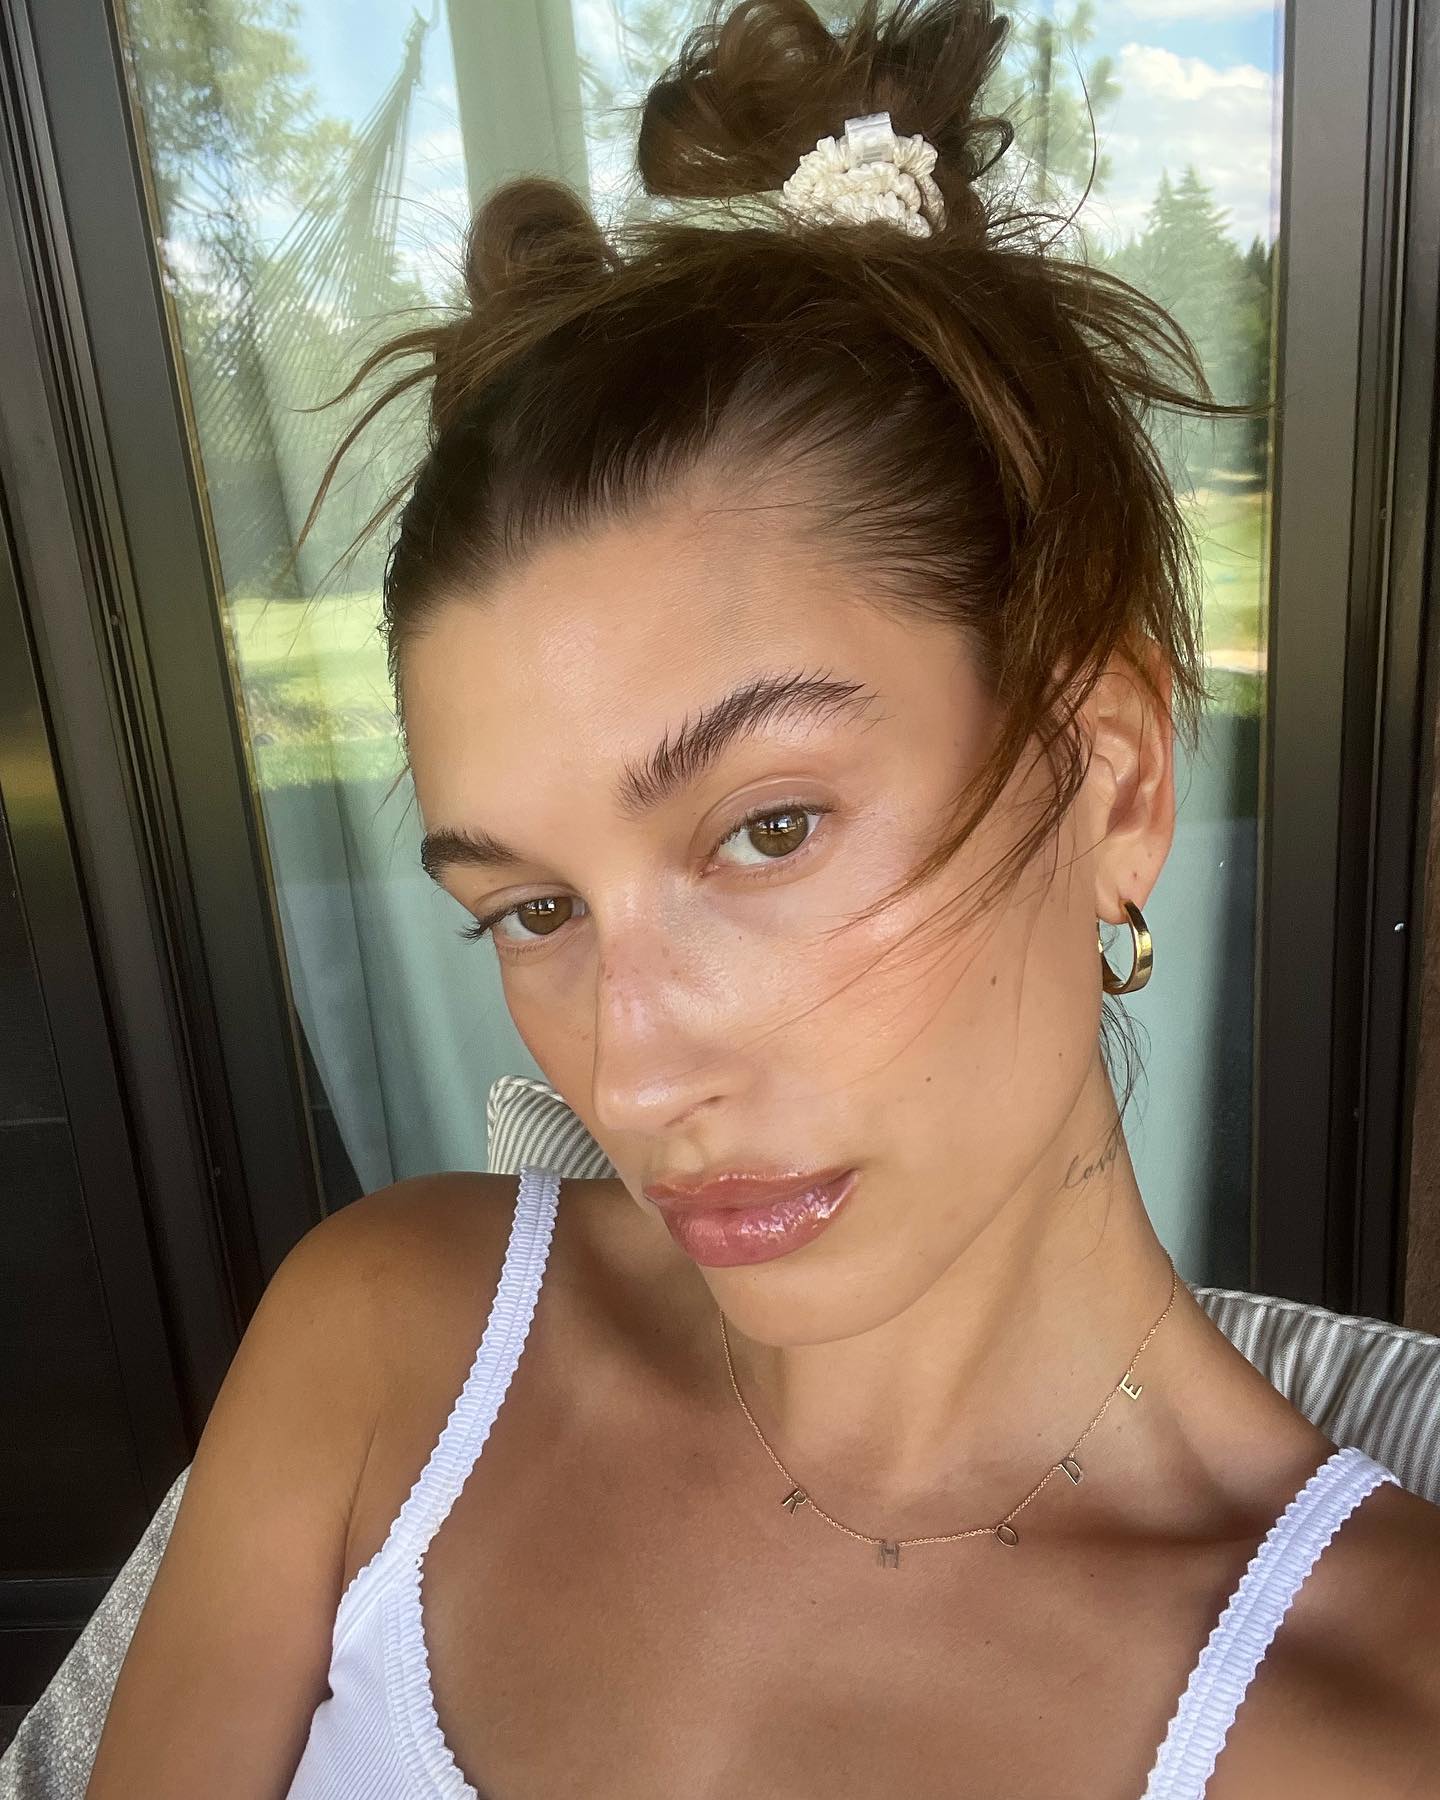
This classic look is one of my—and Hailey Bieber's and Bella Hadid's—go-tos, and Giannetos shares our sentiment. "When it comes to formal occasions, I prefer an updo that is sleek, elegant, and effortless," he says. "A slick-back bun fits the bill. This hairstyle keeps your look clean and polished while keeping all the hair out of your face, giving you a sophisticated look. I recently styled Eva Longoria and began by applying my go-to styling cream, Dae Cactus Fruit 3-In-1 Styling Cream, throughout the hair to ensure it would stay in place."
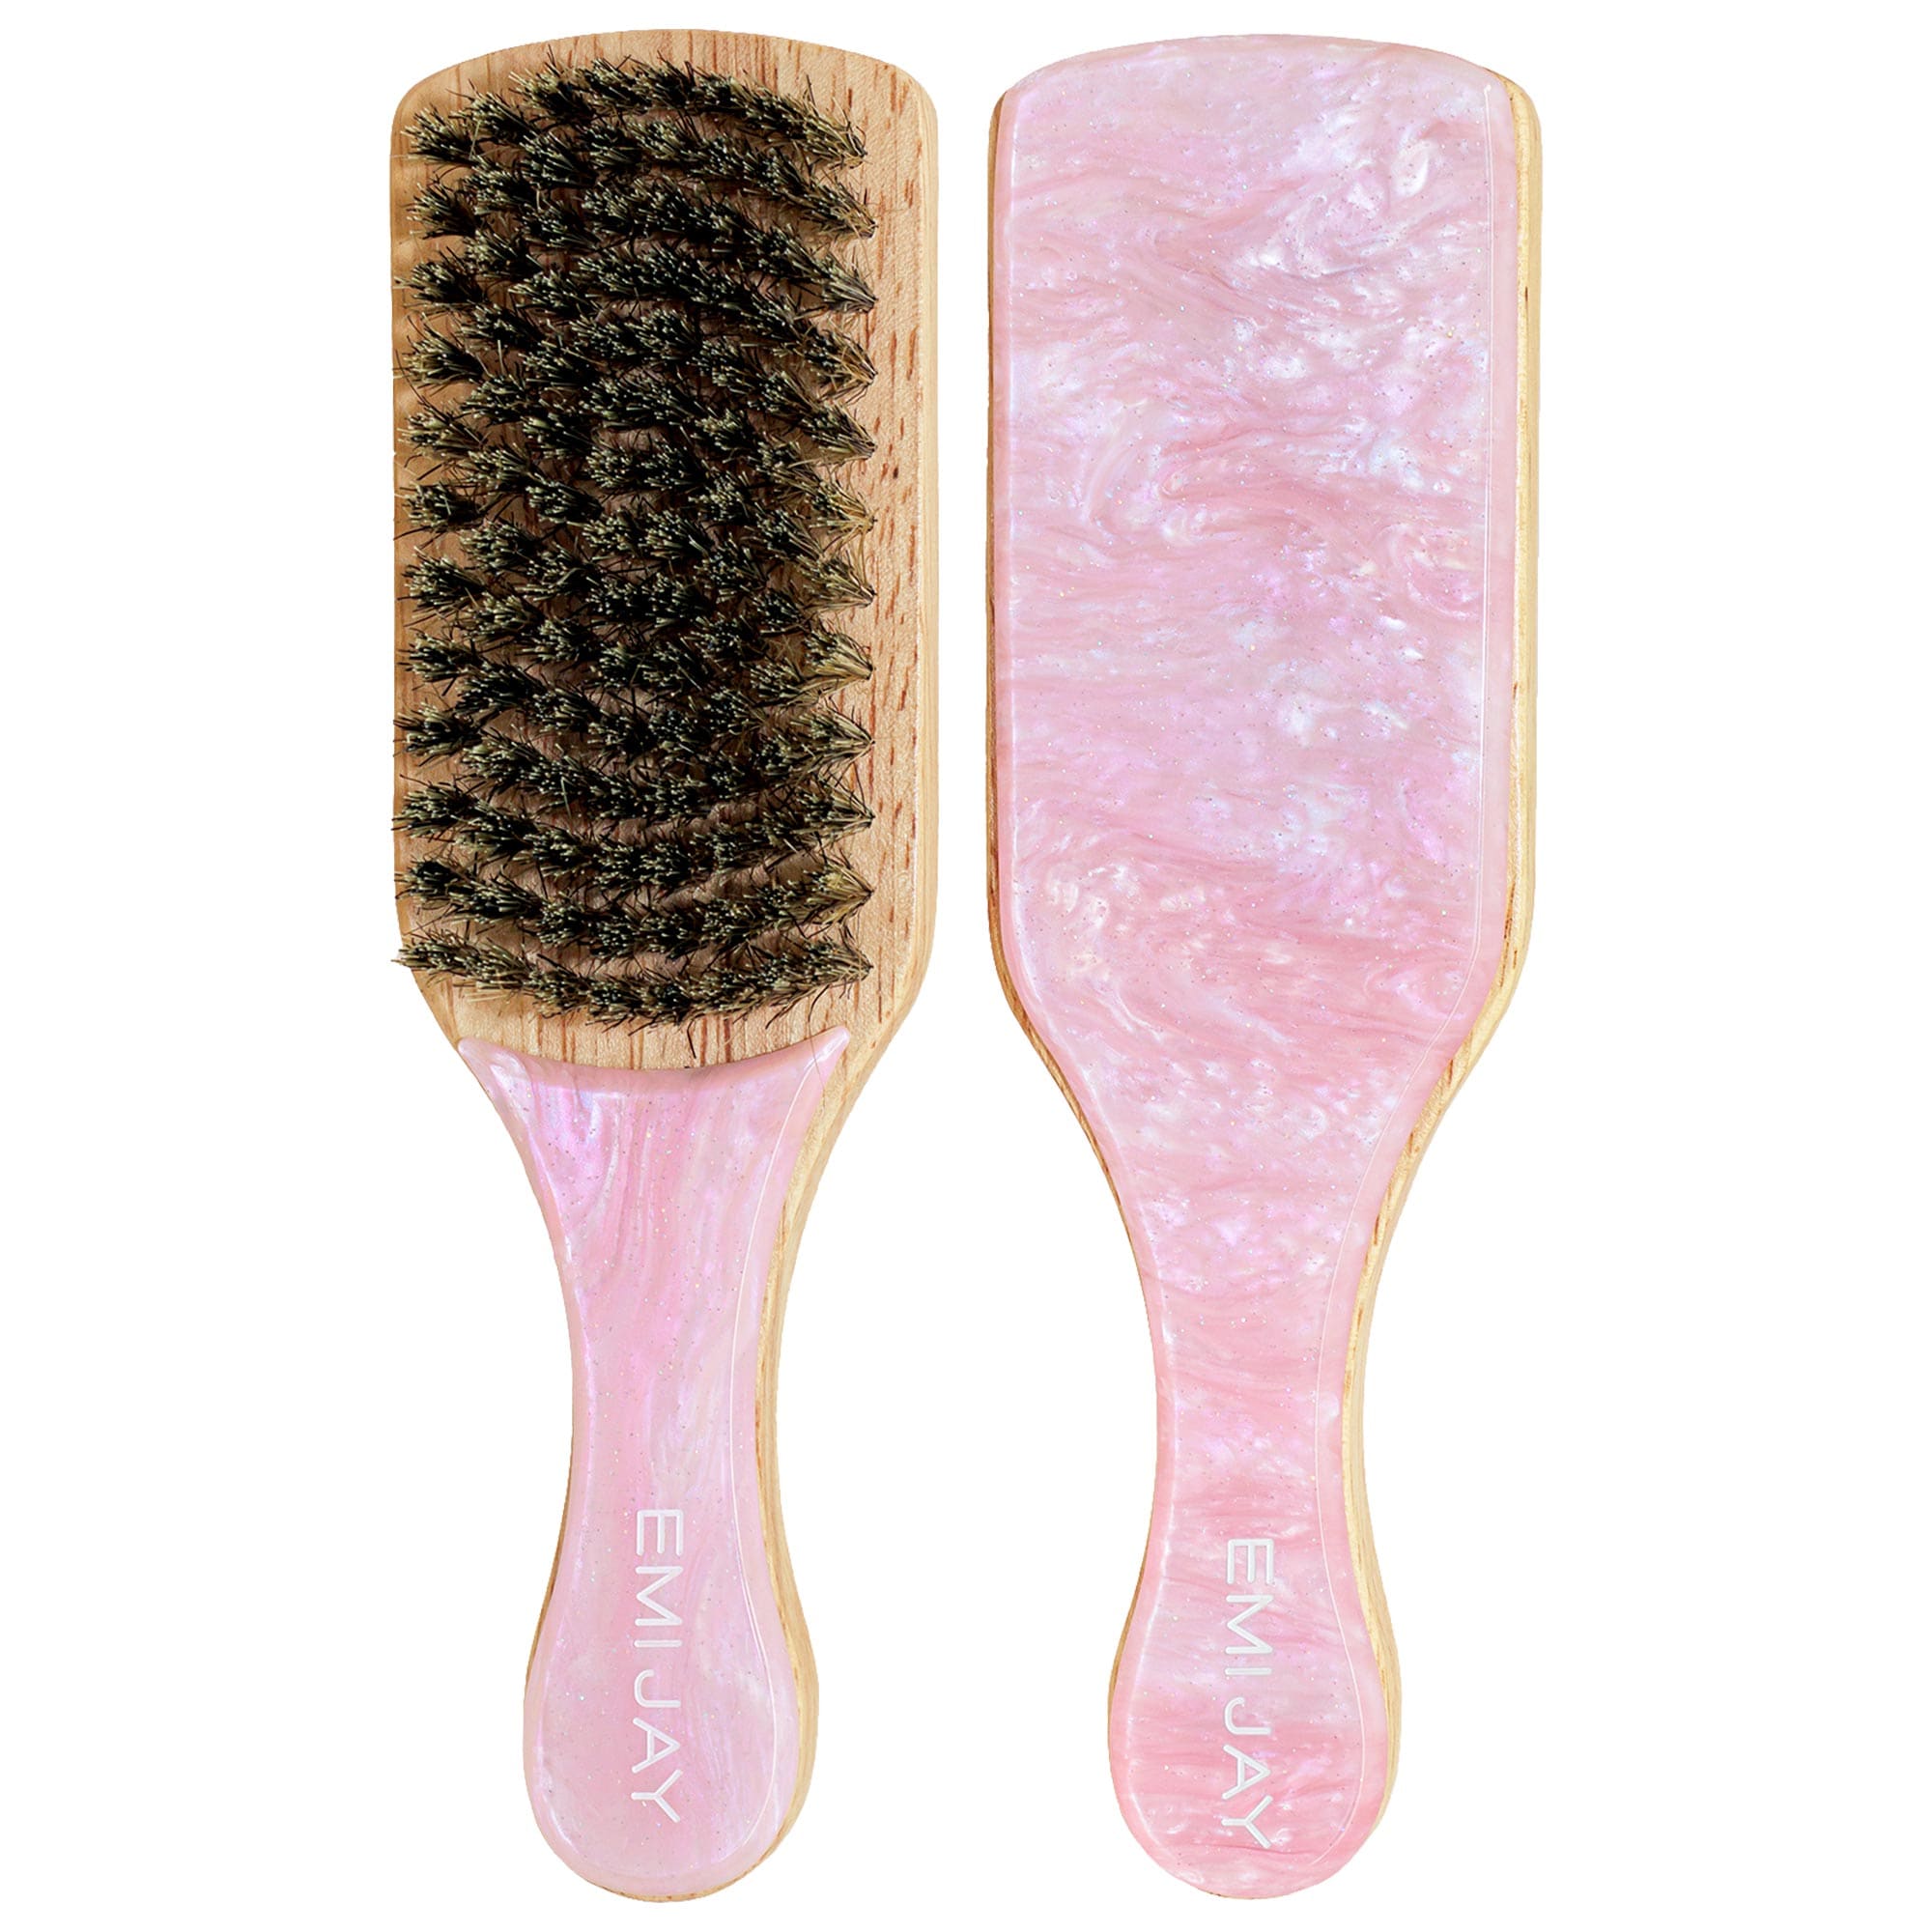
Giannetos explains that to do this style, gather the hair into a ponytail and twist individual sections into a bun, carefully pinning each strand in place. "I always use a boar bristle brush to smooth out flyaways and secure them with hairspray."
Half-Up, Half-Down

“This is a great look for anyone who doesn’t want to wear their hair fully up,” says Watson. “You can leave face-framing pieces out around your face and adjust the volume to suit what you’re comfortable with.” The style works across a range of hair textures and lengths, making it one of the easiest updos to personalize.
If I had to pick one hairstyle I wear more than any other, it’d be a half-up, half-down look. It’s the quickest way to get my hair out of my face without hiding all of it. Plus, adding a little height at the crown makes my hair look a little fuller on days when it’s fallen flat.
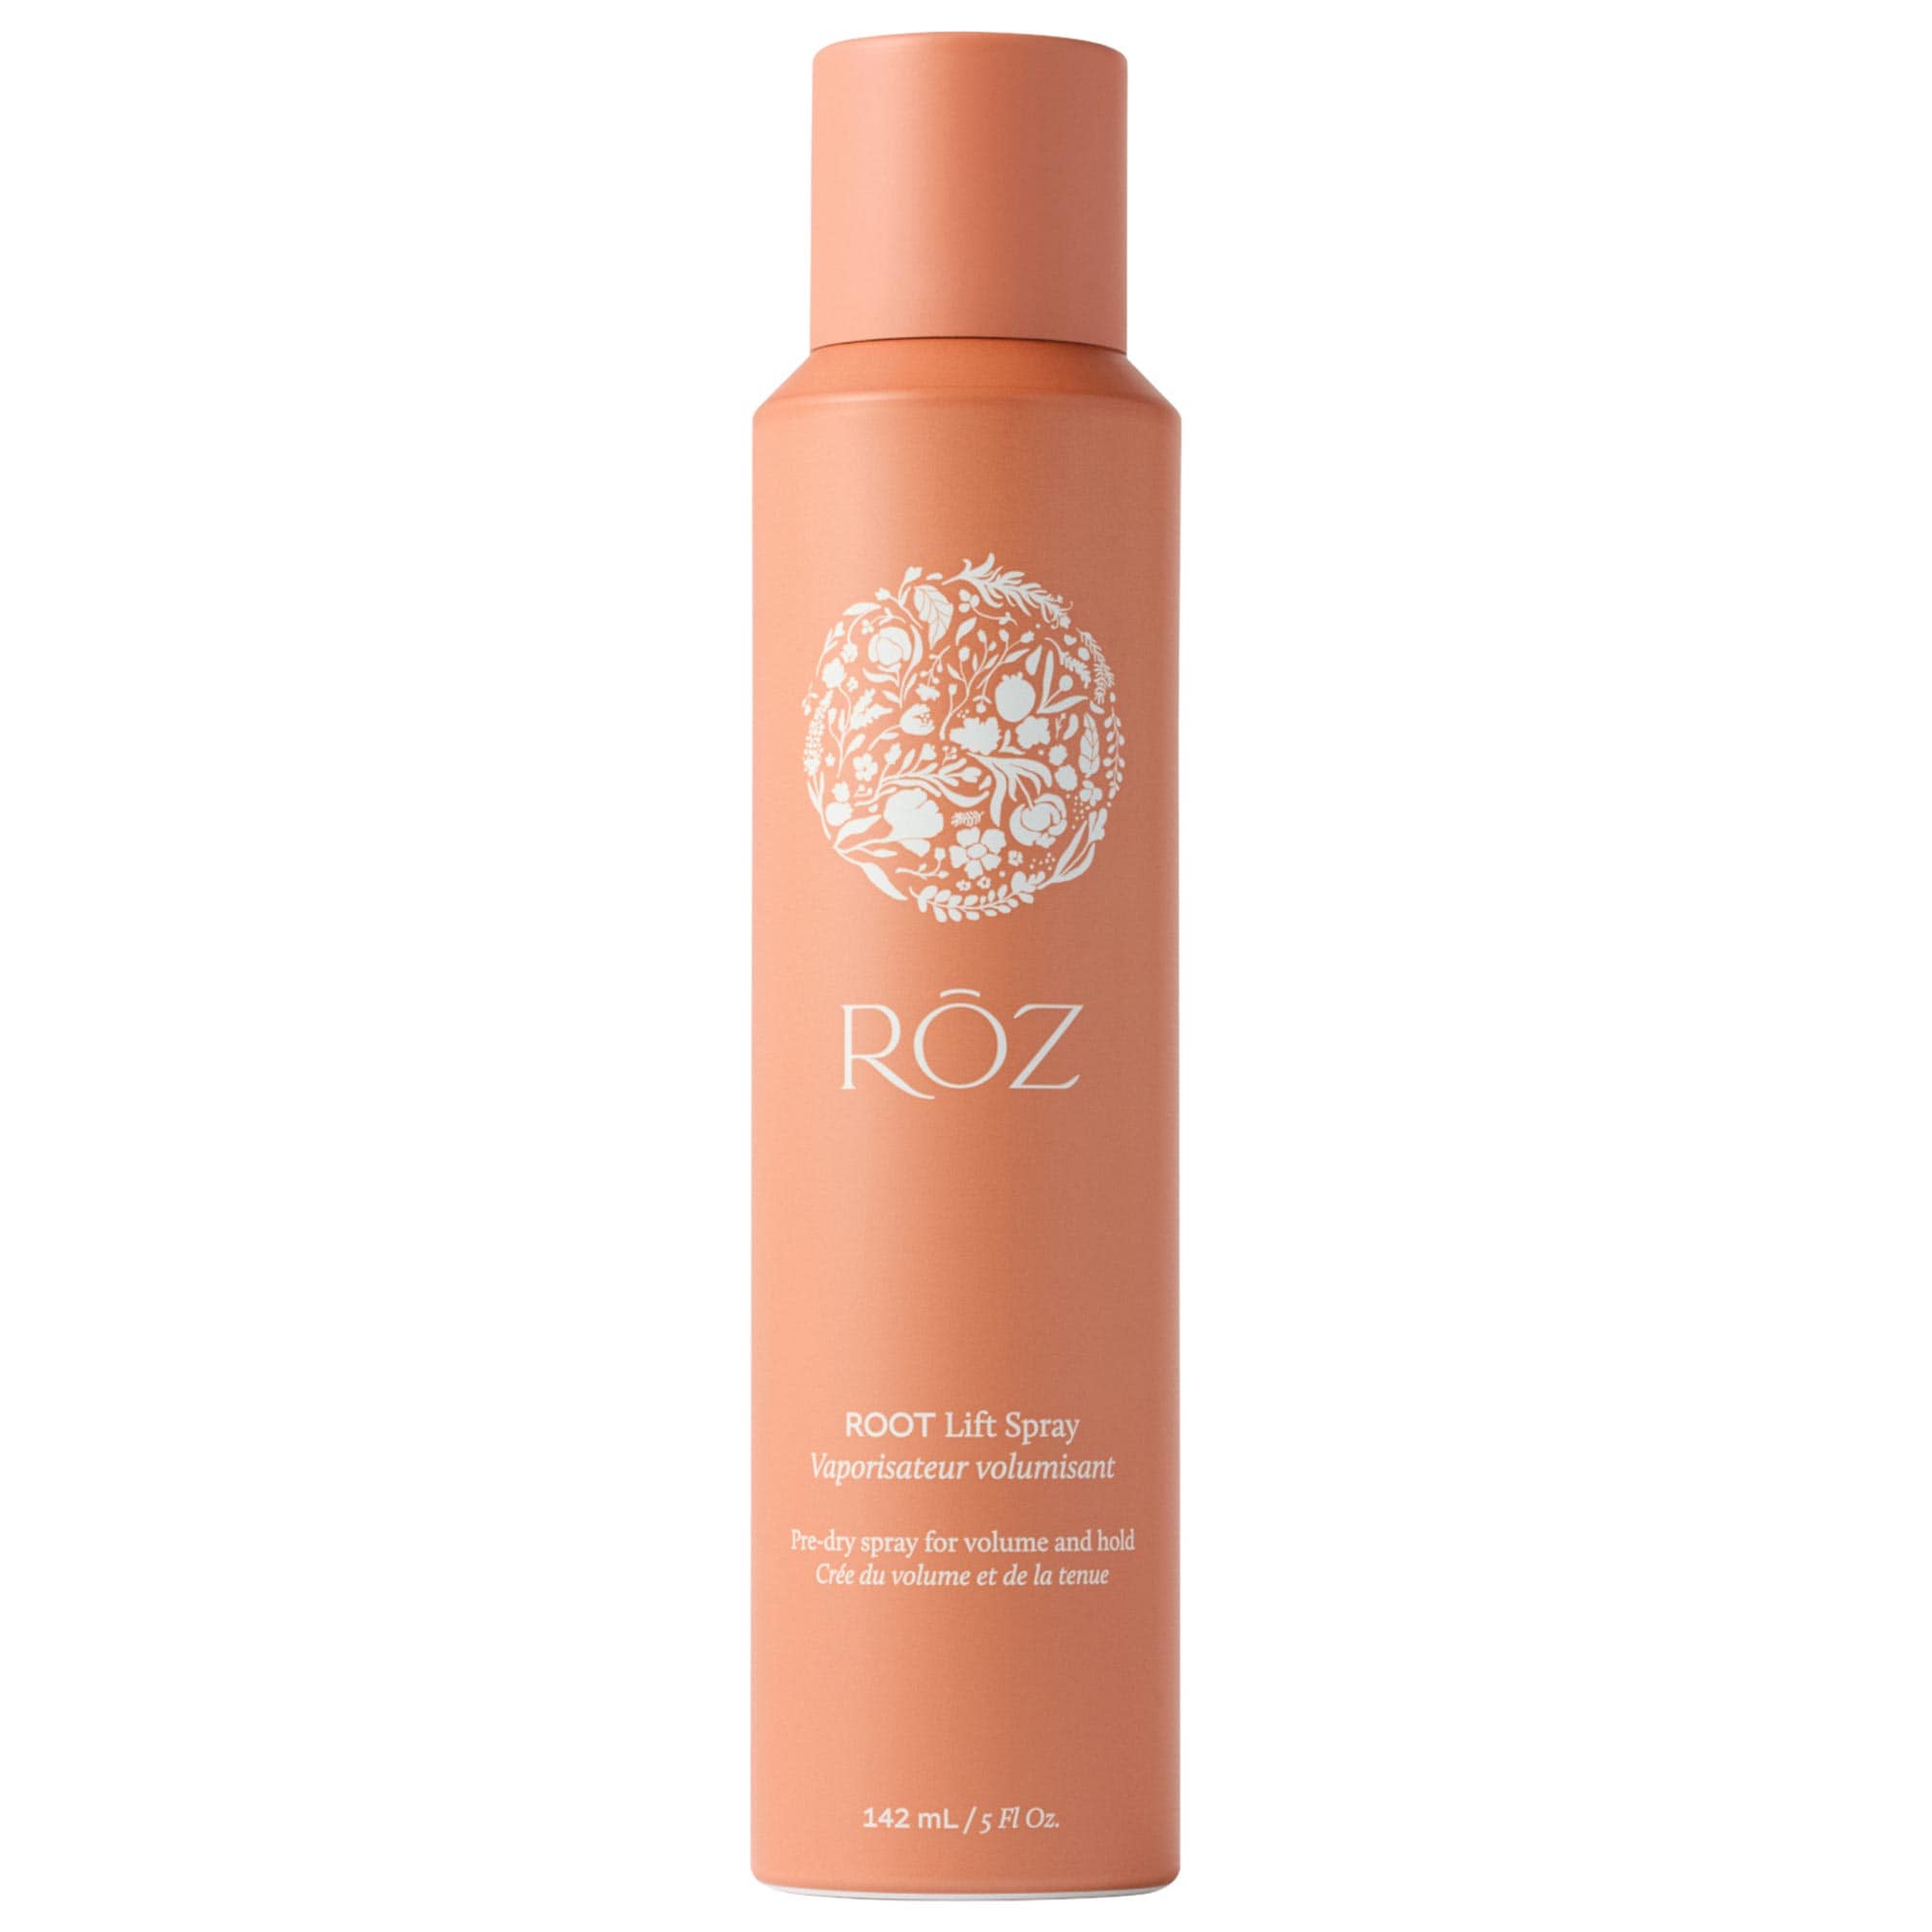
To recreate it, Watson recommends sectioning off the crown, adding a bit of lift at the roots, then twisting the section back and pinning it in place. Use a light mist of hairspray to help everything stay put. Optional: Finish with a clip, bow, or barrette for a little extra zhuzjh.
'90s Messy Bun
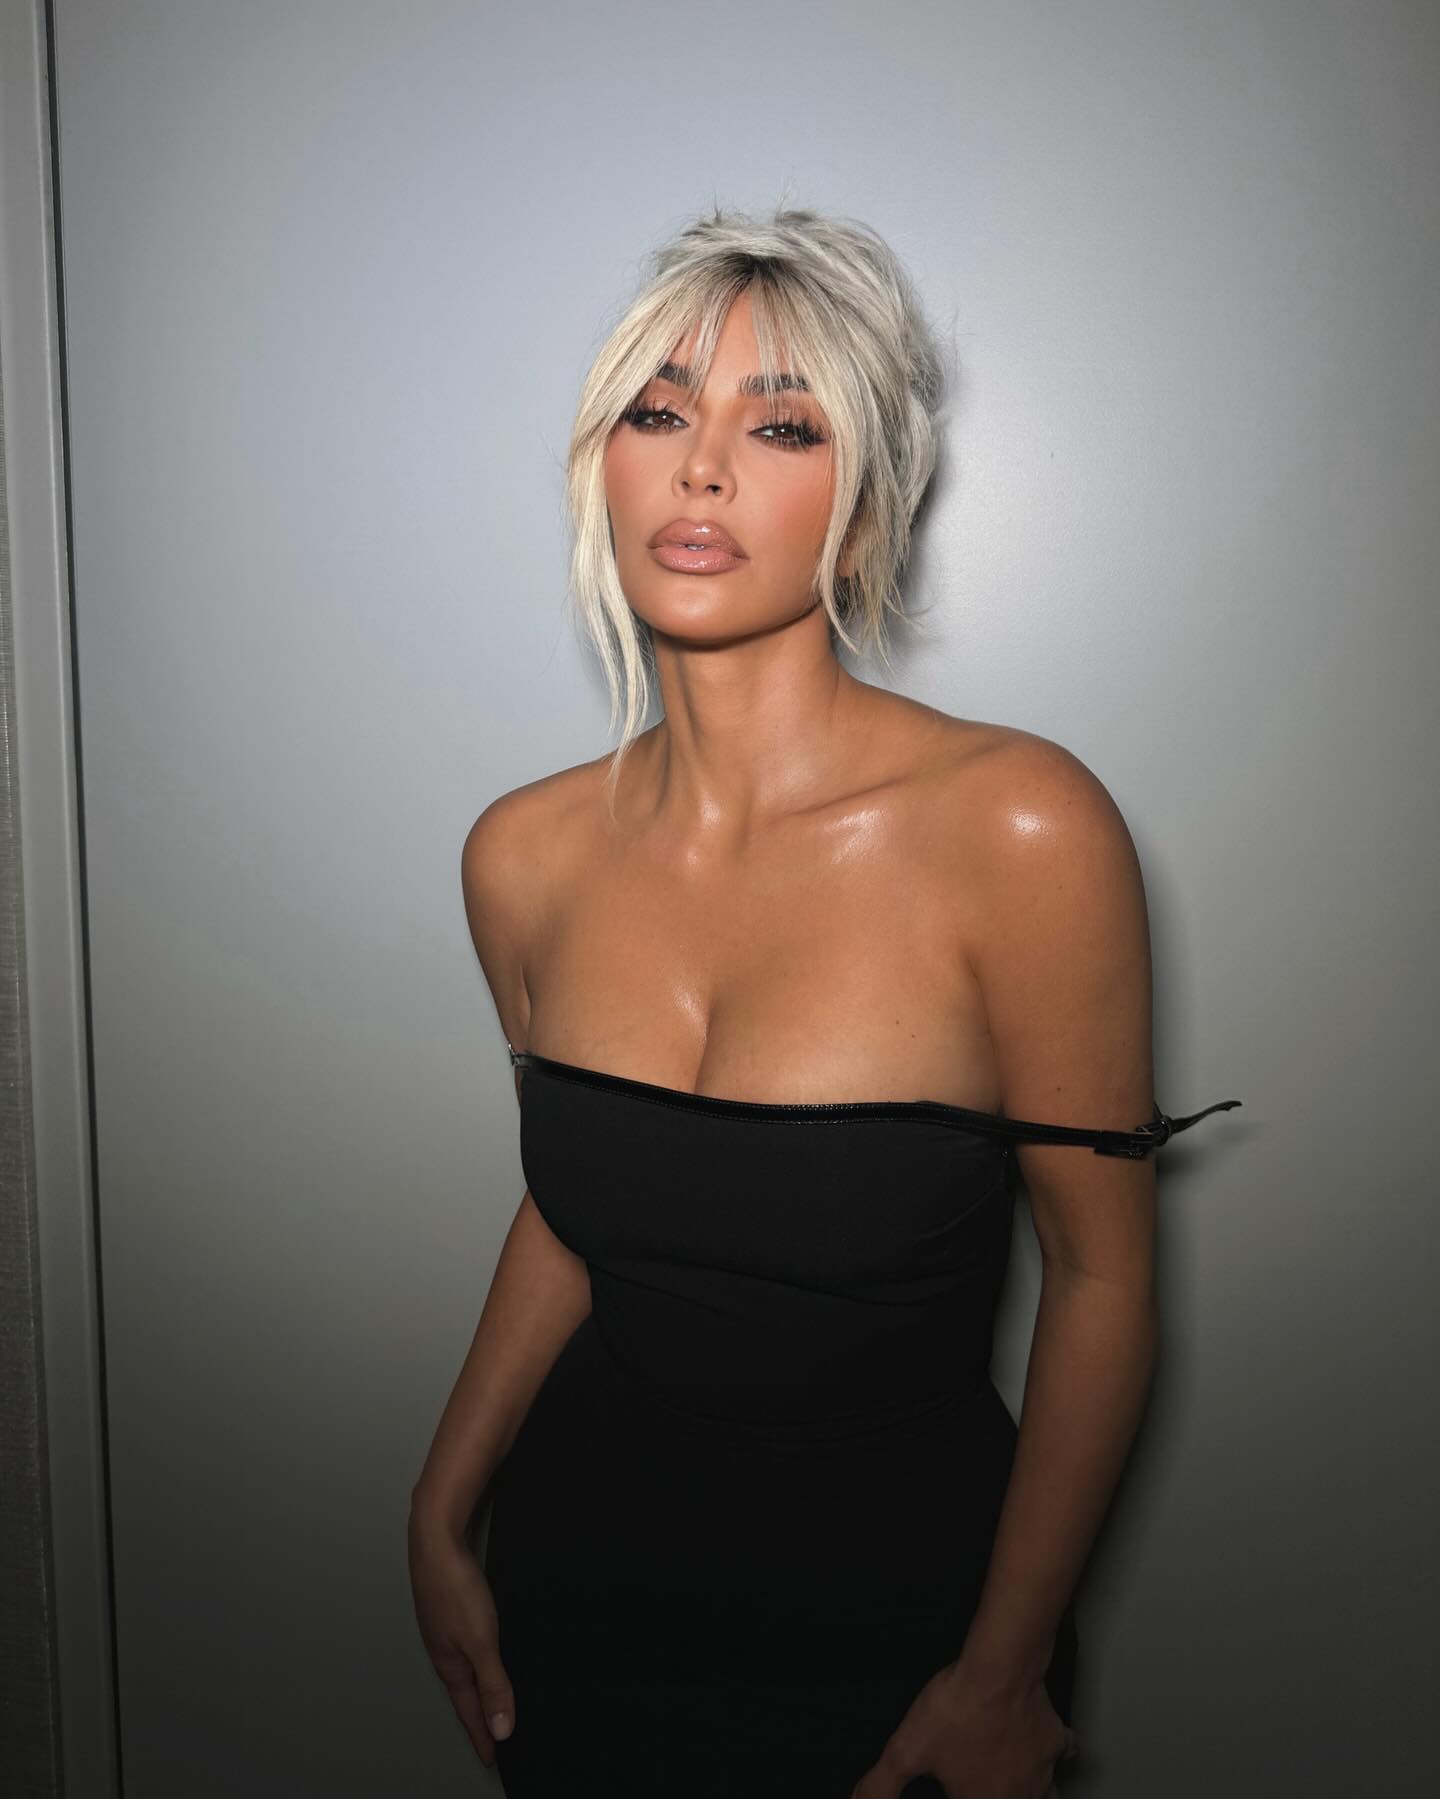
Few hairstyles have reached icon status quite like Pamela Anderson’s messy bun. supermodel, it’s intentionally imperfect—wispy face-framing pieces, a little volume at the crown, and a bun that looks like you threw it up in 30 seconds (even if you definitely didn’t). The sleek bun could never.
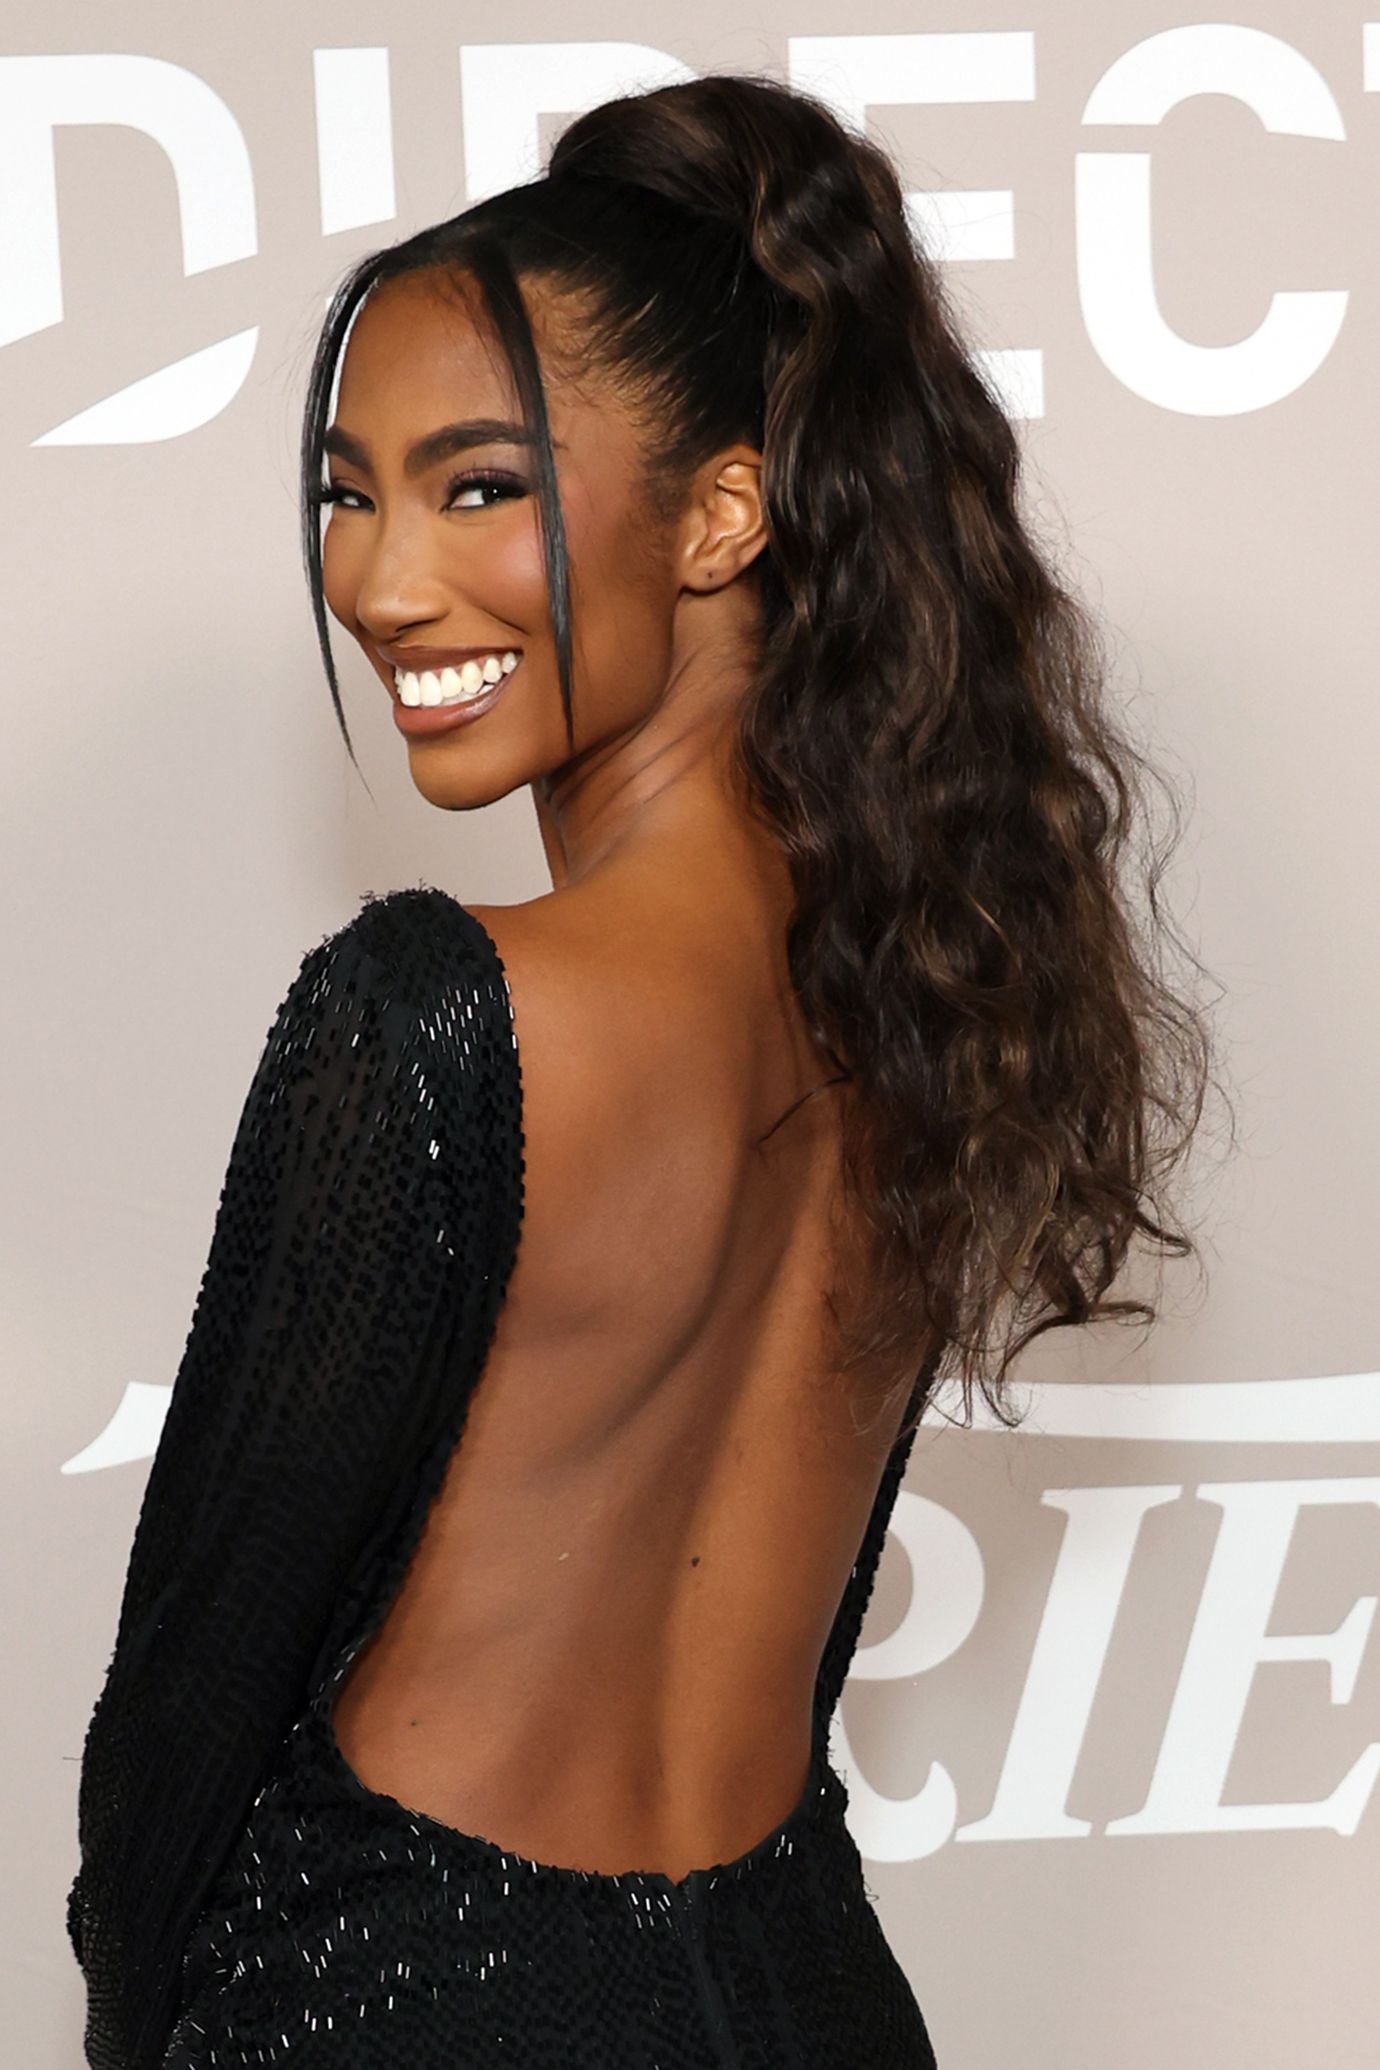
Stitch Braid Pony
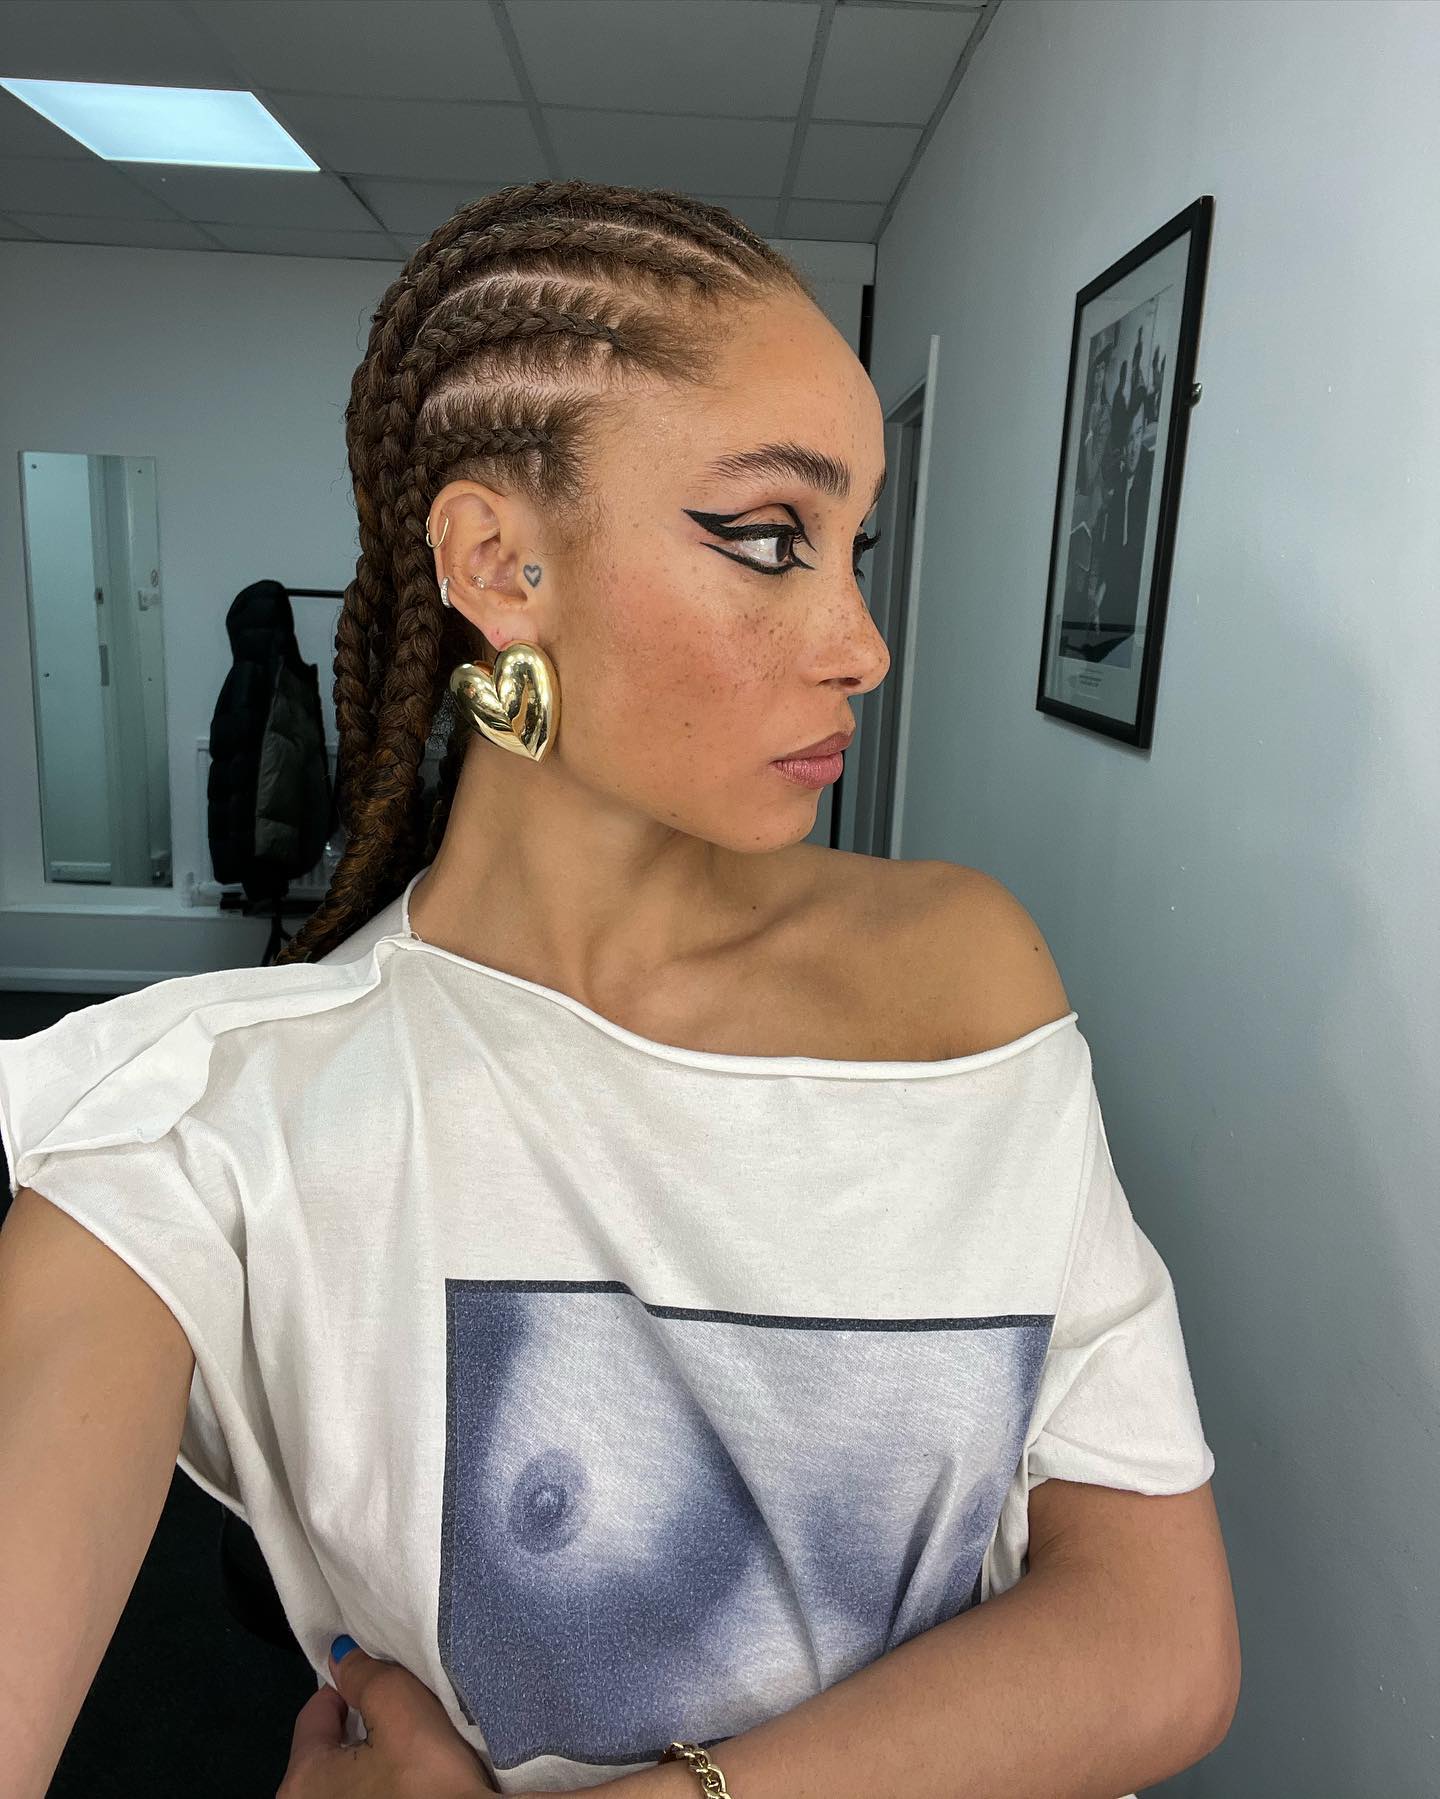
If there’s ever a season to try stitch braids, it’s summer. As a protective style, they help keep your natural hair tucked away from humidity, sweat, and constant heat styling—all while looking incredibly chic. Once they’re installed, they're super easy to throw up in a fun pony or bun. Whether you wear them straight back like model Adwoa Aboah here, or get creative with the pattern, they're a warm-weather staple.
Slick-Back Ponytail
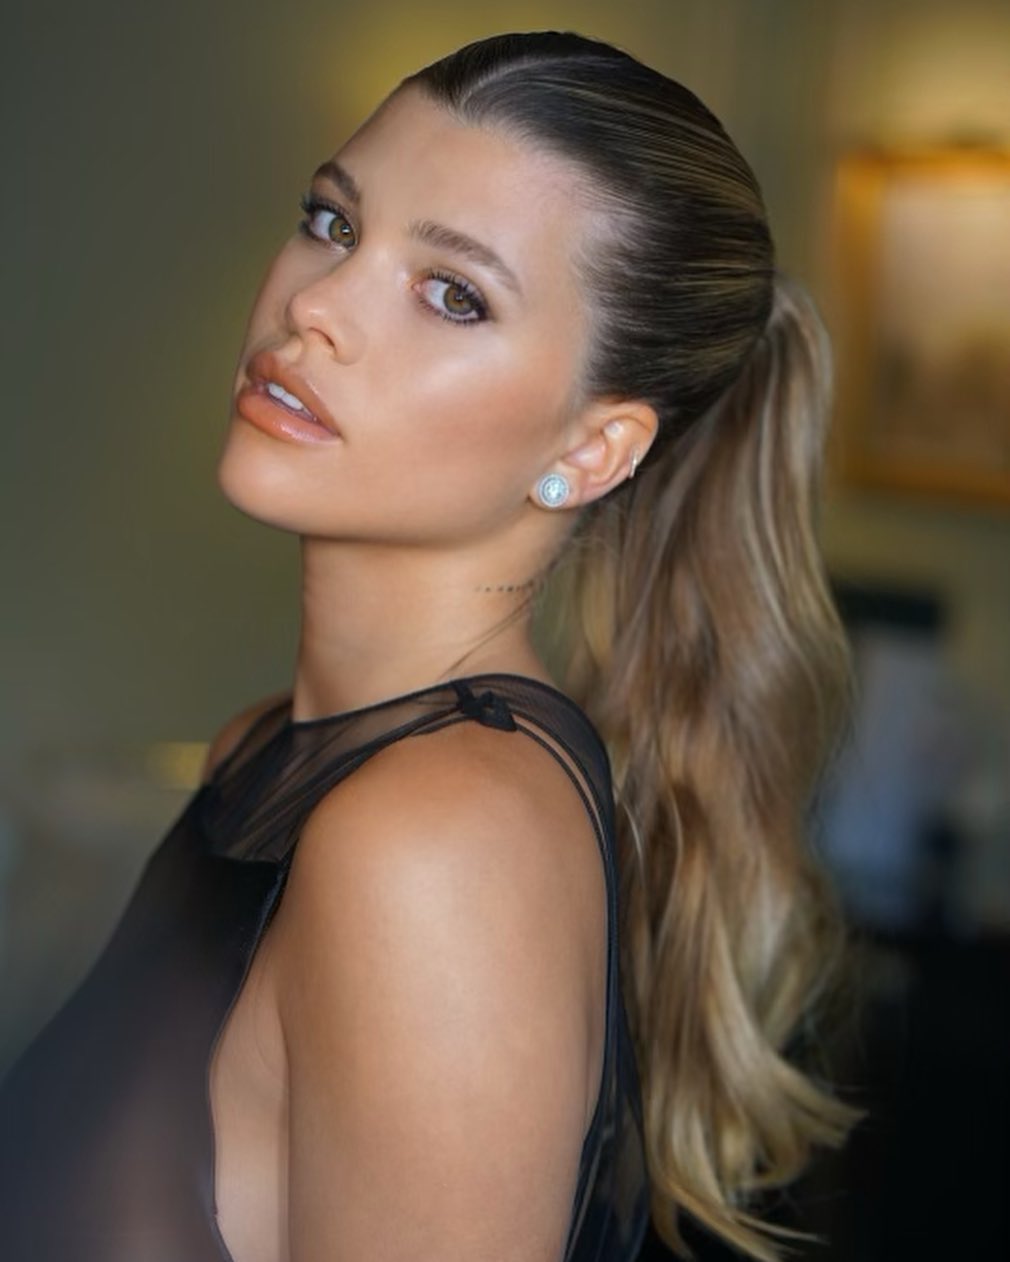
Another great go-to is the ponytail. Giannetos says, "A classic slick-back ponytail is always a great choice. To achieve this look, I start by parting the hair down the middle, then use a styling cream to slick back each section for a polished finish. While you don’t have to include a middle part, I find that it helps create some volume at the top."
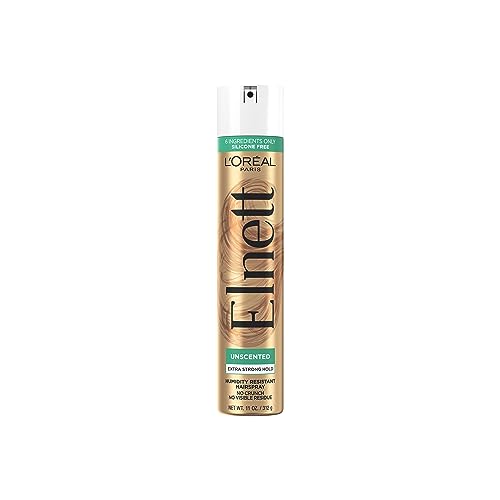
And he has plenty of experience creating this look. He recalls, "One of my recent favorites is Shay Mitchell's, which features some dramatic length. To give a ponytail a workforce touch, I also cover the hair tie with some of the strands. As always, finish off with some hairspray; my favorite is L'Oréal Paris Elnett Satin Hairspray Extra Strong Hold to ensure the style stays intact all day. "
Extended Ponytail for Curls and Coils
As a curly girl myself, one of my biggest struggles with sleek ponytails is getting my roots smooth without flattening the rest of my curls. Watson says this style is “perfect for longer length curls and coils” because it uses runway-inspired styling techniques to create a sleek ponytail without sacrificing texture.
Rather than relying on one ponytail, Watson recommends building the style in two sections before combining them for extra length and hold. Once everything is secure, fluff your curls and finish with laid edges if that’s part of your routine.
Ponytail Braid
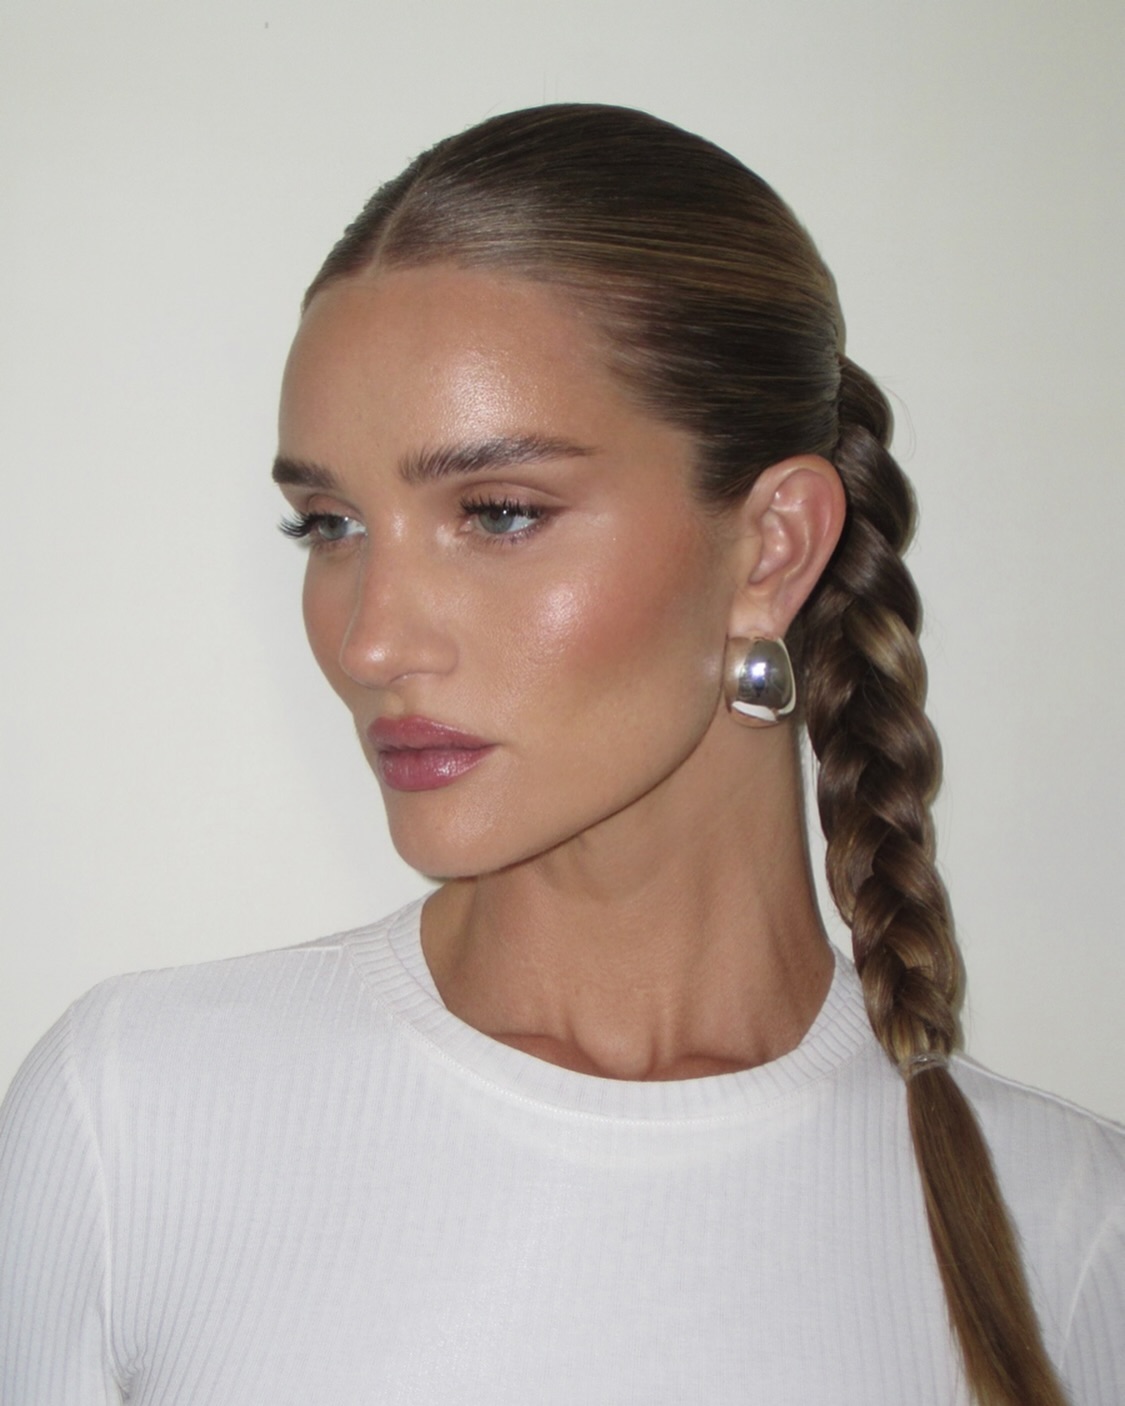
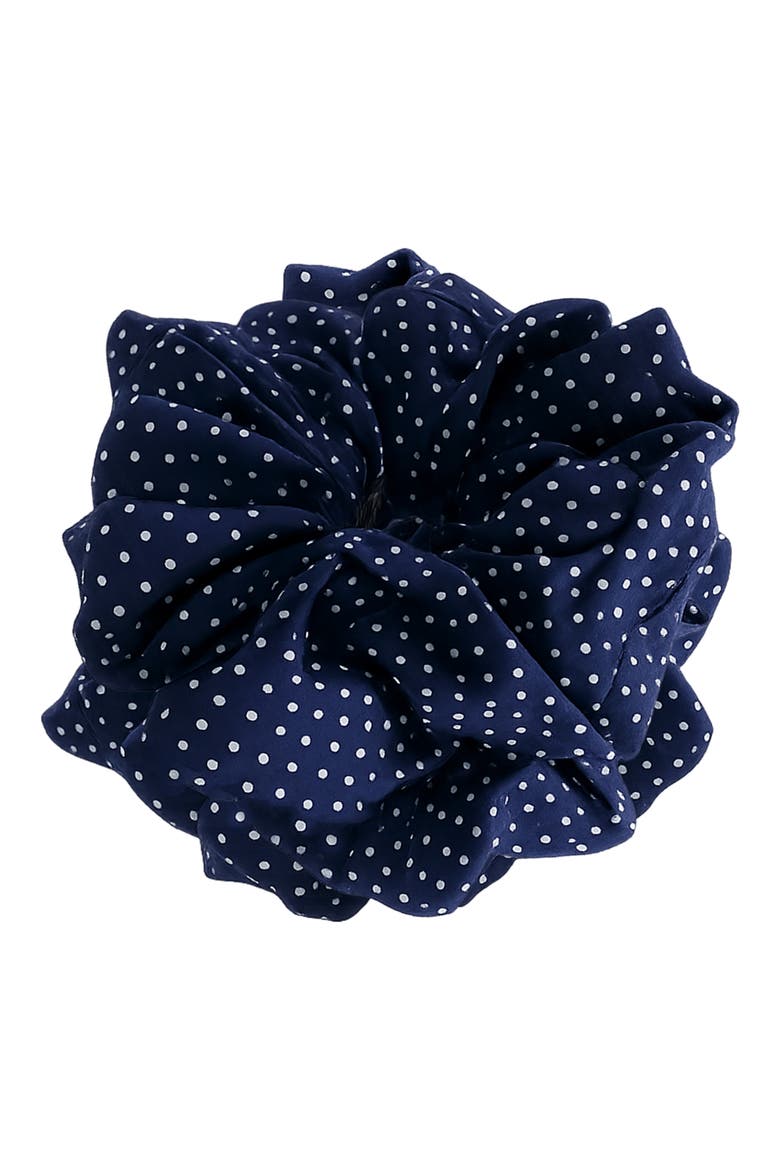
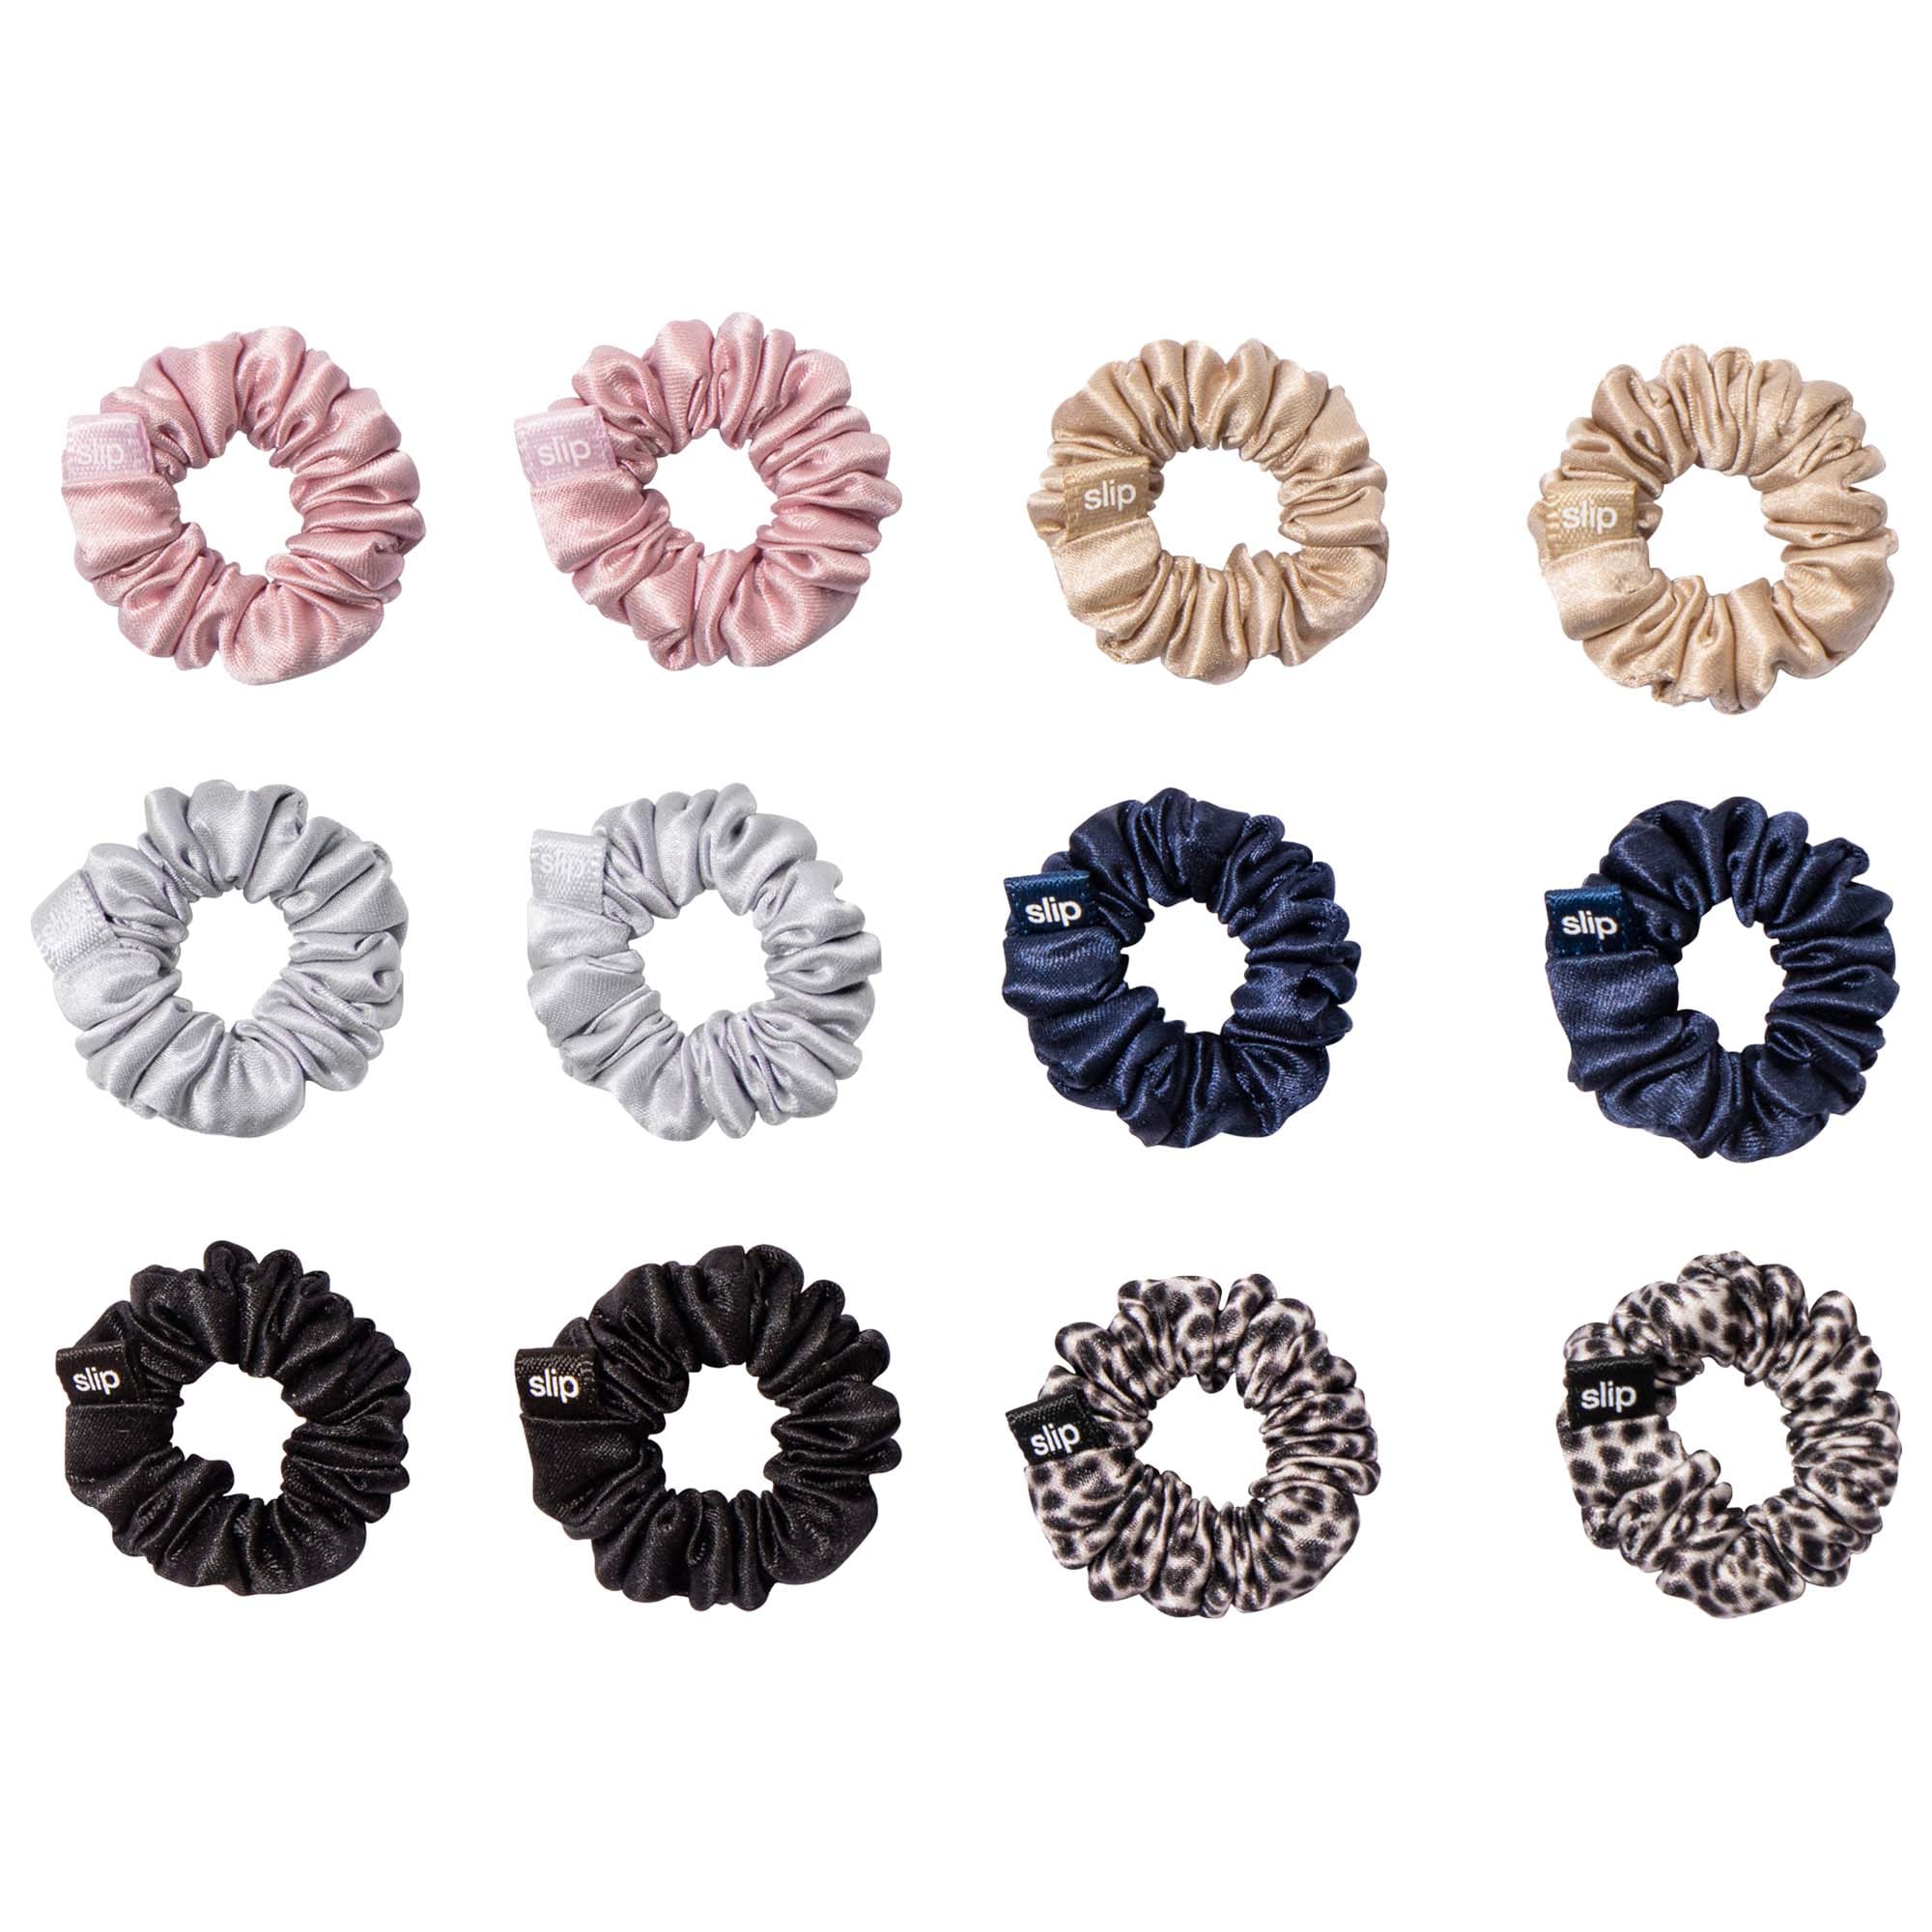
This hairstyle's pretty easy, and it combines the best of the high ponytail and the braid. Simply tie your hair up in a ponytail, and once it's up, braid the ponytail and secure at the bottom with a hair tie. Personally, I like to opt for a fun scrunchie at the top of my head that matches my outfit or makeup, and then a thin elastic at the bottom of the braid. To tame flyaways, slick the top of your hair down with your gel of choice.
Bubble Braids
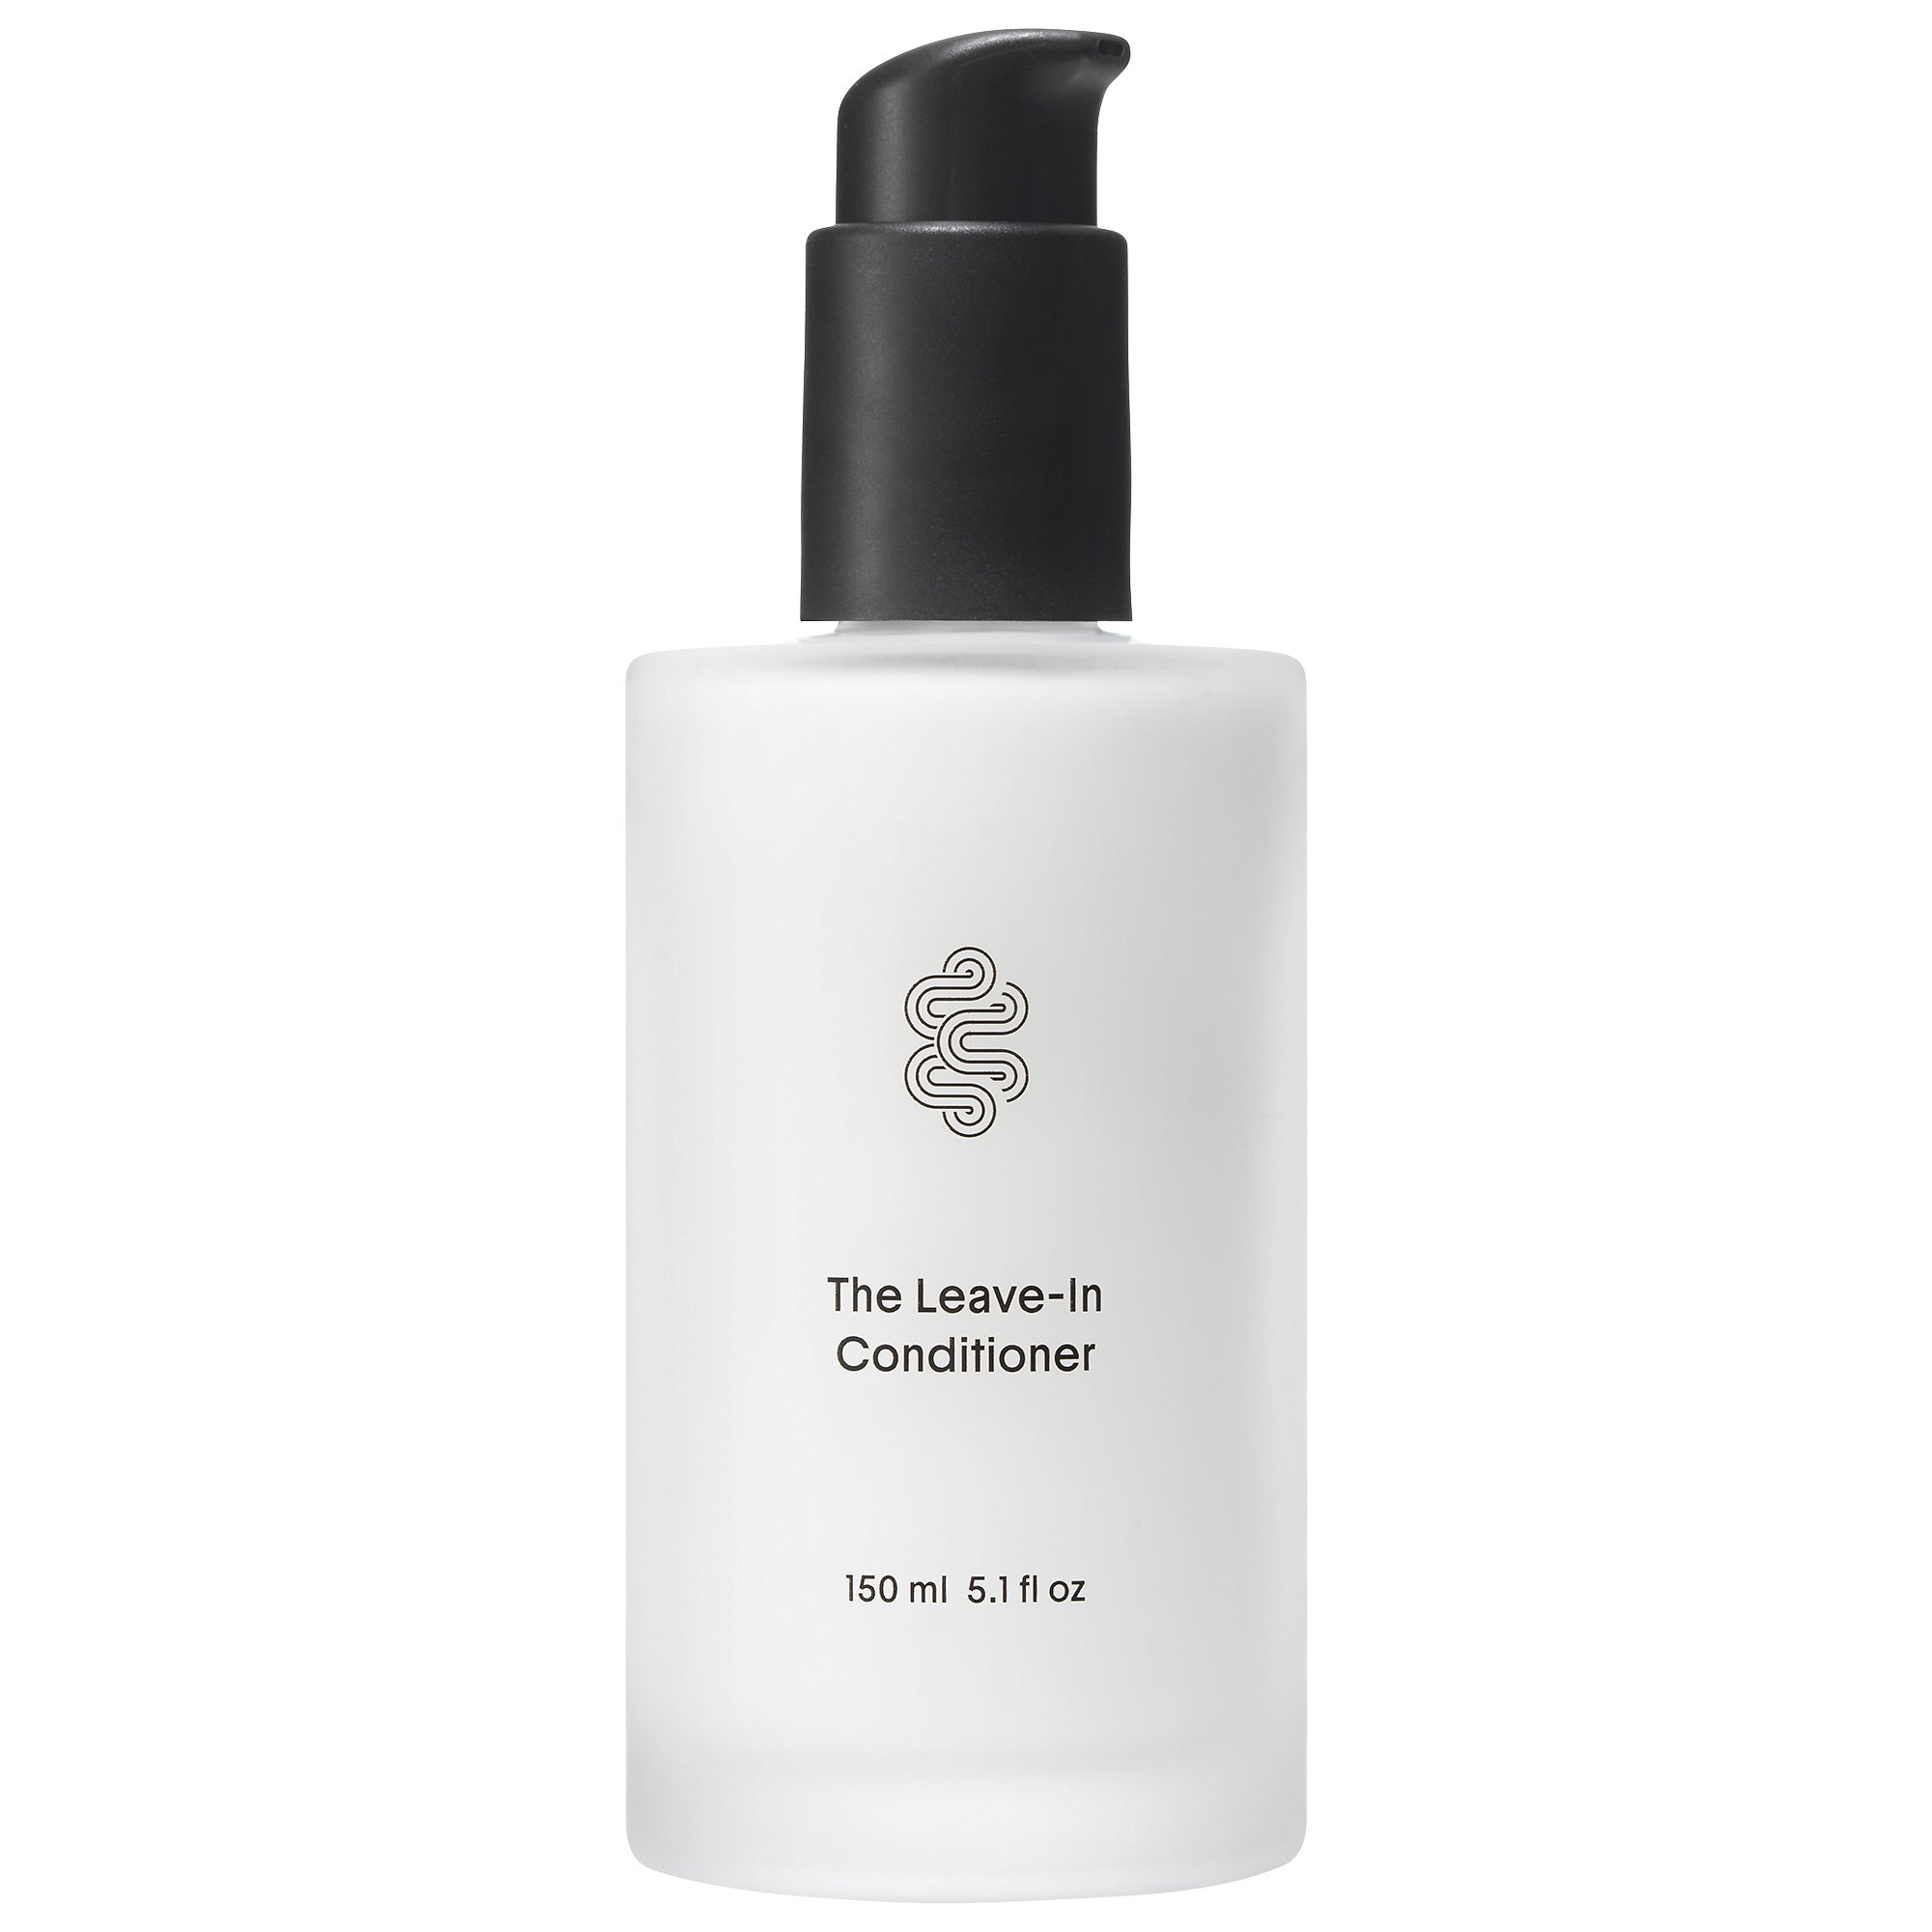
In spite of this fun hairstyle's name, it isn't actually a braid, but a line of "bubbles" made in the hair using elastics. (Though they also work if you have micro braids already.) To master this style, begin by brushing hair out and smoothing it with a lightweight leave-in conditioner. I, for one, like opting for thin, sprayable formulas that won't weigh down my hair.
Make a ponytail or set of pigtails, and then secure elastics down the length of your hair, each about an inch apart. Finally, create the "bubbles" by gently pulling the sections of hair outwards, beginning at the top of your head and ending at the bottom. You can make the bubbles any size you want, and keep them uniform or have them grow smaller as you near your ends.

Space Buns
Space buns create a young, playful look that's perfect for just about any casual occasion, from a day spent exploring to a night out with friends. To get the look, simply tie your hair up in high pigtails. Then, create two identical buns out of both pigtails. If you have shorter hair or are going for a casual look, simply wrap the hair on either side around the base of each pigtail. Or, for a more polished look, braid each pigtail and then wrap the braids around the bases. In either case, secure the bun with bobby pins.
Why Trust Marie Claire
For more than 30 years, Marie Claire has been an internationally recognized destination for news, fashion, and beauty trends, investigative packages, and more. When it comes to the products Marie Claire recommends, we take your faith in us seriously. Every product that we feature comes personally recommended by a Marie Claire writer or editor, or by an expert we’ve spoken to firsthand.