Gardening can be an expensive habit. Even though I’ve been gardening for three decades, every time I visit my local plant nursery, I’m still surprised at the cost of new plants.
What’s more, if you’re a novice gardener, the expense of having an ‘instant’ garden can put you off before you start. The alternative may take a bit more time and require some patience, but the rewards of seeing something grow and develop into a thriving plant will get you hooked.
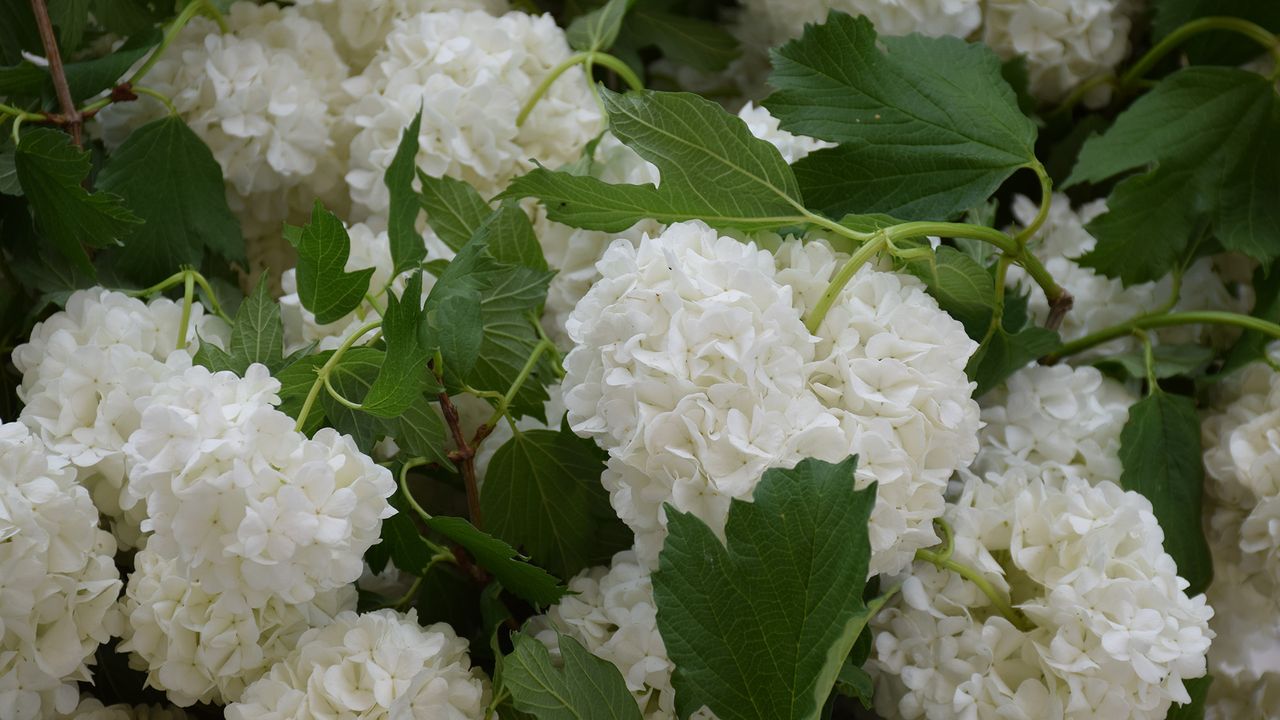
Hydrangeas are one of my favorite plants. They are space-filling shrubs with magnificent blooms in colors ranging from the softest whites to bright pinks and blues.
So, instead of buying new plants from a nursery, I’m going to show you the simplest way to multiply hydrangea plants for free.
First things first
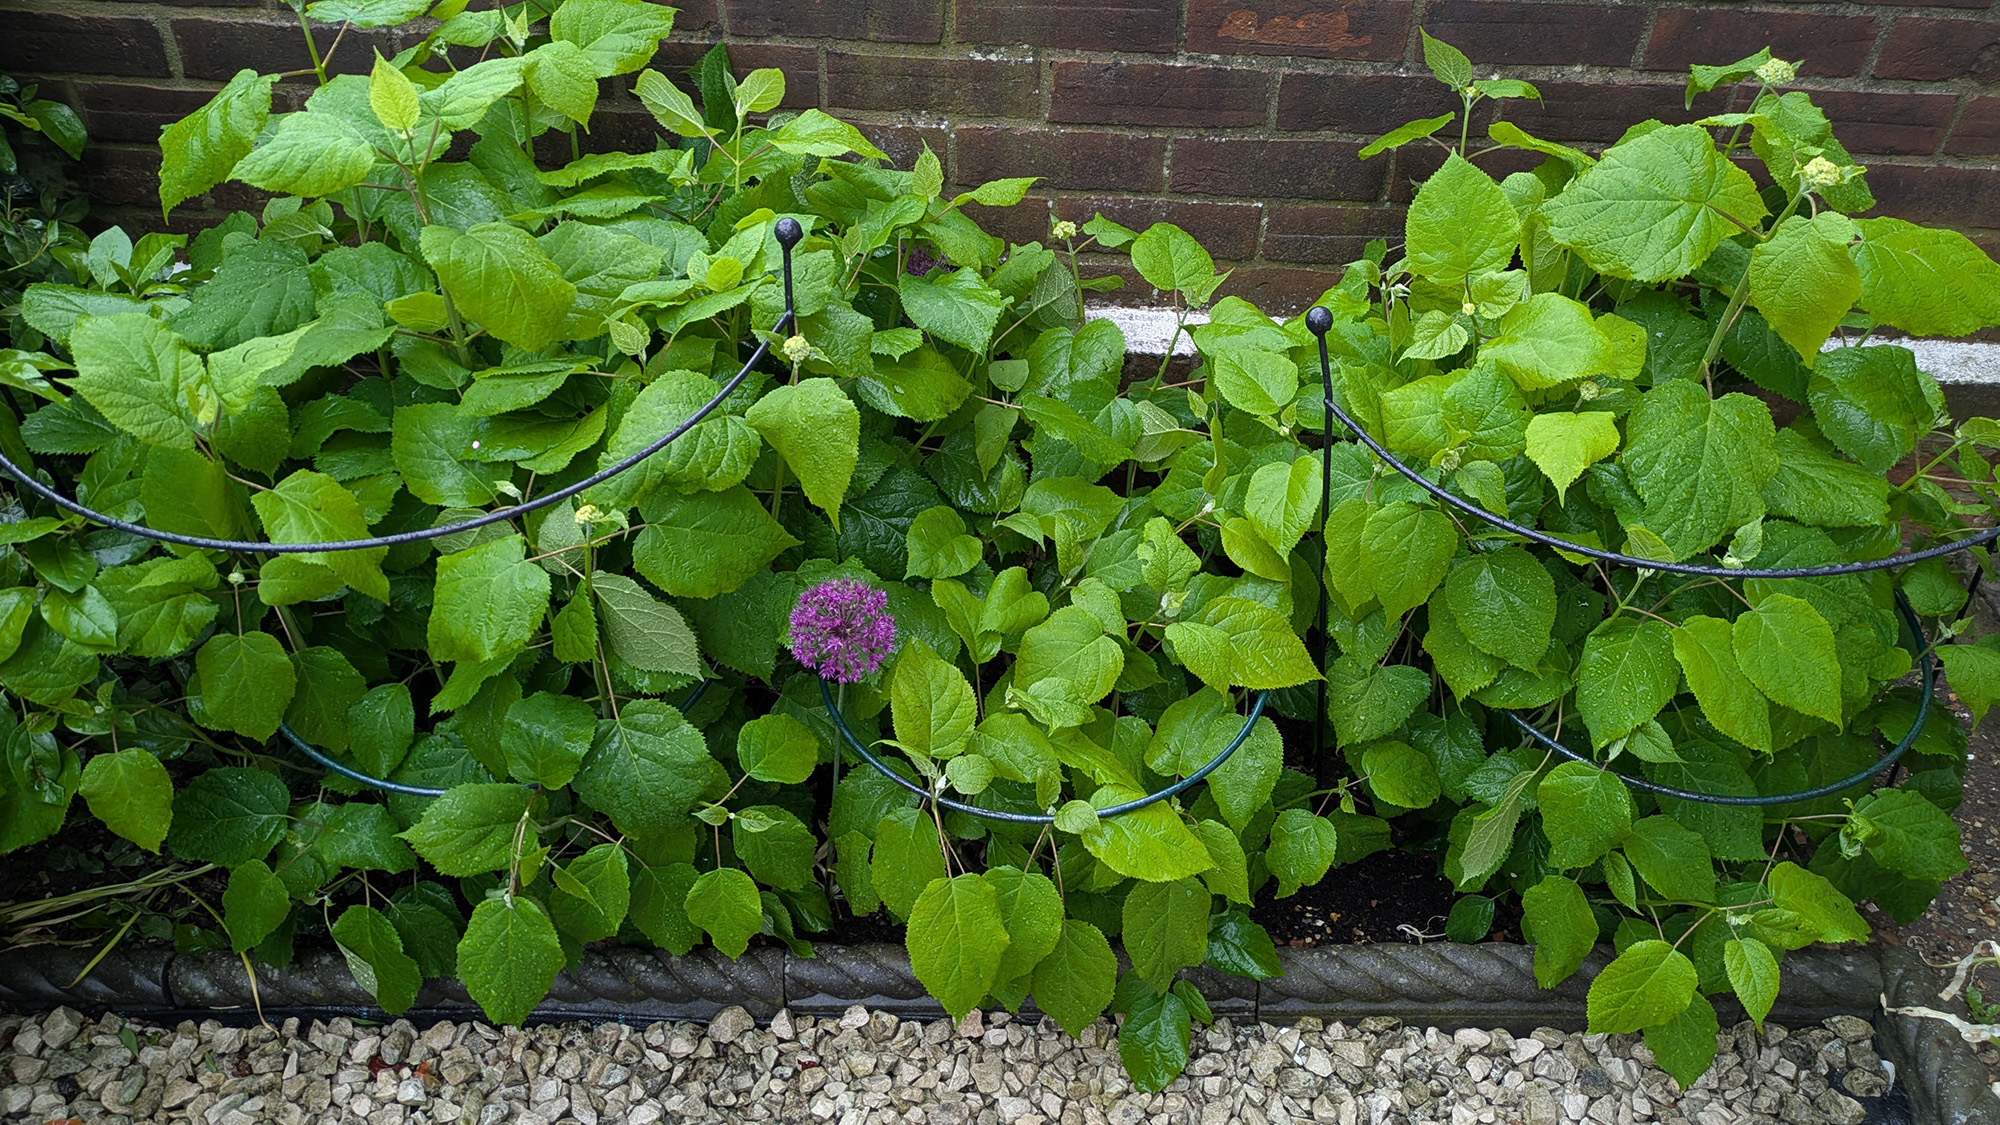
You do need to have access to a hydrangea to get started. If you don’t have your own specimen, ask your friends, family and neighbors. If they are happy to oblige, they too can benefit from free hydrangeas if you take a few extra cuttings.
Try the water propagation method
There are several ways to gain hydrangeas for free, but I’m going to use the water propagation method. It’s fun to try, and may even get a few little people interested in growing plants. What's more, Spring is a great time to take a hydrangea cutting, before they come into bloom.
What you’ll need:
• Sharp pruning shears
• Glass container
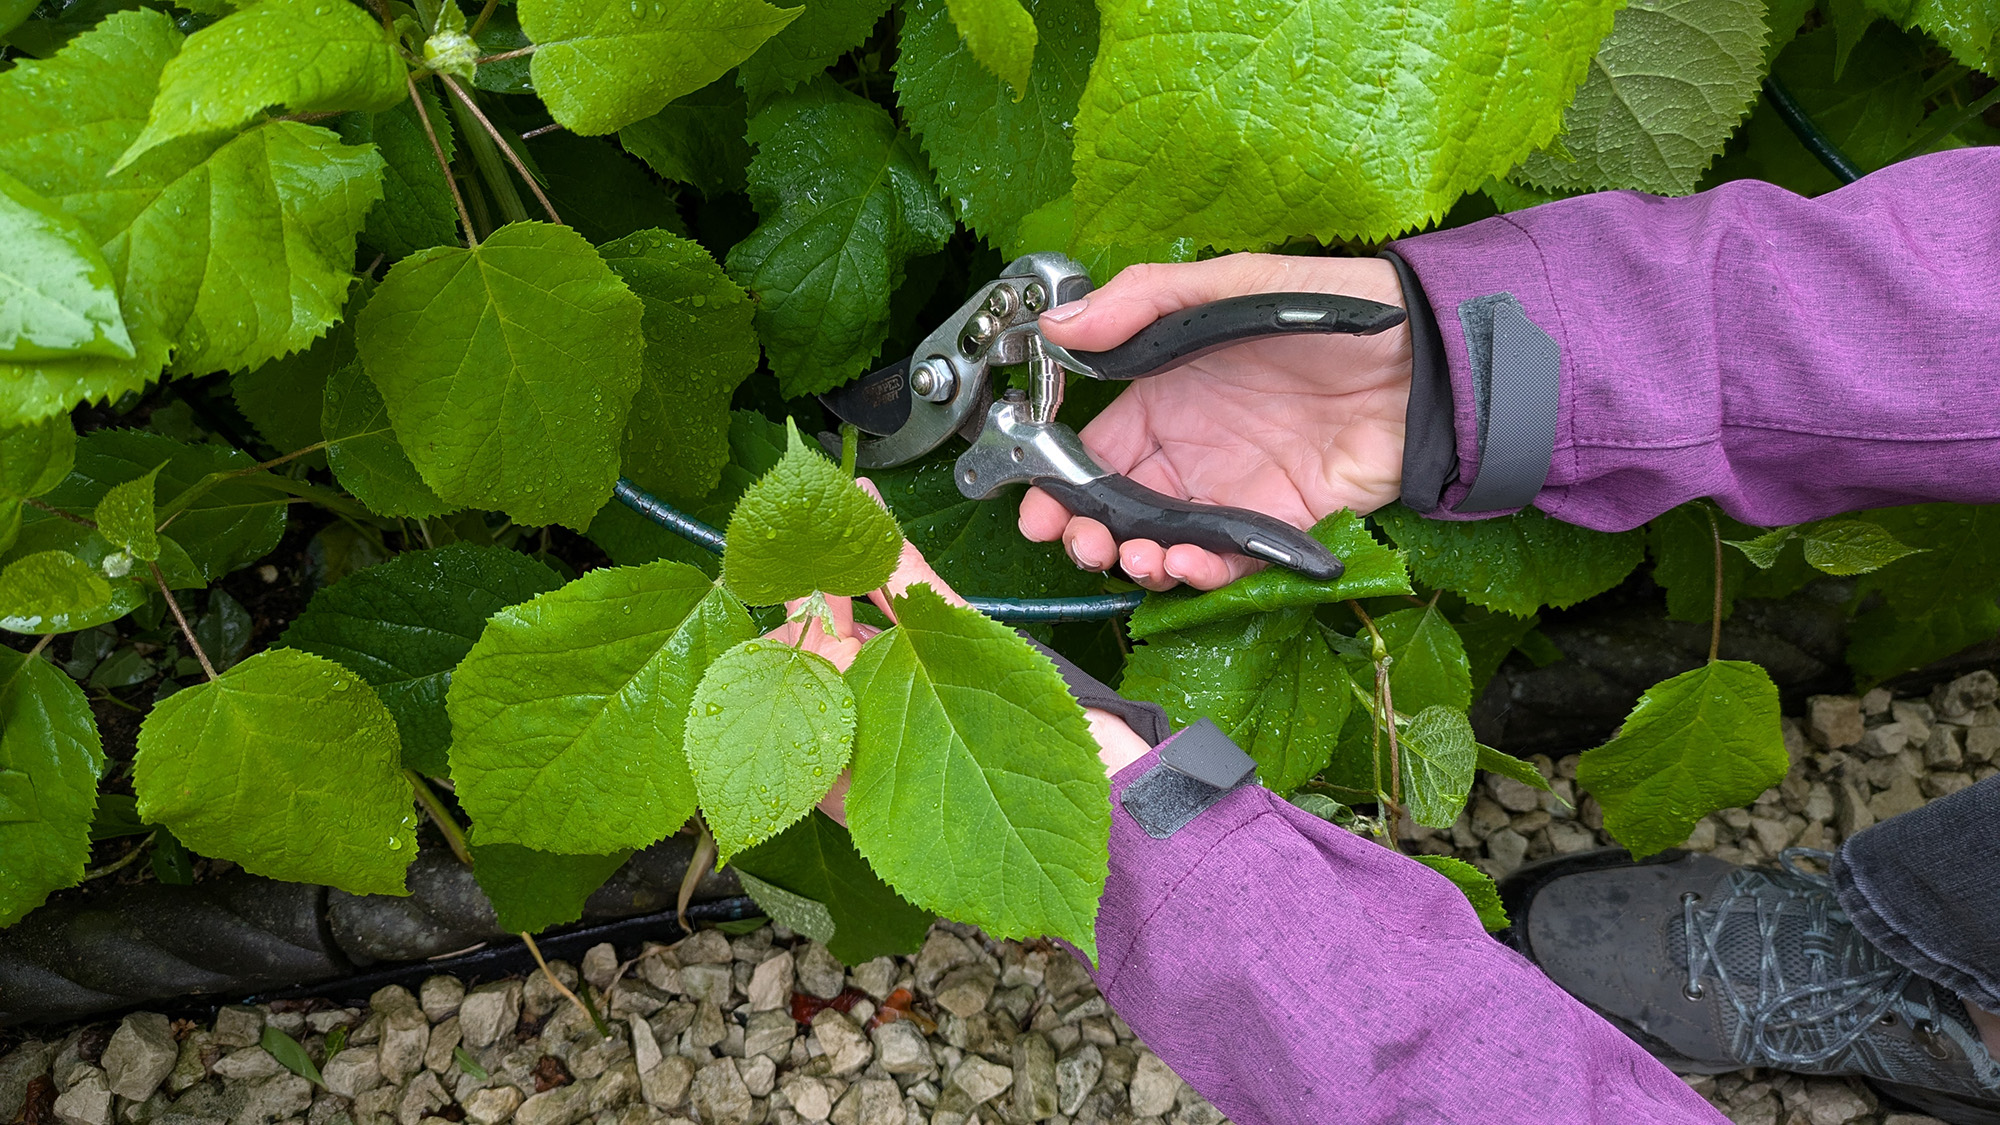
1. Find a flexible green stem on your hydrangea that is non-flowering. Take your sharp pruning shears and make a slanted cut about 4 to 6 inches from the top of the stem.
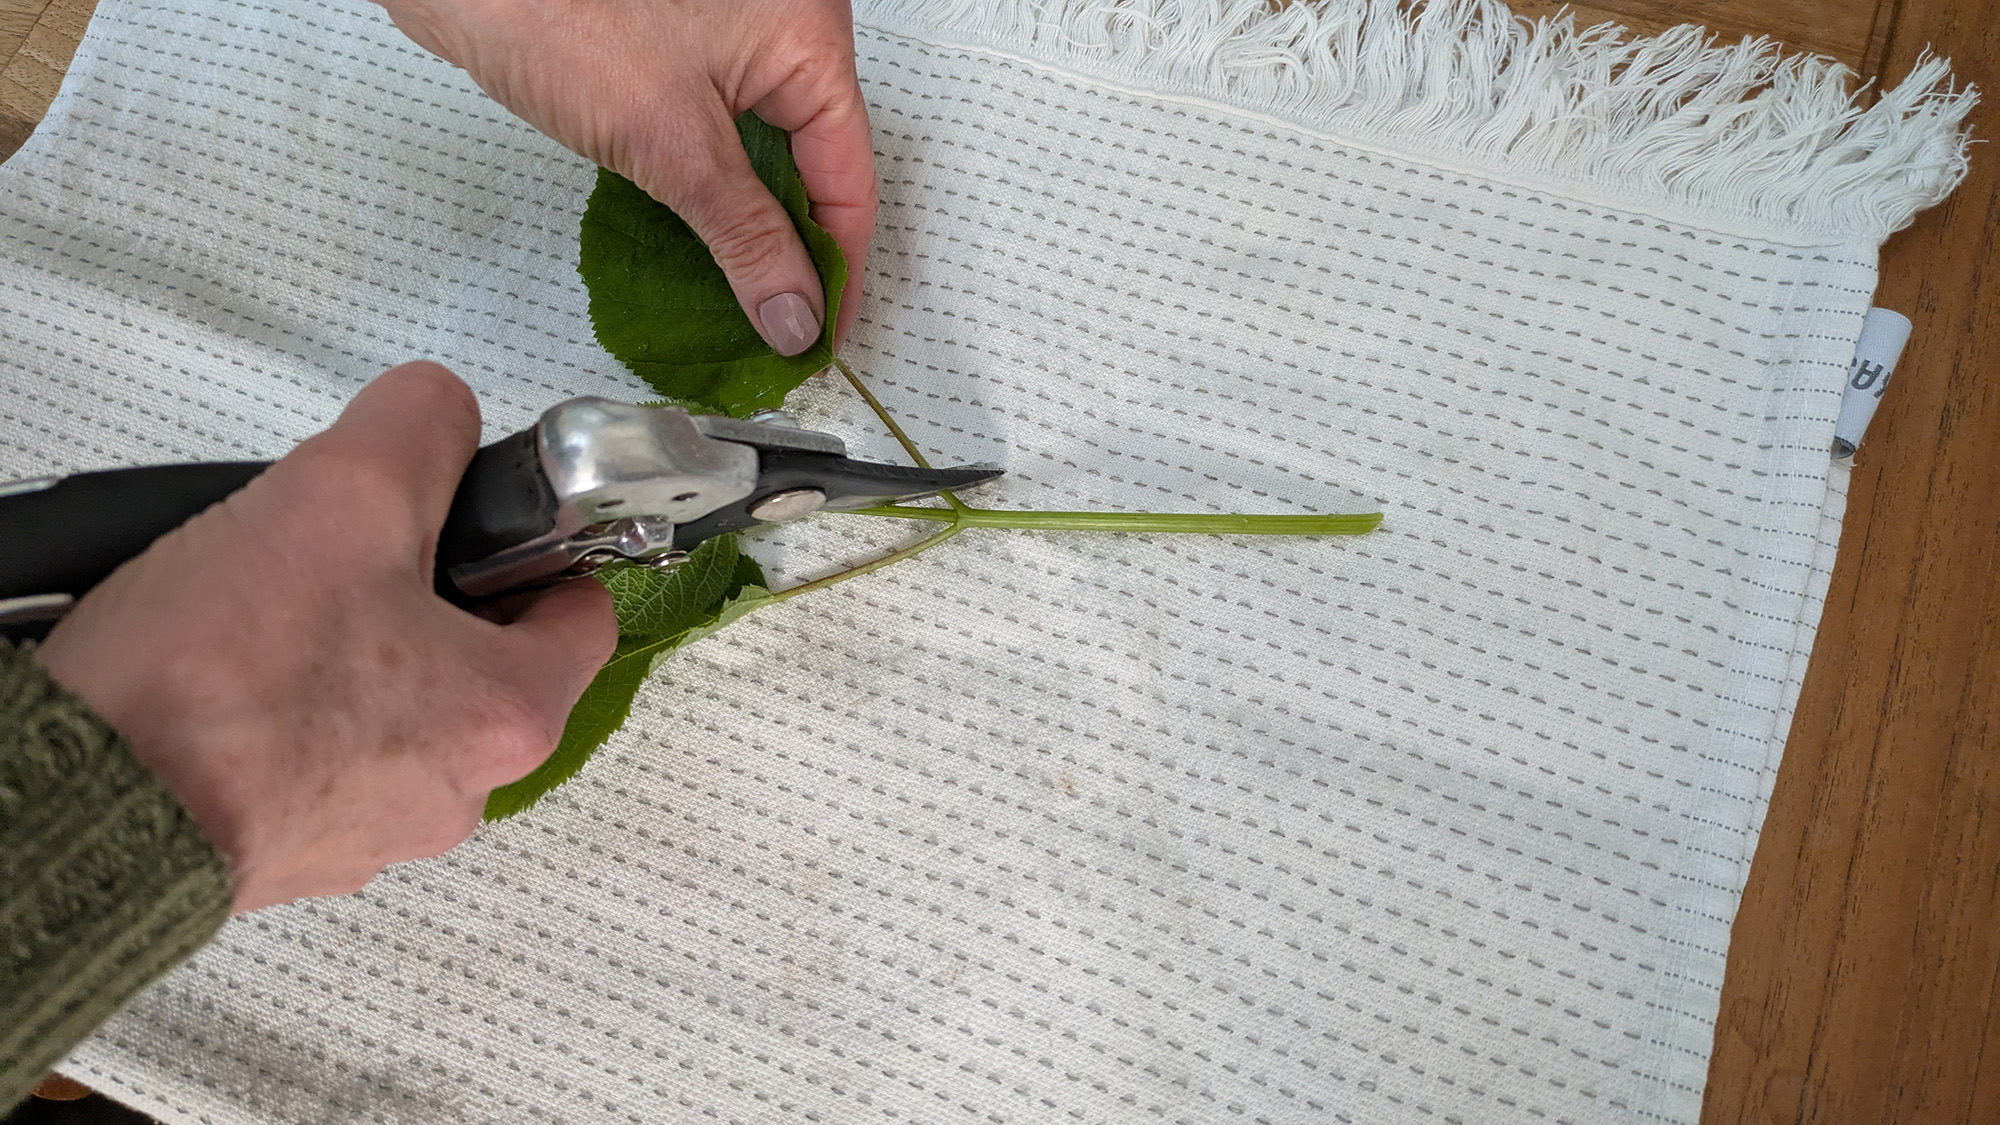
2. Strip the lower leaves to prevent them from rotting, and then cut the remaining leaves in half. The energy is going into the roots, rather than the leaves.

3. Place the stem in a clear glass of water, ensuring the leaves don’t touch the water.
4. Position the glass in indirect light, and change the water every few days to keep it oxygenated; this prevents bacteria and algae growth.
5. After 10 to 20 days, you should start to see tiny roots forming at the bottom of the stem. Once they reach 1 to 2 inches, it’s time to transplant your cutting into a small pot filled with well-draining potting soil. Keep it well watered while it establishes.