A collection of Star Wars Jedi Survivor tips is all you need to get started in a galaxy far, far away. From helping you keep an eye out for the right things, to making sure you survive your duels with all four limbs intact, this list will run through combat, exploration, skills, and Star Wars Jedi Survivor lightsaber stances to help Cal Kestis and co on their journey. There are plenty of ways you can get a jump start on Star Wars Jedi: Survivor's biggest challenges, so read on for our Star Wars Jedi Survivor tips.
1. It’s a Metroidvania so you can't do everything straight away

From the very first moments of the game, you'll be met with obstacles you can't seem to overcome. From rewards trapped in high places, to entire areas of the map off-limits behind Jedi Survivor green laser barriers, there are several sections of the game locked behind powers that you only gain as you progress through the main story. By the end of the game, you'll be able to access absolutely everything Star Wars Jedi Survivor has to offer, but at the beginning, if you can't see a way forward, it's probably best to move on and come back later - it'll be pretty clear when you've got the tools you need.
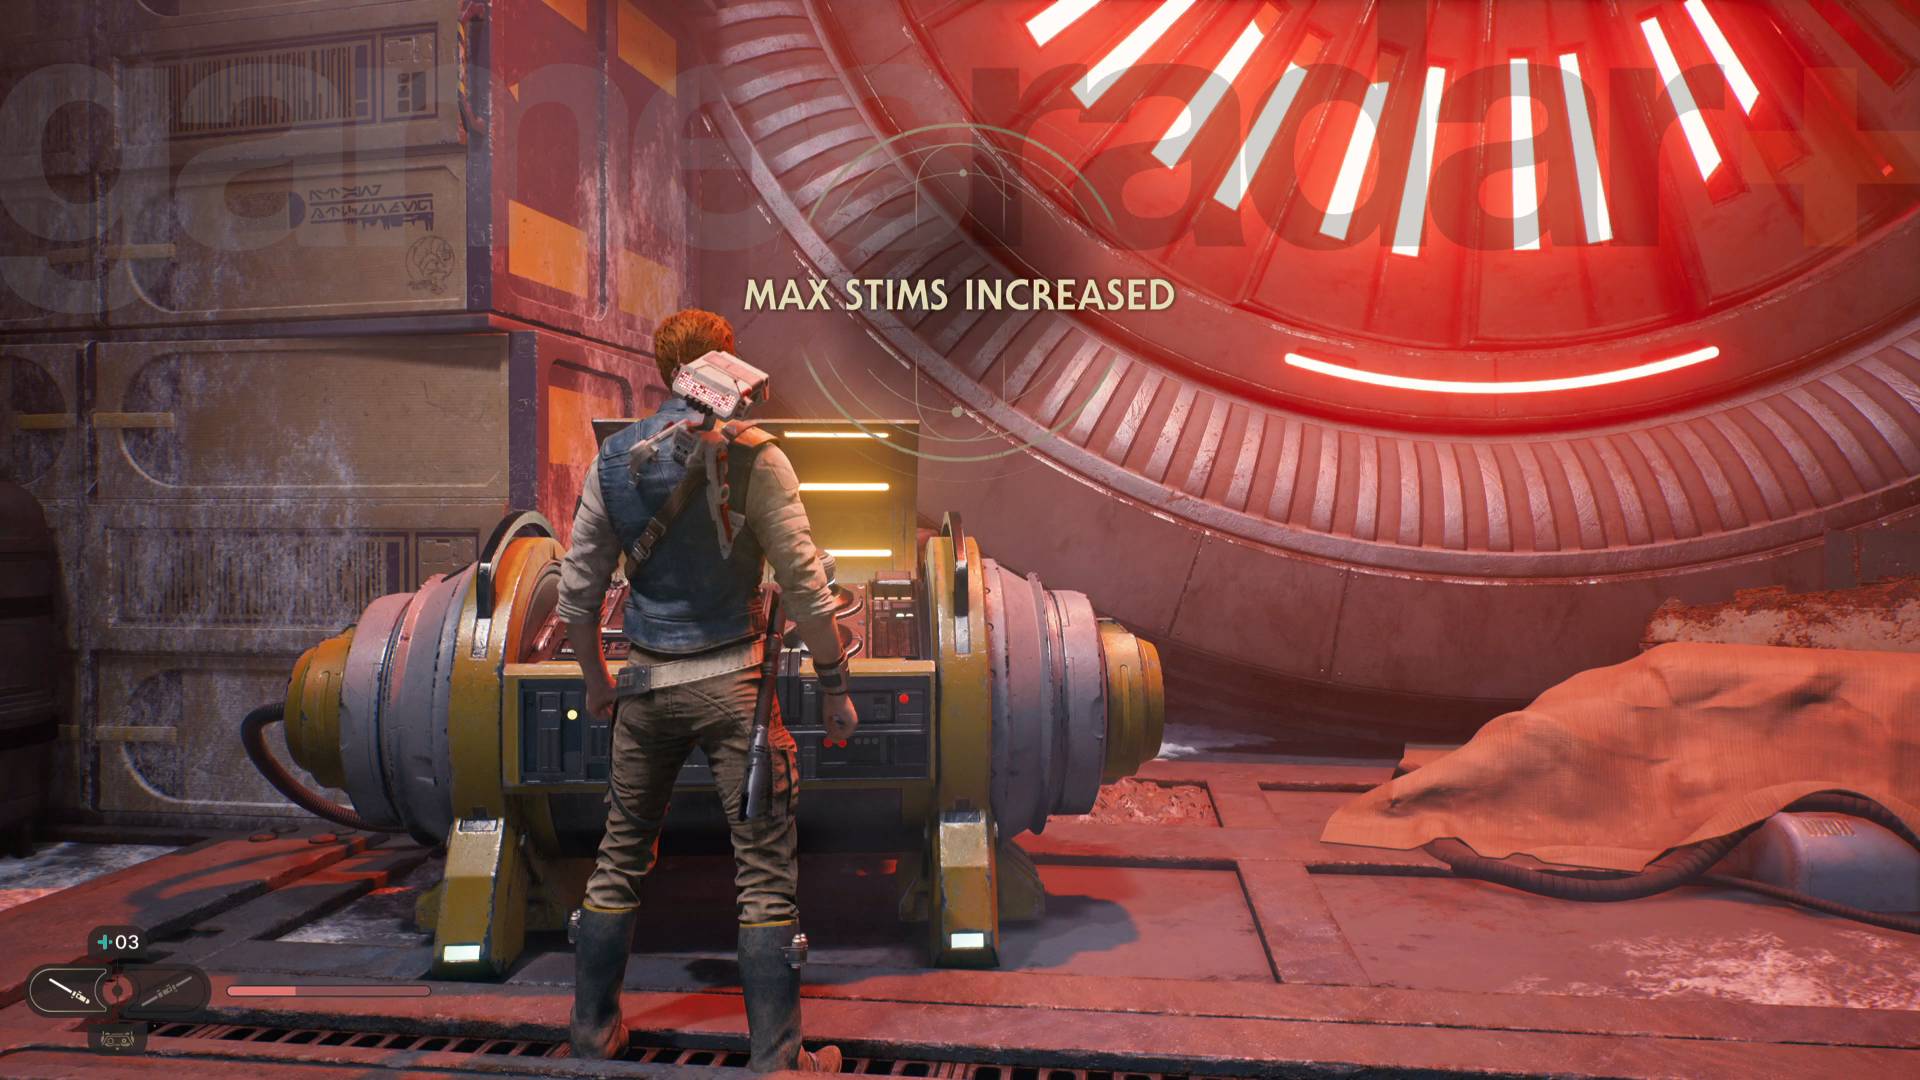
2. Seek out stims and health/force upgrades to increase your chances
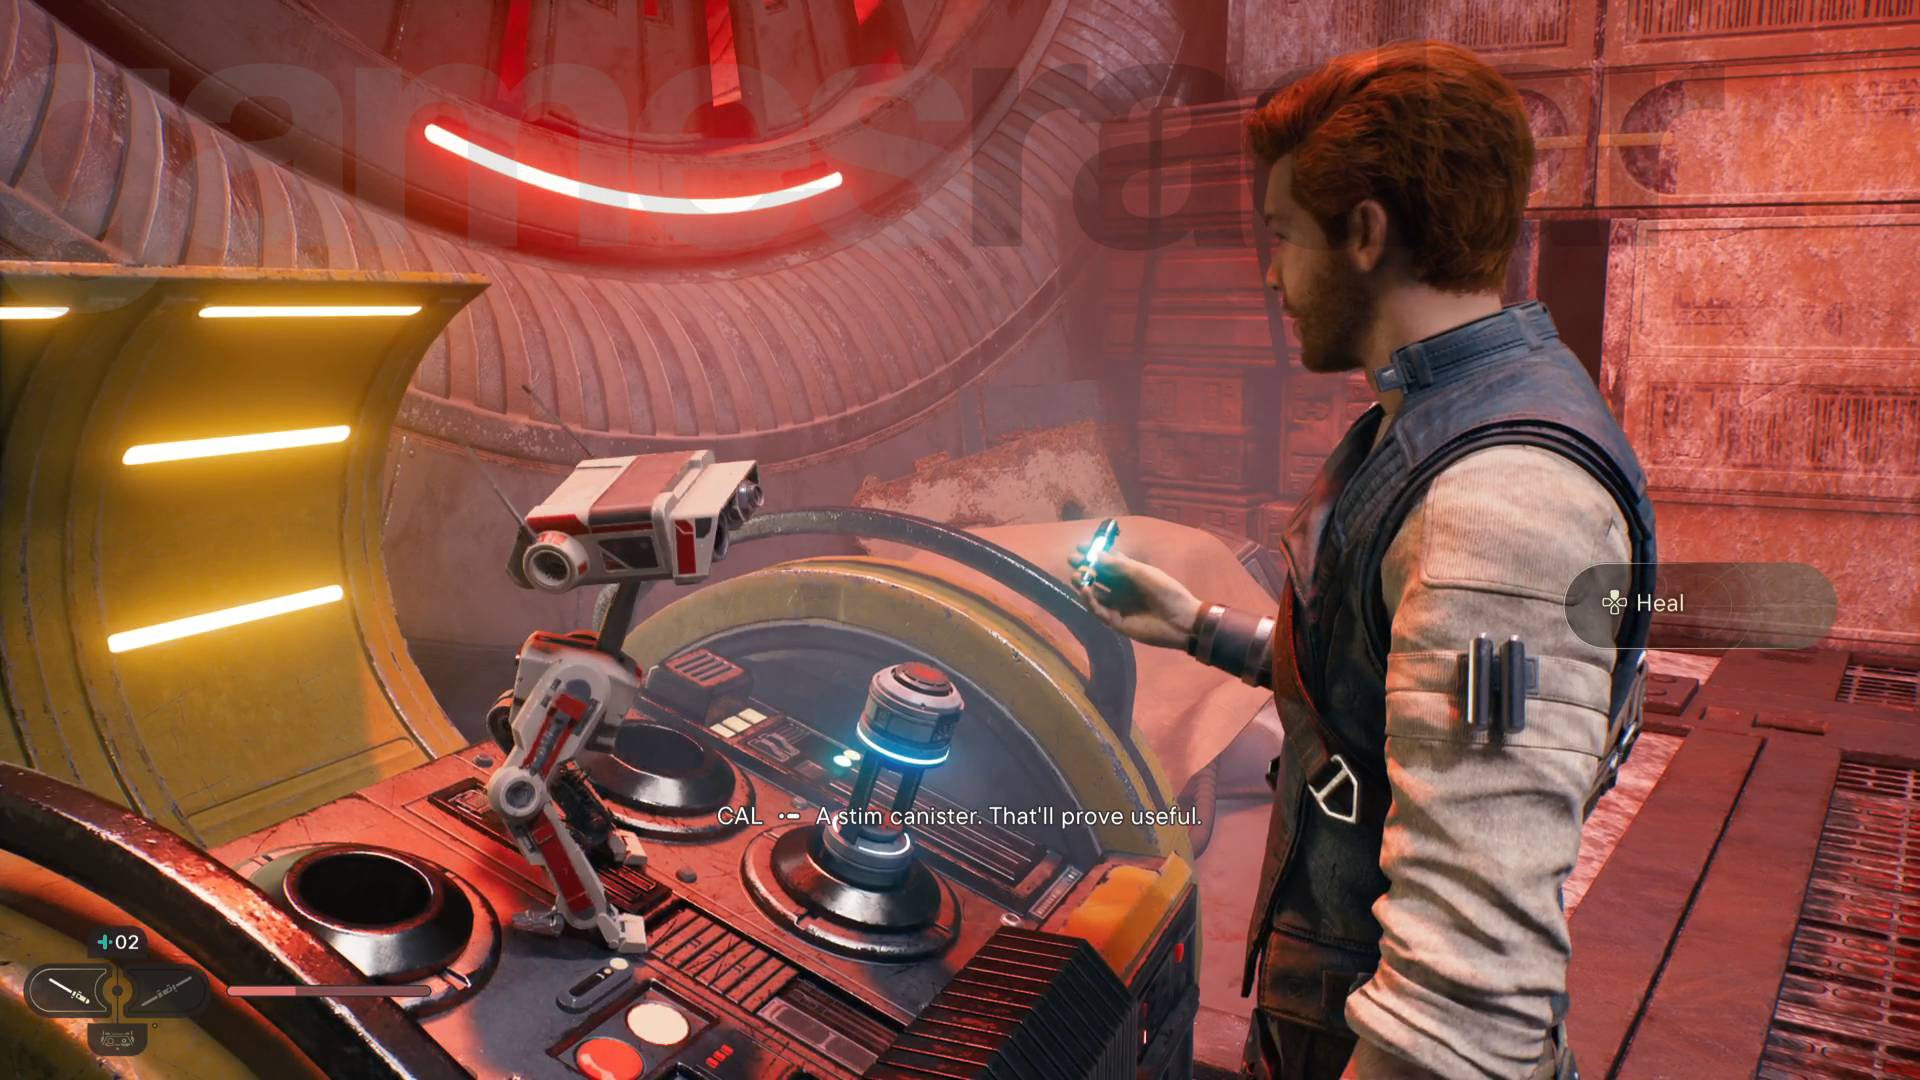
You'll want to try and seek out as many bonuses as possible, especially the powerful upgrades around Health essence, Force essence, and Star Wars Jedi Survivor stim canisters. Essence increases your maximum resources for HP and your Force meter - the amount of Force power you can use before recharging. More stims means more healing in a fight. Explore as much as you can, and if you find a glowing crystal near the ground, or a cylindrical yellow container, make sure to crack it open for a significant boost.
3. Use the right lightsaber stance for the right situation
There are five different Star Wars Jedi Survivor lightsaber stances, and each has its strengths and weaknesses. You'll start with single and dual-blade stances; the former is generally solid, and the latter is best for taking out big groups of enemies. You'll also earn the Twin Blade stance, which is good at harassing single targets, the Blaster stance, best for ranged enemies, and the Crossguard, which is a slow, heavy stance that offers big damage but leaves you open to a quick hit.
If you can't beat a particular enemy, consider using a different stance. You can equip two lightsaber stances at once, swapping between them at any time. To swap in an unequipped stance, head to the 'Stances' section of the Meditation Shrine menu.
4. Use the Force to gain an advantage

Of all the Star Wars Jedi Survivor abilities, Force powers and gear you can get as you play, the Force is one of the most powerful set of skills, both in and out of combat. Pushing and pulling certain items can be key to traversal, but might also turn the fight in your favor. Most enemies can withstand a gentle shove, but a harder push might send them flying off a ledge; even the most powerful foes, however, will take a hit to their block meter, potentially opening them up to more damage in the future. Each lightsaber stance has its own array of empowered Force moves, from lightsaber throws to overhead slams to powerful blocks and parries. Get acquainted with the tools at your disposal and Cal can get a serious advantage.
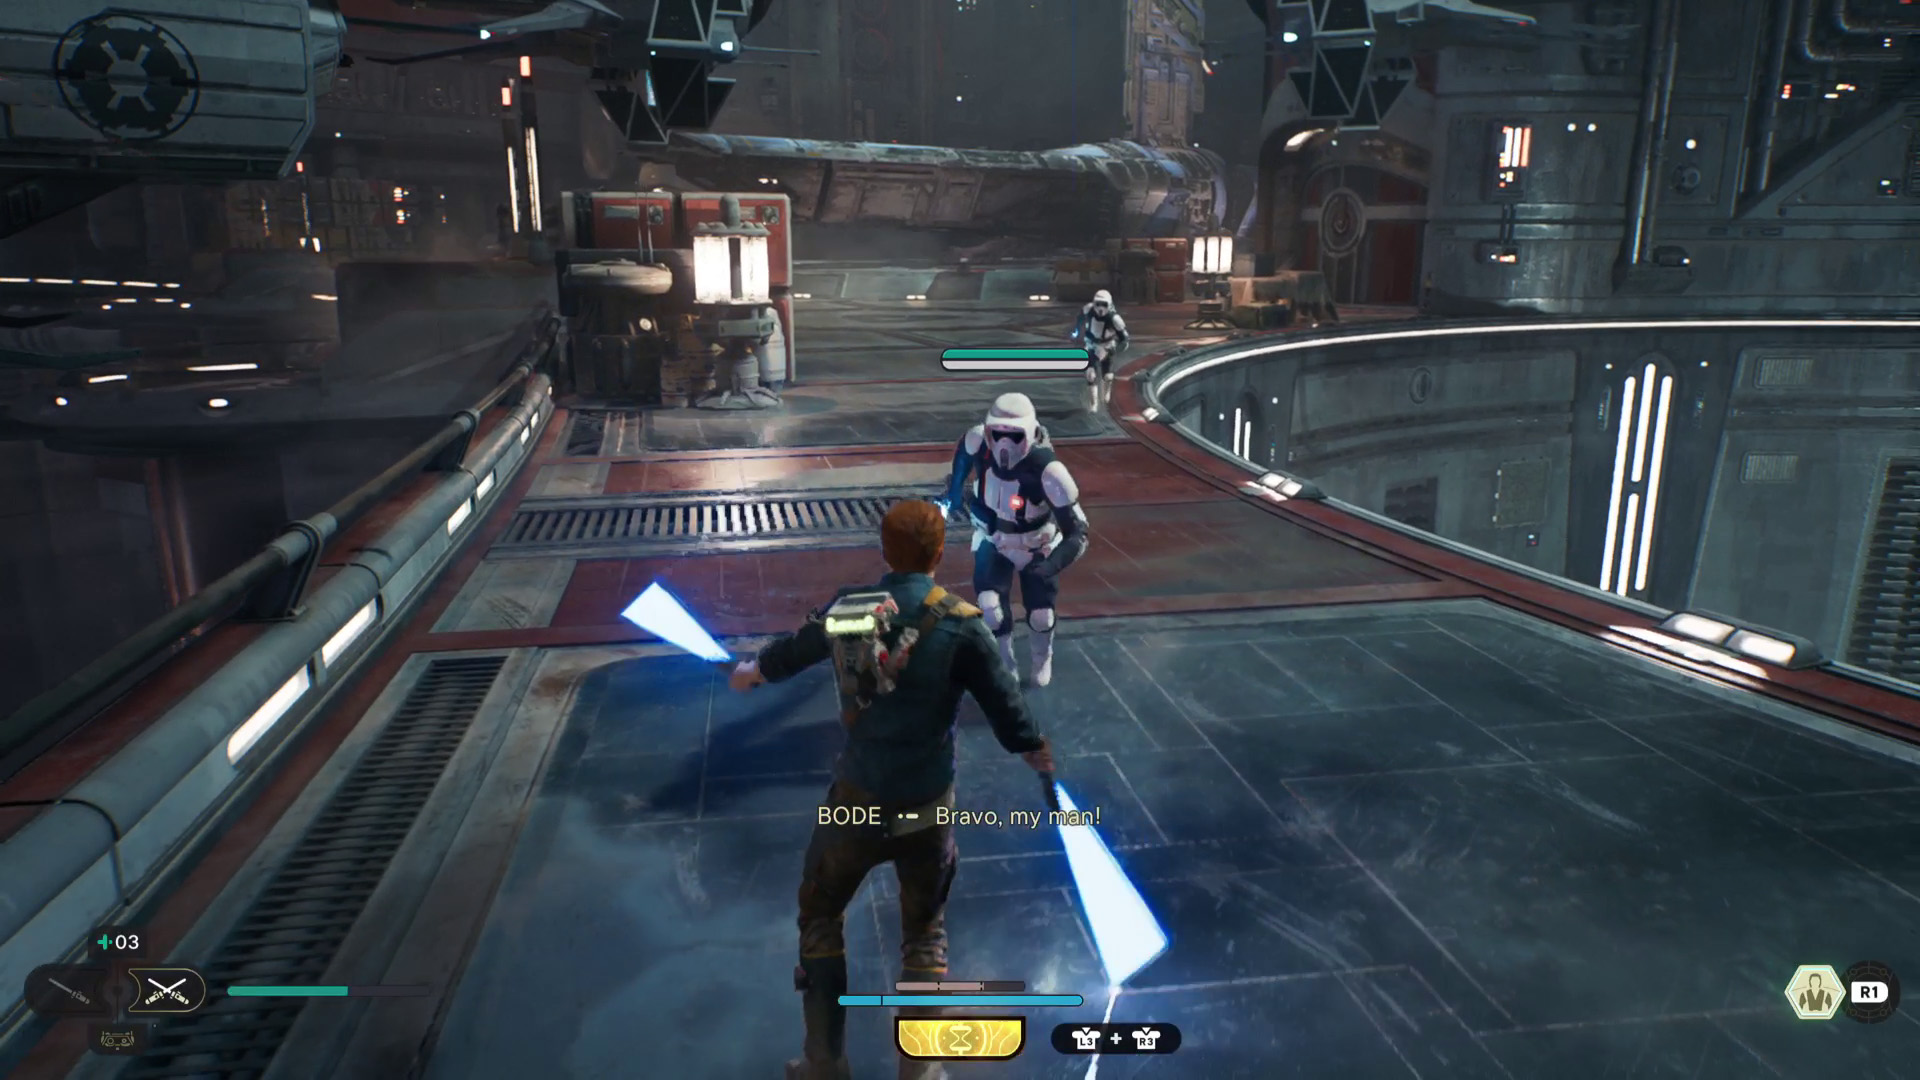
5. Parrying is often more important than landing a hit

While it might be tempting to go running into a fight with your lightsaber swinging, patience is key. Almost all enemies in Star Wars Jedi Survivor have a block bar as well as a health bar - as long as the gray line under their HP isn't empty, they'll be able to withstand your attack, and your chaotic swinging might open you up to taking more damage in return. Instead of going all-out to hit an opponent, aim to block their attacks at the exact right moment. That will throw them off balance, reducing their block bar - if it empties completely, they'll be staggered, opening them up to several hits at once.
6. Upgrade the survival tree first
As enticing as bonus Force powers or new lightsaber techniques might be, they don't mean much if you're too dead to use them. With that in mind, consider upgrading skills in the Survival tree first - these offer extra health, more healing, and more Force to help you get out of a bind, and can be the difference between beating a boss, or succumbing to their attacks.
7. The holomap is your friend
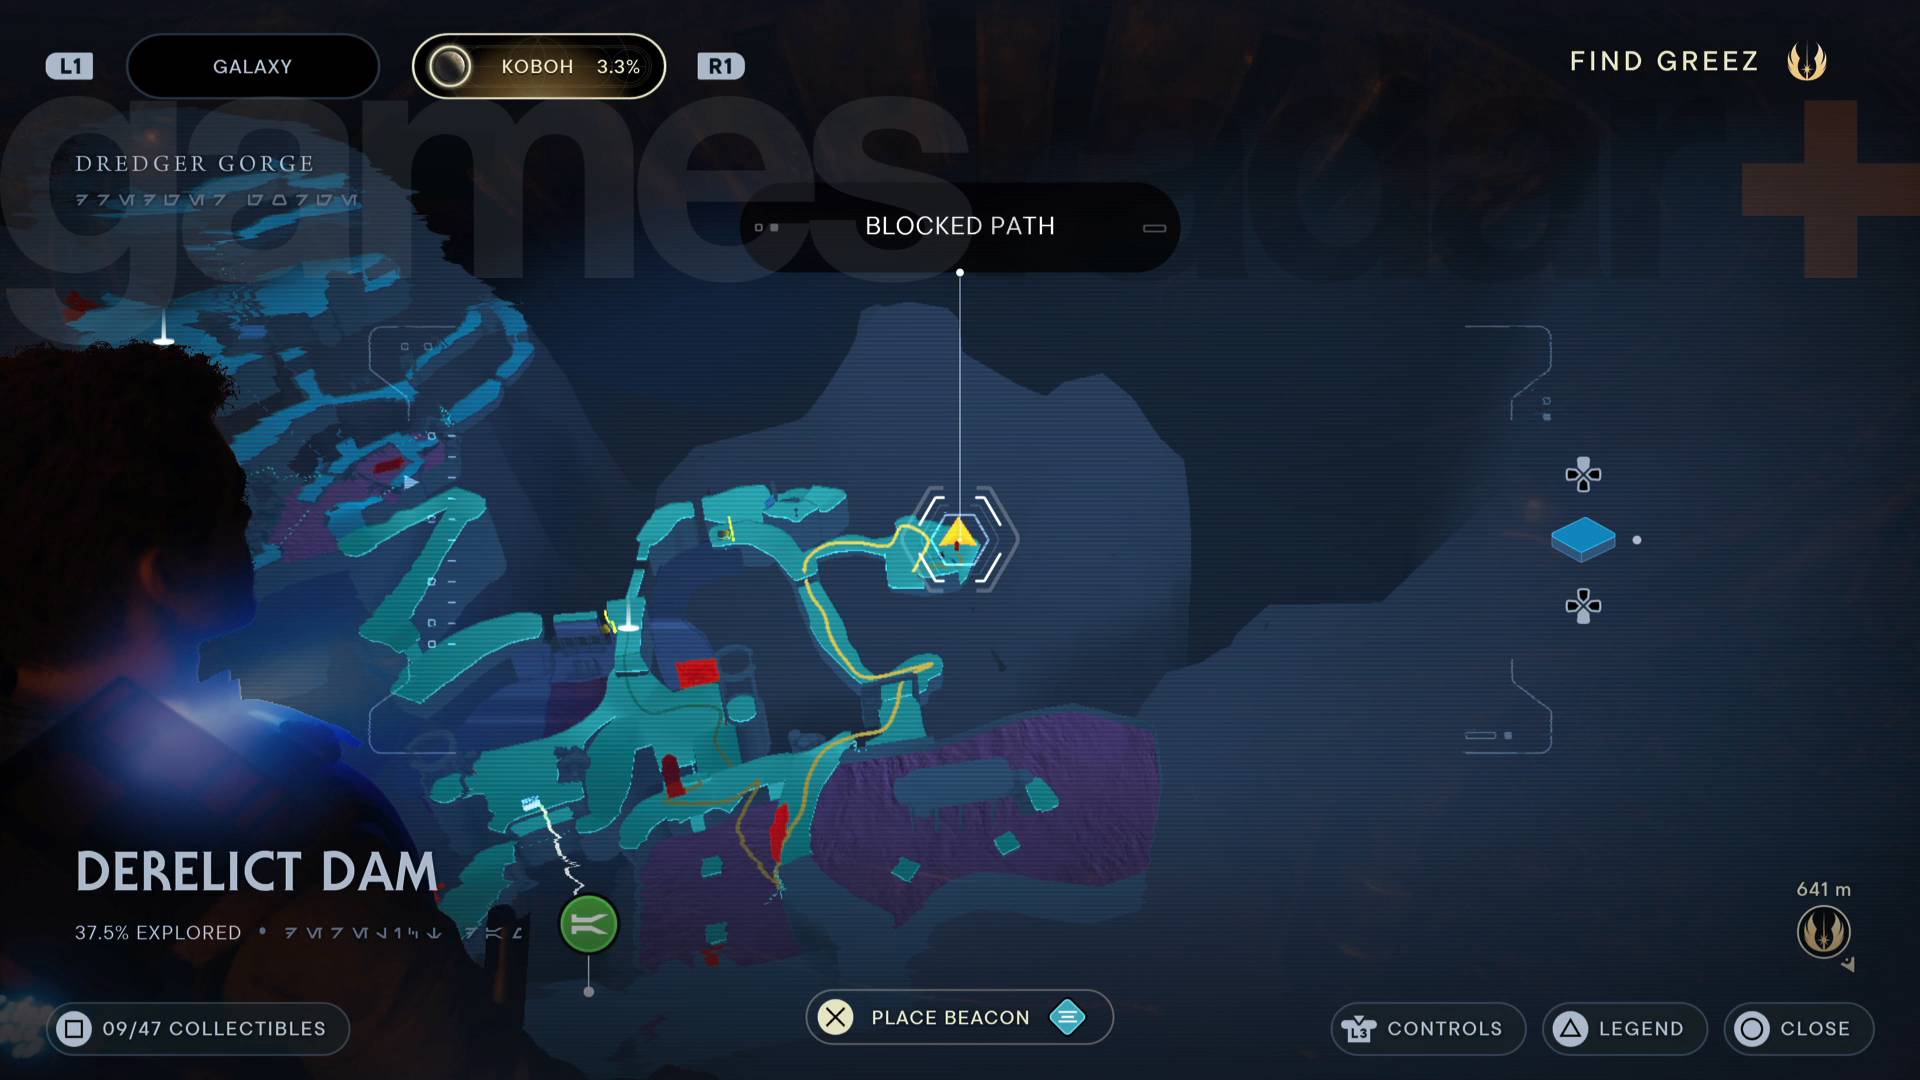
The planets that you'll explore in Star Wars Jedi Survivor are often large and complex, with different paths opening up throughout the game. The Holomap is a 3D rendering of the entire planet, and will often show you exactly how to get from place to place, or if the path you're trying to take is currently locked to you. Your objective will show up in bright gold, and unexplored areas or open paths will be highlighted in yellow and green. If you can't progress, your obstacle will show up in red, so you'll need to find another way around. Side missions like the Jedi Survivor abandoned shack are so much easier to complete if you check the map carefully.
8. Confusion is a very powerful tool to soften up enemies

Cal is more powerful than he was in Fallen Order, and that means he's got some new abilities, including the iconic Jedi Mind Trick. This has limited use out of combat, but in a fight it can be used to turn an enemy into an ally who'll fight alongside you. This can be very useful for thinning out a large group of enemies, although you might want to keep your distance until the carnage has ended. Careful though - if you use a Mind Trick on a single enemy with no other foes nearby, your new 'ally' will still turn its attention onto you.
9. Use your companions if you're in a bind
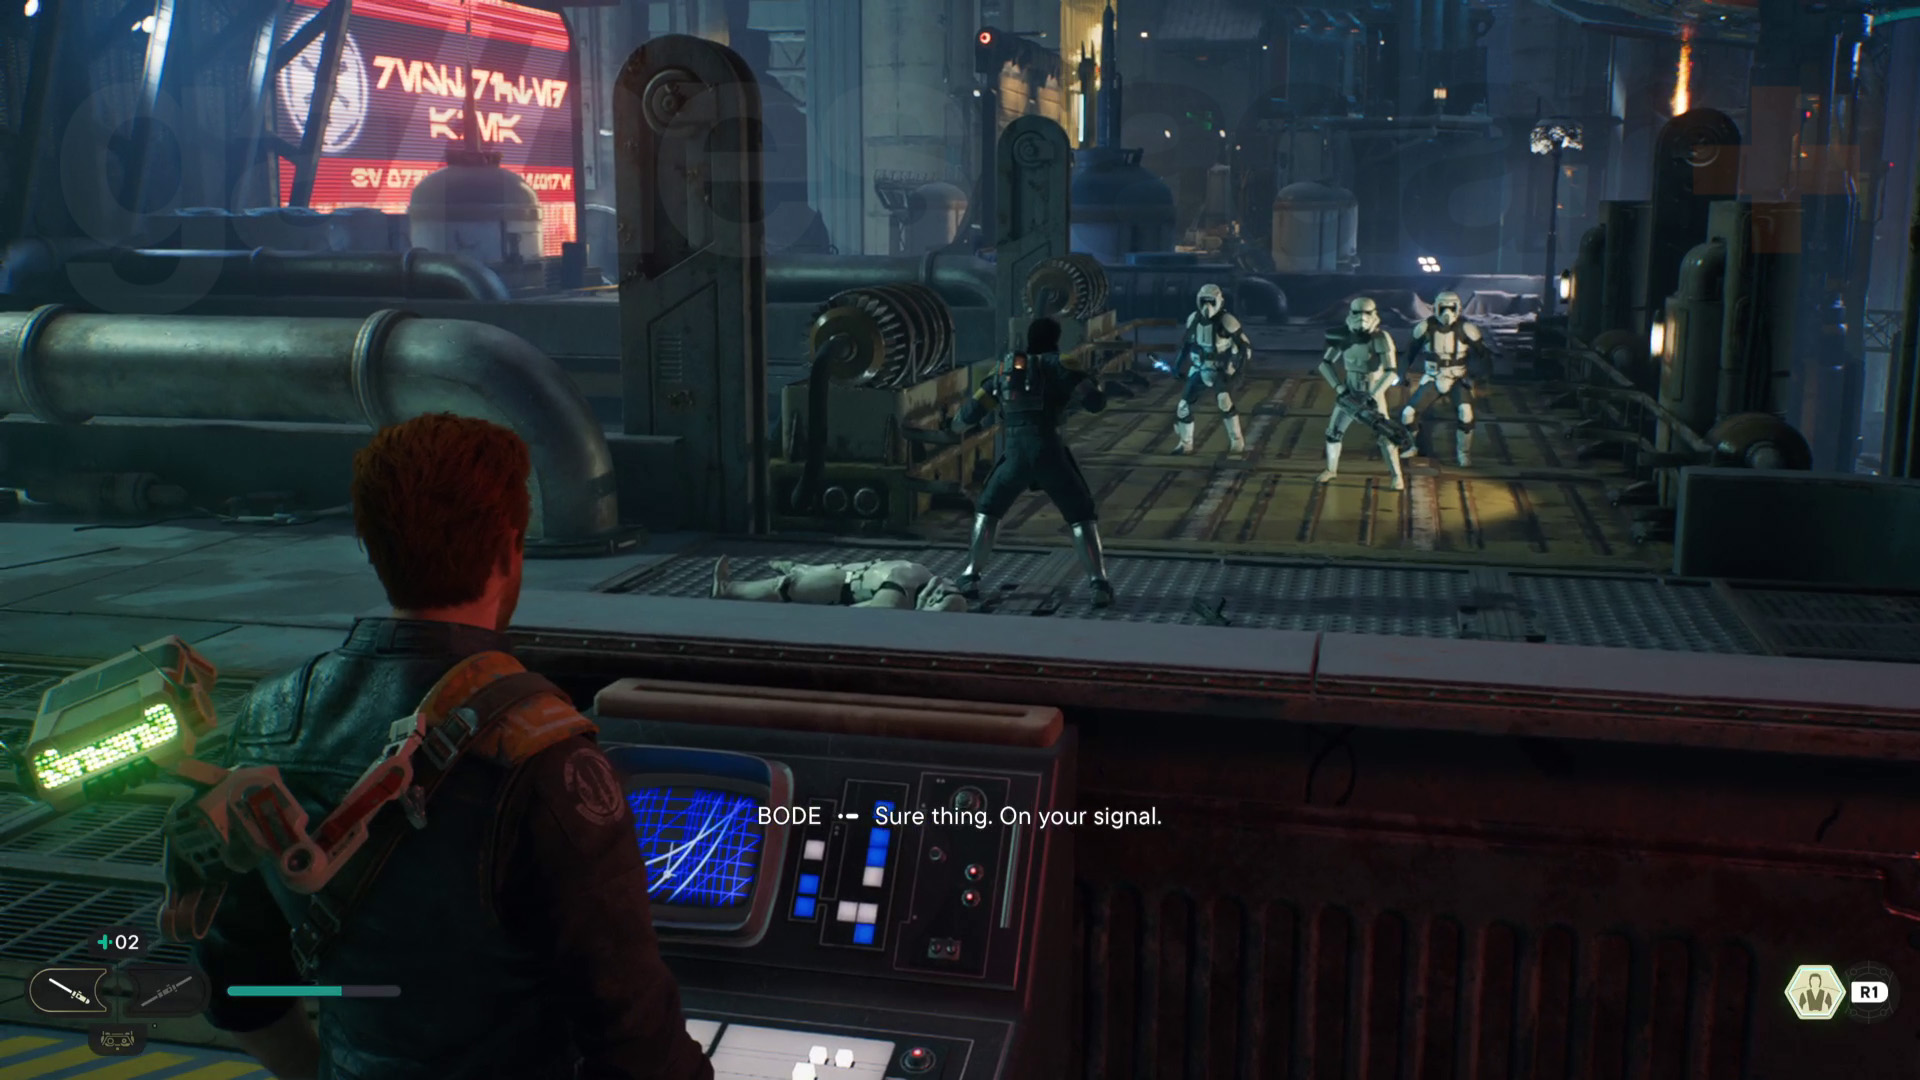
Through certain sections of the game, you'll journey alongside a companion - either Bode or Merrin. Both characters can help Cal traverse areas he might otherwise be unable to access, so look out for prompts if you're stuck. They'll also help you in combat, and can be instructed to focus on a particular opponent if they're causing you problems.
10. Whittle down different types of enemies to even the odds
Survivor will often drop Cal into arenas full of enemies of different types, and while it might be tempting to focus on the massive melee enemies bearing down on you, you won't get far against them if you're also fighting off a barrage of blaster shots. As fights start, look to deflect bolts back at enemies using the block button, or use Force Pull to nab a couple of troopers out of formation. With the ranged threat neutralized, it'll be much easier to take on even the nastiest melee opponents Survivor can throw at you.