Watch video: Spring clean your kit
Dust is the nemesis of all photographers. Grit, grime, dirt and even sand can all find their way inside the intricate workings of your camera body or in the optics of your lenses to cause havoc.
While it’s not the most exciting subject around, it’s vital to keep kit clean, and since cameras and lenses can cost a small fortune, it’s only right that we give them the care they deserve to keep them in top condition. This also helps you keep the resale value high and stops those annoying little dust spots appearing in your photos.
Spring is the perfect time to do an annual deep clean of all your camera kit, from lenses and bodies to camera bags. And while we probably should do it more often, once a year will probably suffice. While cleaning more serious dust and fungus from the inside of a lens is best left to an expert, we can do most of the essential cleaning at home with a few essential tools.
1. Air power

The first step when cleaning delicate camera parts or optics is to use air power from a handheld rocket-style blower to knock off any loose dirt and debris so that these dirt particles don’t get worked in further when using the next methods. Remove any lens filters too, and blow dust off them and the front element.
An often overlooked piece of kit is your camera bags and backpack. These can get filthy and any dirt or sand inside them from trips outdoors or to the beach can then end up on your nice clean equipment so give your bags and the internal dividers a good vacuum to suck up any loose sand, grit and debris to stop this finding its way back onto your lenses and camera bodies.
2. Make contact
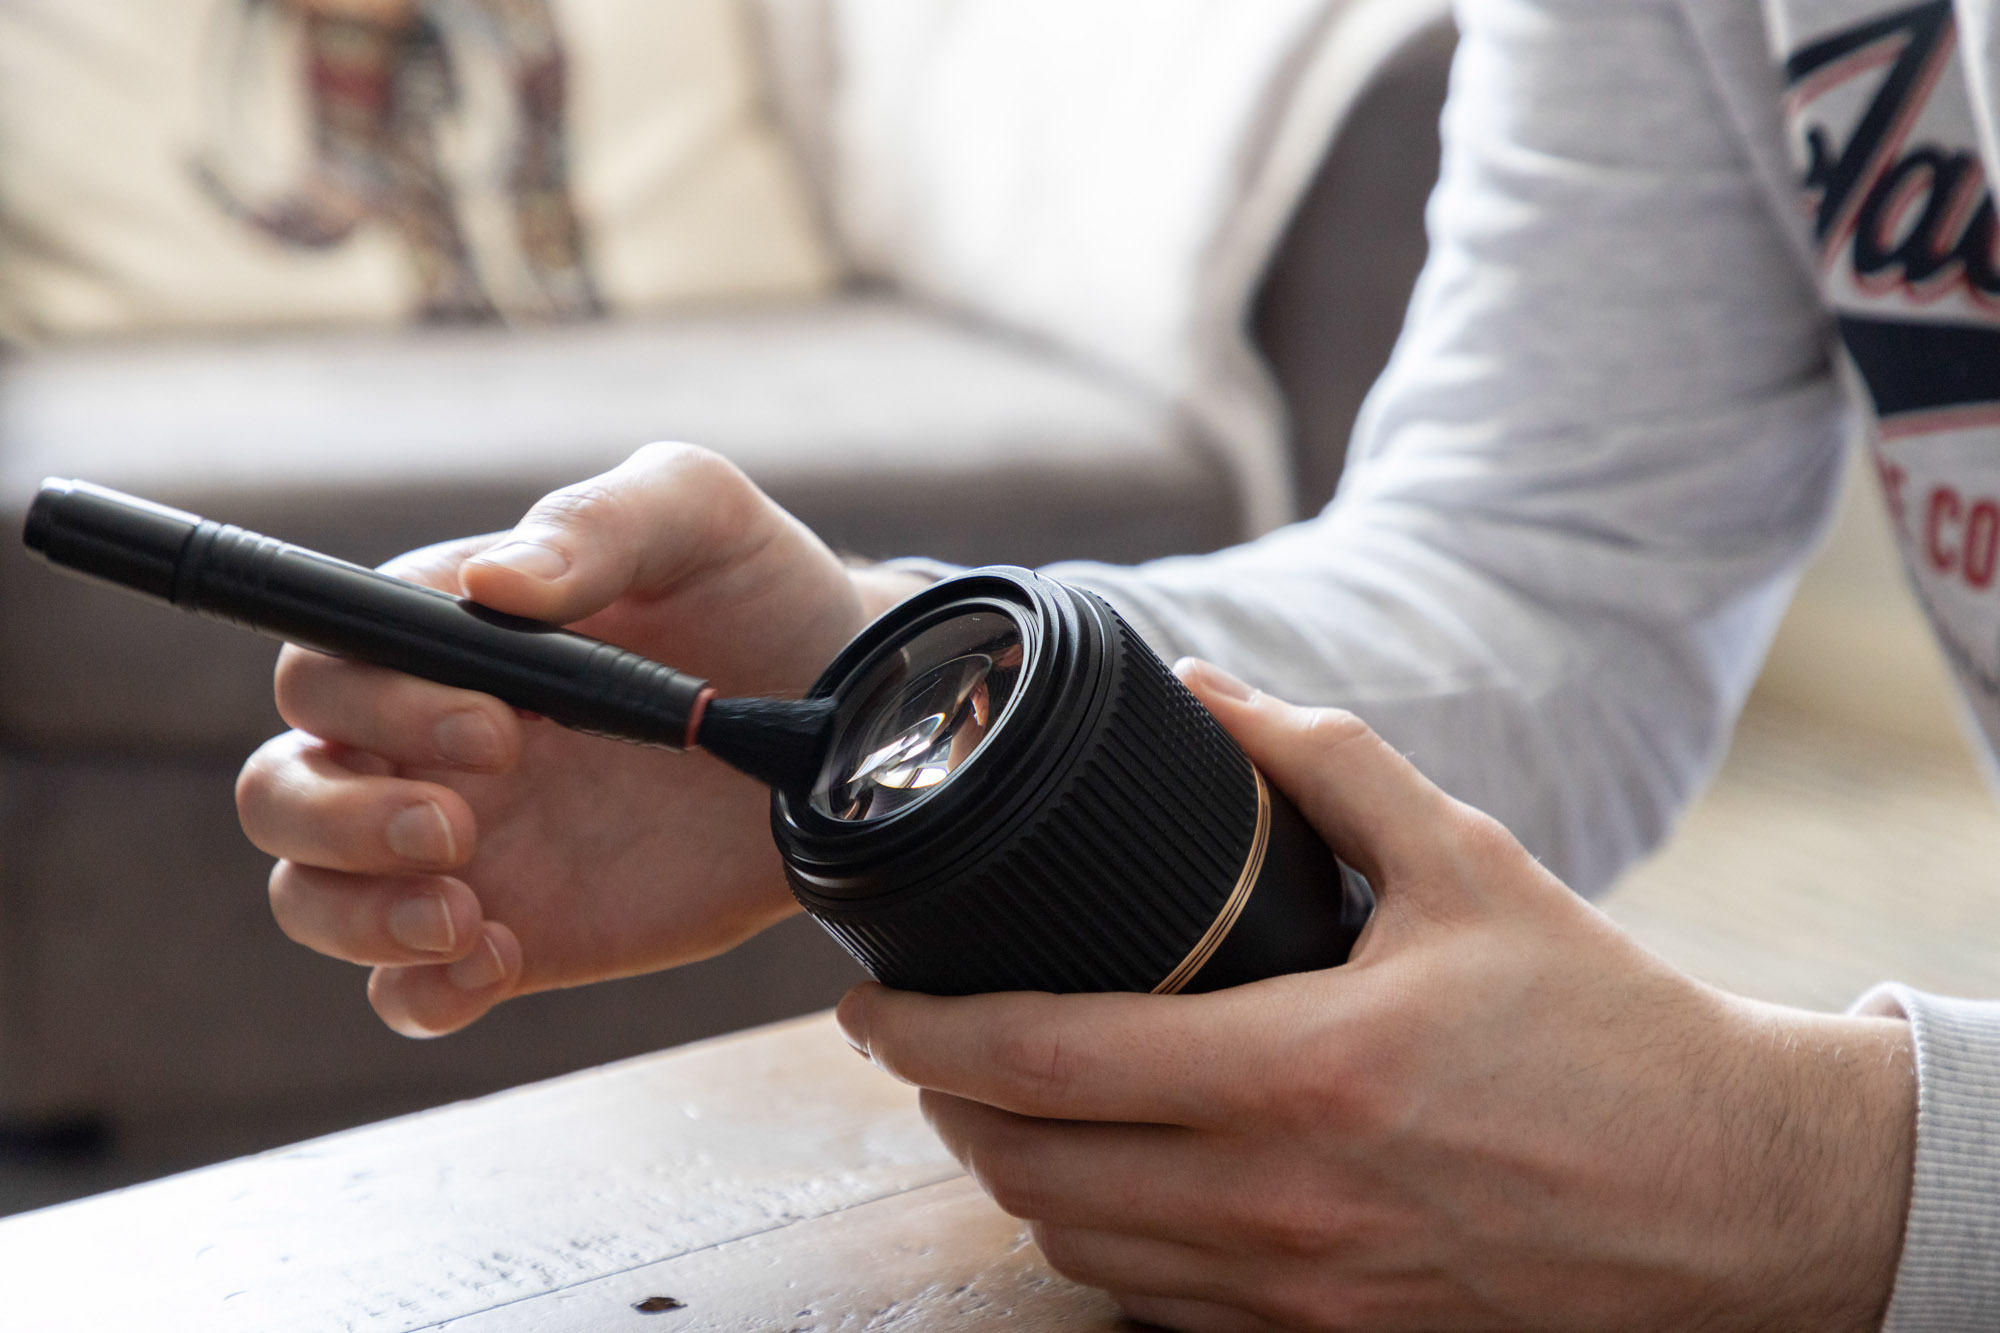
When an air blower fails, you’ll need to turn to a more powerful tool. It’s worth moving onto using a lens pen or microfibre cloth. Official Lenspen products have soft lint-free brushes you can use to flick away any loose dust, and have a felt pad at the other end you can use to carefully buff out any dirty problem areas.

For more stubborn grime on your lenses, like greasy fingerprints, a microfibre cloth is a good choice. Make sure your cloth is clean and then breathe on to your front or rear element to create some clean condensation. Before the condensation evaporates you’ll need to quickly buff it out with your microfibre cloth. The same process can be applied to all of your filters to keep them clean.
3. Check for dust on the sensor
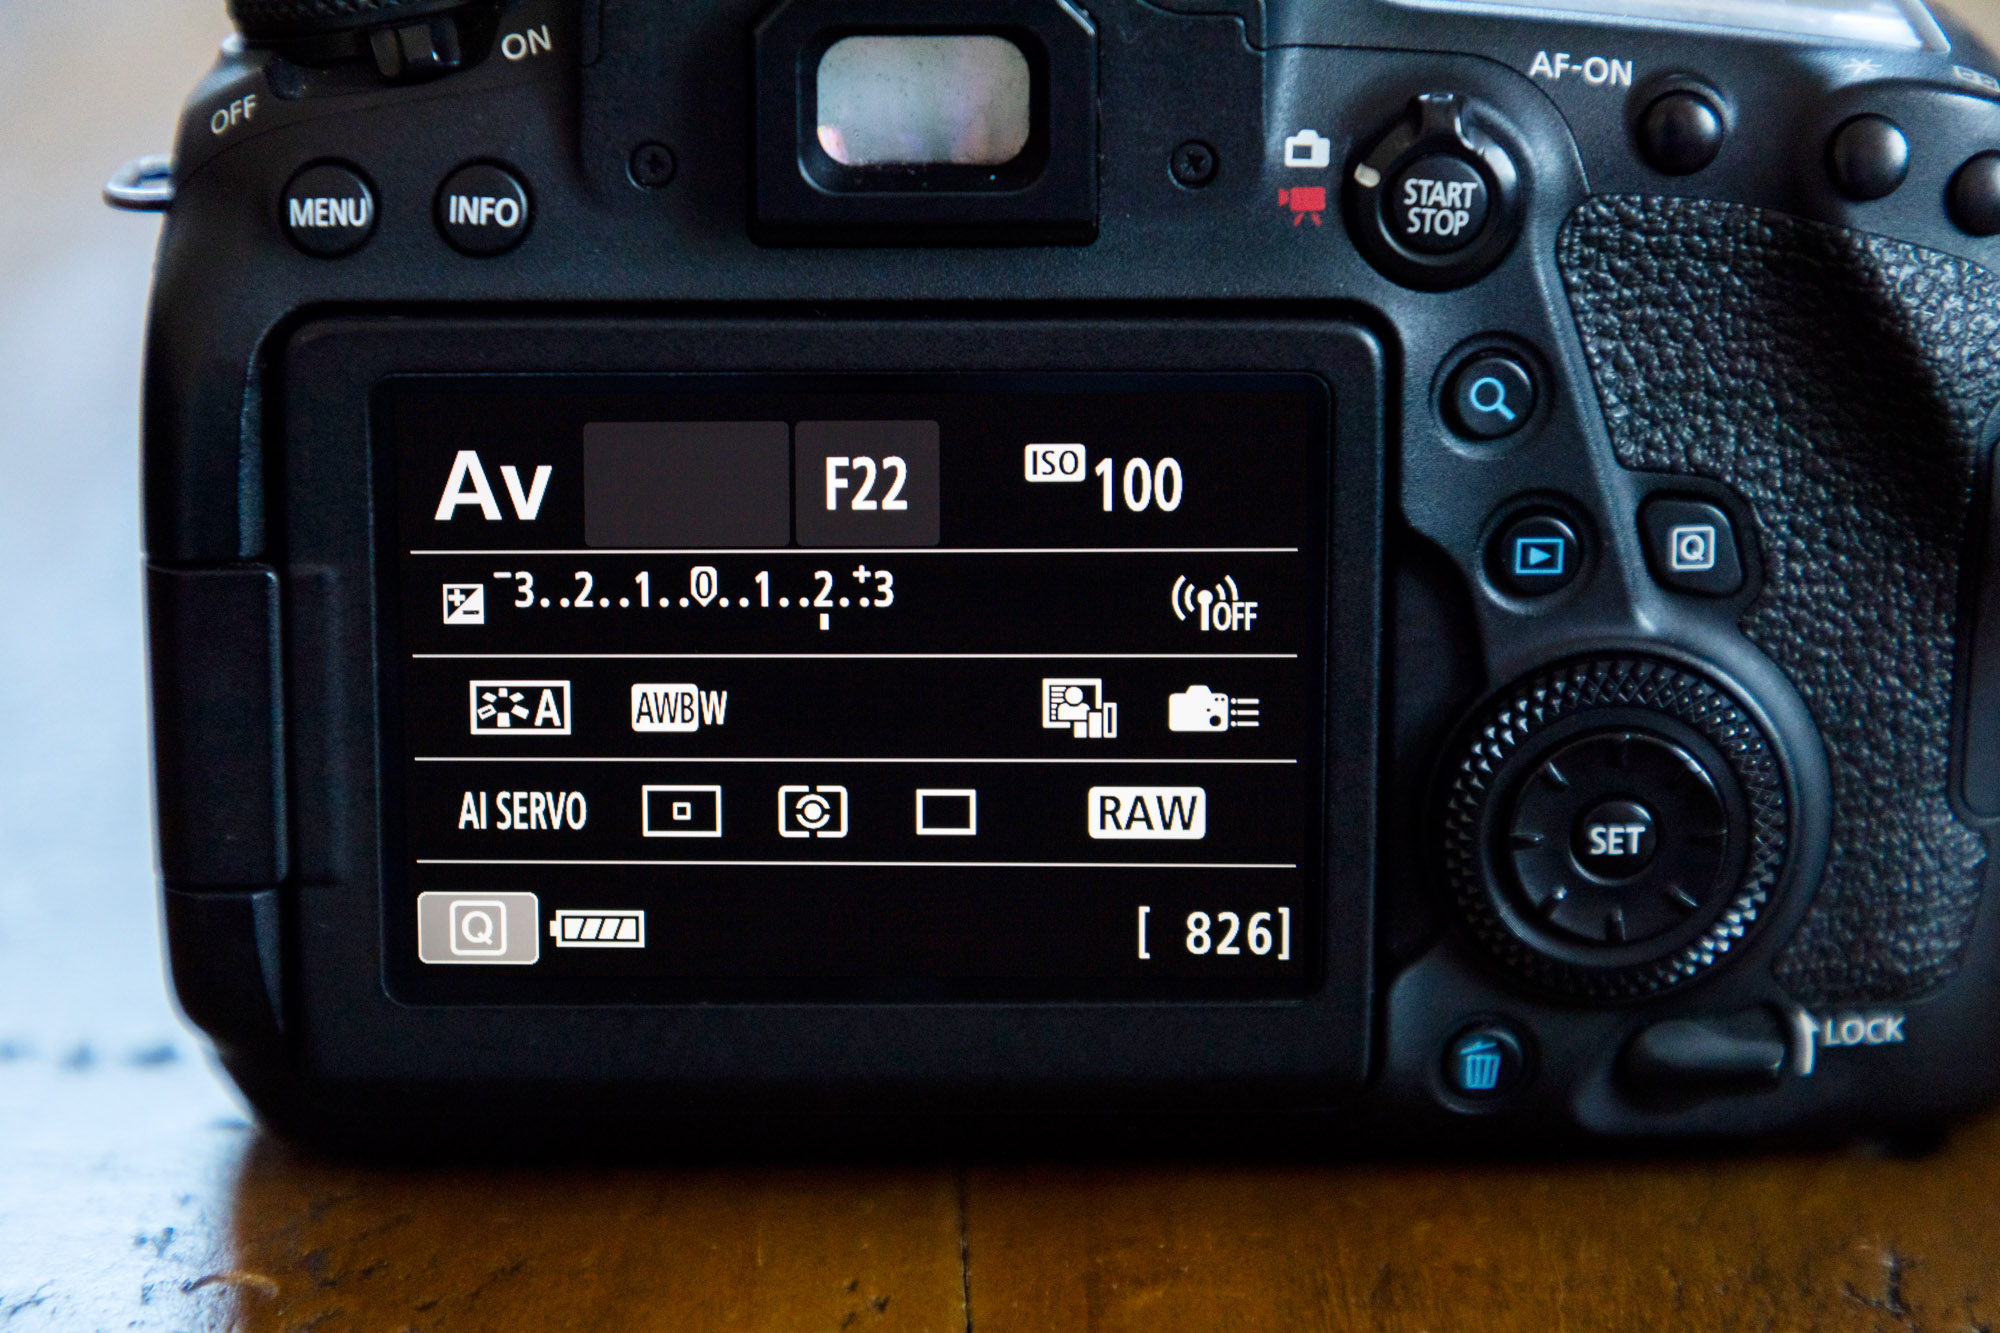
An easy way to see if your sensor has dust spots is to take a photo of white A4 paper with a cross drawn in the middle, stuck to a wall. Use a tripod, a focal length around 50mm, and set your Canon to Av mode with a narrow aperture of f/22, and ISO100. Add +2-stops of exposure compensation so the white paper is exposed well.
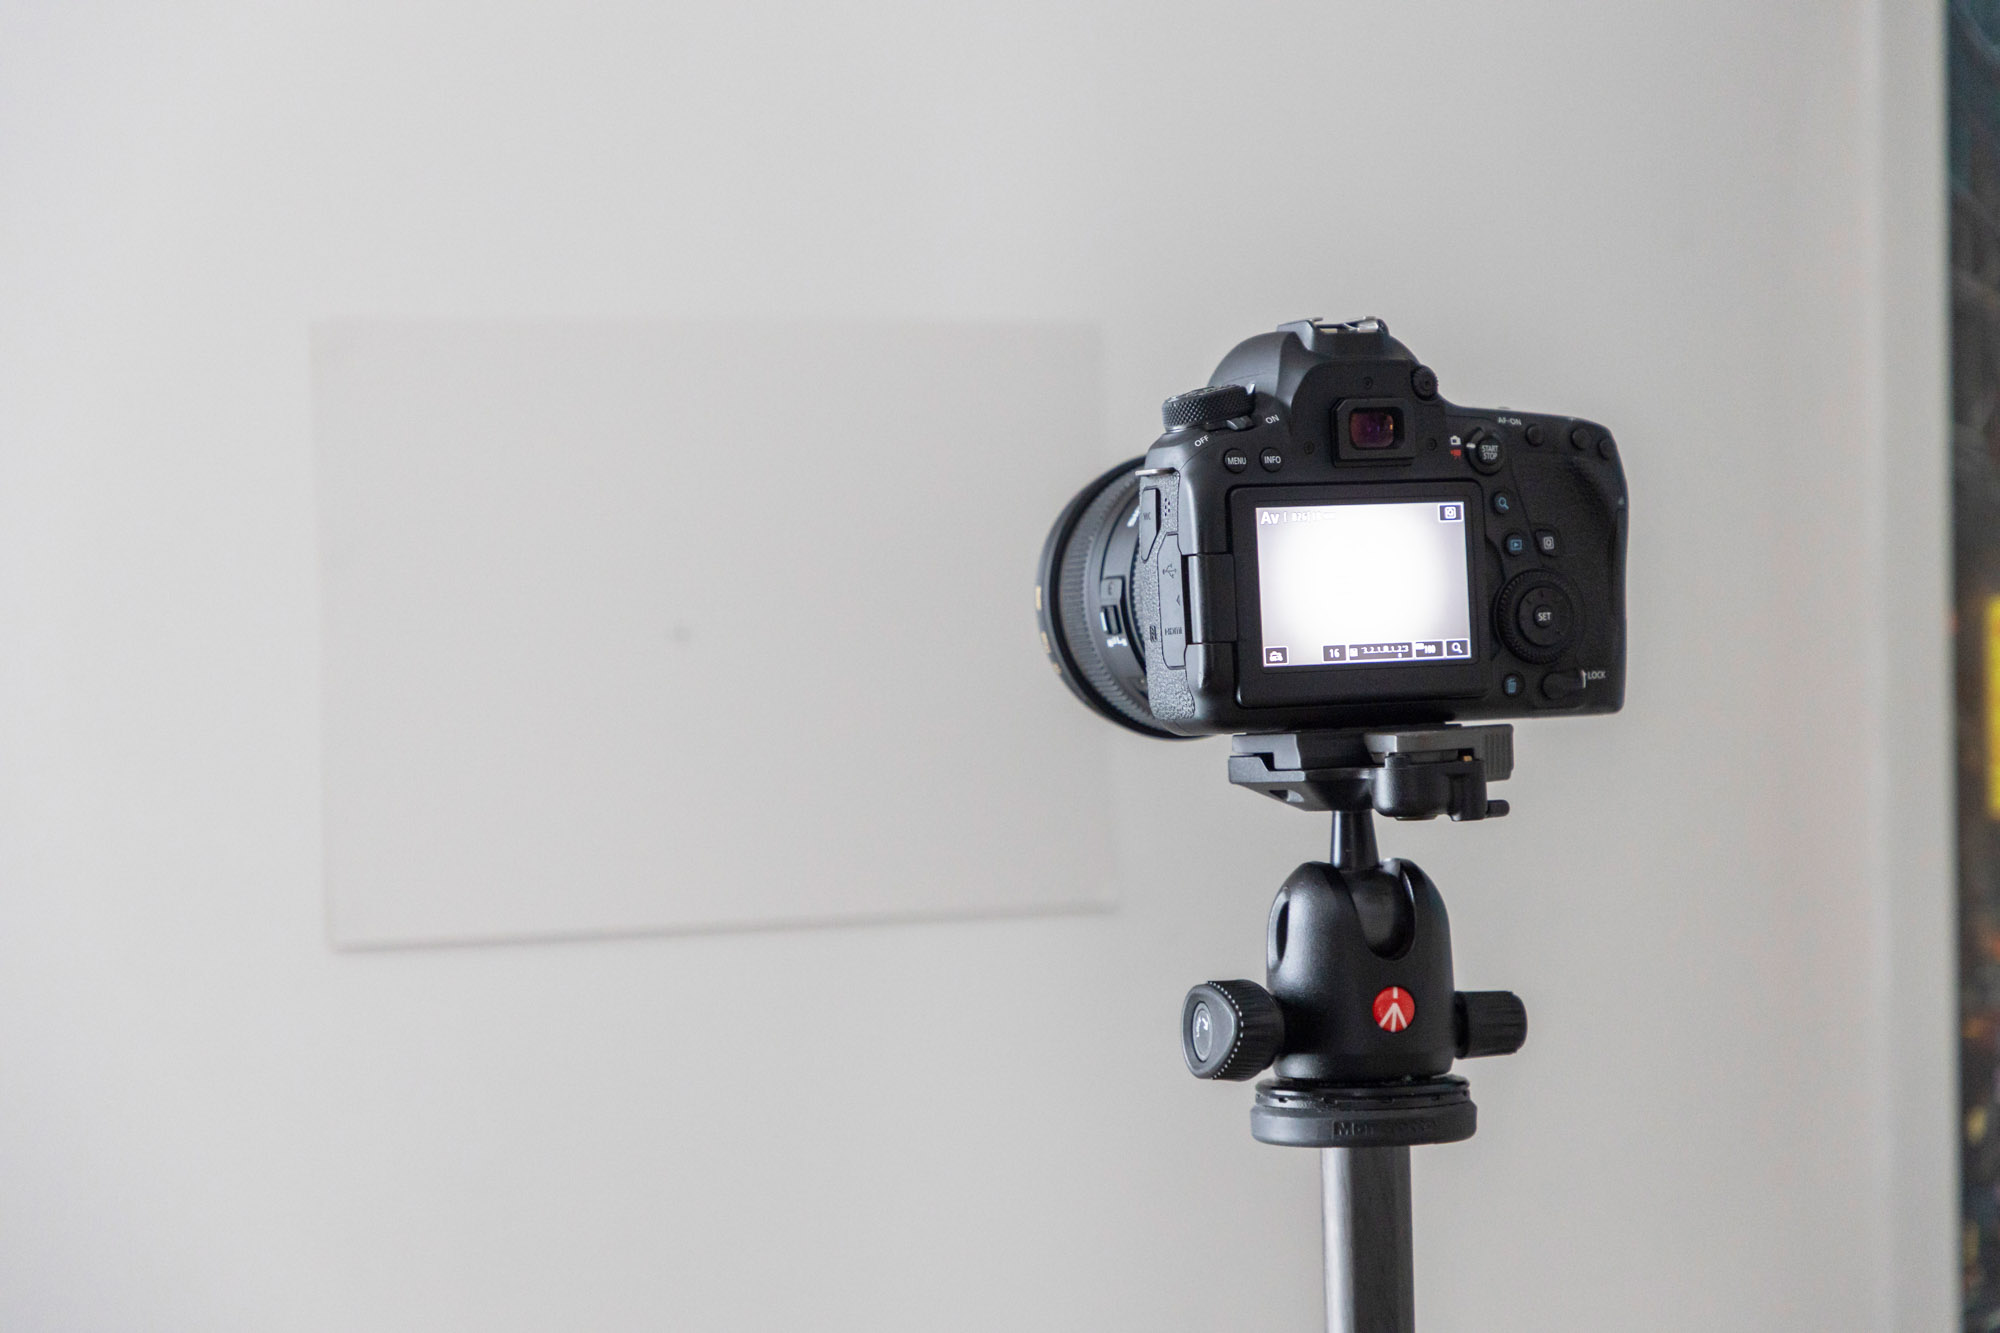
Fill your frame with the paper, autofocus on the cross in the middle, and take the shot. You’ll then clearly see any dark dust spots on your sensor against the bright white paper. You can manually start in-camera sensor cleaning on your Canon via Sensor Cleaning>Clean Now in the menu. But if dust spots remain you’ll need to clean it with swabs, see Step 4 below.
4. Clean the sensor
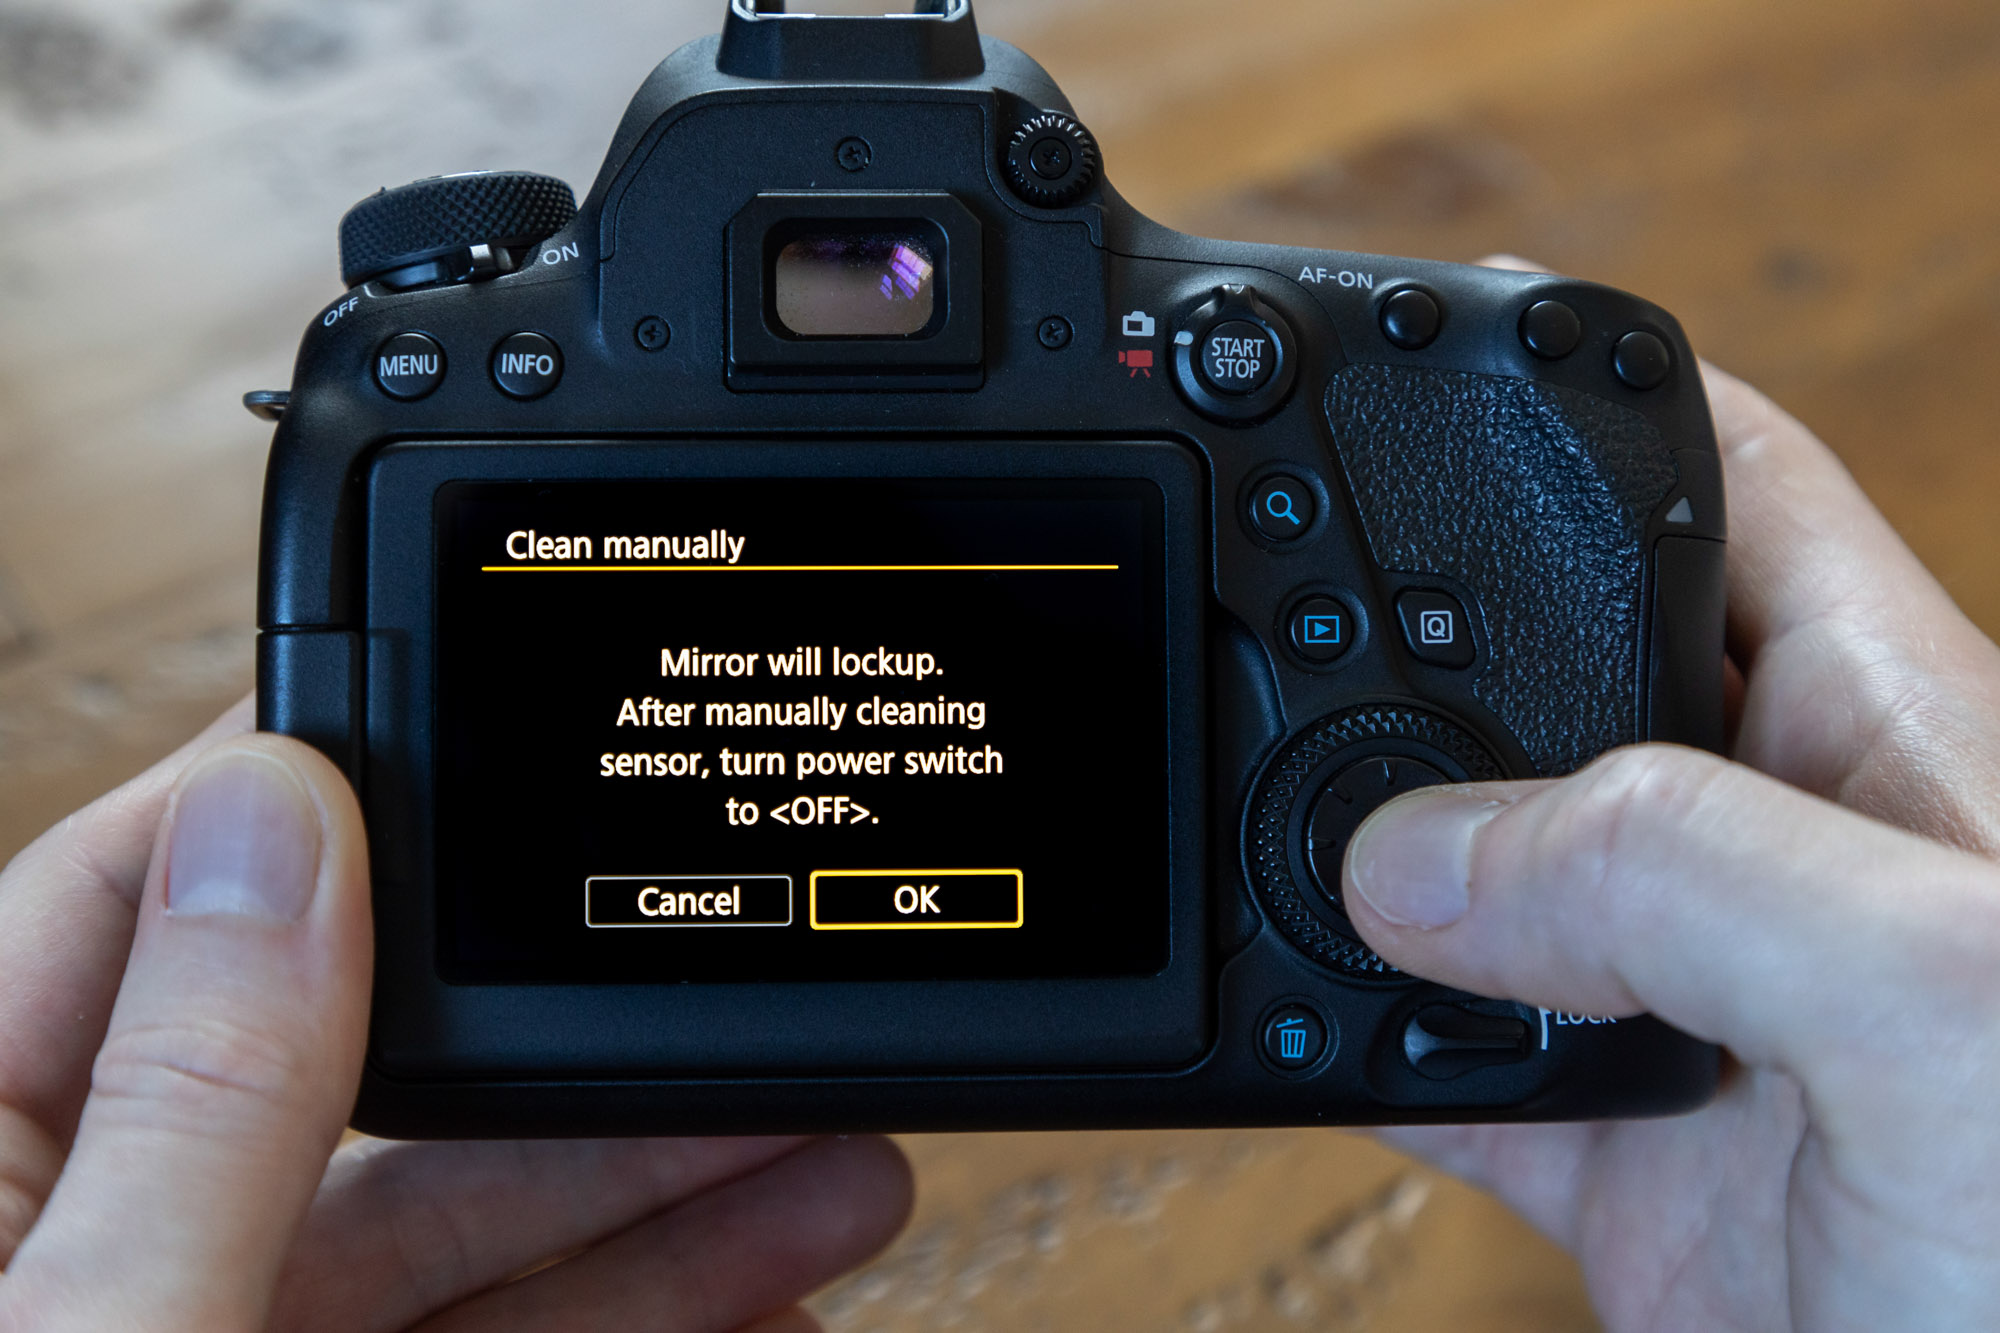
When cleaning the sensor you’re usually cleaning a UV filter sitting on top of the sensor, so they’re not as delicate as you might think. But if you have any doubts you should send your EOS camera to be cleaned professionally. If you fancy doing it yourself you’ll need quality swabs like the ones we used from Visible Dust. Remove the lens and put your Canon into its sensor cleaning mode via Sensor cleaning>Clean Manually.
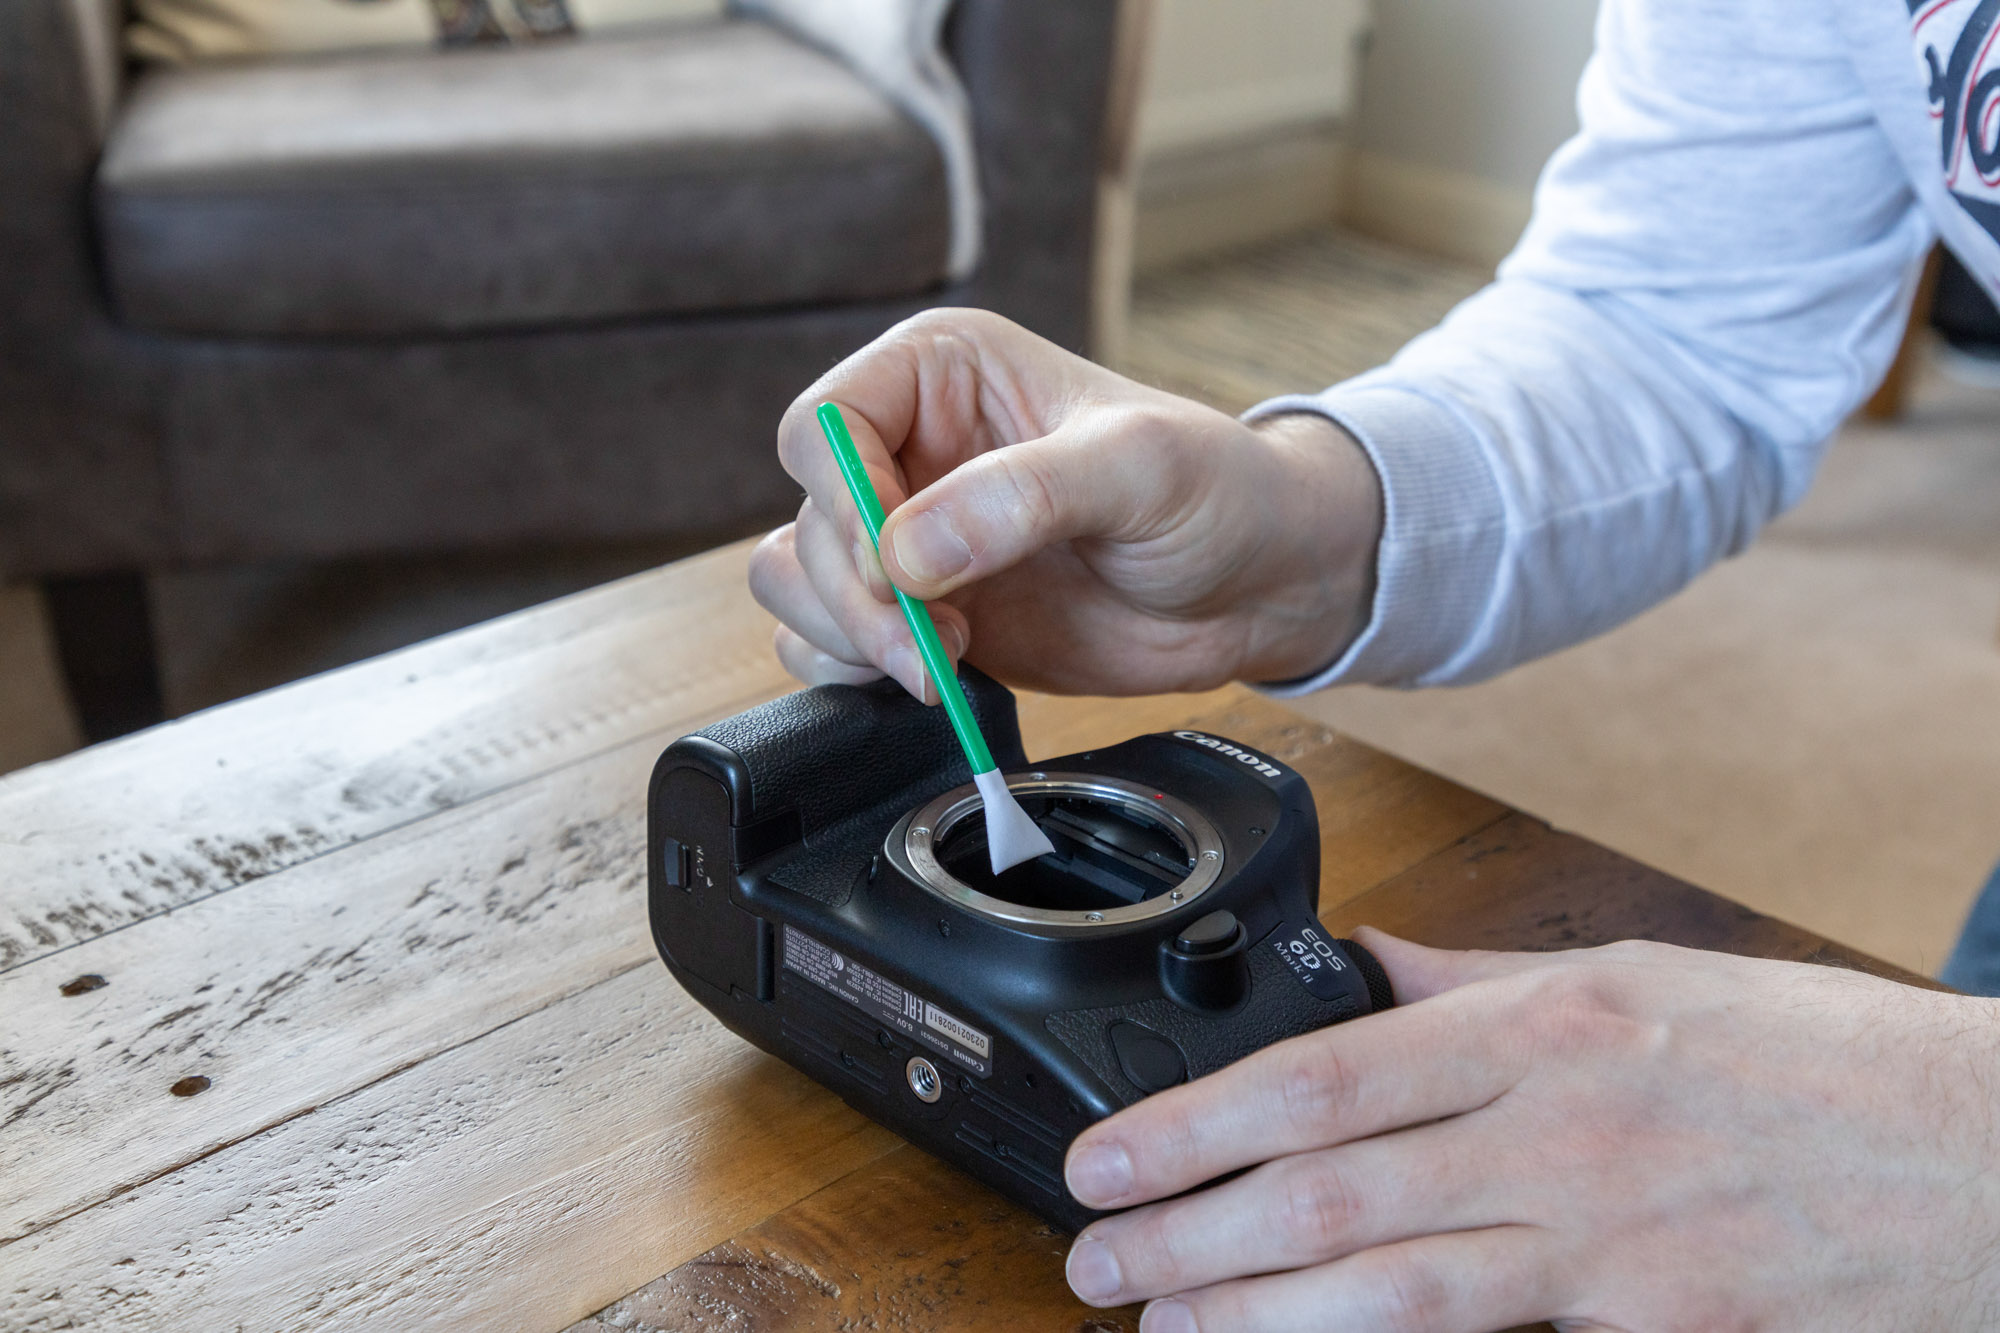
Use your swab and cleaning solution to go back and forth over the sensor with even, soft strokes. Then follow Step 3 to check for dust spots and if any persist you’ll need to give it another treatment until all of the dust spots have been cleaned away.
The best camera sensor cleaners
The best camera sensor cleaners