The original Saramonic Air had a conventional design for a wireless mic kit, with two blocky rectangular transmitters and a chunky receiver that had a mini OLED screen. This screen showed you essential information such as the input sound levels from the wireless mics. The original Saramonic Air also shipped with wired lavalier clip mics that you could plug into a transmitter and then clip to your shirt like a pro sound recordist.
March 2026 saw the release of the Saramonic Air SE. Despite the similar name, the SE (Special Edition) is a different beast. This newer version has been streamlined to meet the ‘plug and play’ needs of the average content creator who may not have much experience adjusting sound levels on the fly. There are no lavalier clip mics to attach. You simply stick a tiny thumb-tip-sized mic to your subject’s shirt via a mini magnet, plug the equally small receiver into your smartphone’s USB socket, and start recording your voice wirelessly from up to 100 metres.
Saramonic has been paying attention to the needs of social media content creators, so this mic features a neat design touch that enables you to hold it in your hand without looking silly while talking into a tiny handheld clip mic.
Specifications
Mic Weight. |
5g |
Transmission Range |
Up to 200m (without obstacles) |
Polar Pattern |
Omnidirectional |
Sampling Rate |
48 kHz |
Bit Rate |
24-bit |
Max SPL |
120 dB |
Battery Life |
6 hours |
Price
A key difference between 2025’s Saramonic Air and 2026’s Saramonic Air SE is the price. The newer SE mic kit retails for $49.99 / £45 / A$99, which is considerably cheaper than the original version’s cost of $129 (or $149 if you need the version with a cabled lavalier mic).
This huge reduction in price for the Saramonic Air SE reflects the streamlined design and auto functionality that novice sound recordists will appreciate, while the older, more expensive version will still suit the needs of experienced professional content makers.
Oh, if you're on an older iPhone model, you can buy a version of the Saramonic Air that ships with both a USB-C and Lightning connector receiver for the slightly higher price. I think that the Saramonic Air is fairly priced, and it will make a huge difference to the quality of audio recorded at a distance (and in noisy locations).
Design and handling
The original Saramonic Air had a relatively conventional design for a wireless mic kit, with two blocky rectangular transmitters and a chunky receiver that featured a mini OLED screen. This screen showed you useful information such as sound levels.
2026’s Saramonic Air SE has been stripped down to the essentials in terms of design and function. It consists of a dark grey, rectangular charging unit that fits comfortably within your grip. At the top and tail of the charger sit two mini microphones. The mics are magnetically attached to the charger, so it’s a quick and easy job to pull out a mic, detach its magnet, and fix it via the magnet to your clothing.
The mics are perhaps the smallest wireless mics that I’ve encountered, and as they only weigh 5g, there’s no danger of them causing your clothing to snag. Their smooth dark plastic body causes them to look relatively discreet when attached.
Unlike some other mic kits, there is no option to use a sprung clip to attach the mic to the subject. The Saramonic Air SE’s transmitter mic relies entirely on a single magnet to stay attached, so if the magnet slips down inside your clothing and you lose it on location, then the mic can no longer be used as a lavalier mic.
This is a bit of an ‘Achilles’ Heel’ design feature. However, if you do lose a magnet, you can still reattach the mic to the rectangular docking station and hold the docked unit like a little stick mic. This clever design feature will be useful for those who want to conduct interviews without having to attach a mic to their subject.
Oh, there is also one spring clip attachment supplied, and this enables you to attach a mic to a subject if you do happen to lose the mic’s magnet.
Once you’ve attached a mic to your subject, you can then pull the mini transmitter out of its dock in the centre of the charging case and slide it into your smartphone’s USB-C socket. The USB-C prong on the receiver was long enough for it to fit into my iPhone 17 Air without removing its protective case.
An LED on the mic and the receiver turns a solid blue to indicate that they are paired. You can even press the button on the transmitter mic to start and stop recording via your smartphone’s native camera app.
Performance
Now, I had the Saramonic Air SE for at least a month before it was officially released, which gave me plenty of time to test it. I’m glad that I had lots of test time because I made a few mistakes during the first couple of tests that didn’t show the mic kit at its best. This trial-and-error approach eventually helped me get the most from the Saramonic Air SE and bumped up its star rating.
My first test of the Saramonic Air SE involved interviewing professional model Maryna Sedin (Insta: @gluecklichmarinalp). As a young sound recordist back in the 80s, it was common practice for me to pass a cabled lavalier mic up inside an interviewee’s jumper and over their shoulder before clipping it to their lapel. Luckily, the Saramonic Air SE’s transmitter microphone is cable-free, so I asked Maryna to attach the small mic transmitter to the front of her dress via its magnet. I plugged the tiny receiver into my iPhone 16 Pro and started recording her via its native Camera app.
As you’ll hear from this review’s supporting video, Maryna sounded clear enough, but there was some echo from the location’s concrete walls and a hint of unwanted ambient noise from a cleaning machine in the background. In hindsight, I might have benefited from turning on the low-level noise reduction setting, but the audio quality was acceptable, as you’ll hear from the test video.
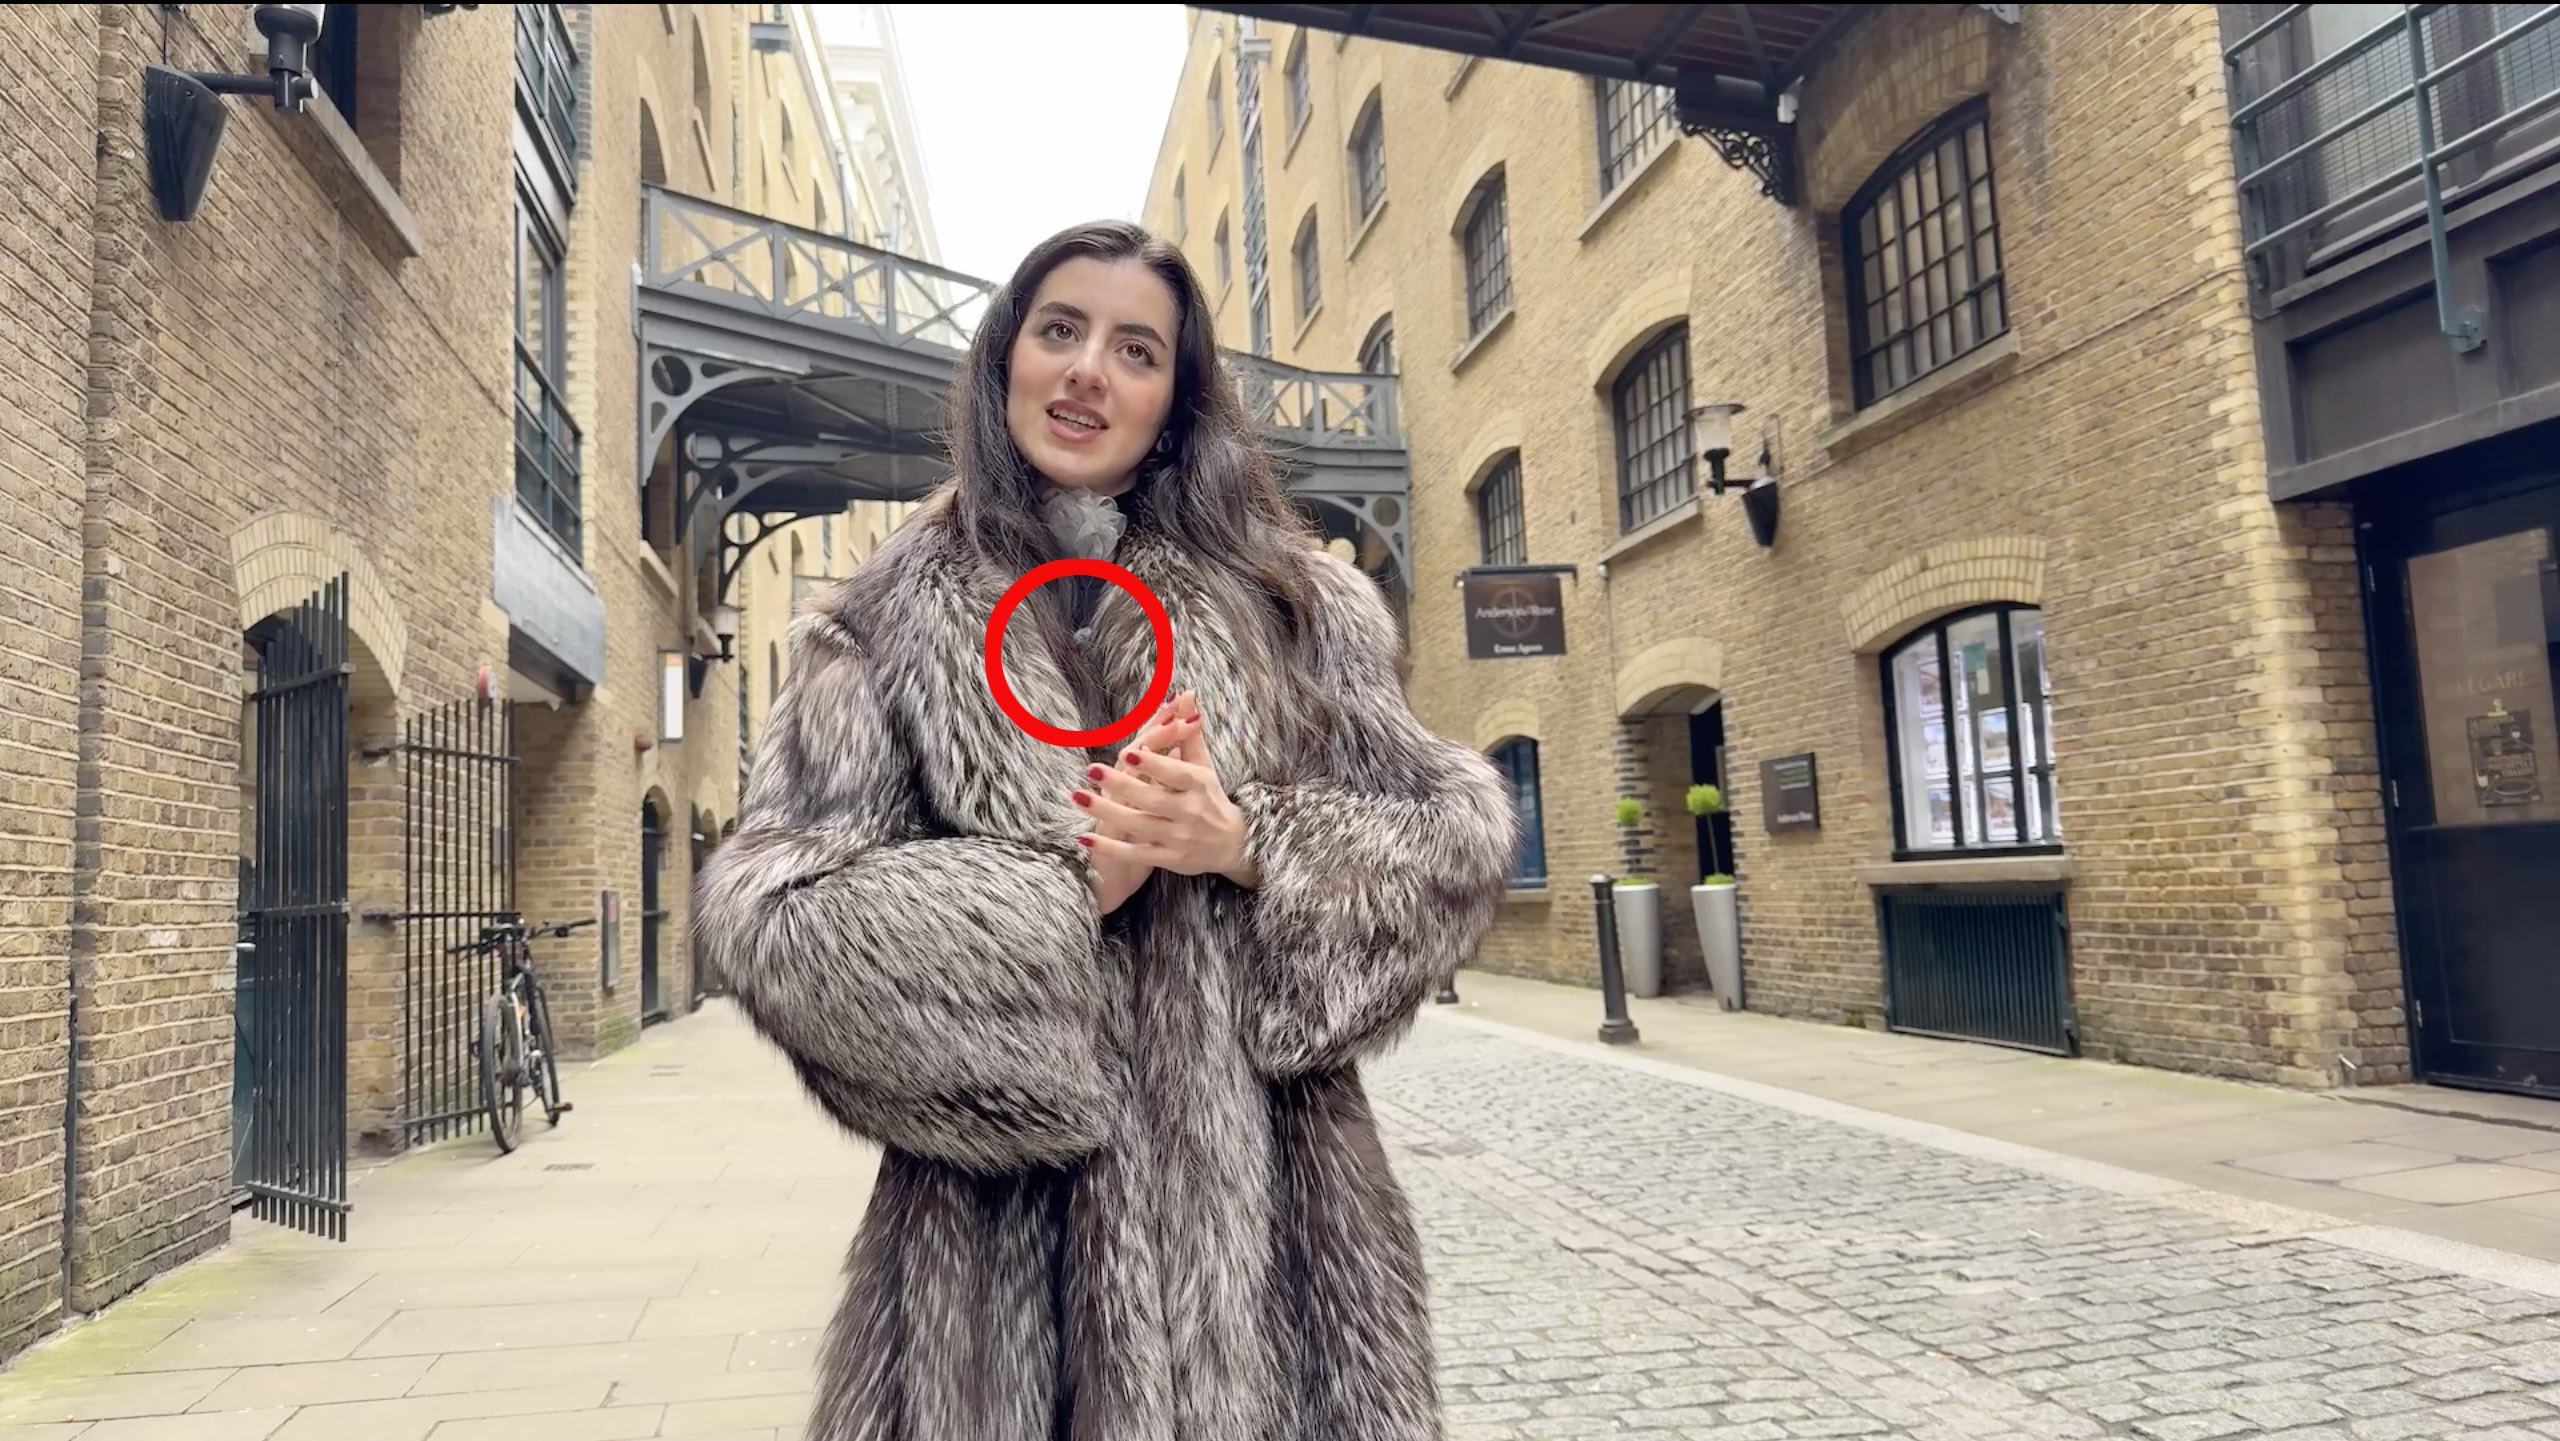
My second test shoot involved interviewing another model! Outdoors, on a cold spring day, she wore a big fur coat, so I asked her to magnetically attach the mic to her jumper. Unfortunately, I didn’t monitor the audio from the mic, so I didn’t realise that her voice was being muffled by the coat overlapping the mic (like a giant wind shield).
I got her to perform a distance test and then interviewed her about her modelling career, but none of the footage was usable due to the muffled audio, so it didn’t make it into my test video review. This poor audio wasn’t the fault of the Saramonic Air SE - it was a schoolboy error on my part for not monitoring the audio or playing back while on location. To be fair, I couldn’t monitor the audio while recording the sound and footage on the iPhone’s native Camera app. However, if you use the Saramonic app, you can set it to Audio and select a ‘Real-time monitoring’ option. If I’d done this before recording the model, then I would have noticed the muffled audio problem with her fur coat! Totally my bad!
To do the Saramonic Air SE justice, I took it for a third test shoot at a vintage railway station - the Bluebell Railway. This turned out to be the perfect location for a test shoot. I magnetically attached one of the two transmitters to my shirt and plugged the tiny receiver into my iPhone 17.
A loud steam engine behind me threatened to drown out my voice during a take, so I was able to test the two noise reduction settings that you can activate by pressing the button on the receiver. Once noise reduction has been selected, the blue light on the receiver goes green.

The Strong noise reduction setting almost completely (and miraculously) removed the background steam engine noise, yet unlike with some mics, my voice didn’t sound too thin or electronically processed. Very impressive (as you’ll hear from my test video). A second press of the receiver’s button set noise reduction to Weak, which restored some of the steam engine noise while keeping my voice sounding clean, clear, and fairly full-bodied. A third press caused the receiver’s green light to turn blue, indicating that no AI-powered noise reduction was being applied.
My voice sounded the same as it did with Weak NR applied, but the steam engine was too loud. I was very impressed with how the Saramonic Air SE’s noise reduction feature enabled me to sound nice and clear in loud locations!
With every wireless mic (and I’ve tested dozens for Digital Camera World in the last few years), I perform a distance test. I popped my iPhone 17 on a Hohem iSteady V3 and placed it at one end of a vintage railway platform. I then walked and talked to the far end of the platform. The tiny mic was able to transmit my voice clearly to the receiver on the iPhone for most of the test, even when I walked away from the camera, and the mic lost line of sight with the receiver. It was only at about 80 metres that I encountered signal drop-out with my back turned to the camera, but when I faced the lens, even from a distance of approximately 100 metres, I sounded loud and clear.
Verdict
The Saramonic Air SE certainly outperforms the previous year’s Saramonic Air in relation to sending a clear signal over a distance. I was also impressed by the pocket-sized nature of the SE, which could make it my ‘go-to’ mic if I need to record an interview or ‘piece to camera’ while on the go. I was also impressed with the option to clip the tiny mics onto a subject via magnets, or dock a mic into the rectangular charging station and use it as the whole unit as a mini gun mic (which looks a lot less silly than holding a clip mic in your hand). I can certainly recommend the Saramonic Air SE to smartphone content creators who want to increase the audio production values of their video content.
|
Features ★★★★☆ |
The option to use a safety track is very handy as this makes it less likely to have distortion on an interview track. The Saramonic app offers extra control, such as tweaking the mic’s EQ. |
|
Design ★★★★★ |
Modular design enables you to use the Saramonic Air SE as a handheld stick mic, or you can clip a wireless mic onto interviewer and interviewee and capture audio wirelessly. |
|
Performance ★★★★☆ |
AI noise cancellation reduces noise effectively and it can certainly go the distance (up to 100m on our test with clear line of sight.) |
|
Price ★★★★☆ |
This is a reasonable priced device if you need a simple but effective ‘plug and play’ wireless mic kit for your smartphone content creation. |