When you’re in need of a small board with lots of flexibility, it seems like the Raspberry Pi is always there in a pinch. Today we’ve got a wonderfully impressive project put together by Sebastian Staacks that uses a couple of Raspberry Pi Picos to operate a pair of wireless buttons. These buttons trigger a photo booth that can replicate the bullet time effect famously seen in the Matrix movies.
The bullet-time effect uses multiple cameras arranged in a circle or semicircle. The images are captured at once so that one image can serve as a single frame of video, allowing you to see a single moment in time from multiple angles. This is one of multiple projects we’ve covered by Staacks. In the past, we’ve shared his CPU stat tracking matrix cube and recently his RP2040 Game Boy streaming PCB. He even joined us for an episode of The Pi Cast to show it off.
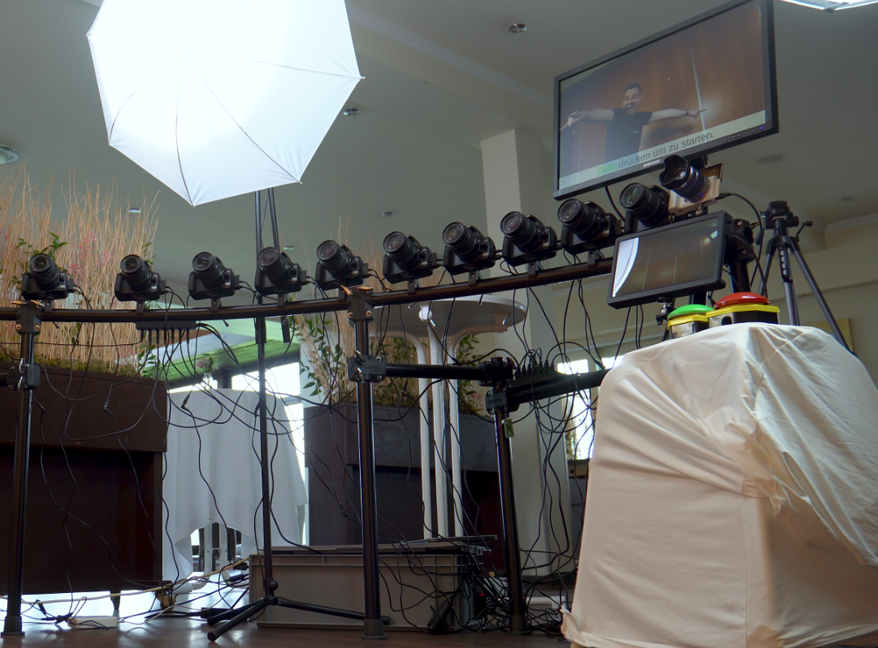
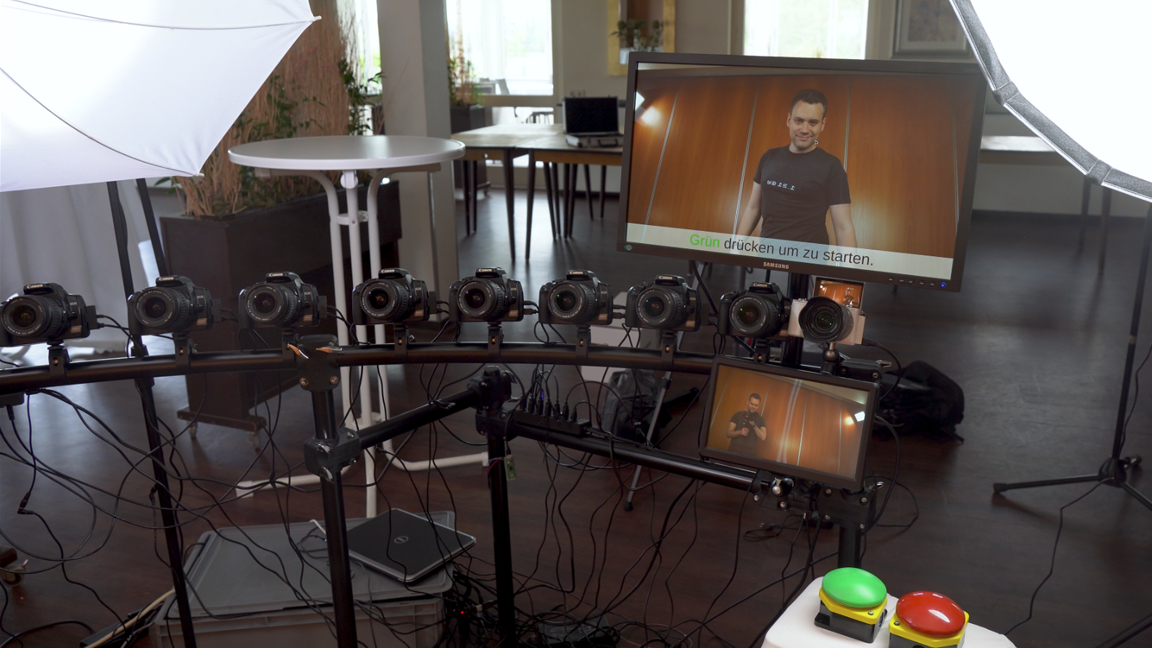
In addition to the buttons using Picos, the cameras are also triggered using a Raspberry Pi Pico. This Pico is connected to all of the cameras so they capture an image simultaneously. A total of 12 cameras is used for the project to help keep costs low. This allows for 12 frames of the bullet-time effect to be used so, in this case, Staacks is using it as a transition for the video clips.
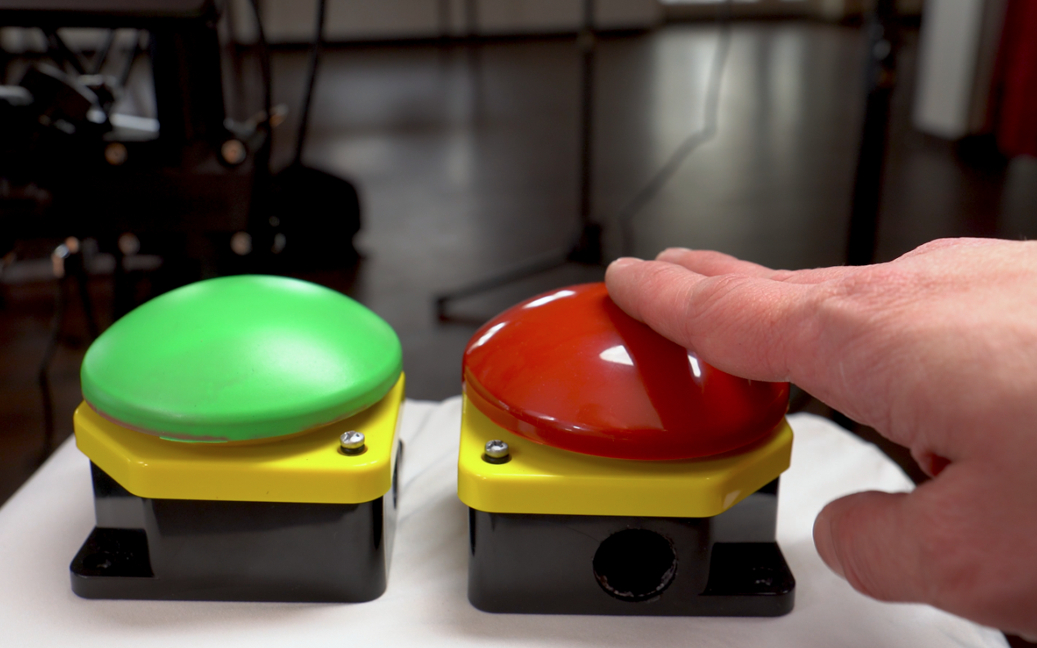
To keep the effect consistent, it helps to use the same camera. Staacks is using 12 Canon 400D DSLRs from 2006 which have a resolution of 3888 x 2592px. To mount them in a circle, he’s using a couple of b-stock e-drum racks and modified them to support the cameras. Two buttons are used in the setup. One starts a countdown for the recording and the other allows users to discard the clip if they aren’t happy with it. The buttons send a command as keyboard input over Bluetooth and are powered by AA batteries.
You can find some of the code used in the project over at Staack’s GitHub page. Some of the code implemented in the project uses demo code from Blue Kitchen which has restricted redistribution of the code for commercial purposes. For that reason, Staack’s modification of their code has been omitted but you can find the original Blue Kitchen demo code to see how the keyboard input works over Bluetooth.
If you’re interested in recreating this Raspberry Pi project or just want to see how it goes together, check out the project breakdown over at Sebastian Staack’s website where you can also see it in action.