Descending into the depths of Playtime Co. features more bosses than ever. So it's time to get those running shoes on for Poppy Playtime: Chapter 4 awaits, and there's no slowing down in this one.
Here is our full walkthrough of Poppy Playtime: Chapter 4 to help you reach the Labs and get one step closer to seeing the Prototype in all his glory. This guide will show you how to beat the game, not the location of every note or secret tape.
Table of contents
Full Poppy Playtime: Chapter 4 walkthrough (all puzzles and boss fights)
Loading Bay
First things first, head over to the staircase after talking to Poppy in Loading Bay 1E. Drop down onto the large blue crates and swing over. From here, look over to the left of the white "Loading Bay" sign on the wall and into the open barbed-wire wall to grab the first Power Cell from afar. Use this to open the door and check Foreman's Office for the first of many notes.
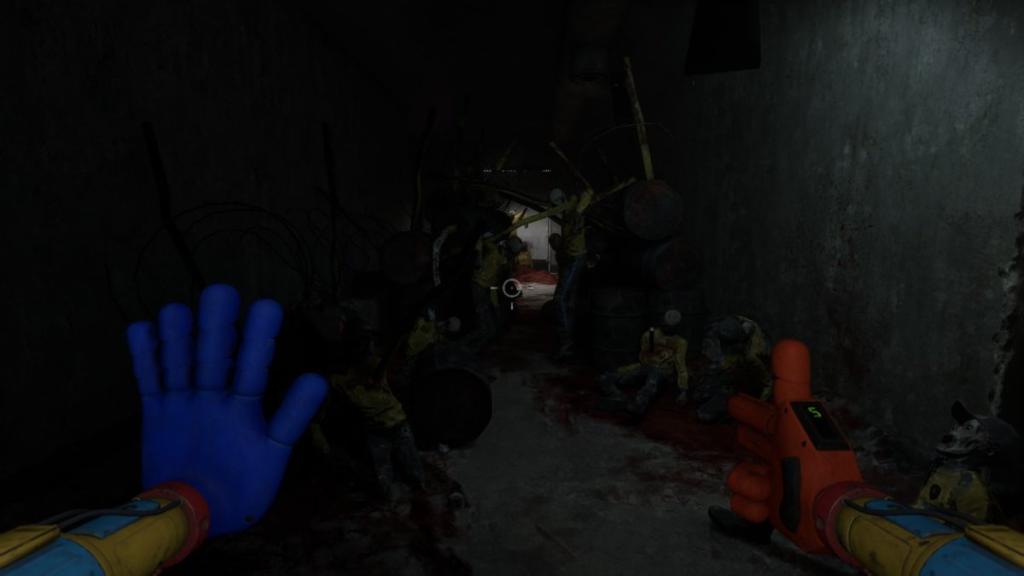
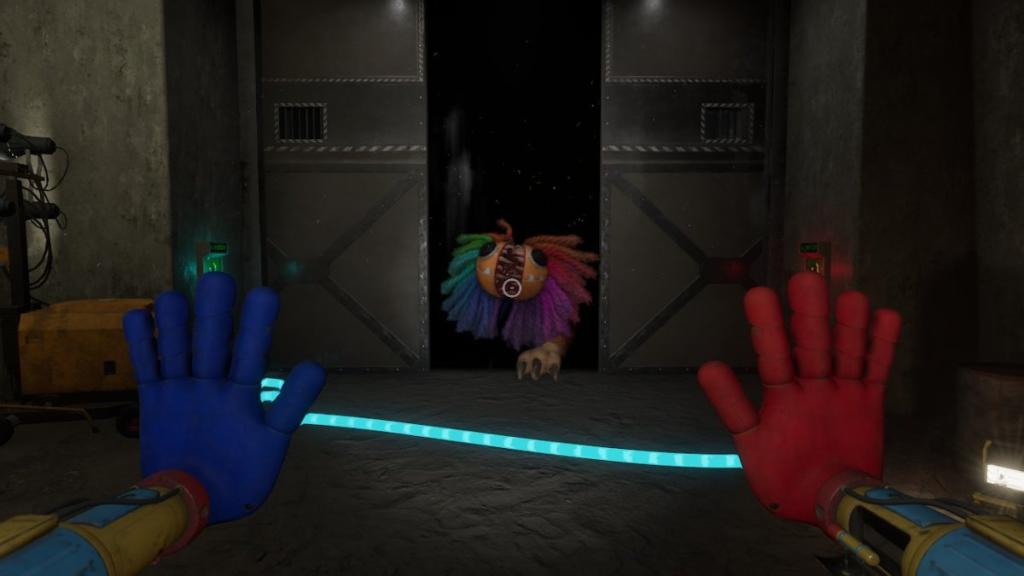
The beginning acts as the tutorial, so follow the on-screen instructions to reach the Toy Graveyard. Prepare for an ambush in the opening of the Graveyard by Mini Huggies. Run to the giant metal doors to evade their attacks (where the floor reads "KEEP CLEAR"). Climb the pile of disposed toys to reach the train station. Pull one small and one medium-sized box to the nearest train car (to the back) so you can climb on top. Grab the key from inside the torn-apart experiment and unlock the office to power on the train by looping around the two pylons outside and connecting your free Grab-Pack hand to the train pilot at the front.
The Prison
After crashing into the prison, use the blue hand to activate a cell door from inside a vent. Enter the first unit and drop down the cell on the left side that has a hole in the floor. Turn left and look past the blockade to activate the door with the blue hand. Open the blood-soaked cell on your side, then pull off the three wooden planks. Follow the path around and pick up the red hand. Be ready for another ambush, this time from Sawyer's army of Critters. Survive approximately one and a half minutes by running, dodging, shooting with the flare hand, and shutting any doors. Go to the far side of this room and use the newly acquired red hand to go upstairs.
Input 3255 into the keypad and execute. Enter the door on the far side of the upper floor. Activate the blue hand scanner in the security room (where Ollie contacts you). Enter the ajar room next to the giant red vault door, pick up the keycard by reaching the dead end with "out of control" etched in blood on the wall, and return to the security room to use it and activate the red hand scanner. On the upper floor of a new ward, crouch on the left side to enter the far side of this room and lift the two loose bars on the floor near the purple toy (indicated by the white paint) as gas starts filling the room.
Drop down and go to the opposite end to find a yellow valve to place in the pipe directly next to where you dropped down. Stop the gas, then use the blue hand to open the gate and go upstairs to input 3642 into the keypad. Climb through the broken glass window to the left of the keypad. Move the two blocks to beneath the shutters on either side so you can activate both hand scanners without shutting yourself out. Enter pod three to meet Yarnaby.
Avoid Yarnaby
Let the white paint on the floor show you where to go, crouch-walking and avoiding Yarnaby's line of sight whenever he appears. Use Grab-Pack to ascend into the vent when Yarnaby is distracted. Using the white paint again, reach the second vent, and brace yourself for a short chase sequence. Locate the green keycard in the filing cabinet room and use it to leave. The next part is easy, as you'll meet Doey, and all you need to do is follow him.
Prison Yard
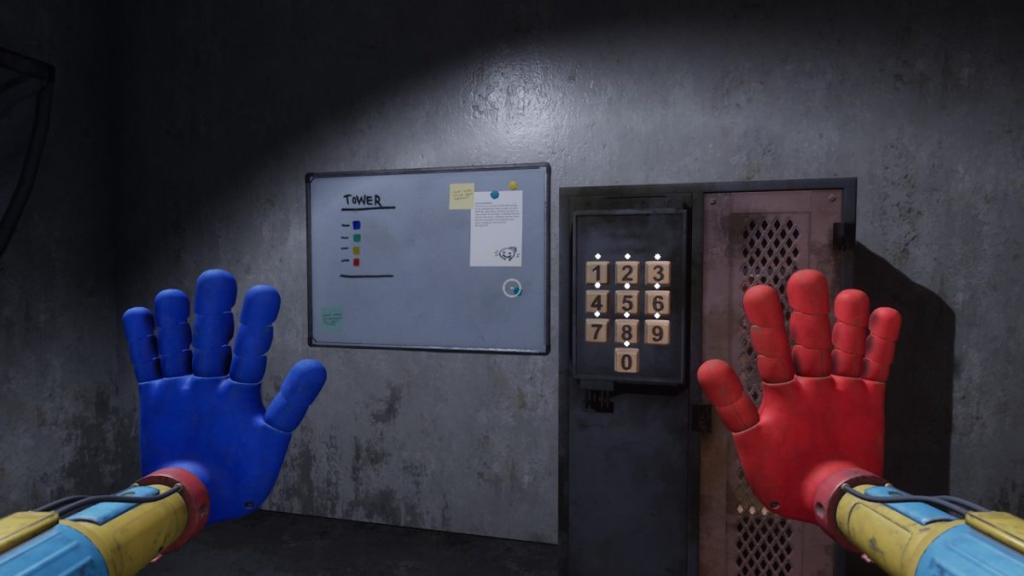
Locate three levers. One is on the floor, another is thrown to you, and the third is in the locker on the upper floor. Unlock the locker with 3021 (corresponding to the number written on each yard tower), pick up the lever, and insert it into the slot next to the chains on the wall. Place the hooks onto the white double door handles and pull each lever to open it.
Locate the three gears to activate the generator. In the kitchen, go into the freezer room and pick up the lever. Place the hook on the fridge and pull the lever. You'll reunite with Poppy and Missy and enter Safe Haven for the first time. Speak to Poppy and Doey, look around, then go through the hole at the back of the Infirmary.
Underground Train Yard
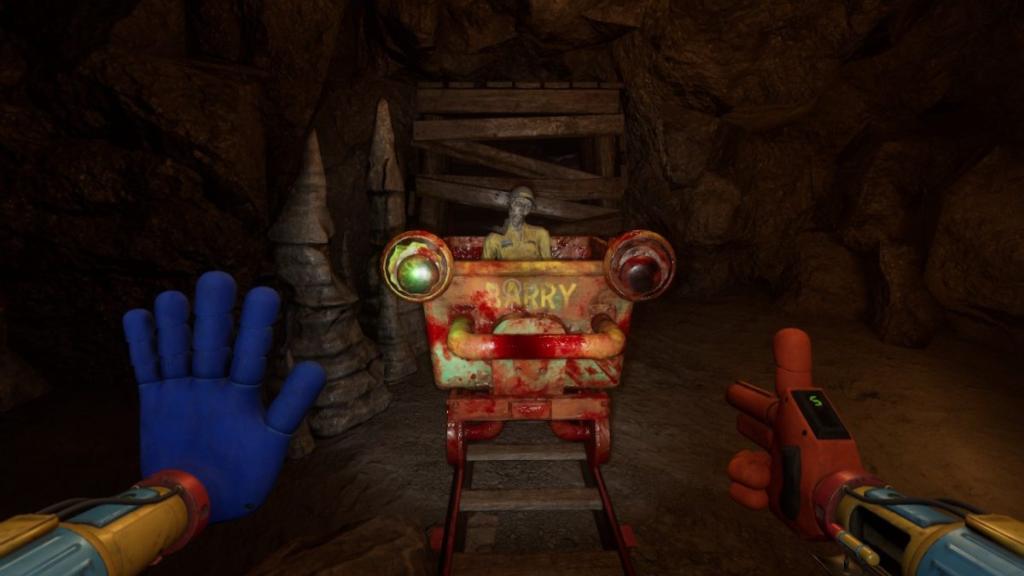
Another train puzzle. Drag the nearest pylon away from the entrance. Do the same on the second pylon to the left of the door you're trying to open. Pull the Barry cart so it's in position and the light turns green. Go back to the first pylon as the gate will be open and pull so the next light turns green. Finally, pull the second pylon into its spot. Then go to the power source near the entrance and loop around the pylons using the Grab-Pack to unlock the big doors.
Use the chain to swing across the giant gap and then use both Grab-Pack hands on the door to unleash Yarnaby.
No Man's Land
Bizarrely, even though you're warned Yarnaby will hear you, you can easily walk through this entire section without needing to stay crouched. Just run full tilt, and Yarnaby shouldn't appear (aside from the very beginning of this area). Keep track of the nearest space you can squeeze into in case he shows up.
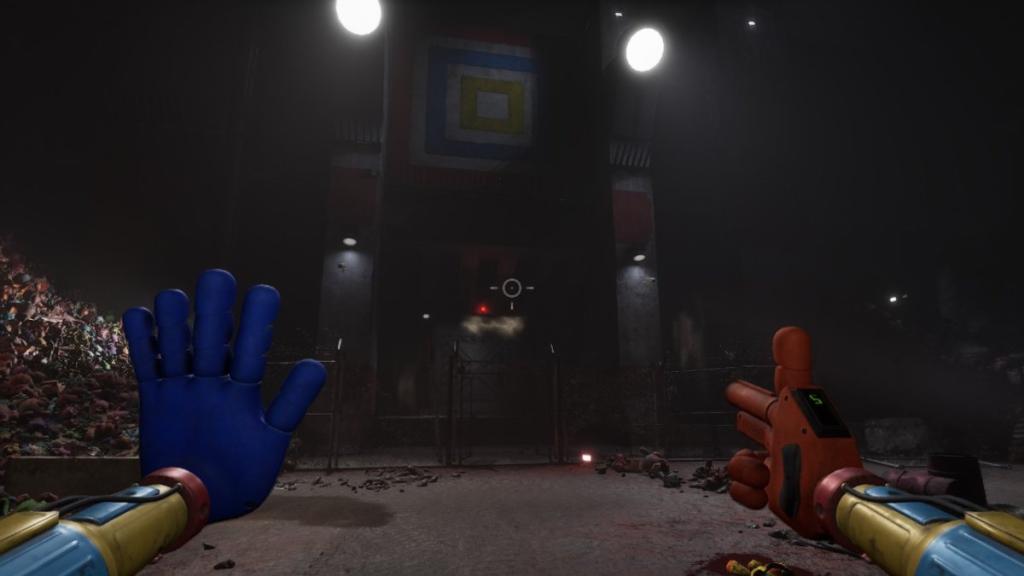
At the start of No Man's Land, follow the black cable going into the room on your left and pull down the red lever on the station to power the red button outside. Unlock the shutter in the middle, then redirect power again by clicking on the button once more. Grab the keycard off the floor of the middle room without going in and immediately run to the conveyor belt in the far right room. Use the Grab-Pack so you don't end up in the grinder at the end of the belt.
This new area has a main station you need to power with three black cables (one has red flowing through it). Follow the cable with red in it, crouch under the shutter, and pull the next lever. Press the big red button on the wall twice to open the shutter to your left. Use the blue hand on the scanner to open the downstairs area.
Pull the lever on the station in the middle section. Power up the three stations in this area by following the blue cables.
Head back to the big red button and press it twice. Go back to the main station, as you should be able to press the button there now. Follow the single blue cable going up a slope and press the red button to lower a bridge (to your right). Turn right at the bottom of the bridge and enter the room to your left that has red lighting. Squeeze through the gap and pick up the lever.
Open the shutter to the left of the gap you squeezed through, turn right, then left, and insert the lever in the slot next to the gray sliding doors. Head downstairs and pull the lever at the station to activate the red button outside. Pick up the blue keycard off the chair next to the station and insert it into the station underneath the bridge.
Go back up the bridge and press the red button near the exit door once. Pull the lever in this room and head for the exit door to complete this section. Now you just need to survive the chase.
Head to the Doctor
Reunited with Doey, redirect the blue pipe above you by pulling the yellow lever. You should now be in the area where Yarnaby appeared. Harley will talk to you. Use a small and a big block to climb onto the stone edge and then the metal walkway above. Follow the linear path on the upper level until you can drop down. Push the red button on the floor once so the cable on the wall turns blue. Go to the back of the military tent and pull the lever to redirect the gas. Find the blue keycard inside the tent. Push the red button to move power to the station and insert the keycard. Block the pipe directly next to where the gas is coming out and press onwards.
Sawyer freezes your blue hand in place when you use the scanner. Open the second cold locker to get the power cell and insert it into the trolley with the rotary blade on it (upstairs). Pull the trolley to snap the Grab-Pack cable. Pick up the new hand and place on the free hand scanner (downstairs to the left). Take the plug out of the wall near the scanner and insert into the socket below the lungs. The next section is a little tricky.
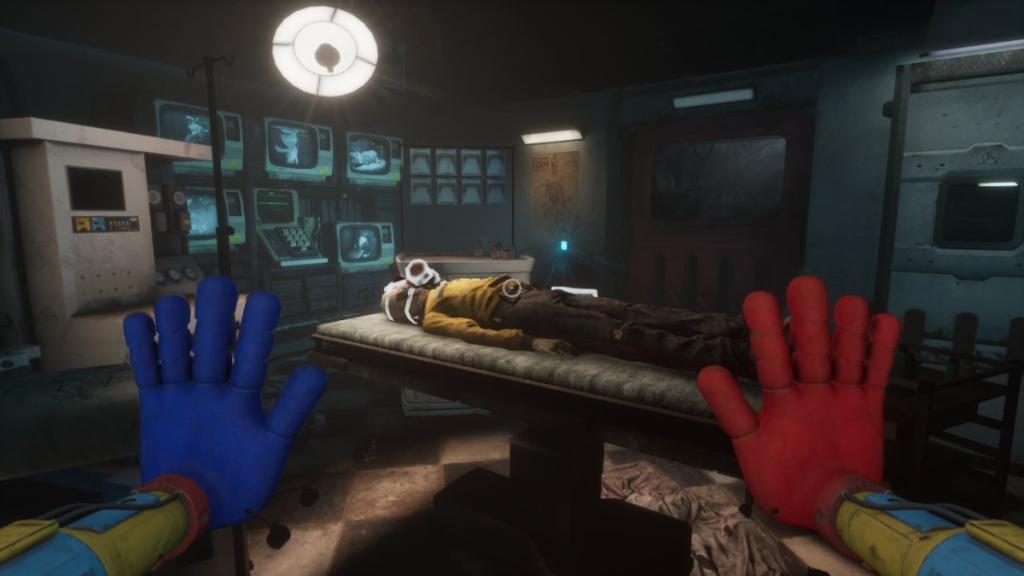
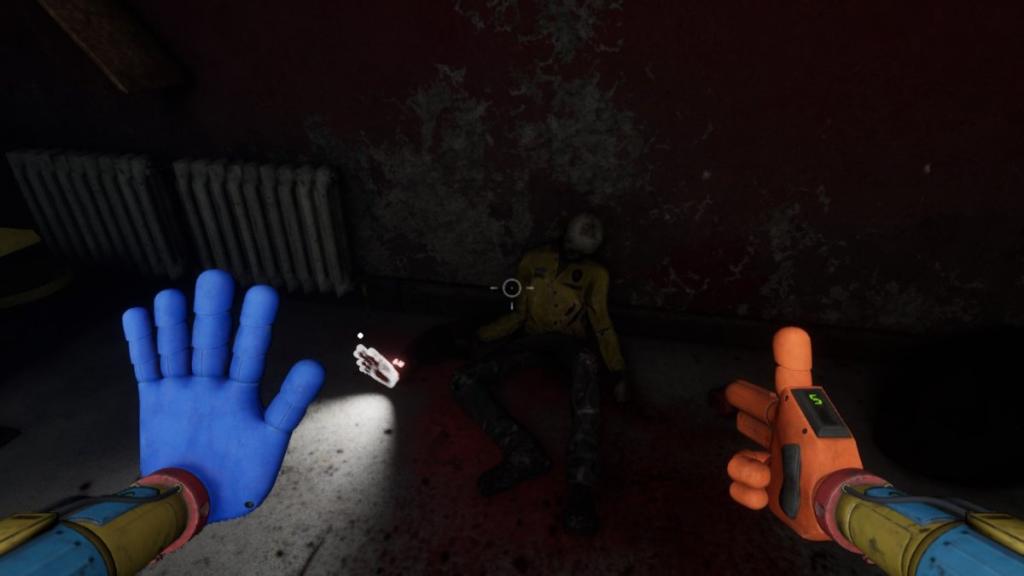
You arrive in an operating room for the Secondary Labs puzzle. Take the gas mask from the man on the table. You need to find all five experiment names to learn the code. The bodies are scattered around you, but you cannot freely move around as the gas mask filter is limited. This means you have to top up the mask with new filters from inside the nearby tents and operating room by pressing the Dispenser. The anatomy chart in the operating room shows each body part and what it translates to for the code. Turn your flashlight on for better visibility. You need to interact with each experiment to get its number. It's easiest to check the perimeter for experiments first and to look for one or two at a time so you don't run out of oxygen.
Bubbaphant and Huggy locations:
Pug-a-pillar location:
Bron and Bunzo Bunny locations:
If you want to skip this section completely, enter the code 35198. Go upstairs via the small door next to the red door in the operating room and insert the plug into the socket. The door to your left will now be open. Complete the short platforming section to drop into a new boss arena.
Baba Chops
Baba Chops has a rather infuriating leap attack that's difficult to evade as he locks onto you. Keep moving and stick to the perimeter when he's after you. He's not particularly fast but can catch you out if you're not paying attention. You're slowed if he hits you, but you can survive multiple hits as your screen slowly fills to green.
You need to collect power cells to first unlock the Shock Therapy room and then to unlock the Vital System room.
First, run to the blue cables and press the red button on the floor to redirect power to a nearby breaker. Follow the blue cable to a breaker against one of the cages. Inside is a Critter who's guarding a power cell. Crouch and grab it off him. Place this cell into the slot on the back left wall, behind the Shock Therapy room. Go to the red button you've just powered up and press once. Head to the opposite end (to the right of the Vital System) and grab the power cell from the cage that's now open. Insert into the slot directly behind this cage.
Then, go back to the red button to the left of the Shock Therapy room and press once more. Follow the blue cable to a cage close by that has another power cell. Insert into the final slot in the wall (should be to the left of the Vital System room). Now you need to move power to the Shock Therapy room, grab the keycard, insert into the Vital System console to the right of the door, and divert power to this room to outsmart Baba Chops.
Harley Sawyer
Find the three power cells in Sawyer's domain to power up all stations, which are dotted around the perimeter. The stations act as a safe spot inside the domain. Security bots can still chase you inside, so be sure to run to the station at the back as they can't reach you there. After grabbing all cells and inserting them, follow the blue cables until you find a yellow gate that leads to a staircase. This will take you to Sawyer's brain.
There's a power cell on the back wall behind you.
Another front left.
And the last cell is front right.
Safe Haven and the Foundation
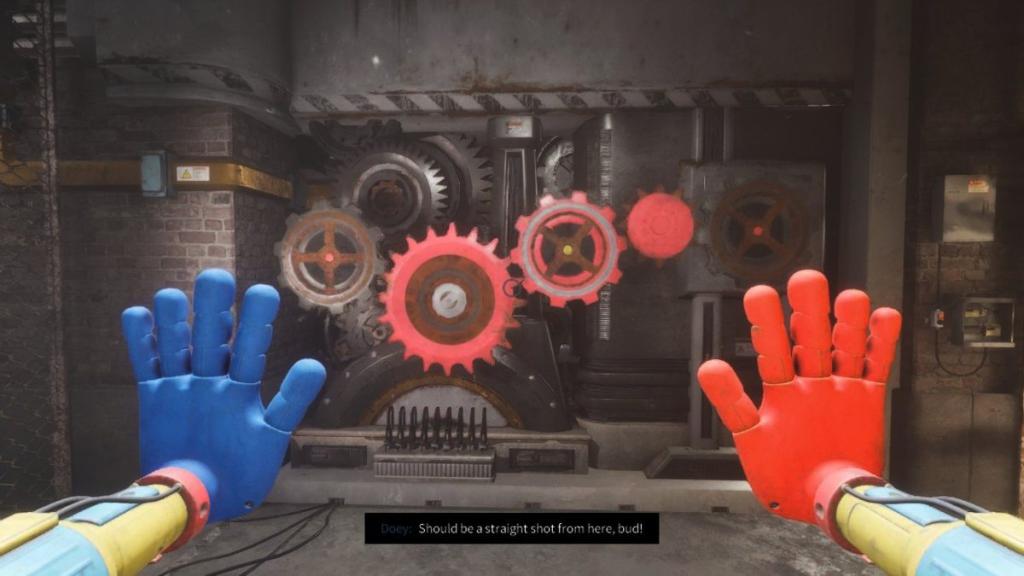
The story is very linear from now on as you return to Safe Haven and repair the generator following Ollie's instructions. Poppy tasks you to place explosives and redirect gas to the storage tank after solving another gear puzzle.
You pick up the first one in the Foundation entrance. Pull the trolley with the purple hand icon to the dead end and jump up, following this path around to get the next explosive. Return to the tunnels, this time going to the right. Keep moving forward and look for a hole to your left to shoot a flare through at a freezing pod. You can then squeeze into this small chamber to pick up another explosive. Go back to the purple hand moveable platform and turn right. There's a hole at the end you can crouch under and grab the final explosive. Place all four explosives in the marked spots in the Foundation.
The gas puzzle hurt my brain. You need to get the gas to turn green and fill the tank underneath the control room. It's a tad difficult to explain, but I'll try my best. First, I set all levers so they were horizontal (pointing right), which showed red gas. Numbering each lever from left to right (left being the gas starting point and next to chamber A), here's the order I lifted the levers in (only once all were set horizontally): Fifth, ninth, first, and fourth. Finally, lower the ninth lever for green gas to reach the storage tank.
Pull the card blocking the pipe underneath the office so the gas enters the tank, then interact with the computer upstairs. Pick up the gear behind you and use the Grab-Pack outside to your right to reel yourself towards the ceiling as the Critters come stampeding through. Insert the gear into the mechanism above and return to Safe Haven.
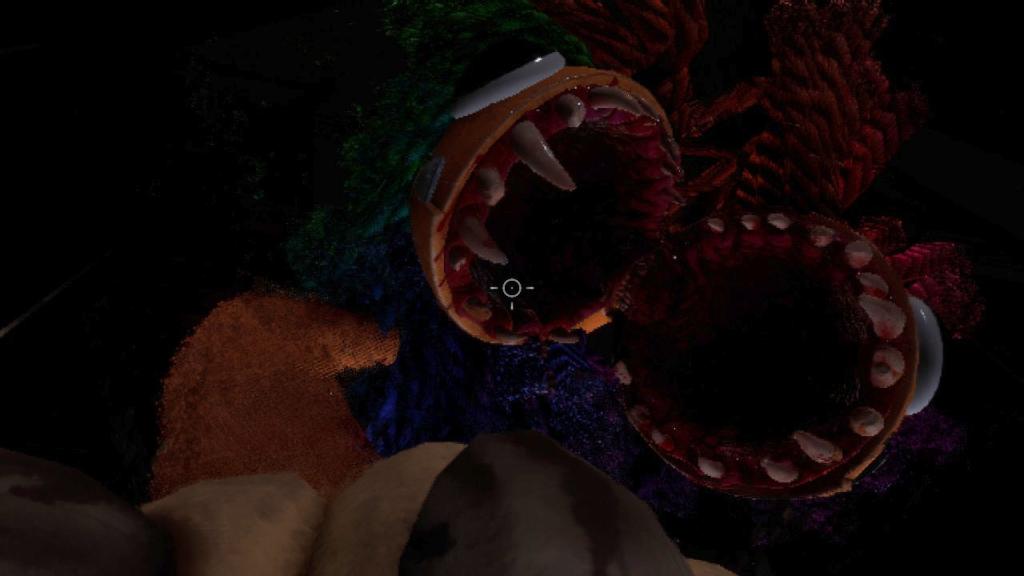
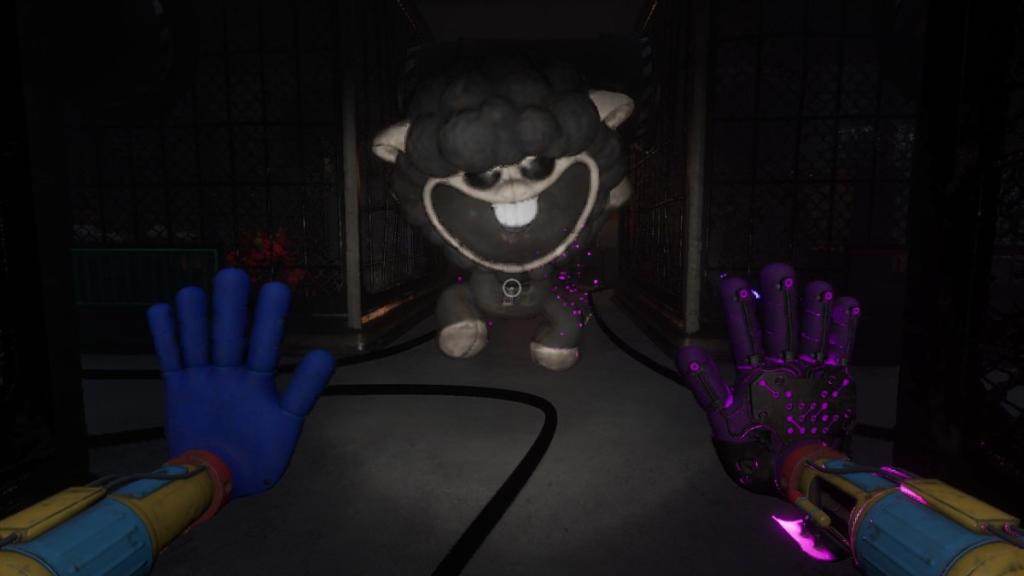
Doey

The final boss fight against Doey ensues, and it's rather fiddly to deal with. Get your flare hand ready and prepare yourself for endless running. You need to pull the freezing pod out from their stands, so Doey picks one up. Then shoot it when he's nearing one of the rotary saws so that he freezes directly underneath it. Pull down the blade with your blue hand to hurt him. Repeat this three times to defeat him. Don't forget to shoot him if he grabs you.
There's one final cutscene against Doey where you need to shoot one of the freeze pods next to his head when he breaks it with one of his hands. Look up and pull down the lever with both Grab-Pack hands to finish the job.
Poppy Playtime: Chapter 4 is smooth sailing from here. Multiple reveals and a cliff-hanger to end on, the next step in this adventure will be in the Labs, where it all began for the cursed experiments.
The post Poppy Playtime Chapter 4 walkthrough appeared first on Destructoid.