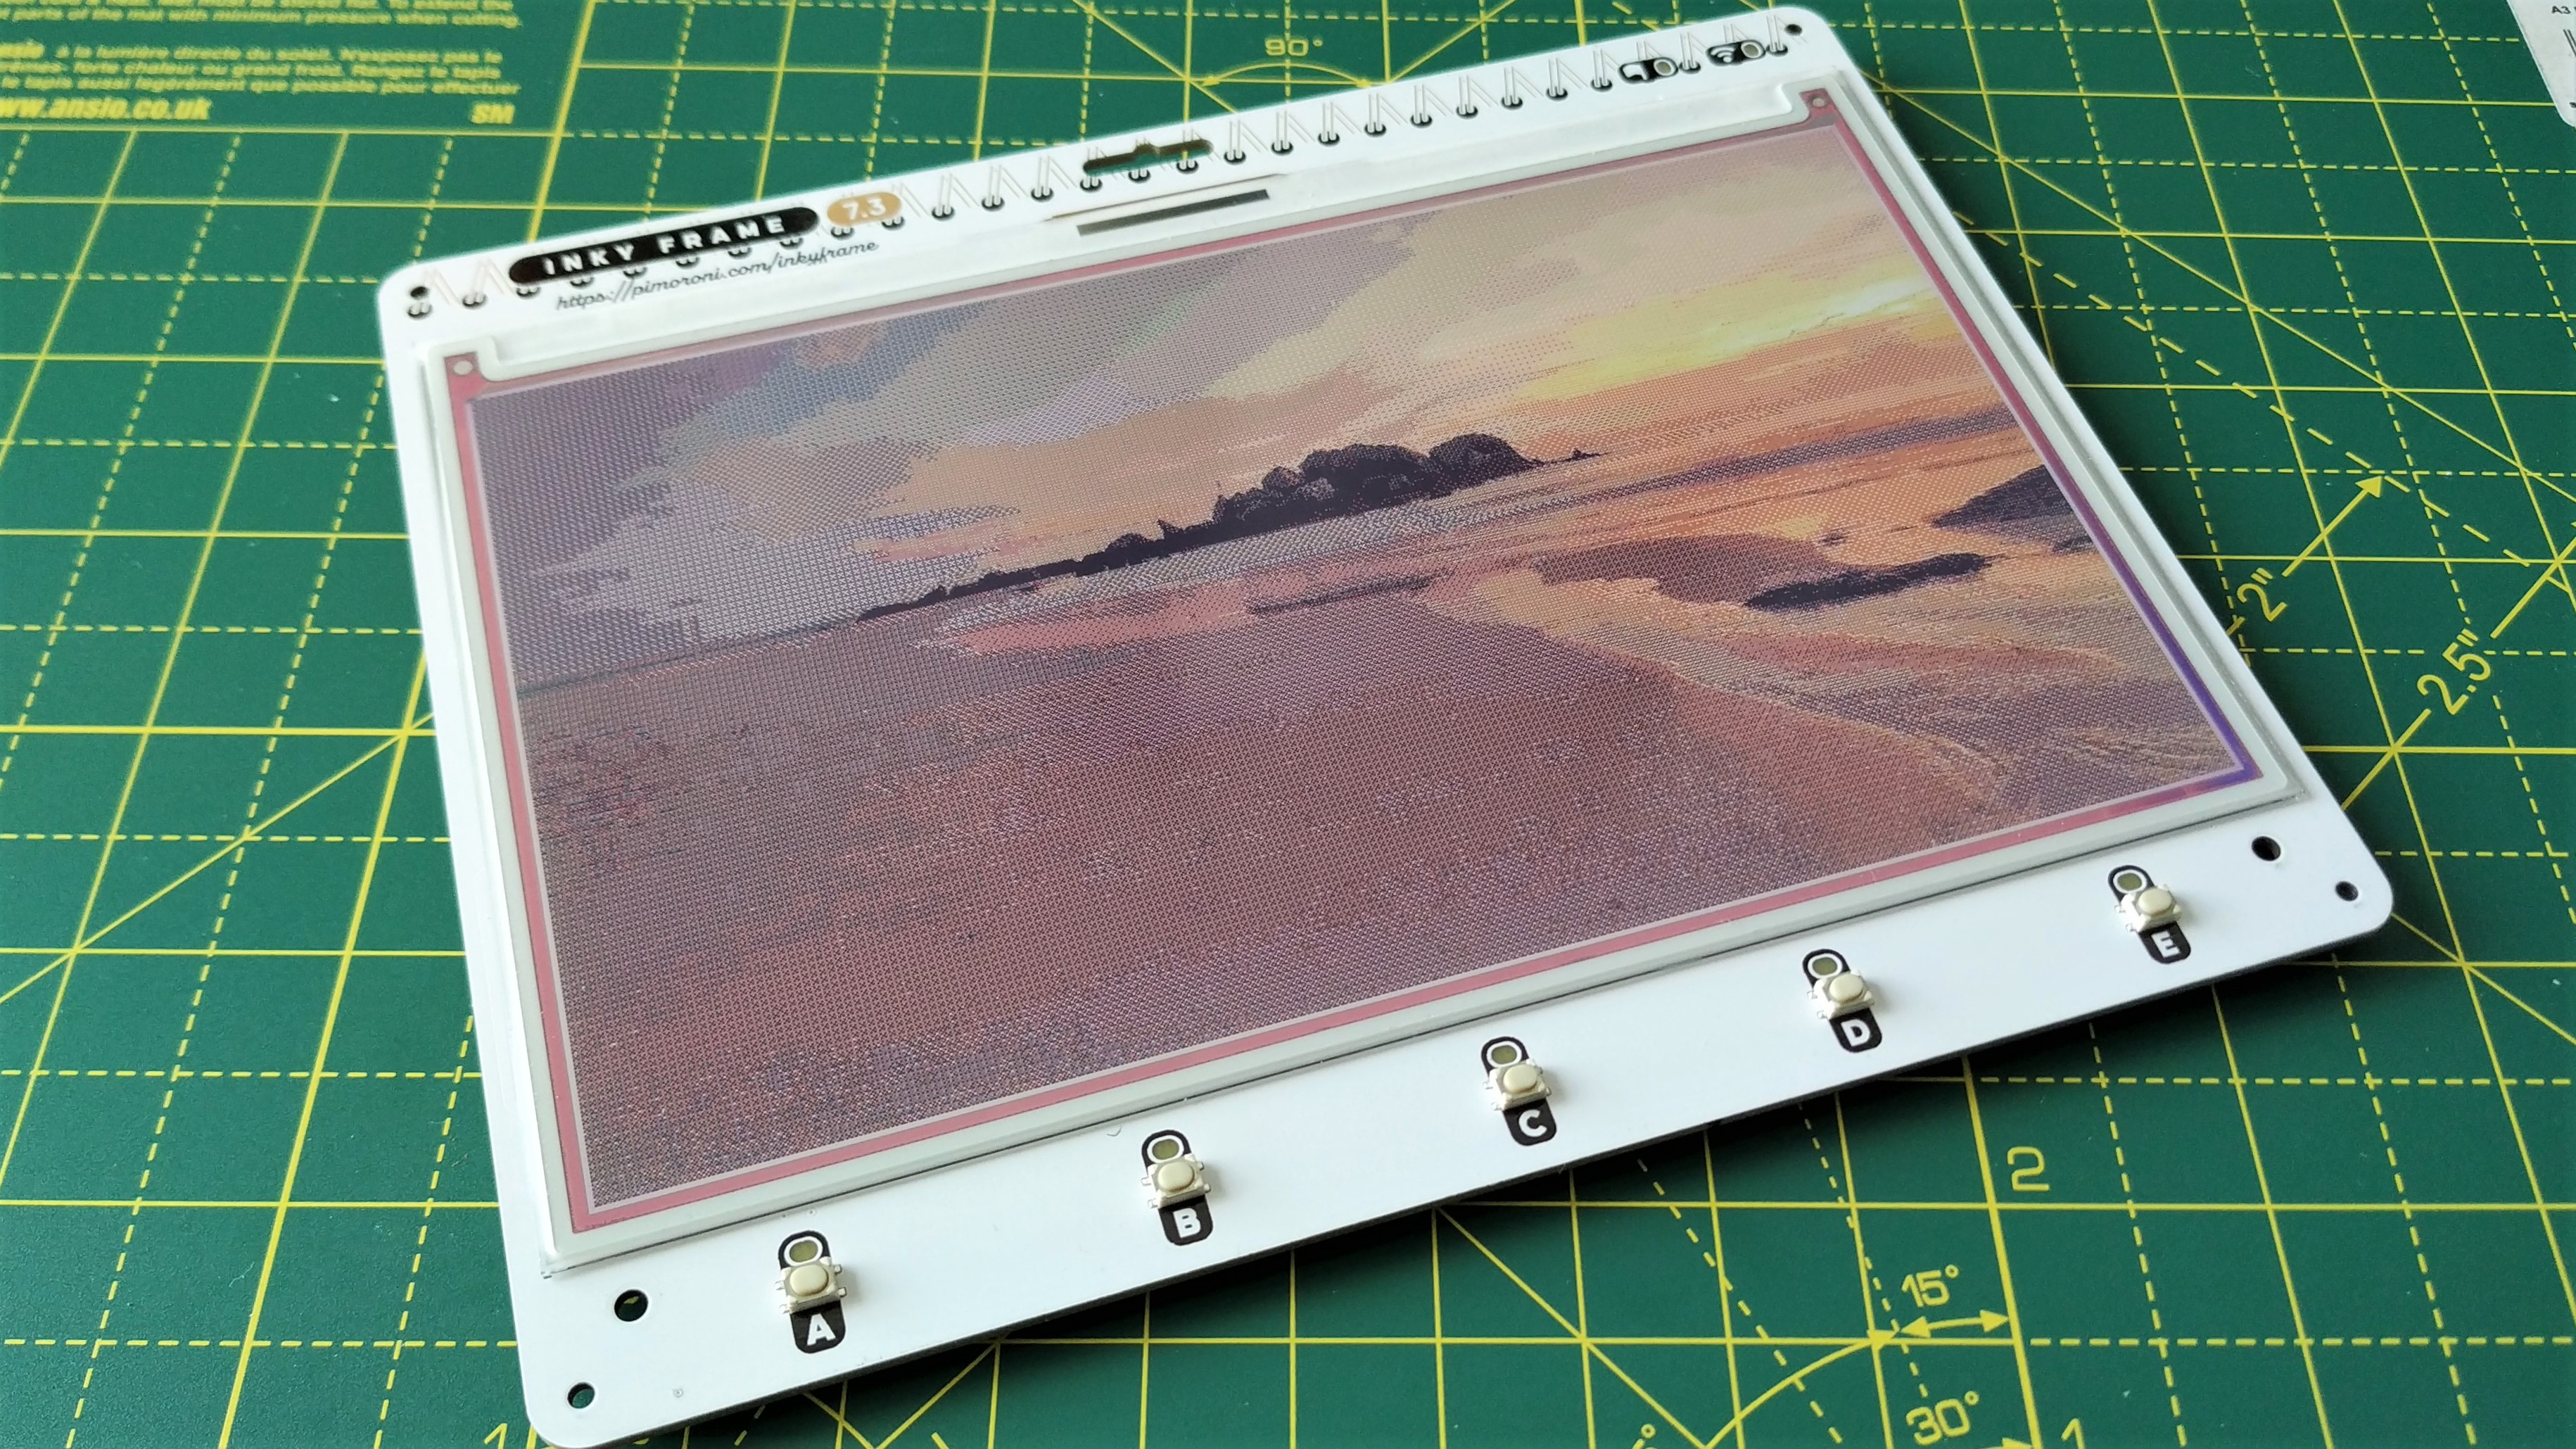
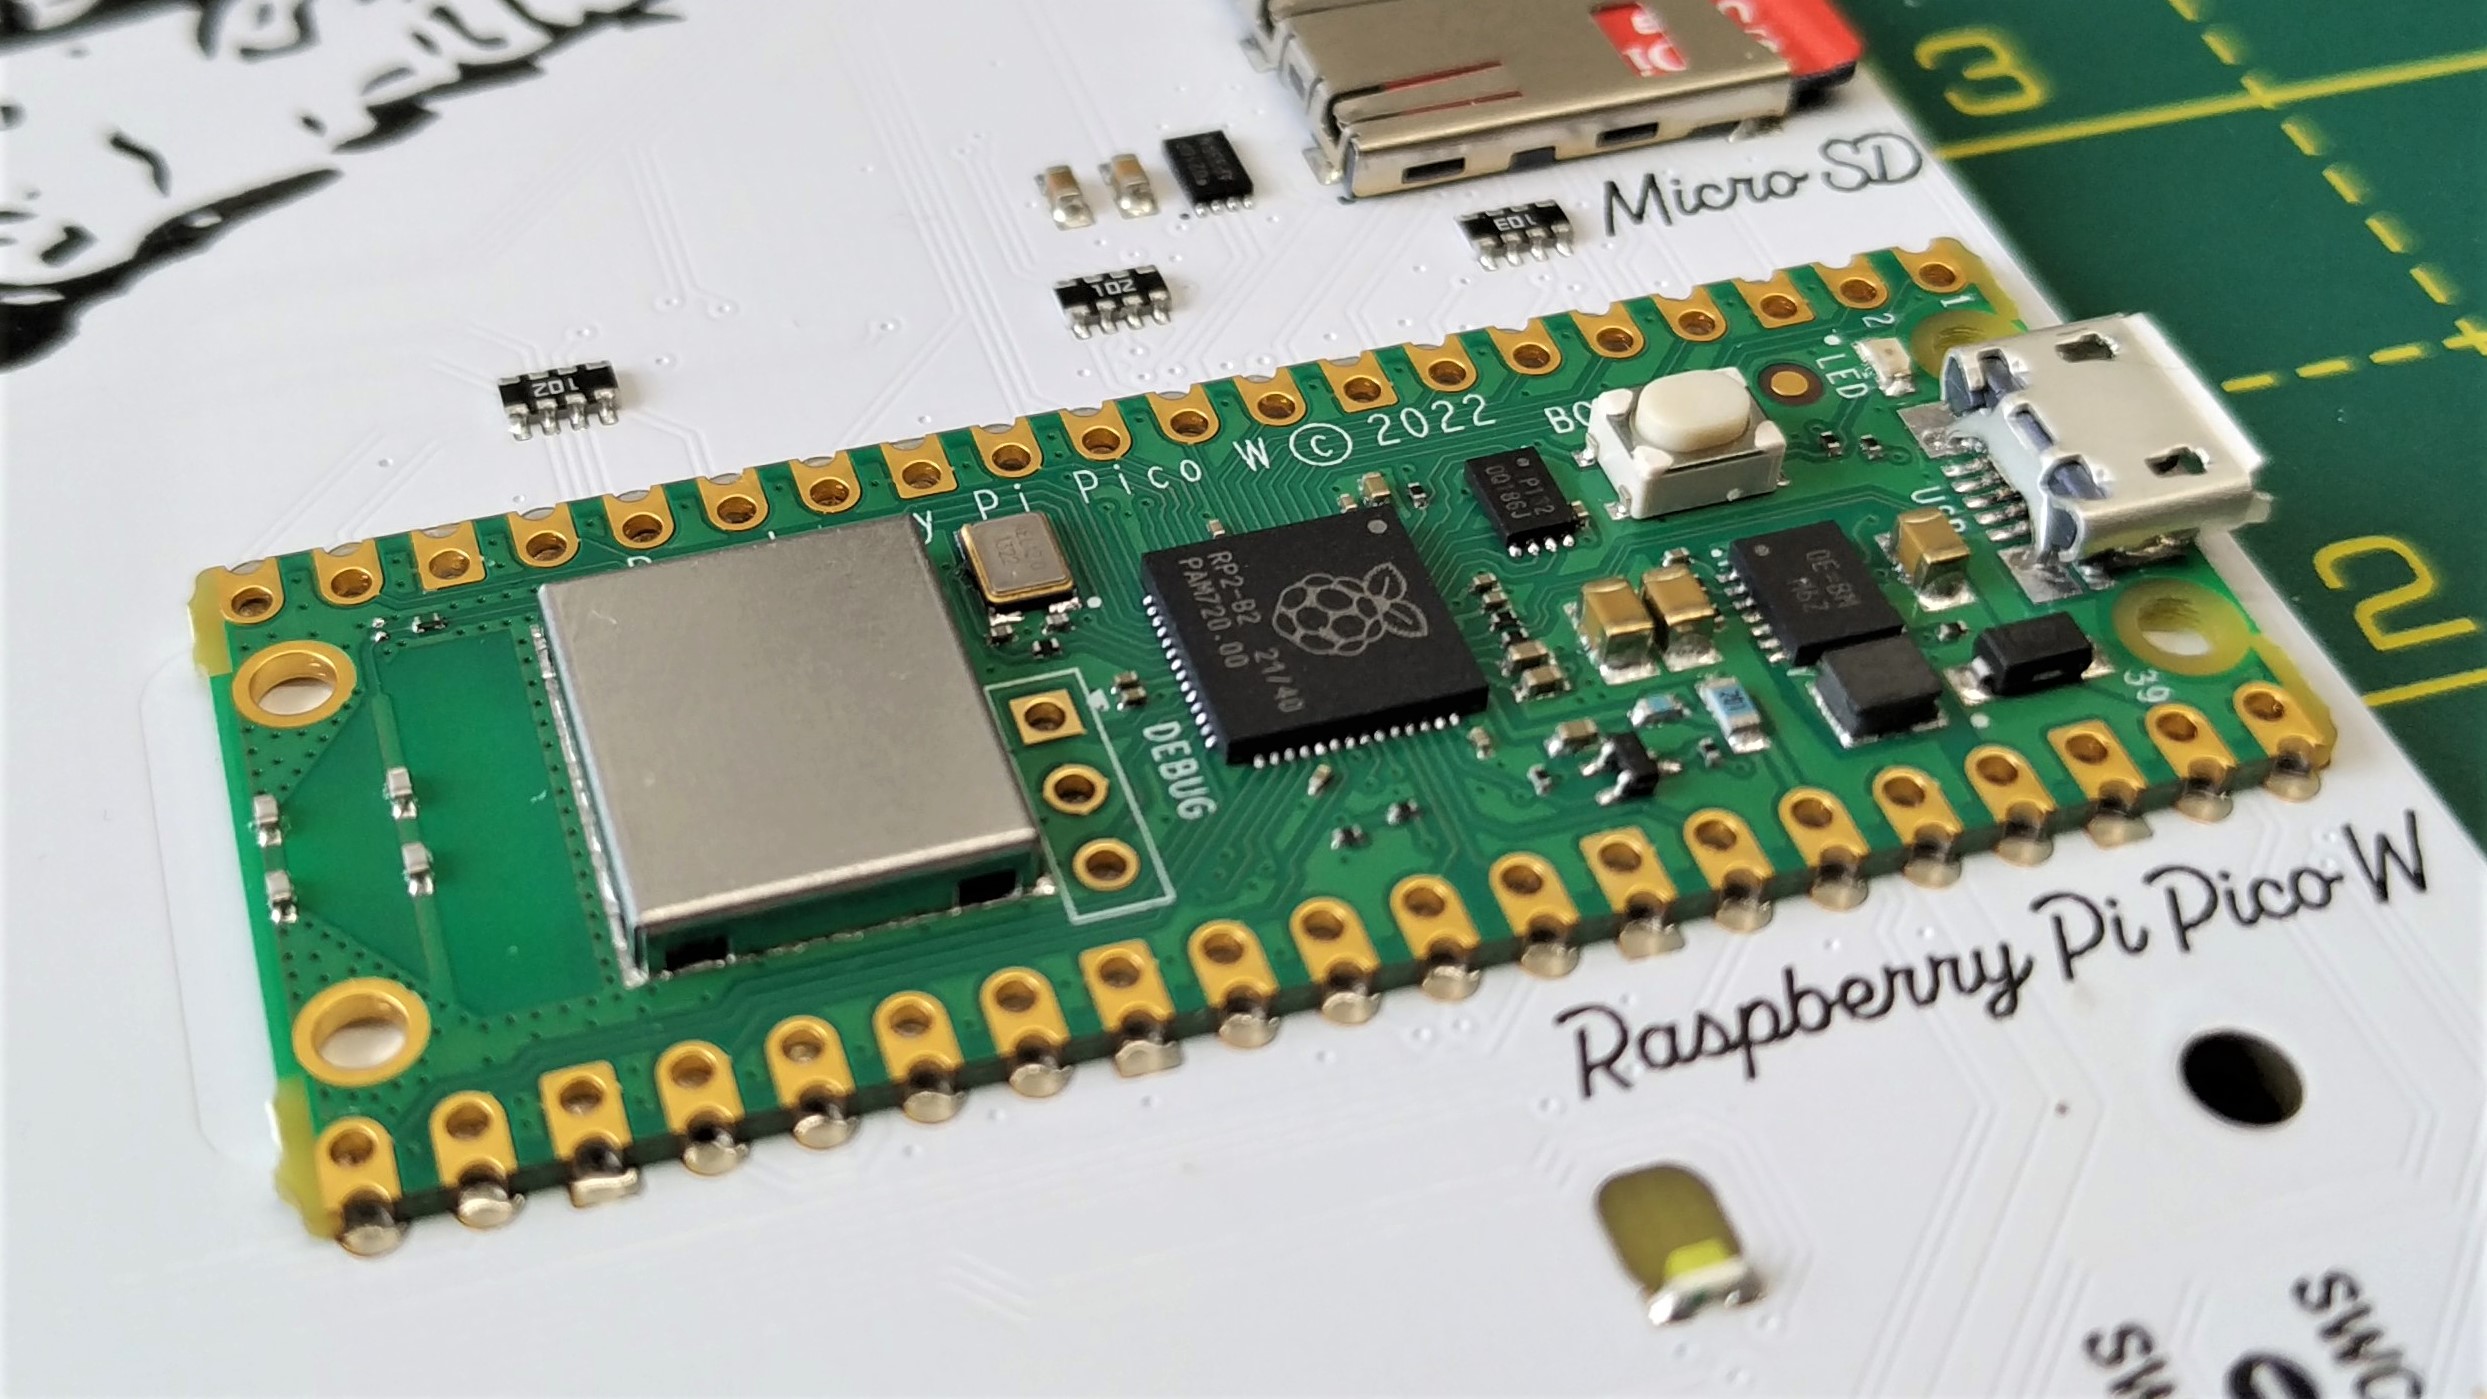
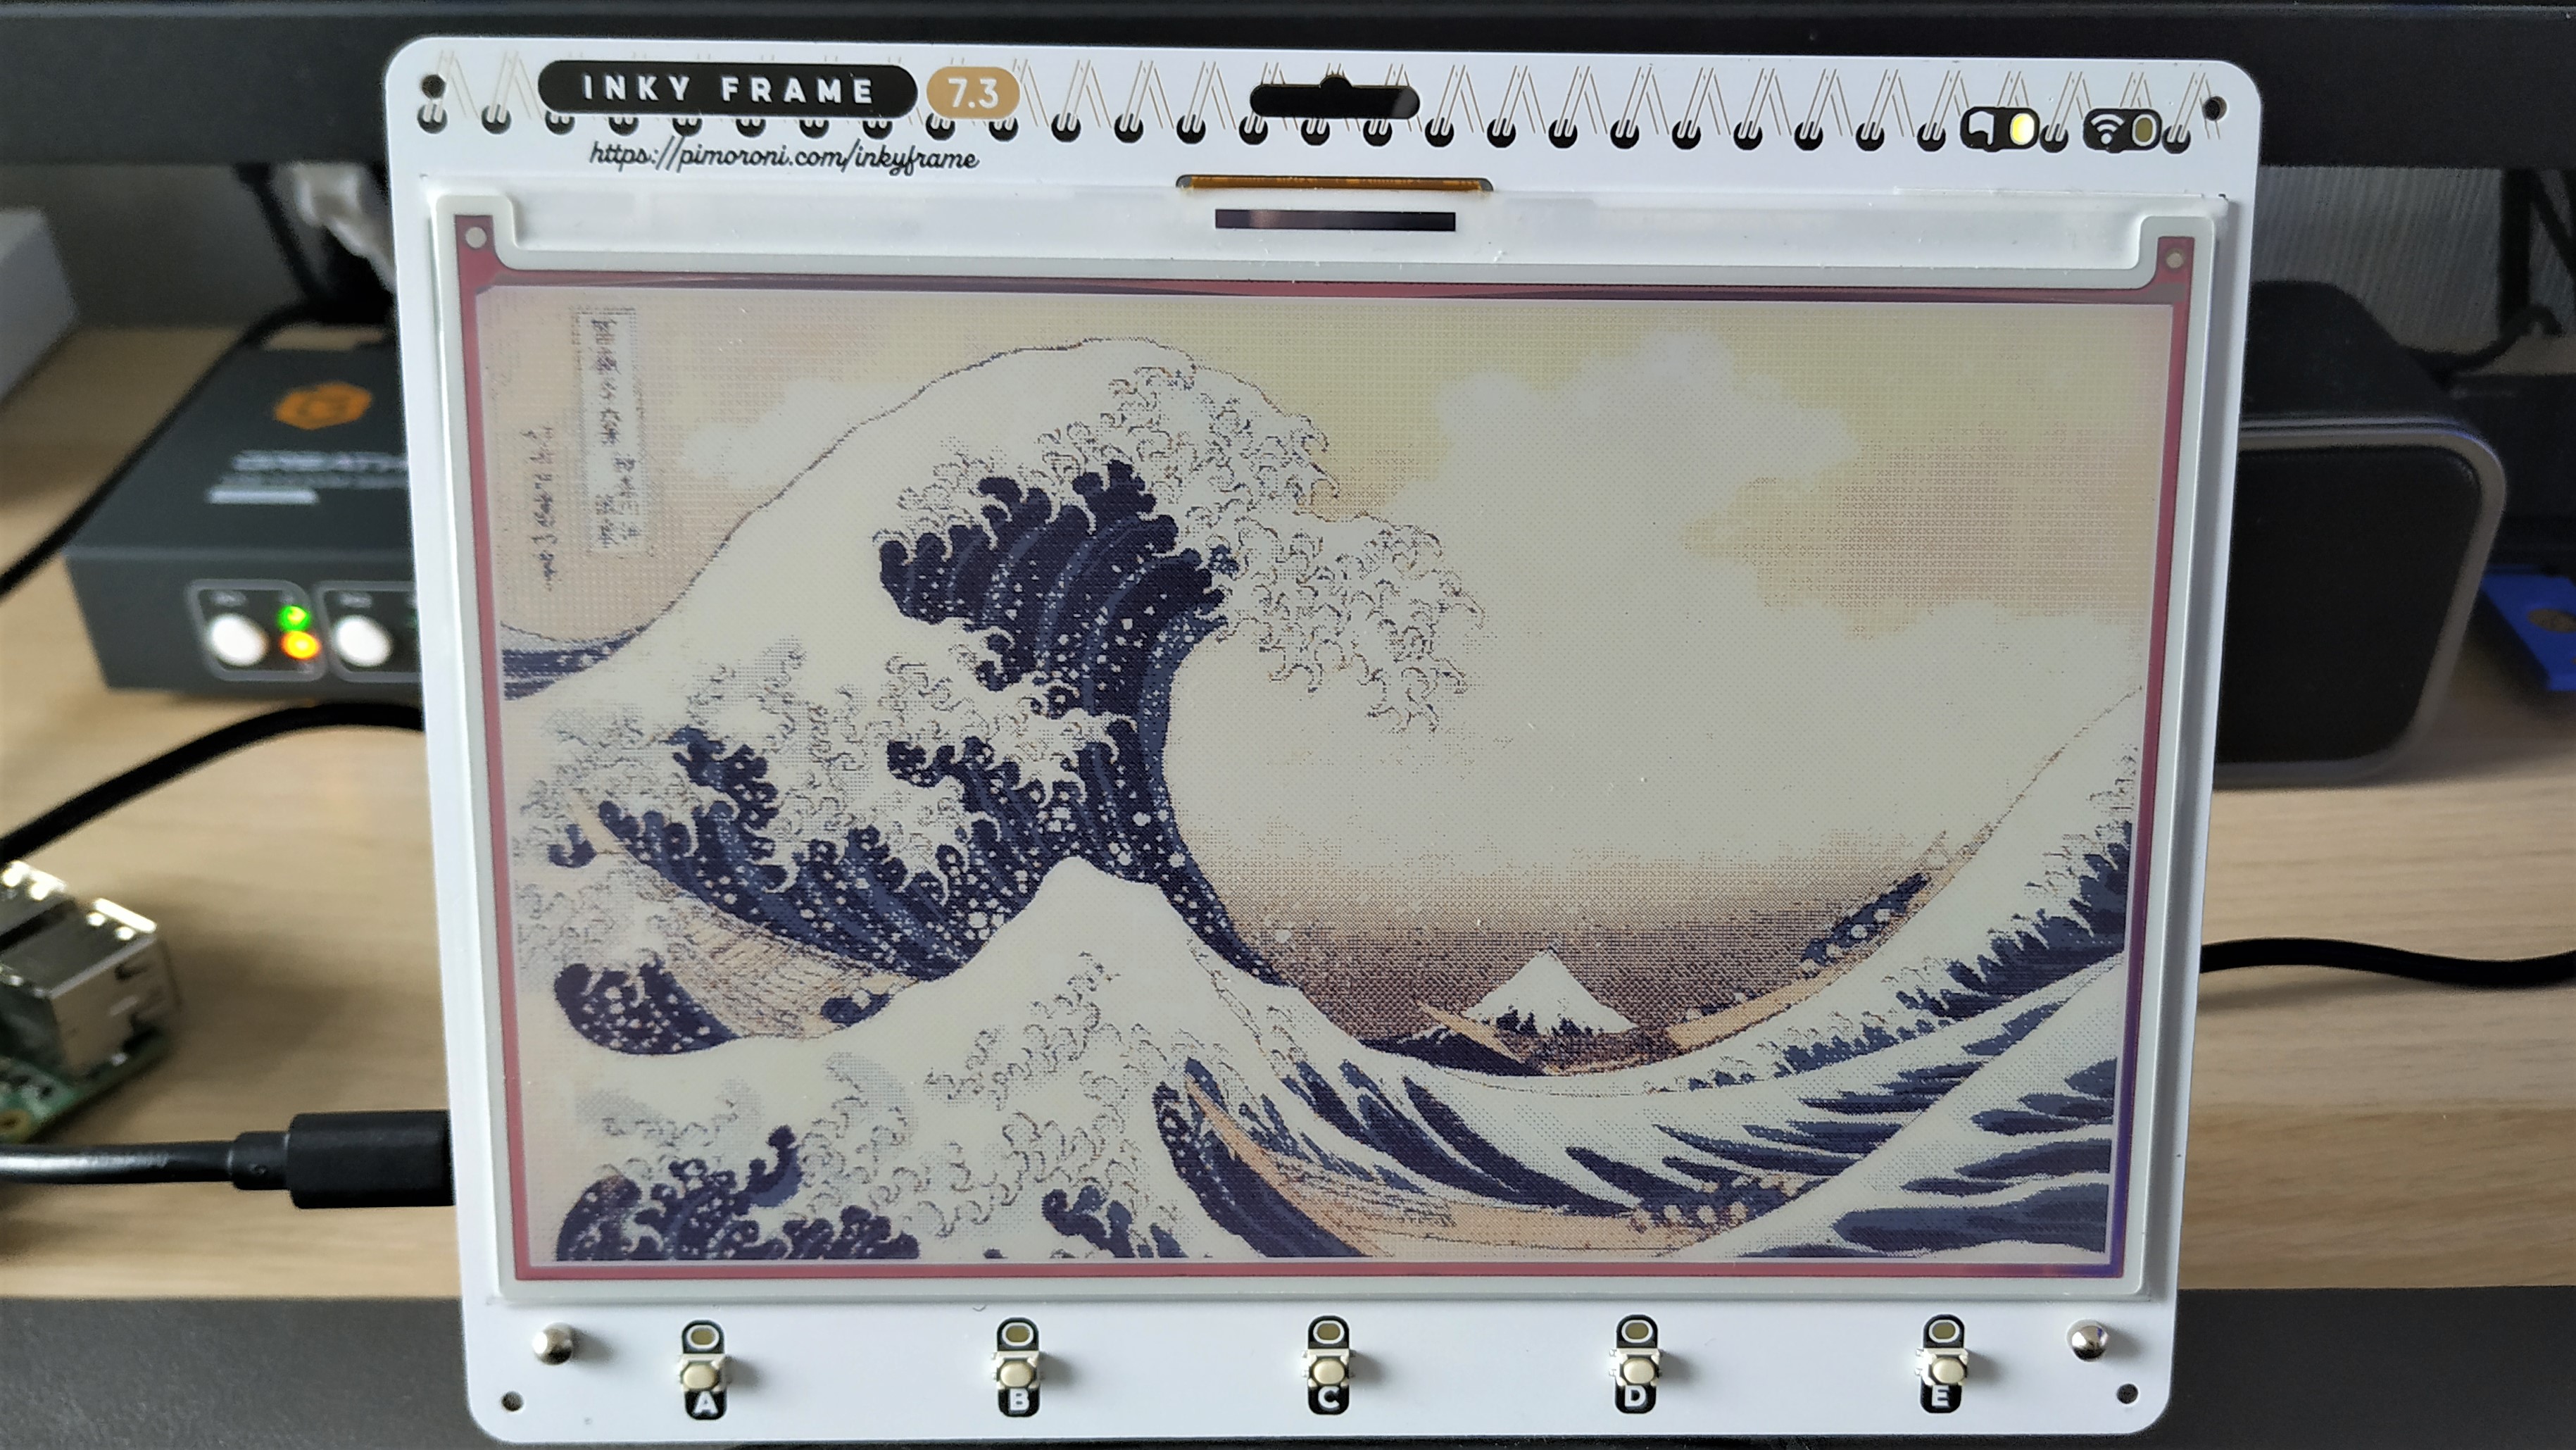
Pimoroni seems to have an interest in epaper displays. The Sheffield based team has released multiple displays for the Raspberry Pi, and now we see its latest for the Raspberry Pi Pico W. In fact, the Raspberry Pi Pico W is surface mount soldered directly to the display. The $89 Inky Frame 7.3 is the top tier in the range. Its 7.3 inch eight color display dominates a white PCB. There are smaller and cheaper versions (Inky Frame 5.7 is $79 and Inky Frame 4.0 is $69) which share the same feature set as Inky Frame 7.3. We’ve tested the 7.3 and 5.7 inch versions, and both are stunning to look at and powerful in use. However, all the pictures in this review are of the Inky Frame 7.3 (though the other models look the same, just a little smaller and lower resolution).
I’ve also got a love for epaper displays, born from an early experiment (2015) involving a Raspberry Pi A+ and an off the shelf epaper display. I’ve reviewed Pimoroni’s Badger 2040, and I’ve got the Badger 2040 W on the bench too. But let's take a look at Inky Frame and see what it can do.
Pimoroni Inky Frame Hardware Specifications
Getting Started with Pimoroni Inky Frame
Using the pre-flashed MicroPython, getting started with Inky Frame is a breeze. There are a number of examples which we can run from a launcher. All we need to do is provide our Wi-Fi details via secrets.py and the Internet enabled examples will display NASA’s Picture of the Day, News headlines or a random joke. These examples illustrate the scope that this screen has. It is much more than just another e-paper display. The onboard Raspberry Pi Pico W and GPIO connections means that it can be used as a low-power data display. So let's get to know Inky Frame.
Using Pimoroni Inky Frame
My first test was not a simple “Hello World” printed to the display. Instead I wanted to be a little more “artistic” with a series of stock images downloaded from Pexels.com and converted to match the resolution of the display. Note that when saving JPEG images for any Inky Frame, you will need to ensure that they are not progressive JPEGs. That said, via the PicoGraphics module it is now exceptionally simple to use images with these displays.
In previous generations of Pimoroni Inky HATs a special color palette was used in Photoshop / Gimp to ensure that images worked on the displays. Now, Inky Frame does it all for us. Updating the entire screen takes around 45 seconds, after all there are seven colors that need to be updated. Complex images, such as photos are rendered ok. Dithering mixes the seven colors with enough fidelity in order to closely reproduce the original image. Color e-paper displays often work better with comic book / painting images than photos. To mitigate this, Pimoroni has created a tutorial on how to use Inky Frame and includes a specific section on how to prepare images for the display.
Tweaking the saturation and exposure a little brought back some of the details and made our beach test image look like a Ralph McQuarrie Star Wars concept art piece. I cycled through a series of images and everything looked good. I then decided to use a couple of famous art pieces as tests for the image quality.
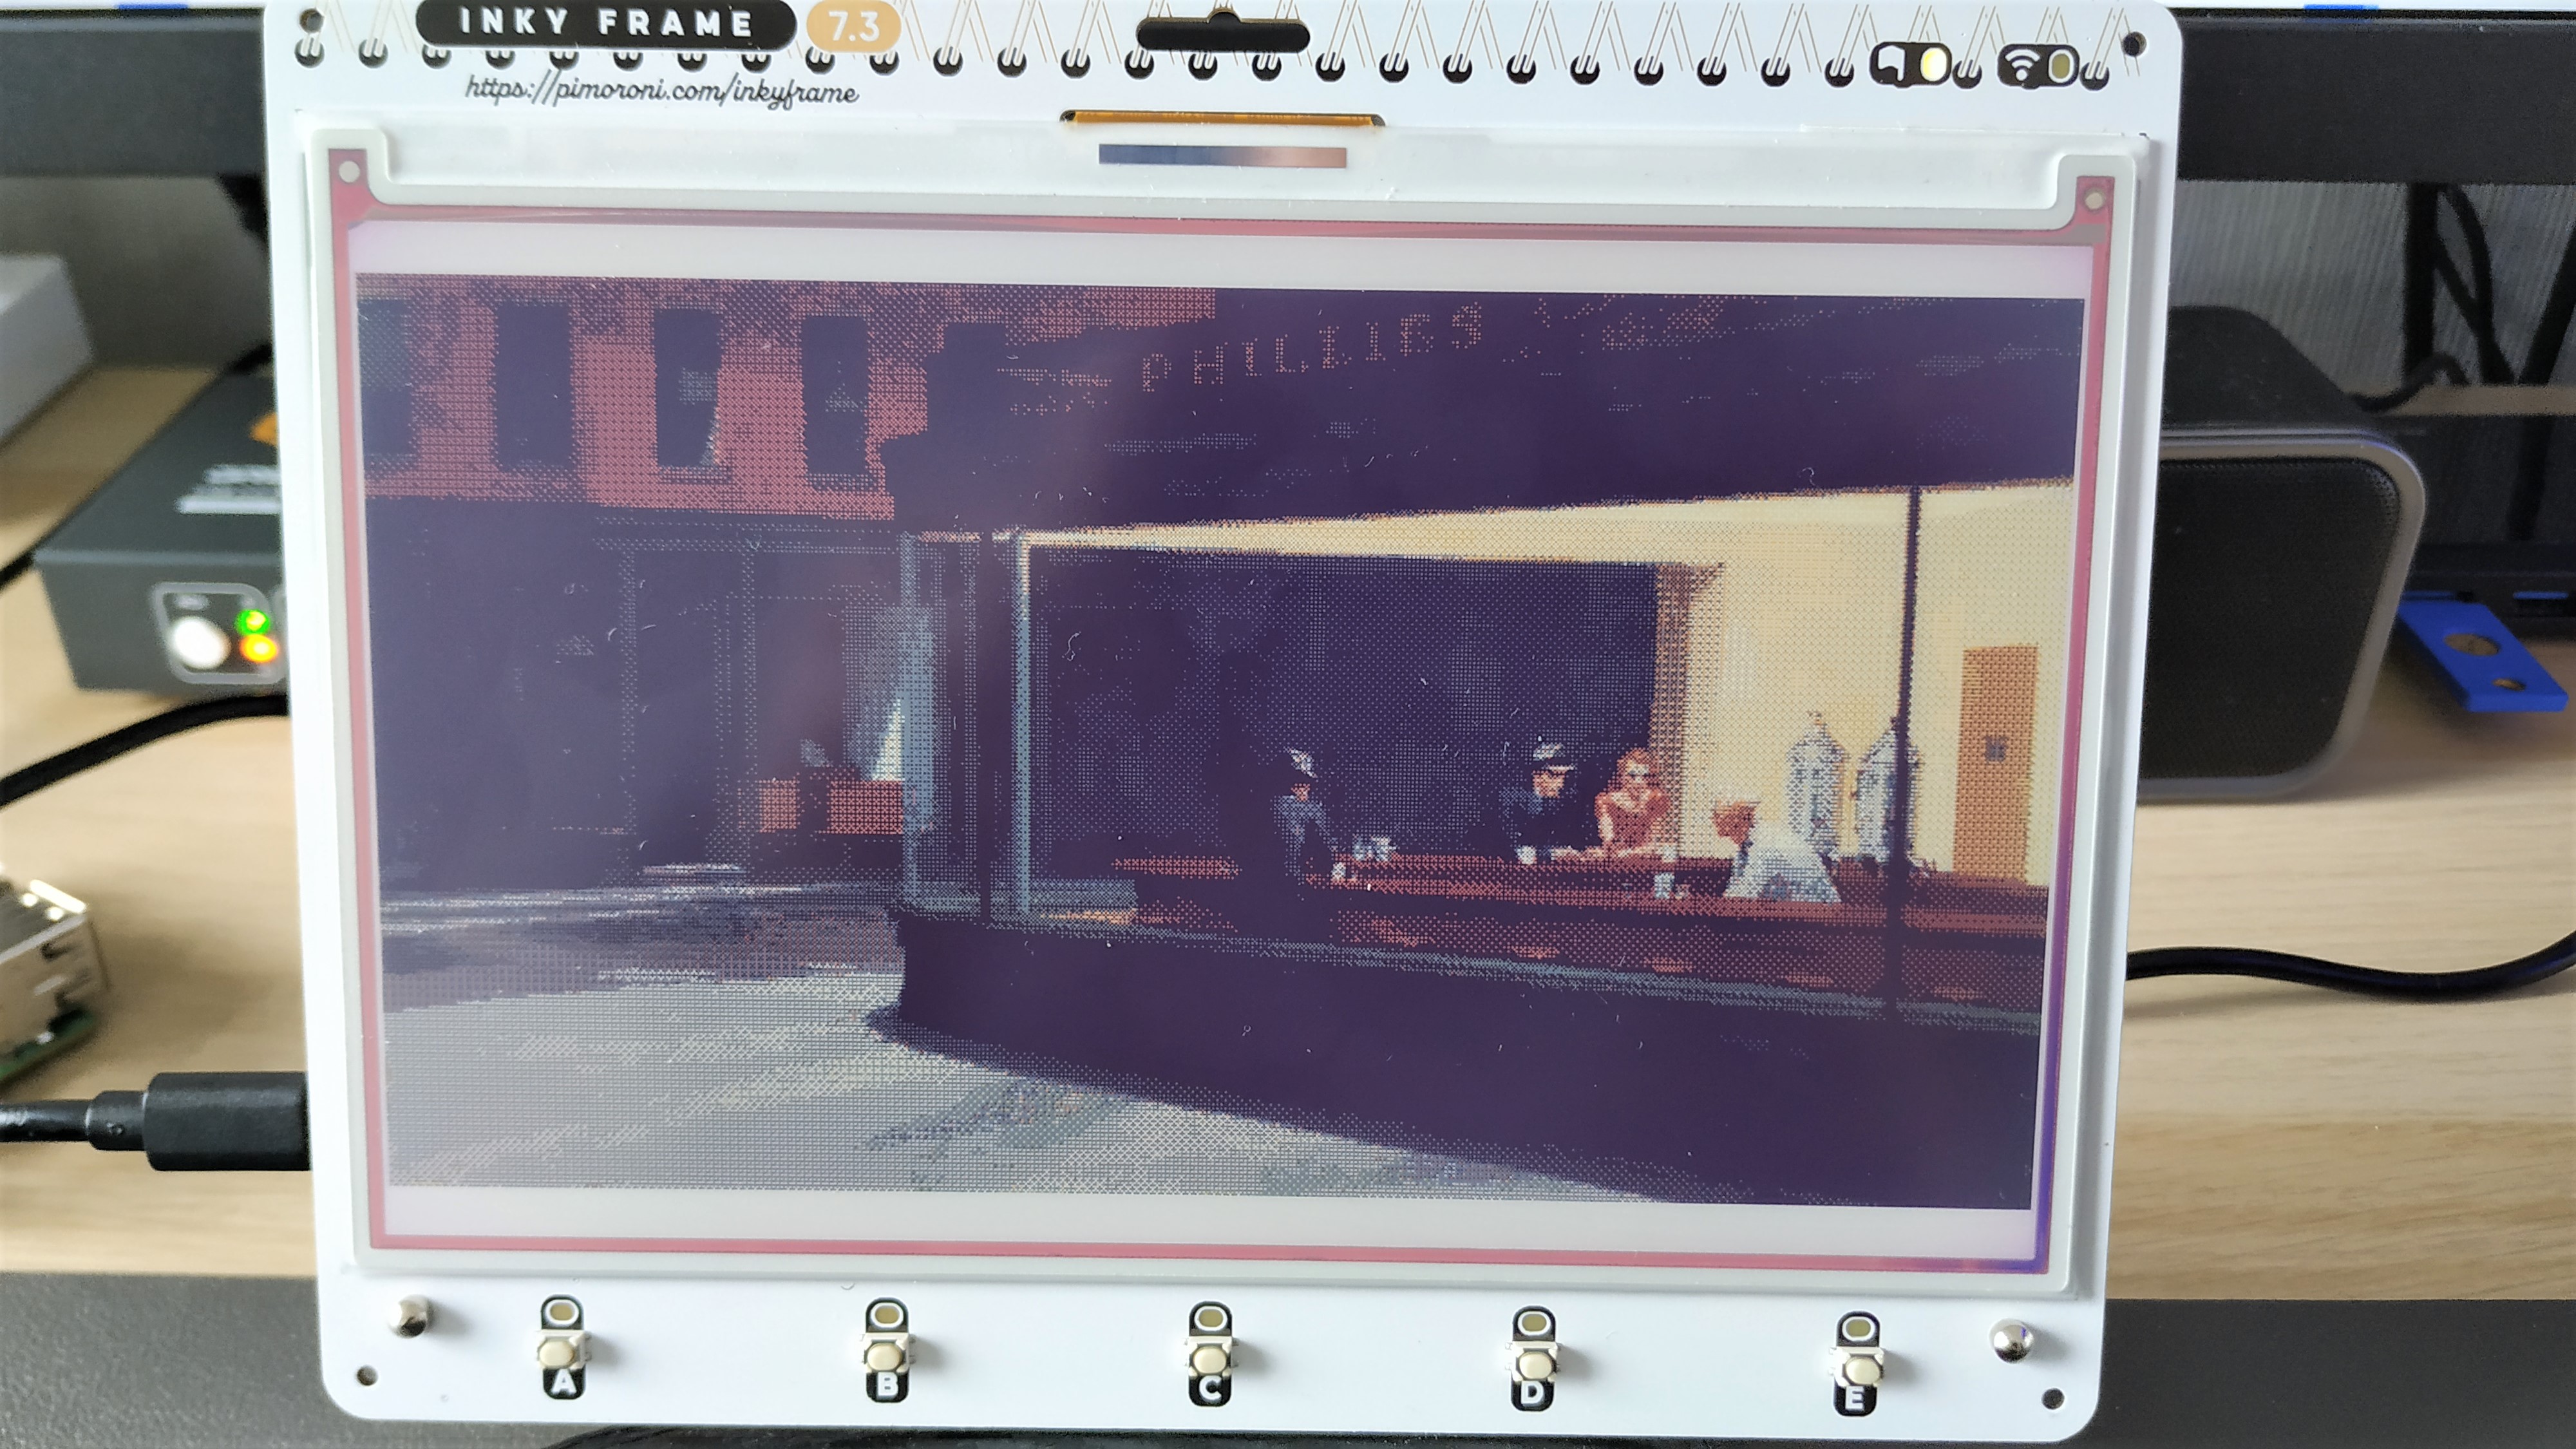
Edward Hopper’s Nighthawks is a darkly mysterious piece of art. Our eyes are drawn to a coffee shop where four people sit in silence. Yellow-hued light illuminates them as they sit in a room with only one door and no way to leave. Outside the coffee shop is a darkly depressive street. Painted in 1942, Nighthawks has an air of isolation in a large city. This painting rendered exceptionally well, mainly due to its limited color palette and stark contrast.
Close up we lose details, but from one meter away the image takes on a pop-art style that does not detract from the original image. A further test using The Great Wave off Kanagawa by Hokusai saw the many shades of blue realised in stunning detail. I will go out on a limb and say that The Great Wave off Kanagawa looks better than Nighthawks as it uses bold lines intended for printing.
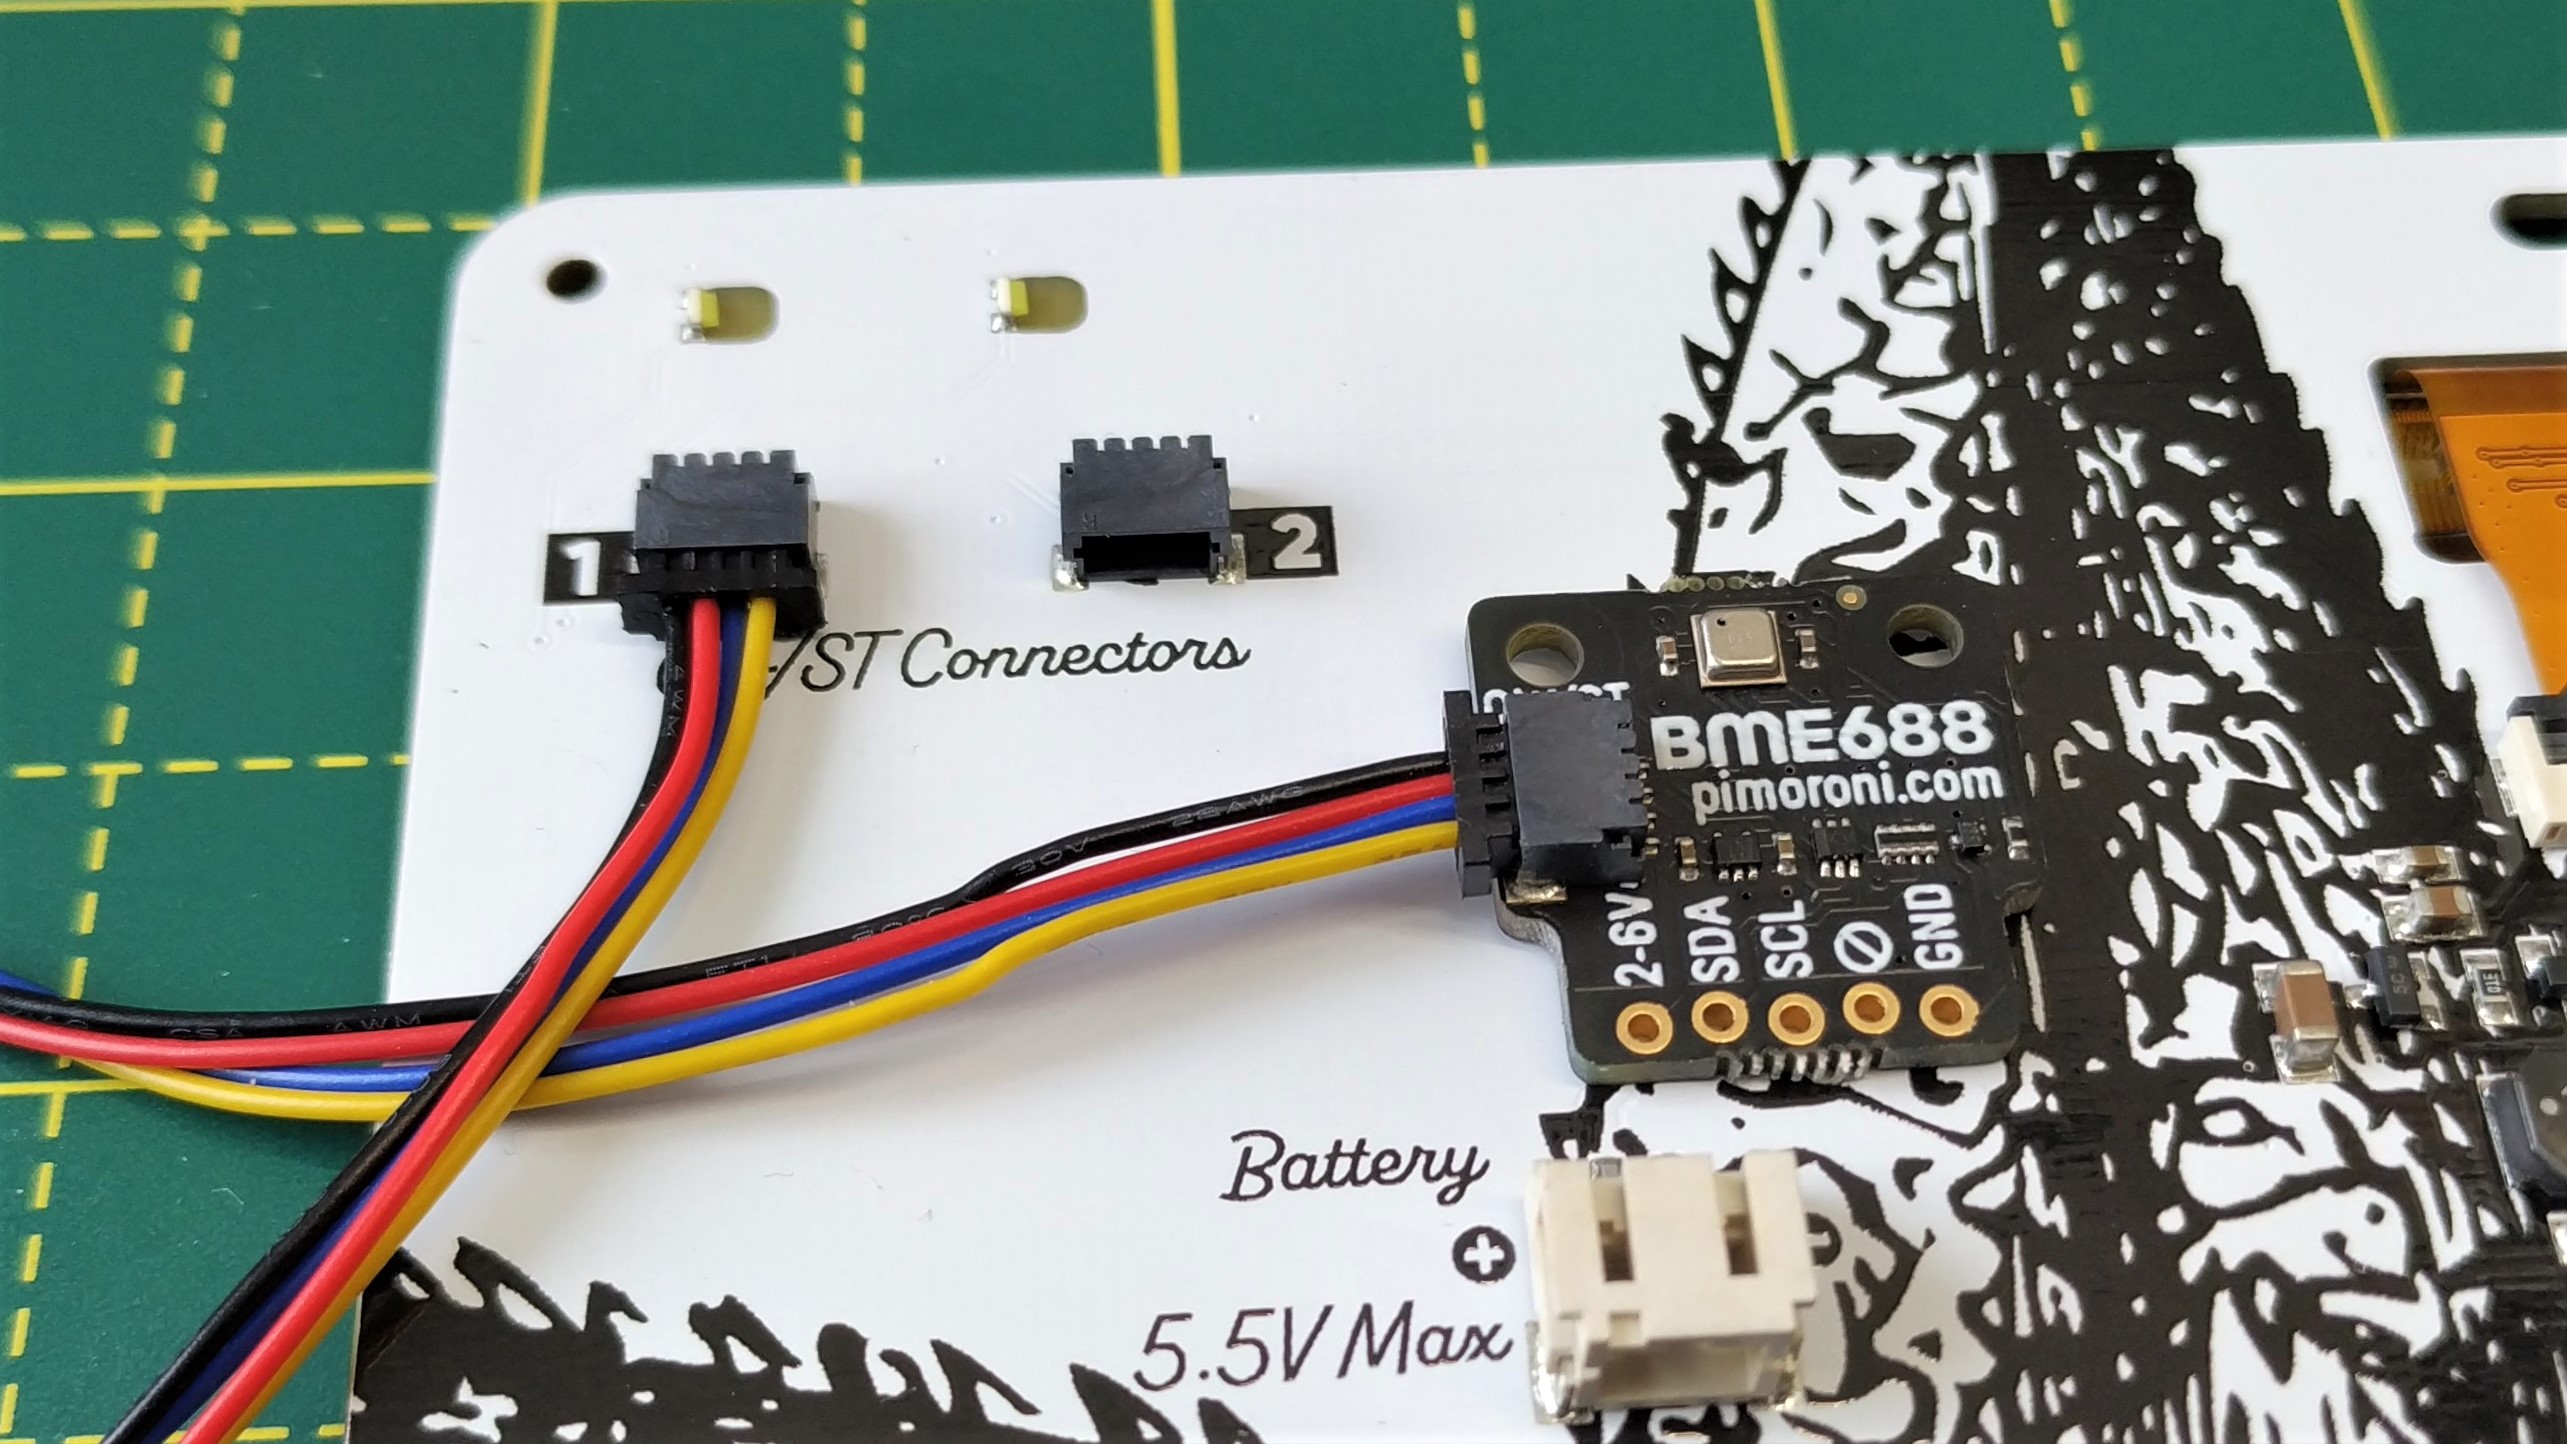
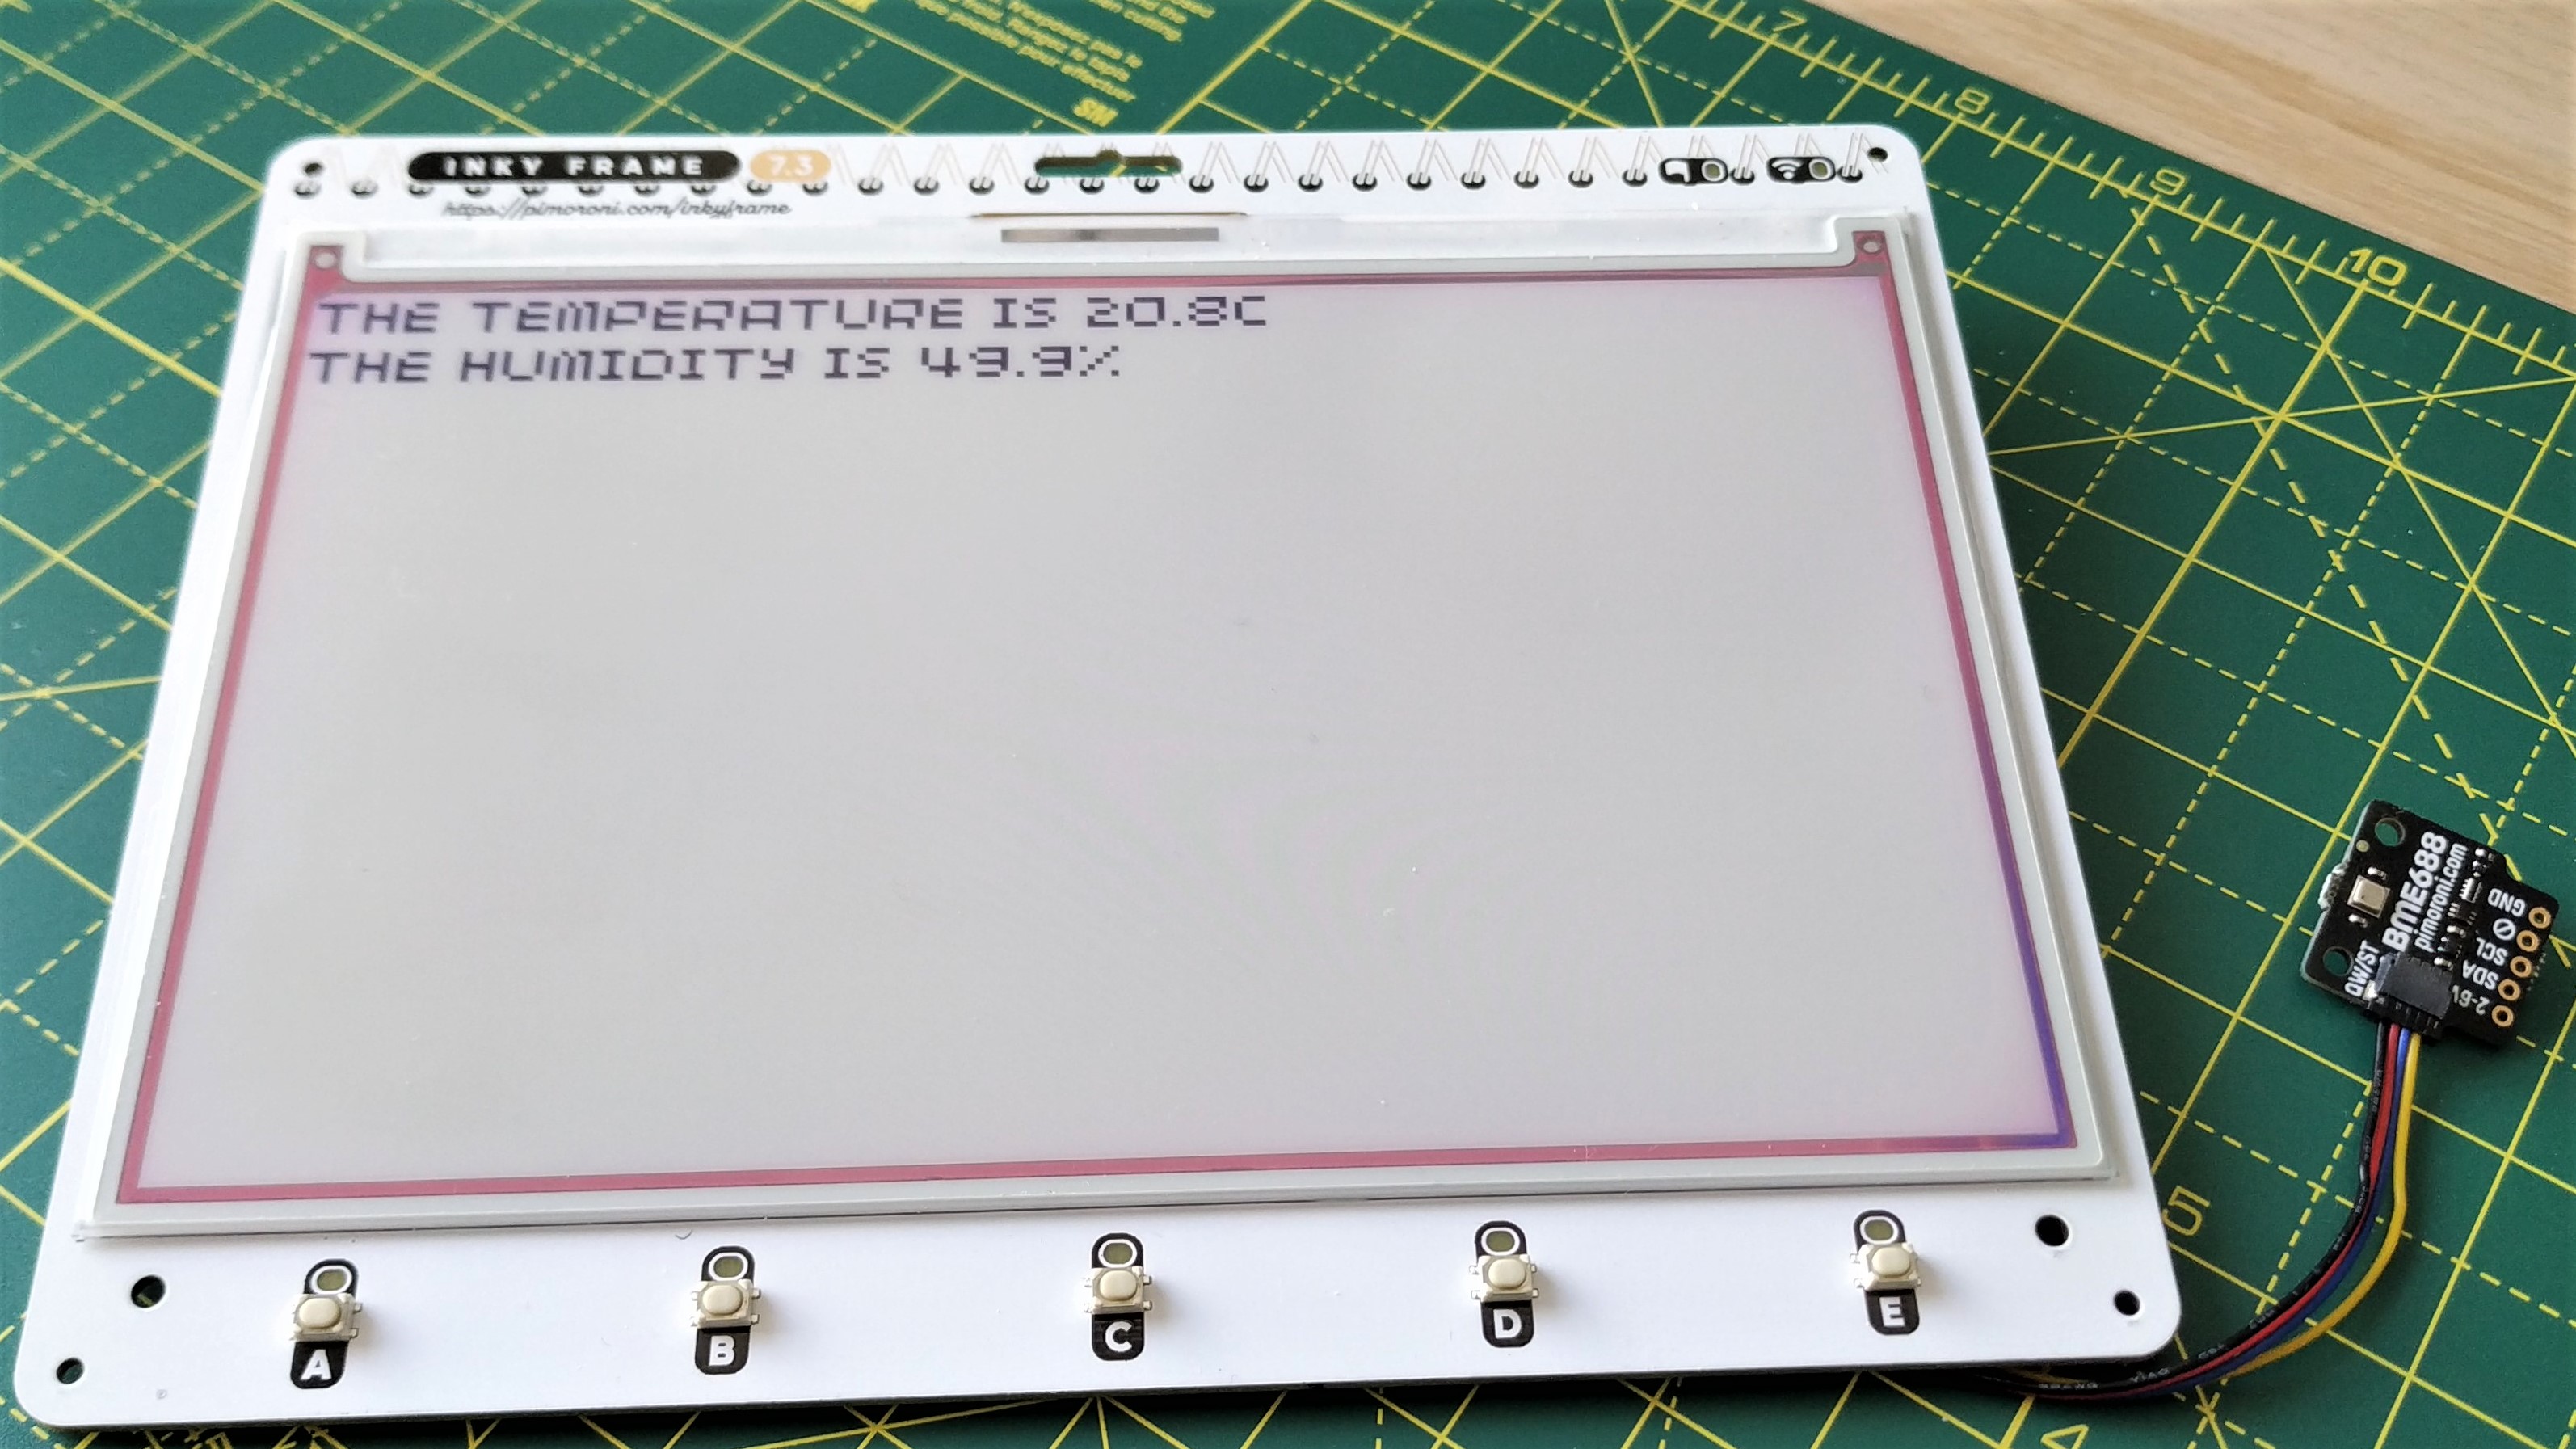
The dual onboard QW/ST (Stemma QT / Qwiic) connectors enable compatible components to be easily connected to Inky Frame. I hooked up a BME688 temperature and humidity sensor and within a few minutes I had raw data in the Python shell. One cup of coffee and a quick glance at Inky Frames Python module and I had the current temperature displayed on the screen. With a little more work and creativity you can mix text data into a graphical display. So live weather data with icons is possible.
The lanyard holder may not have escaped your attention and yes you can wear this as the ultimate conference badge (sorry Badger 2040). All three Inky Frame sizes accept external power via a JST header and can work with any power source offering up to 5.5V DC. Note that there is no onboard charging circuit, so you will need to charge your batteries in an external charger.
Who is Inky Frame For?

I can see Inky Frame at home on your desk, wall and around your neck, so it seems to be a versatile device. Whether you need data visualized, art for your desk, news headlines or the ultimate conference badge, Inky Frame has you covered, and in an exceptionally practical and pleasing form factor. If you plan to wear Inky Frame, consider the 4-inch model, but if you want to use it on a desk, the 5 or 7.3-inch model provides larger output.
Bottom Line
For $89, Inky Frame 7.3 is the most expensive model in the range, but for the price you get plenty of screen space in a very pleasing form factor. The accompanying MicroPython module makes it exceptionally easy to use, as do the QW/ST connectors. I enjoyed my time with Inky Frame 7.3, it worked well and produced wonderful results. If budget, desk space or neck space is on your mind , grab the 5.7 or 4 inch models. You lose a little resolution, but everything else is exactly the same.
MORE: Best RP2040 Boards
MORE: Best Raspberry Pi Projects
MORE: Raspberry Pi: How to Get Started