Watch video: Portraits with a nifty fifty
Photographing people comes easily to some, but can feel daunting to others. Although there are many technical aspects to consider, you also need to build a rapport with your subject. In this photo project, I’m going to show you how can simplify your shoots by using a single prime lens.
There are many opinions on which is the best lens for portraits. Usually 85mm (full frame) is touted as the king but, when I picked up my first camera (a Canon EOS 5D Mark II) it came with a Canon EF 50mm f/1.4 USM. For a couple of years this was the only lens I owned and still, to this day, is one of my favorite lenses to use for great people pictures.
A 50mm lens on an APS-C camera gives you a similar focal length to that sought-after 85mm, which is great for tight headshots, but on a full-frame body 50mm flatters a half-body shot or gives you more space around the subject to include the environment.
Best of all, a 50mm f/1.8 lens – known as a "nifty fifty" – is often really affordable and will still do a splendid job. It’s no surprise that a 50mm lens is usually the next purchase for beginners who have outgrown the limitations of their kit lens.
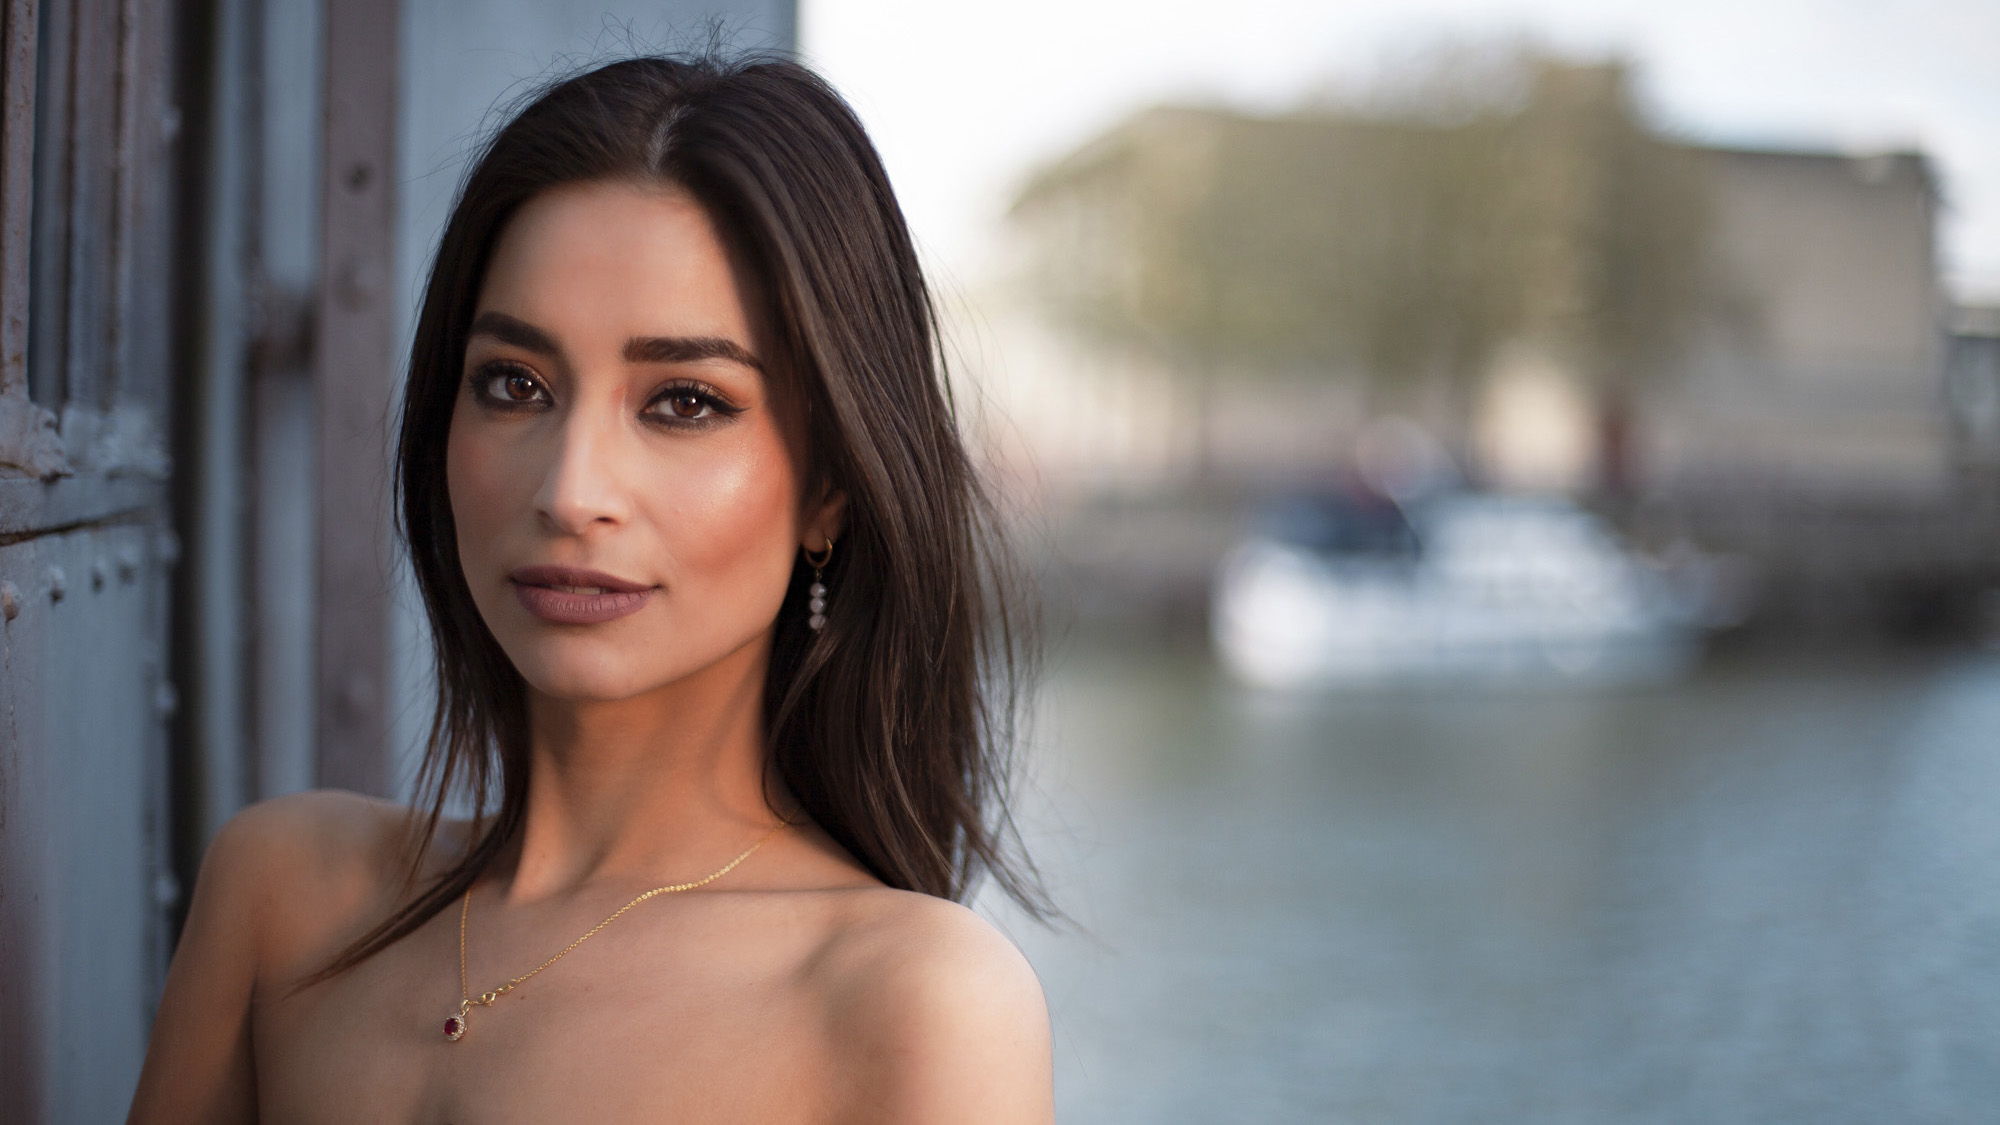
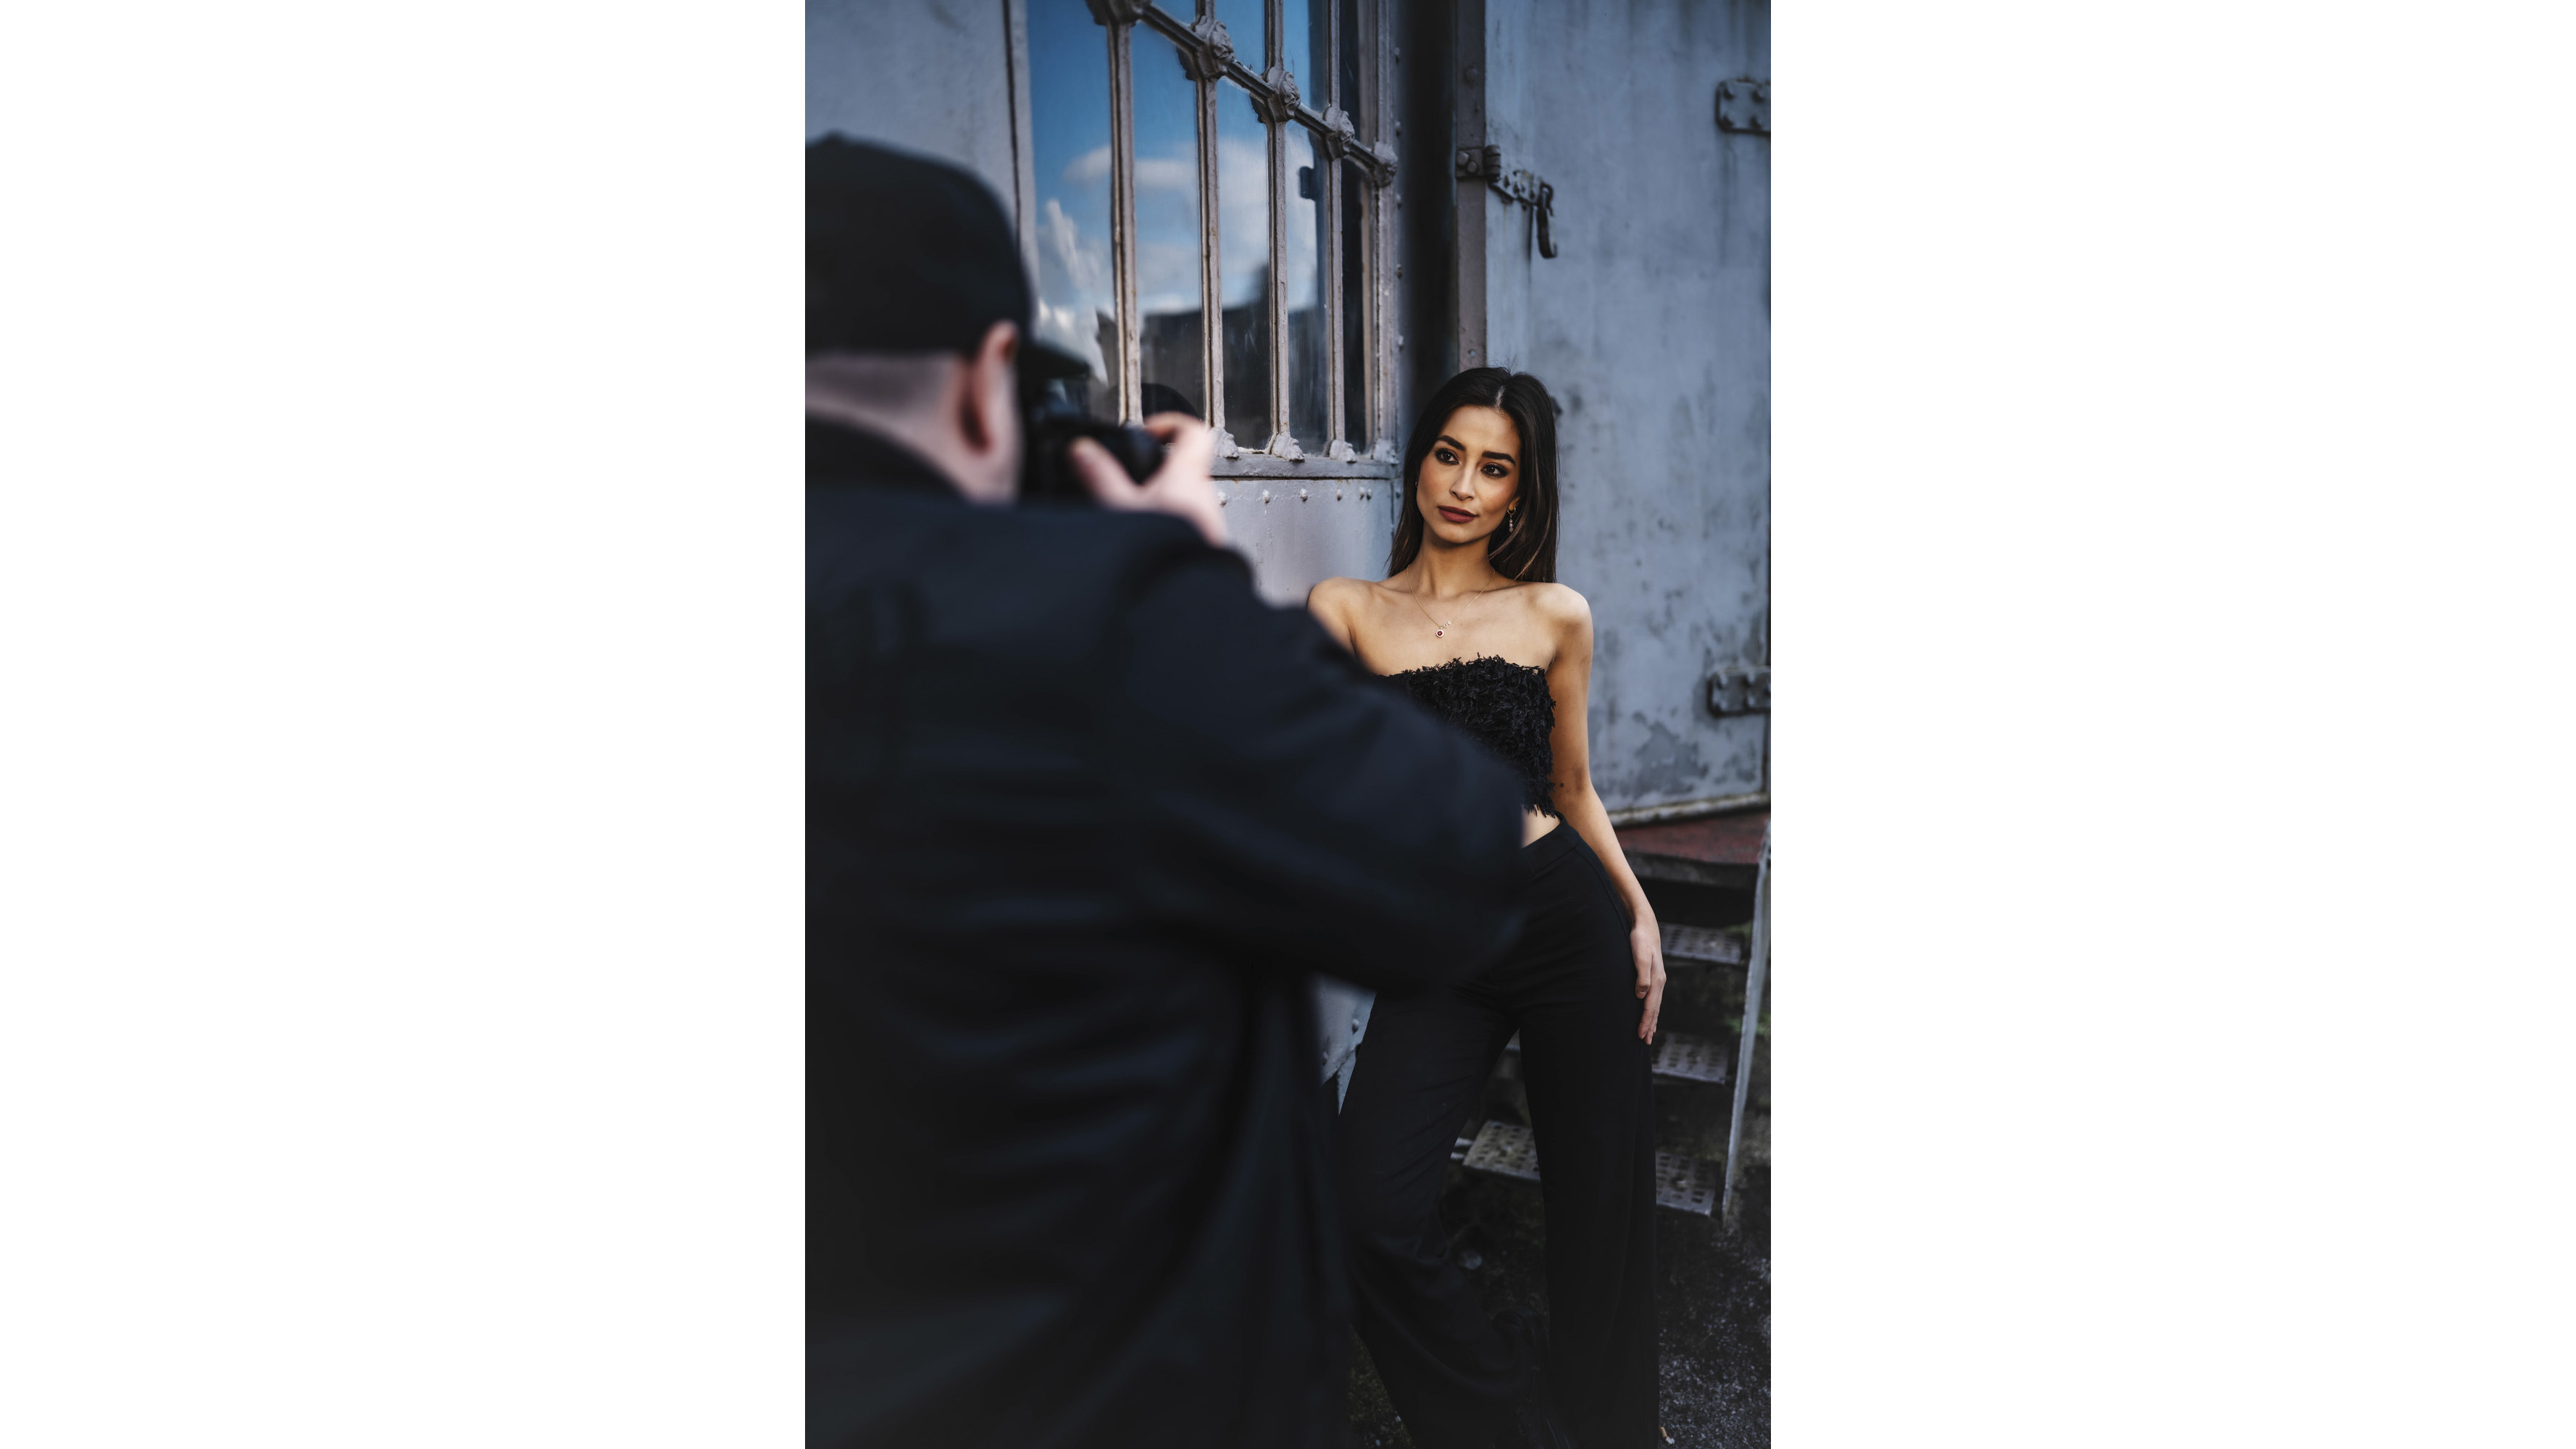
Shooting wide open at an aperture of f/1.8 or f/1.4 will create a softer, blurrier background, which will create separation and draw full attention to your subject – in this case, my model Melda.
Selecting an appropriate background is also an important part when choosing a spot to shoot in. Many photographers who are new to portrait photography tend to focus on the subject of the portrait, and don’t consider how their background will impact the overall look and feel of the image. Busy backgrounds can distract from the subject, and some backgrounds have no connection to them, making the portrait composition confusing.
In this project, I shot outdoors without flash, using just natural light at Bristol’s harborside in the UK with an old dock hut for a neutral color to work from. Here are my top tips…
1. Getting nifty
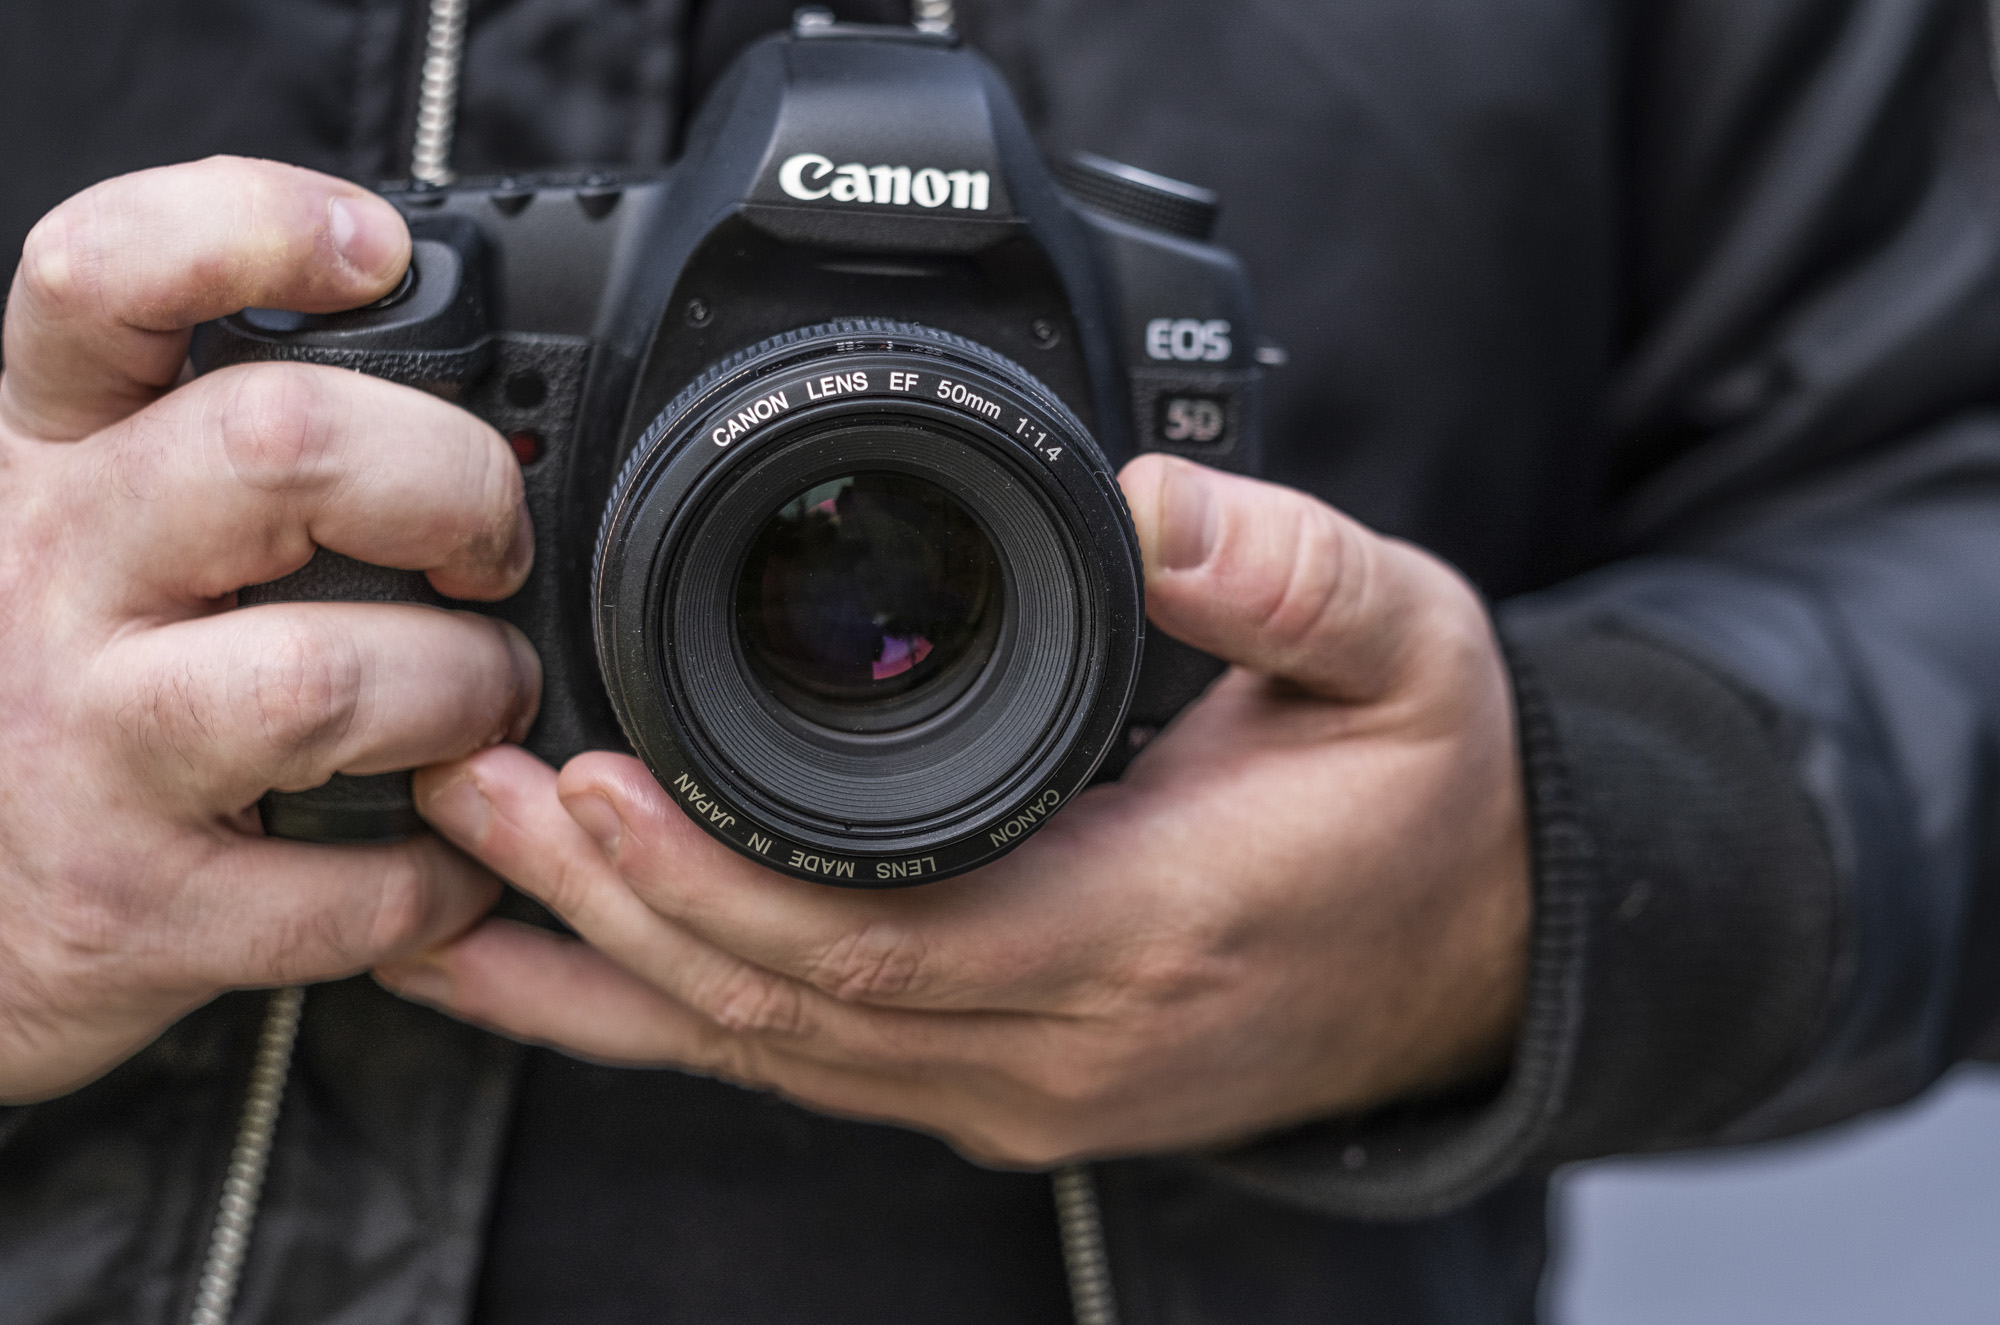
Attach your 50mm lens before you dial in your settings. Bear in mind that on APS-C cameras your lens will appear more ‘zoomed in’ (becoming an equivalent 75mm on Sony, Nikon and Fujifilm, or 80mm on Canon), so make sure you have enough working distance.
2. Open up the aperture
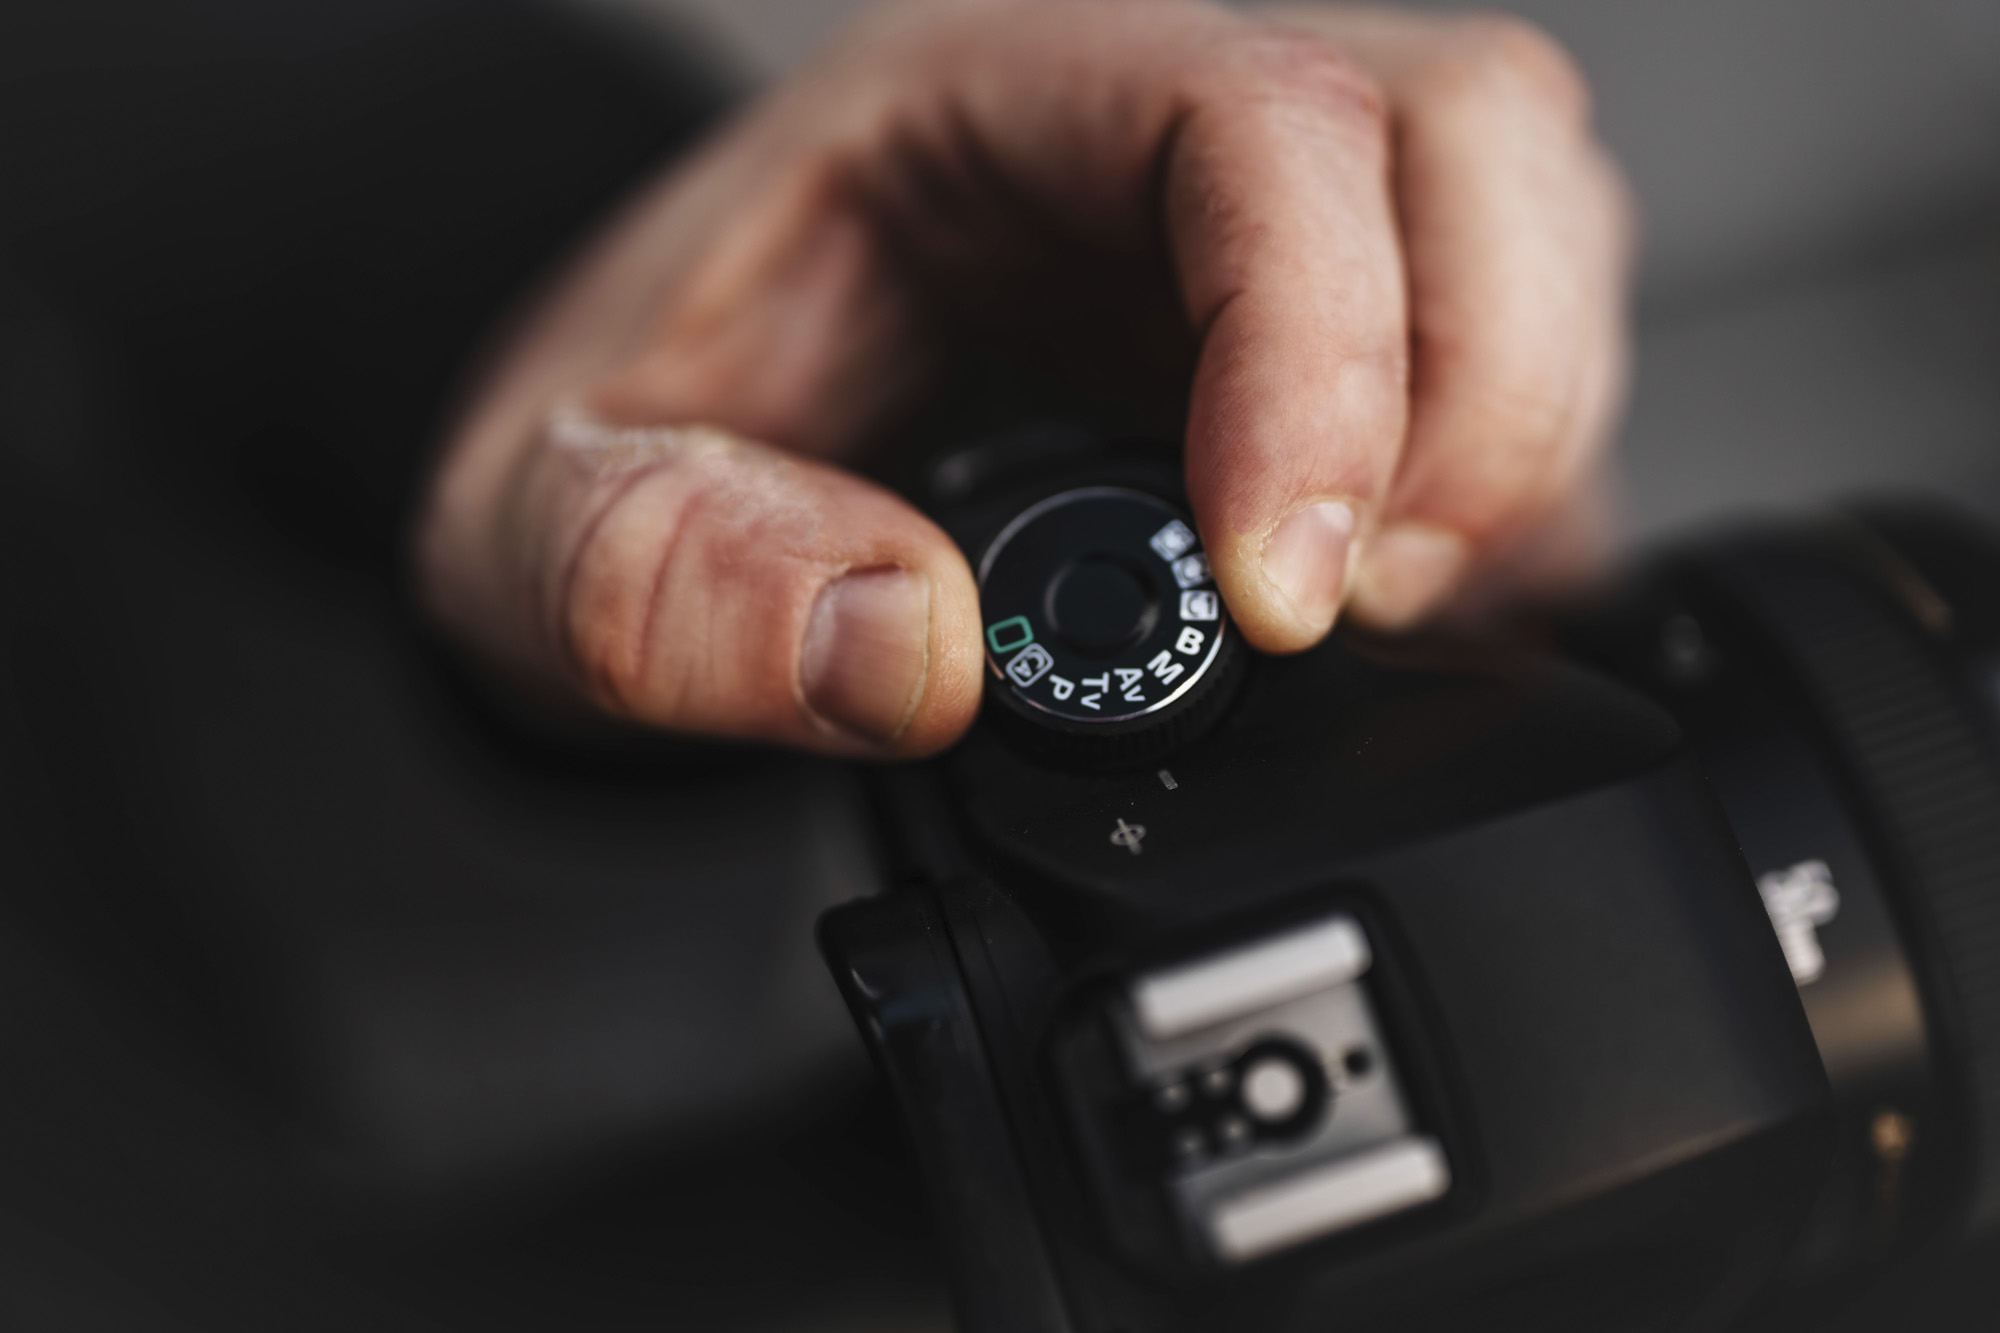
Switch your shooting dial to Aperture Priority, then open it all the way up to f/1.8 (or wider) and leave it there. This will mean you don’t have to worry about selecting your shutter speed as your camera will determine the correct one.
3. Keep the noise down
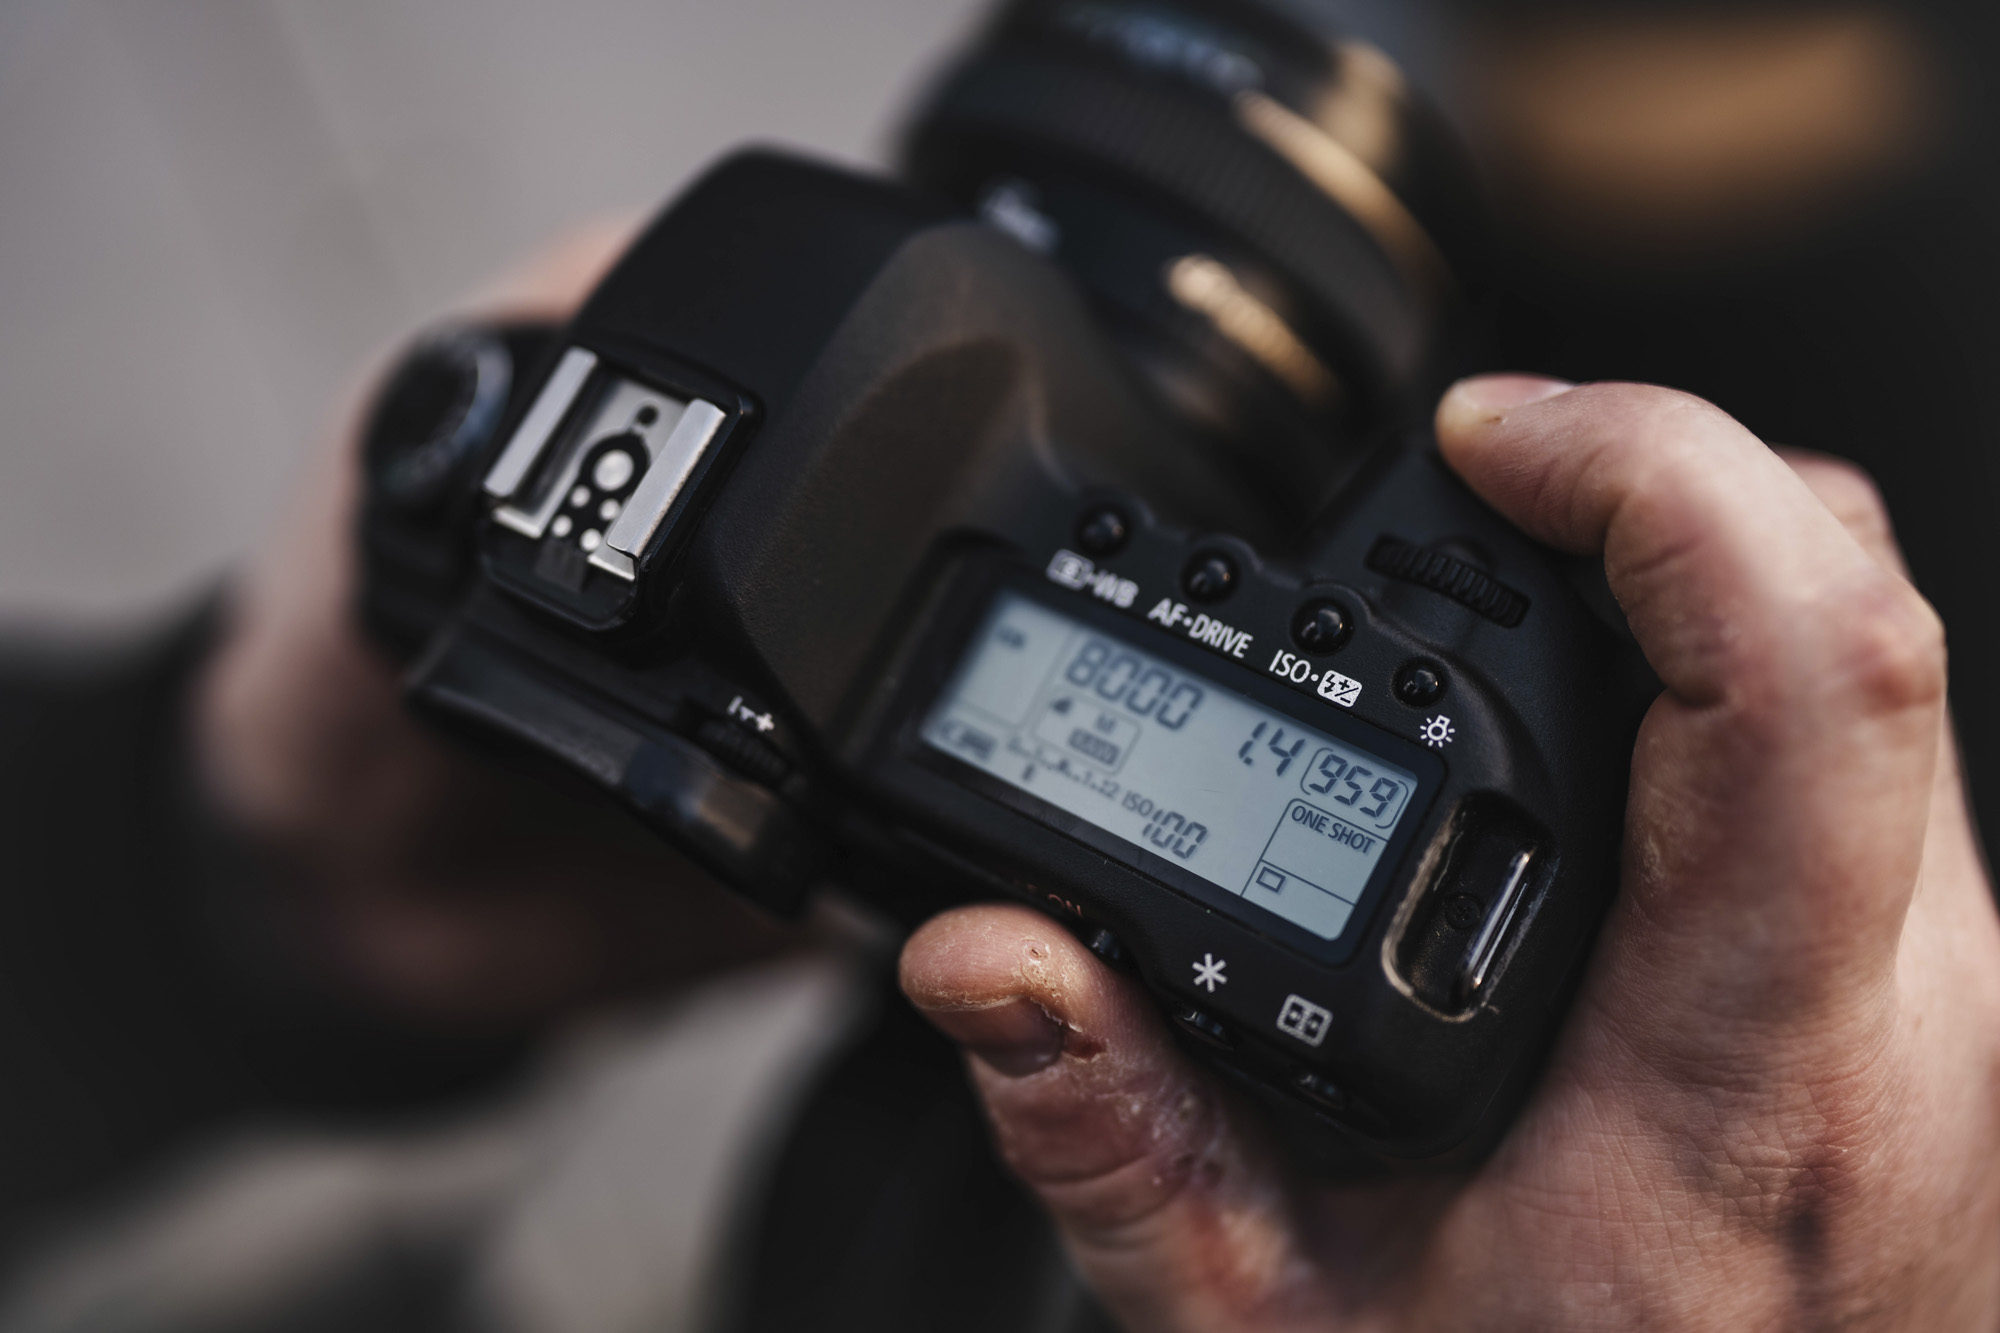
Now reduce your ISO to one of the lower settings – ideally to the base level of your camera if lighting conditions allow. This will keep any digital noise to a minimum and produce cleaner-looking skin. You rarely need to go higher than ISO640 for outdoor portraits.
4. Practice makes perfect
With everything in place, it’s time to start shooting. I use autofocus (you can also use manual) and always focus on the eyes – this is particularly important when shooting with a wide-open aperture because, if you aim for the bridge of the nose, the eyes will be slightly out of focus. It's usually best to focus on the subject's eye that is closest to the camera.
5. Build a rapport
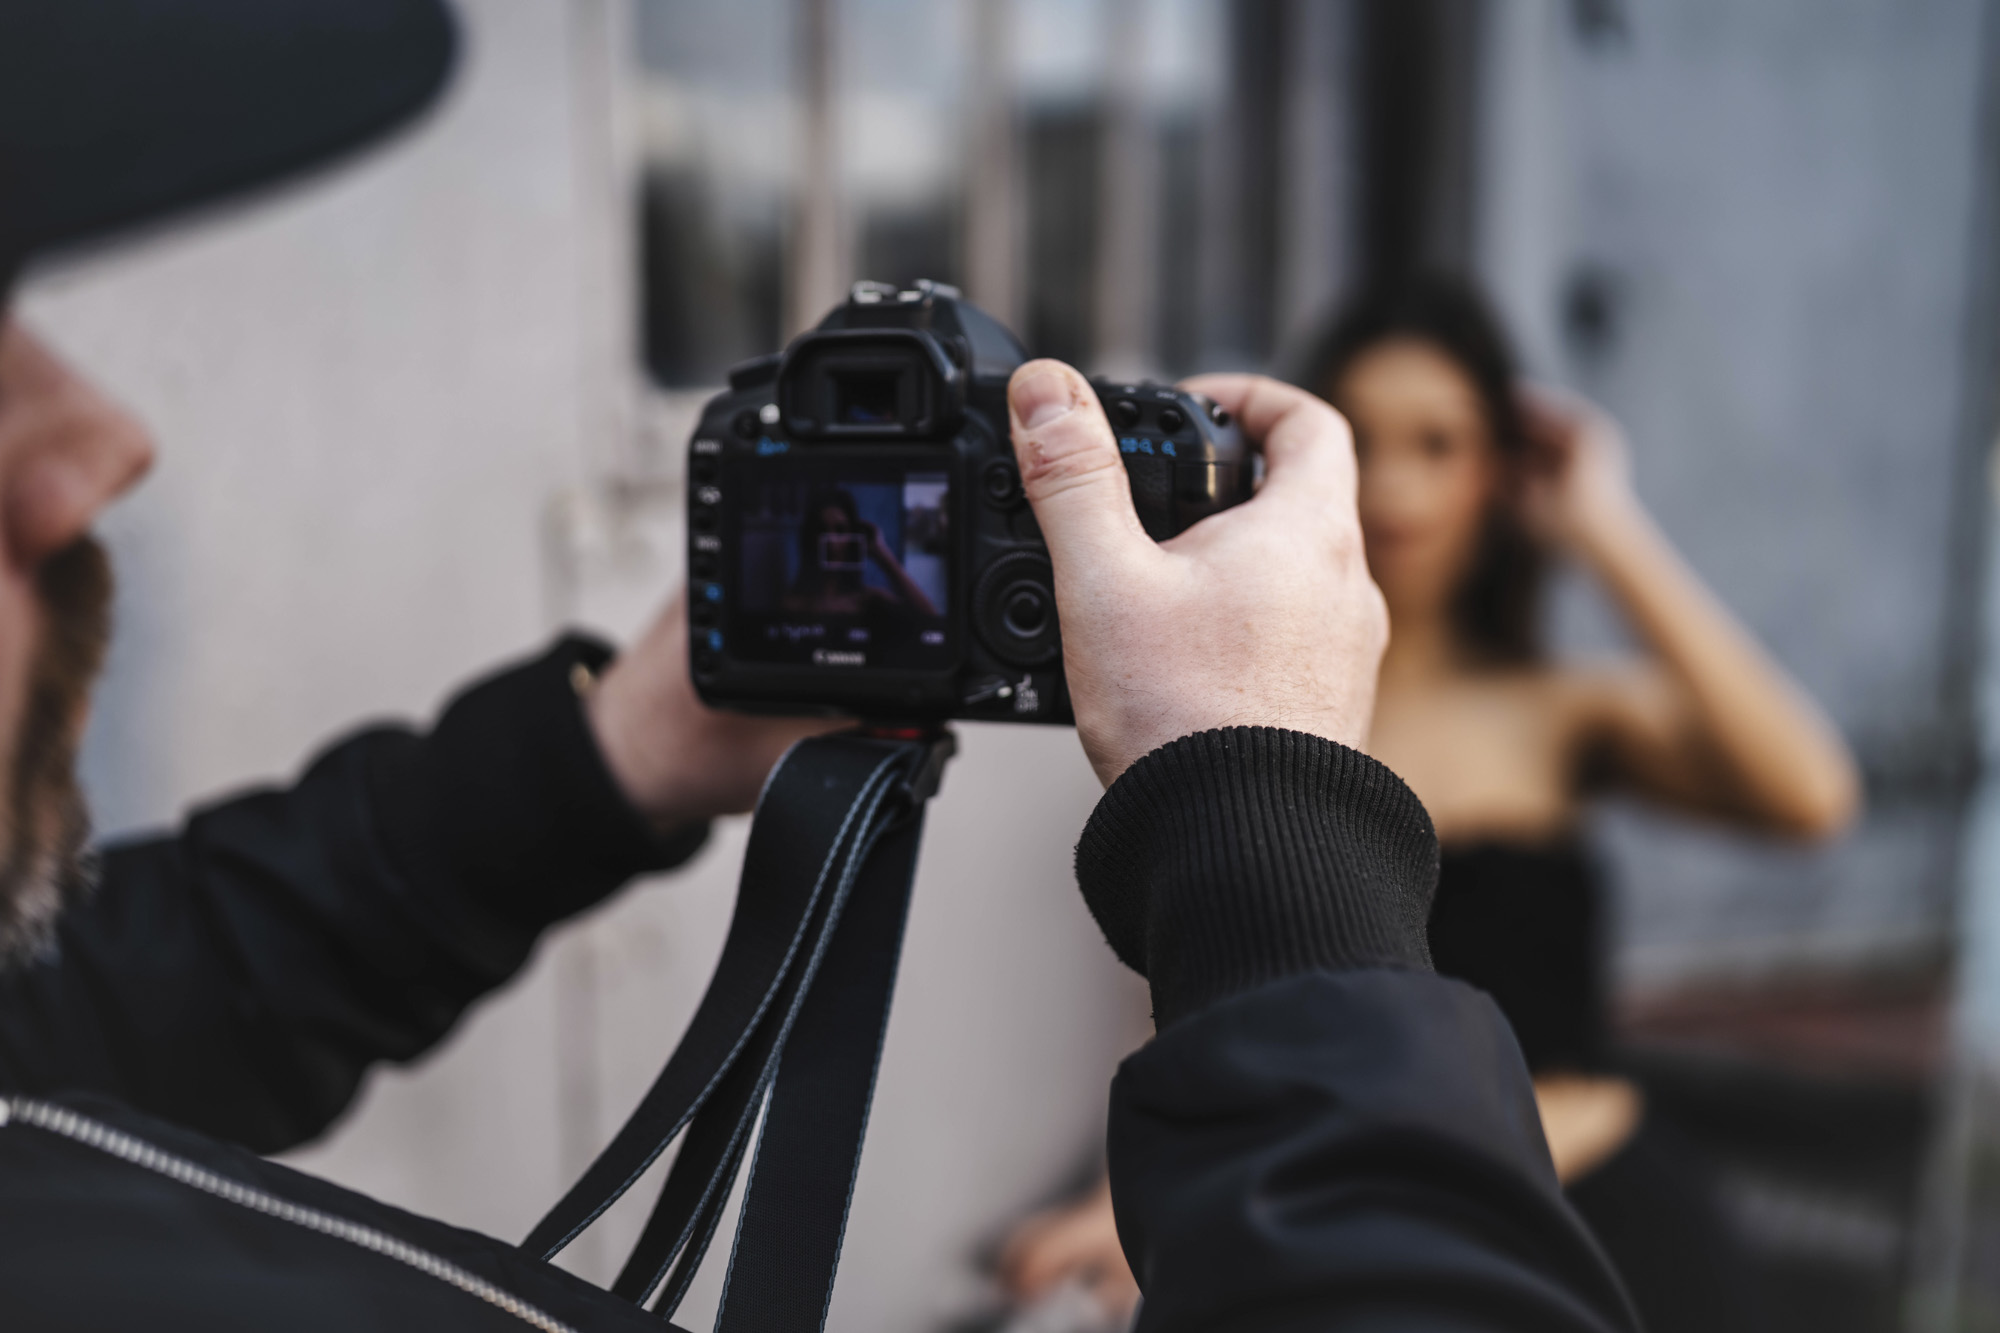
Of course you have to get the technical settings right, but it’s just as important to get the best out of your subject. They can’t see the screen, so communicate with them! Once I have some shots that I’m happy with, I’ll show them the images on the camera screen so they can see.
6. Edit to perfection
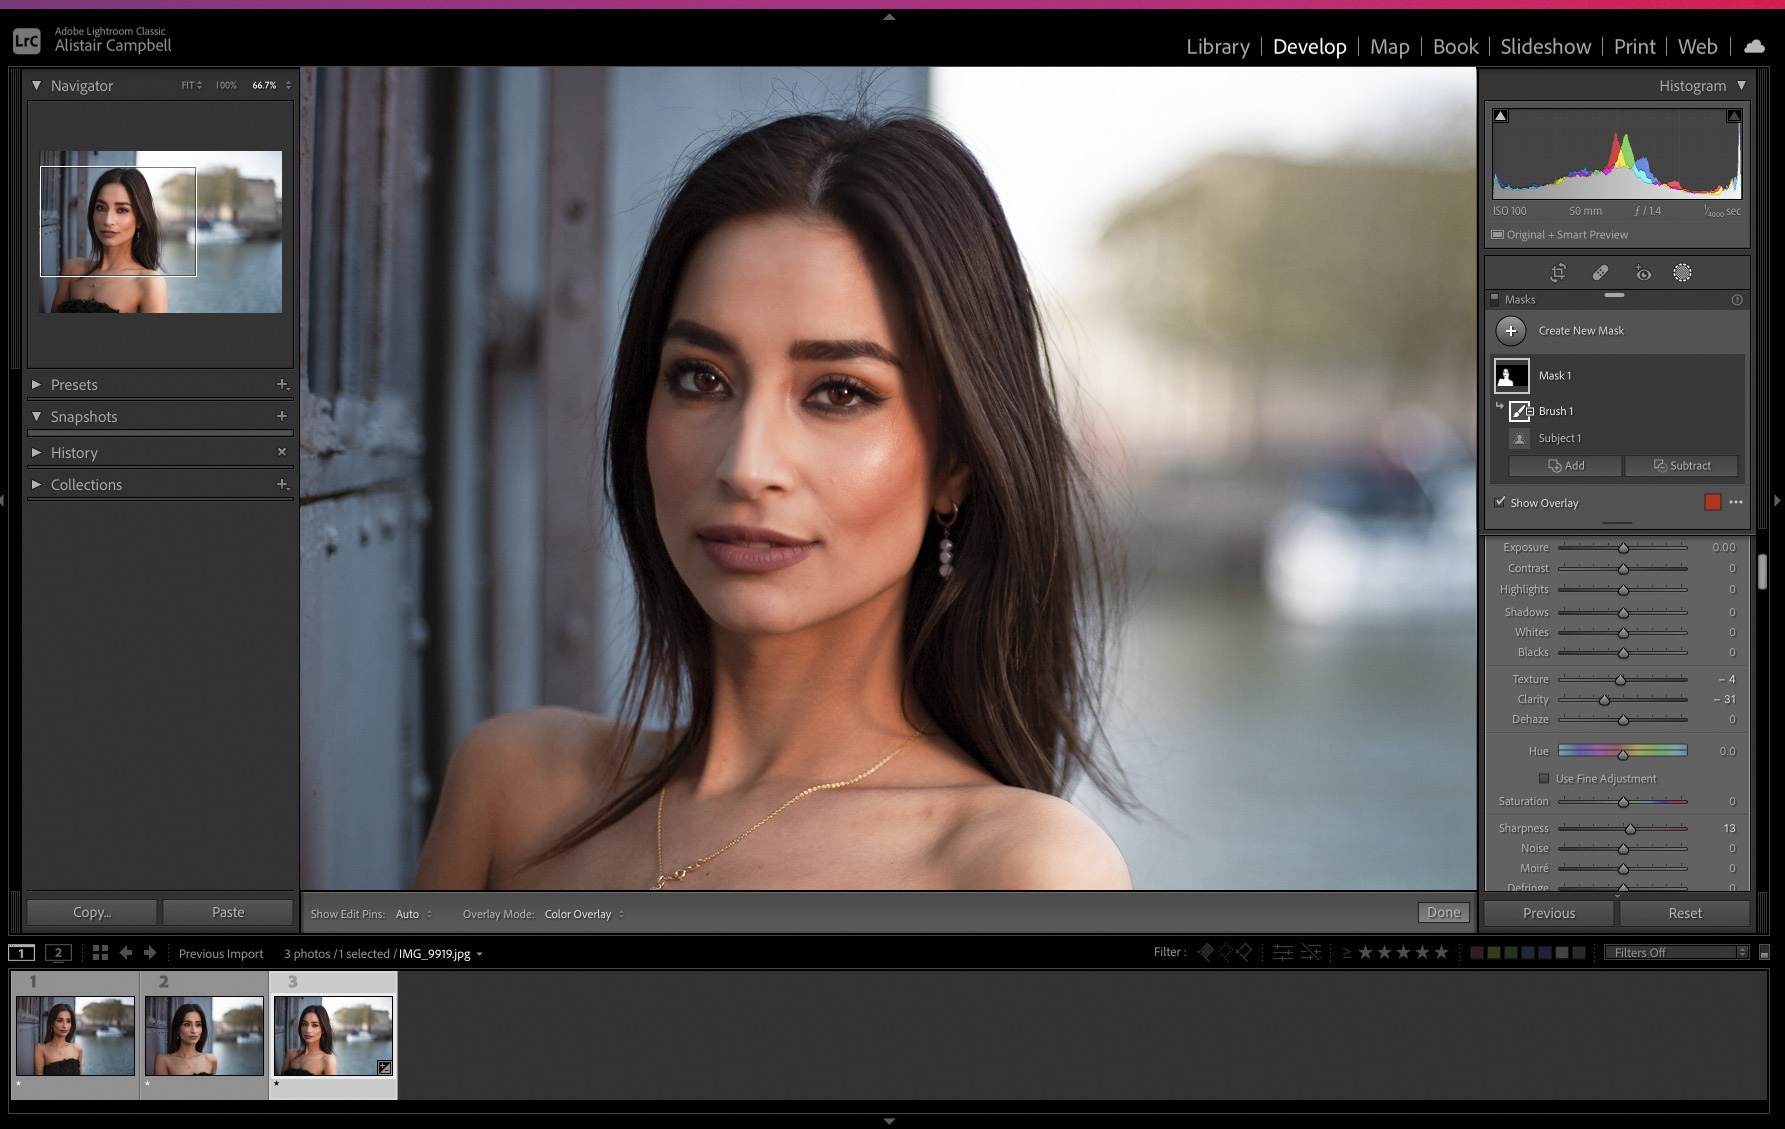
Try to enhance only what’s already there in your portraits, rather than going over the top and creating an unnatural finish. I use Lightroom Classic CC to edit the RAW files and tidy up minor blemishes with the Spot Removal tool, but try to keep editing to a minimum and looking natural.
These are the best cameras for portraits and the best portrait photography tips. You might also like the best photo editing software and the best photo-editing laptops.