Many people will have grandparents or great-grandparents who served in WWII. With the recent 80th anniversary of the end of the World War Two, and Remembrance Sunday coming up, what better way to pay your respects than through the medium of photography?
For this project, you’ll need the military memorabilia associated with your relative. Or, if you’re a militaria collector, you can theme the image for a particular nationality or branch of the service.
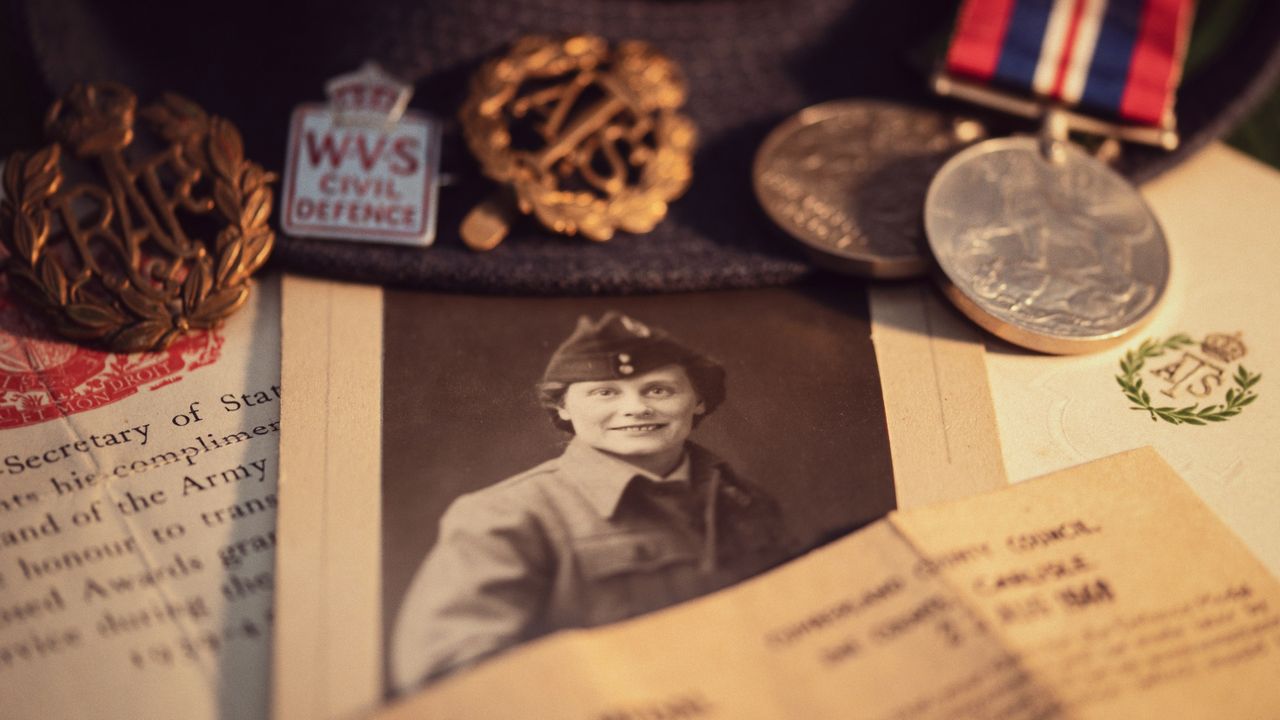
For this shot, I’m using the medals, badges and studio portrait of a woman who served in the Auxiliary Territorial Service, formed in 1938. The role of the ATS was to free up manpower for the front by giving military jobs at home being done by men to women instead. In total, some 210,308 women served with the ATS in WWII, including the late Queen Elizabeth II, with 335 losing their lives and many more being injured.
This is macro photography, so you’ll be getting close up to the objects – ideally using a macro lens. I you don’t have enough items to fill the display out, consider printing out a map of the area where your subject served. Maps make great background material but another option is blueprints of trucks, ships or tanks. There’s a free resource at: http://the-blueprints.com.
1. Arrange the items
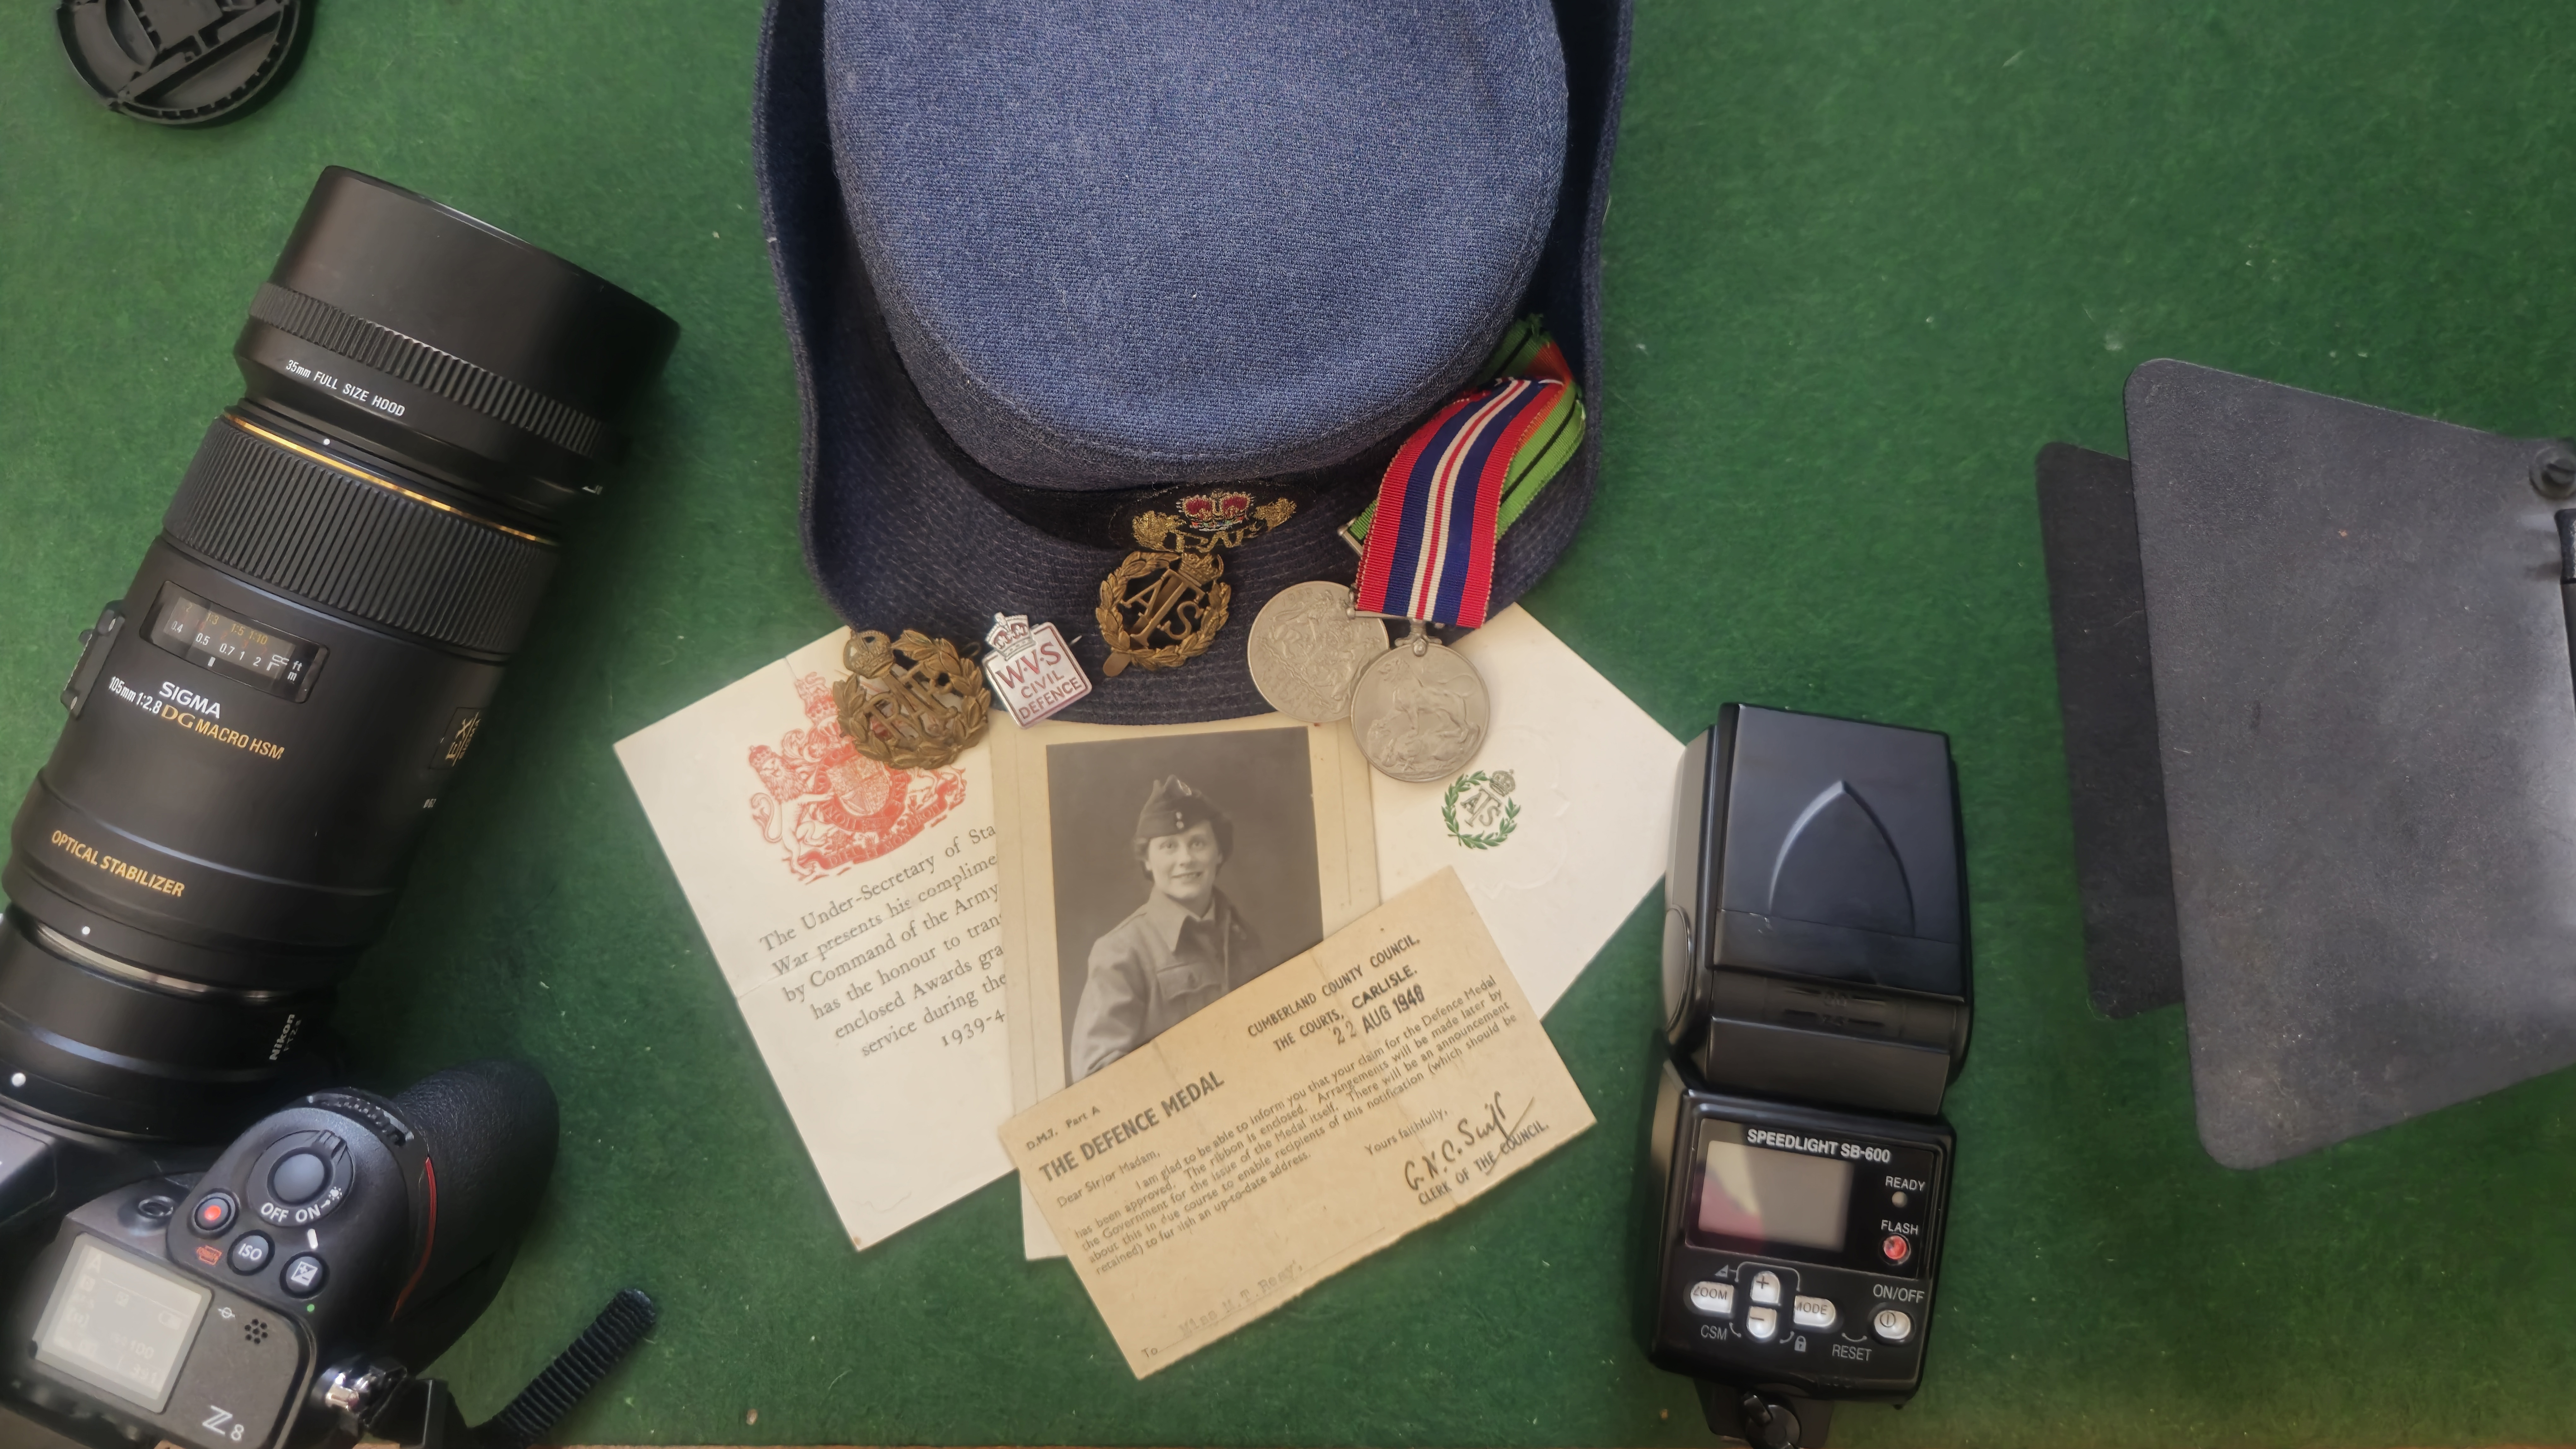
The main item is the photo, so this should be placed centrally with everything arranged around it. Here, there is a cap at the top, which helps hold the various badges. Around this are various pieces of documentation arranged in a fan shape, including a letter of conferral from the Under Secretary of State for War for the two medals – the Defence Medal and the British War Medal. There’s also a card from the ATS, in which the subject served.
2. Light the scene
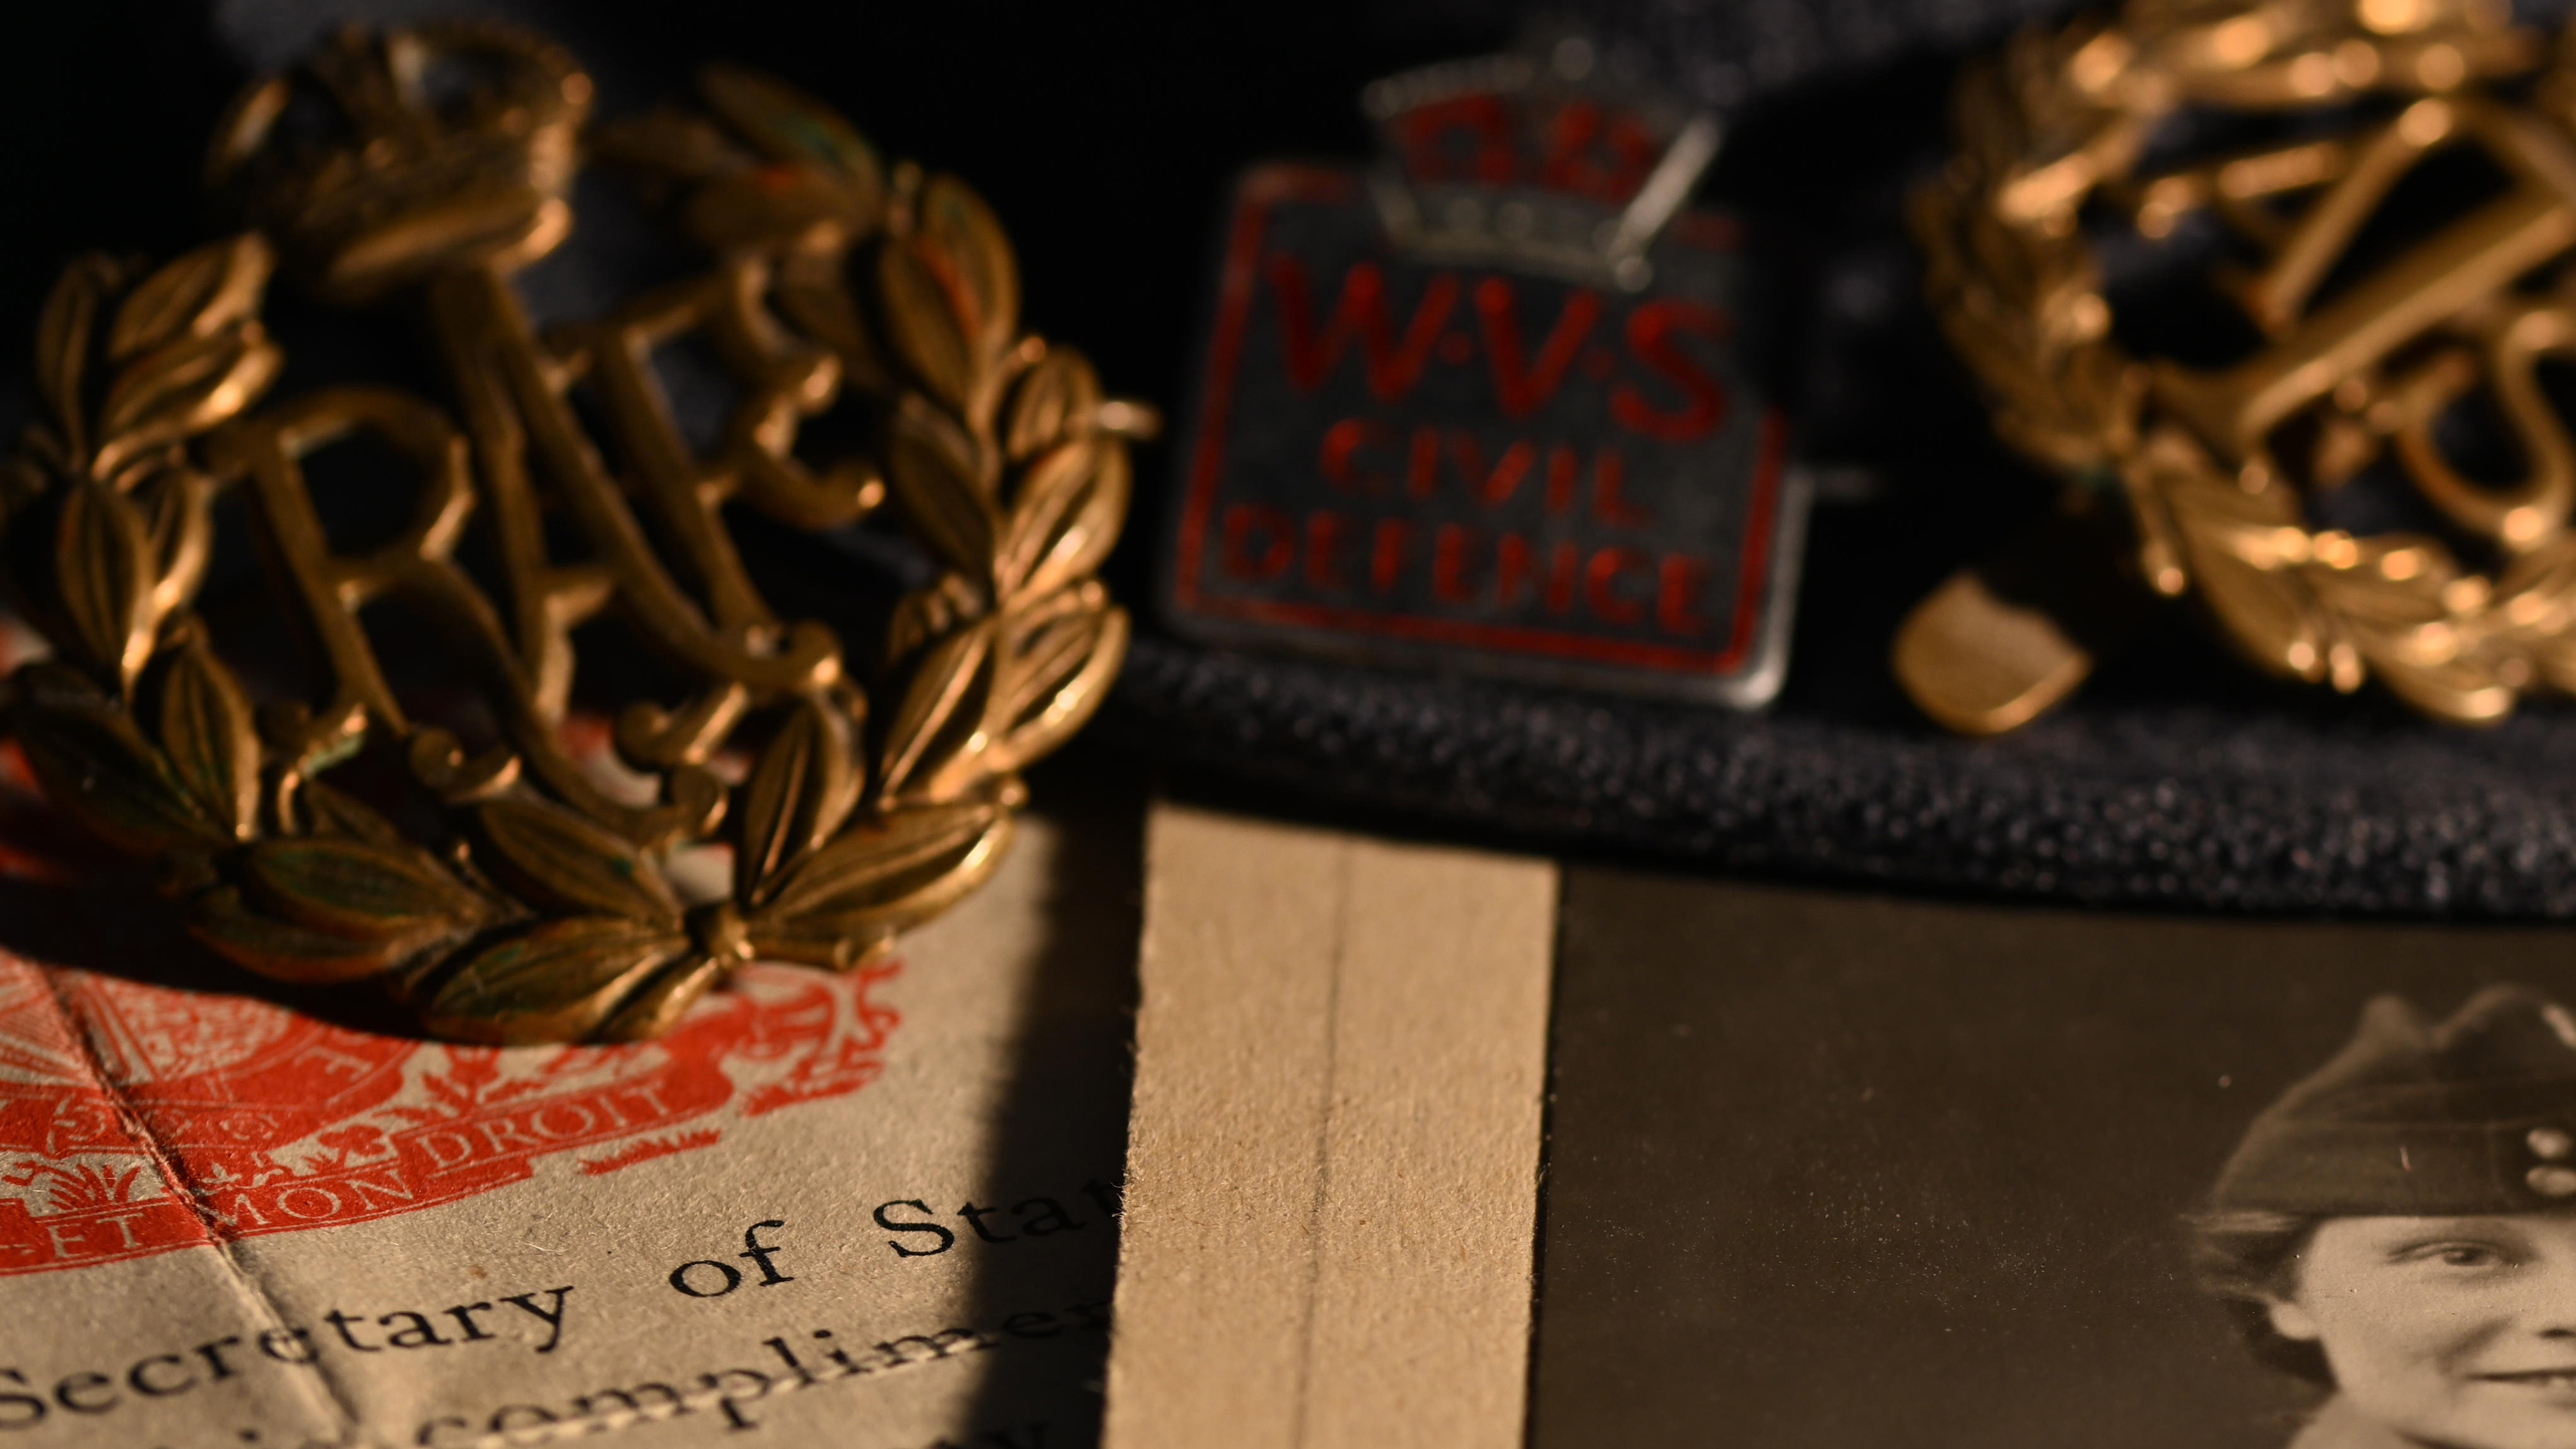
As this is a project dealing with the past, it suits being lit with warm tones, so a constant tungsten lamp was used to the side. This meant that the objects to the far side didn’t show up that well so I also used a flashgun for additional light. Firing it directly was too strong – though I could also have used flash exposure compensation. What I wanted to do was to soften the shadows and lift the highlights, including the WVS badge, so I aimed the flash at the ceiling and bounced the light back down from above.
3. Depth of field
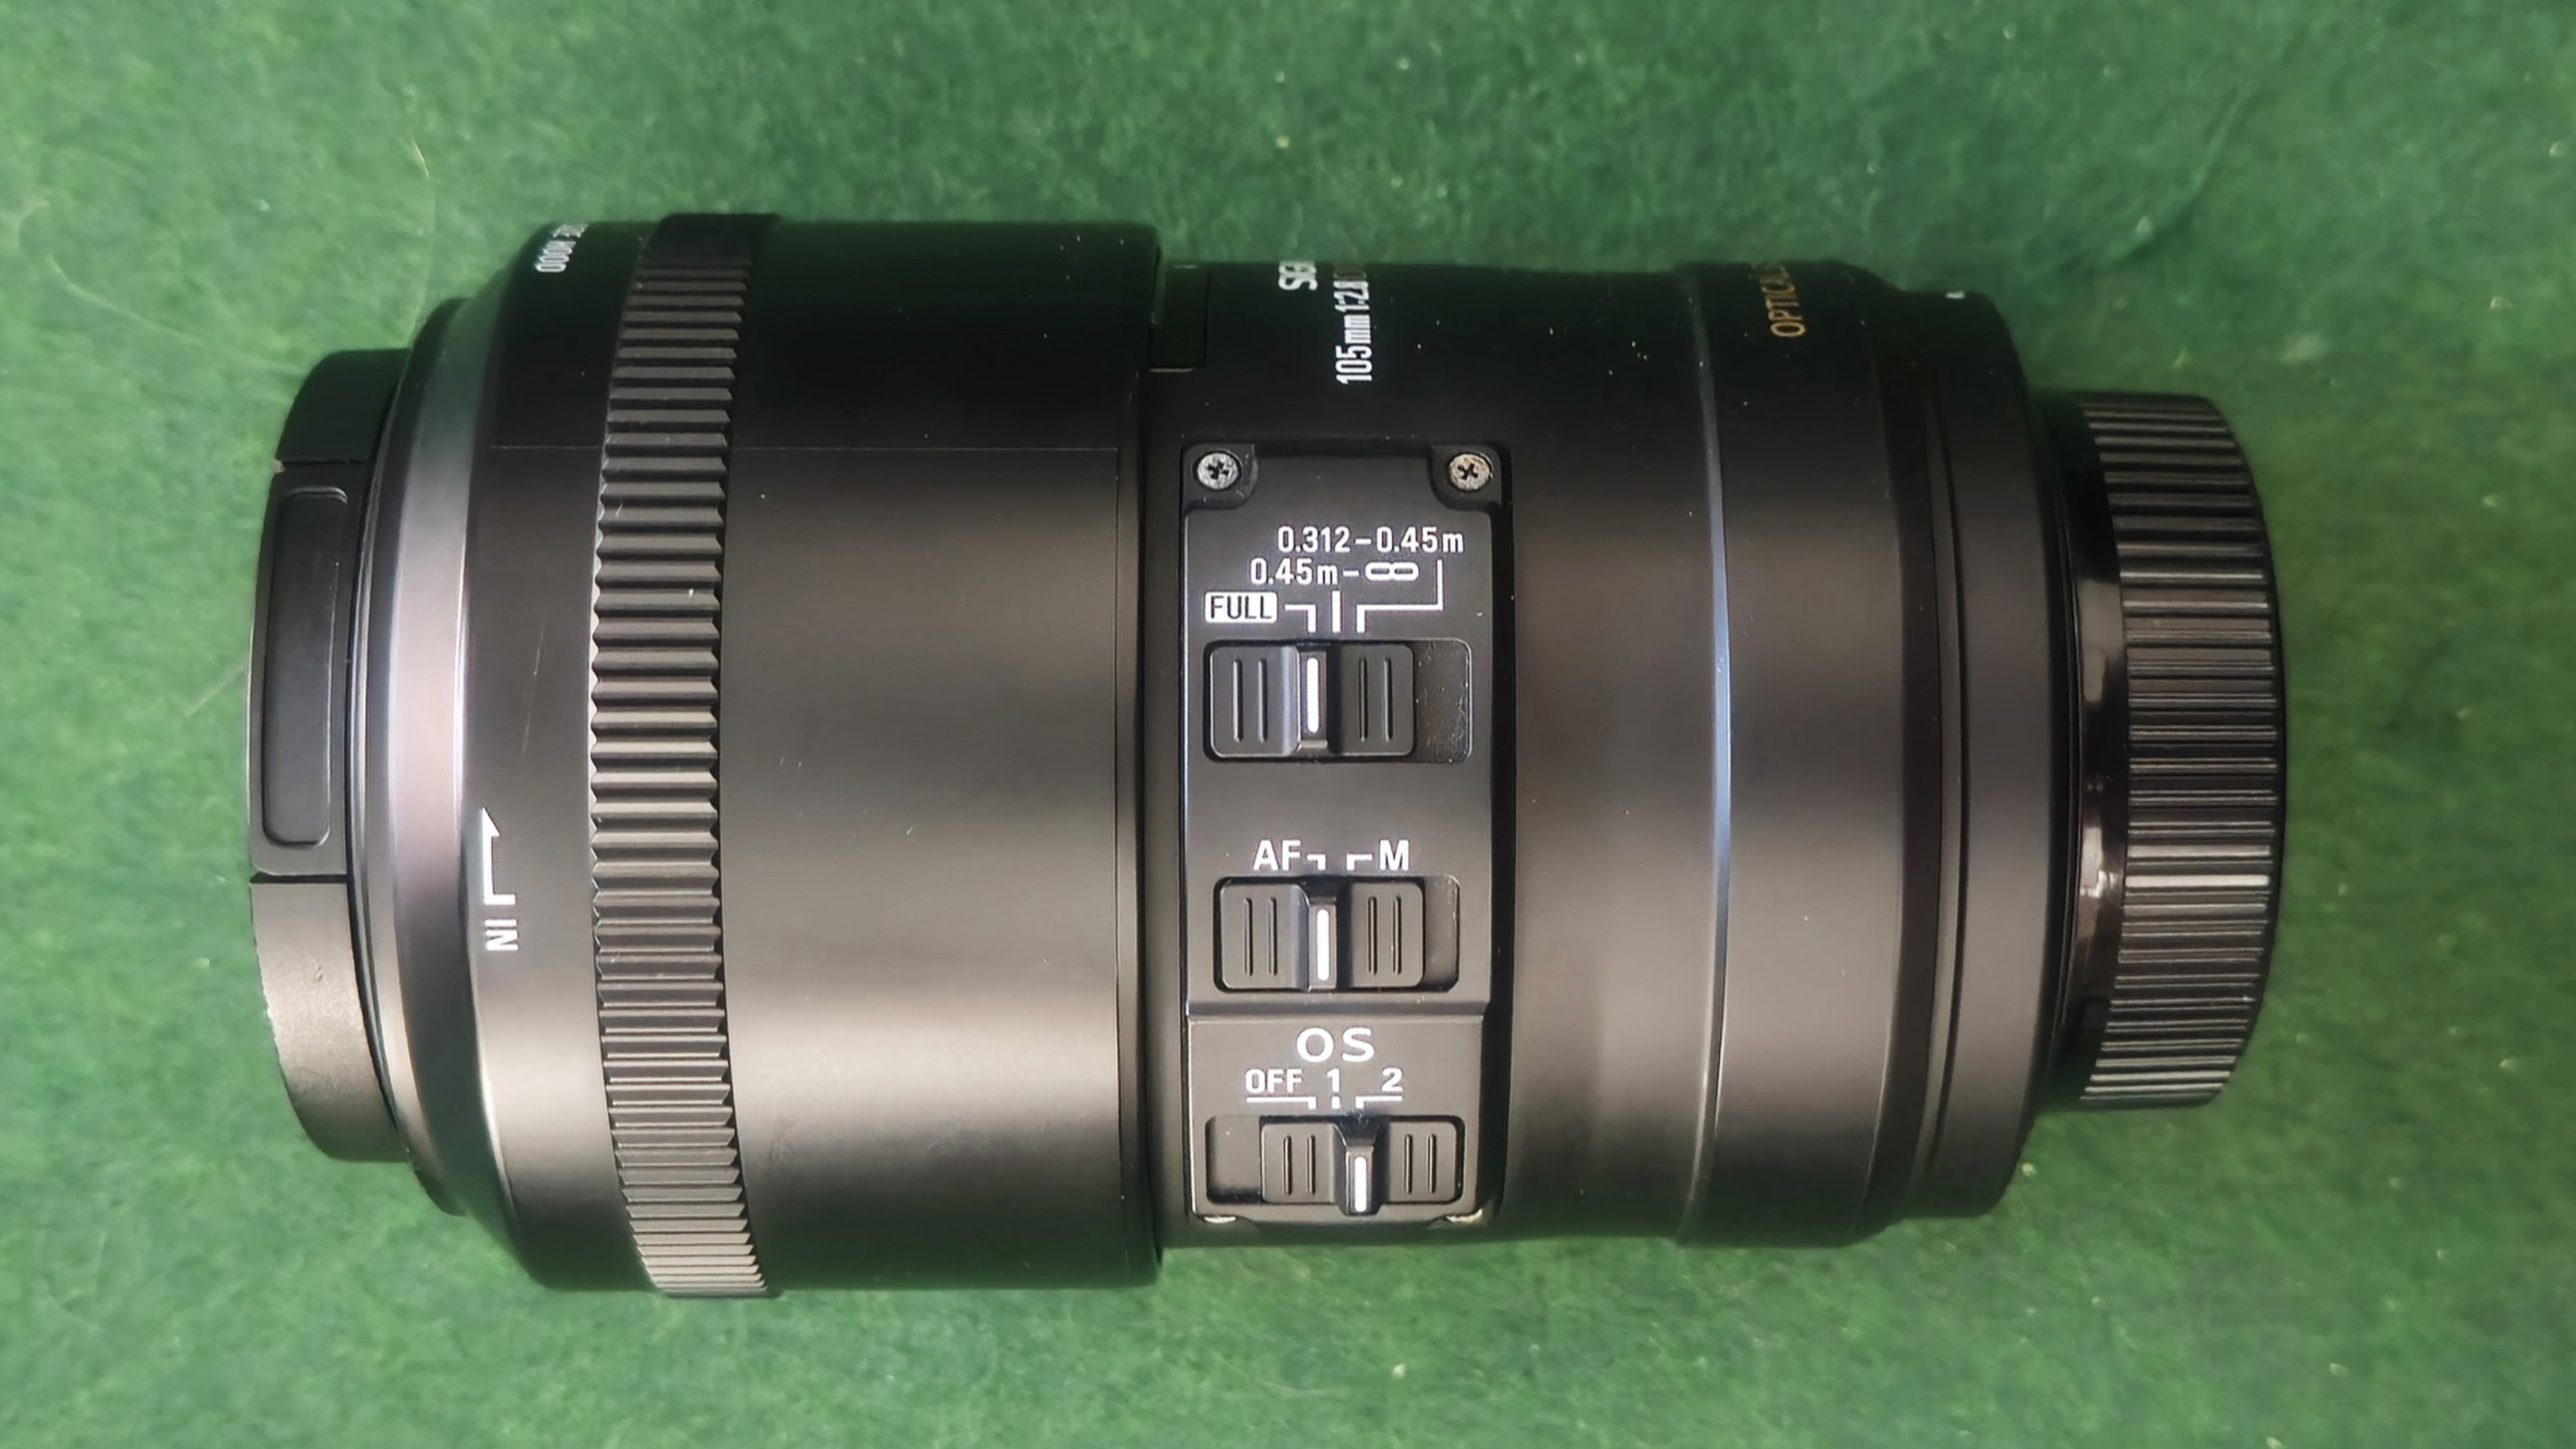
My Sigma 105mm f/2.8-EX DG OS HSM macro lens has a fairly narrow field of view that makes it ideal for closely grouped items. If your objects are spread out over a wider area, then a shorter focal length lens with a wider field of view could be a better option.
The idea was to focus on the eyes in the portrait and use a shallow depth of field to make everything else above and below that line start to go out of focus, giving the photo a more nostalgic feel. An aperture of f/3.5 was used in Aperture Priority mode. Normally, a tripod would be necessary but the shutter speed was fast enough to do this handheld, enabling me to move around easily to try different angles.
4. Photo editing and achieving a specific look
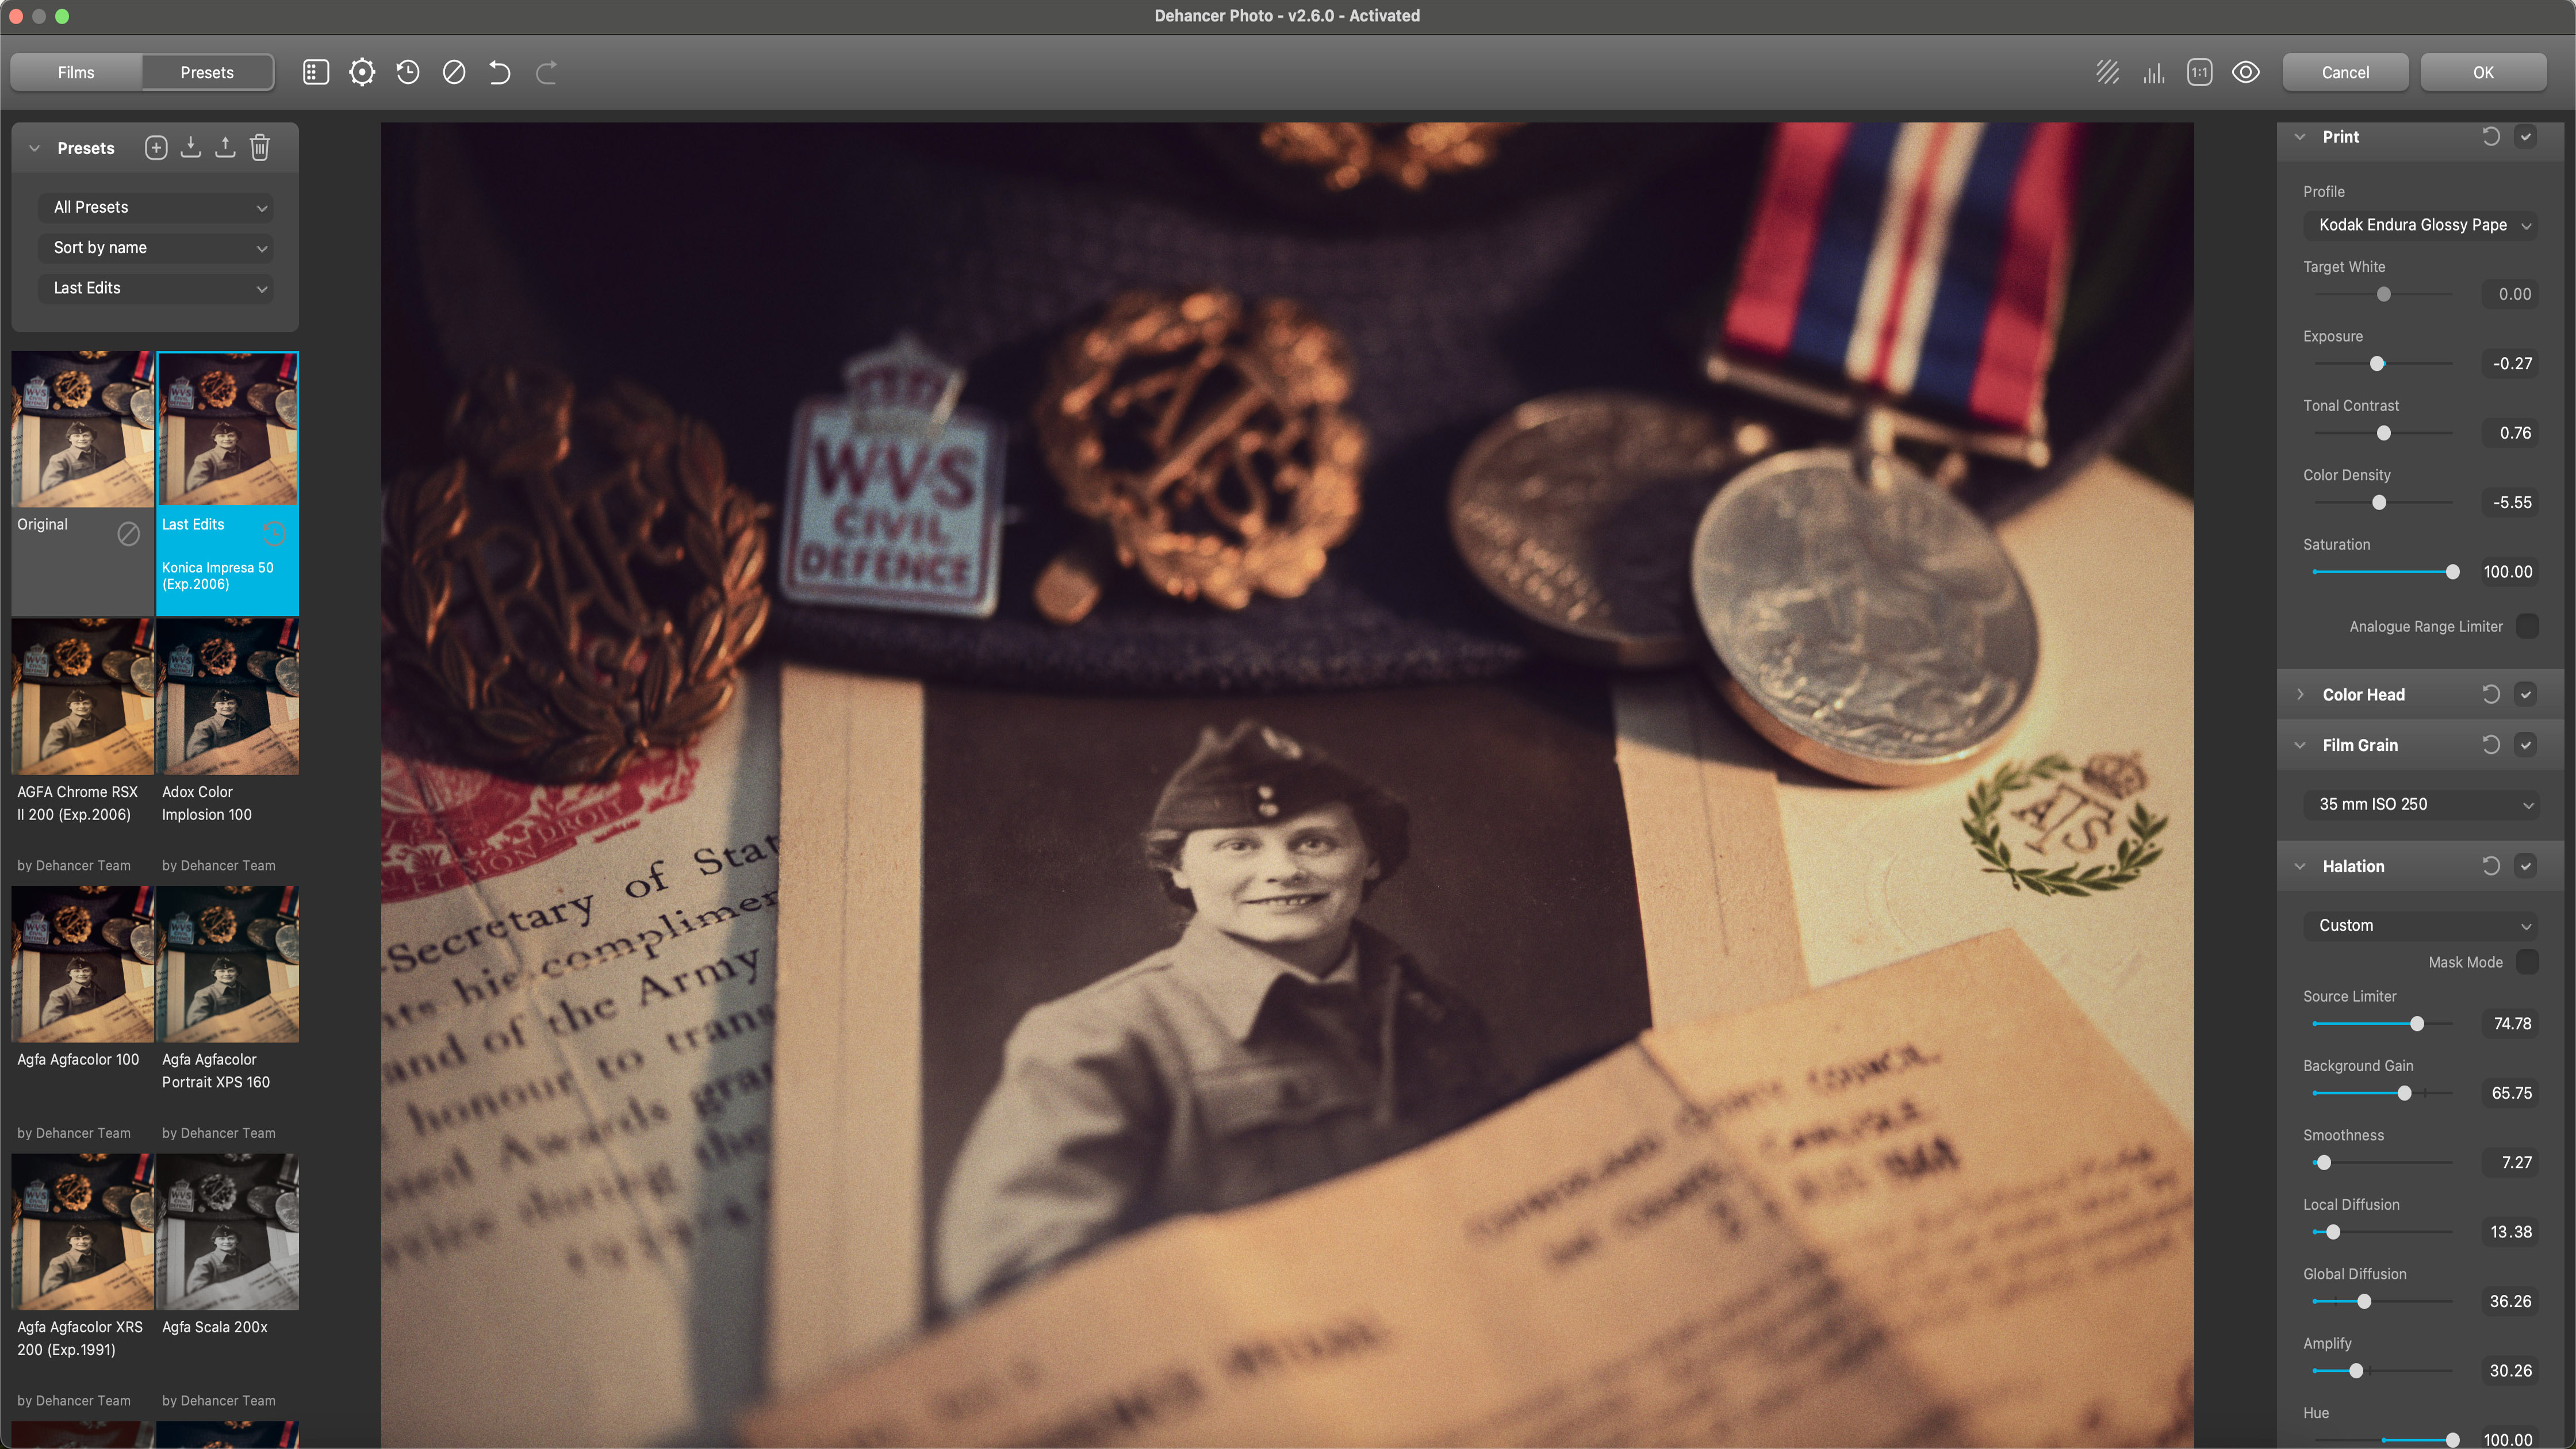
The use of the tungsten lamp gave a fairly warm tone to the image, compared to simply shooting it with flash, which gives a cold result. However, this is a nostalgic themed shot so enhancing that look and feel was worth doing. You can use any photo editor to add grain or noise and a subtle vignette effect. I decided to put the Dehancer Film plug-in for Photoshop to the test. This used a specific film and paper stock to give the colours a reddish tone, add a vignette effect and give the photo more of a grainy feel. You could achieve the same kind of results in Affinity Photo.
If you're looking for a new macro lens then have a look at the TTArtisan 100mm f/2.8 lens that's available for all popular camera brands. If you don't have time to get your camera set up, how about using your phone to capture this image? Here's the best camera phones on the market. Then try editing your photos on one of the latest iMacs, perfect for photographers.


