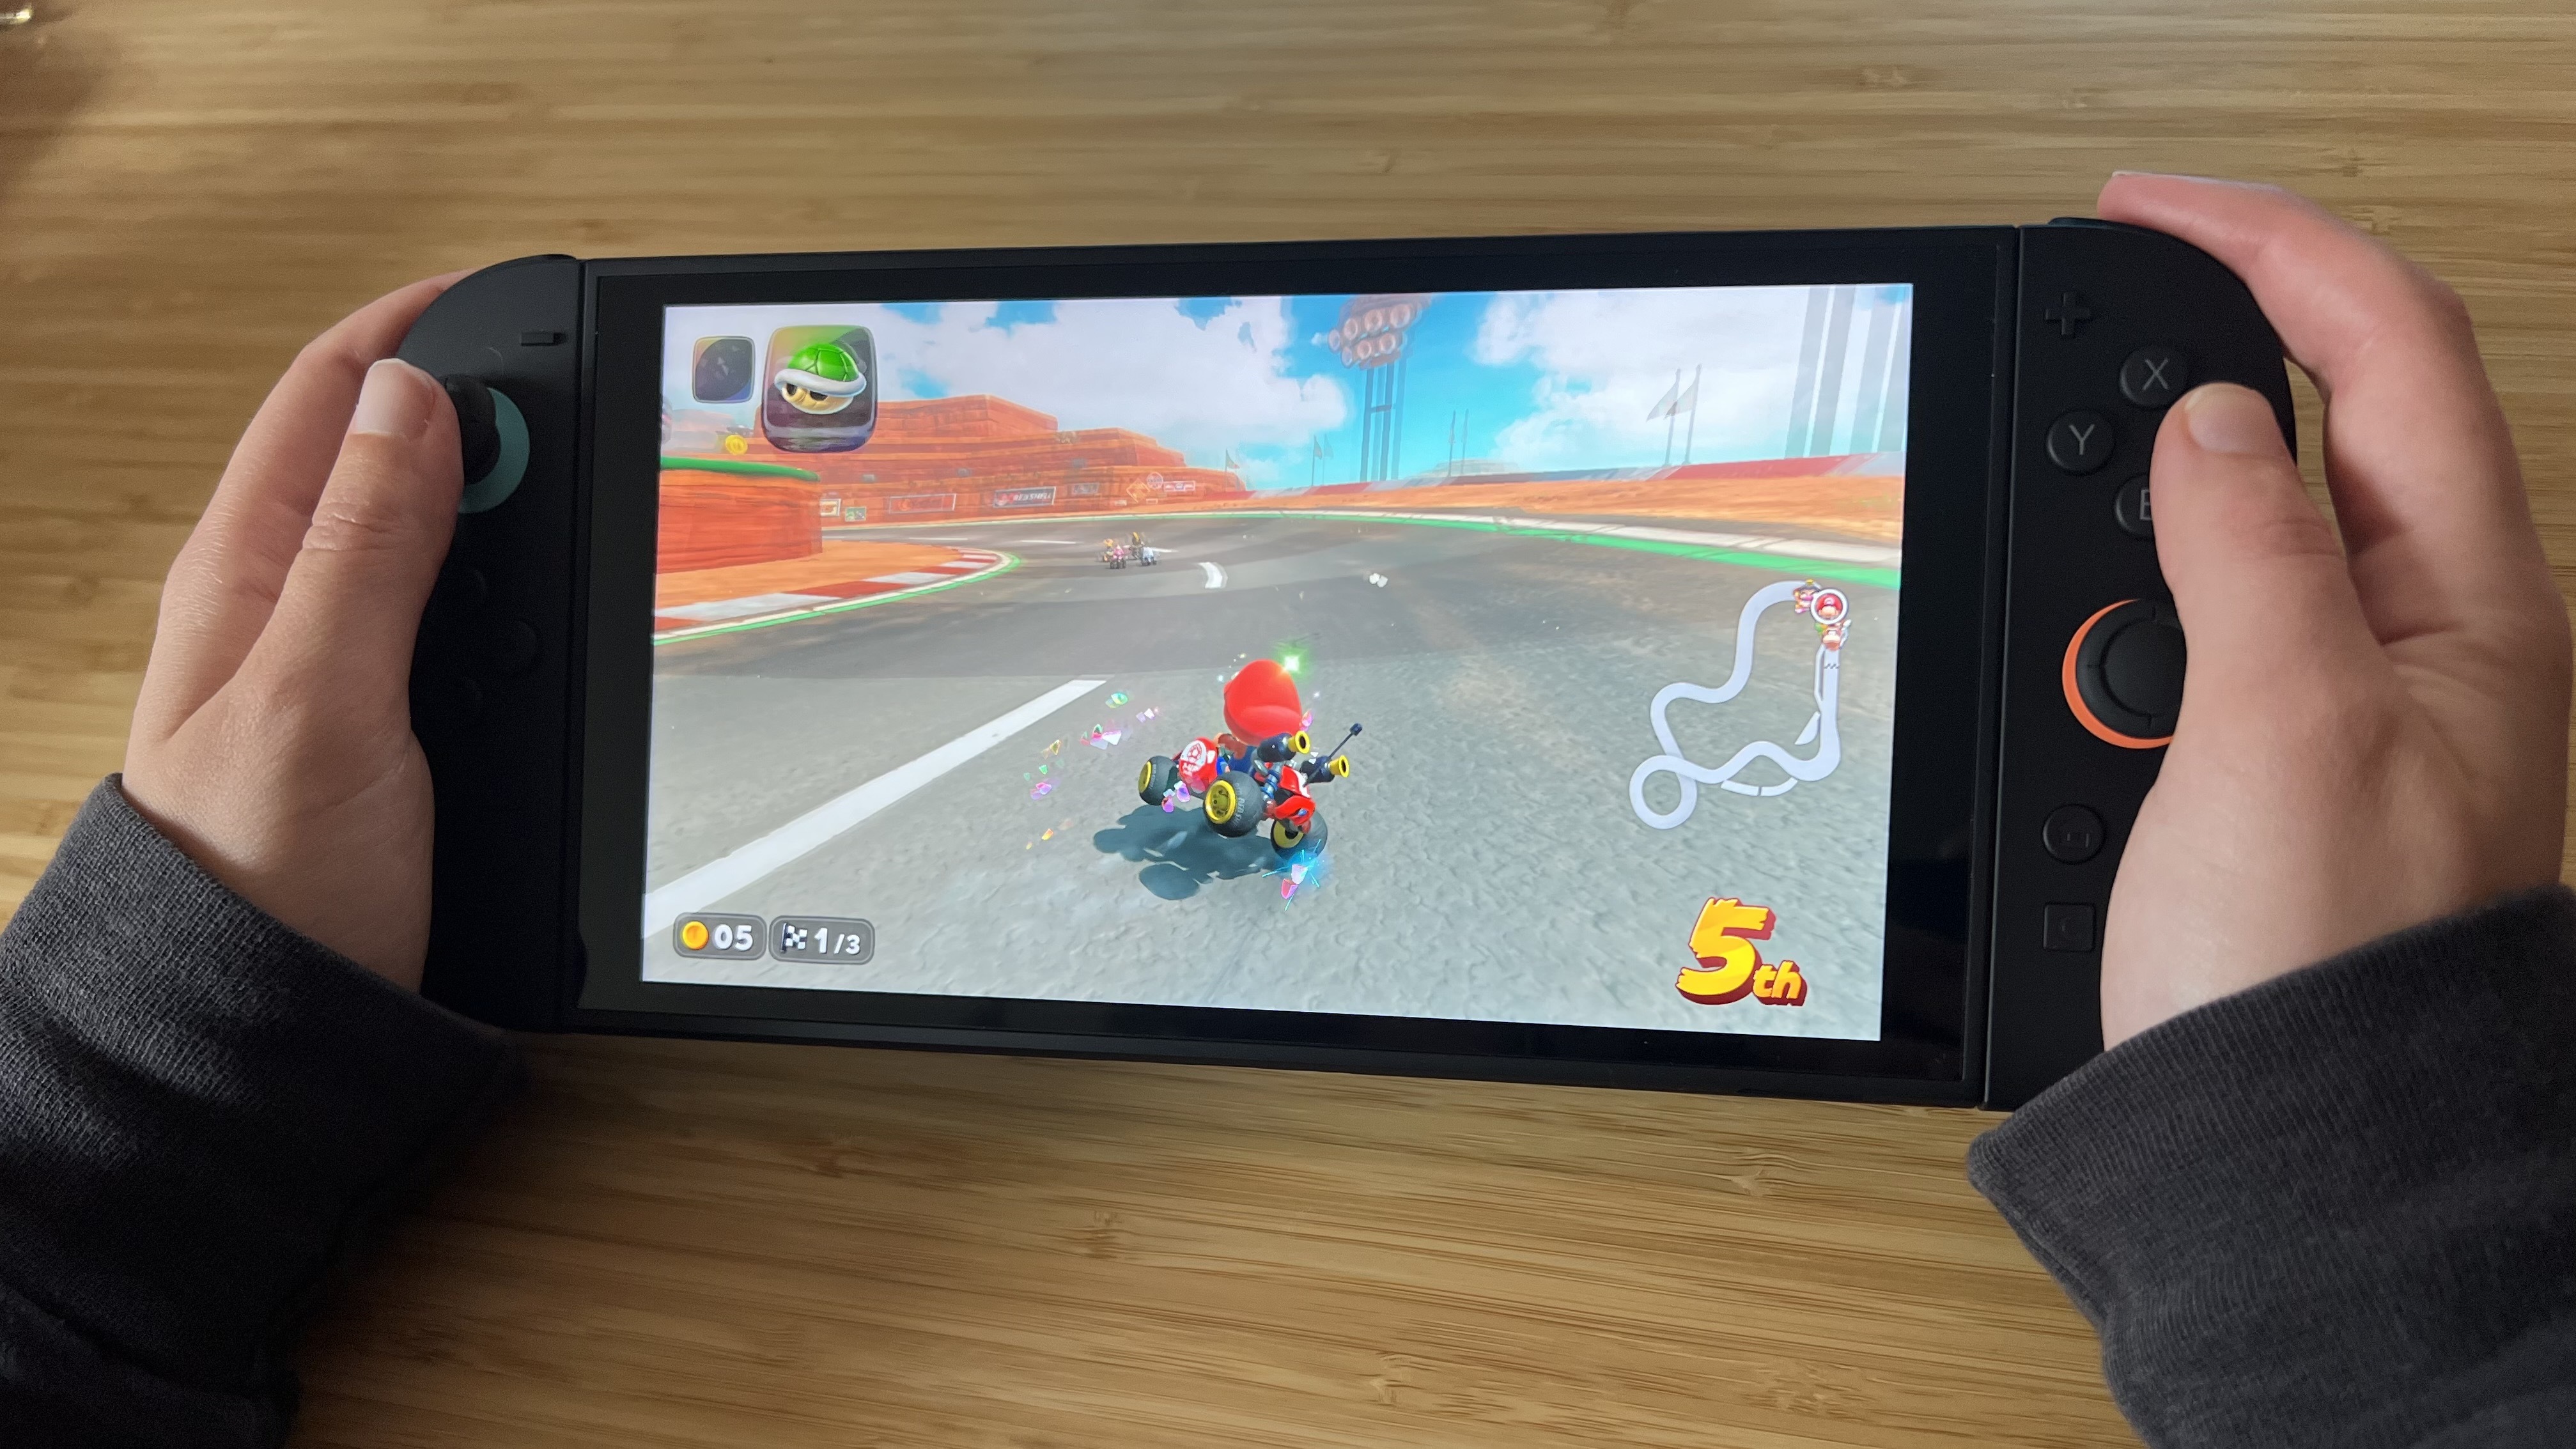
If you're new to the world of Nintendo Switch, you might need some help with Nintendo Switch 2 setup. We're here to help, we've been through the process and can help guide you through setting up your new Switch 2. From how to connect your dock to transferring data from you old Switch to your new Nintendo Switch 2, read on for our full Nintendo Switch 2 setup guide.
1. Unpack everything from the box
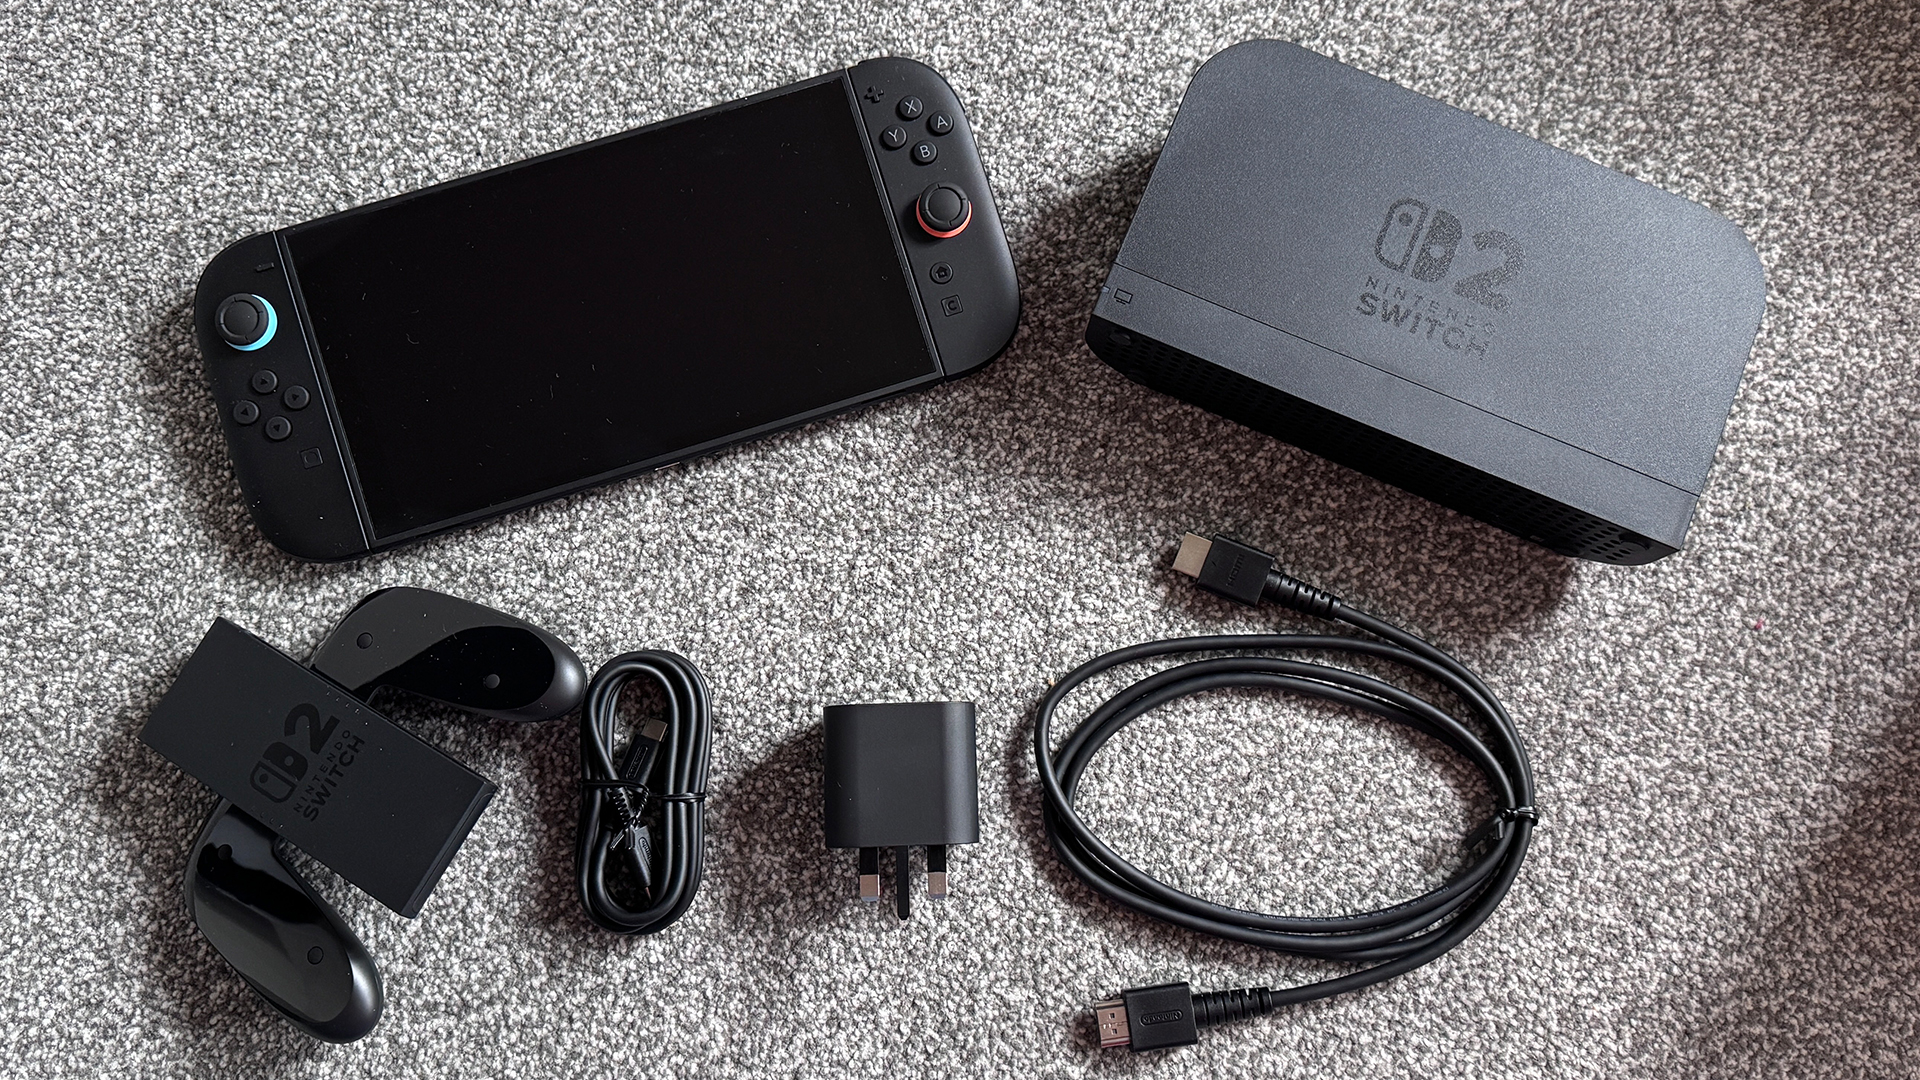
Although there's a lot of packaging and additional content in your Switch 2 box, the main things you'll need to get set-up are:
The Switch 2 console, your duo of Joy-Con 2, the HDMI cable, the power cable, and the dock. Everything else you can play with later.
2. Turn on your console and start the setup
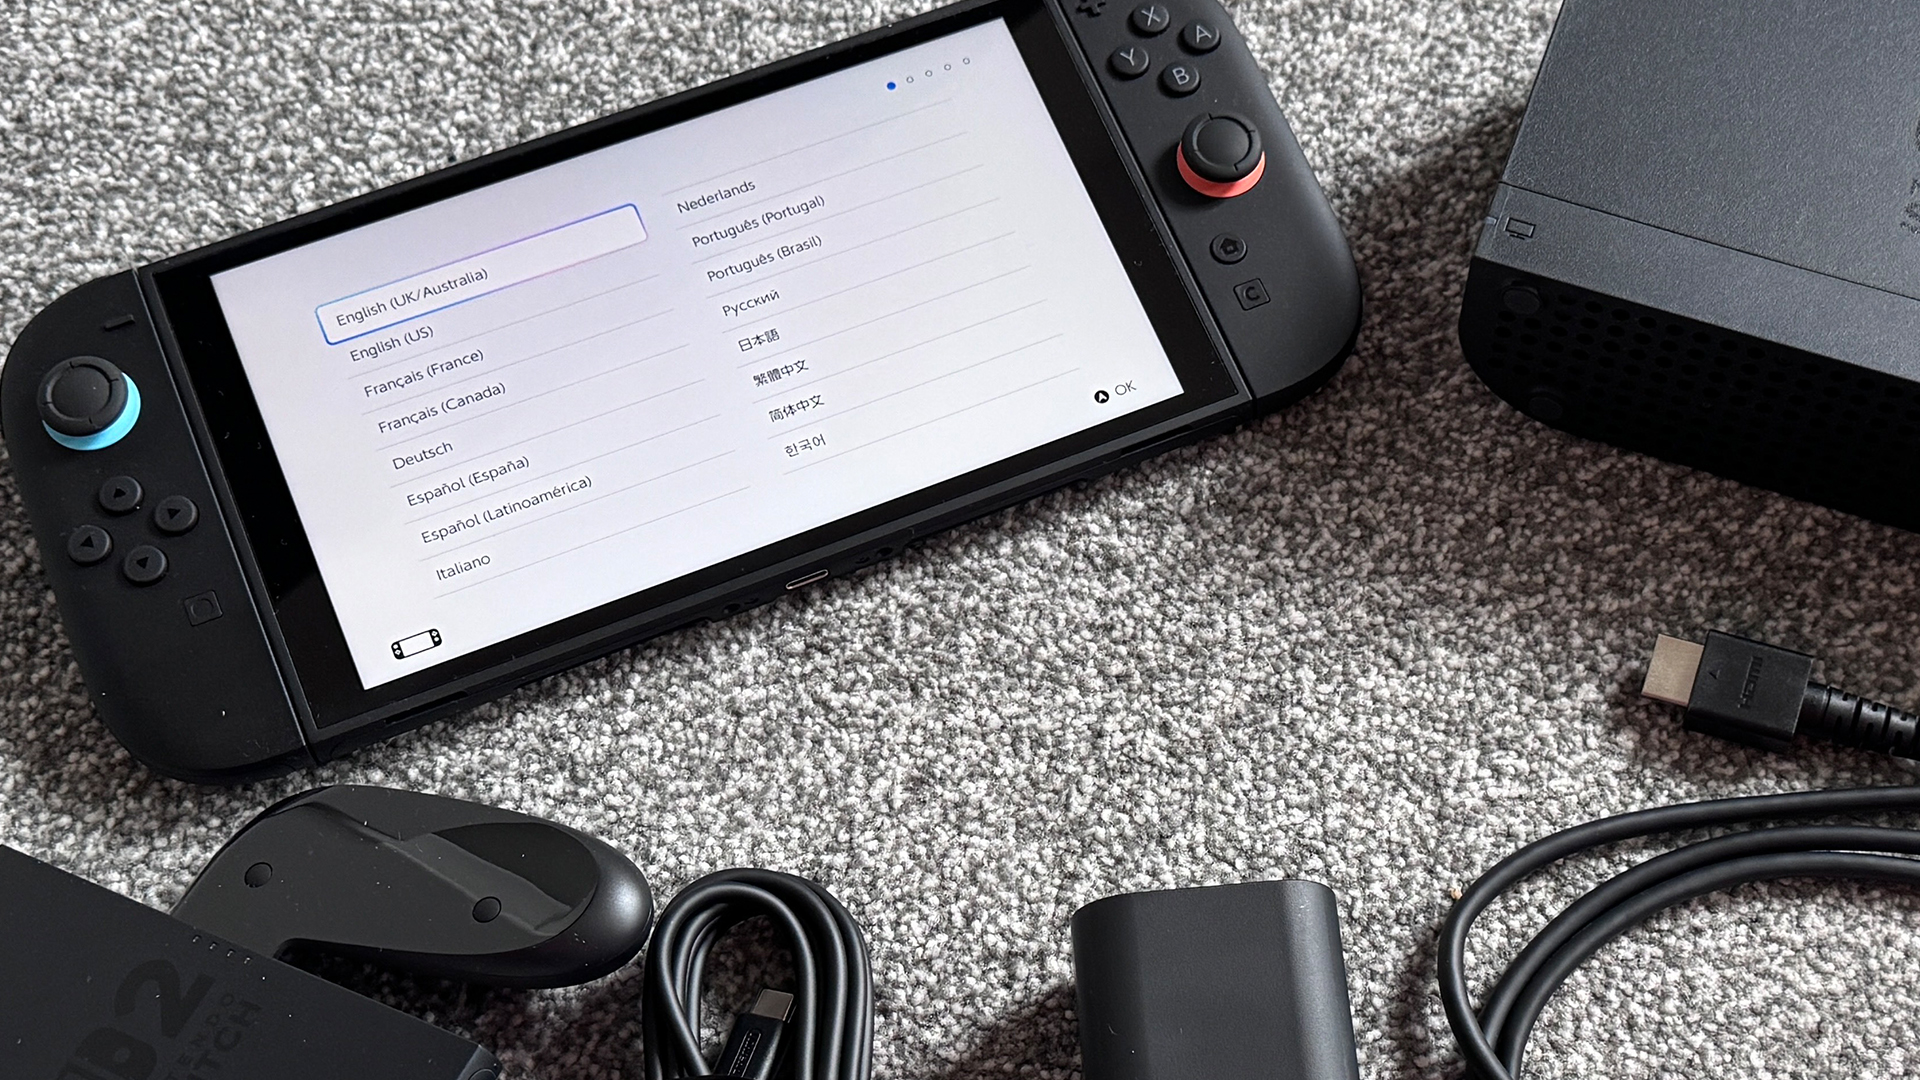
Press the power button on the top left-hand corner of the screen edge, and you'll start the setup.
The first couple of options are to choose your language and the region you're based in. This will set the language your console displays in and the region for your Nintendo eShop.
You'll also get prompted to read the Important Information document carefully, although we all know that no one will.
3. Set up your internet connect
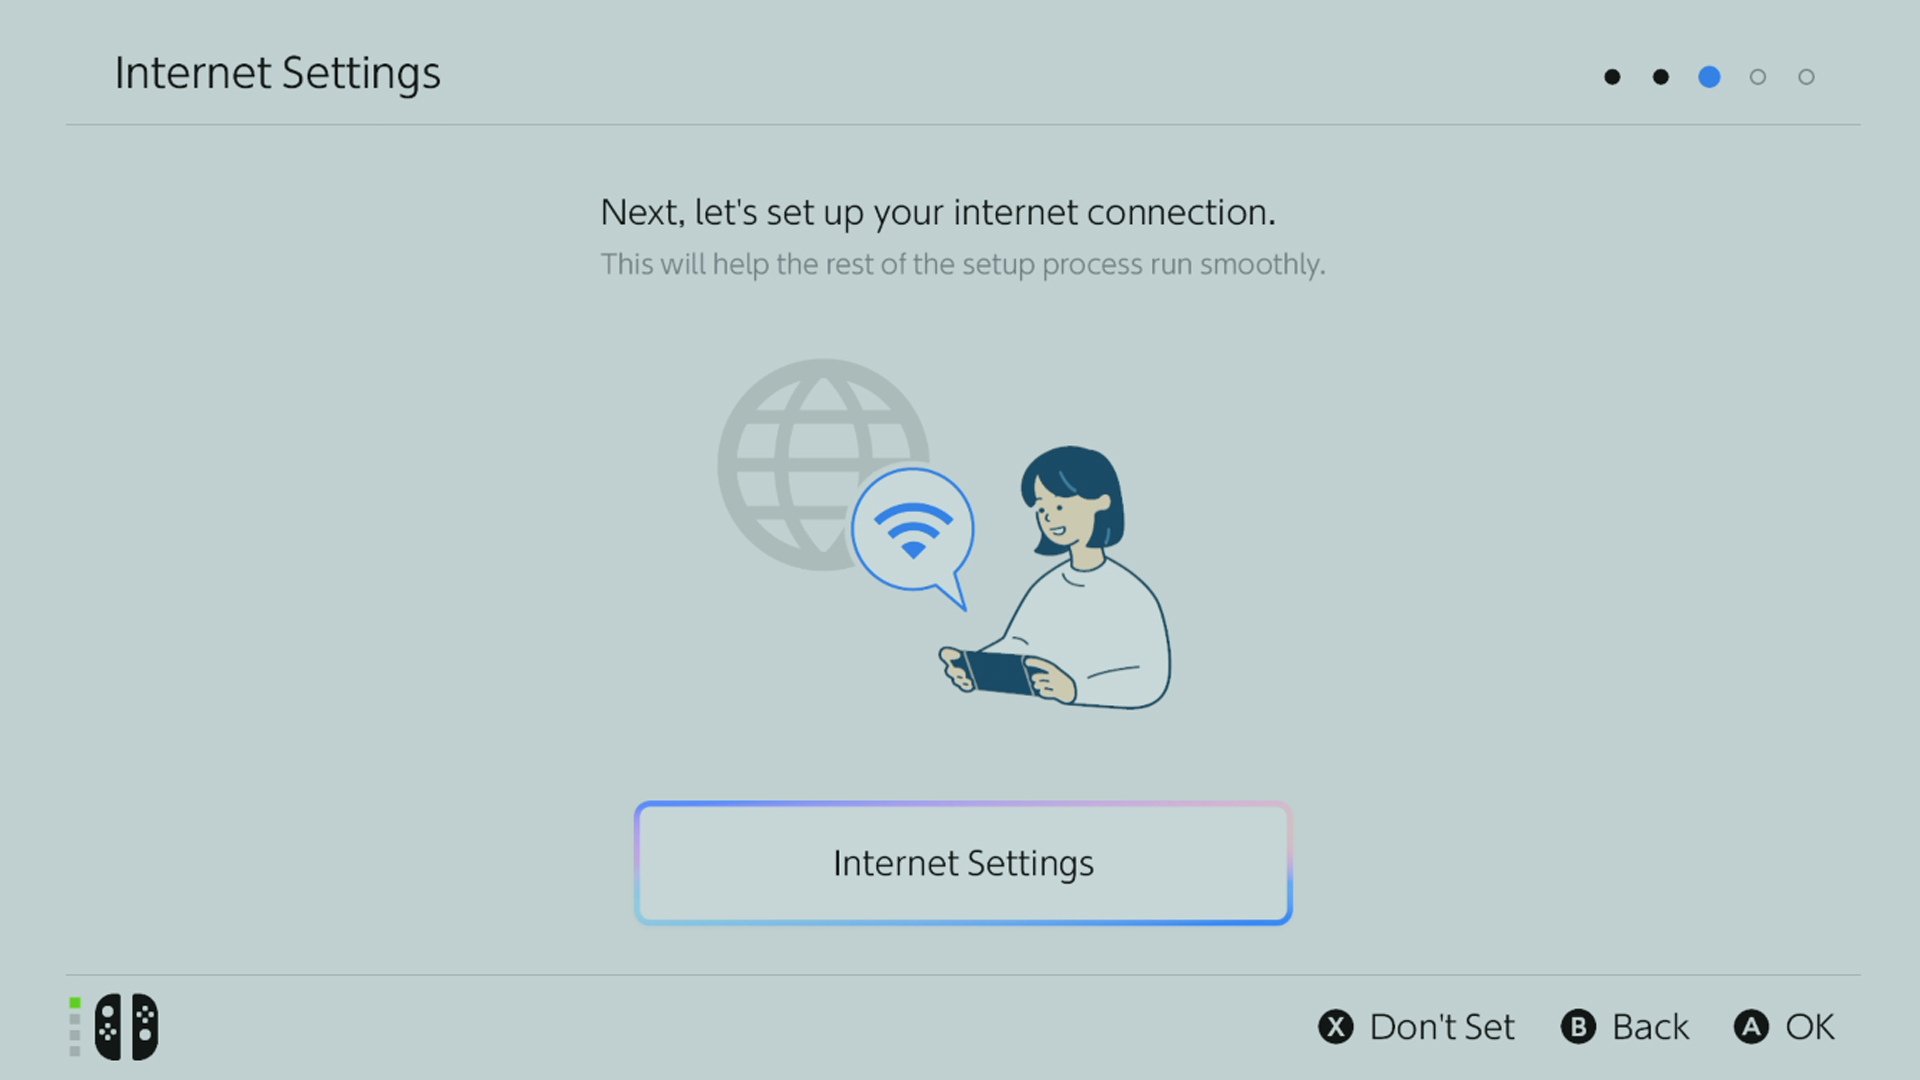
The next major step is setting up your internet connection, so make sure to have your password to hand. It's a fast and easy process at least with the touchscreen.
Once you're connected, you'll be told that the major day one System Update starts in the background, which is great. You'll also need to pick your timezone for the Switch 2's clock.
4. Explore the various Switch 2 playstyles
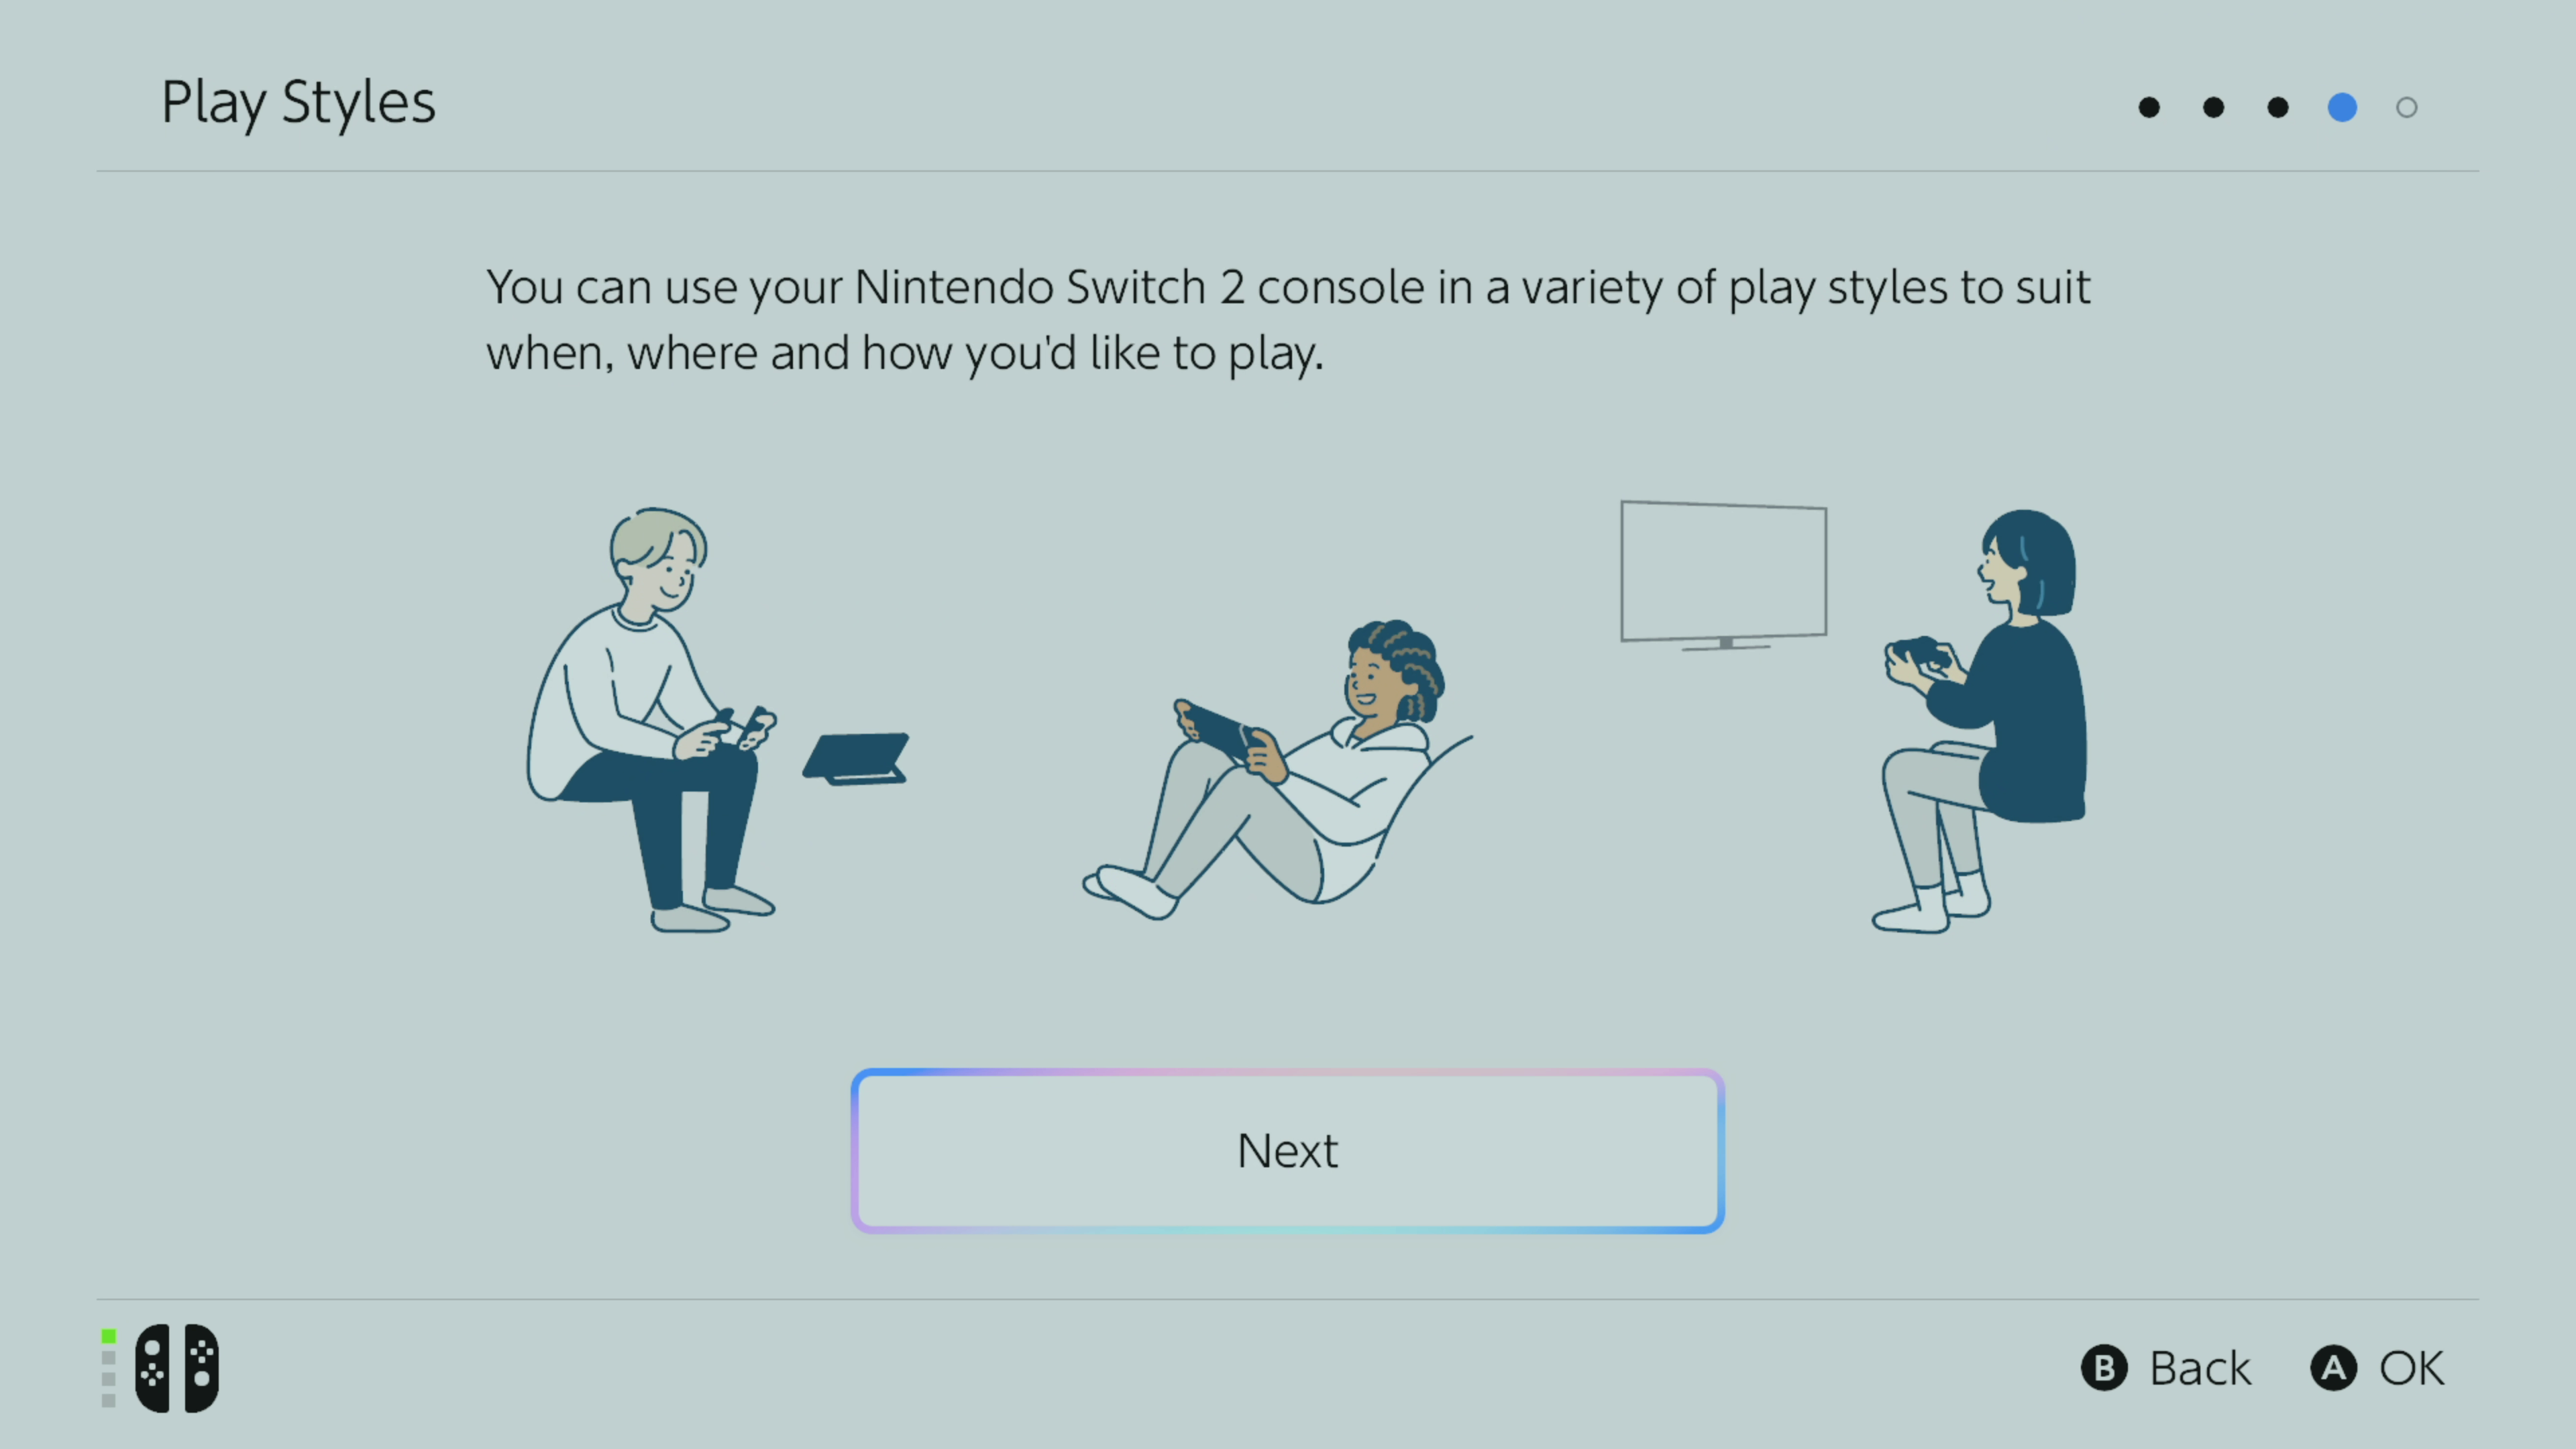
The next section is all about teaching you about the various Play Styles for the Nintendo Switch 2 - handheld, tabletop, or docked.
It also teaches you how to detach the Joy-Con 2, which is done by pressing the button underneath the shoulder buttons on each controller.
There's also a guide to how to use the safety wrist straps that come in the box with your Switch 2.
5. Connect your Switch 2 Dock
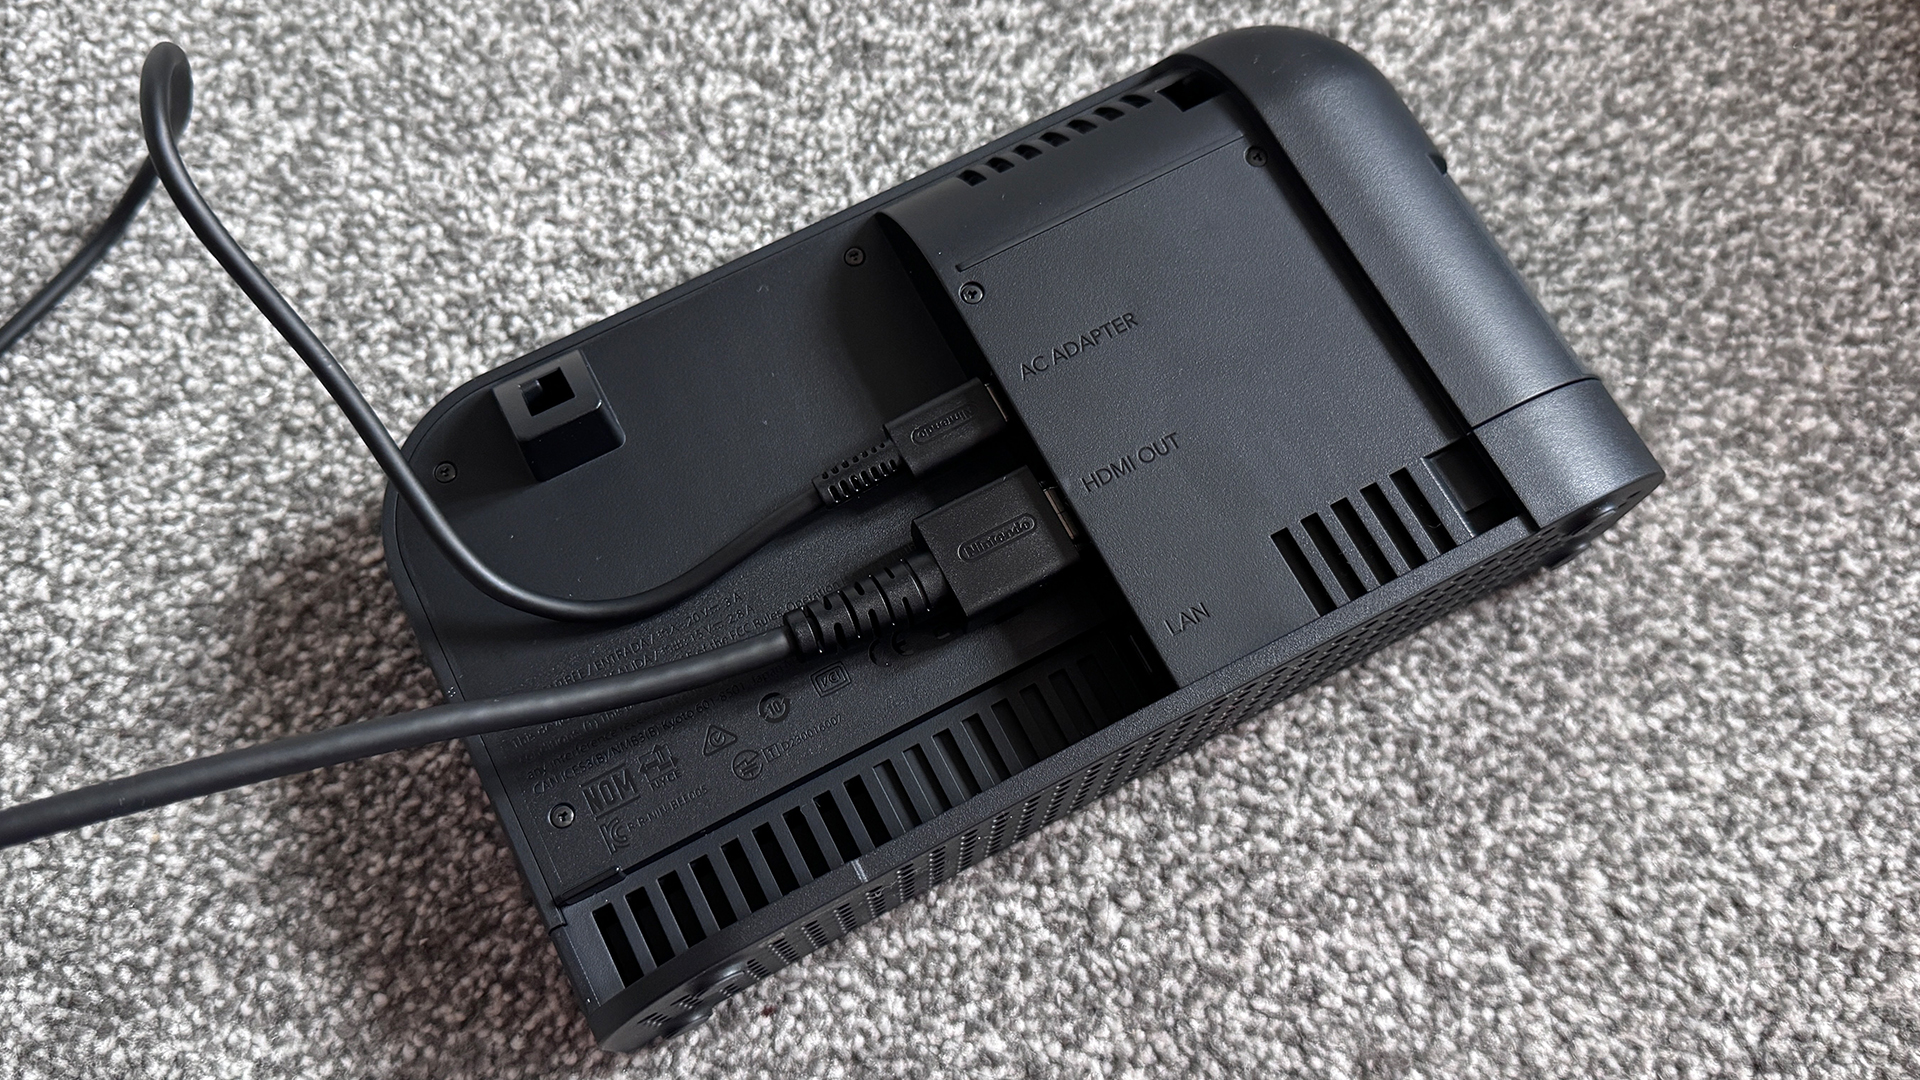
At this stage you'll want to take the prompt to connect your Switch 2 dock. It's a little different to the original Switch / Switch OLED dock, and the rear panel is a touch stiffer to detach in my experience.
Get that off, and connect up the USB-C power adapter, and HDMI in the appropriate slots before replacing the rear panel. Again, it's a little fiddlier but start by aligning it at the bottom and then hinging it up from there.
You'll want to connect it to your TV and hook it up to the power next. If you have a TV that supports 4K and 120Hz refresh rates then make sure to use the appropriate HDMI slot if available.
6. Transfer your data from your old Switch
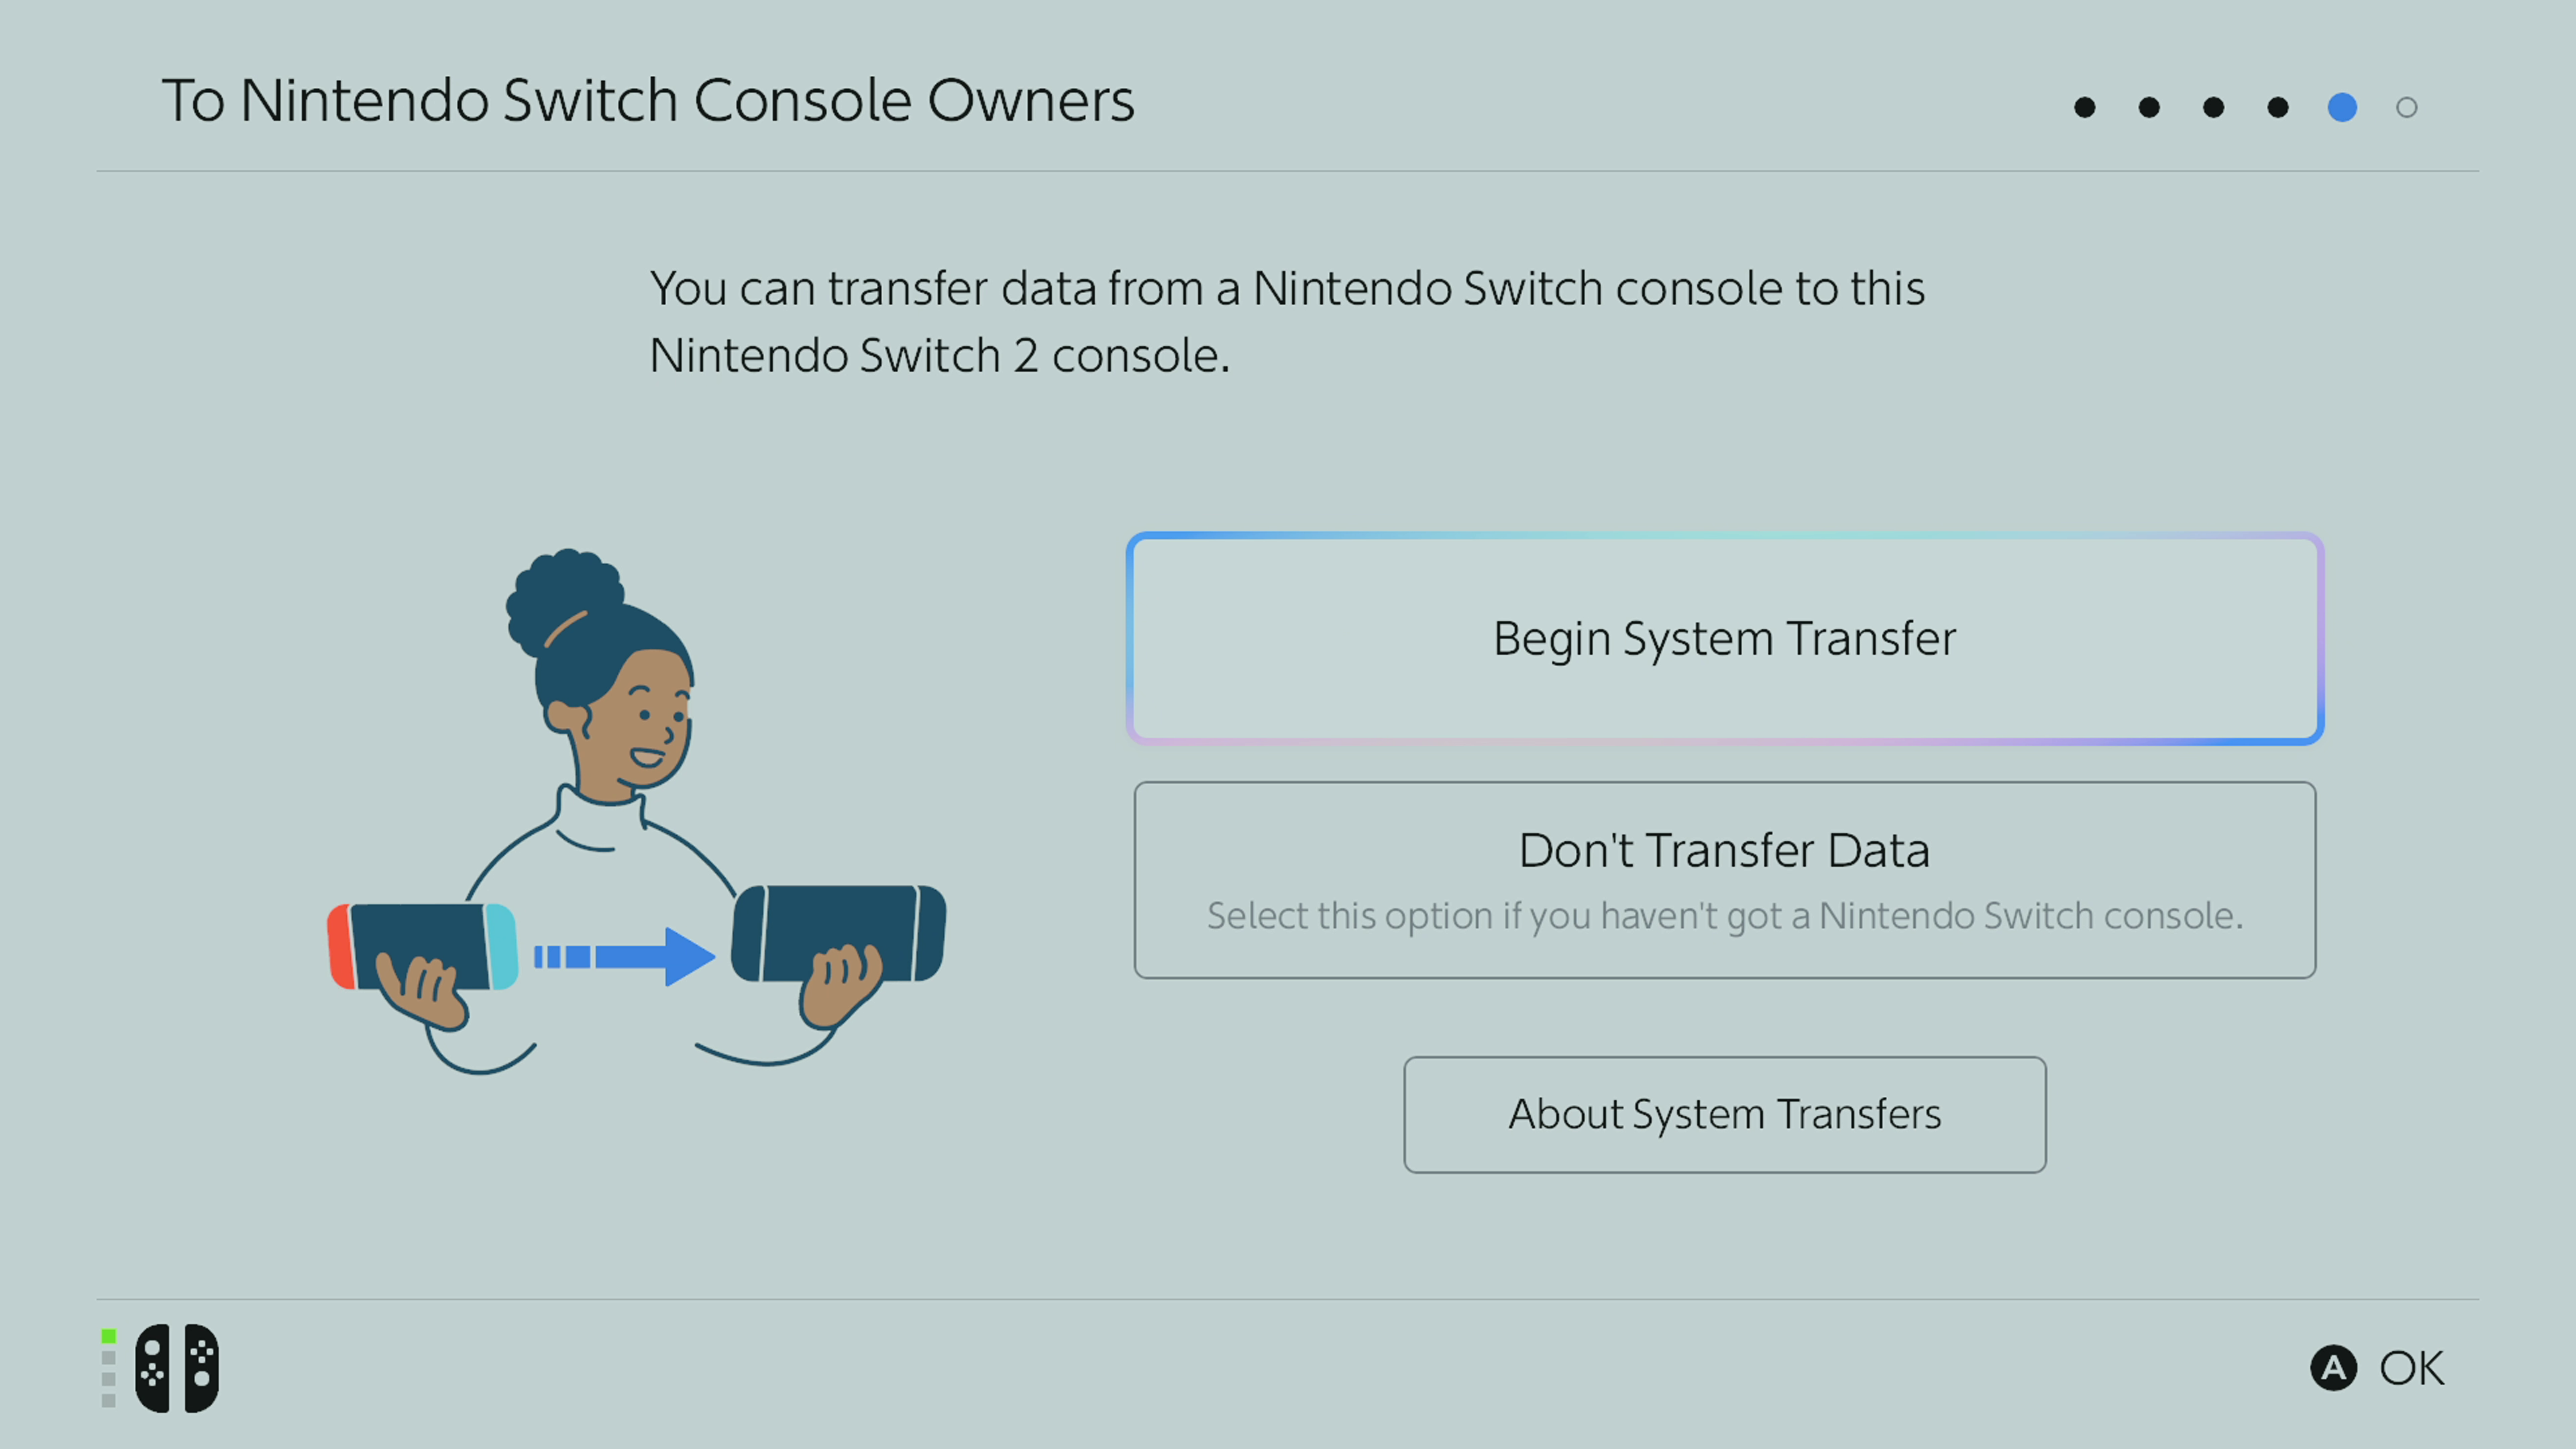
If you have an original Switch or a Switch OLED you can, at this stage, opt to do a data transfer. This will port your games, save data, login info, screenshots, videos and more to your new Switch 2. You'll need to add a microSD card at this stage if you have one (steps on that below), but then the data transfer can begin.
You'll need to sign into your Nintendo Account by scanning a QR code and signing in online first, and then enter the 5-digit verification code that pops up on your phone into your Switch 2 to sync them.
Then you'll have to bring your old Switch and your new Switch 2 close together to ping the data between the two.
On your old Switch, go to System Settings > System > System Transfer and then follow the prompts until you see "Searching for the Nintendo Switch 2 console".
It might take a while, but your transfer will then start once you hit 'Start Receiving Data' on your Switch 2. Once that's done you're ready to go.
NB you can of course choose not to transfer your data. This might be because you don't have an original Switch or you want to set this new Switch 2 up without transferring all your screenshots and other data from your original Switch. Just opt for 'Don't Transfer Data' and you'll just have to sign into your Nintendo Account or create a new one to get started.
7. Insert your microSD card if you have one
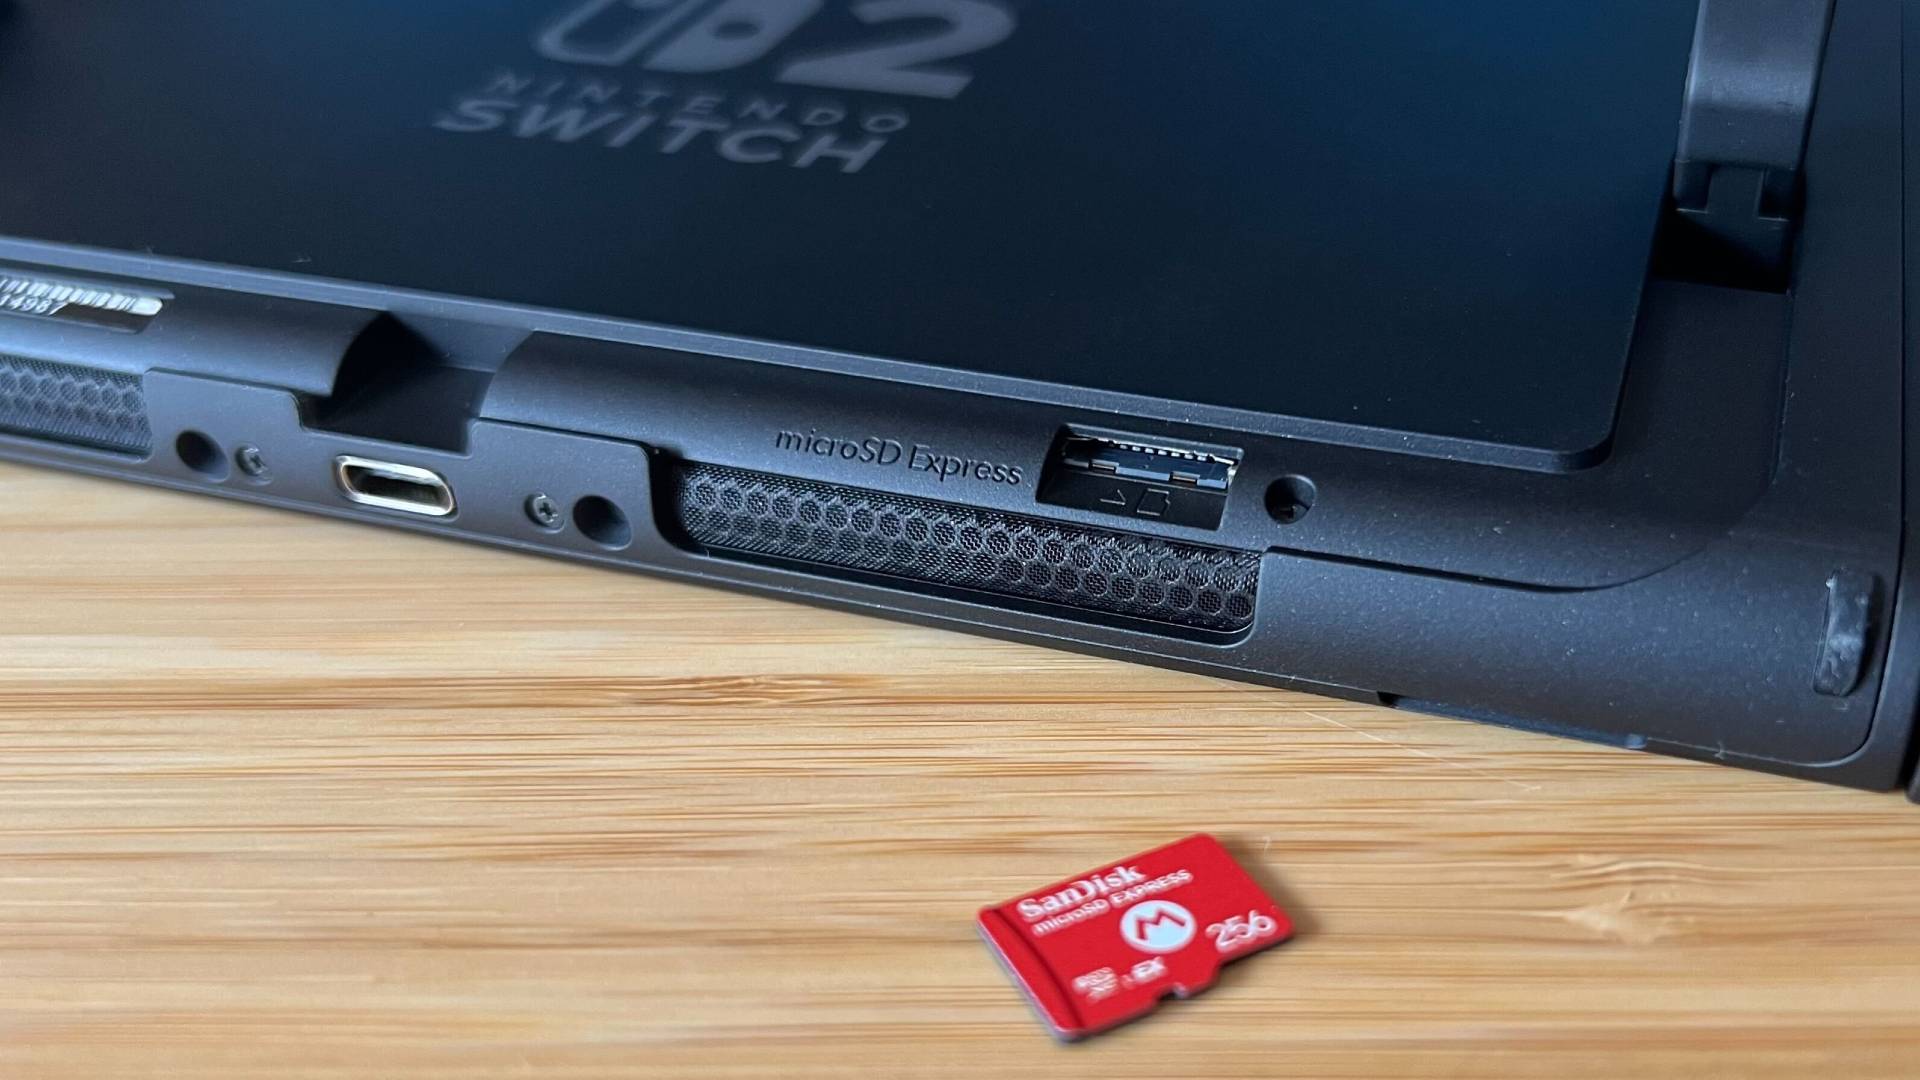
If you have a compatible microSD card you can insert it now. You can only use the new express microSD cards for storing games on the Switch 2, so you'll need to make sure you're using one with that's marked with express or EX.
The microSD card slot is hidden underneath the stand on the back of the console. You'll need to slot it in with the little tabs on the right hand side and the text facing up.
If you want to get one later, make sure to check out our best Nintendo Switch 2 Express microSD cards guide.
Now you're all ready to start using your Nintendo Switch 2. Congratulations!


