Cooking for a crowd can be a stressful task, especially when you can’t fit everything in the oven. This is where a countertop oven comes in. A multifunctional oven like the Ninja Foodi 10-in-1 can really take the pressure off. It’s more spacious than even the best air fryers and can be used to roast, bake, air fry, grill, and it’ll even replace your toaster.
The catch with something like this, is that it’s bigger than most people’s microwaves. And who really has the spare space on their kitchen worktop for something so chunky? Having said that, it can replace the best air fryer, toaster, and act like a second oven and grill, so if you regularly feed a crowd of hungry teenagers or host big groups of friends, it might be worth making space for it.
There’s only two people in my house, so I’m not exactly the target market for this oven. Nevertheless, I can see its usefulness and wanted to try out as many functions as possible to understand if it really is an all-rounder, worth the space in your kitchen.
Ninja Foodi 10-in-1 Multifunction Oven: Product Specs
- Modes: Air Fry, roast, whole roast, grill, bake, pizza, dehydrate, reheat, toast, bagel
- Weight: 16kg
- Power: 2400W
- Size: (H)33.5 x (W)43.5 x (D)50.5cm
- RRP: £269.99
Unboxing, setting up and first impressions
Given that this is a countertop oven, (which we define in our feature on air fryers vs countertop ovens) I wasn’t surprised when a very large 20kg box was delivered to my doorstep. So I unpacked it right by the door, and luckily it wasn’t as cumbersome to lift out of the box, as I first suspected it might be.
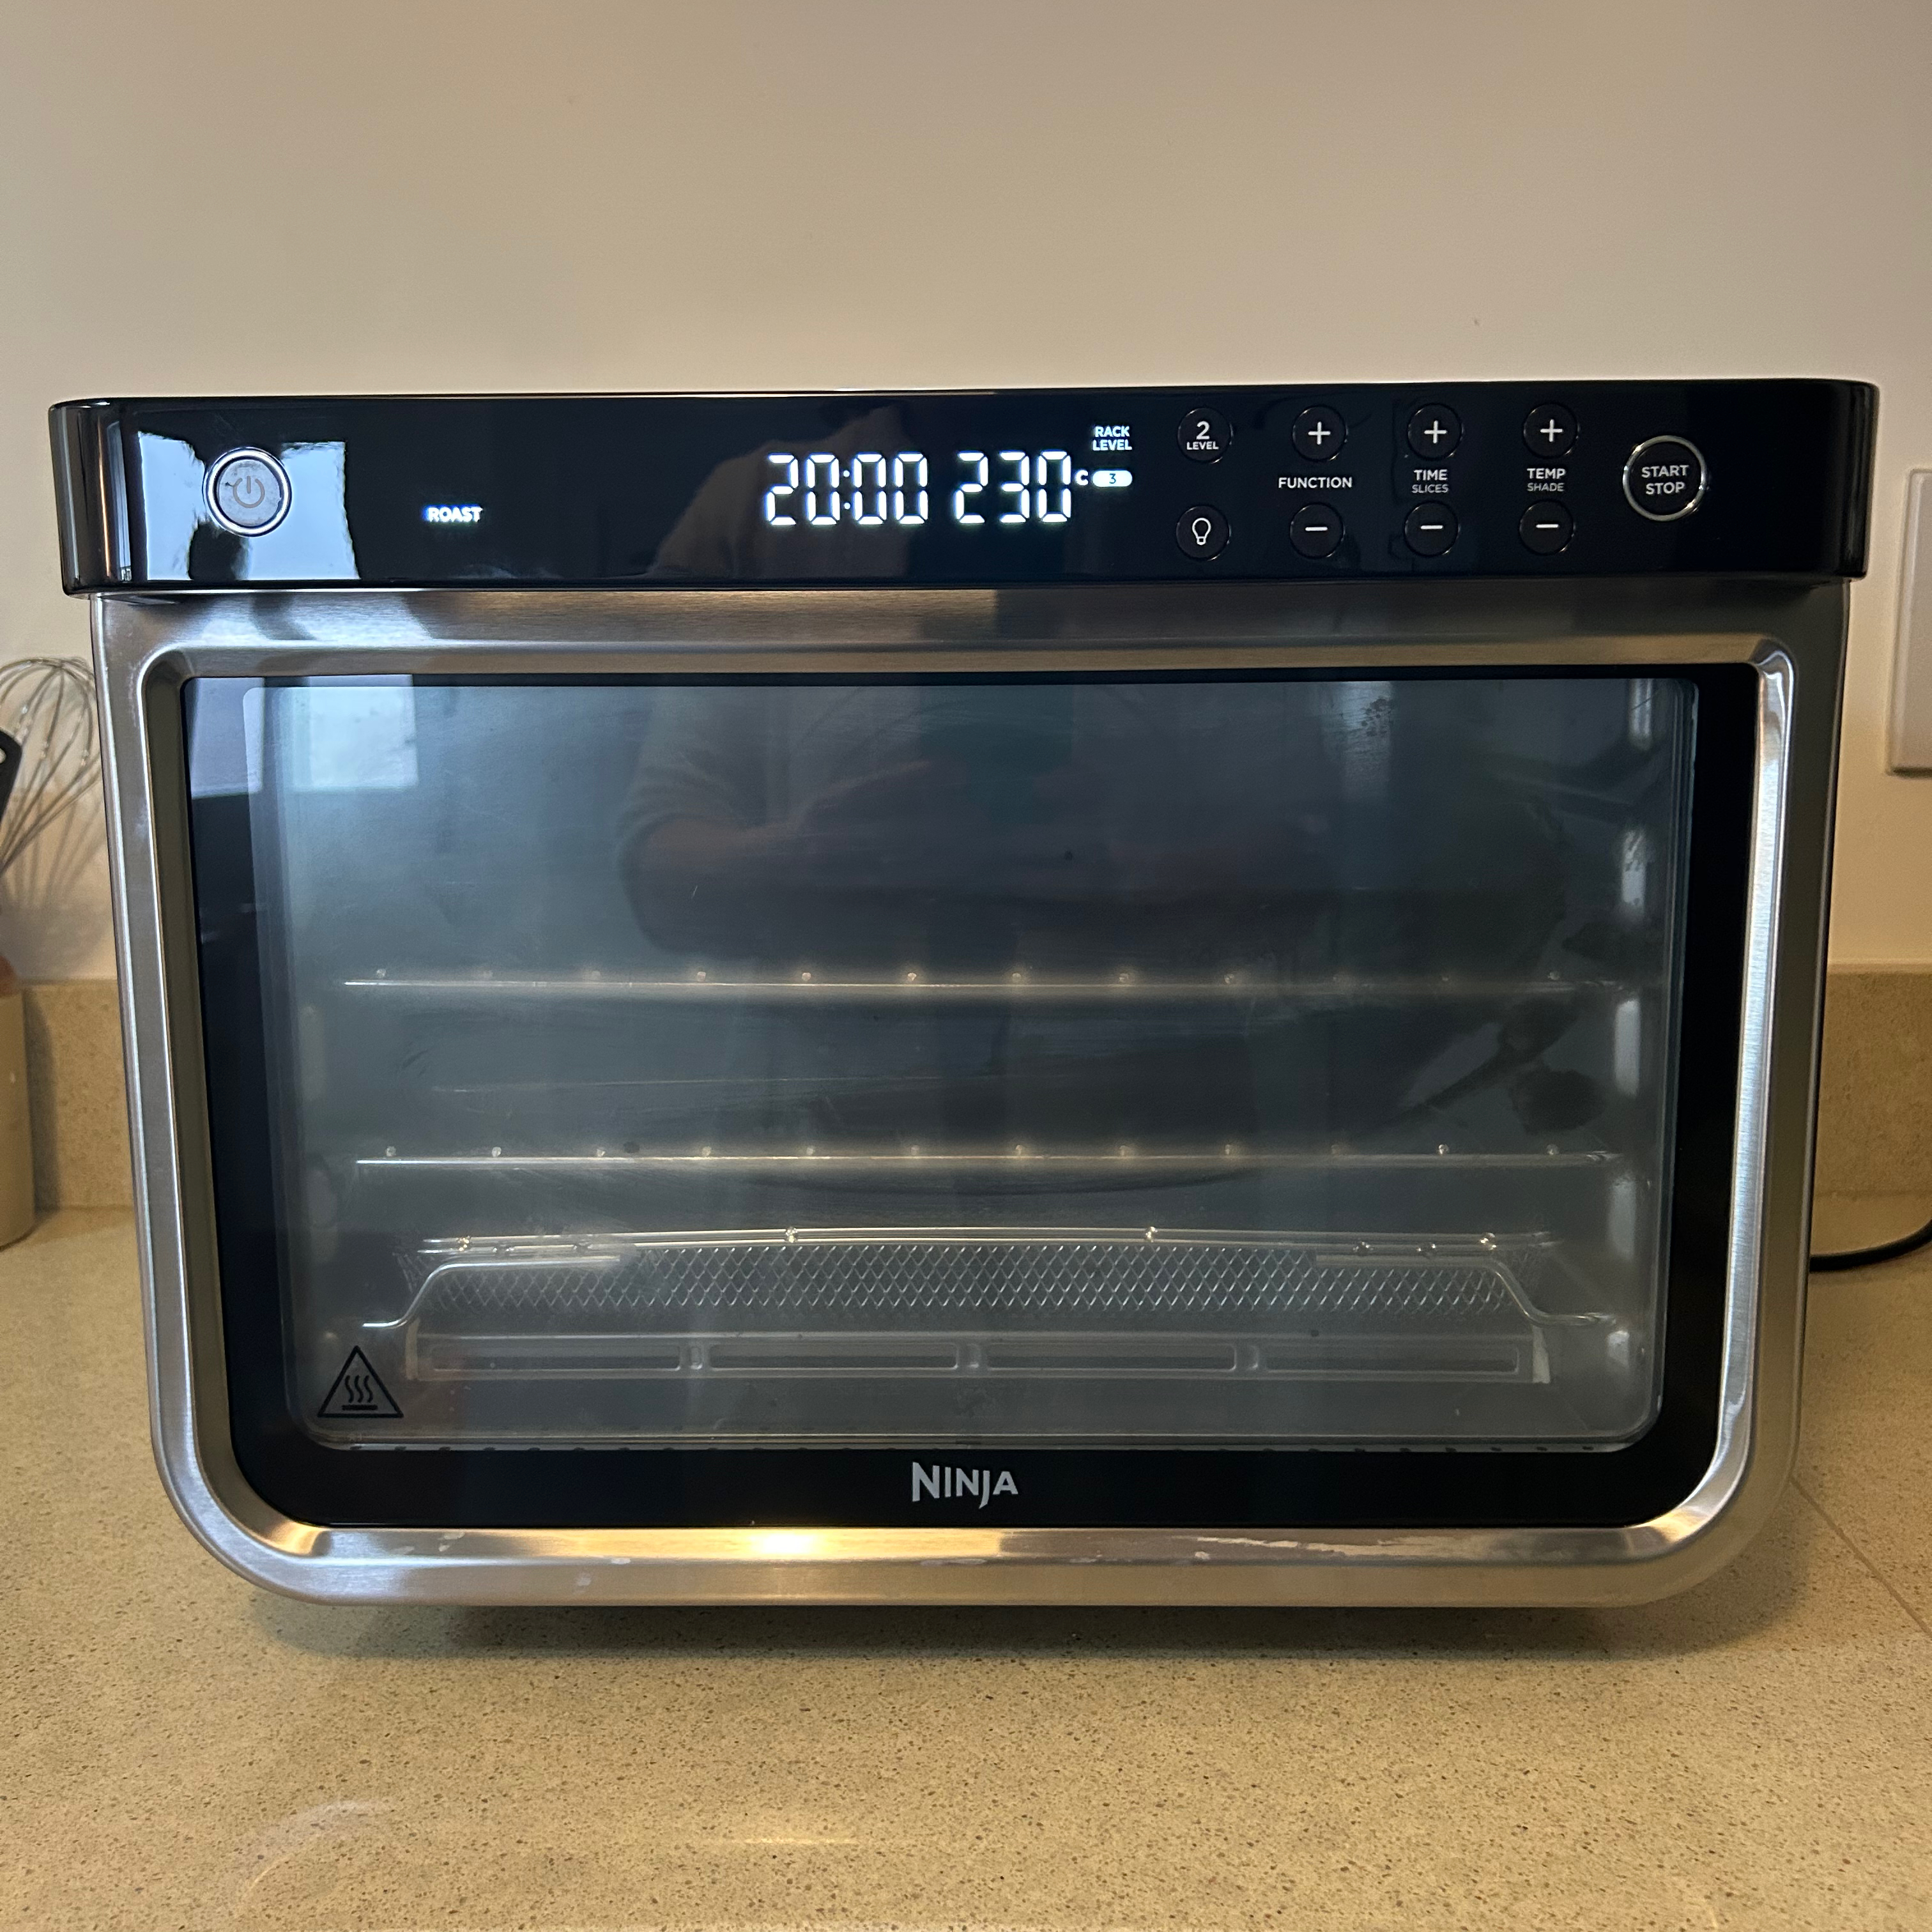
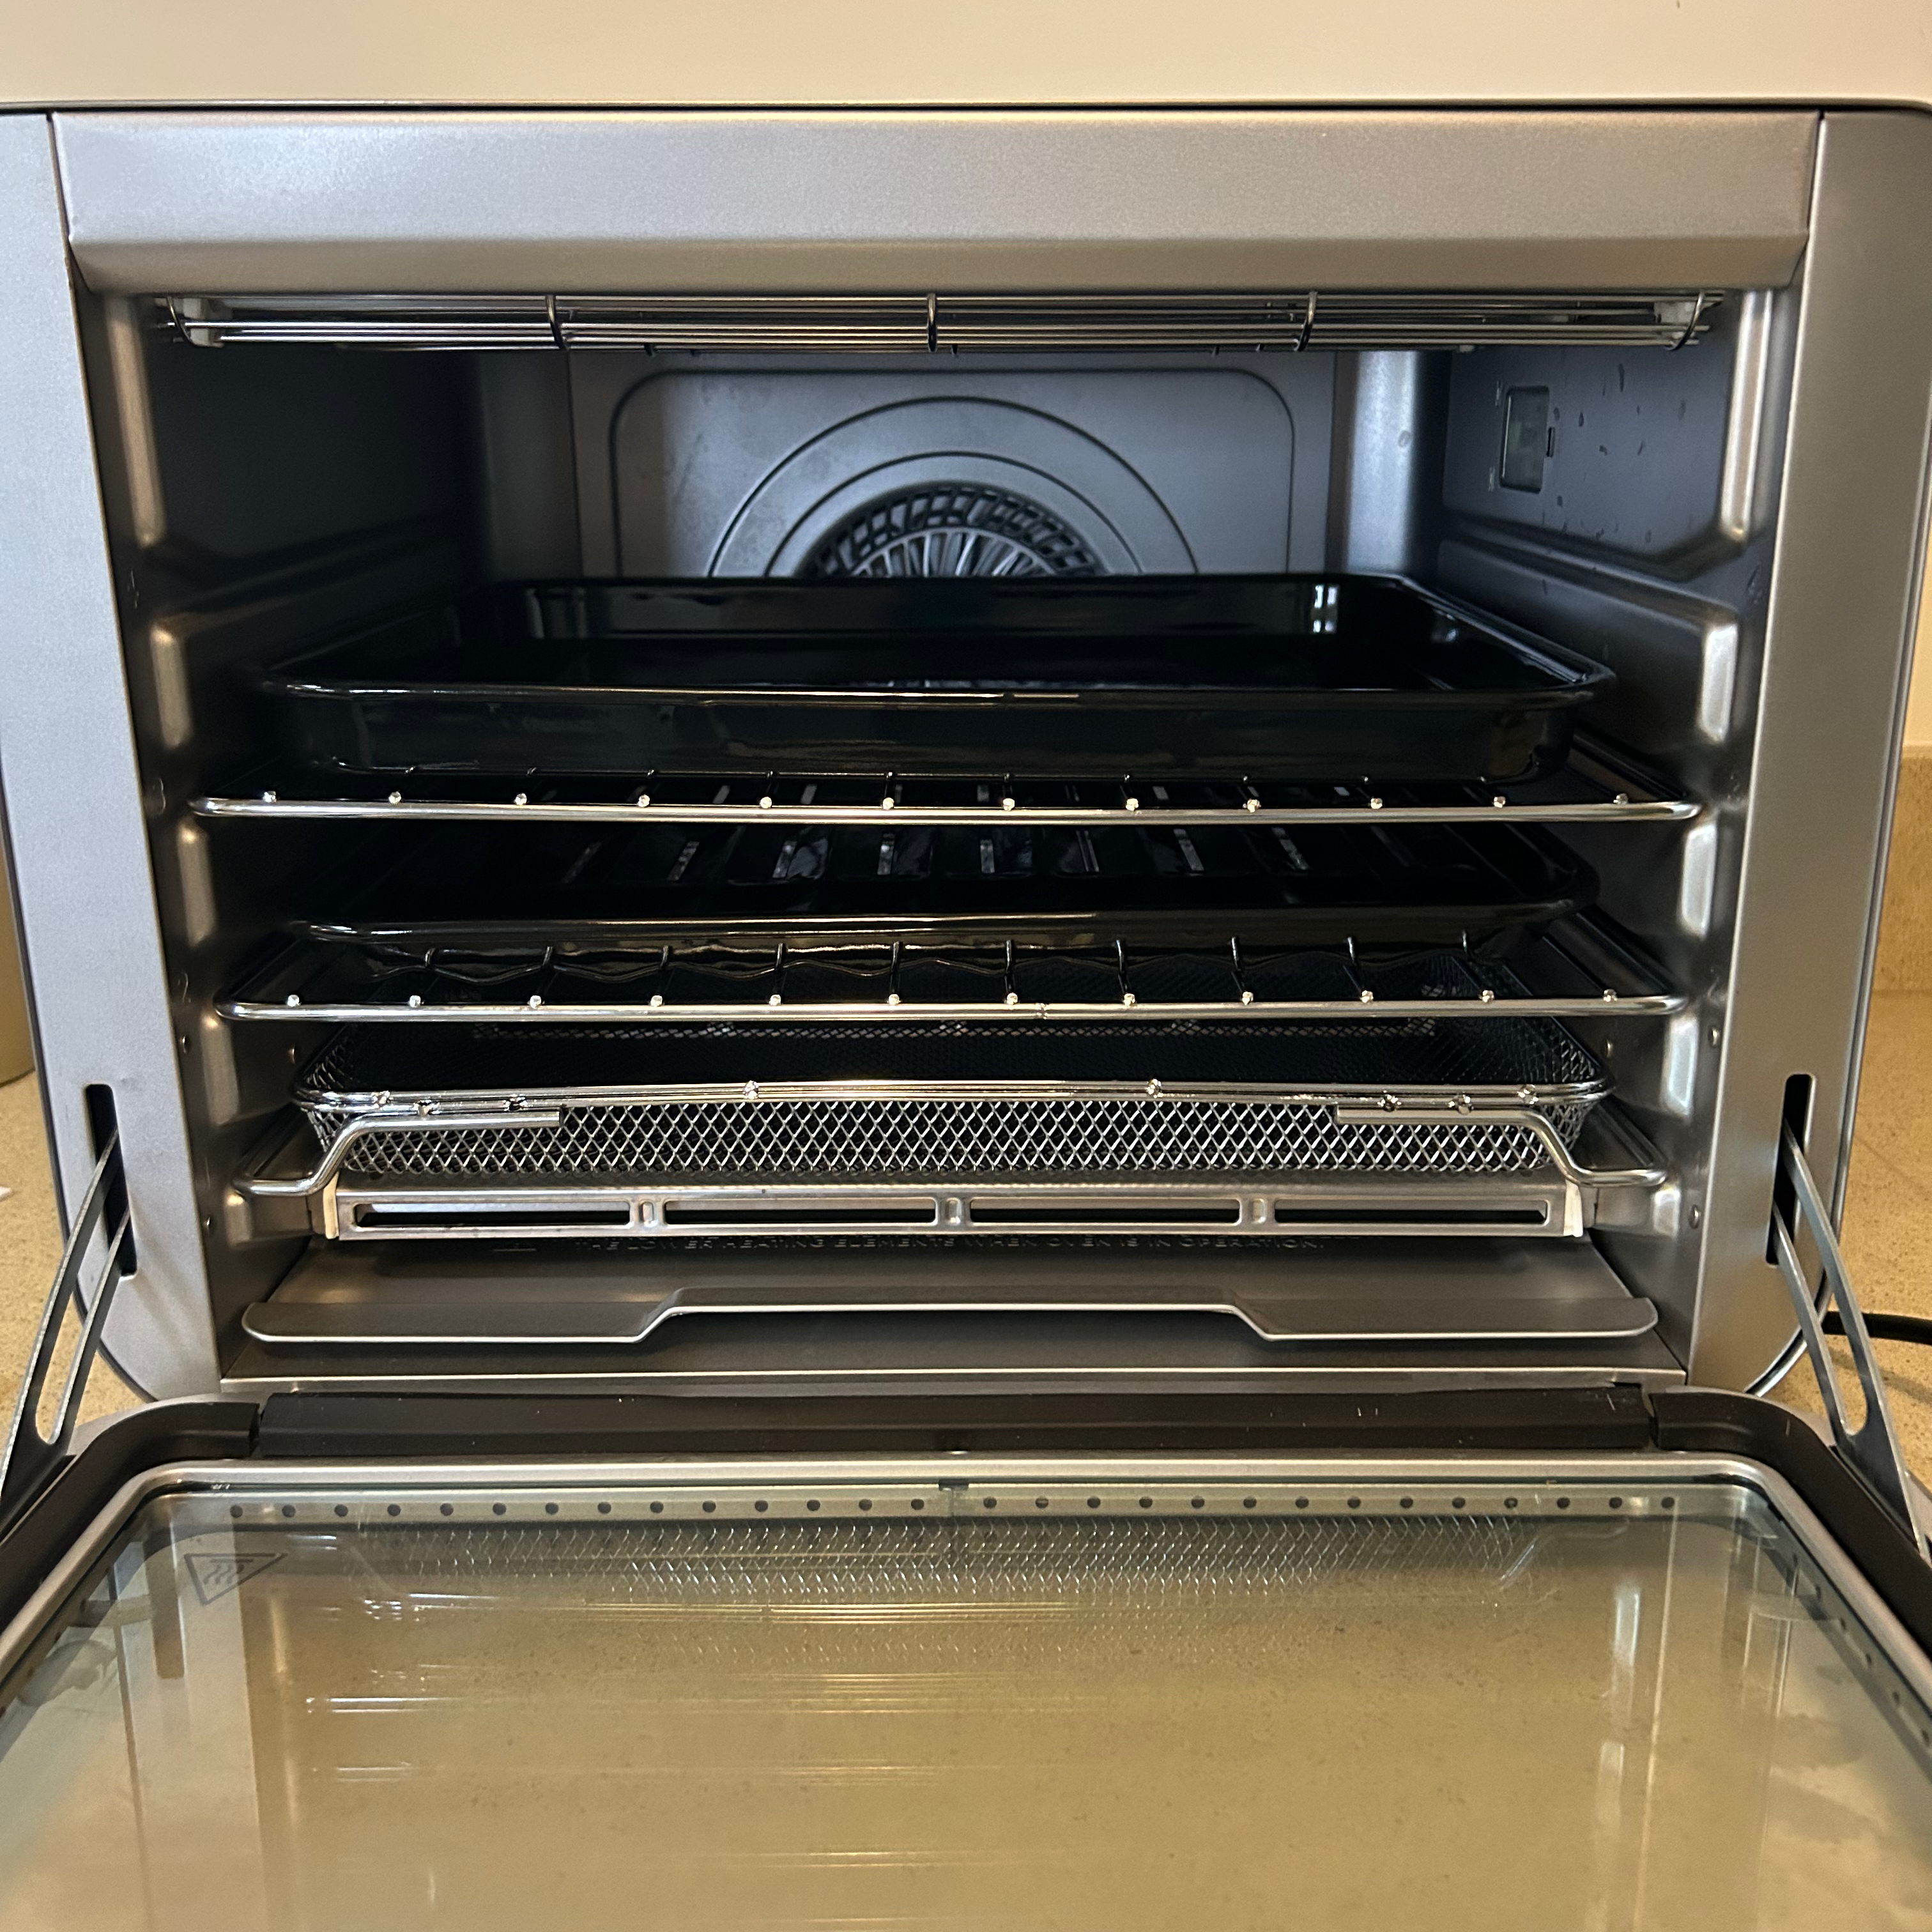
I unpacked all the accessories; an oven tray, a roast tray, an air fry basket, 2 wire racks, and a removable crumb tray that forms the base of the oven. The manual advises placing all the accessories into the oven and running it at 230C for 20 minutes on the roast setting before your first use, so I did that while browsing through the quick start guide and recipe book for inspiration.

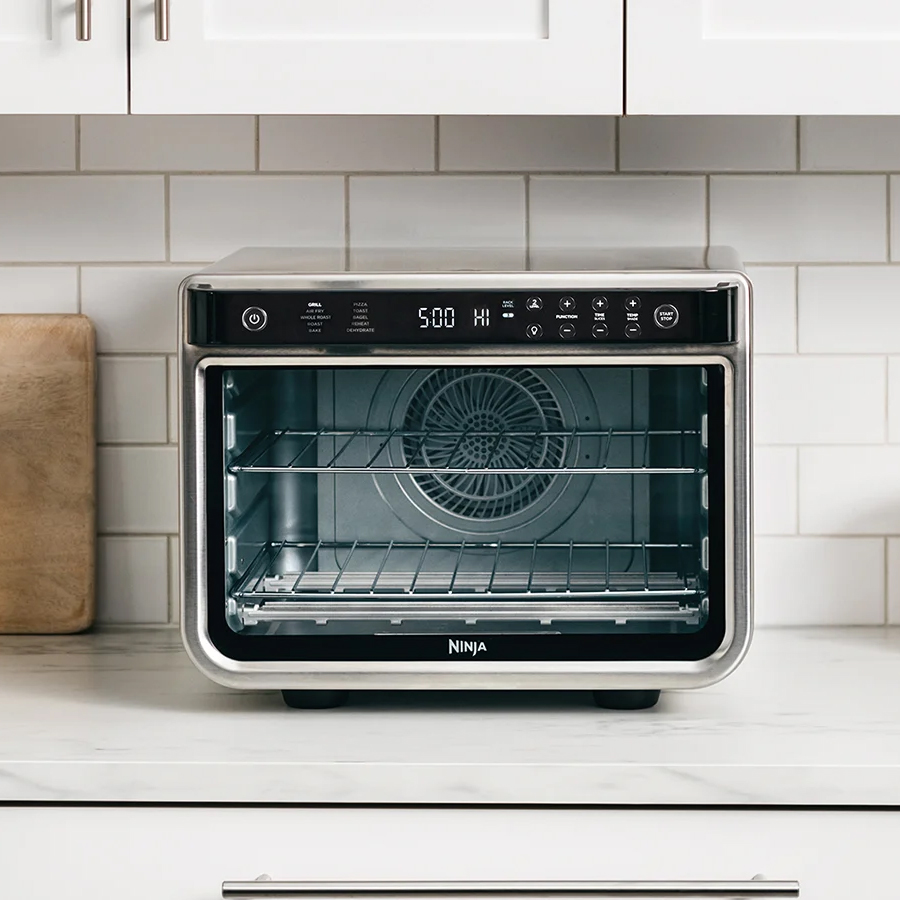
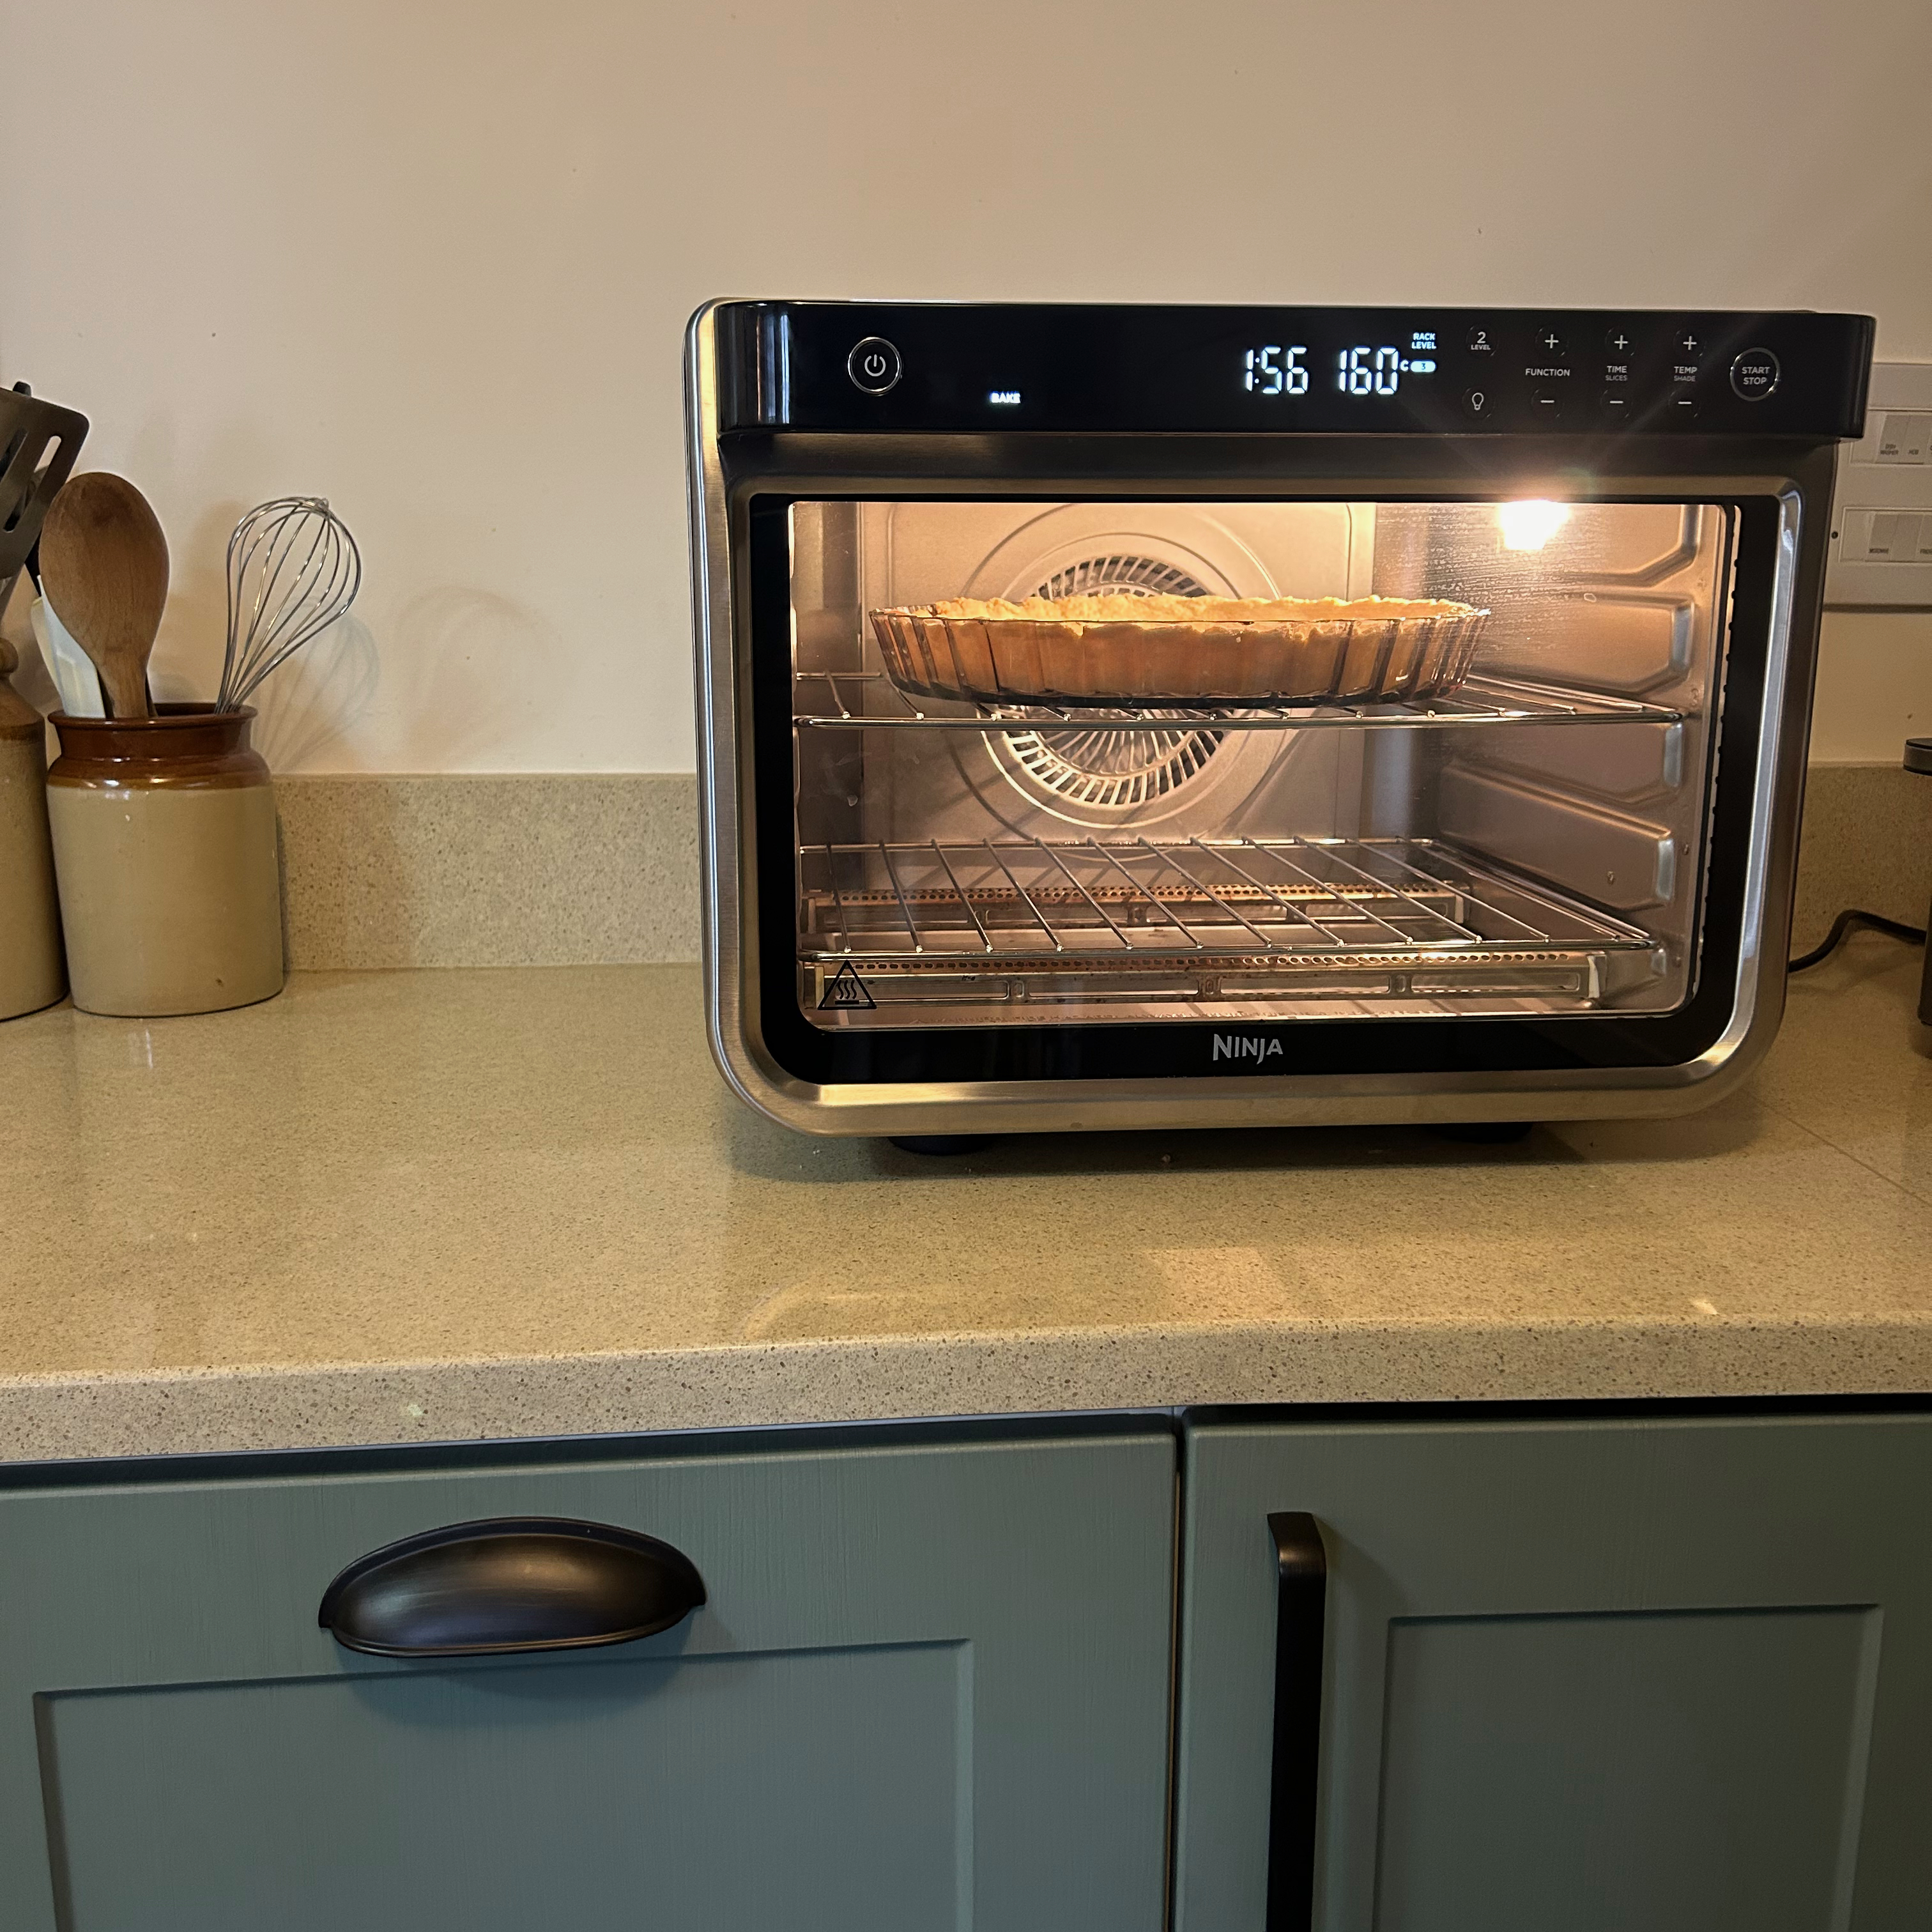
Uniquely, the control panel is all on the handle of the door. A power button switches it on and brings up the display. Then you simply select your desired cooking function by pressing the plus or minus buttons that are positioned above and below the word function. These allow you to scroll through all ten cooking modes.
Next to function are plus and minus buttons for adjusting time and temperature. When toasting, the time and temperature buttons double up as a shade selector and a button to select the number of slices you're toasting.
Then at the far end is a start/stop button. The controls are very simple and the clear digital display even shows the best shelf level to use for each of the cooking functions. Not only that but if you’re cooking on two shelves and select the ‘2 level’ button, it tells you the best two shelf positions to use - making it pretty foolproof.
Lastly, the button with a light bulb symbol turns on the interior light. And because virtually the entire door is glass, you get a really good view inside when the light is on.
With recipes included as well as some cooking charts for air fry temperatures, there’s plenty of guidance to get you started. On the whole, given that it offers 10 cooking functions, the control panel is incredibly straightforward and not nearly as intimidating as it could have been.
What is it like to use?
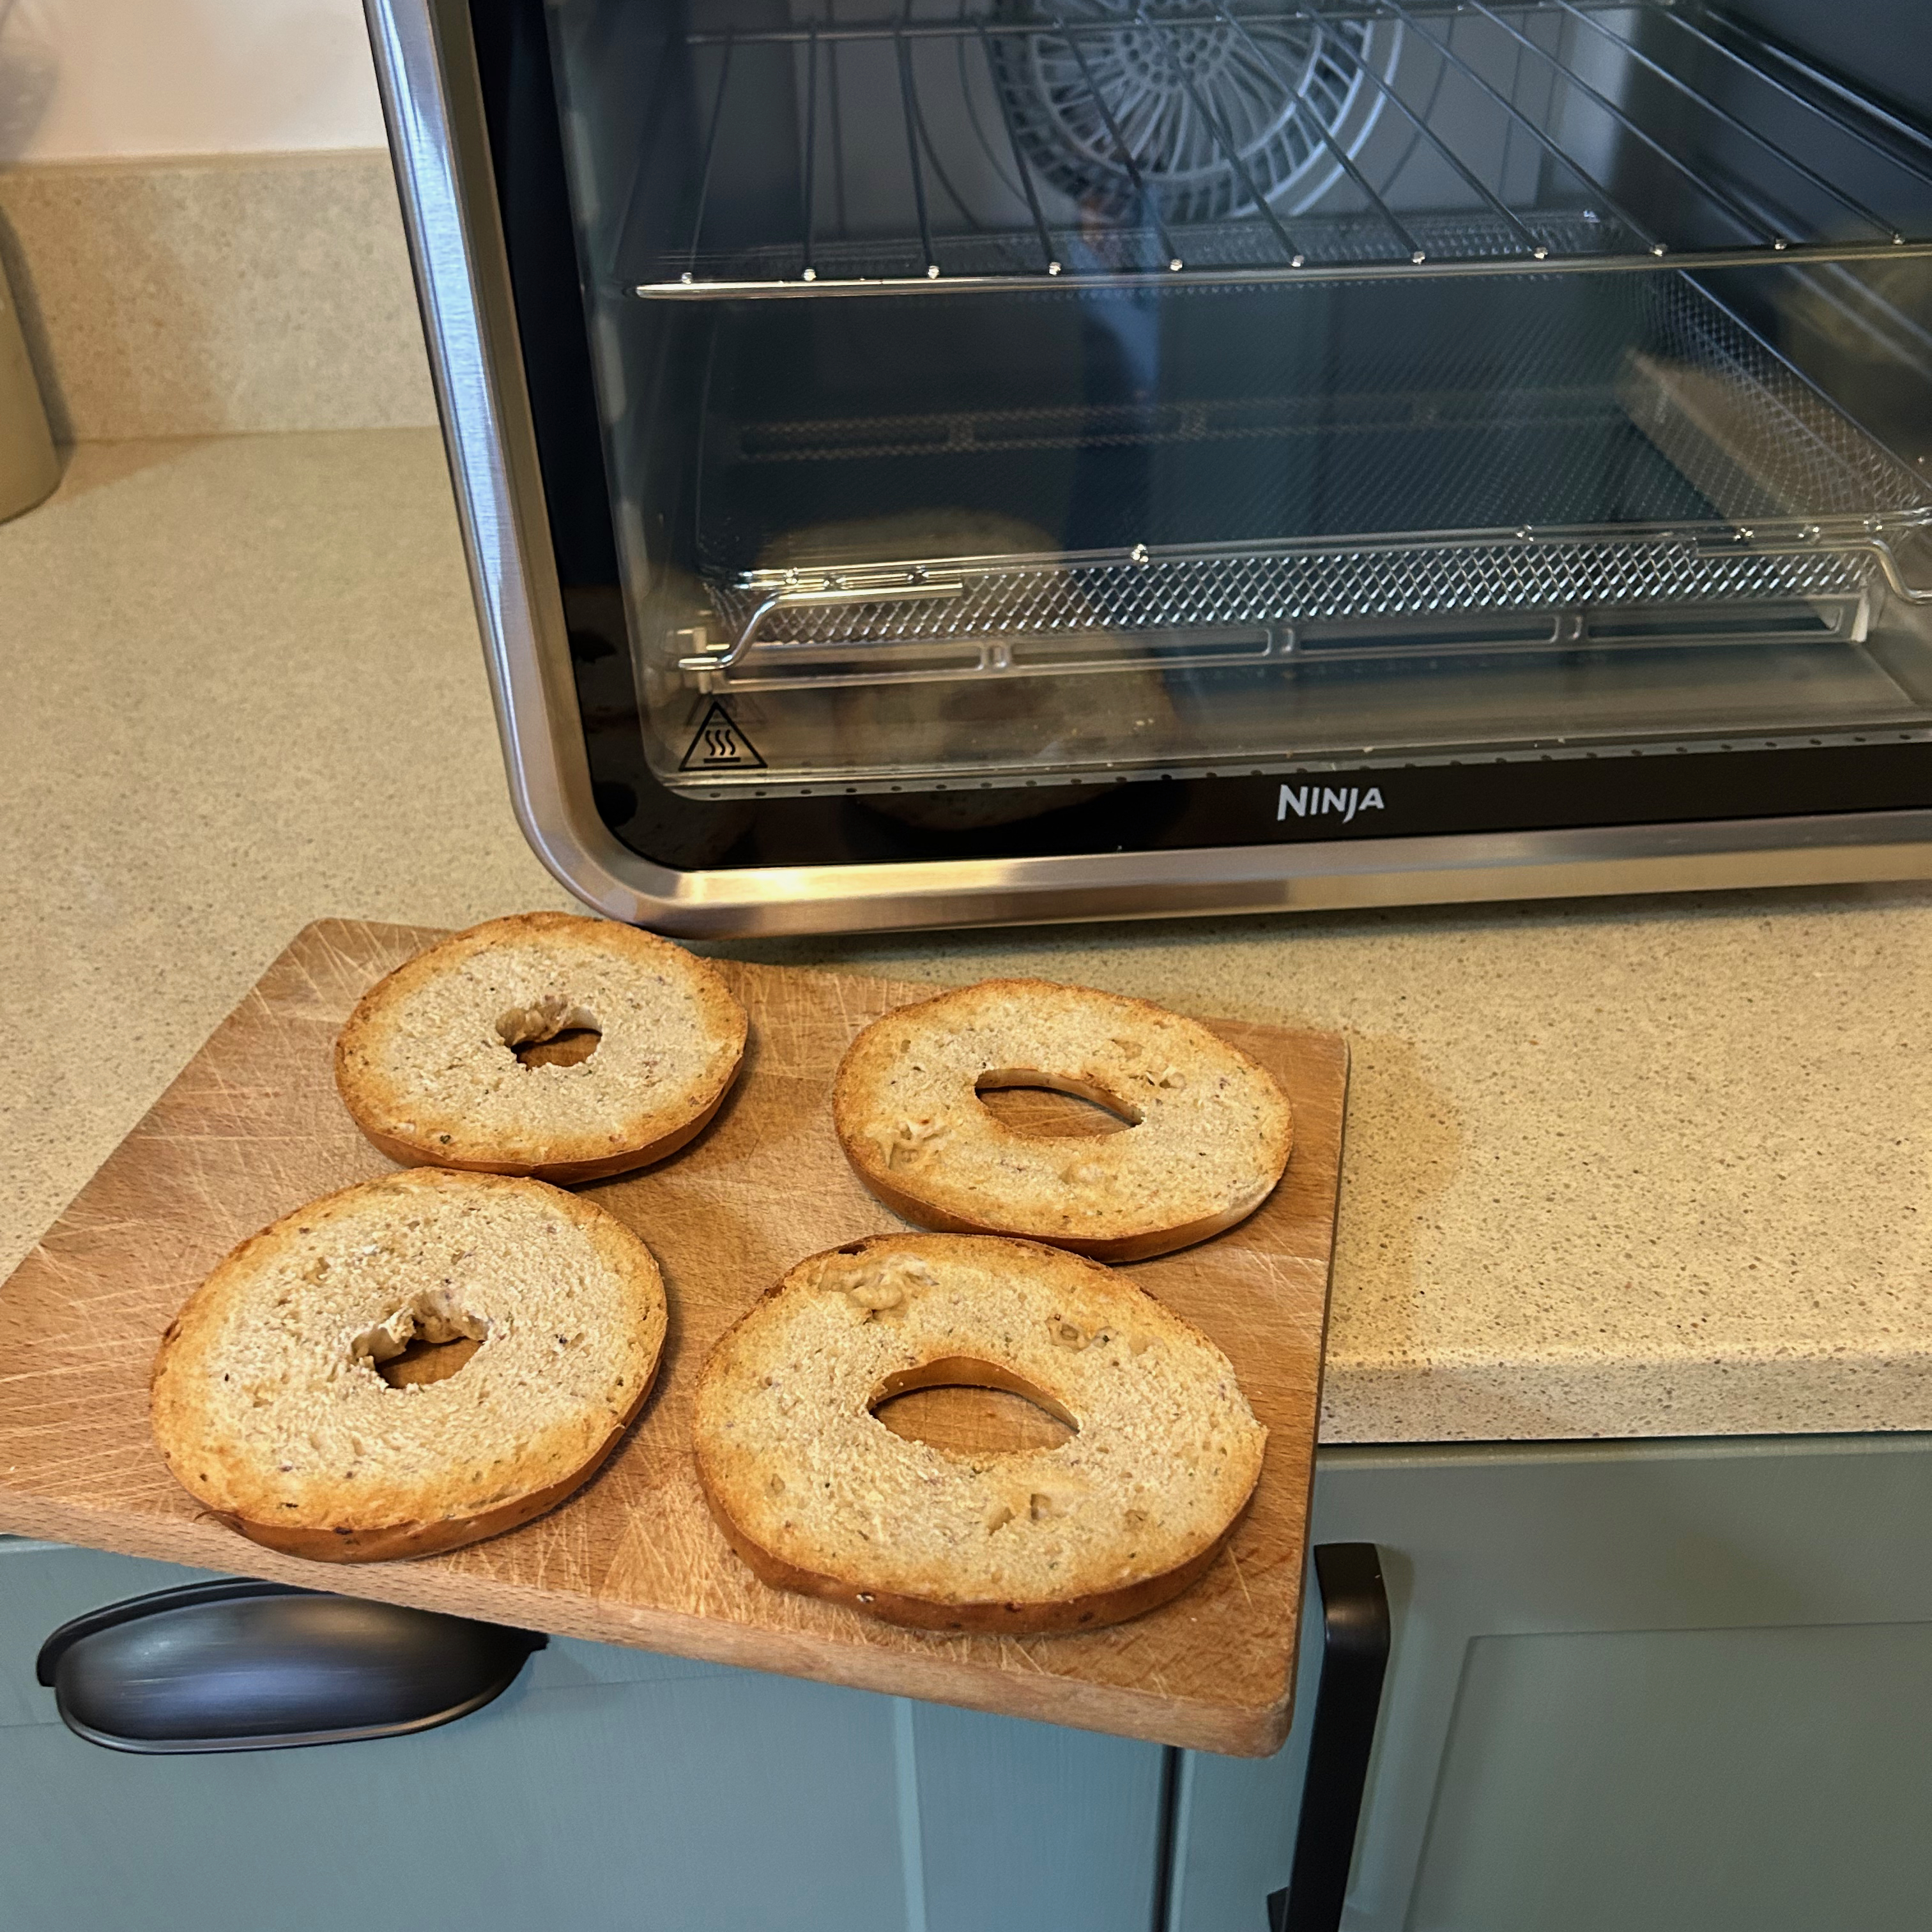
Bagel function
I placed two bagels cut side up on the wire rack. There are seven shade levels to choose from, so with nothing to go on, I selected level 4 and also set the number of slices to 4. This setting doesn’t do a preheat, instead the timer immediately starts counting down.

My bagels took 4 minutes, and the large viewing window combined with the internal light meant I could keep a close eye on the colour level. In the end though, they were the perfect golden brown, so I didn’t need to stop it early.
Roast function
I cut four long romano peppers in half, coated them in oil and arranged them on the air fry basket. Alongside them I added some wedges of red onion that I’d also coated in oil. The manual advises that the air fry basket can be used for roasting items like vegetables, but I couldn’t find a suggested time or temperature for my vegetables.
I decided to set it at 190C and put the timer on for 20 minutes. The roast setting has an automatic preheat, which takes 90 seconds. At the end of the preheat it beeps, but it doesn’t wait for you to add the food before the timer starts counting down, so I quickly put the veg in.

The roast and air fry settings use the maximum fan speed, so this is when the oven is at its loudest. It's not quiet, but the hum of the fan only hit 60dB on my noise meter which is quieter than my extractor fan on its highest setting.
I didn’t add a baking tray below the air fryer basket, and when I saw the burnt oily residue forming on the crumb tray at the bottom, this felt like a mistake. Nevertheless, I carried on and after 12 minutes, opened the door and gave everything a turn.

When there was 2 minutes left on the timer, I gave the onions another stir and added a further five minutes as I could see the peppers wouldn’t be quite roasted enough in the 20 minutes. However, after 25 minutes, they were beautifully charred and lightly caramelised.
Whole Roast function
This setting is designed primarily for joints of meat and whole birds, so with that in mind, I tried roasting a whole chicken. I placed my chicken on the perforated roast tray, which nestles on top of the flat tray, then after the initial preheat phase, popped it in the oven on ‘Whole Roast’ at 190C.
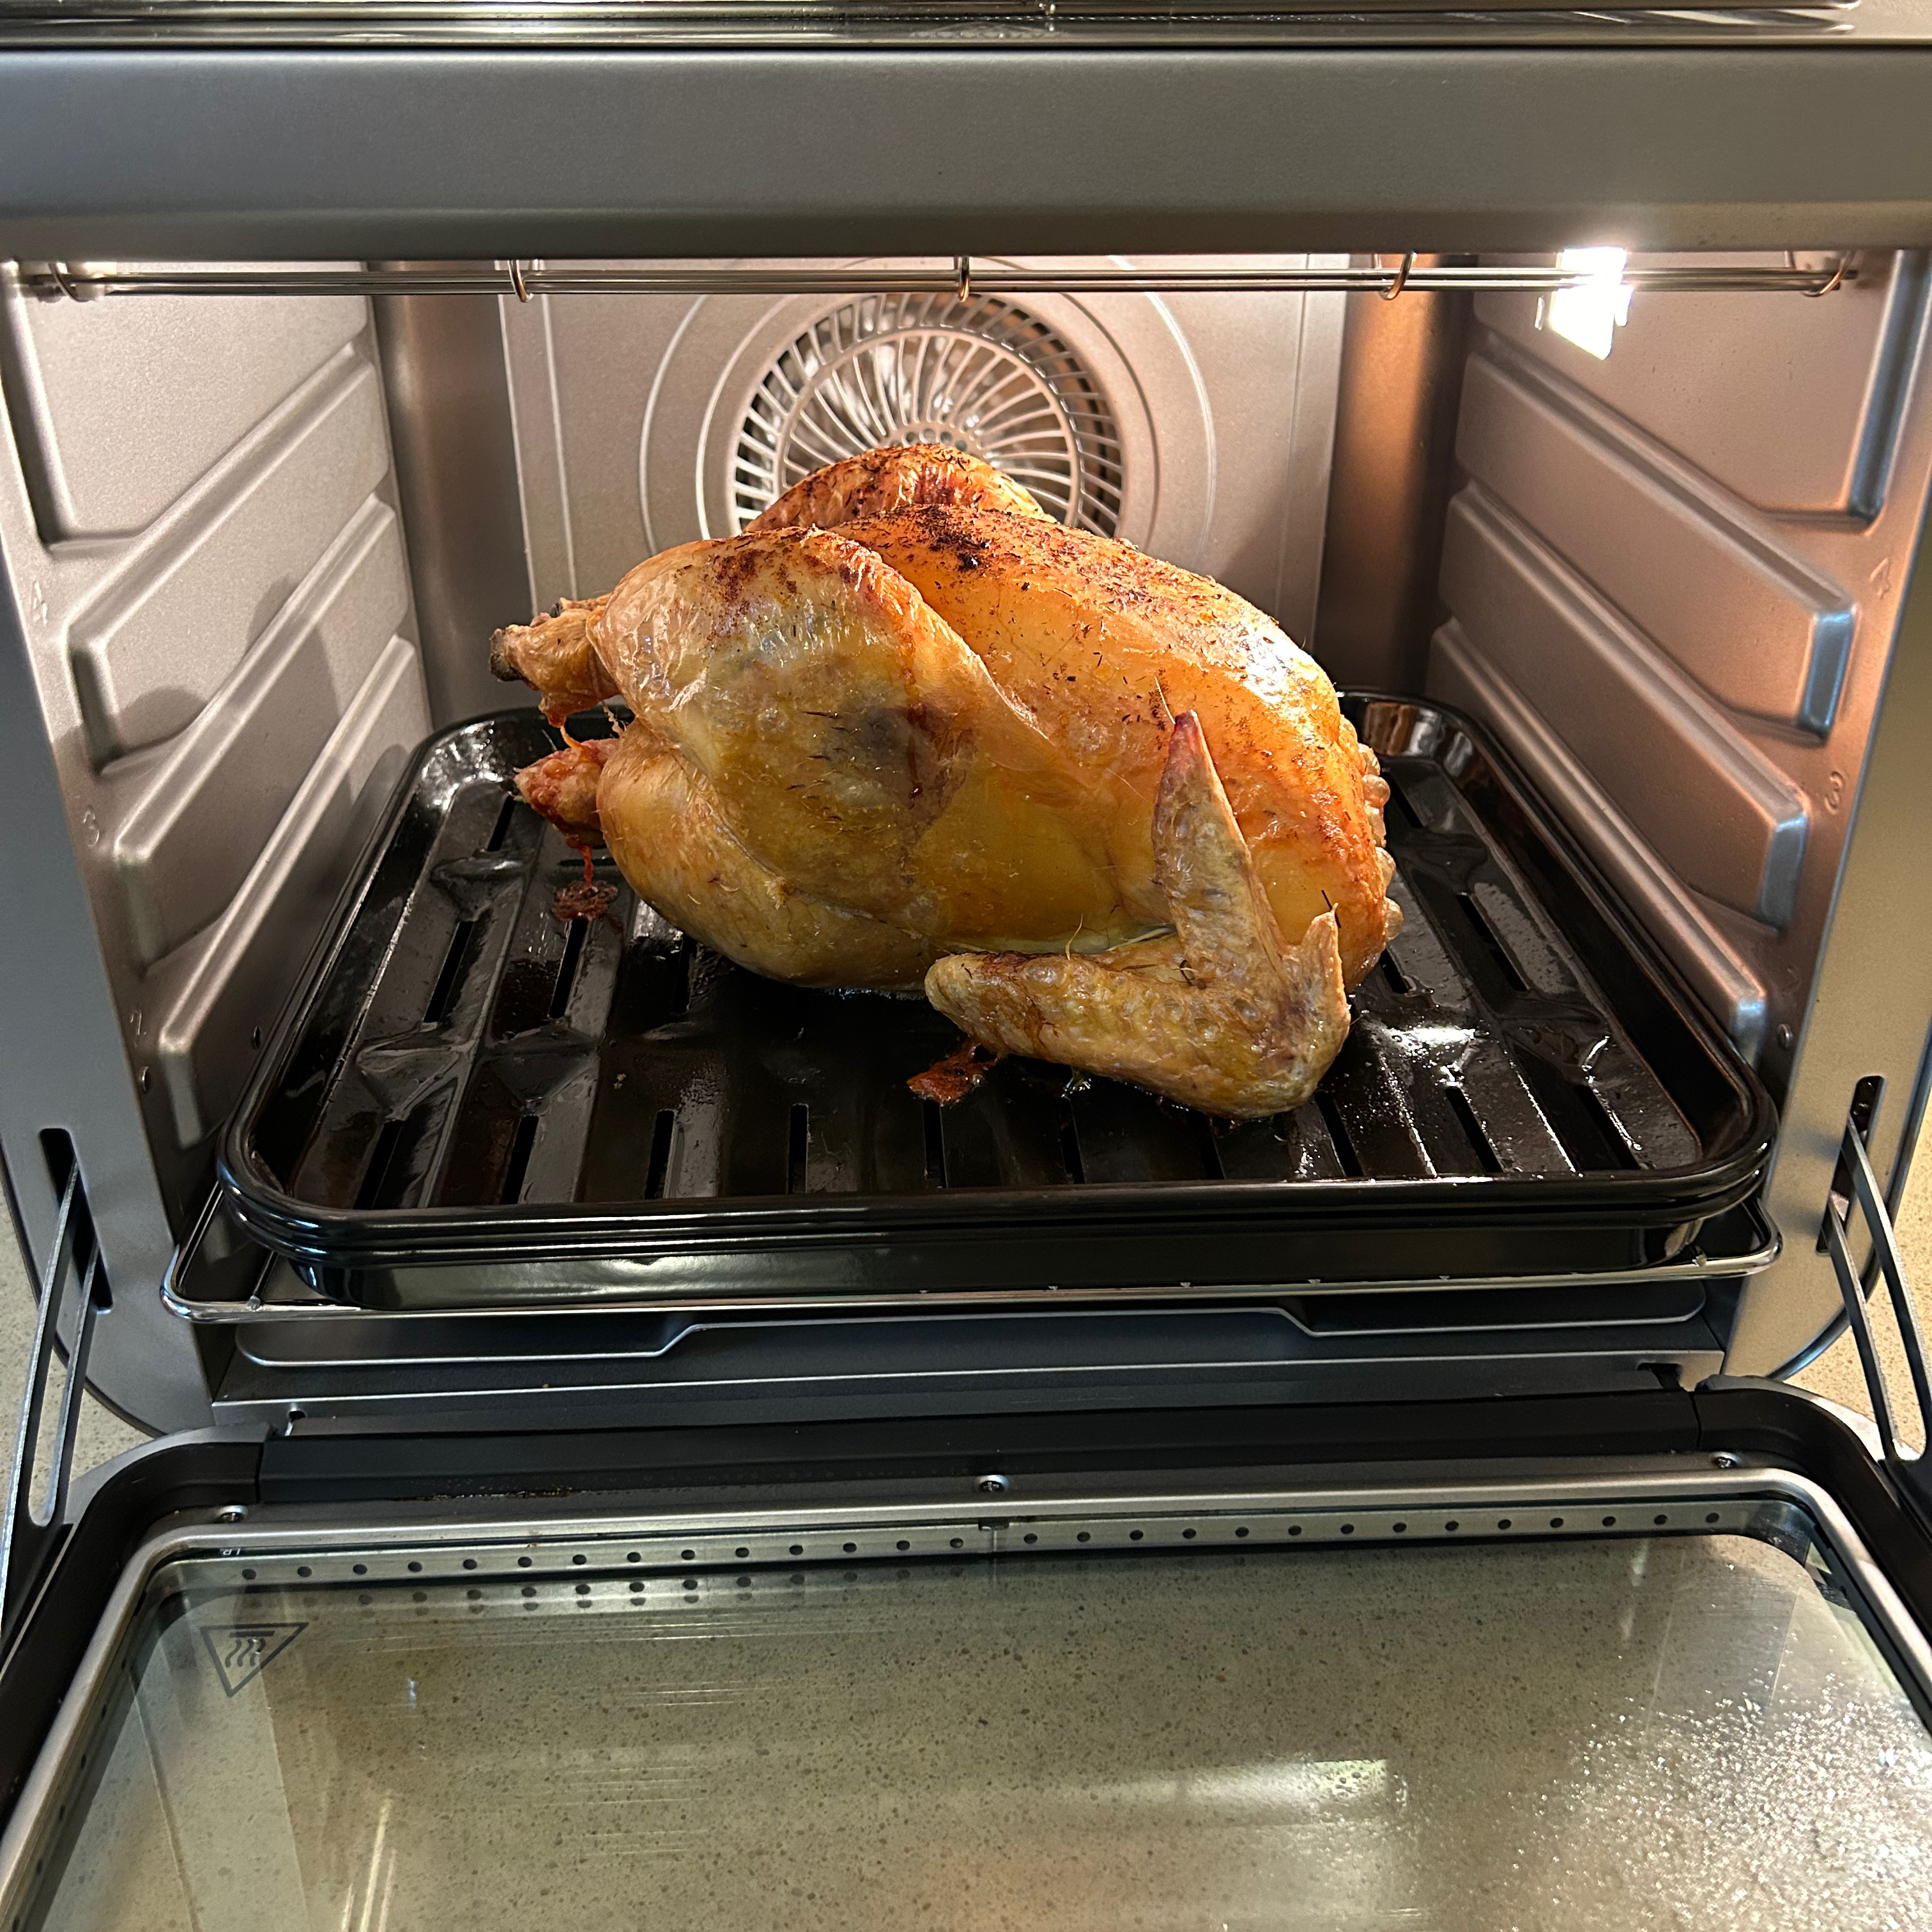
There was plenty of space for the whole 1.9kg chicken, although not enough space above it to slide a second tray in on the top shelf level. The guide said 50 - 60 minutes for this size chicken so I set the timer to 60 minutes.

I checked it with a meat probe after 50 minutes and it was thoroughly cooked through. The skin was an even golden brown colour all over and super crisped. The meat underneath was tasty and succulent.
Bake function
Having spotted a recipe for quiche in the recipe booklet, I felt inspired to bake a quiche. I didn’t use the recipe provided, but did follow the directions for timings, shelf level and the temperature setting. With some of the leftovers from the previous day, I made a roasted red pepper, onion, and feta quiche using homemade pastry.
I blind baked the pastry for 15 minutes, then removed the baking paper and popped it back in for a further five minutes. I turned the temperature down for this second bit and it was good to discover that both the time and temperature can be adjusted at any point during cooking, which is helpful. Once filled with the eggy feta and pepper mixture, I baked it until the egg was set, which took 20 minutes.
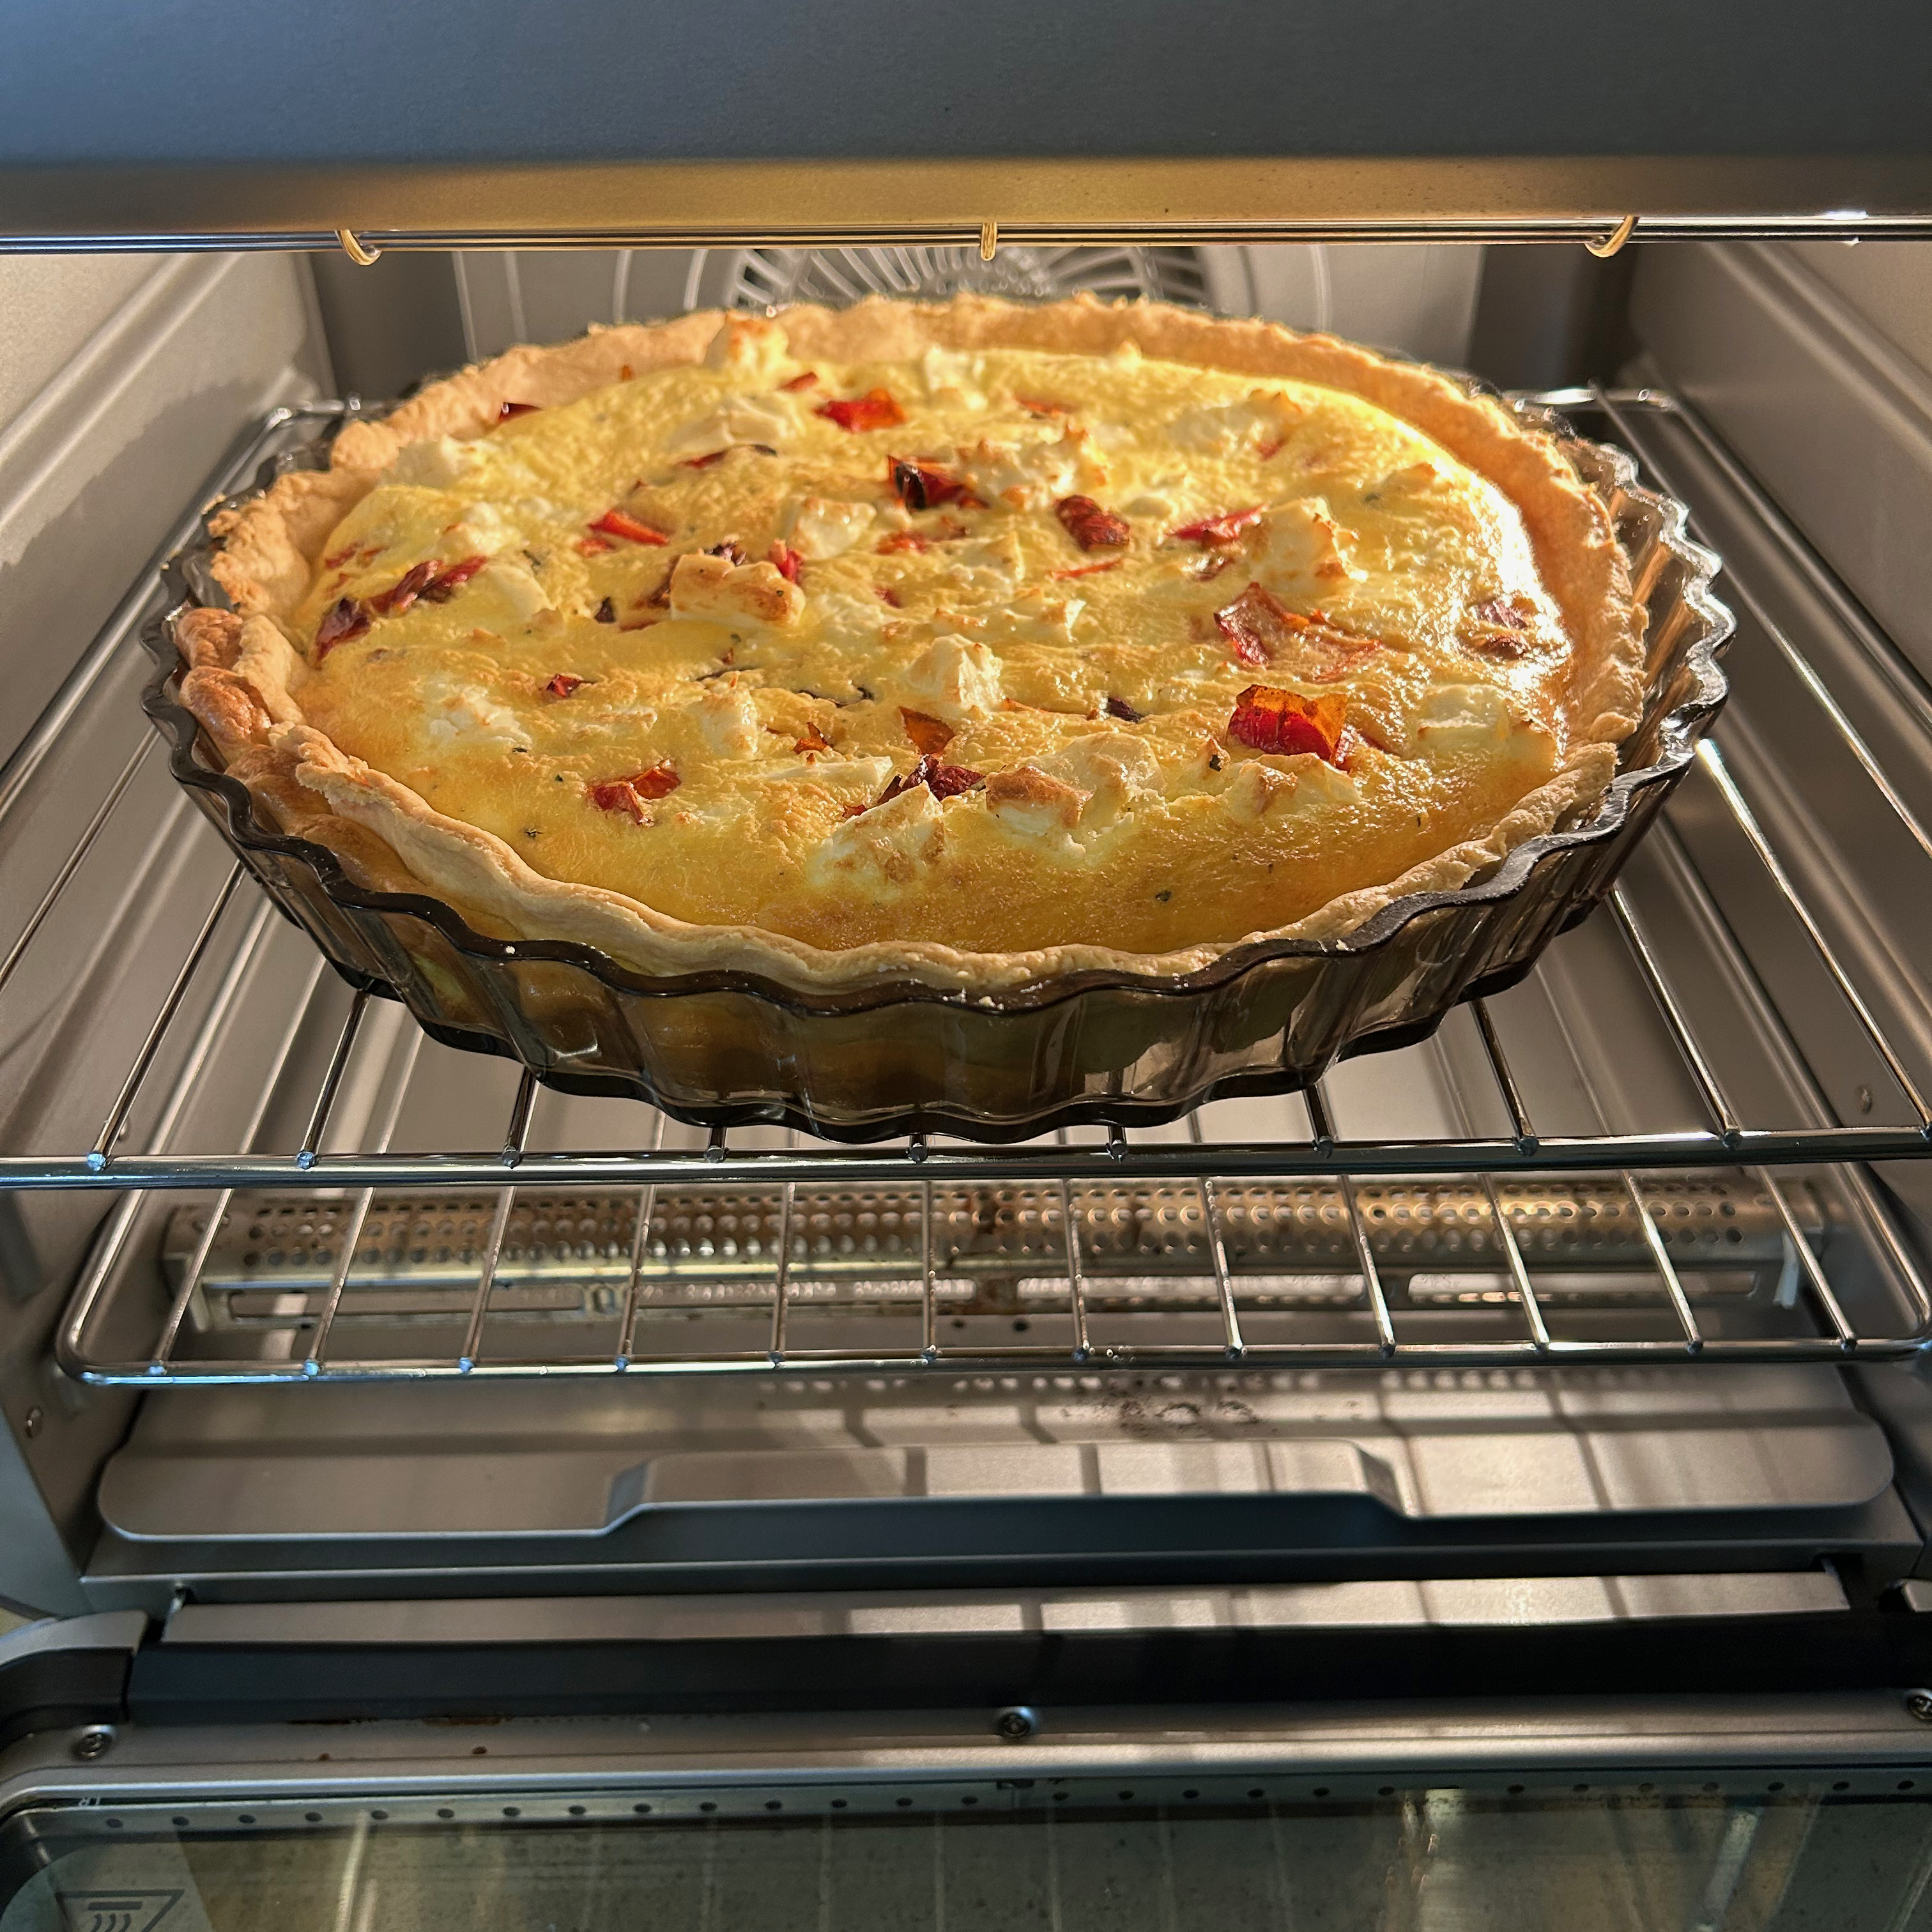
The top of the quiche wasn’t evenly browned. It was a tad darker on the half closest to the door, while the half at the back was paler. I’m nitpicking, and it wasn’t a big deal for the quiche. But if you’re baking something like a cake that needs to be evenly browned, you’ll probably have to give it a turn during cooking.
Reheat function
I ate the quiche over the following couple of days. Each time I warmed it using the reheat function at 120C for 10 minutes. This was enough to gently warm the quiche and ensure the pastry tasted crisp and freshly baked.
Air Fry function
For a true test of the air fry function, I chose to air fry home made chips alongside frozen breaded fish. There’s a recipe for fish and chips in the recipe book, but it involves making a breadcrumb coating for raw fish and since my fish was frozen, I used the cooking times as a rough guide.
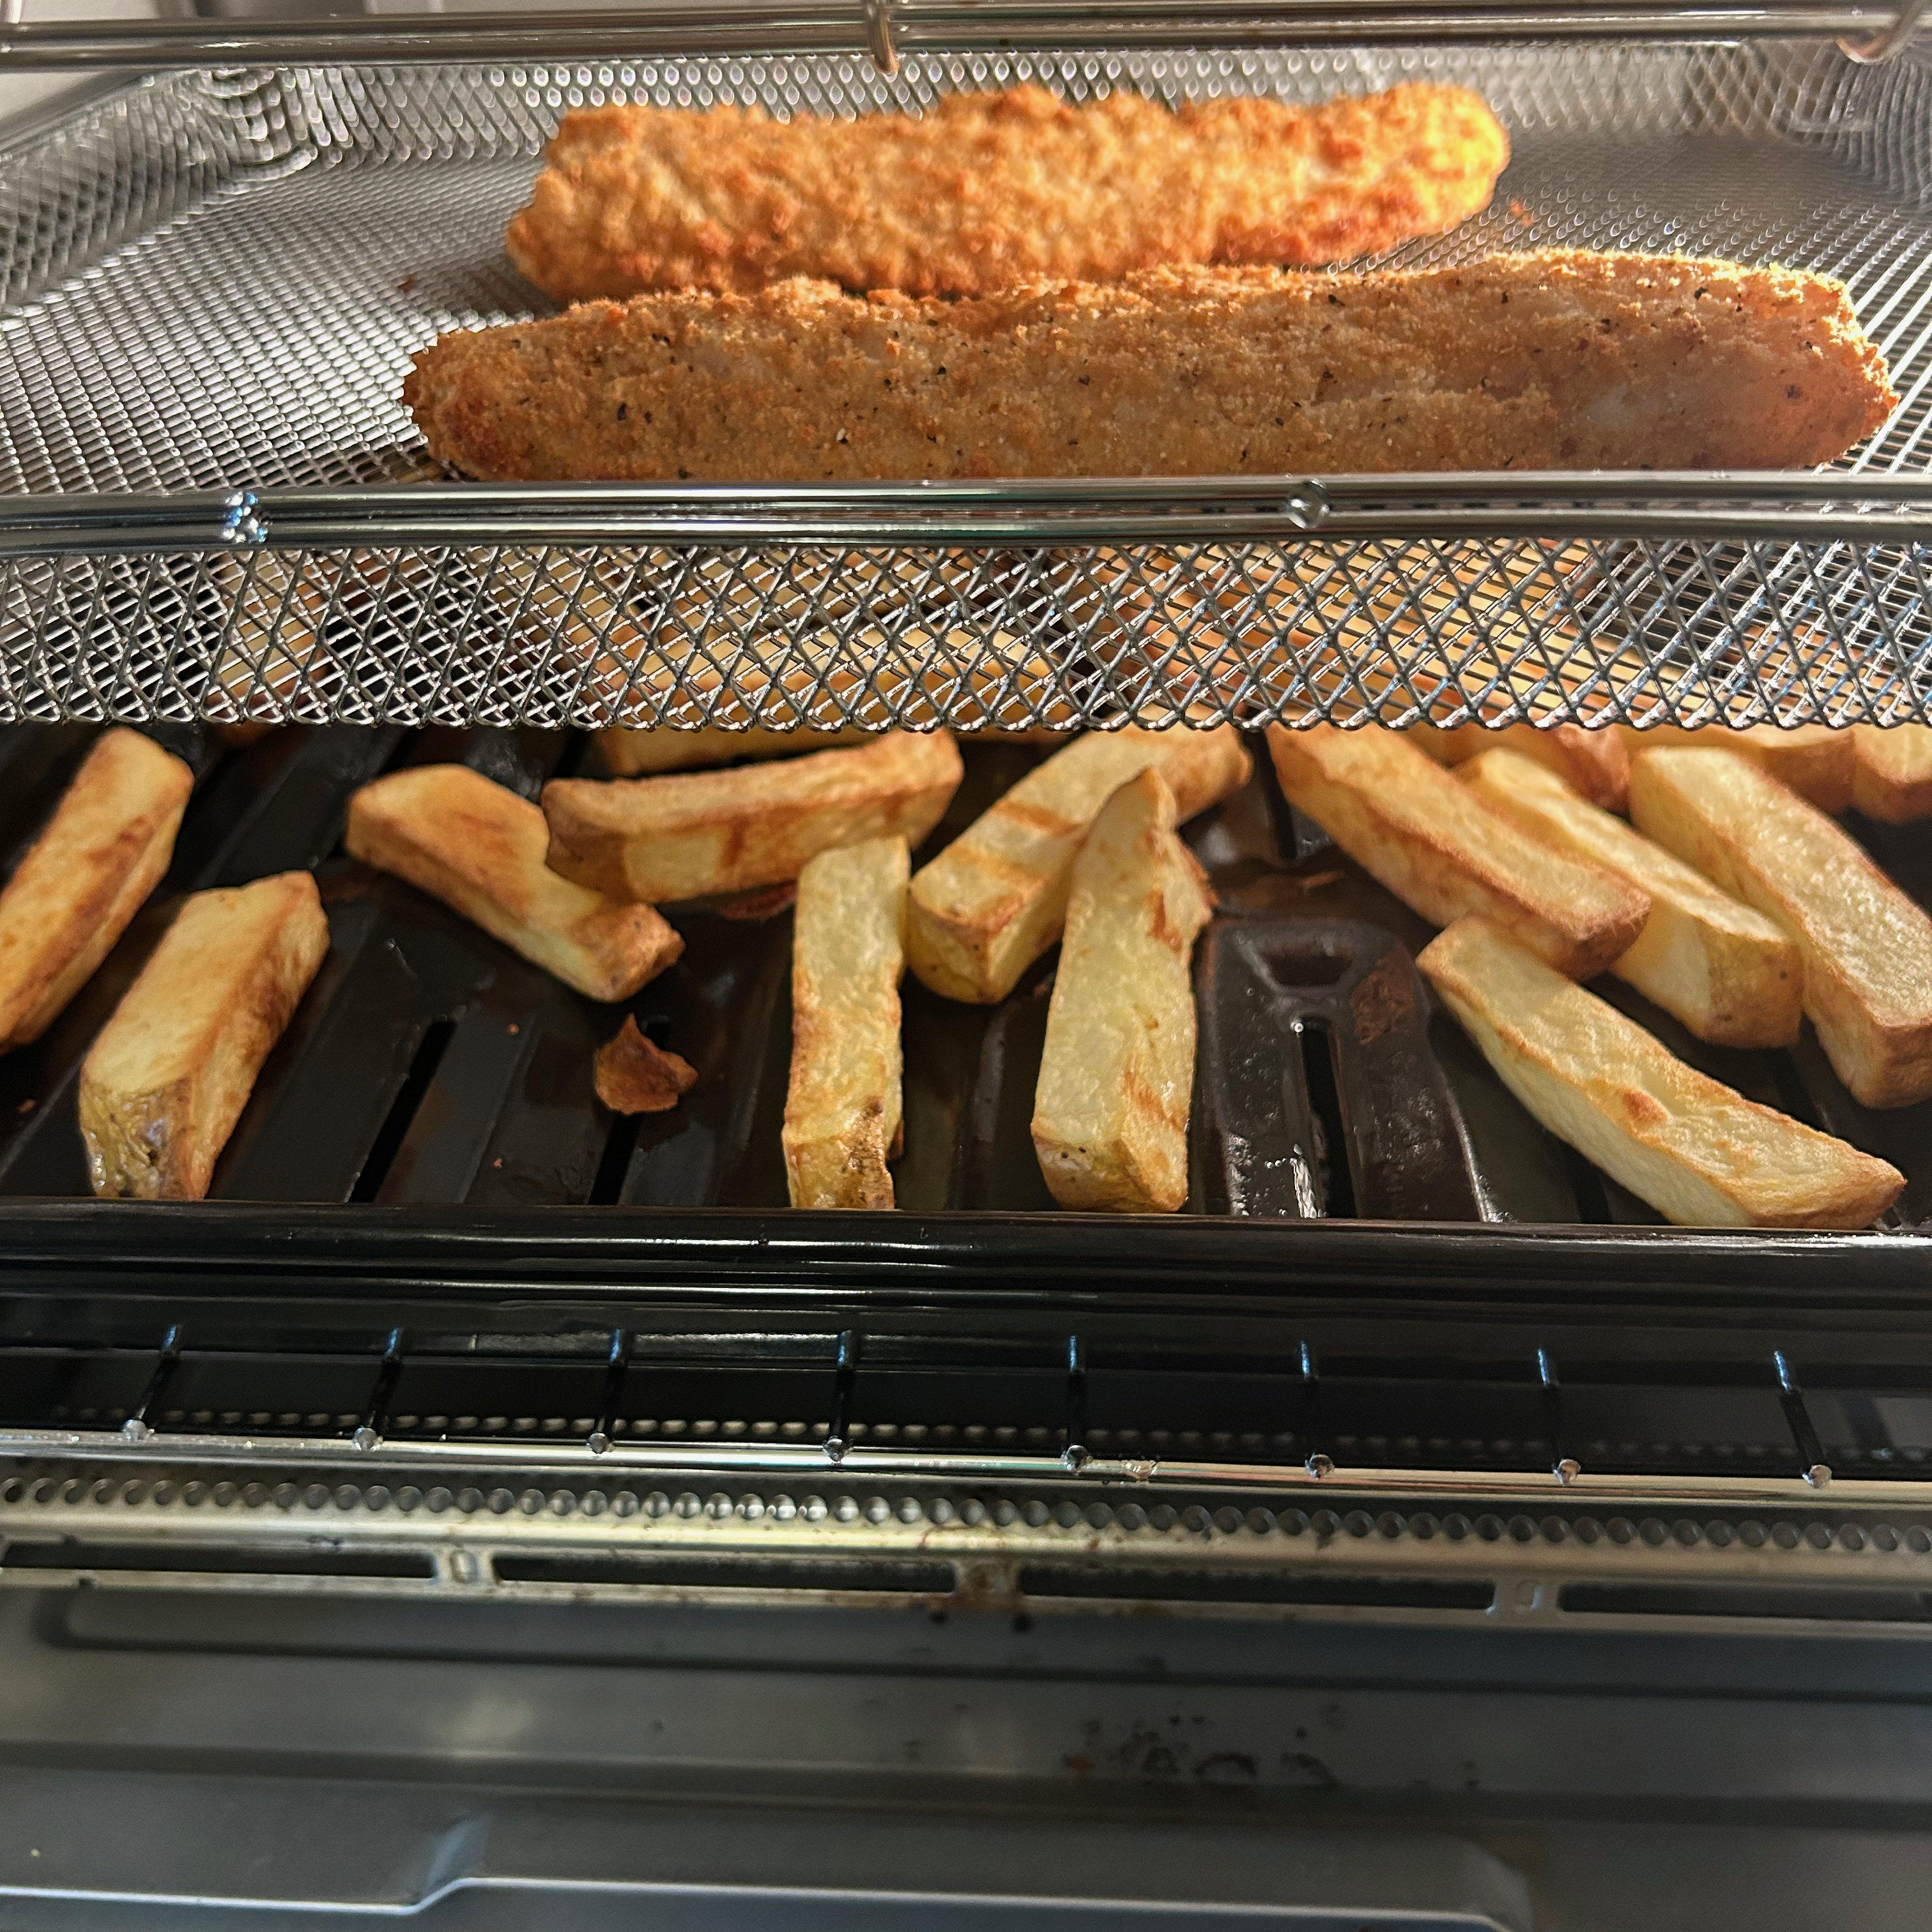
Having soaked my raw chips in cold water for 30 minutes and then dried them, I coated them in oil while the air fryer completed its 90 second preheat to 200C. As suggested in the recipe, I put the chips on the roasting tray, so that the fish could go in the air fry basket.
I set the timer to 35 minutes and put the chips on the second shelf from the bottom. Then, 15 minutes later I put the frozen fish onto the top shelf position. I turned the chips with a spatula a couple of times, and since I’d oiled the tray, they didn’t stick.
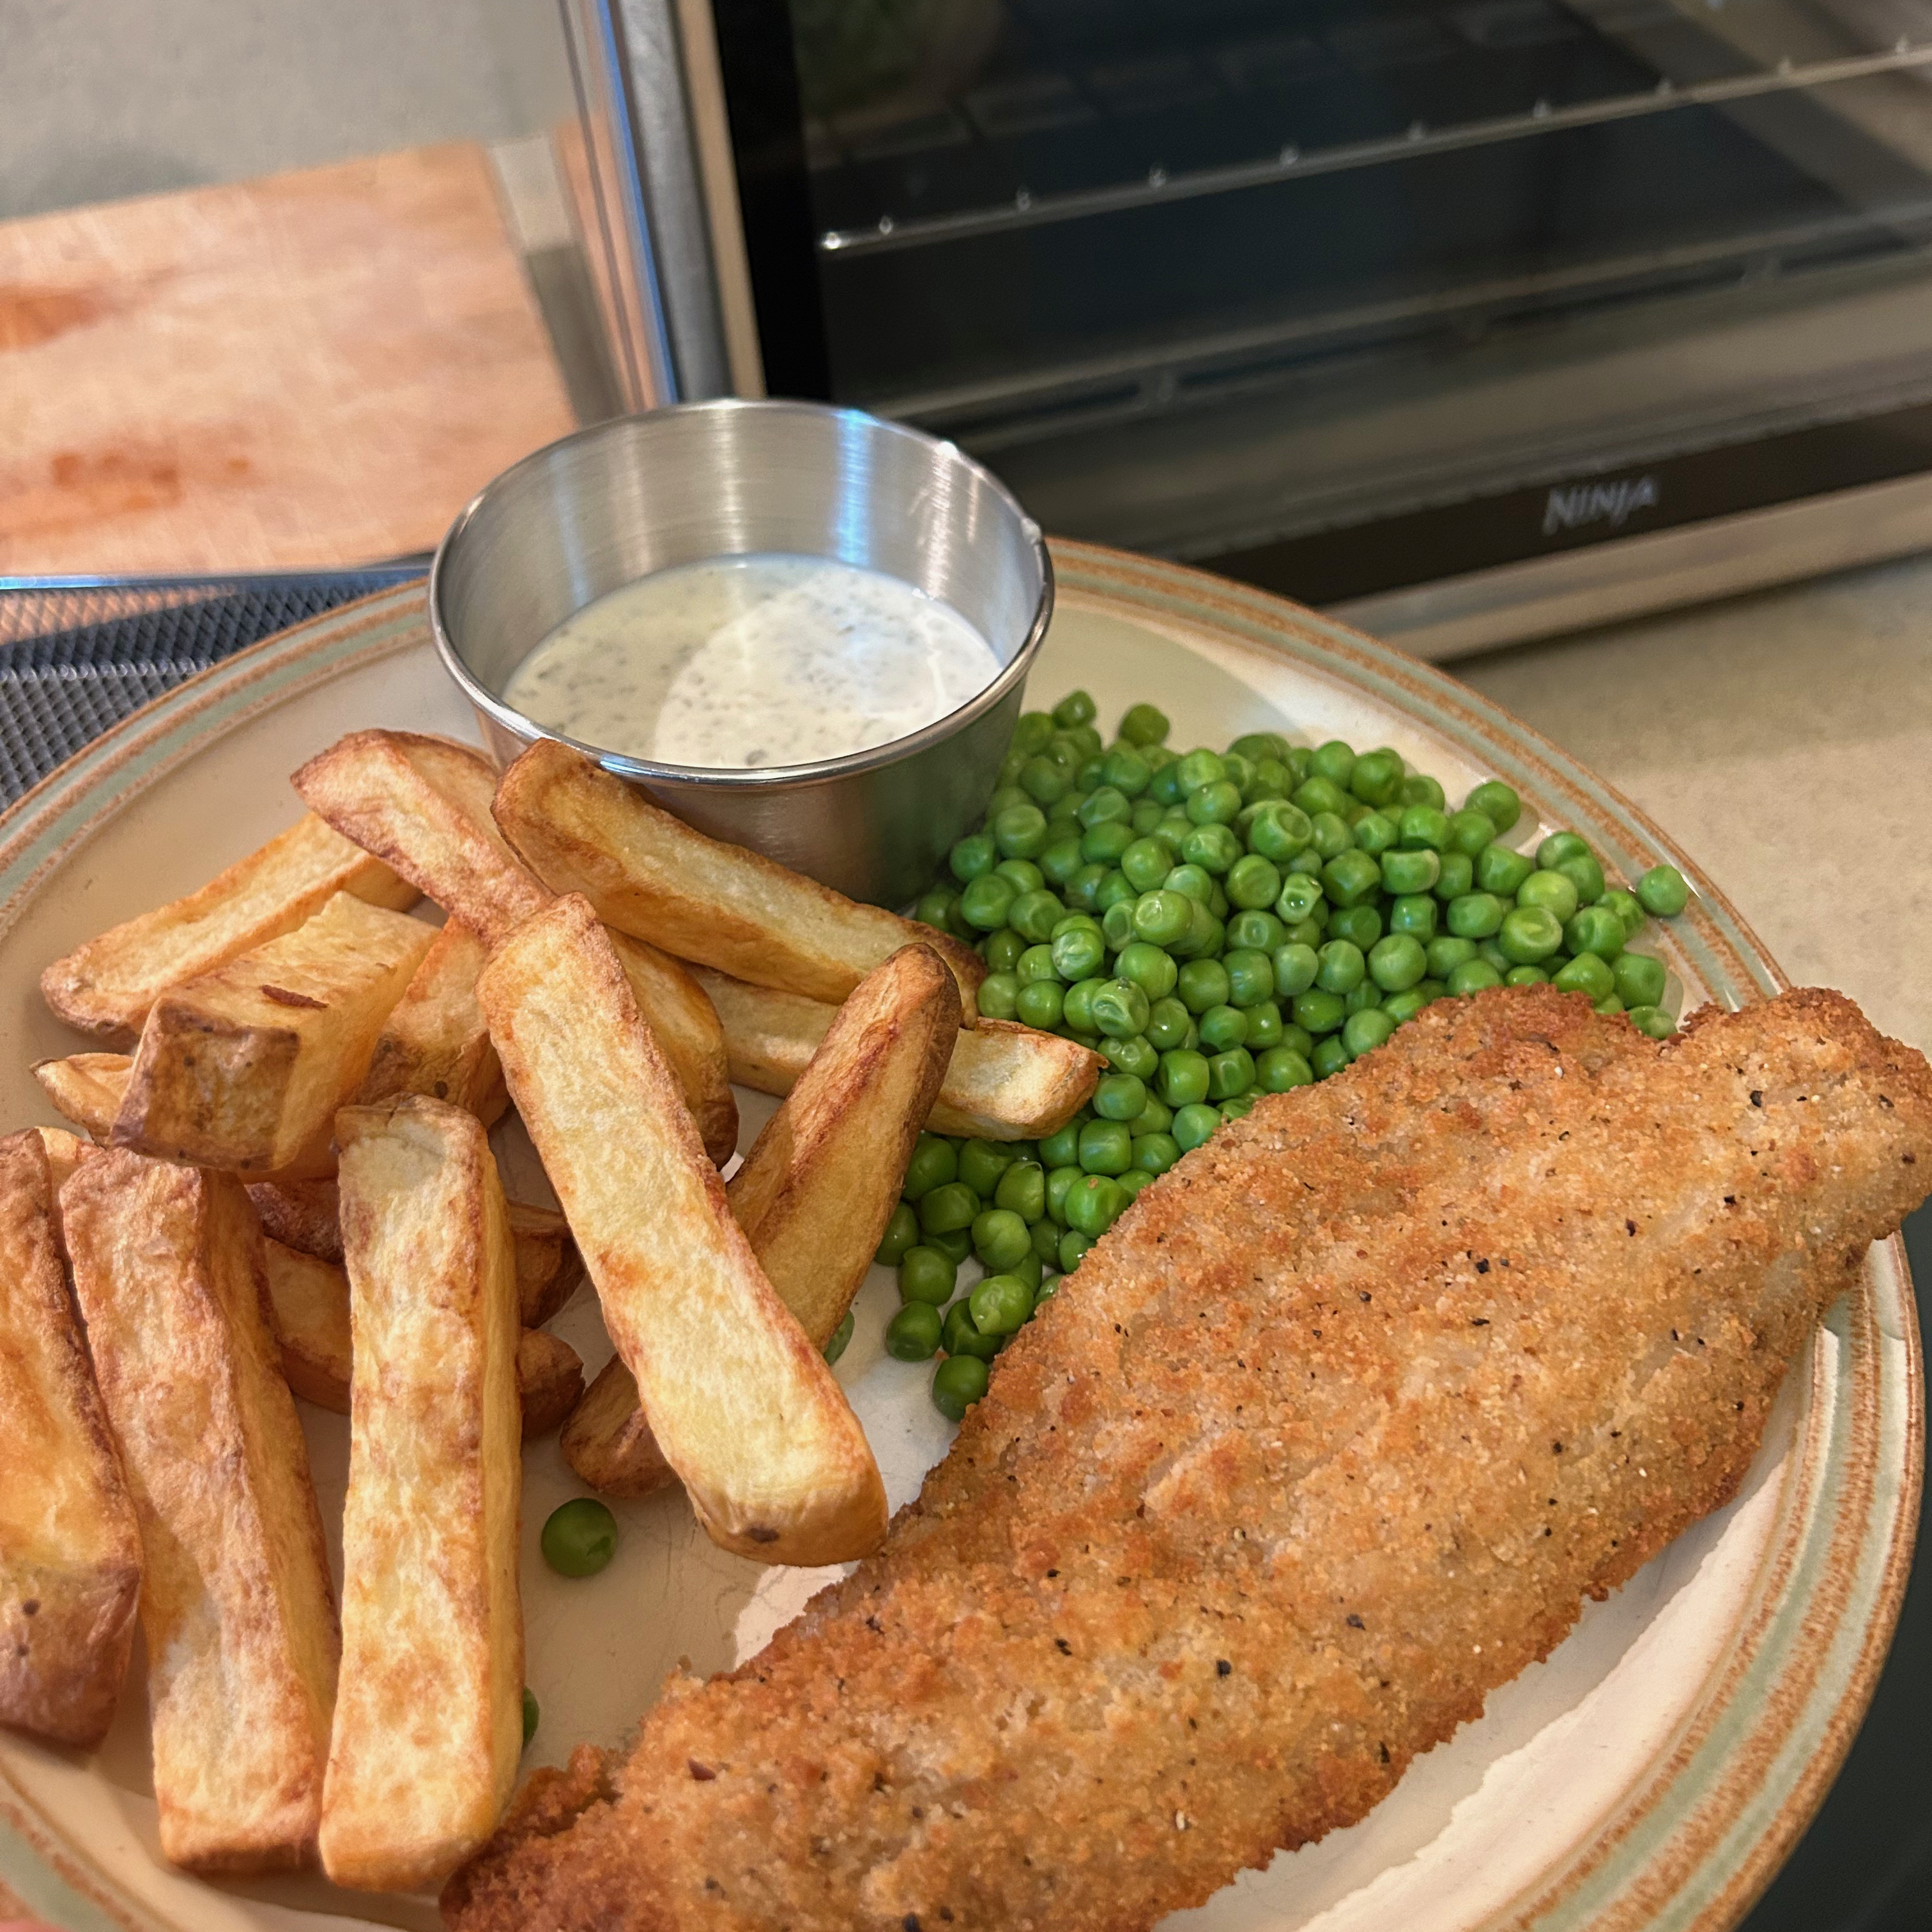
When the timer went off, the chips were cooked and golden. The fish was also cooked and crisped on both sides. But, the chips weren't quite as crisp and the fish crumb wasn't as crunchy as they are in my usual Ninja air fryer. But in my experience, countertop air fryer ovens like this are rarely able to produce quite the same results as a dedicated air fryer.
Toast function
You won’t be surprised to hear that to test this setting I made toast. And there’s not much to tell. It does the job of the best toaster in an oven. My thick cut slices of sourdough were frozen, so at the end of toasting, they weren’t quite done and I started it again. But at the end of the second toasting, they were crisped and lightly browned on both sides without having to turn them. Job done.

Grill function
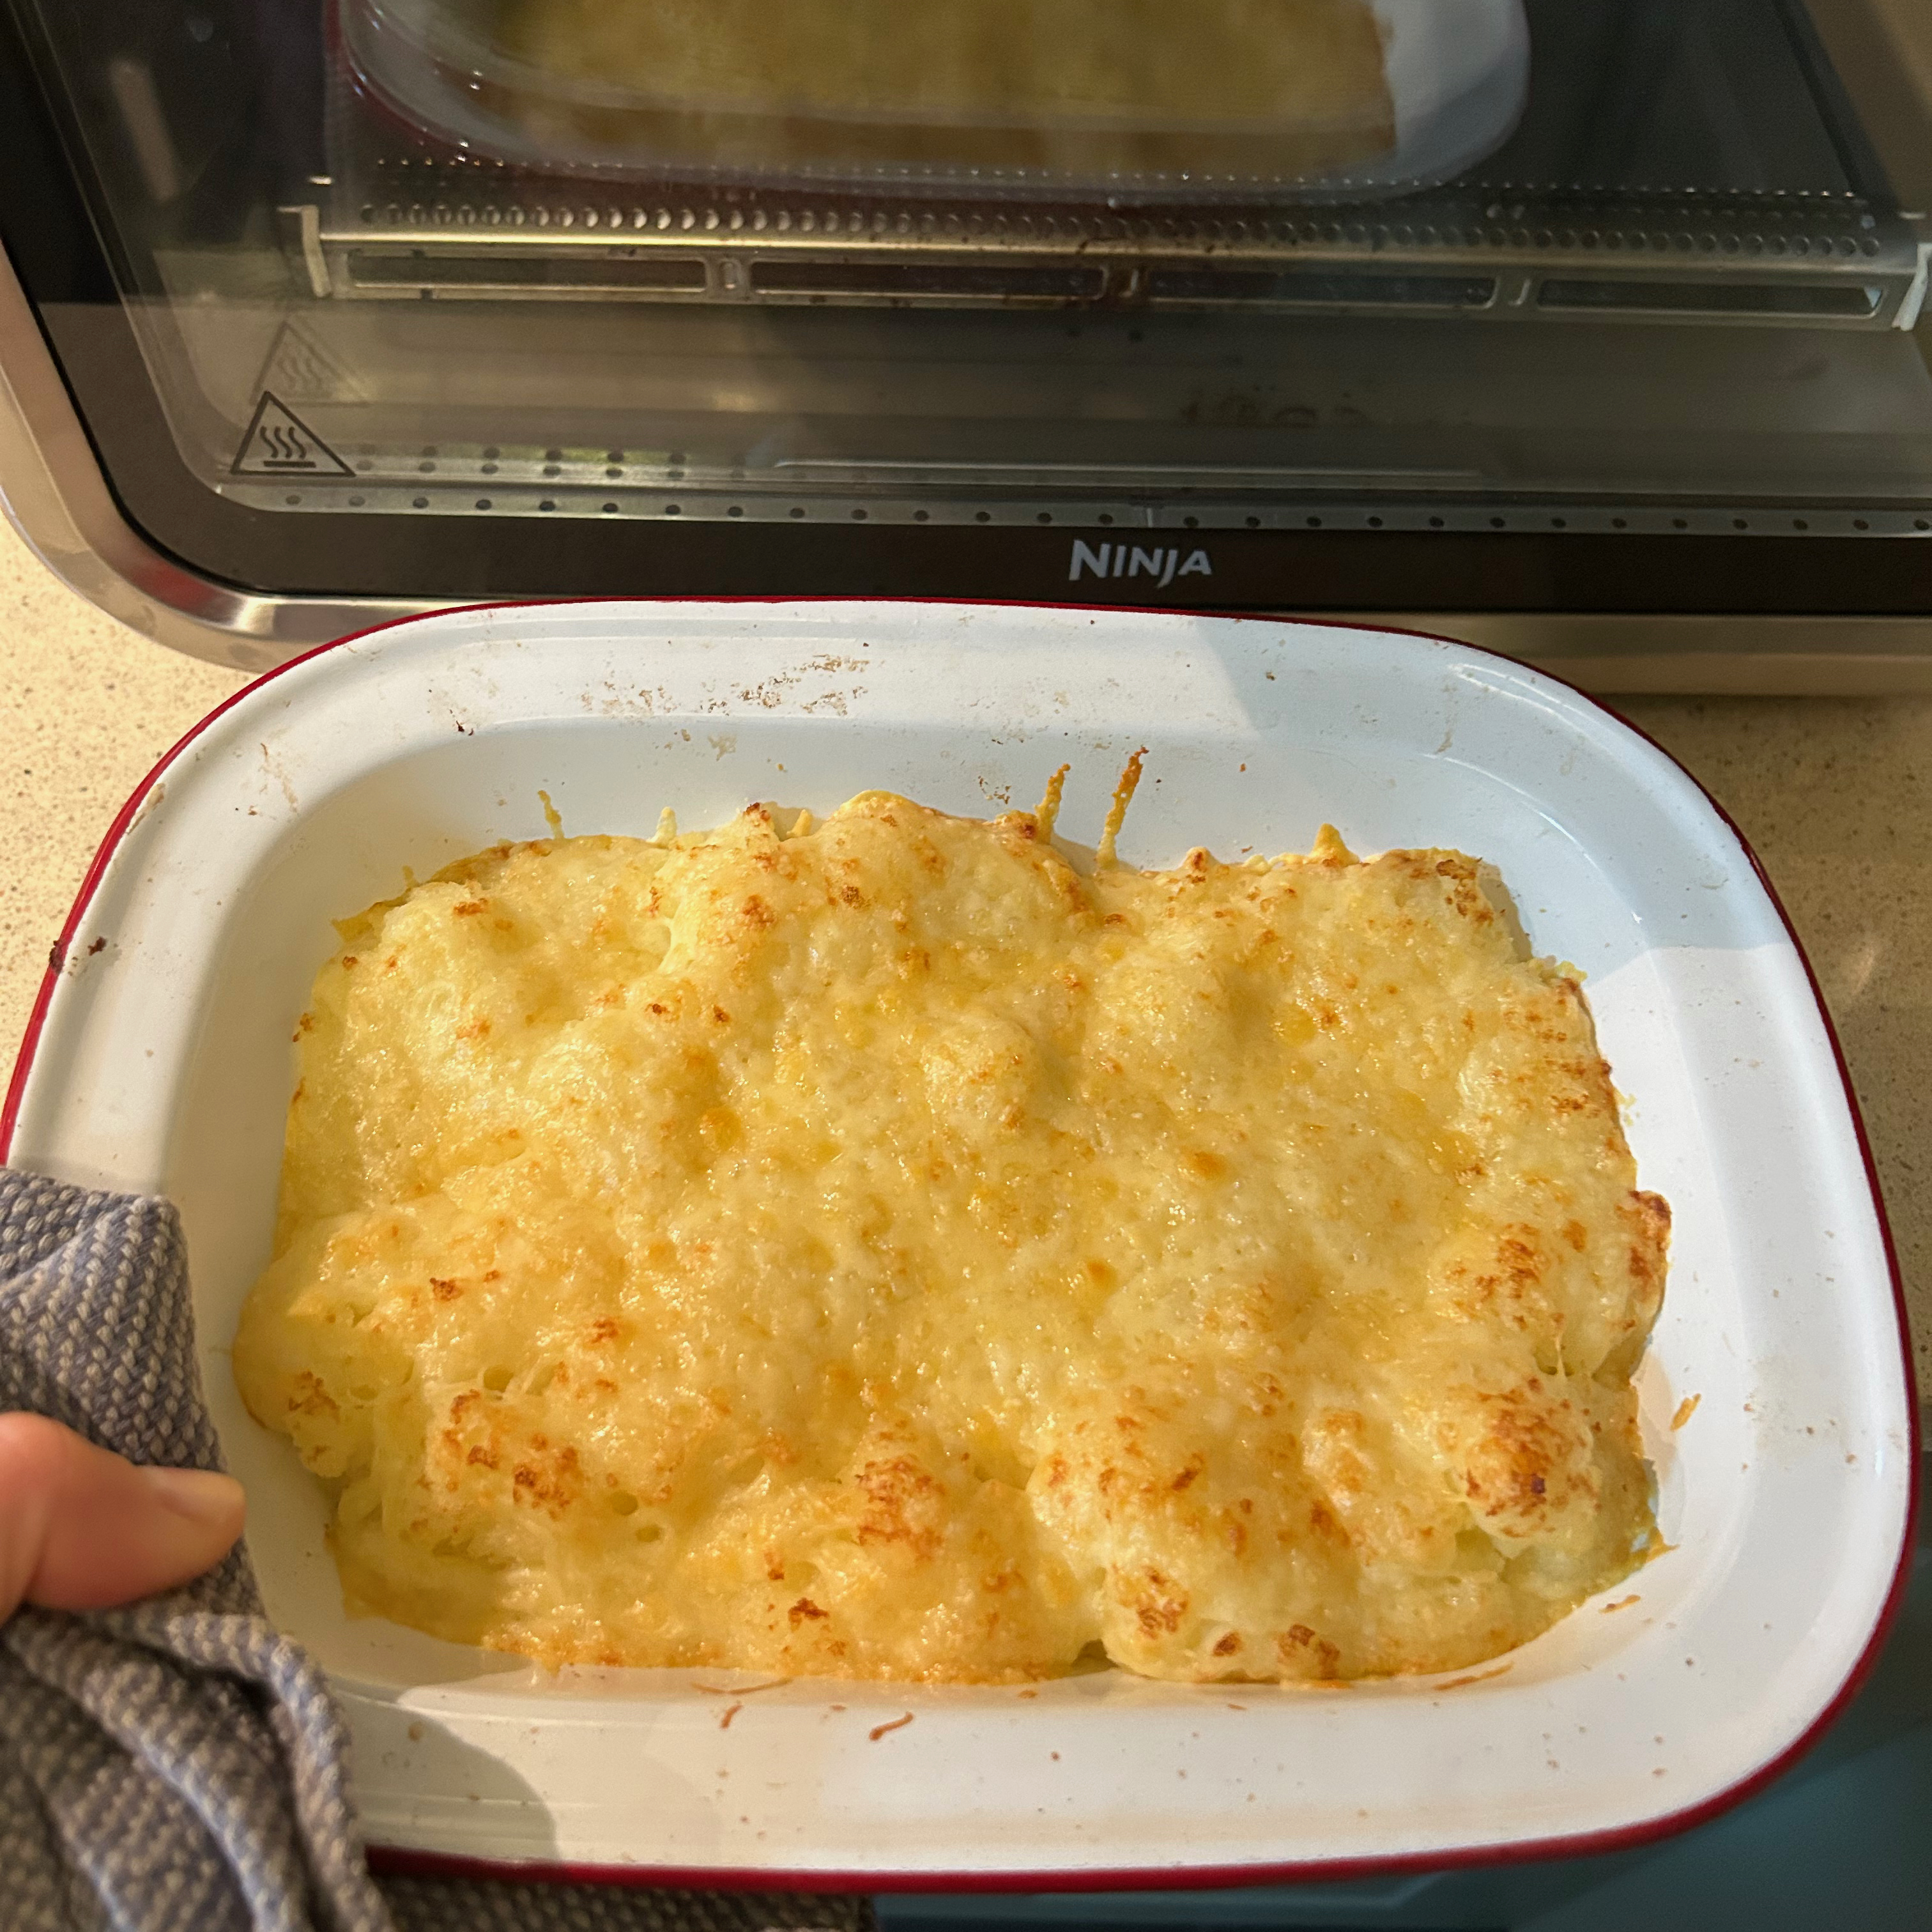
I used the grill to brown the cheesy topping on a dish of garlic cheesy mash. The grill doesn’t preheat, so I put it straight in on the higher of the two grill temperature settings. And in just seven minutes the cheese was golden and bubbling, so no complaints there.
Pizza function
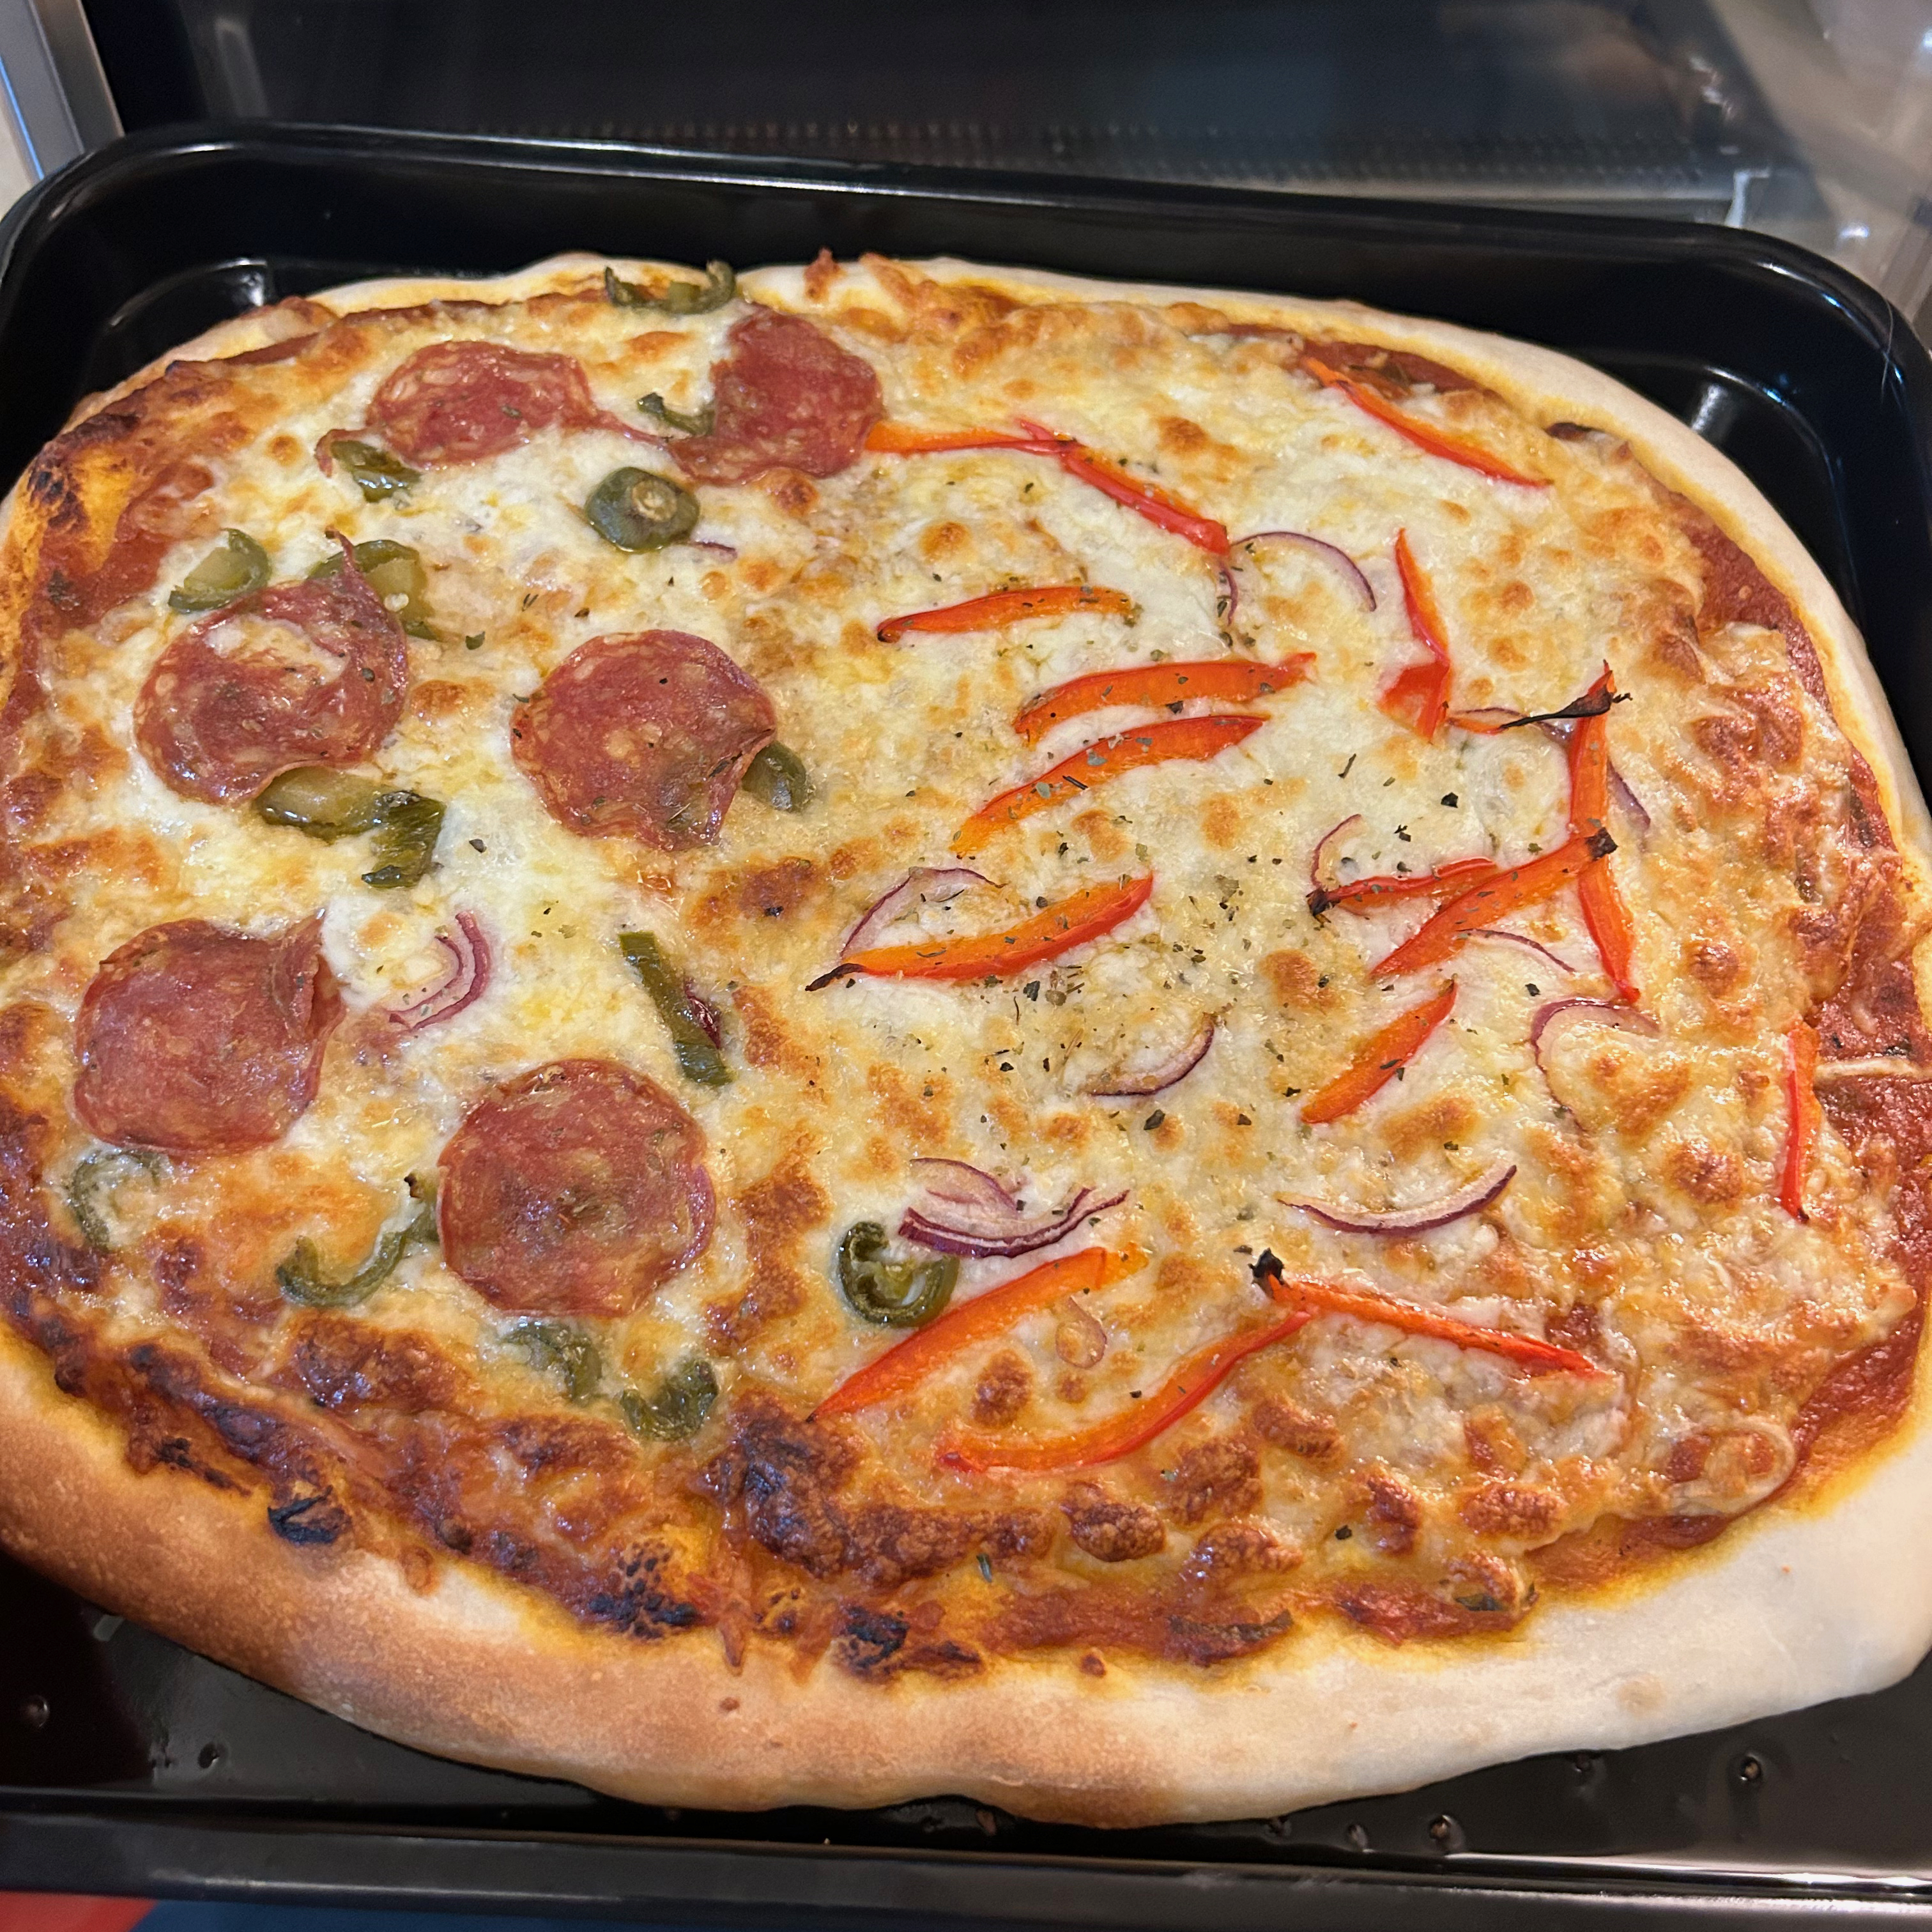
I made a homemade pizza and stretched my dough onto the oiled baking tray before putting it into the preheated oven at 220C on the pizza setting. It cooked in 12 minutes. The dough was cooked through, but I would have preferred it crisper on the bottom - though having tested some of the best pizza ovens, I think my pizza bar is pretty high these days!

The toppings cooked and the cheese melted nicely and browned well. Though the crust browned unevenly, with the front left corner browning far more than the rest. Like my quiche, I think turning the tray around halfway through cooking would have been beneficial and given a more even result. Nevertheless, it was tasty and quick.
One very important thing to note is that the exterior of the oven can get very hot and reached up to 90C on the top when it was roasting the chicken. This is far too hot to touch, and you’ll have to take extra care around it.
How does it compare to other countertop ovens?
A similar multi-functional air fryer oven that I’ve recently reviewed is the Tefal Easy Fry. It’s a bit smaller with slightly fewer cooking functions, but it’s also £20 cheaper so it’s worth considering if you want something that’s not quite as big as the Ninja.
If you’re looking for a roomy air fryer, I also think you should consider the Ninja Foodi FlexDrawer. It’s one of the largest air fryers you can buy and offers a spacious 10.4 litre cooking zone that can be divided in two. While still on the chunky side, it’s compact in comparison to this multifunctional oven, yet offers roast and bake functions so is also a multifunctional appliance.
Cleaning
Call me lazy if you like, but I was annoyed that all the trays and accessories need to be hand washed. Ninja says you can put the wire racks and the air fry basket into the dishwasher, but with the caveat that they might not last as long if you do. And nothing else is dishwasher safe.
The stainless steel exterior of the oven marks very easily with greasy fingerprints and if you wipe it with a normal cloth, it’s left smeary. So you need a decent microfibre cloth to keep it looking shiny.
The inside is much like an ordinary oven, in that it gets covered in greasy splatters. The advice from Ninja is to give it a wipe after every use, which feels like overkill, but is probably going to be your best chance of keeping it clean long term.
Should you buy the Ninja Foodi 10-in-1 Multifunction Oven?
Essentially, it’s good at what it does and its performance is hard to fault. I’ve got a few grumbles like how hot it gets on the outside, and the fact that I can’t clean everything in the dishwasher. But, as far as multi-functional countertop air fryer ovens go, this is probably the best one I’ve tried.
I can absolutely see it coming in handy several days a week in large, busy households. But I guess, ultimately I think that for most 2-4 person households, a big air fryer like the Ninja FlexDrawer might suffice. It depends on what you cook as well as the volume of food you need to cook. On the whole though, if you’ve decided you need a countertop oven, this is the one to go for.