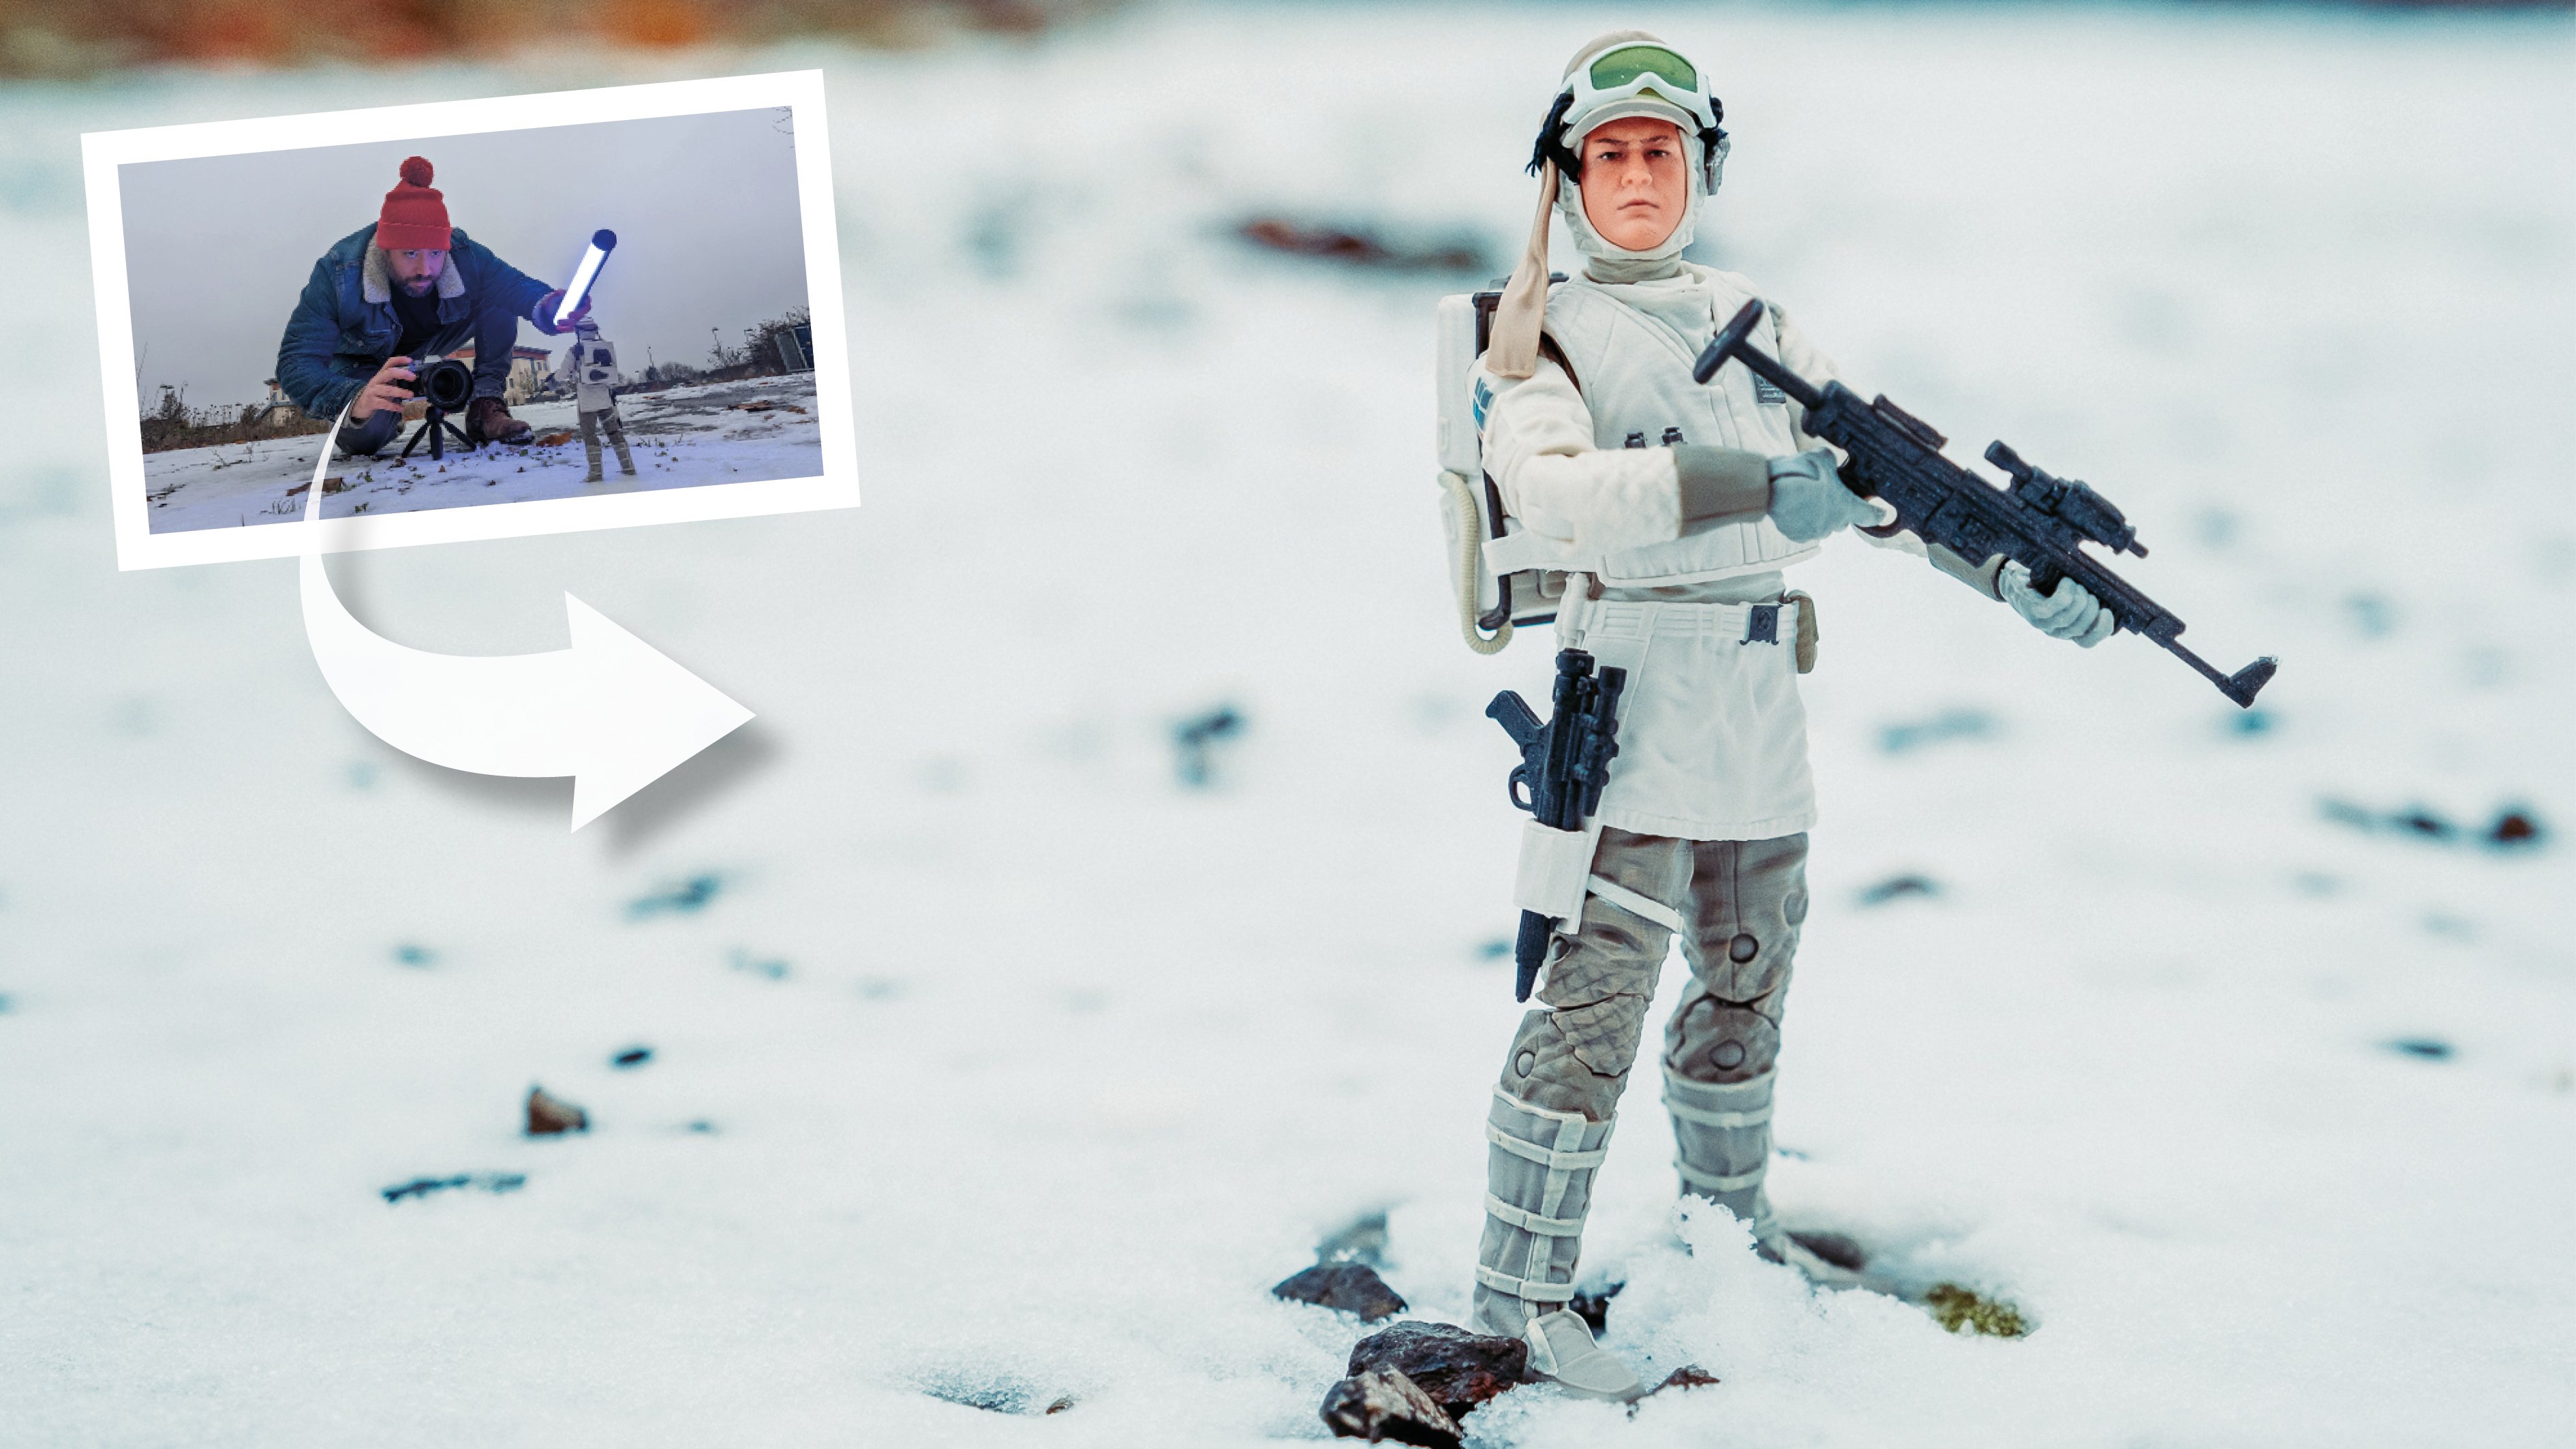
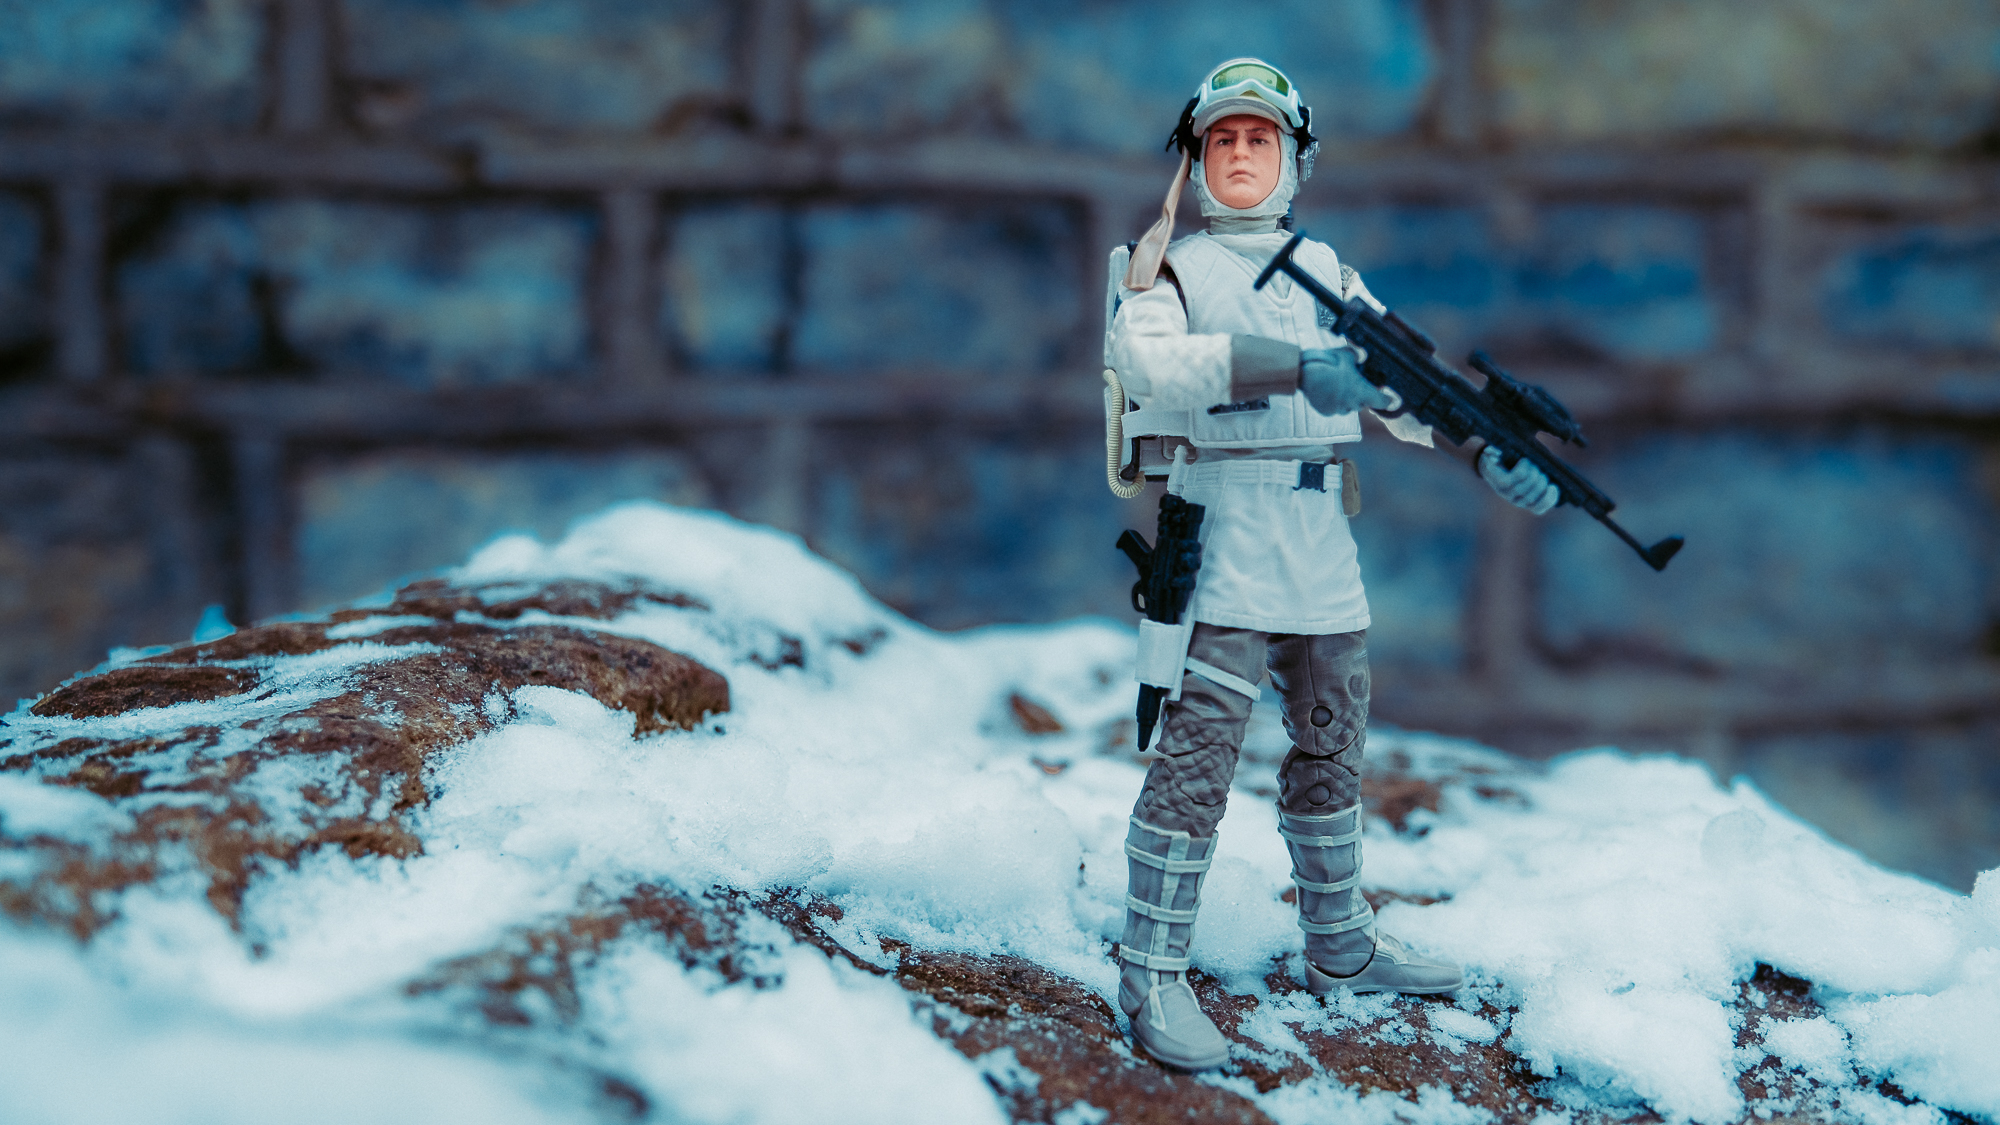
After photographing models with an indoor macro set up last year, I decided to pick up some winter-inspired figures to take advantage of a snowy situation.
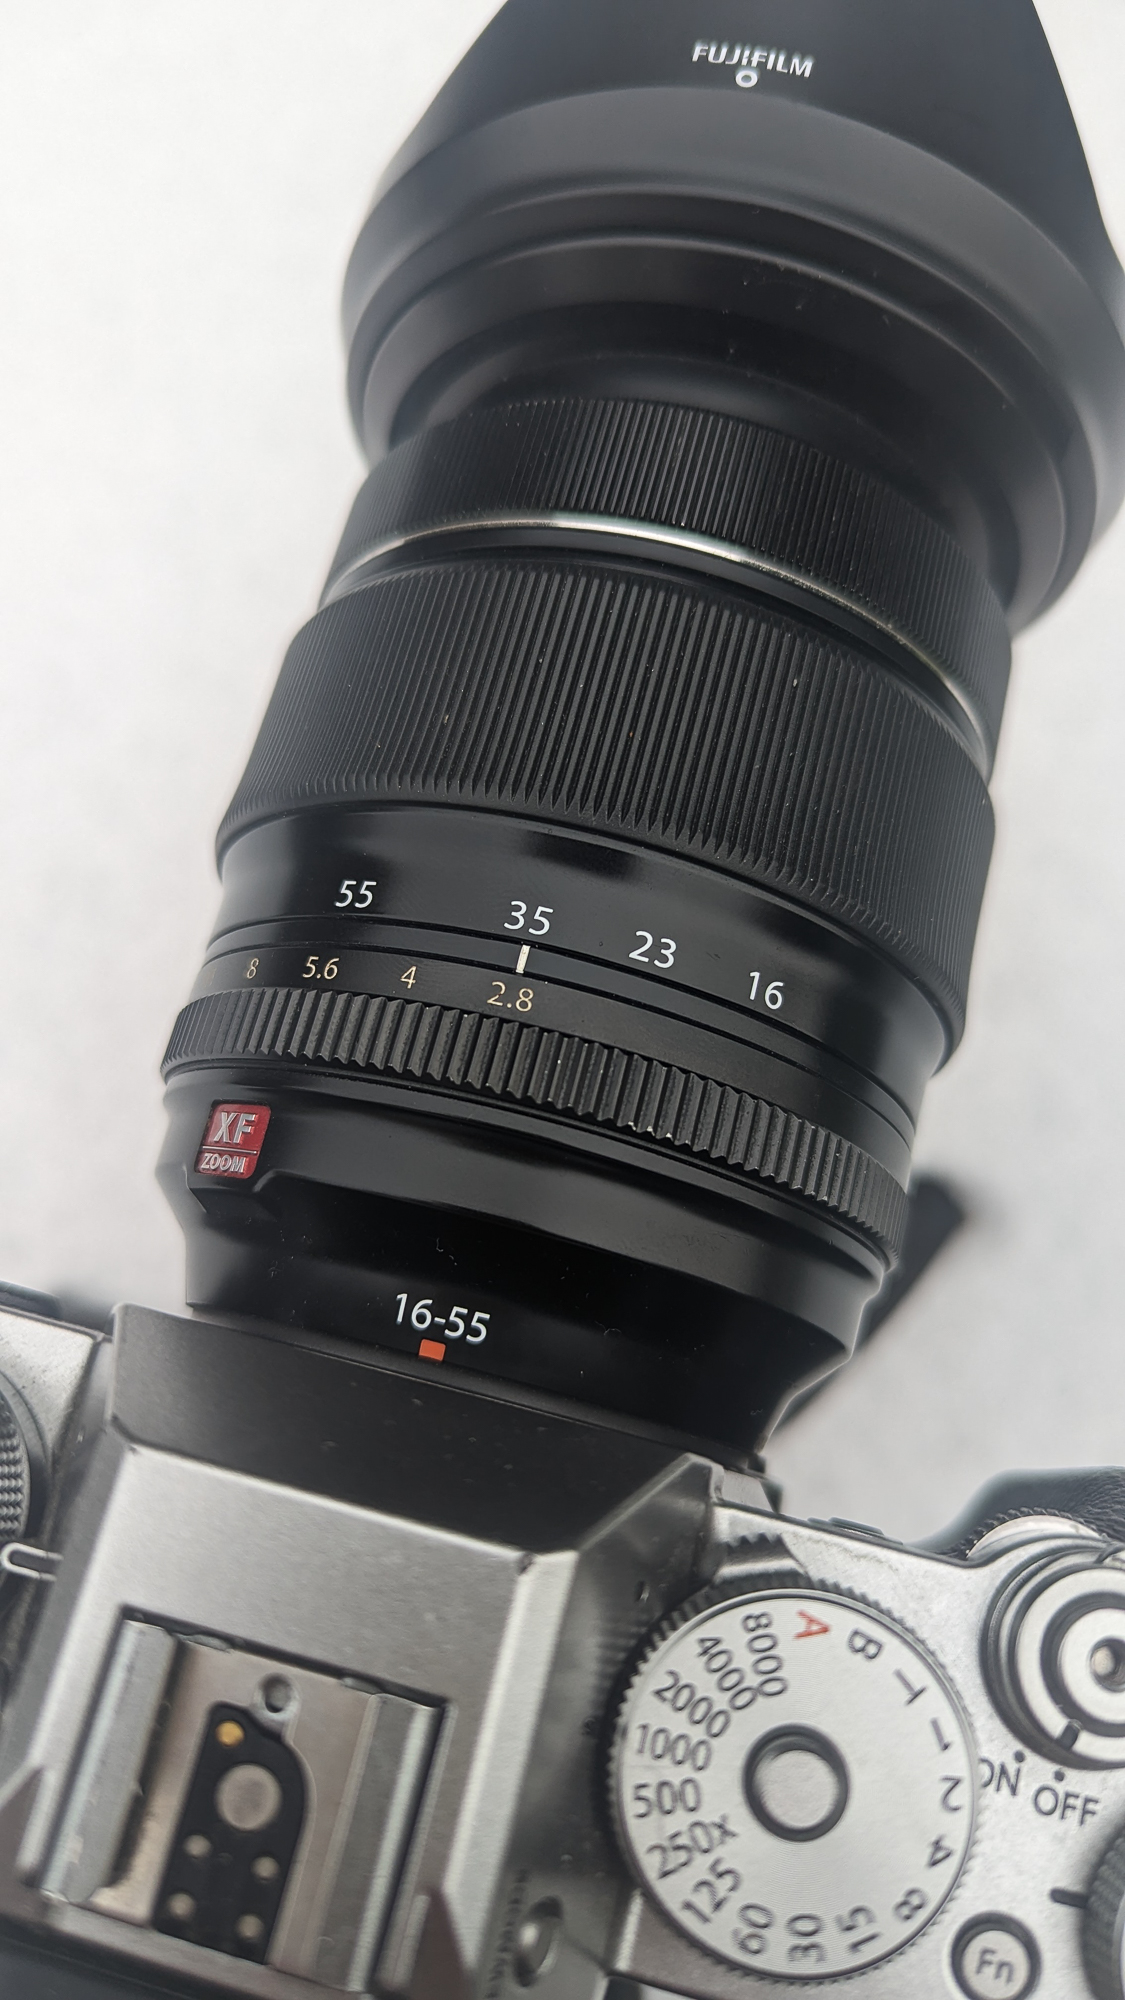
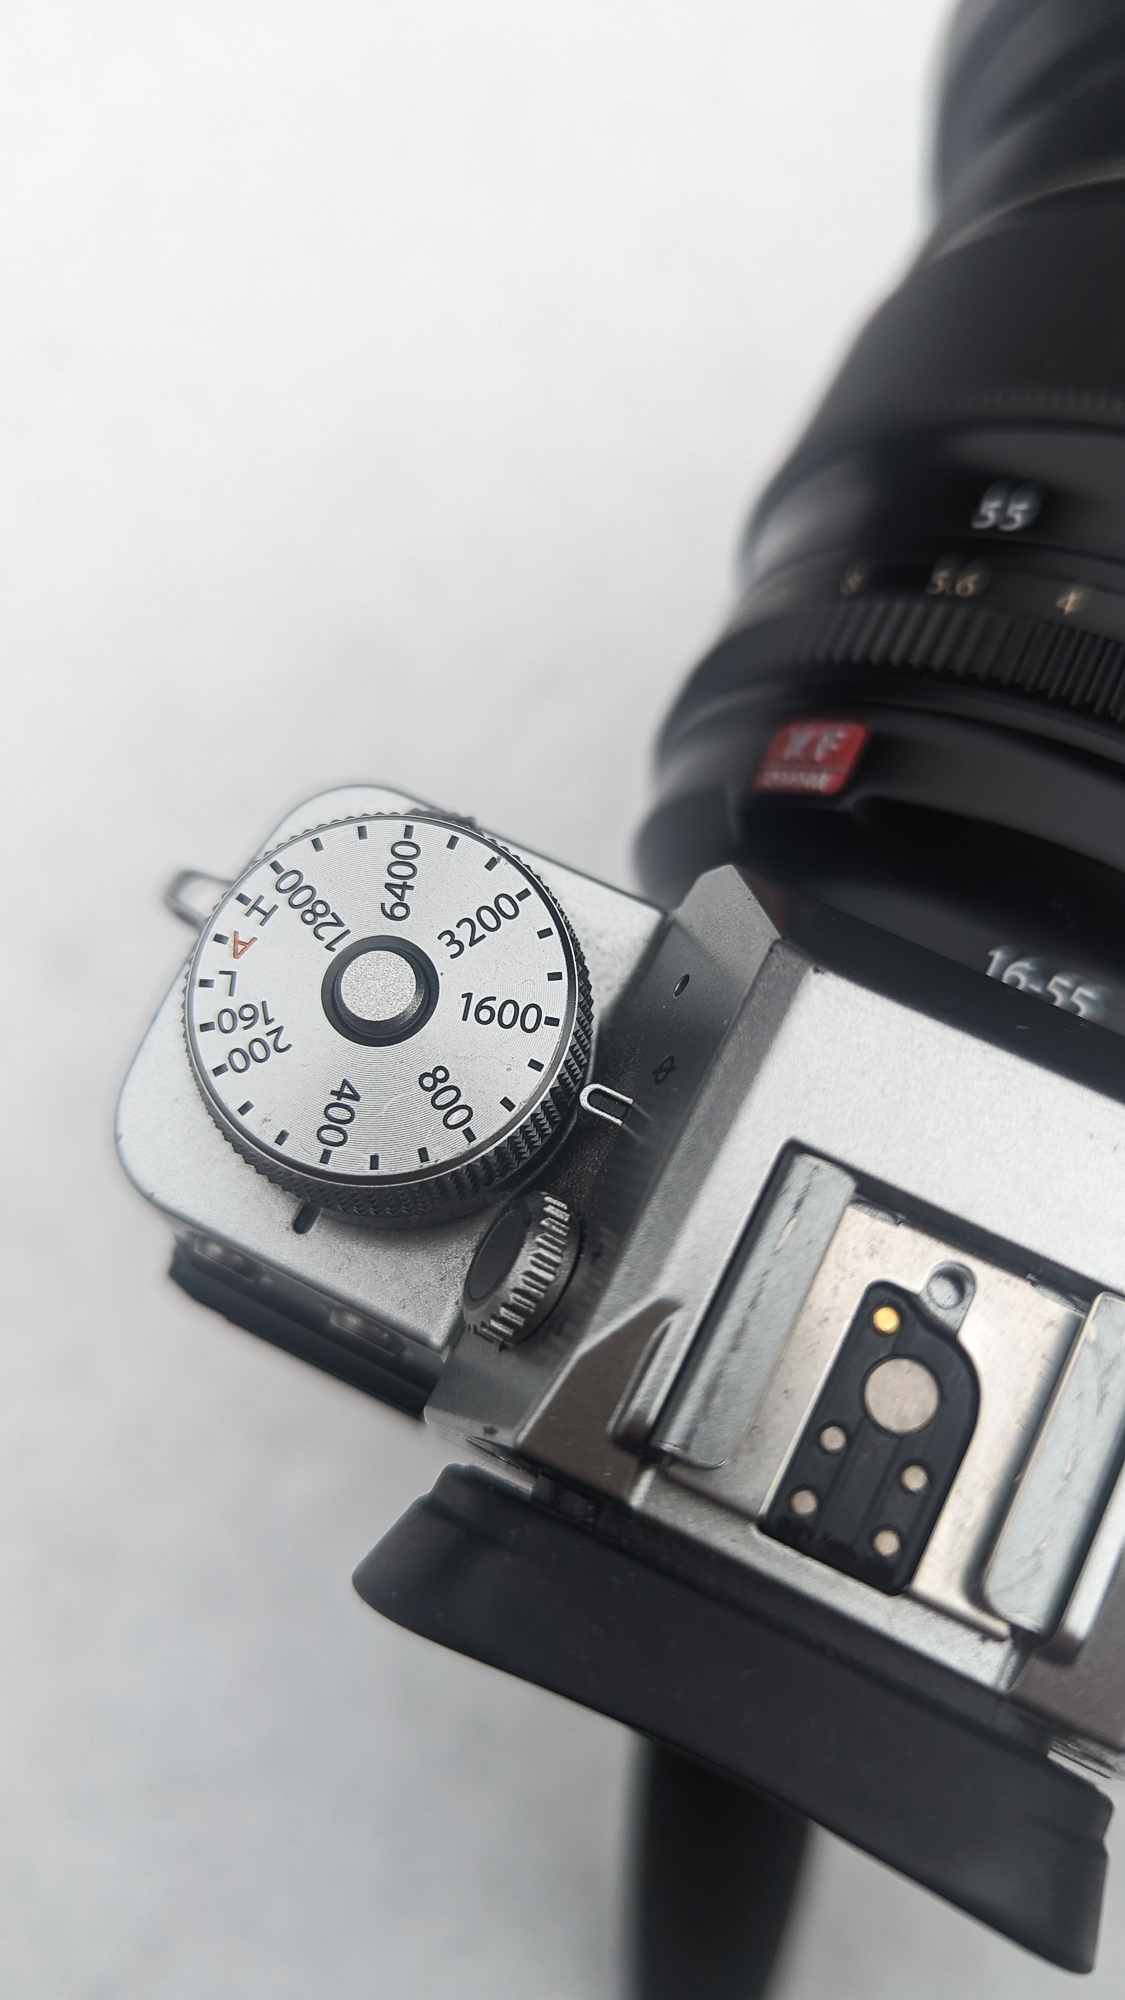
To photograph toys, you may feel that you need a macro lens, but I have specifically chosen my kit lens to do the job – so you can use yours, too! I’m shooting on the Fujifilm X-T3 and Fujinon XF 16-55mm f/2.8 lens. It has a minimum focusing distance of around 30cm, but that’s still close enough to show off your model – and more importantly, the environment surrounding it. Ideally you want to pick up six-inch figures or bigger, as anything smaller is very hard to disguise.
Here are five quick steps to lighting and shooting toys on location…
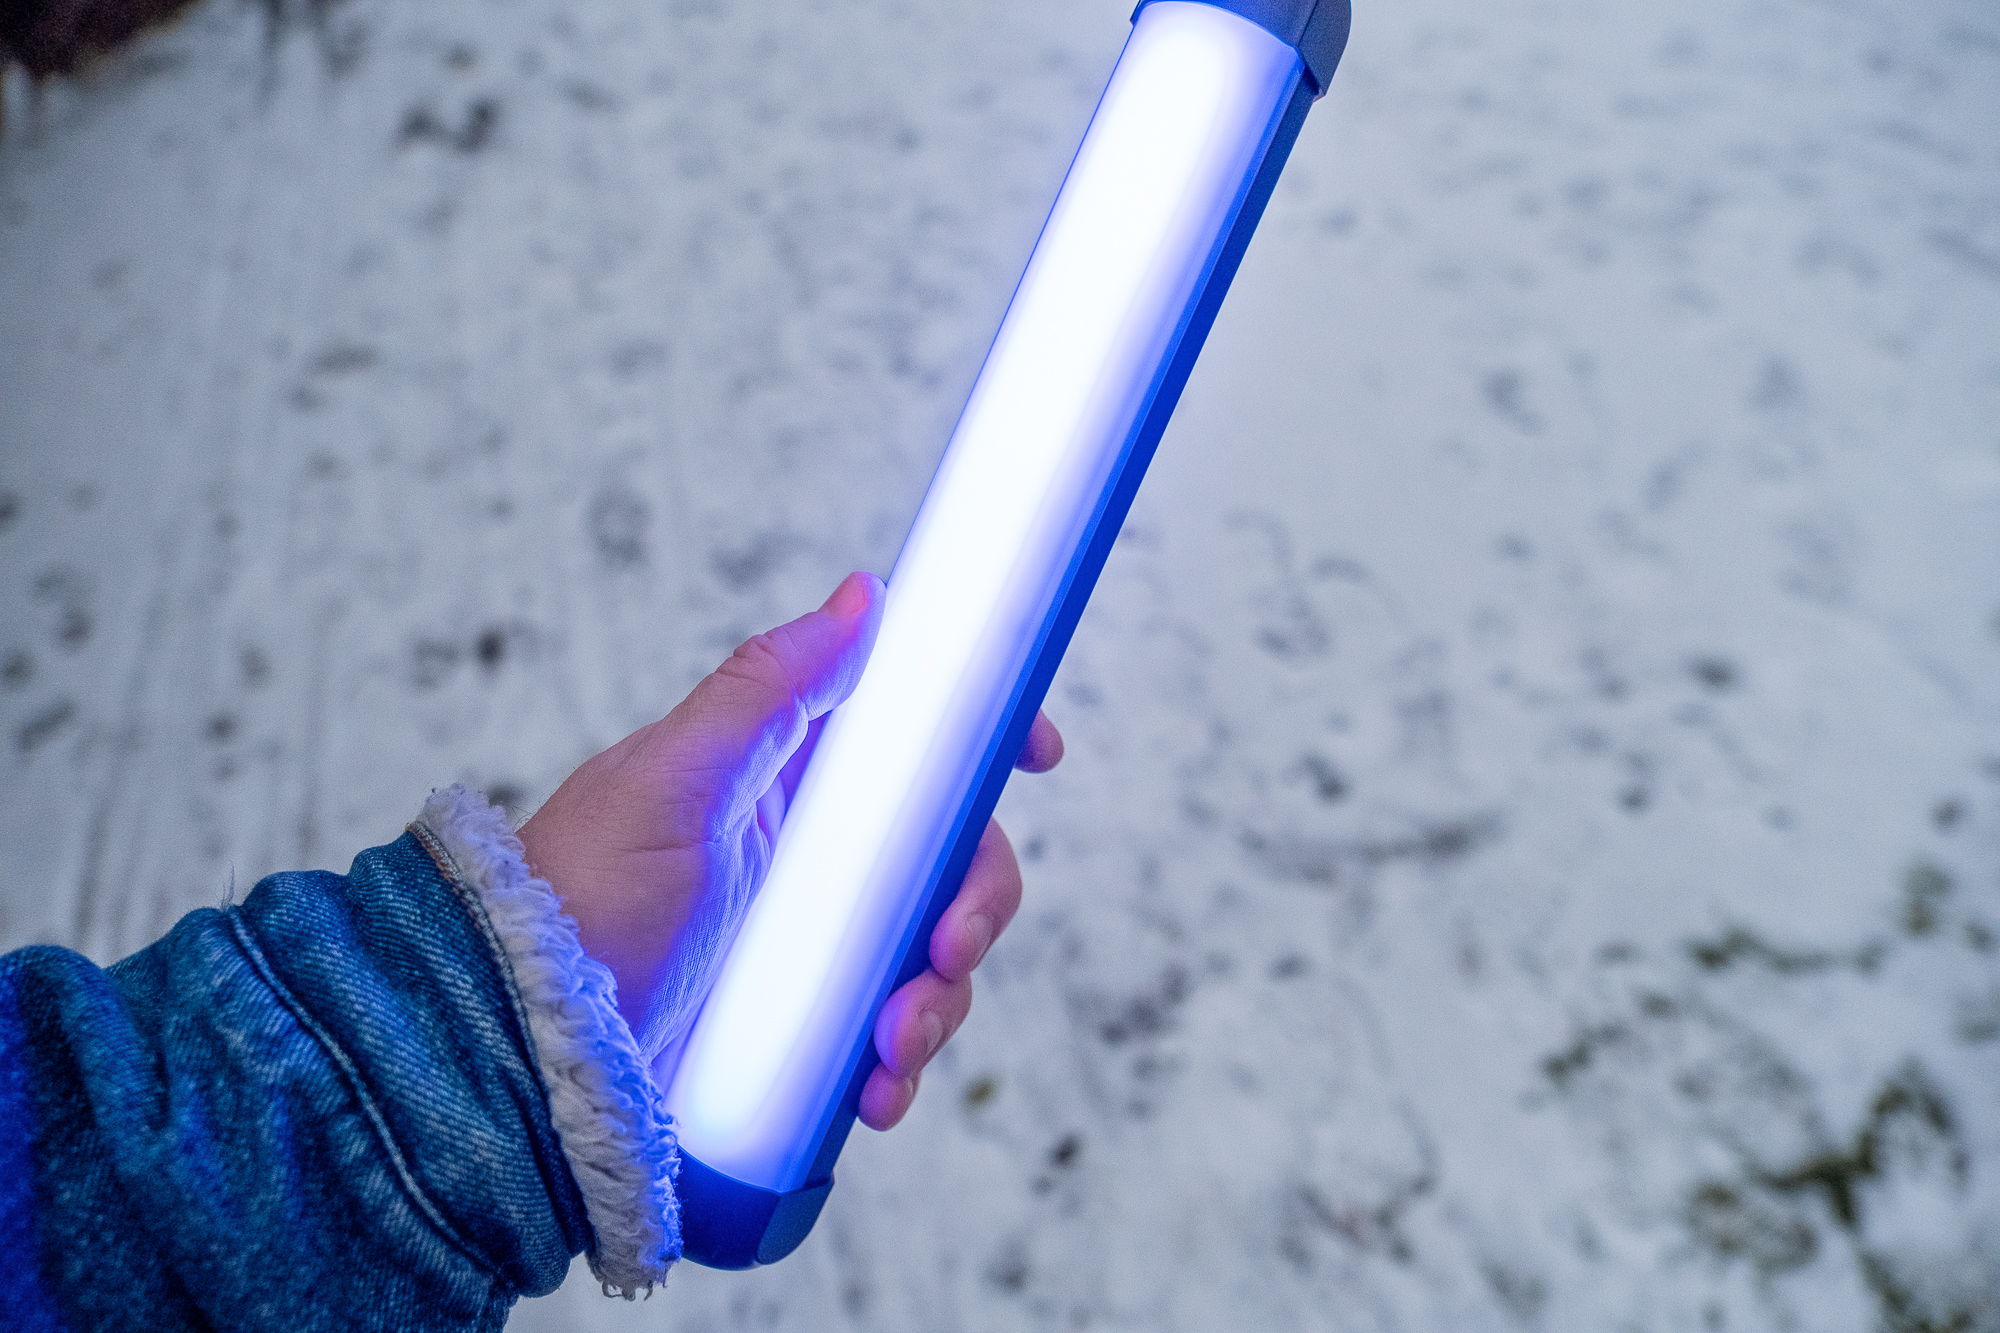
1. Grab some portable lighting
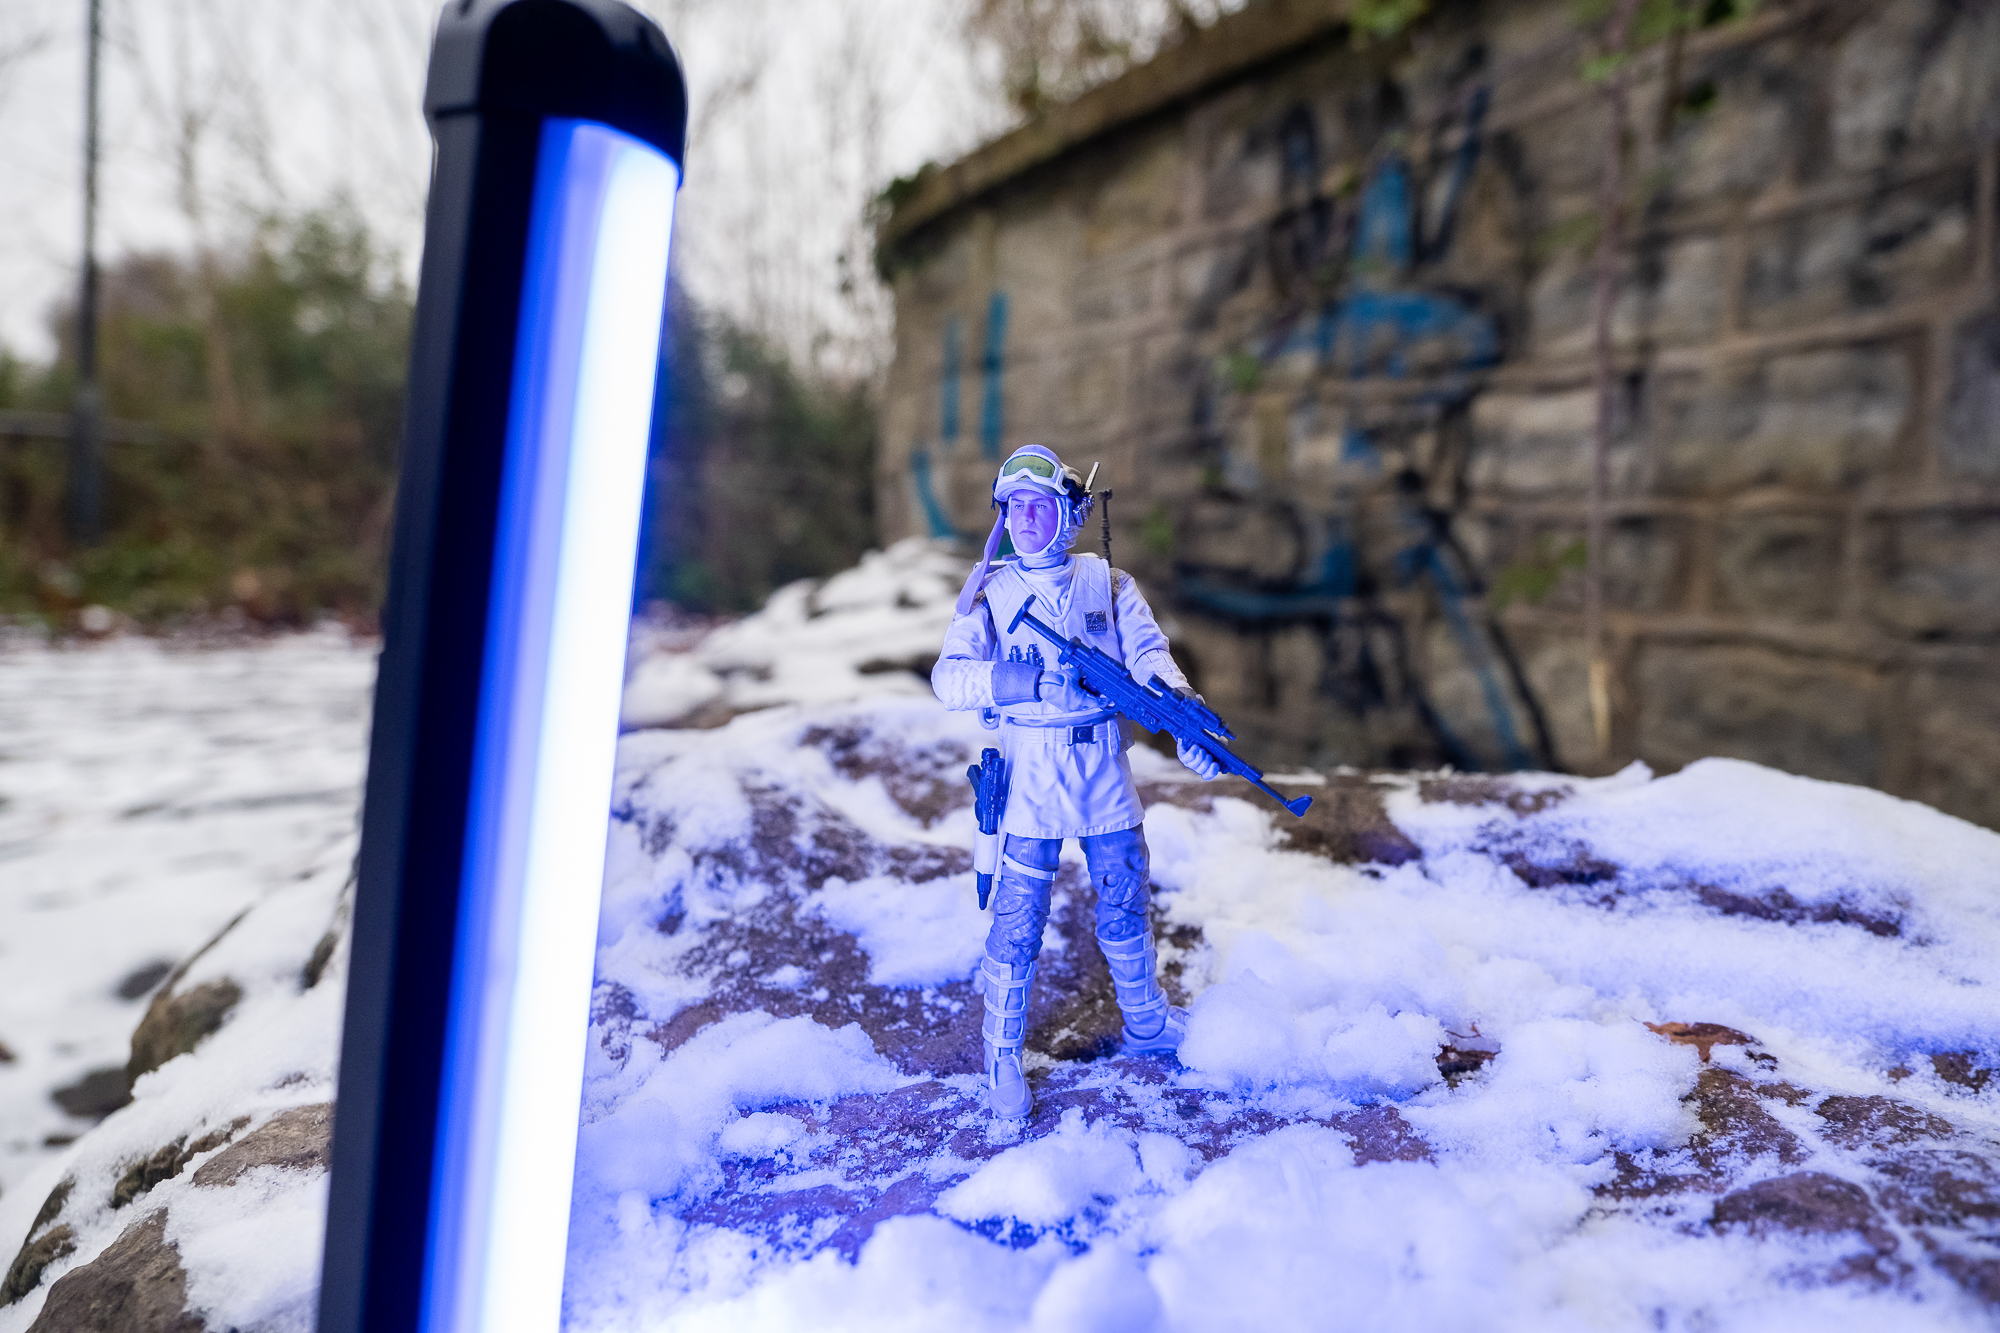
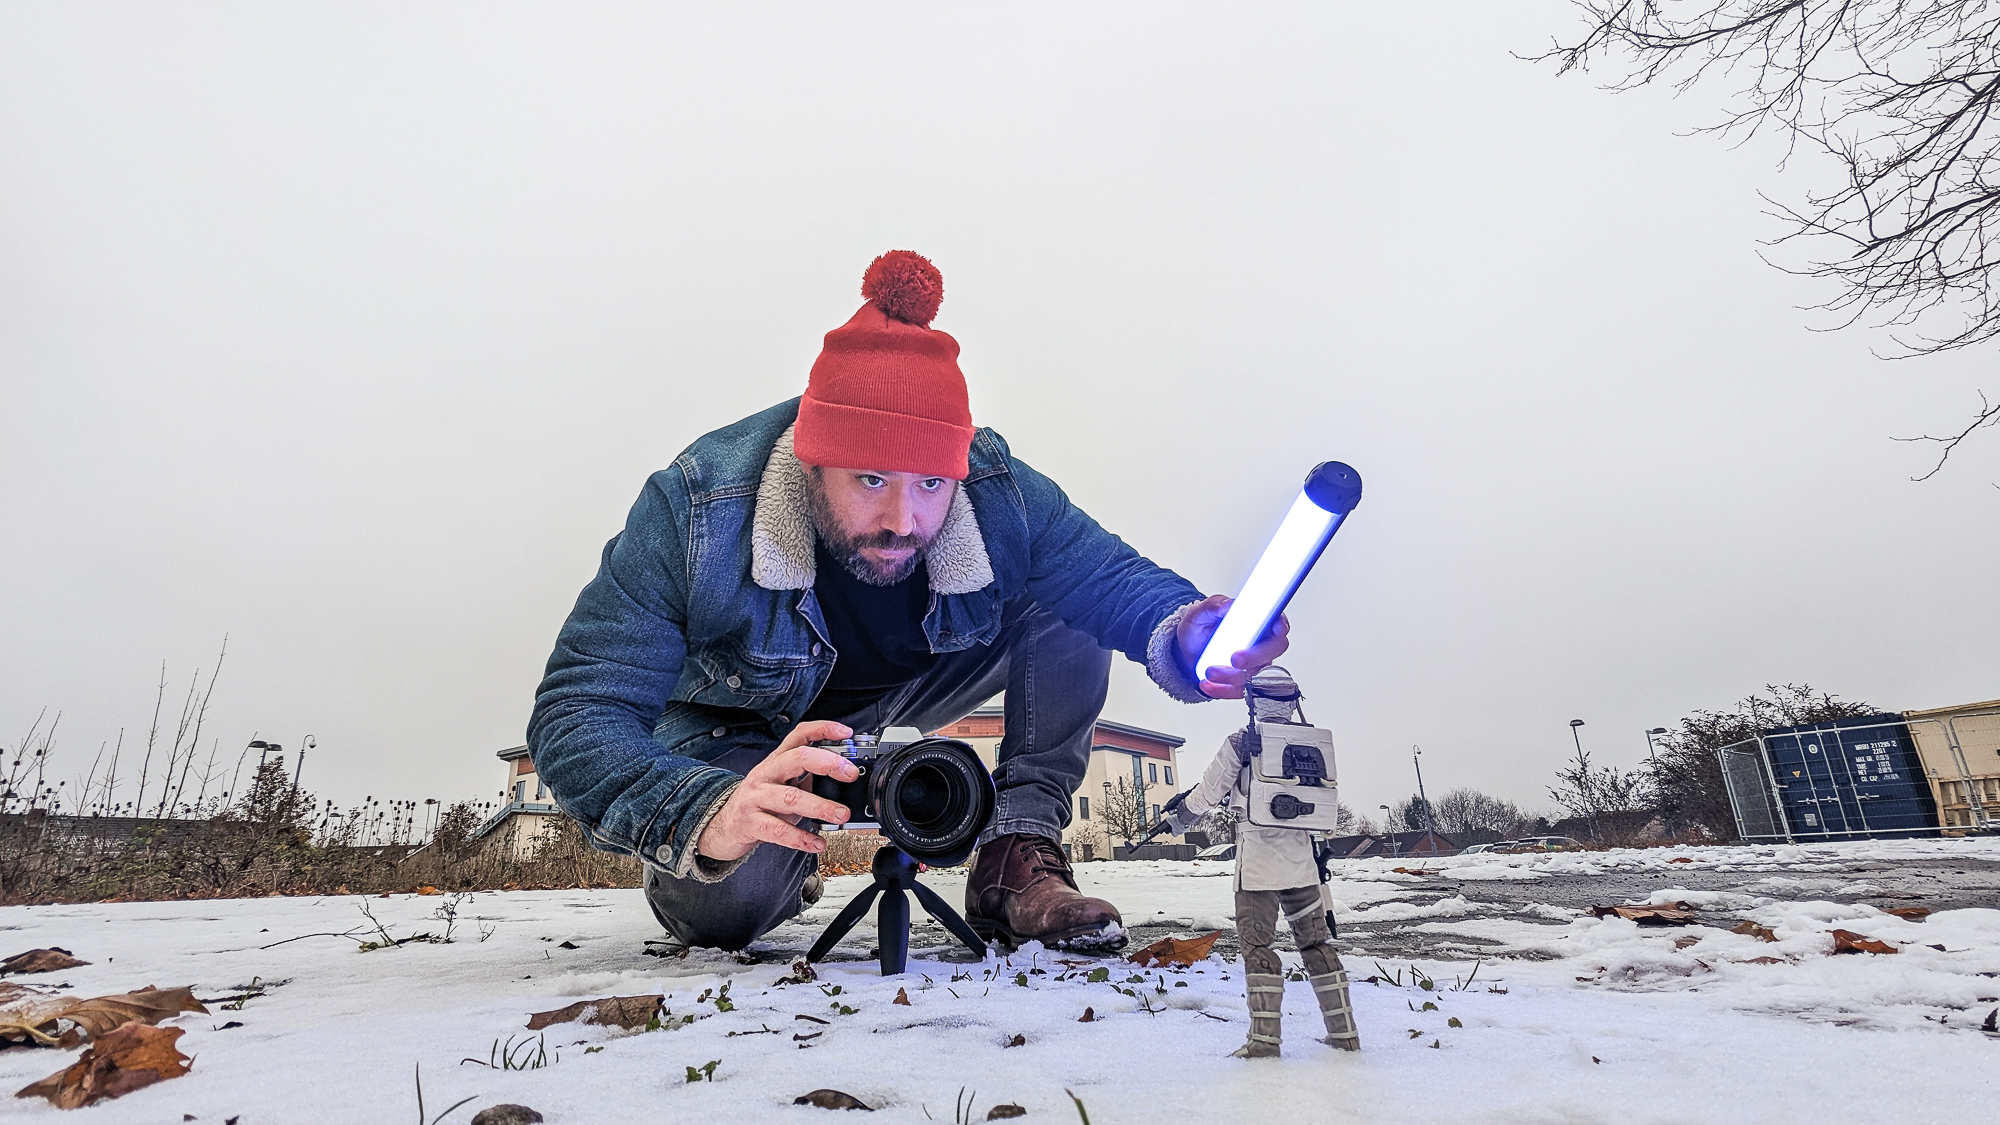
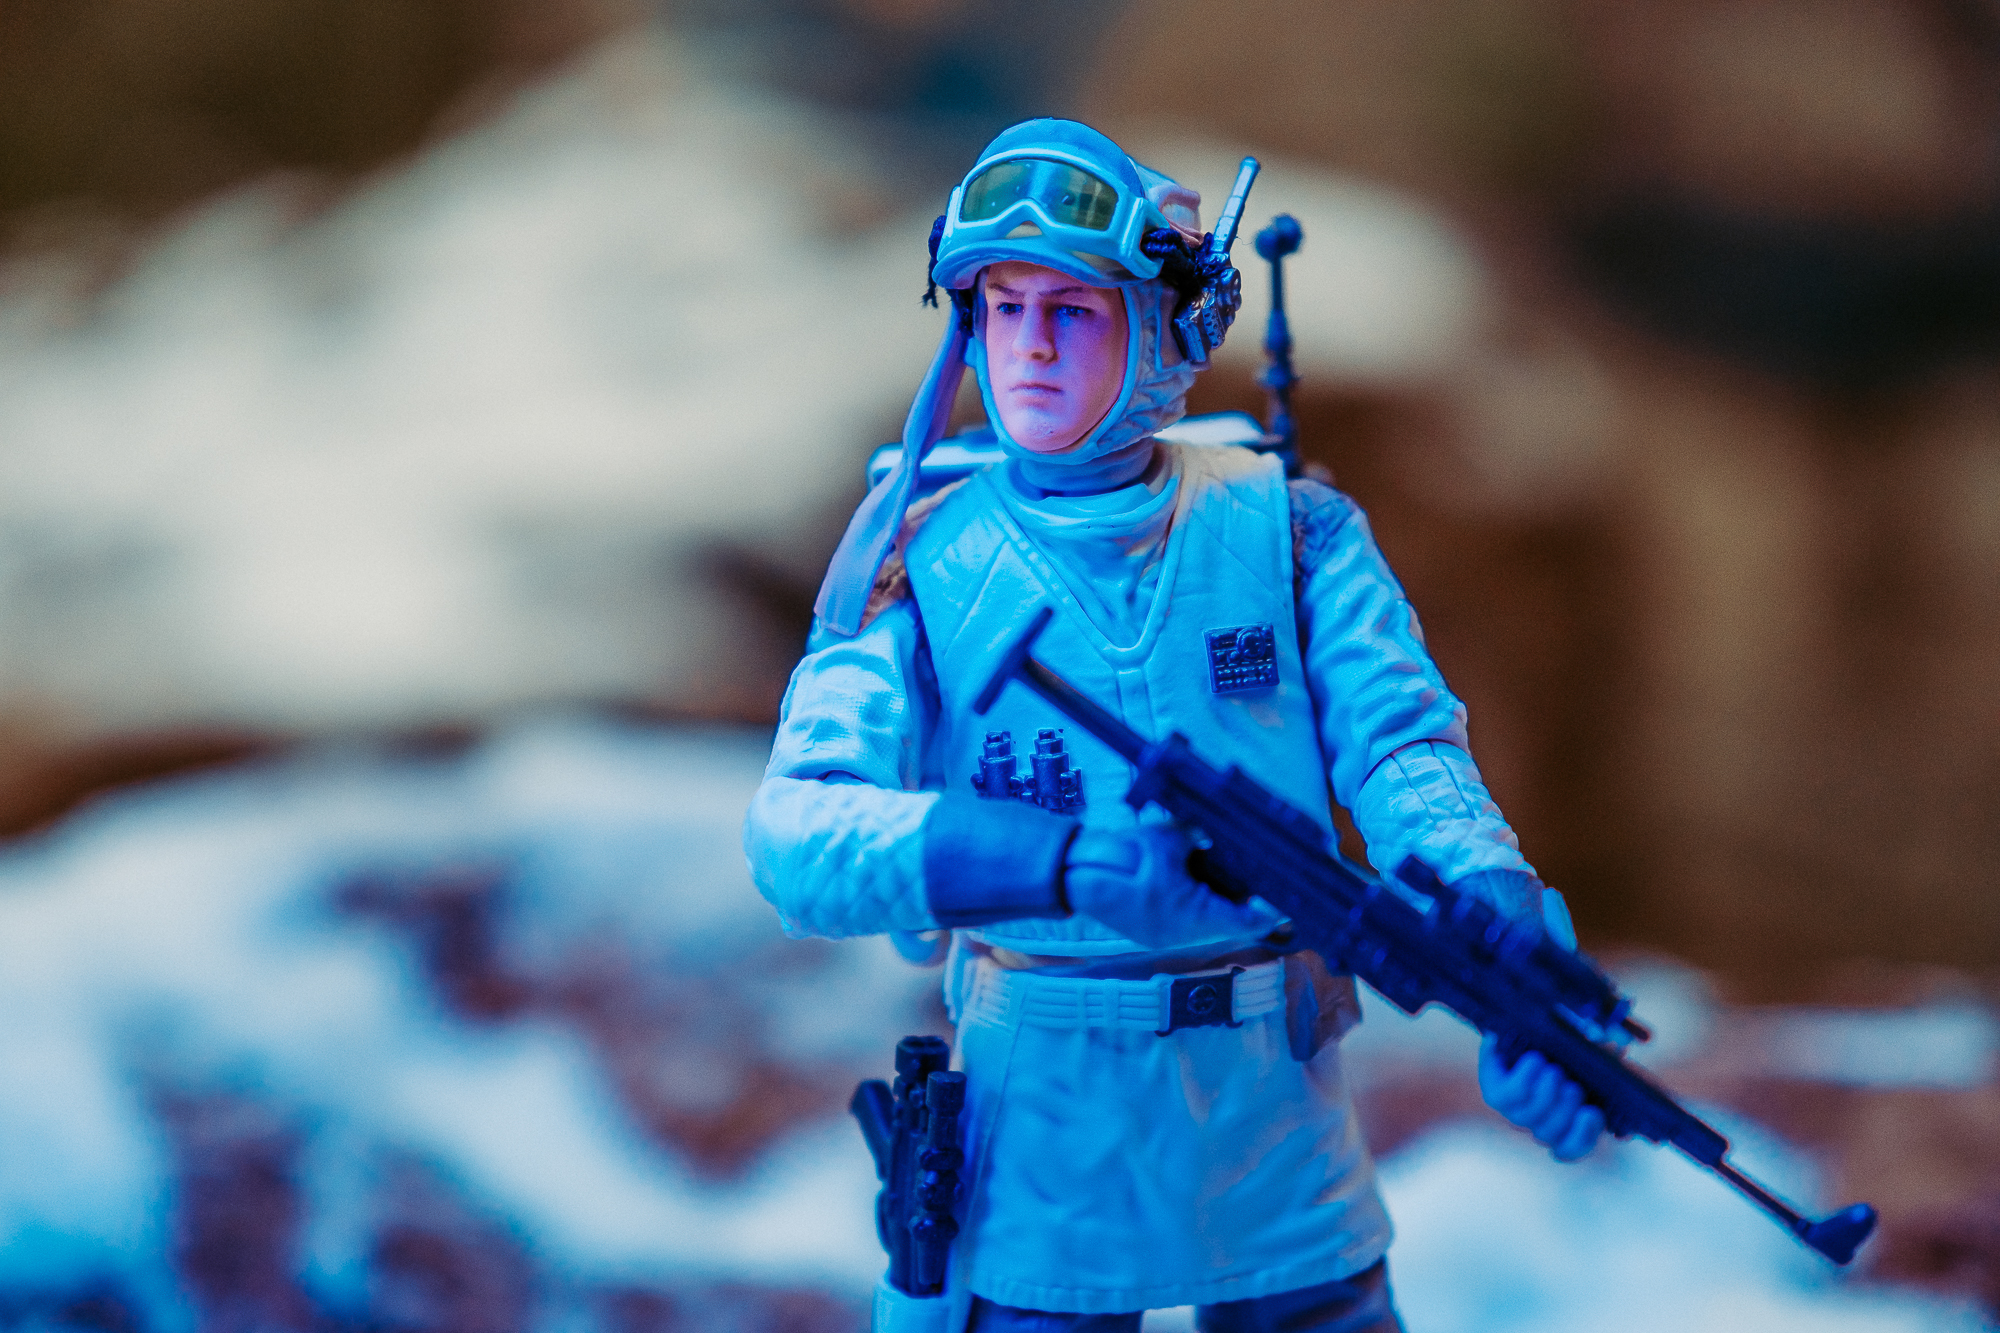
I’ve got a very small Weeylite K2, but you can pick up any small LED light – it doesn’t need to be in a tube shape, but I find them easy to prop up or lay on the ground. Just make sure that whichever one you buy, it has the ability to change colors. You don’t need millions; here, I’m simply using blue for a cooling effect.
2. Find your shooting spot
I noticed a couple of small boulders located just outside the car park where I was shooting. Then I brushed off some of the snow to reveal what will serve as our ‘terrain’ in the foreground, rather than a pure bright white sheet, which will also provide the image with some extra texture.
3. Use a small aperture to blur the background
I don’t usually shoot shallow apertures with miniatures, because it can give away their small size. Here the background wasn’t perfect, though, so I chose to shoot at f/2.8 in order to give it a narrow depth of field, which added some blur in the background to draw the attention fully onto the main subject.
4. Select an ISO and shutter speed to suit your shot
It’s my personal preference but I always tend to shoot at higher ISOs, for higher shutter speeds. Higher ISO ranges introduce some noise into images but I quite like the effect. It has a more filmic feel – perfect for this shot.
5. Shoot the rebel troopers!
Get low to the ground, as this will make your model feel larger. Here my mini tripod offers some stability, but sometimes I go straight onto the ground. Then I shot a variety of images with blue lighting and some without, like this main image in the background.
Read more:
The best LED light panels
Star Wars photography using 1970s Kenner figures amazes in new deluxe photo book