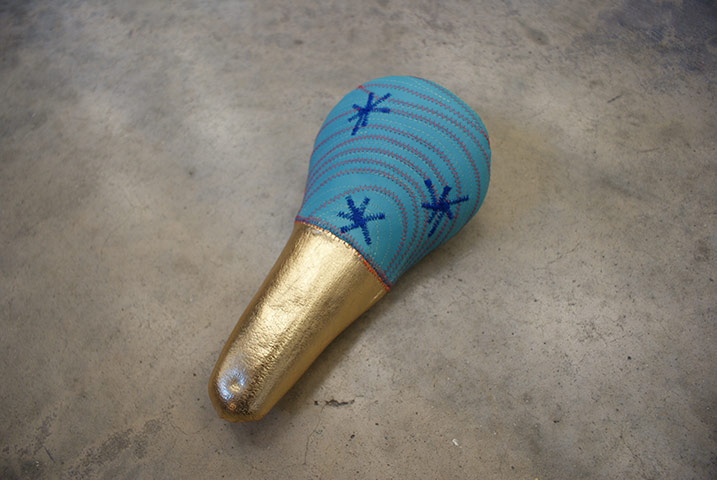
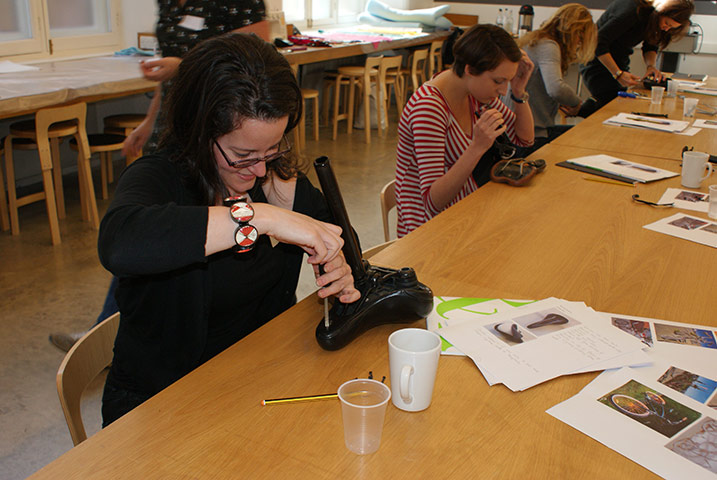
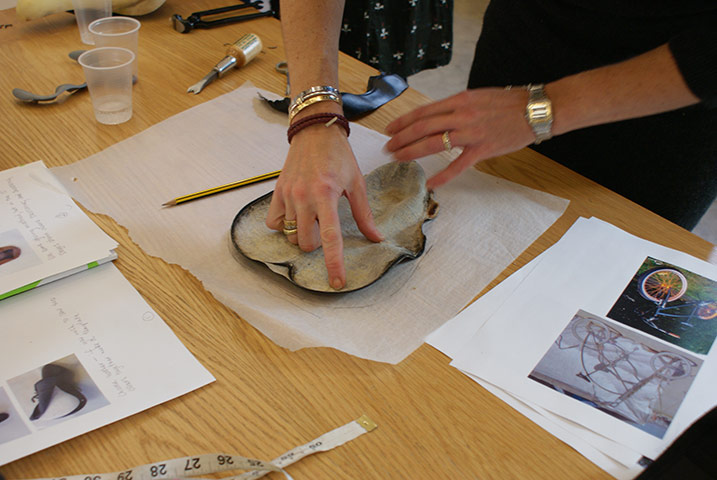
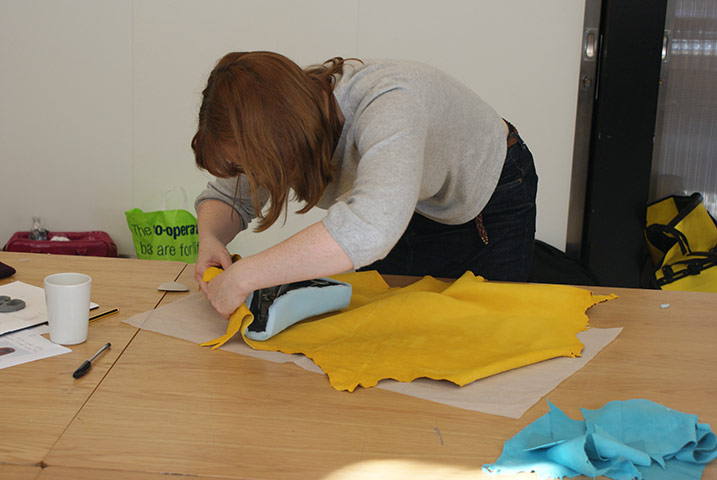
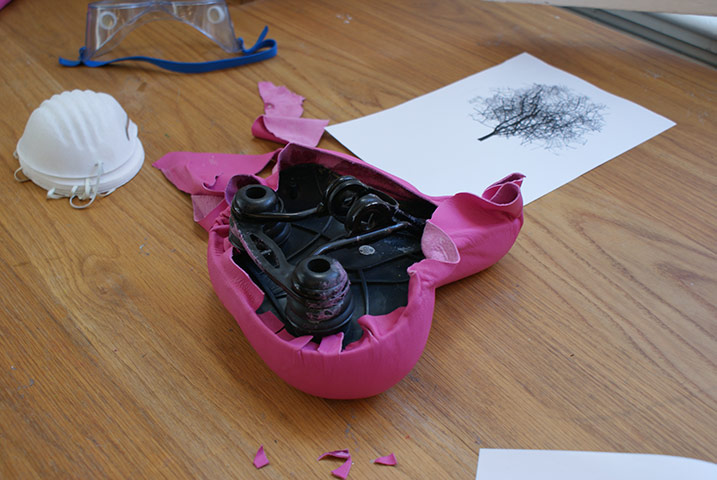
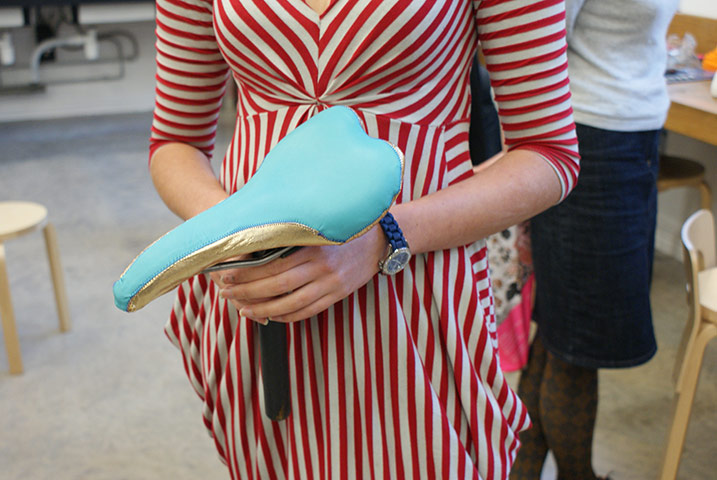
I met Emma Skinmore on Saturday at a bespoke saddle-making workshop. She made a fantastic-looking gold and turquoise leather saddle with blue and red stitching, while I cobbled together a plain blue one that erred on the side of rusticPhotograph: Frederika WhiteheadFirst of all we dismantled our saddles. This isn’t tricky – it just means unscrewing a couple of screws on the bottom so that the skin on the seat can be accessedPhotograph: Frederika WhiteheadThe next stage is to rip the old skin off. If you are going for a slimline racing saddle, or if you want a two-tone saddle with a different colour around the edge, you might want to keep it to make a template, but if you just want to make something padded and upholstered you don’t need to. I went for padded and upholstered. It’s the easier option – less precision is neededPhotograph: Frederika Whitehead
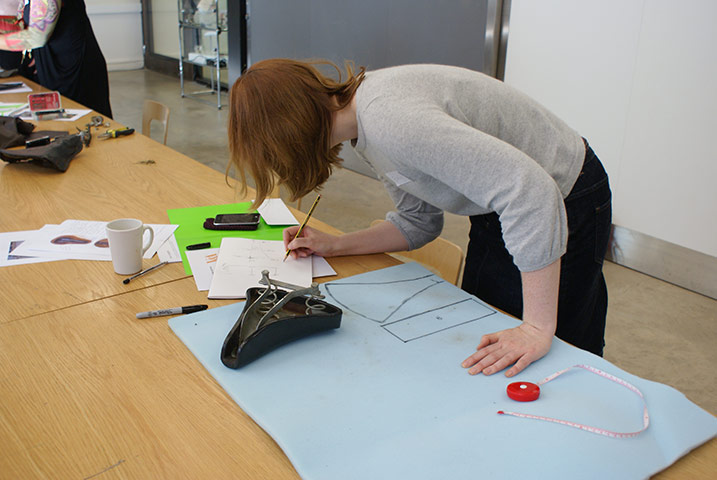
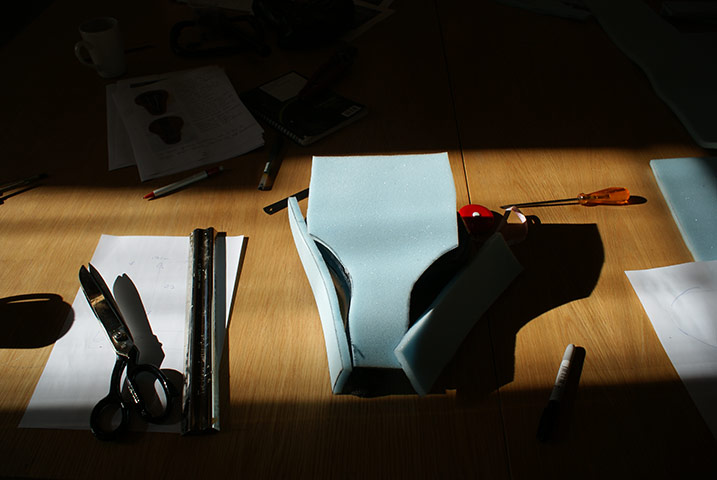
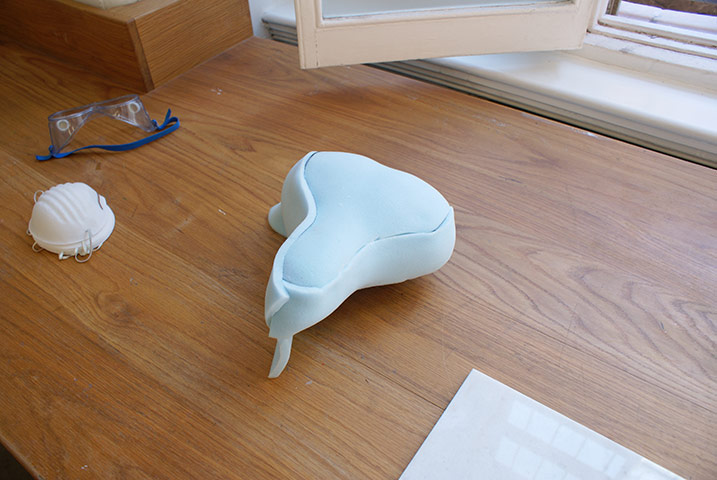
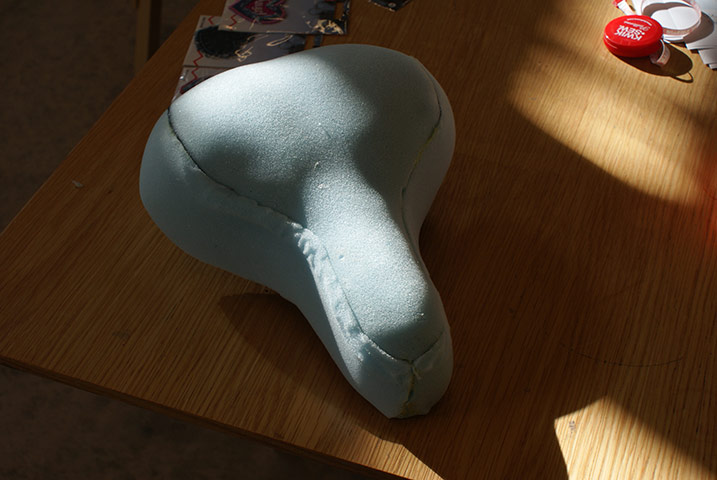
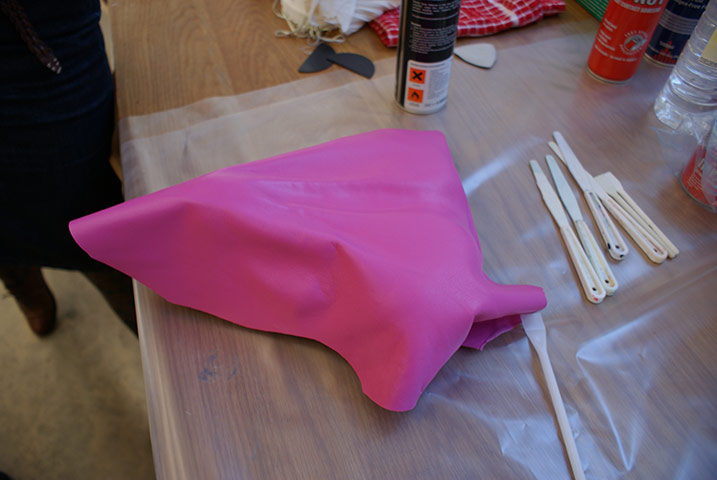
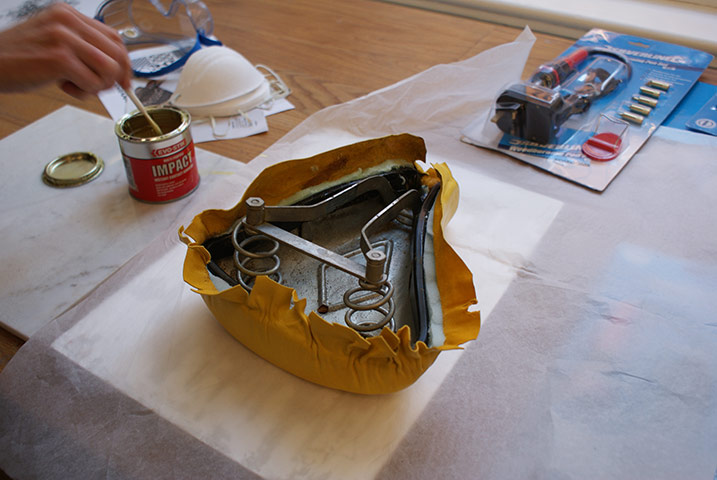
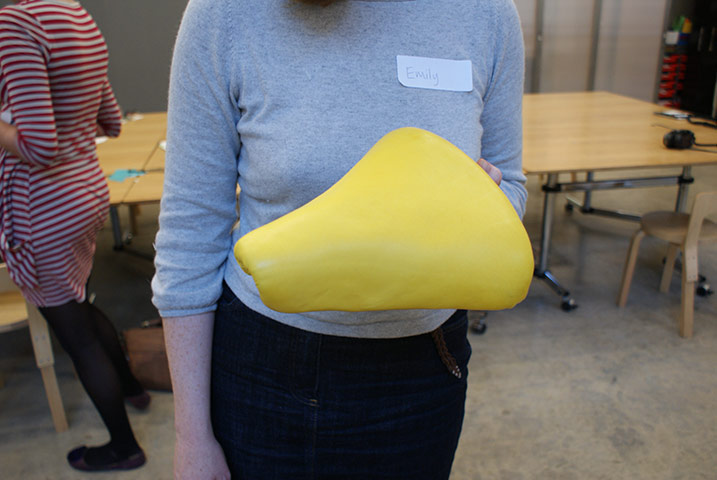
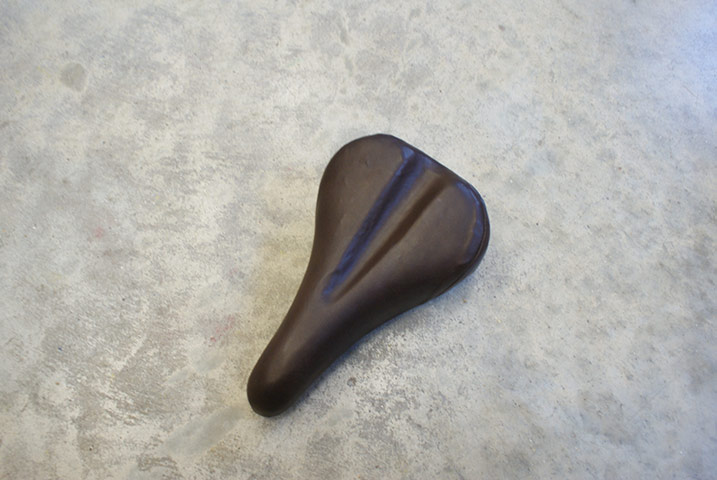
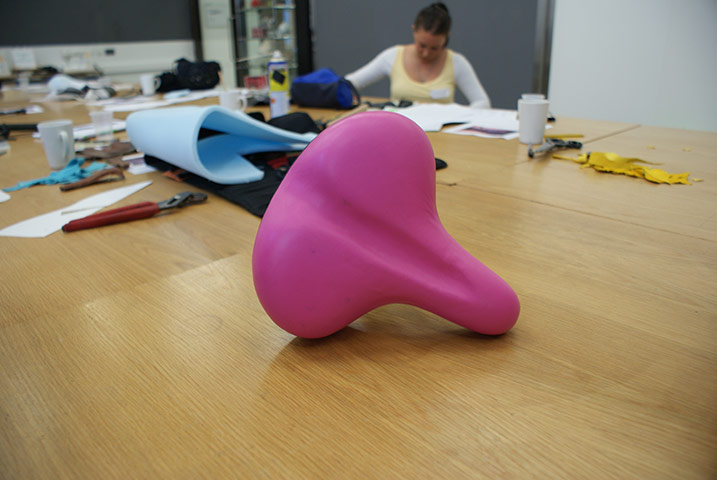
Make a template for the leatherPhotograph: Frederika WhiteheadCut a series of pieces of foamPhotograph: Frederika WhiteheadGlue the foam to your seat using spray gluePhotograph: Frederika Whitehead... and then trim then to the desired shape Photograph: Frederika WhiteheadCut the leather. This is either done by making a template from the skin you removed earlier, or by placing the seat upside down on the hide and pulling it up around the seat edges, marking the points it needs to reach. You need enough to cover the seat and reach around to be glued inside the rimPhotograph: Frederika WhiteheadWork from the centre outwards gluing the leather a small piece at a time. Each time you glue, pull the leather taut and run your hand over it to smooth it outPhotograph: Frederika WhiteheadWhen you get to the edge, flip the seat over and start tucking the leather inPhotograph: Frederika WhiteheadCut thin triangles out of the leather where it would bunch up otherwisePhotograph: Frederika WhiteheadThe finished yellow saddlePhotograph: Frederika WhiteheadThe blue and gold saddlePhotograph: Frederika WhiteheadThe finished brown saddlePhotograph: Frederika WhiteheadAnd the finished pink saddlePhotograph: Frederika Whitehead
Sign up to read this article
Read news from 100’s of titles, curated specifically for you.