A simple project extracted from Usborne's book, Monster things to make and do. Easy enough to achieve after school, or make several over a weekend and save the results for birthdays, Halloween or just to give someone a scary surprise ...
You will need
Coloured card (white plus yellow or another colour)
Colouring-in pens
Glue
Accompanying monster roars (optional)
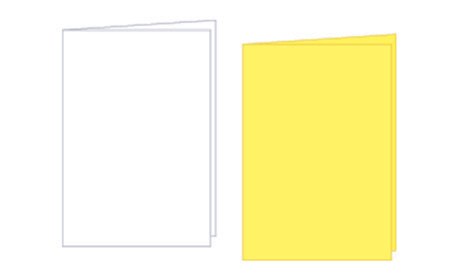
Step one
Cut two rectangles of paper the same size, one white and one yellow. Fold them both in half, with the short ends together.
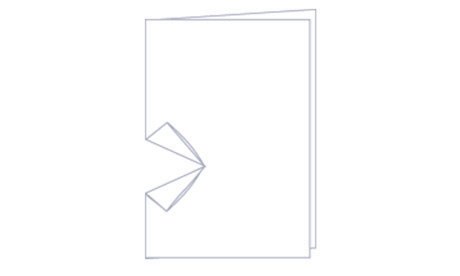
Step two
Make a cut into the fold in the white rectangle, for the monster's mouth. (If you make the cut about two thirds of the way down the fold, then you can draw a whole monster.) Fold back the paper on each side of the cut, as above.
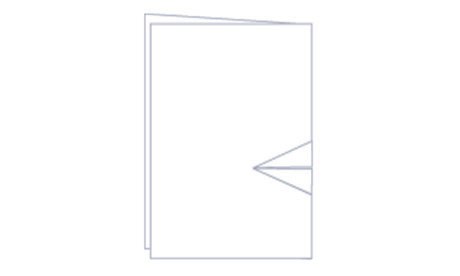
Step three
3. Turn the card over and fold the flaps back on themselves. Then, unfold the flaps, so that the card lies flat again.
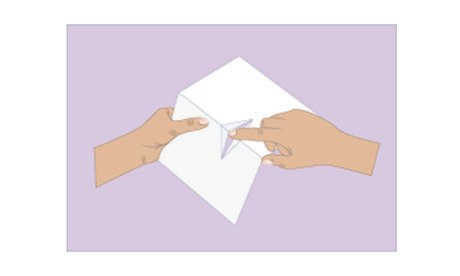
Step four
Open the card a little, then push the flaps down through the fold, as above. Close the card and press the folds to flatten them.
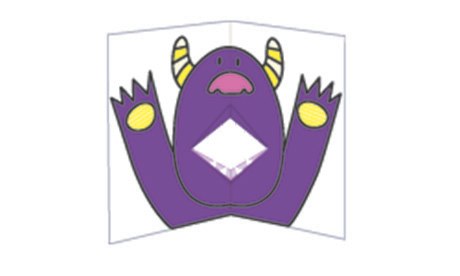
Step five
Open the card. Draw a monster around the mouth and fill it in with felt-tip pens. Then, cut teeth from paper and glue them on. Glue the teeth to the back of the flaps.
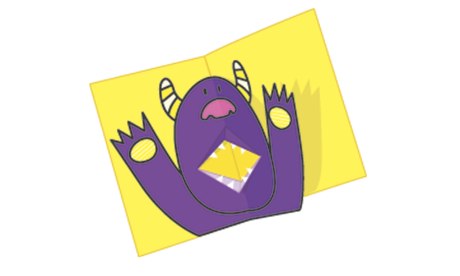
Step six
Cut around the monster. Then, spread glue all over the back of it, except for the mouth. Press it onto the yellow rectangle.