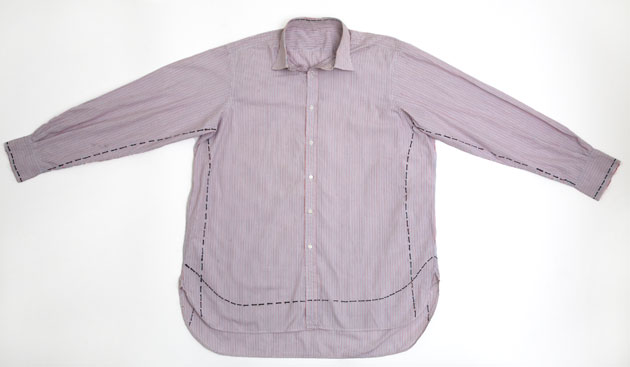
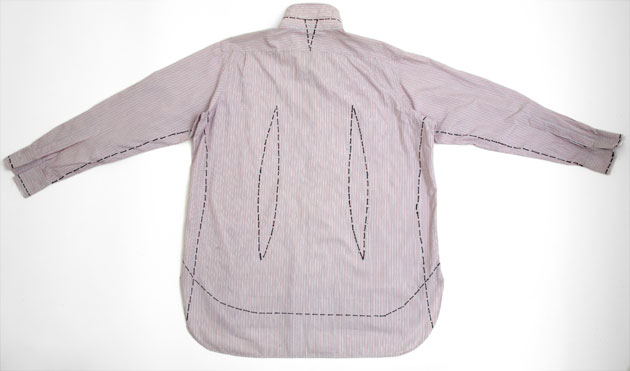
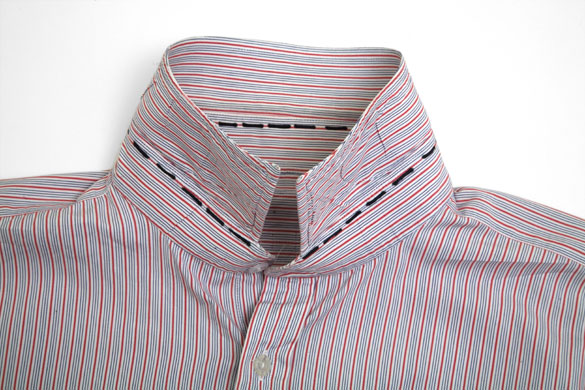
The front of a vintage shirt with marks similar to the ones you should have after you have put on the shirt, pinned it to shorten it and make it narrower, then removed it and marked lightly where the pins are. (Tip: we have used pen to make it clear for the picture, don't do the same!)Photograph: Katherine RoseThe back of the shirt with marks similar to the ones you should have after you have put on the shirt, pinned it to shorten it and make it narrower, then removed it and marked lightly where the pins are. It also shows where you could put two darts in the back, where you could extend fit just below the collar, and where you should cut off the collar at the join between the collar stand and the collar itself. (Tip: we have used pen to make it clear for the picture, don't do the same!) Photograph: Katherine RoseThis is where you can cut off the collar – the marked line is on the join between the collar stand and the collarPhotograph: Katherine Rose
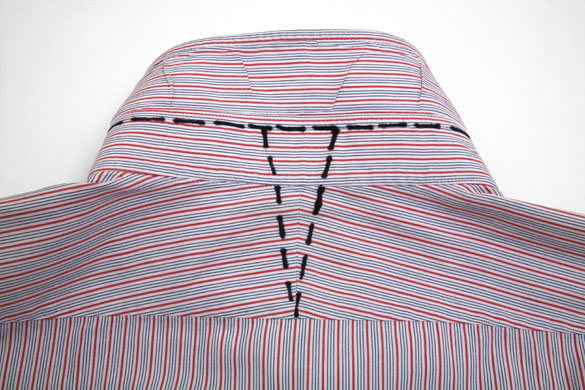
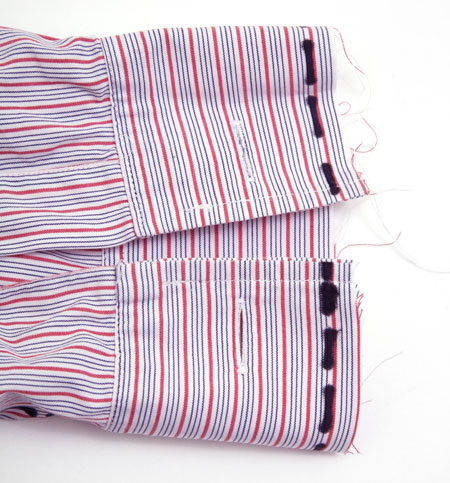
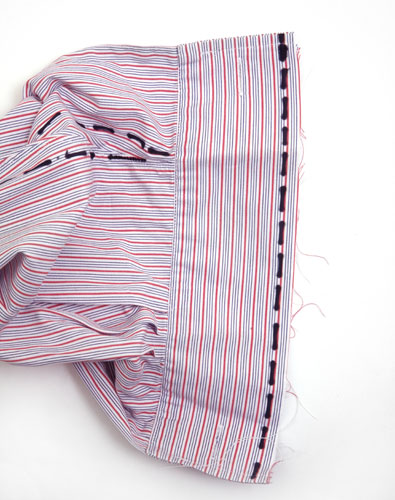
This is where you can cut off the collar – the marked line is on the join between the collar stand and the collar, and the triangle is where you can extend the fabric if the fit is too tight across the back of the neckPhotograph: Katherine RoseIf your cuffs are double cuffs (as on a dress shirt), shorten them so they look more like this, then hem as per the instructionsPhotograph: Katherine RoseIf your cuffs are double cuffs, shorten them so they look more like this, then hem as per the instructionsPhotograph: Katherine RoseOnce you've hemmed the collar stand, after cutting off the old collar, you could stop here and wear a collarless shirt. (The buttons are to attach the new collar if you want to continue and make a new collar.)Photograph: Katherine RoseOnce you've hemmed the collar stand, after cutting off the old collar, you could stop here and wear a collarless shirt. (The button is to attach the new collar if you want to make one.) The pink fabric is where the shirt has been slightly extended to fit (you could use off-cuts of fabric from where you shortened the shirt)Photograph: Katherine RoseYour new detachable collar should look like this once you've attached it to the new collar stand. The blue material shows where you can extend or shrink our pattern (which fits a 16” collar)Photograph: Katherine RoseThe new collar for your old shirt should look this, and the buttons and buttonholes must line up – you can put the buttons on the shirt and the holes on the collar or vice versaPhotograph: Katherine RoseButton the new collar onto your old shirt – the new collar stand should exactly cover the original collar stand on the old shirtPhotograph: Katherine RoseYour finished shirt, with its new collar, should look like thisPhotograph: Katherine Rose
Sign up to read this article
Read news from 100’s of titles, curated specifically for you.