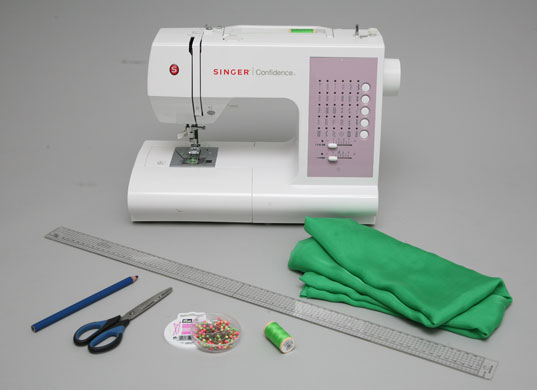
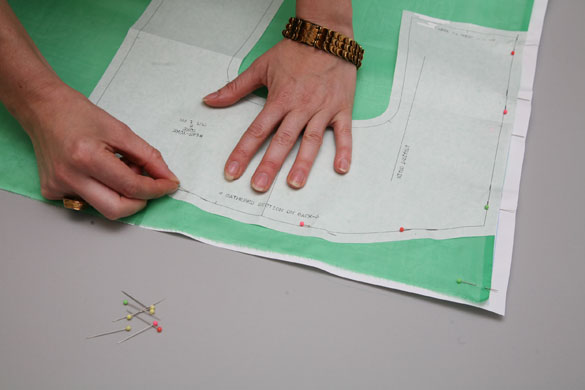
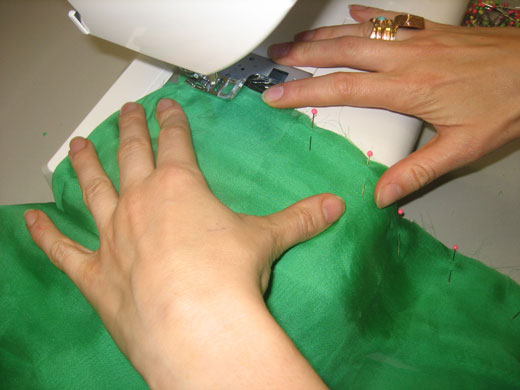
1. Difficulty level - very hard. Because this kaftan is made from very lightweight fabric, this is not a pattern for beginners. You will need 2.5 metres of chiffon or printed georgette, the pattern (which you can download as A4 sheets and reconstruct at home), scissors, a pencil, pins, matching thread and a sewing machine.Photograph: Katherine Rose2. According to Matthew Williamson the key to achieving a professional finished garment is just as much in the preparation as it is in the stitching, especially when handling lightweight fabrics. So he's given us a few tips along with his instructions which can make things easier. Preparing the fabric: if you are using a printed georgette – or any other lightweight fabric – as we have used, steam the fabric first in order to shrink it. Then lay a large piece of paper – the length of your fabric – and draw a straight line a few cm from the paper edge. Take your steamed fabric and match the selvedge (the straight finished edge of your fabric) and pin along the straight line. Ensure the fabric lays flat on the paper. Photograph: Katherine Rose3a) Placing the pattern pieces: The pattern pieces all need to be placed on the straight grain and to do this the pieces need to be pinned on the fabric with the line (marked straight grain) measuring an equal distance from the selvedge which you pinned your fabric to earlier. Cut the pieces out – cutting through the paper as well and remembering to cut into the notches, which are balance marks. This is crucial for stitching later. If you are using a printed fabric with a pattern check how you would like the front, back and sleeve to look. Remember you need to cut some sleeves! You could also try using different fabrics, print and colour in your garment. Preparing the pieces for stitching: gathering details are a feature of this kaftan. To create a nice gather do two rows of stitching along the seam in a long stitch then pull the gather to the required length. This is to be done on the BACK piece between the notches and FRONT at the place where the CF PANEL joinsPhotograph: Katherine Rose
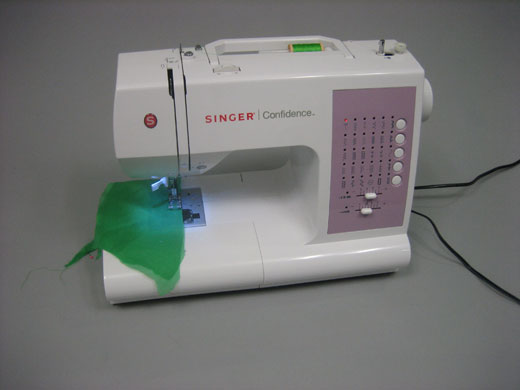
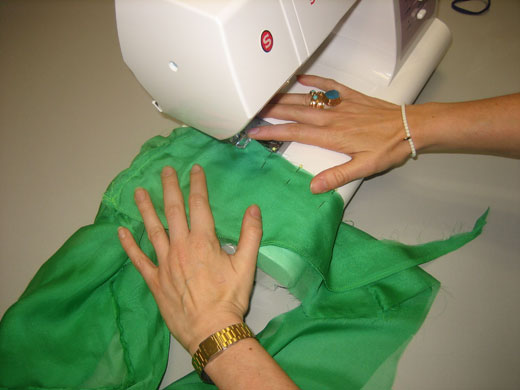
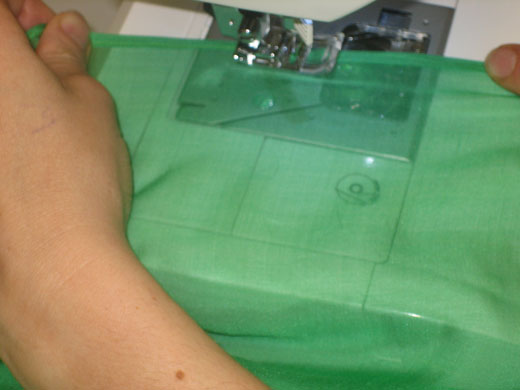
3b) You can often see the finishing through an unlined garment such as a Kaftan. To create a nice finish use a French seam and pin hem. You can make a French seam by taking your 1cm seam allowance and only stitching 0.5cm along the seam with the right sides of the garment facing up. Trim the seam down just to leave a few mm and then turn the seam inside out and encase creating a 5mm French Seam. There will be no raw edges left on the inside. To finish the hems on the sleeve and on the body take the 1cm seam allowance, turn and stitch along the seam line. Trim the excess with a small pair of scissors as close to the stitch as possible, then turn the line of stitching again and do another line of stitching on top. Remember to colour match your thread with your fabric! Notches - balance marks - are the best way to ensure you do not distort the fabric when you are stitching, and they tell you where the seam needs to match. Pin the relevant pieces together and press the chiffonPhotograph: Katherine Rose4 Stitching: first stitch the FRONT PANEL to the YOKE - use French seams throughout to make a neat finish to your garment, this also prevents the fabric fraying.Photograph: Helen Seamons5 The CF PANELS should then be attached. You have two pairs of this piece as it is to be stitched together to make it double. Stitch together the 2 pieces on the outside edges only, press and turn, press seam flat, topstitch seam on the inside, 2mm in. Gather centre section on FRONT PANEL until it is the same length as the bottom of the CF PANELS. Run two rows of gather stitches. Then sew FRONT PANEL to CF PANELS and when you do this pin it well first! When you reach the corner point leave the needle in the fabric, lift the foot of the sewing machine and turn the fabric round then continue sewing. This will ensure a neat corner. Attach the final sides of the CF PANELS to the FRONT (see pictures 6-8 for more of this stage)Photograph: Helen Seamons6 The first CF PANEL attached to the FRONT of the Kaftan, as in instruction 5
Photograph: Helen Seamons7 Stiching the CF PANEL, see instruction 5
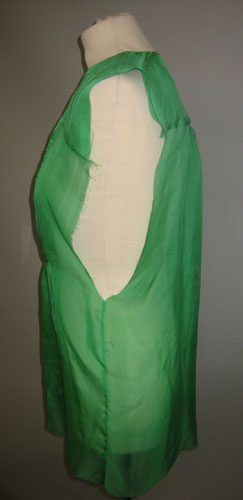
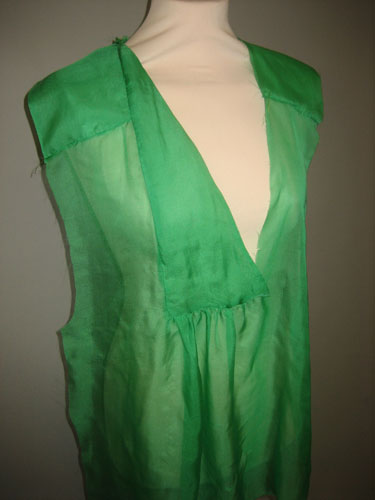
Photograph: Helen Seamons8 Both CF PANELS attached to the front of the KaftanPhotograph: Helen Seamons9 Sew the BACK neck seam to the YOKE. Make sure the gather fits in between the notches! French seam the FRONT and BACK side seams together.Photograph: Helen Seamons10 Take the sleeve and stitch the underarm seams together. Then the SLEEVE is ready to be put into the body. As long as the notches on the SLEEVE are matched to the FRONT and BACK body this will can be easily done.
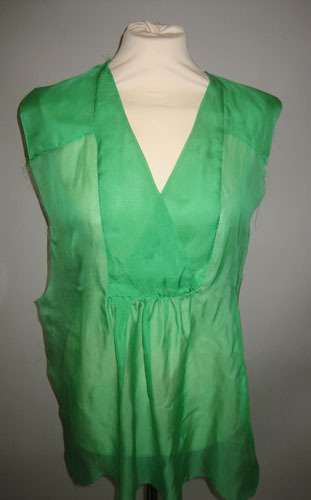
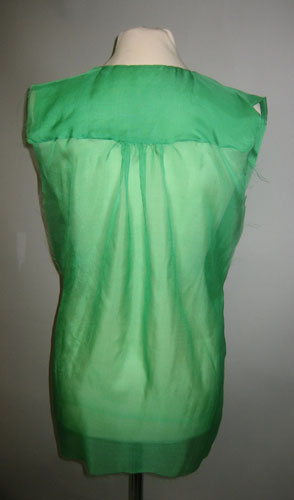
Photograph: Helen Seamons11 To finish the hem on the sleeves and body, pin hem it. Once finished press the garment nicely and the kaftan is complete.Photograph: Helen Seamons12 Sample garment sewed by Fannie Schiavoni London College of FashionPhotograph: Helen Seamons
Sign up to read this article
Read news from 100’s of titles, curated specifically for you.