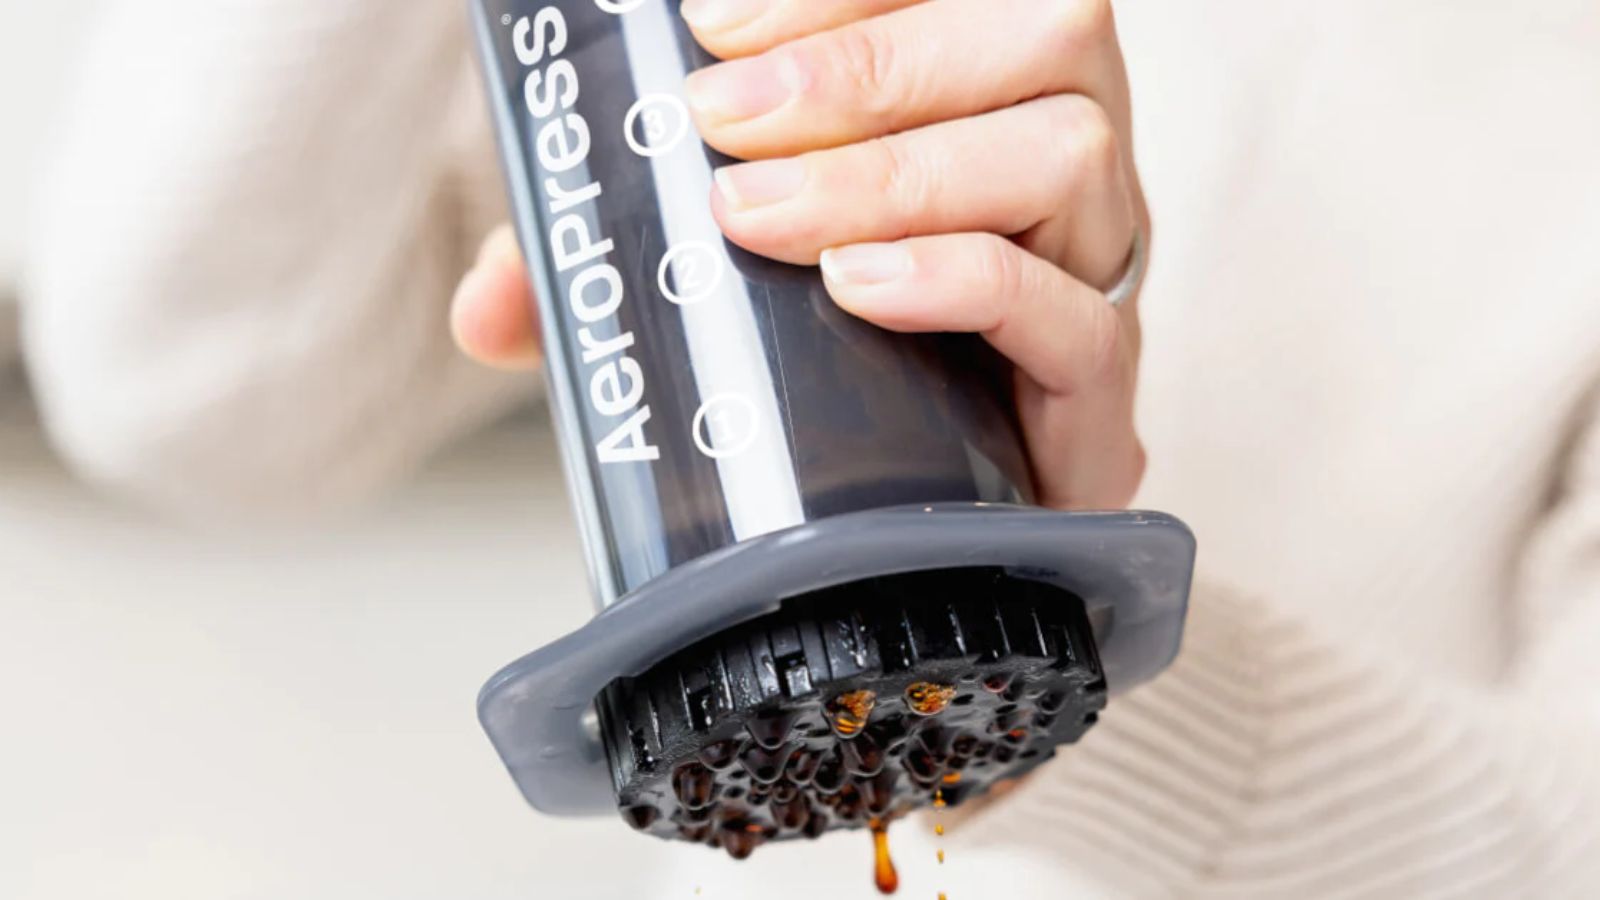
I’ve lost count of the number of times people have requested an AeroPress review. The brand is so iconic, that they’ve become the namesake of their own brewing method.
The patented AeroPress technology is a melting pot of French press, single-serve, drip, and moka pot brewing techniques, taking the best parts of all of them. You use high pressures, a fine filter, and a plunger to immerse grounds in coffee. It makes an espresso shot to rival some of the best espresso machines and some decent cold brew too.
As a former barista and H&G’s coffee expert, it was inevitable that the AeroPress would land in my kitchen. I used it to brew coffee and as expected, it’s exceptional. I think you'd be hard-pressed (sorry) to find someone who doesn’t like it.
Specifications
Unboxing
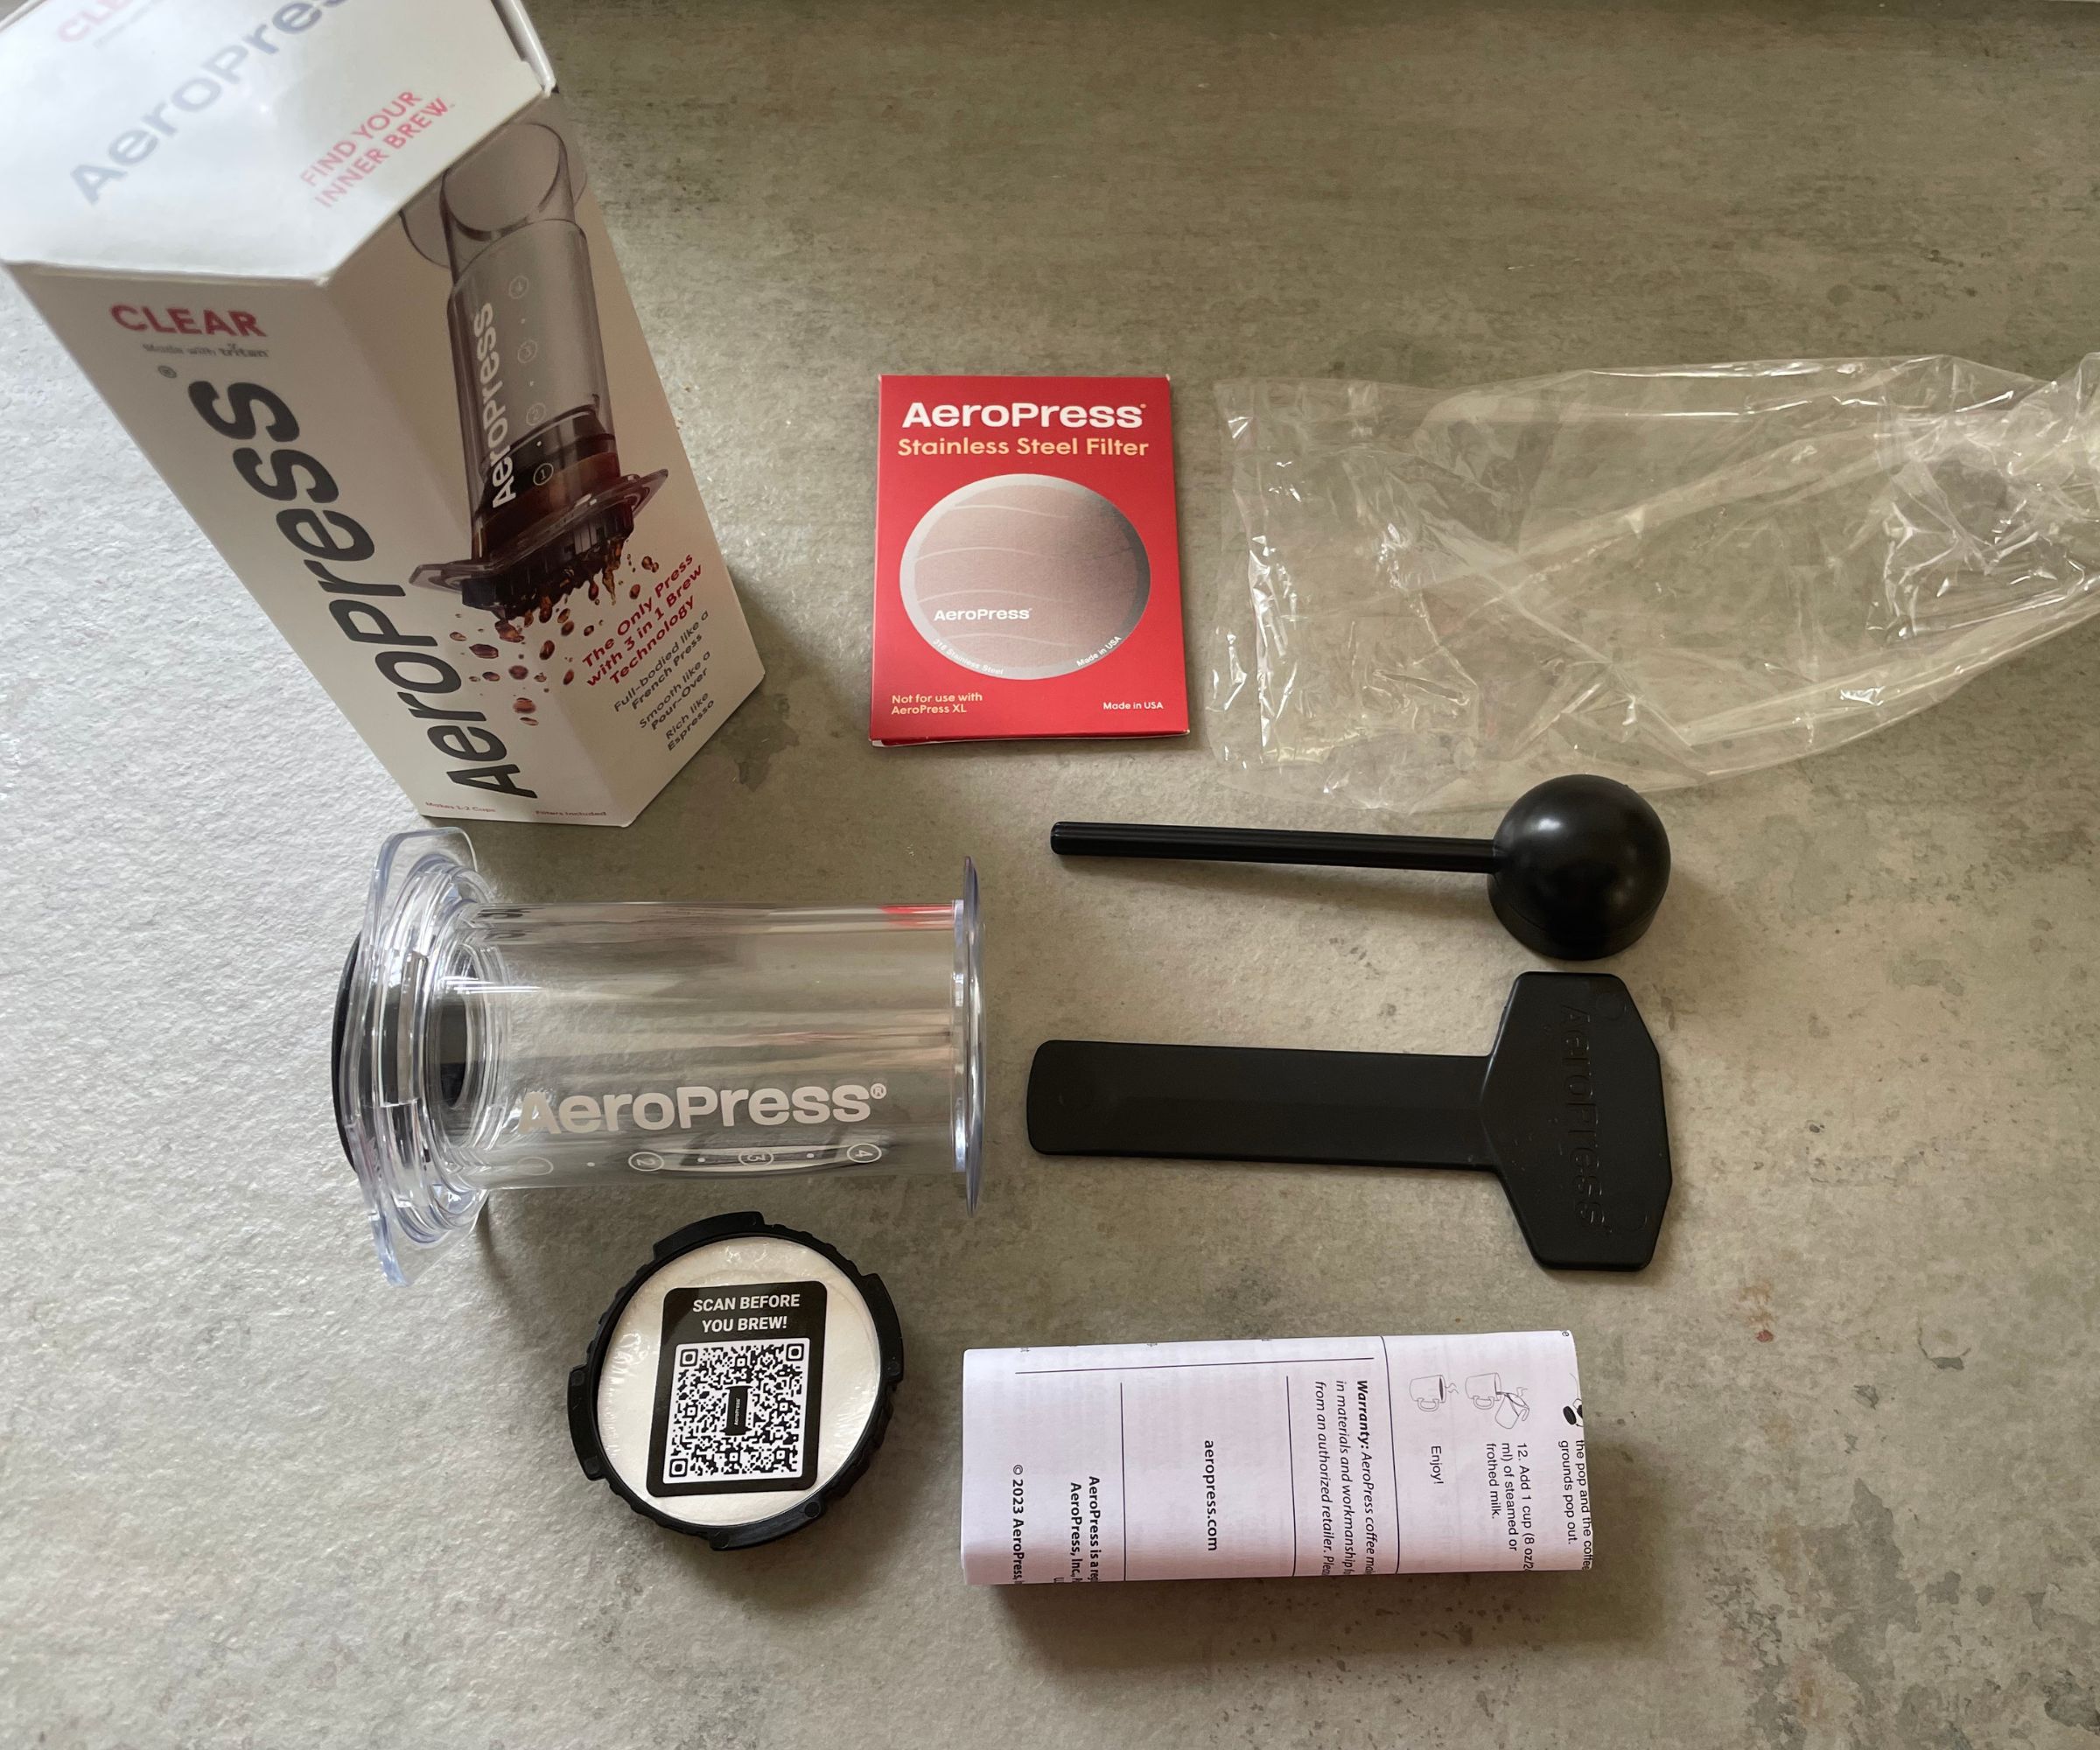
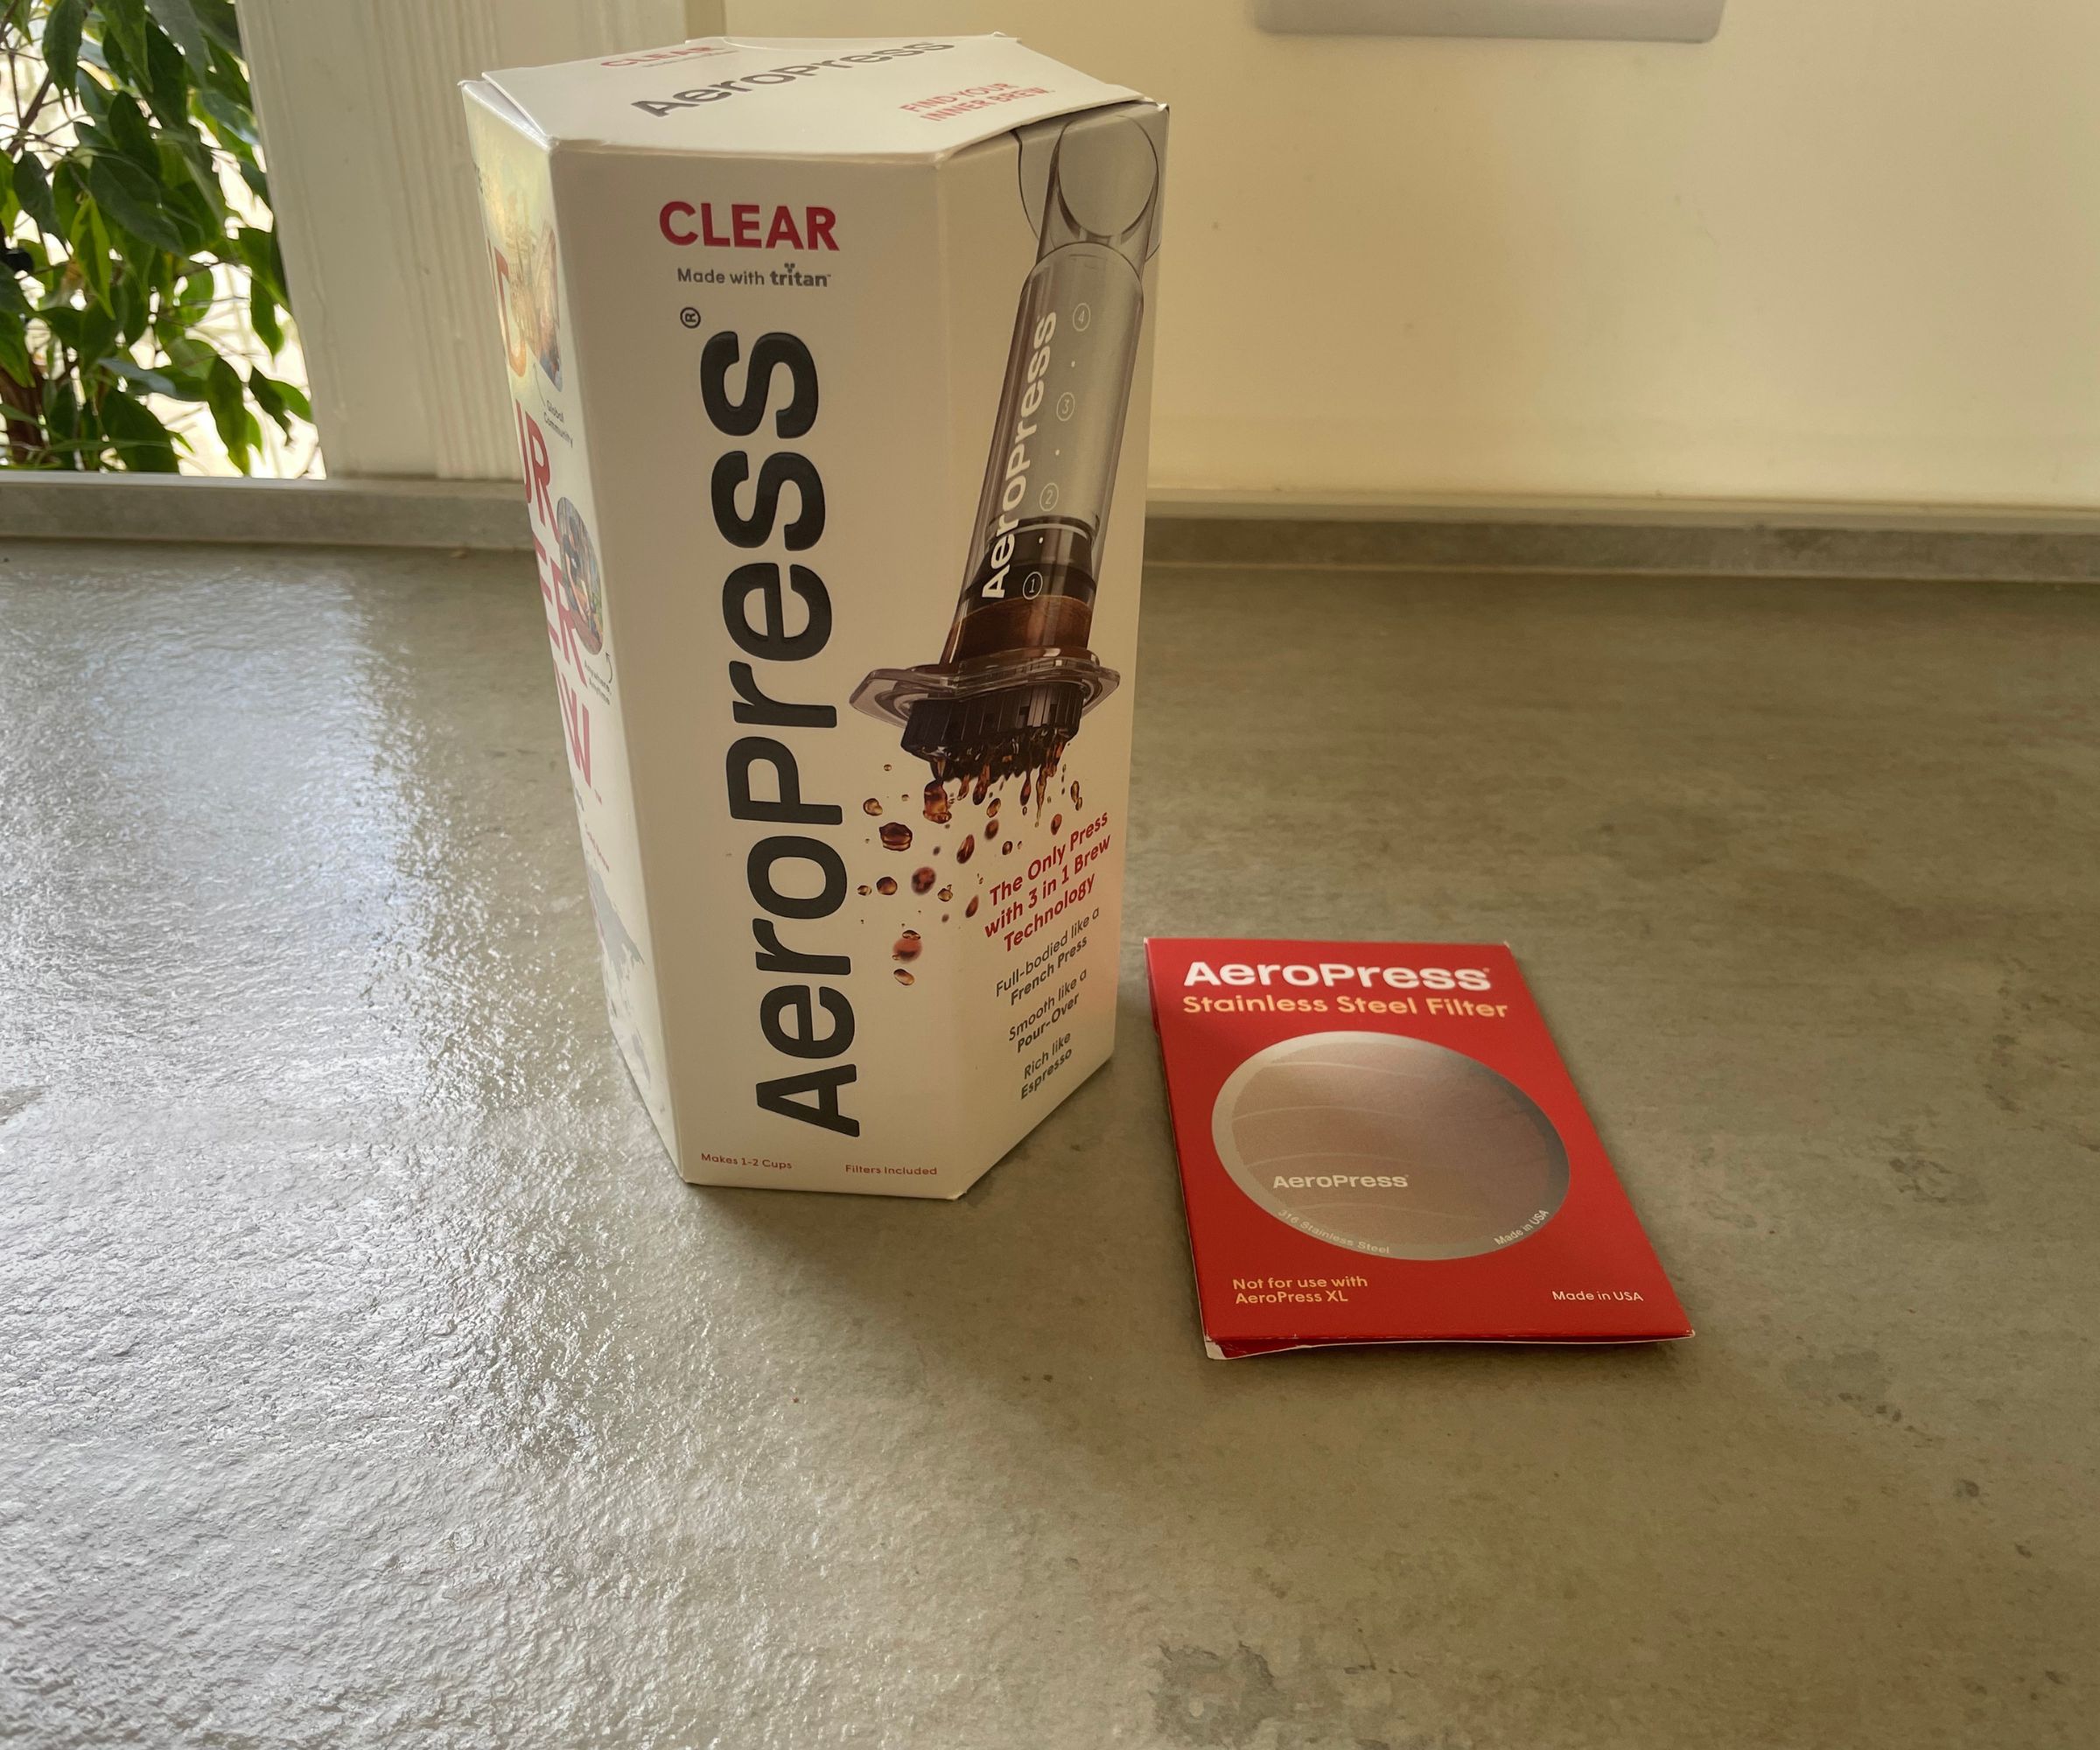
This is not the only reason that I love the AeroPress, but the minimalist packaging certainly makes a good first impression. The hexagonal box is completely recyclable which is great for the environment, but I'd be tempted to hold onto it. Useful insights into how the AeroPress works and brewing tips are printed all over it. It's one of the few times that I've felt that a brand is using the packaging to its full potential.
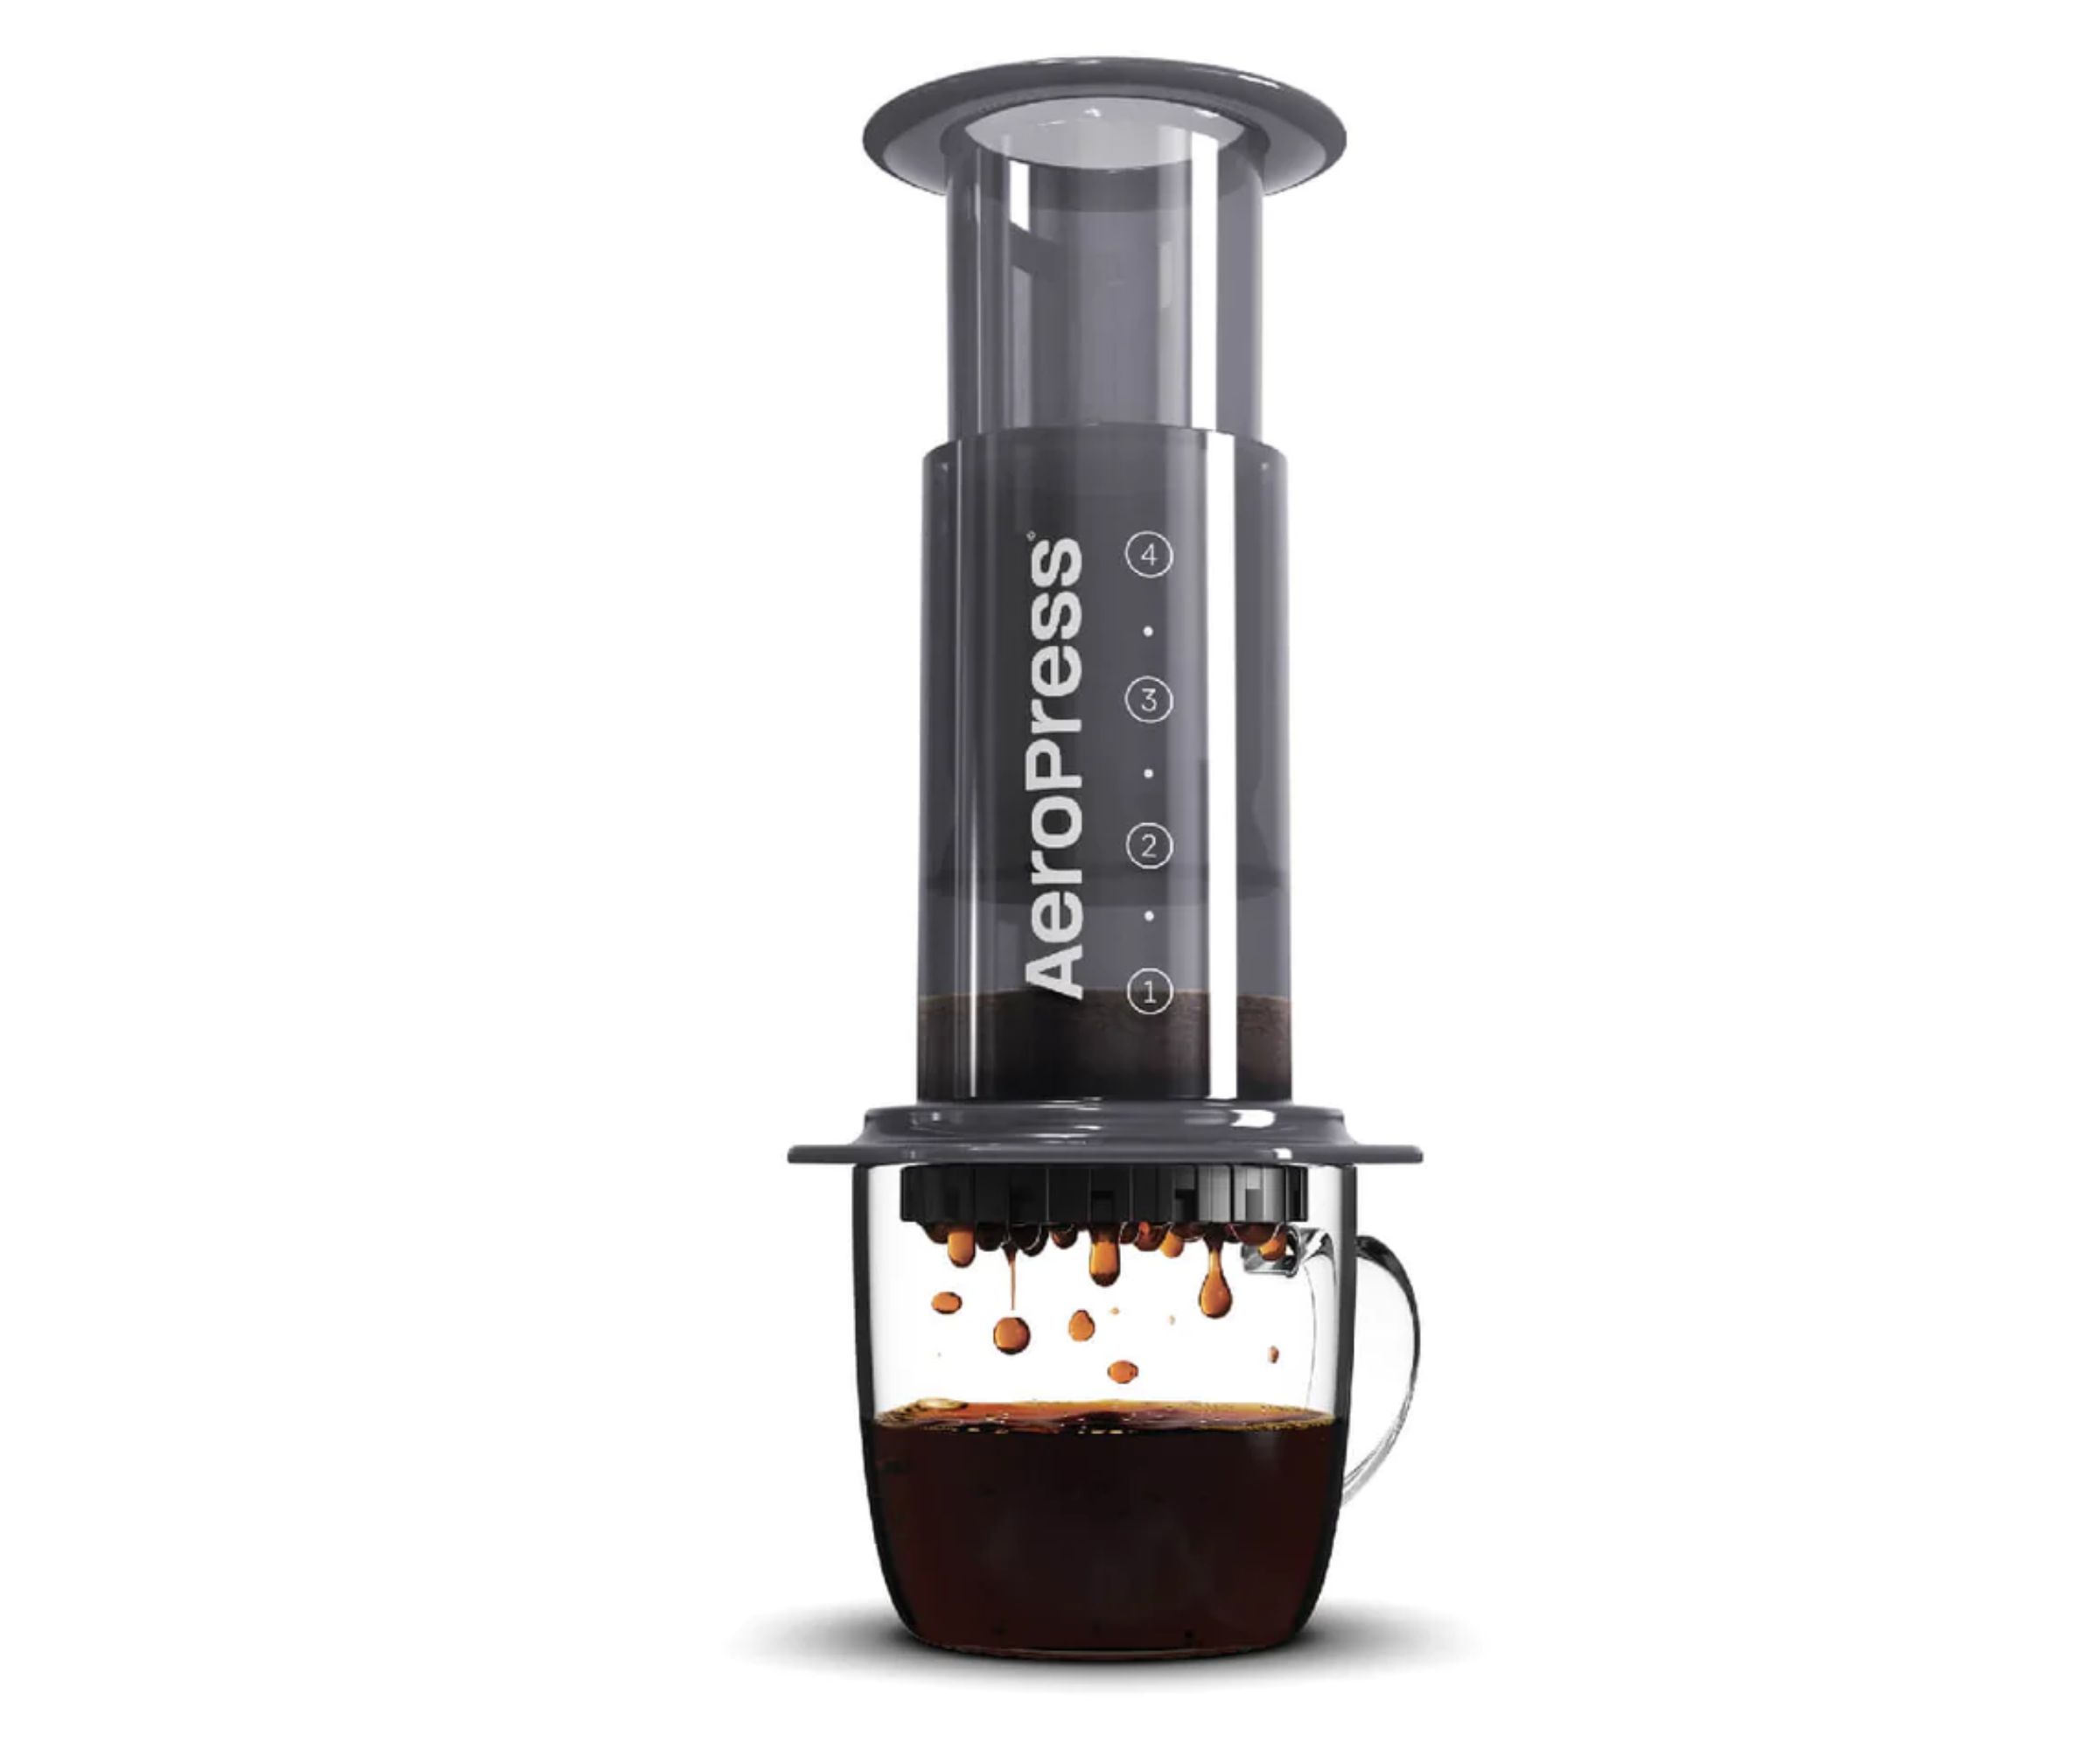
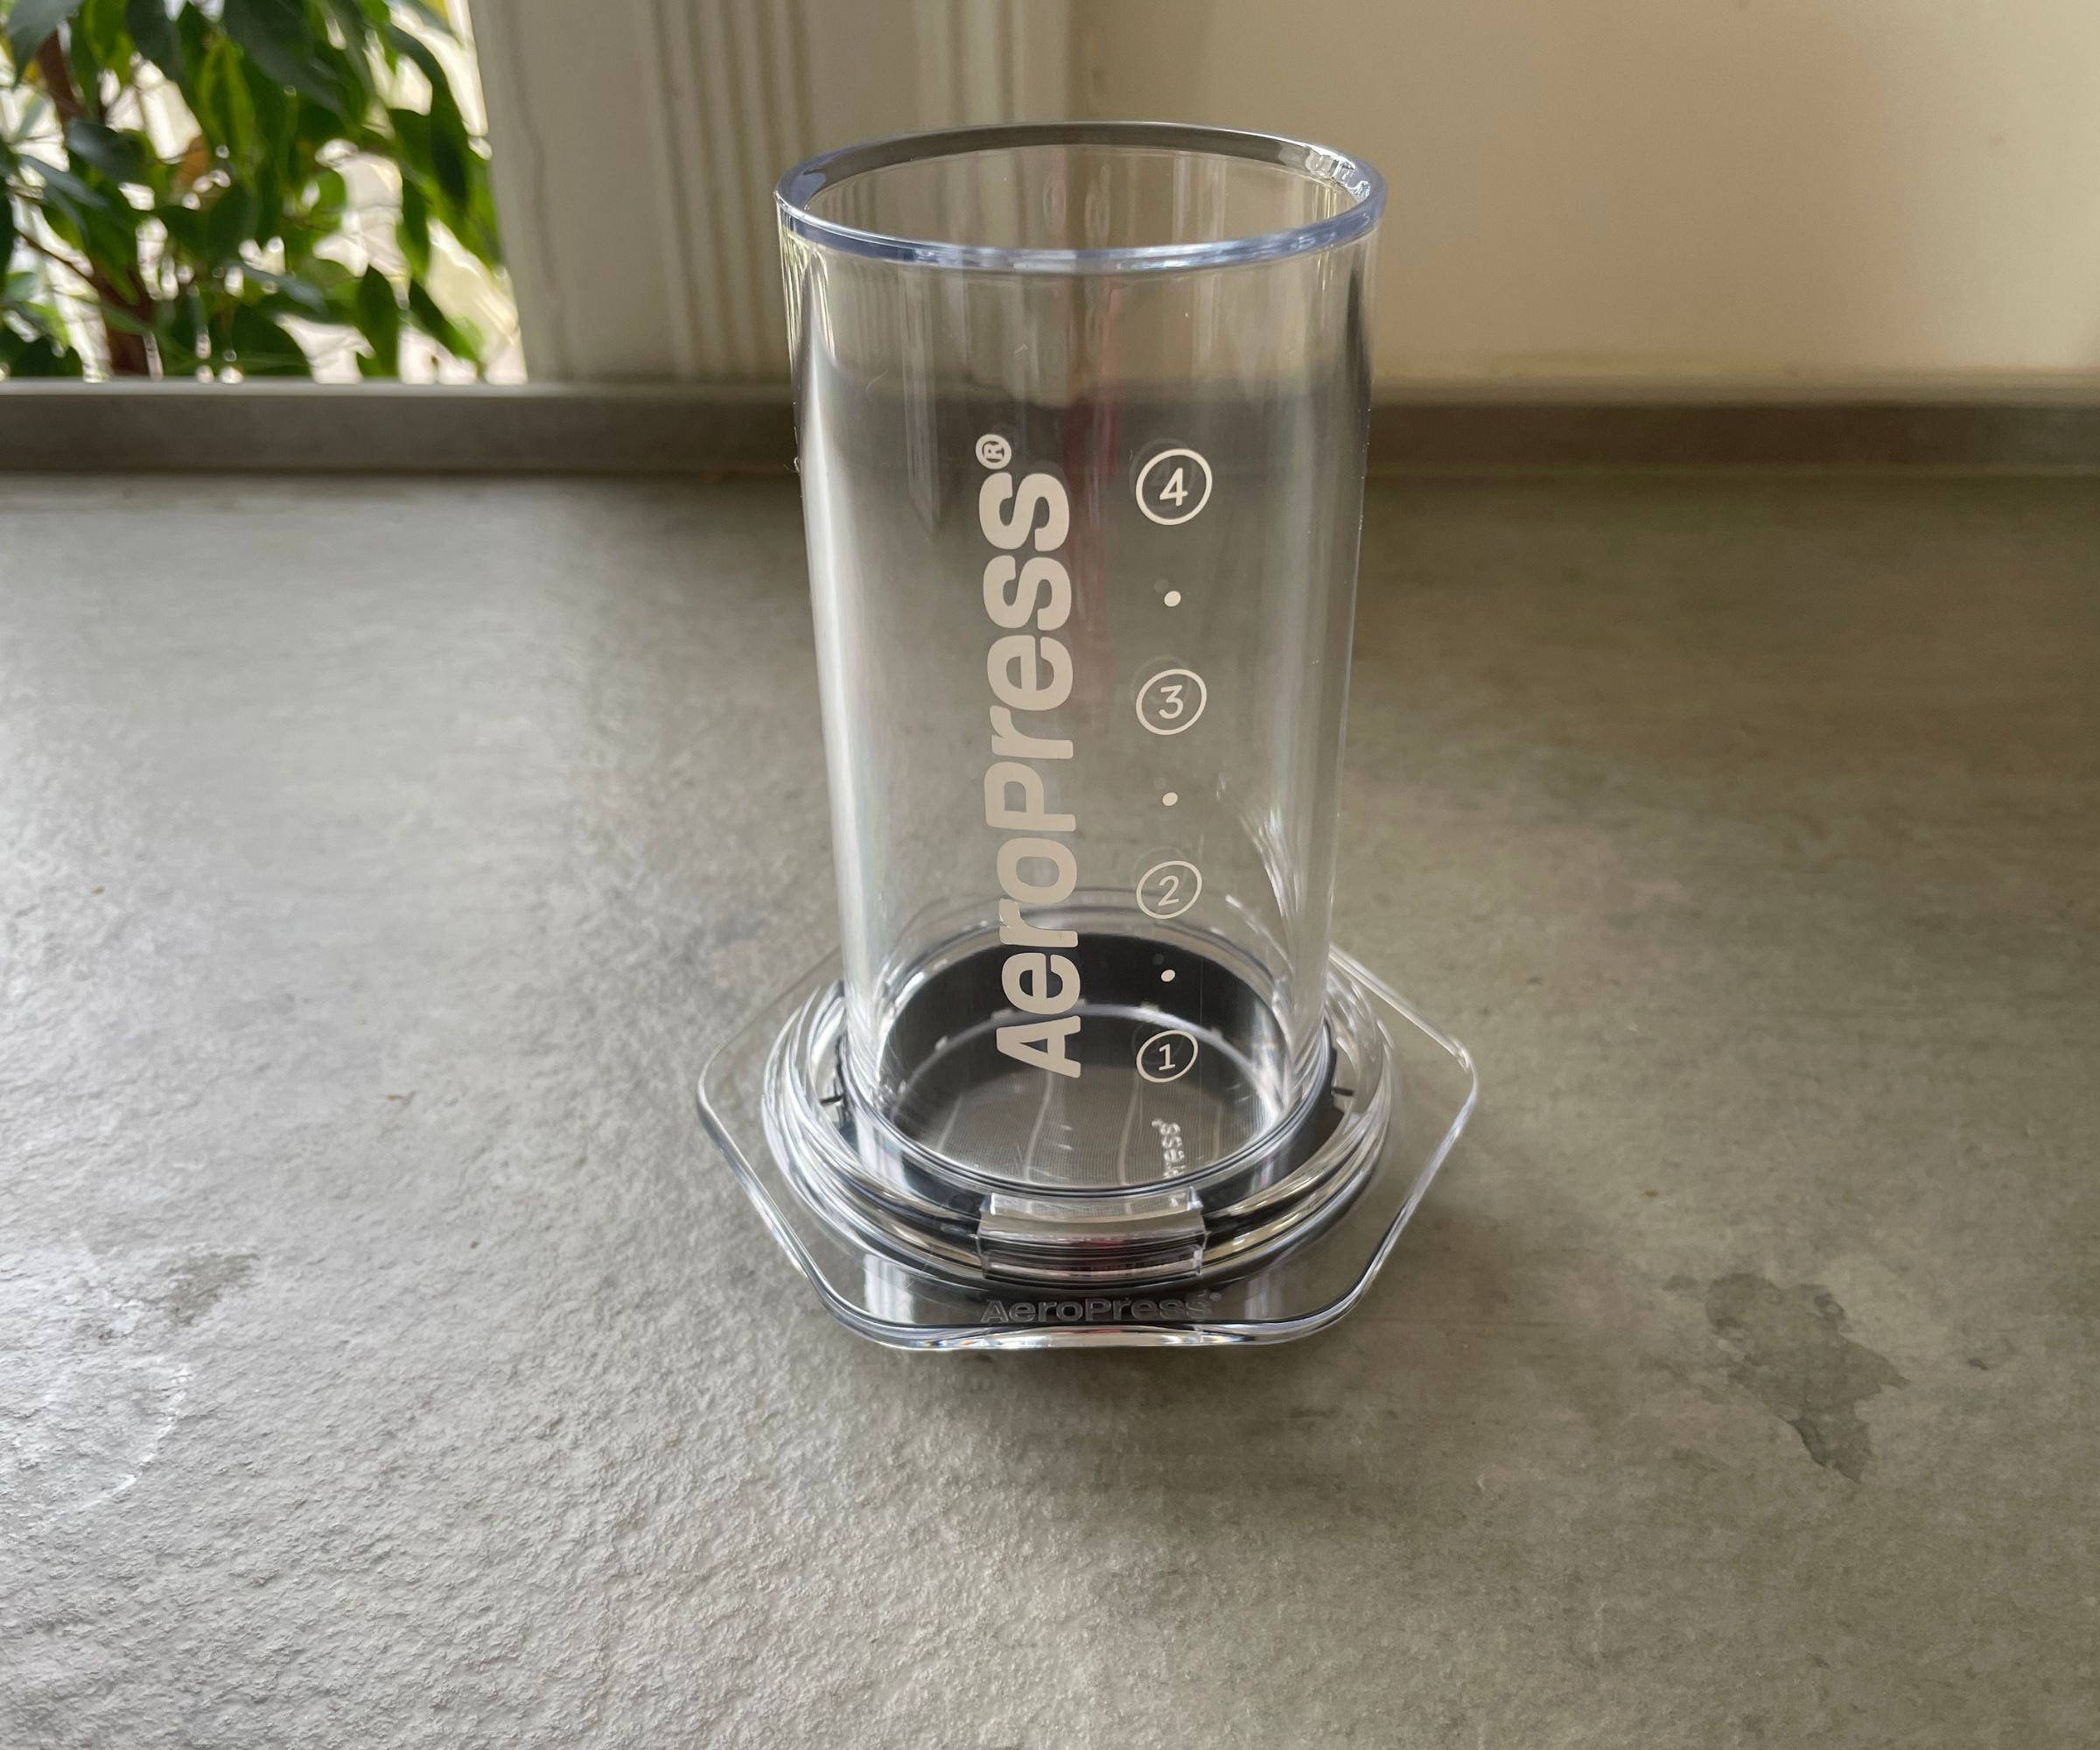
Once I had taken the AeroPress out of its (very informative) box, I put it on the countertop. It's everything the pictures suggest. The scientific-looking, small coffee maker isn't quite like anything else. I've seen AeroPress's compact design get a lot of love from people who travel a lot and who are short on space at home. As someone who does both of these, I can see its appeal.
This is made from Tritan, a BPA-free plastic. Whilst these kinds of coffee makers often have noses turned up at them, the AeroPress feels surprisingly durable. It's thick without being heavy, thoughtfully designed, and a real talking point. I have no complaints.
Who would it suit?
The AeroPress has established itself as the coffee maker of professional, working coffee geeks. I don’t know how they feel about this reputation, but I think this is well-founded. Whether you'll be brewing from the hotel, office, Air BnB, ski lodge, or tent, you'll want the AeroPress with you.
The dimensions of the AeroPress mean that it’s easy to take in your bag. I'd compare it to a small travel mug or water bottle in terms of how much space it demands. Uber-small designer bags might not quite fit it, but the average handbag, backpack, or briefcase certainly could.
The AeroPress can make some delicious coffee. You can use room-temperature water if you want a cold brew, but you'll need access to some sort of hot water source if you want hot coffee. So, if you plan on going completely off the grid, make sure to have a solar kettle with you.
What is it like to use?
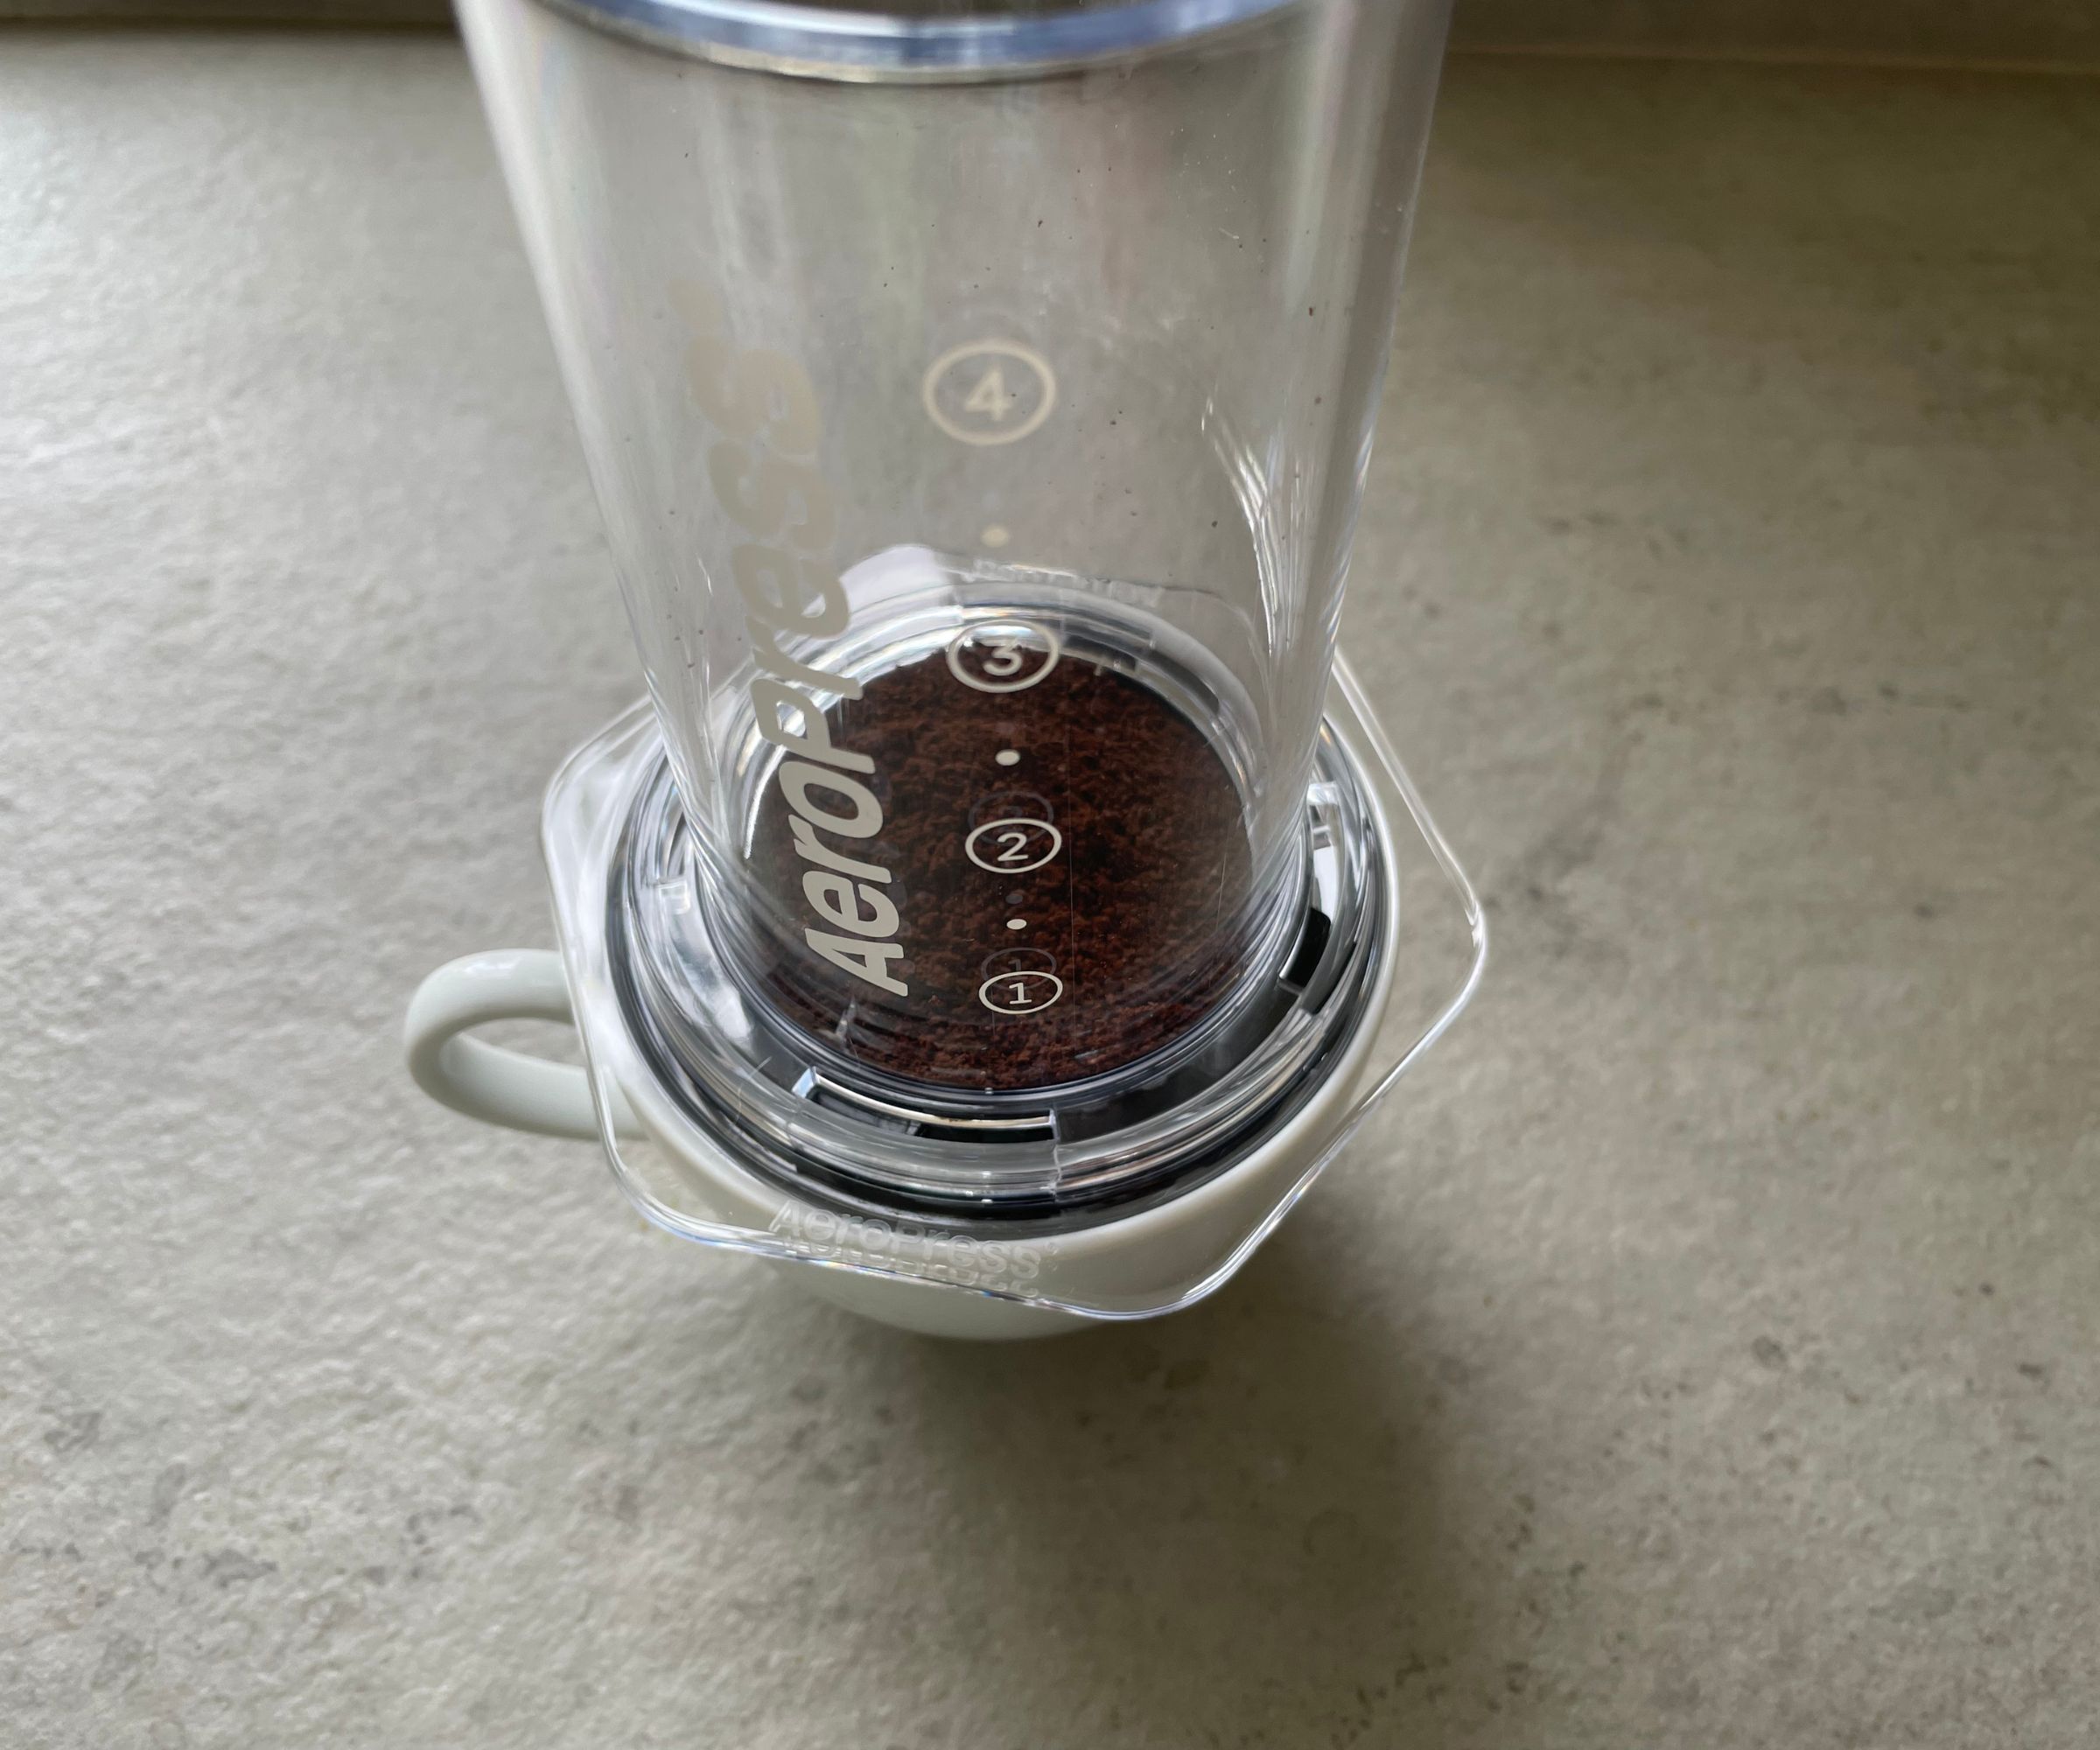
Given that AeroPresses are one of a kind, you’ll need to familiarise yourself with their unique brewing methods. I’m a visual learner, so watched this video from the coffee expert James Hoffman, but there are instruction leaflets and plenty of guides online. The process isn’t complicated, so once you’ve done it once, you’re set.
The instructions don't tell you to rinse the AeroPress, but I gave mine a quick clean to remove any factory dust. AeroPress sends your coffee maker with a paper filter, but if you want to use a stainless steel filter, you'll need to invest in one of these separately.
The AeroPress instructions give you four different brewing options: American, espresso-style, latte, and cold brew. I wanted to give each of these a fair chance and thorough test, so I thought I'd start with the key to any delicious coffee: espresso.
Test 1: espresso
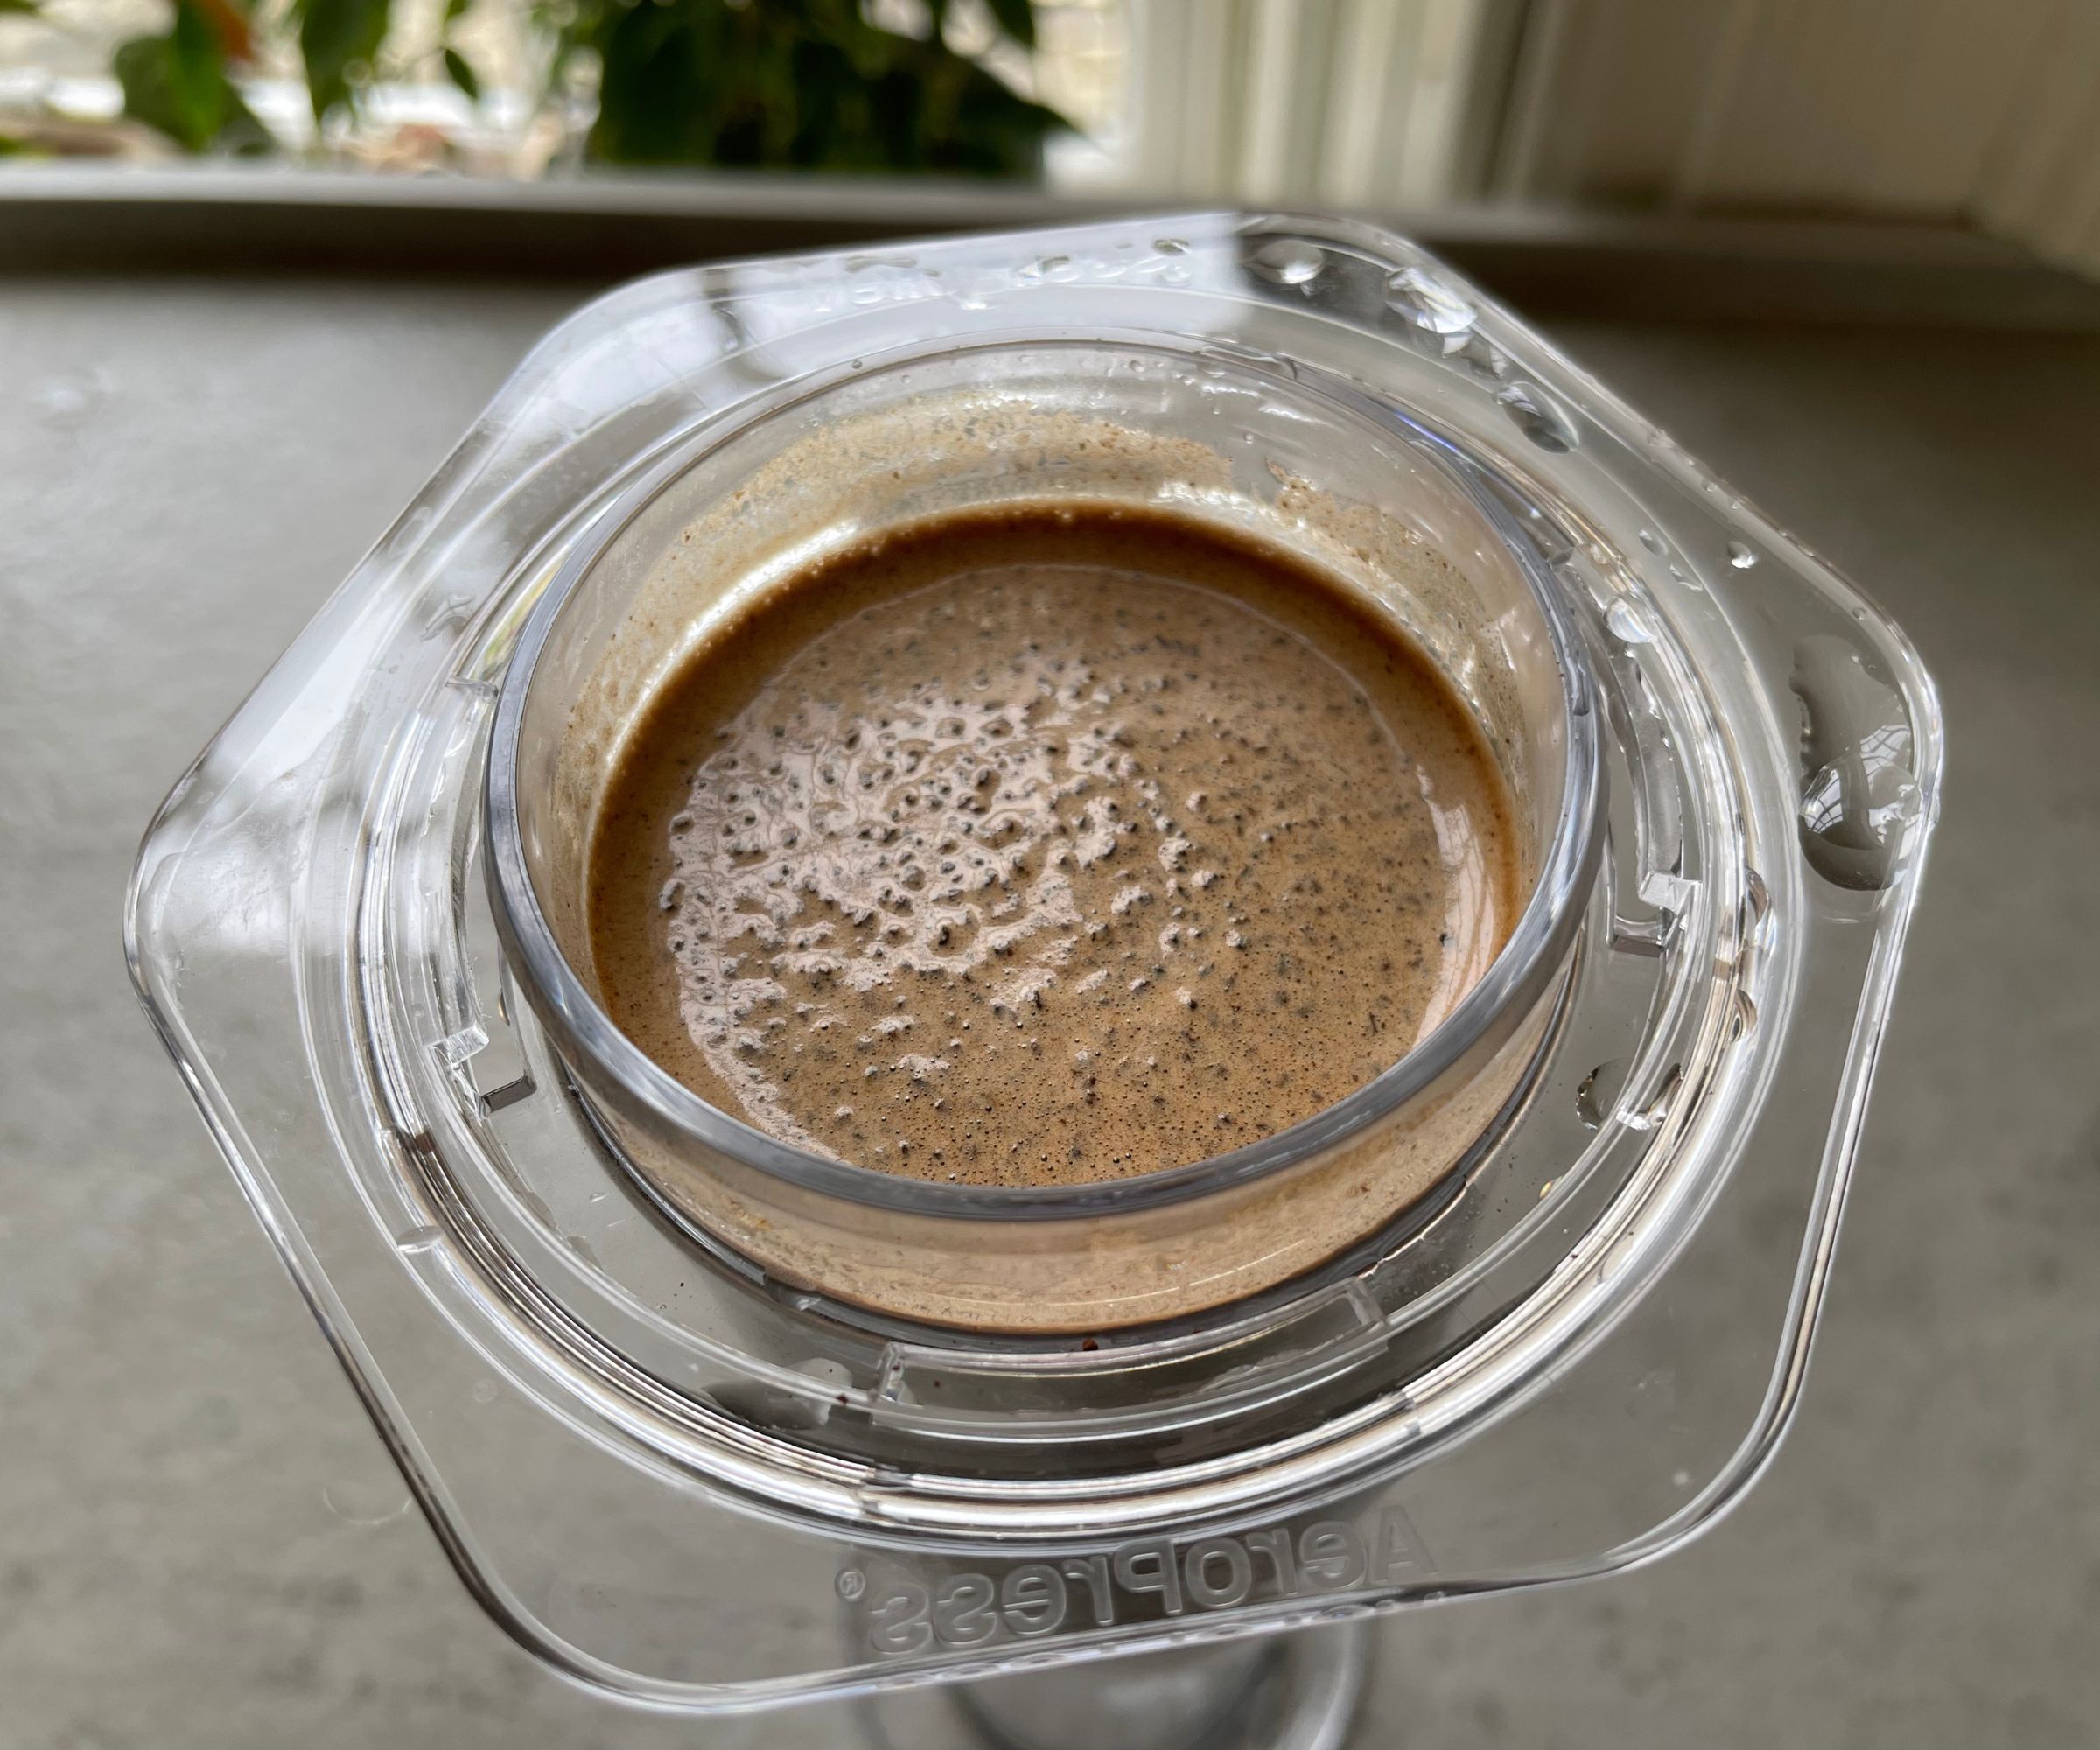
The espresso test is the first one I put all of our coffee makers through. If it can make an intense and flavorful shot in next to no time with minimal mess, you know you've got a good thing going. I think you'll be pleased with how the AeroPress performed.
I followed the instructions by the book. This meant removing the plunger, placing the stainless steel filter in the bottom basket, and screwing it on. Getting the base in place and tightly secured took some elbow grease to start off with (not to mention when I had to undo it for cleanup). However, this got easier over time and when I had finished making all my coffees, I found it pretty easy.
Once the base was in, I put one scoop (0.5 oz) of freshly ground coffee into the bottom of my AeroPress. If you want a double shot of coffee, you add two scoops (1 oz), but I thought I would start things off simply.
The markers on the side of the chamber are clearly marked with the numbers one to four. I filled my chamber up to number one with water heated to 185 degrees. You fill up to the second marker for a double shot.
Some water dripped out the bottom of my AeroPress at this stage. Luckily, I already had mine sat on a cup (as instructed), but if you didn't, this might be a nasty shock. AeroPress says that this is expected and very normal, so there's no need to worry. I then stirred (coffee geeks would say 'agitated') my grounds with the AeroPress stirrer for about ten seconds. I let my coffee sit for a minute before putting the plunger on and pressing down.
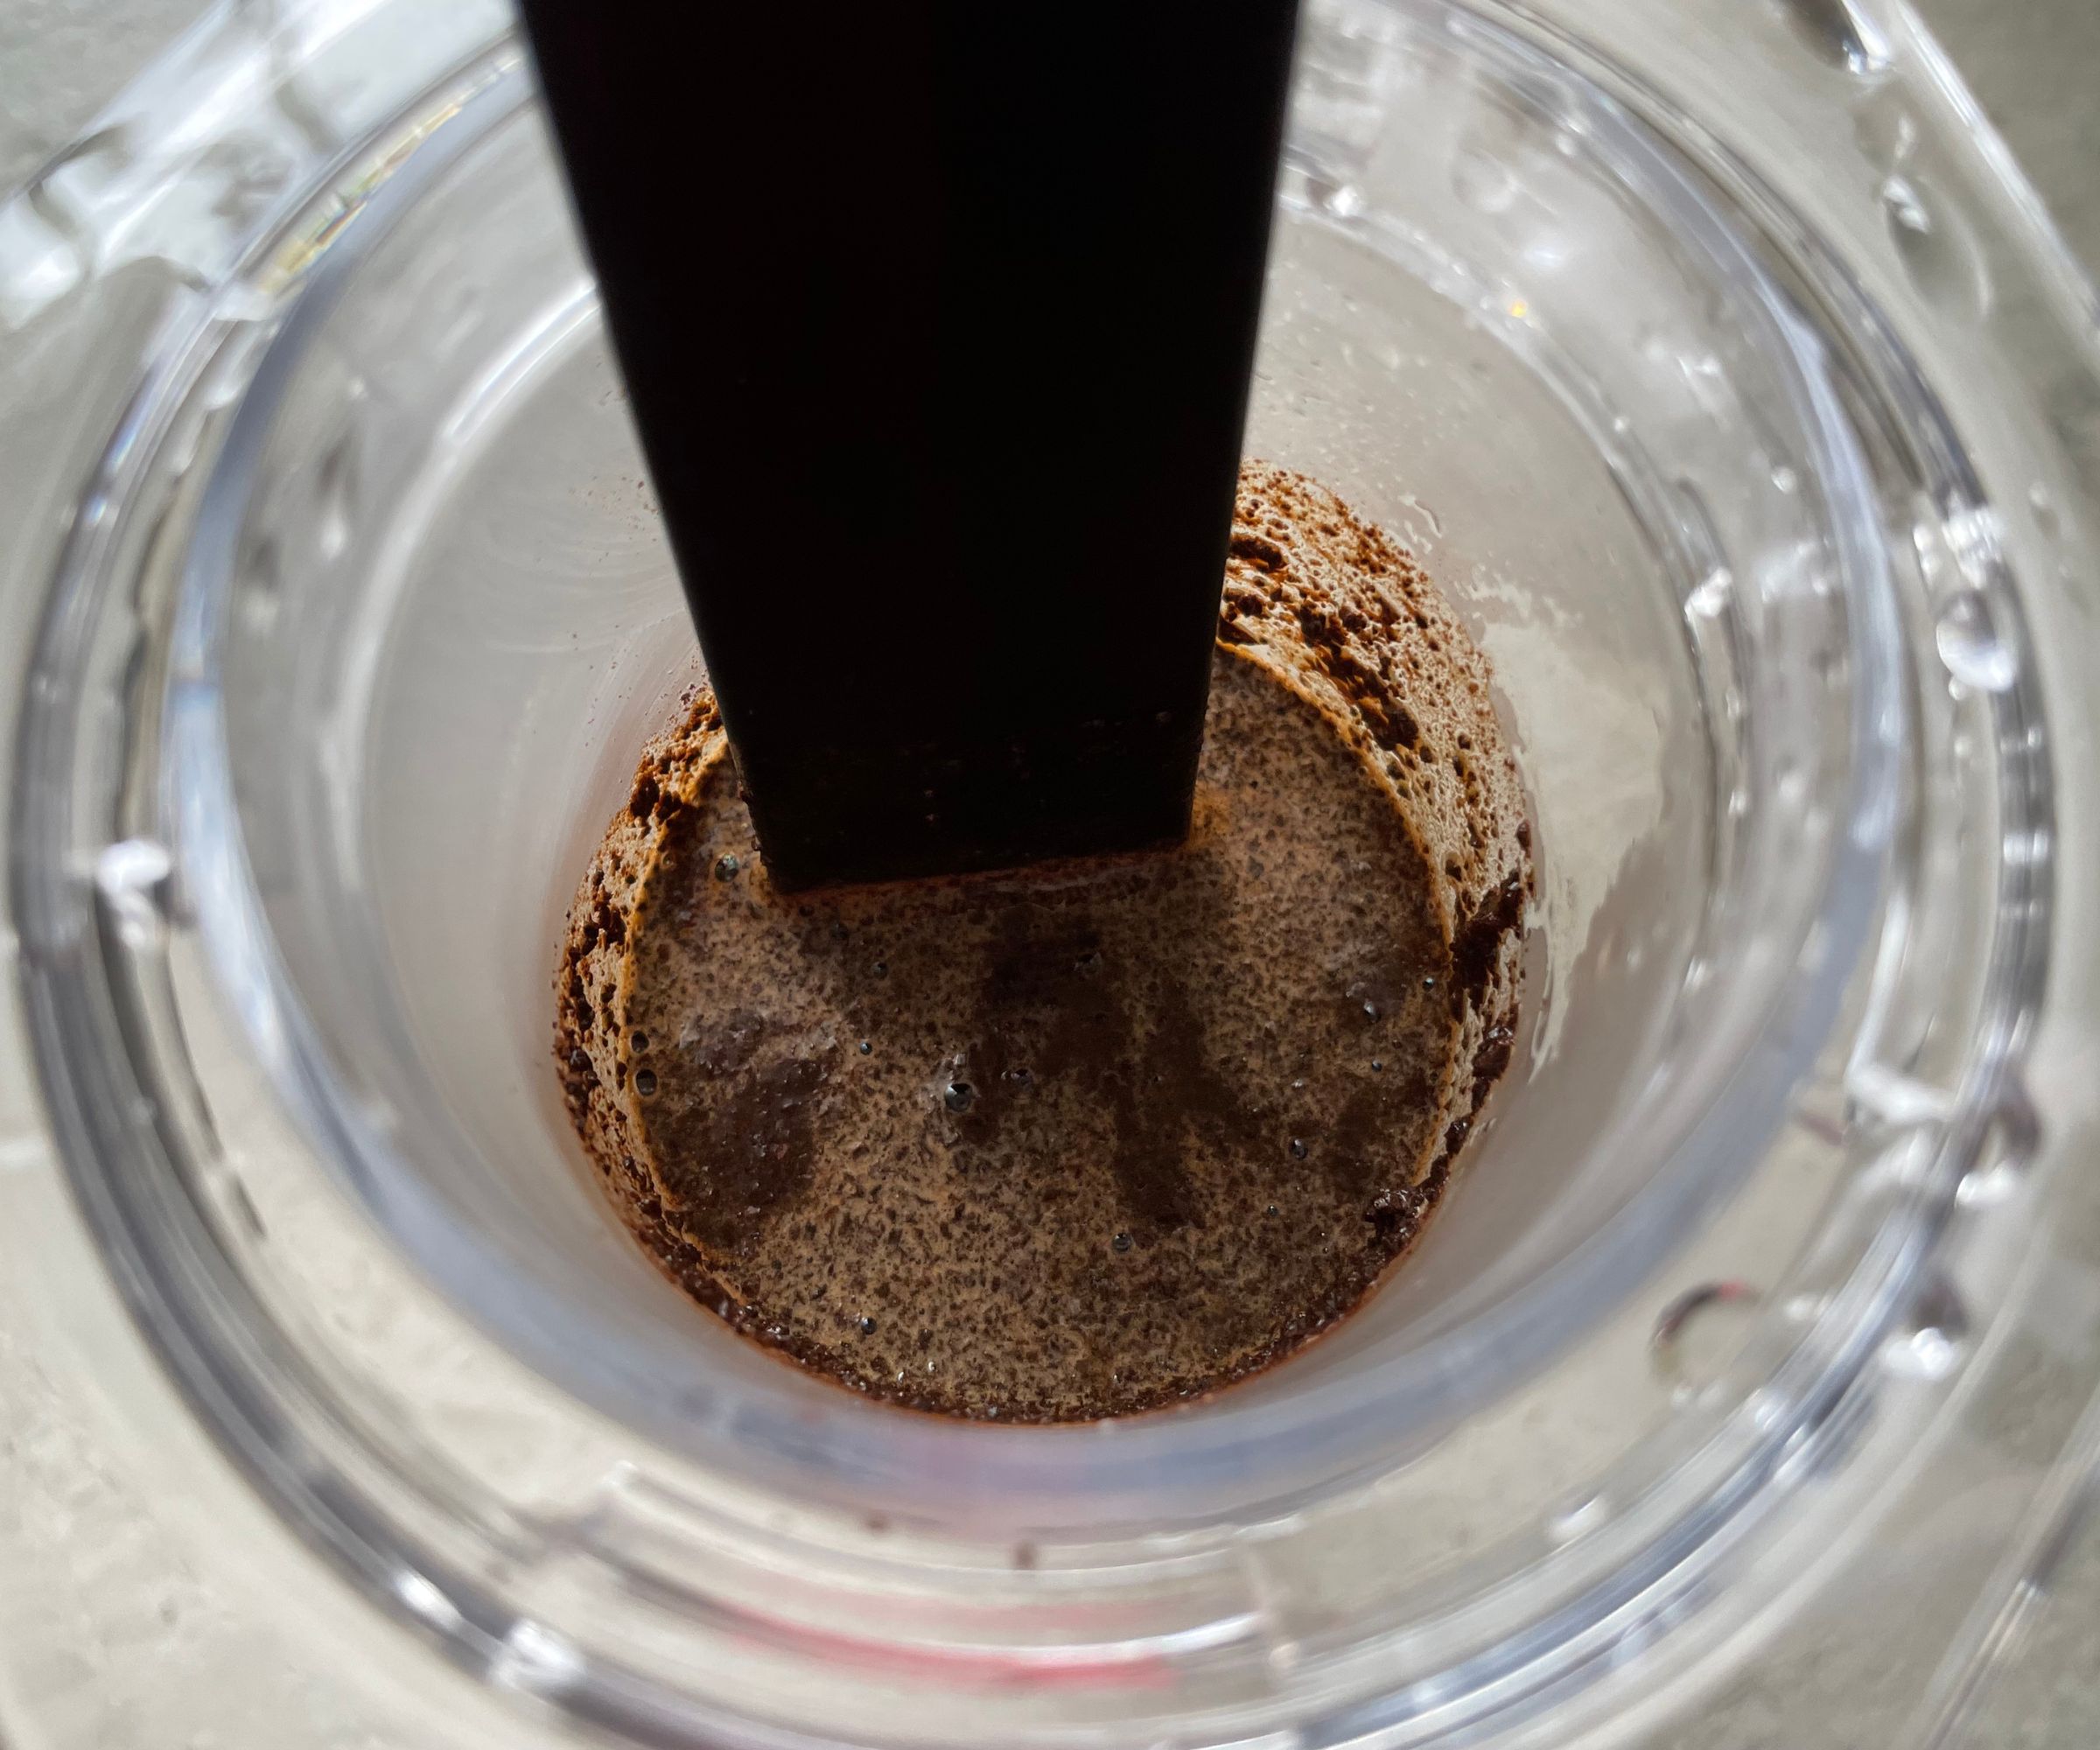
AeroPress' instructions say that some resistance is normal. I expected it to be tough to plunge, but the resistance wasn't nearly as strong as I thought it would be. I pushed gently (as instructed) and then, when I had pushed all the water through my grounds. I lifted the AeroPress up, screwed the bottom off, and kept pushing until my disc of saturated grounds popped out. The whole process was neat and completed in under two minutes.
I don't know quite what I was expecting from the AeroPress, but my coffee shot was remarkably delicious. It had the syrupy texture of a proper espresso and the rich intensity of one too. Having made it by hand, I felt suitably satisfied.
Test 2: Americano
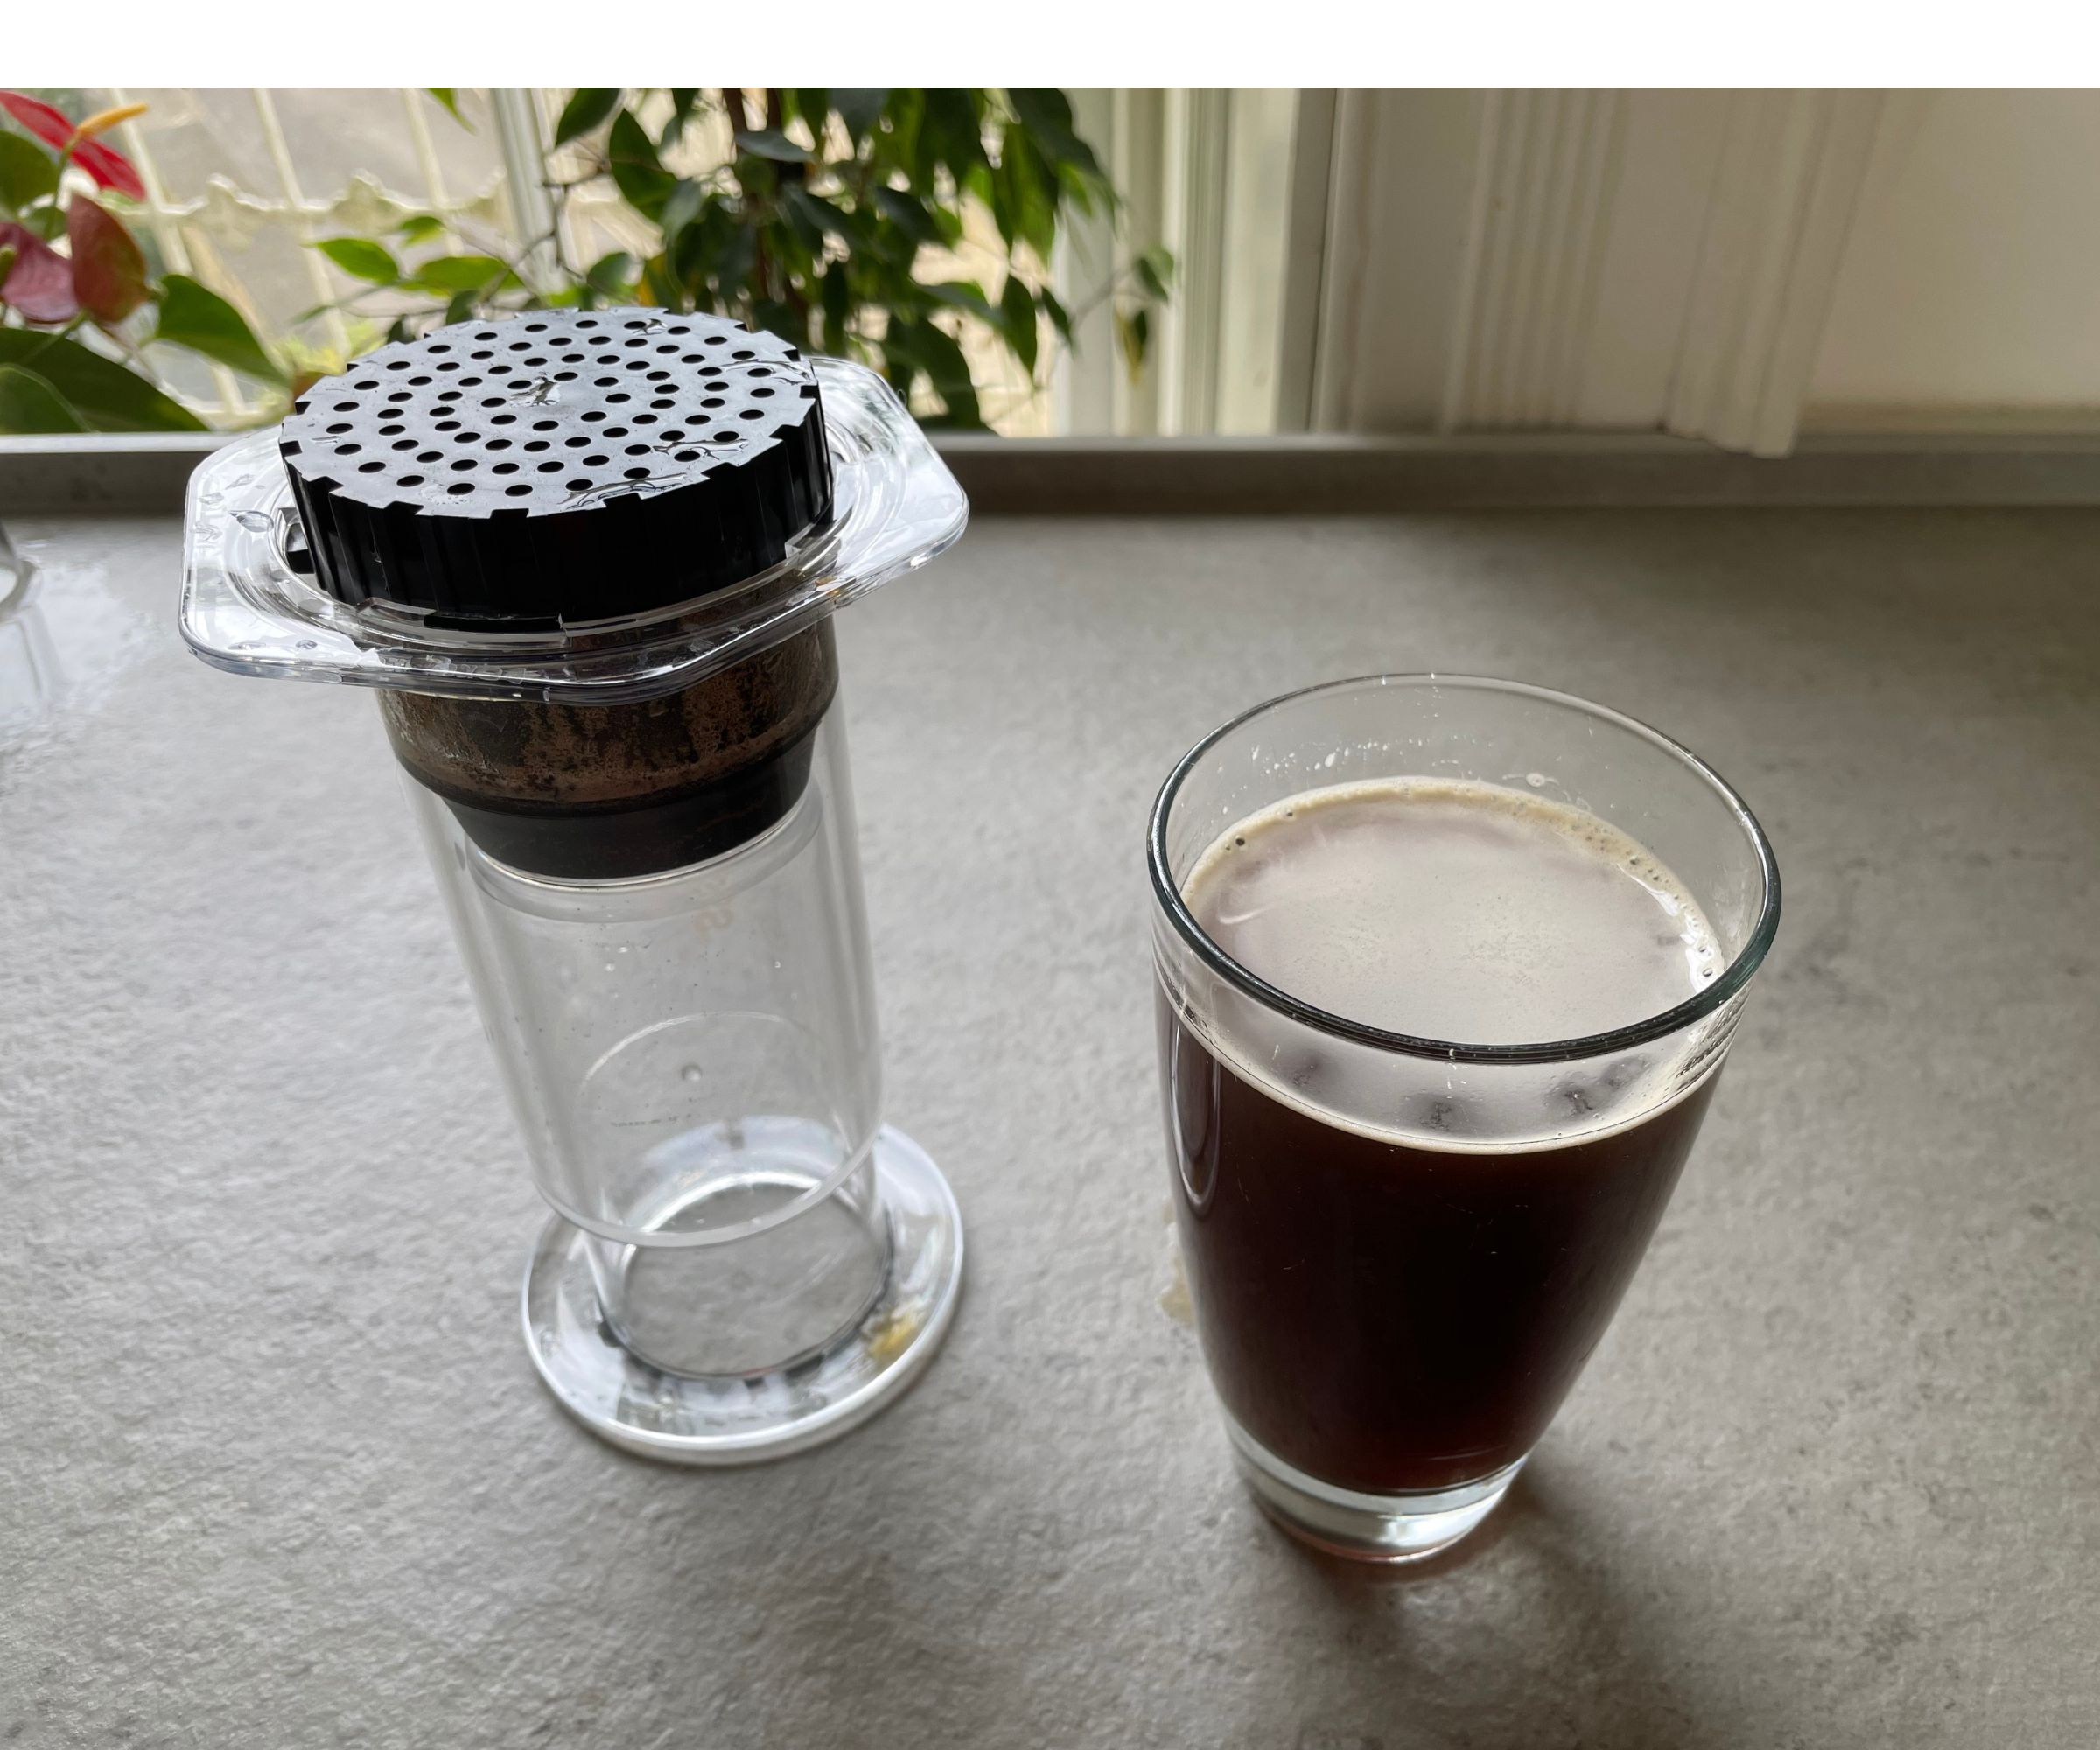
Making an Americano follows much of the same process as making an espresso, except that I had to fill the cylinder up to the number four on the side. I plunged again and my cup filled up with dark, rich-looking coffee.
I tested how the AeroPress sits on a range of coffee cups, since this is pretty key for a clean brewing process. I used a small shallow one, a big wide one, a tall slim one, and it sat sturdily on top of them all. You'd have to have wider-mouthed cups than me (which is pretty impressive if you do) for your AeroPress not to sit on top. It also won't sit on small, espresso shot glasses properly; the wide brewing head will end up pouring coffee onto the countertop.
I extracted an impressive 6 oz of coffee from my AeroPress. That's a decent-sized serving. It might be a little small for some, but it leaves room for you to add milk and syrups to your coffee afterward.
When it came to the all-important taste test, I was really impressed. This came with the notes of a specialty brew: there was some nuttiness, a little sweetness, and some really gorgeous bitter chocolate. I could see a light crema on top of my cup, which even the best drip coffee makers struggle to achieve. Again, the whole process, including brewing was wrapped up in about two minutes. My coffee tasted good enough for me to drink it even quicker, but I sipped and enjoyed it. A lot.
Test 3: cold brew

Now, I'm a bit of a cold brew connoisseur (even if I do say so myself), so the idea that the AeroPress could make a smooth cup of cold brew in just two minutes rang some alarm bells for me. The process should take at least 18 hours, if not 24. However, I've been surprised by a speedy cold brew both on De'Longhi's La Specialista Maestro espresso machine and Eletta Explore bean-to-cup machine, so I tried to withhold judgment.
The process is incredibly similar to making an Americano, except that you use filtered water at room temperature. A scoop of coffee goes in, you fill up to number four with water, give the grounds a stir, wait for a minute (or three) and then plunge and press your coffee. I even used medium-fine coffee grounds (cold brew would normally be coarse).
AeroPress recommends brewing over ice, so, under instruction, that's exactly what I did. Whilst this wasn't quite the cold brew that I lovingly set-up to infuse overnight, I have to say, it was pretty good. The flavors were notably smoother and sweeter than a hot coffee and I really enjoyed drinking it. I have been served drinks less worthy of the cold brew stamp by qualified baristas, so the AeroPress did a pretty good job. I would say that the flavors don't have quite the same 'depth' to them and that my drink was more watery, but I'm being picky. This was good.
Test 4: latte
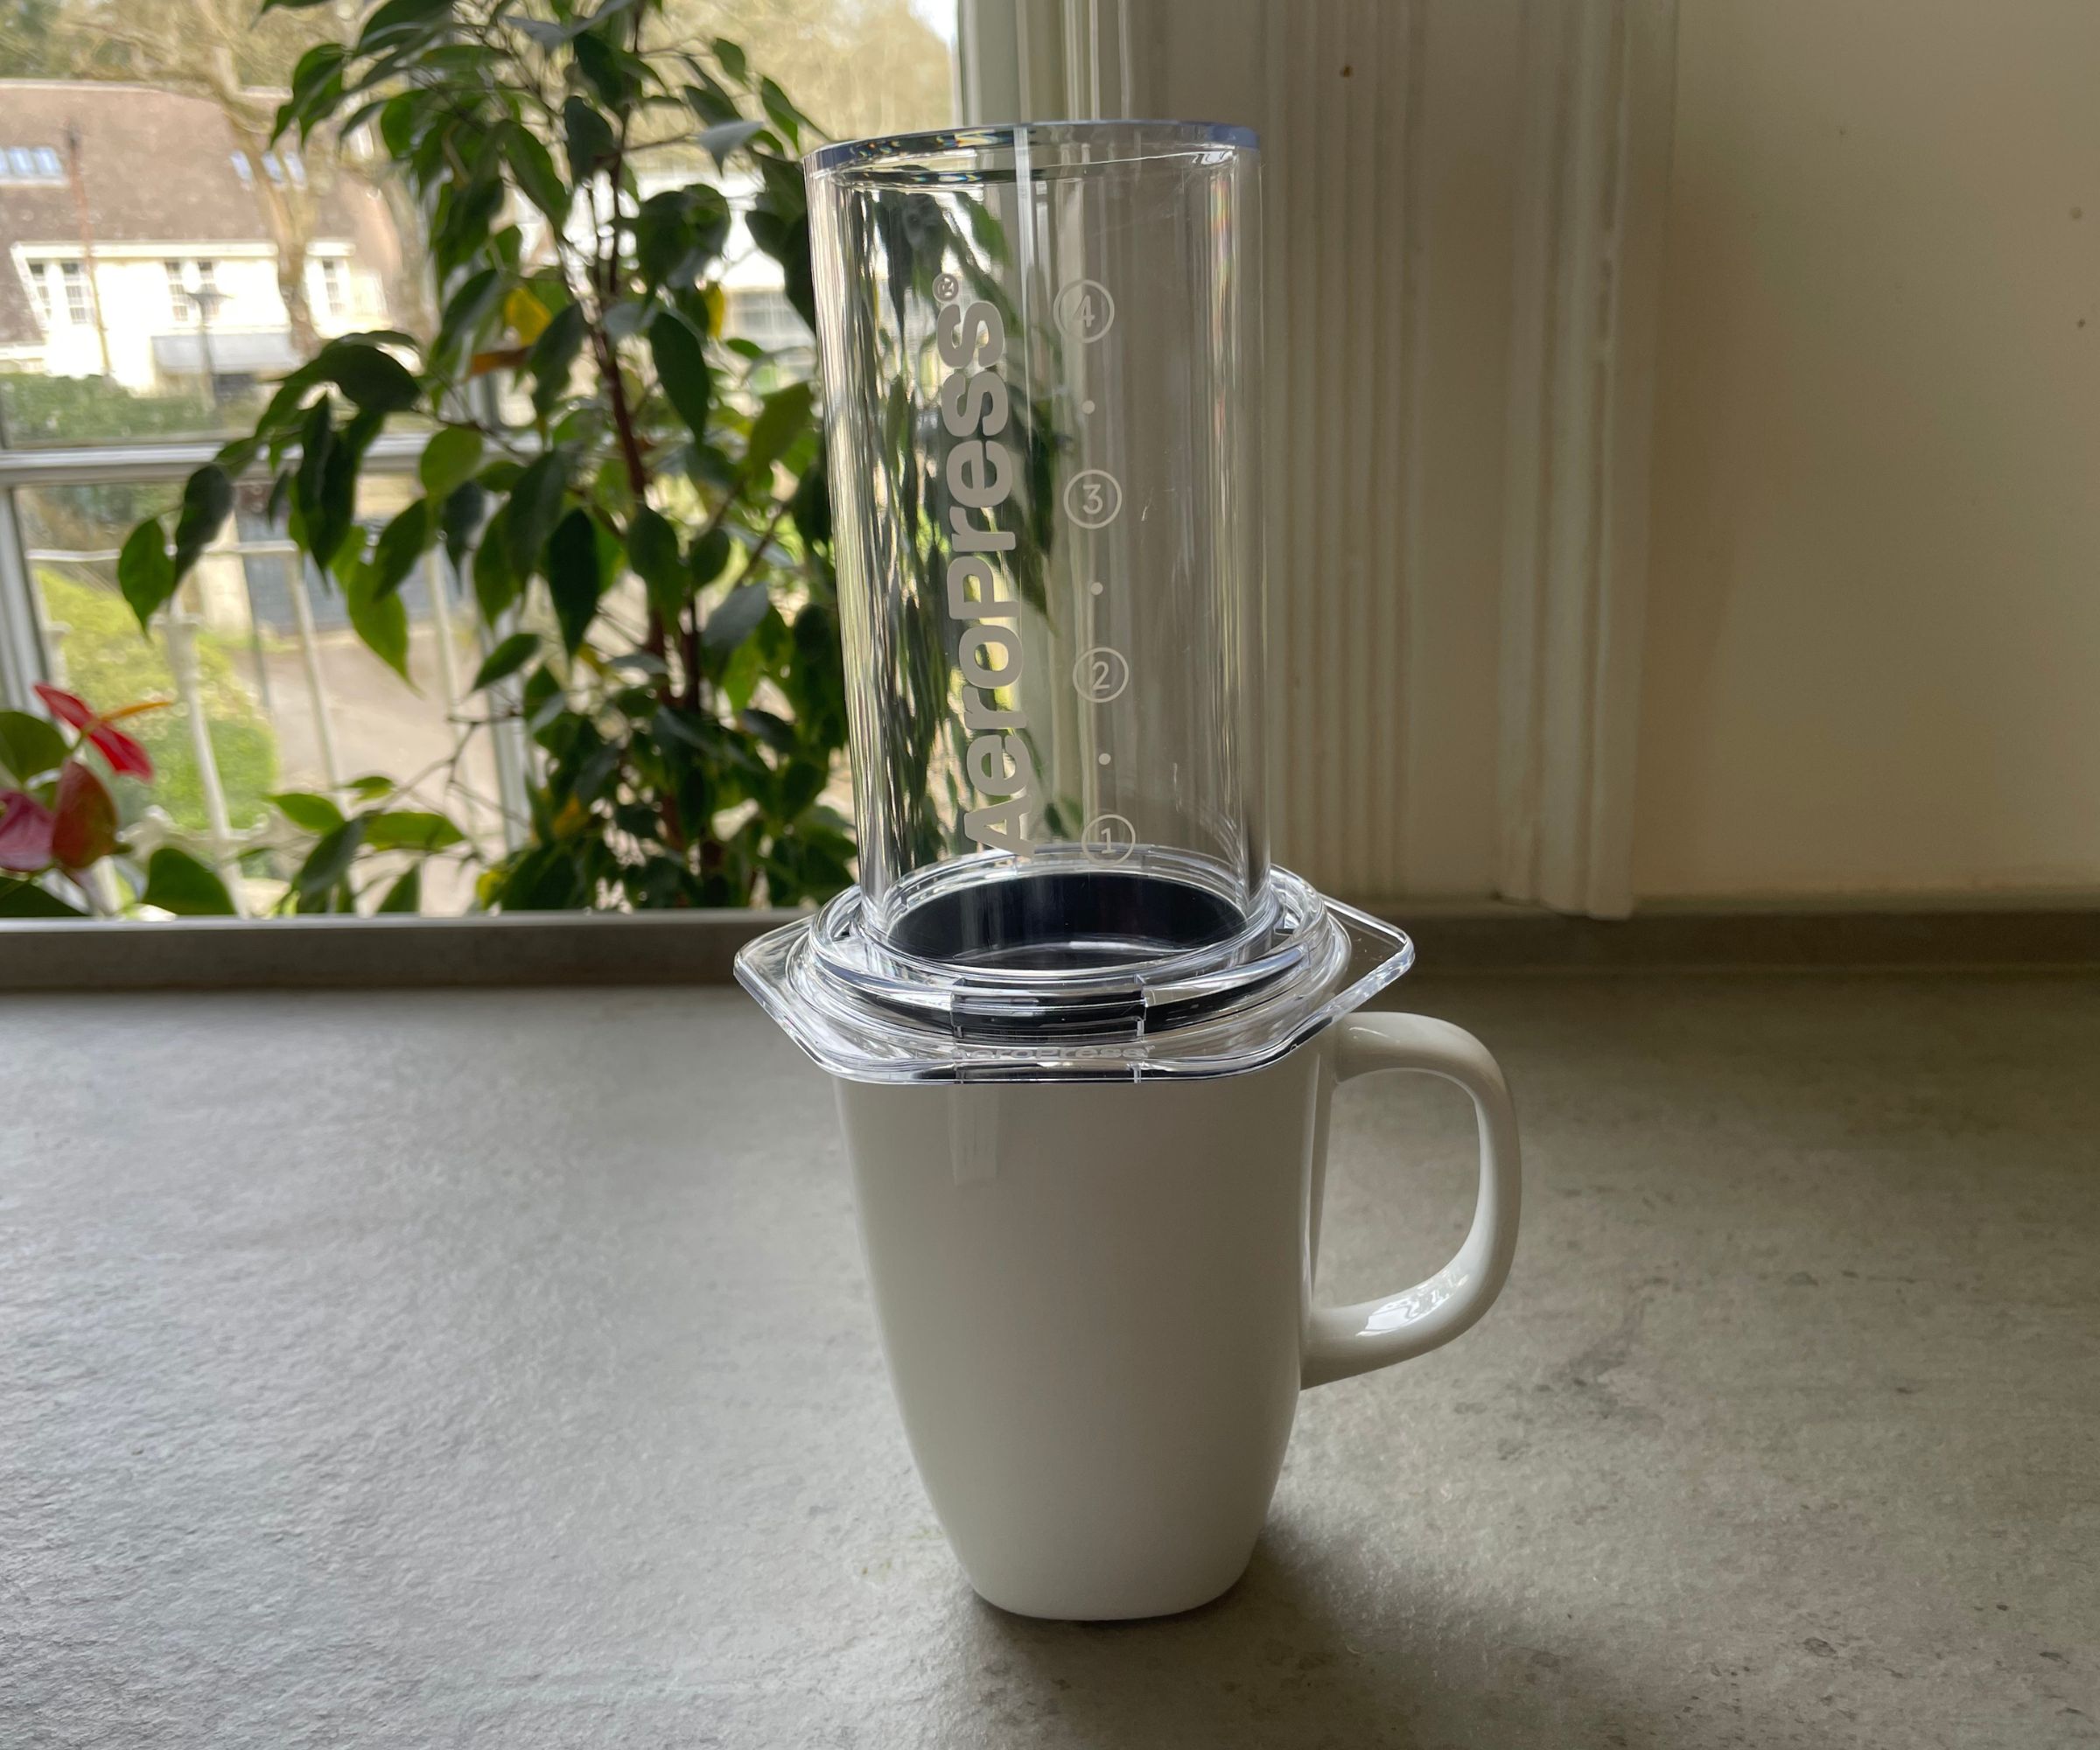
I never expected to be able to make a latte with the AeroPress, so I had almost written it off from my testing schedule. Then, on the instruction leaflet, I saw that AeroPress deemed it possible. A closer look at the instructions uncovered that you essentially make an Americano and then add steamed milk at the final step. If you want a latte, you'll need to invest in one of the best milk frothers.
I gave this a go since I have an espresso machine with a good steam wand in my kitchen. Whilst I did really enjoy my drink — it tasted like my latte had been made in a proper coffee shop — I did have to enlist help from a milk steamer (I used the Smeg milk frother, which you can buy from QVC).
Top tips
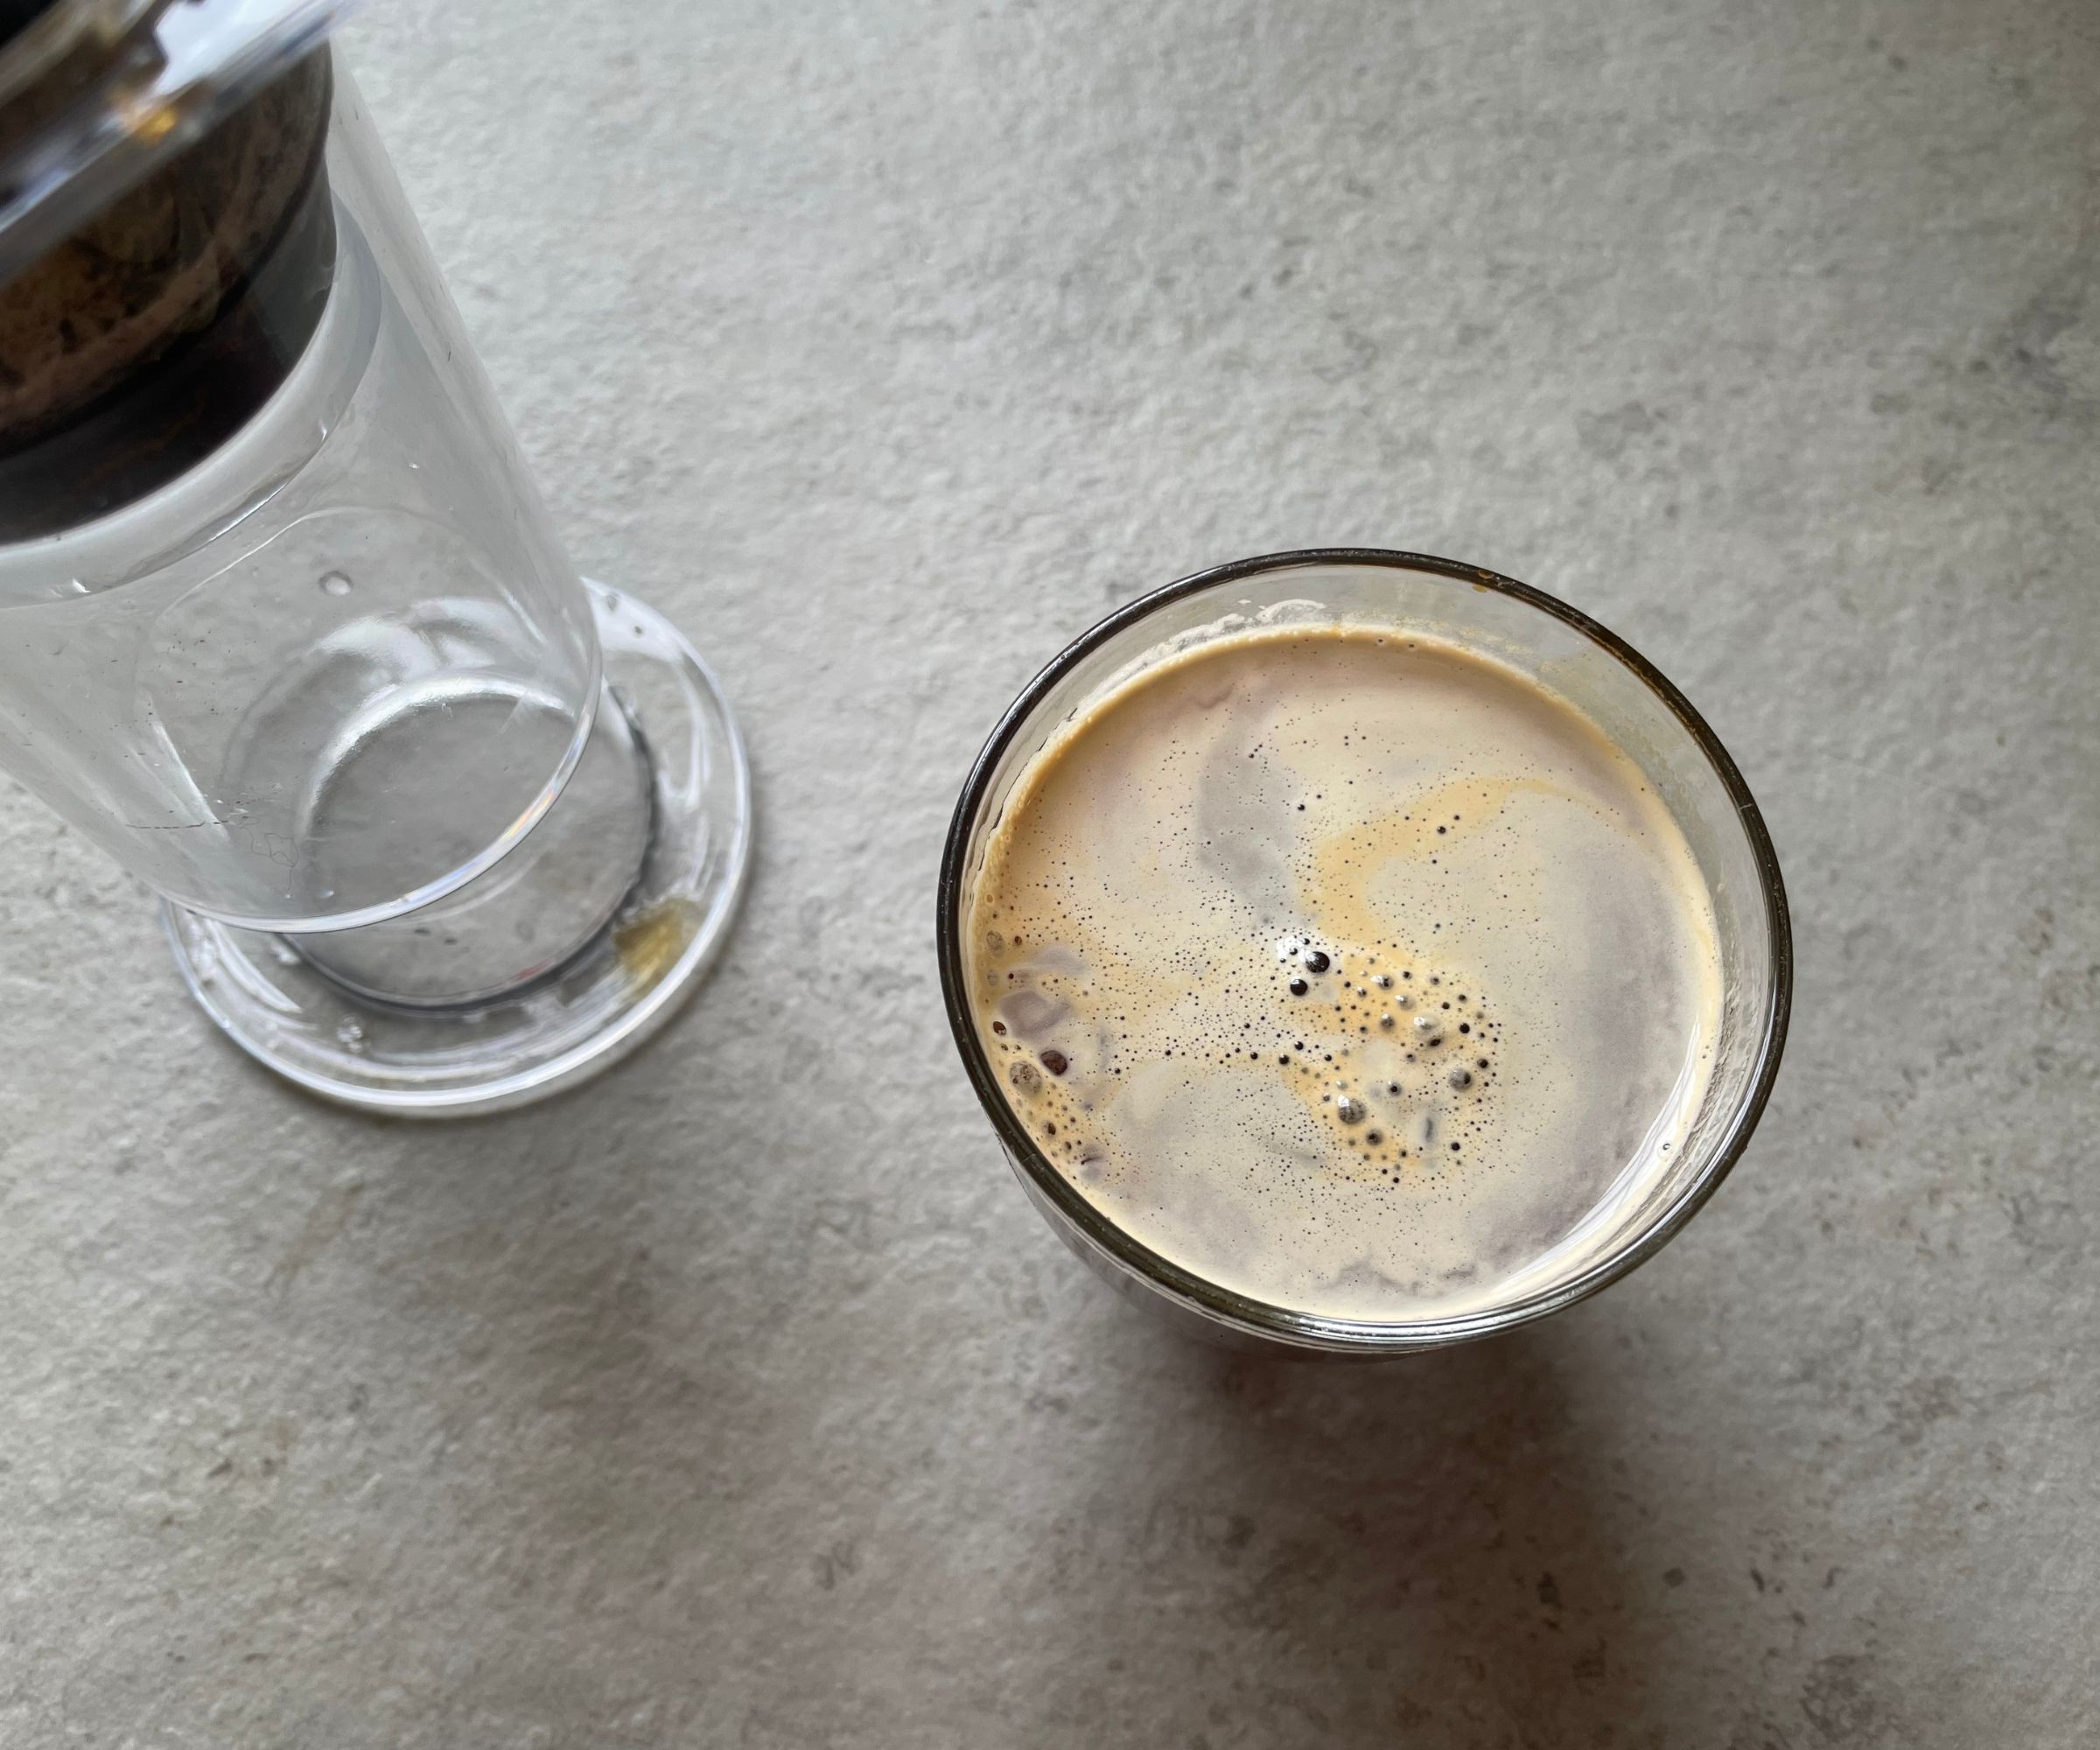
This isn't an official section of our buying guide, but there was something about the unconventional AeroPress that made me want to experiment. I dedicated some time to playing around with the AeroPress, seeing what else it could do and I have come away with a few top tips.
Firstly, I wasn't a big fan of the instant dripping when I poured my hot water over the grounds. I like to bloom my coffee before I drink it (this gets the CO2 out and results in a smoother brew), but when the coffee starts draining, it's hard to get a really good bloom. I found that if you switch up the way that you use the AeroPress, you can bloom and exert a lot more control over the way that you brew. Here's what I did.
I put my plunger in the chamber (without the base or filter in place) and used the plunger to stand the AeroPress on the countertop. Then, I added my coffee grounds, effectively working the AeroPress like before, but the opposite way up. I added a small amount of hot water to my grounds and gave them a stir and thirty seconds to properly bloom. Next, I added the rest of my hot water, let it sit for a few minutes, and then screwed on the base.
I placed my cup on the top of the AeroPress and, with one hand holding the cup in place and the other holding the AeroPress, I flipped the whole thing around so that the cup sat on the countertop again. Then, I plunged my coffee and it was ready to drink. This will either sound hellish or heavenly to you, depending on both your coordination and how much you care about blooming your coffee. Either way, I'd recommend giving it a go, even if you only do it once.
Cleaning, storage, and maintenance
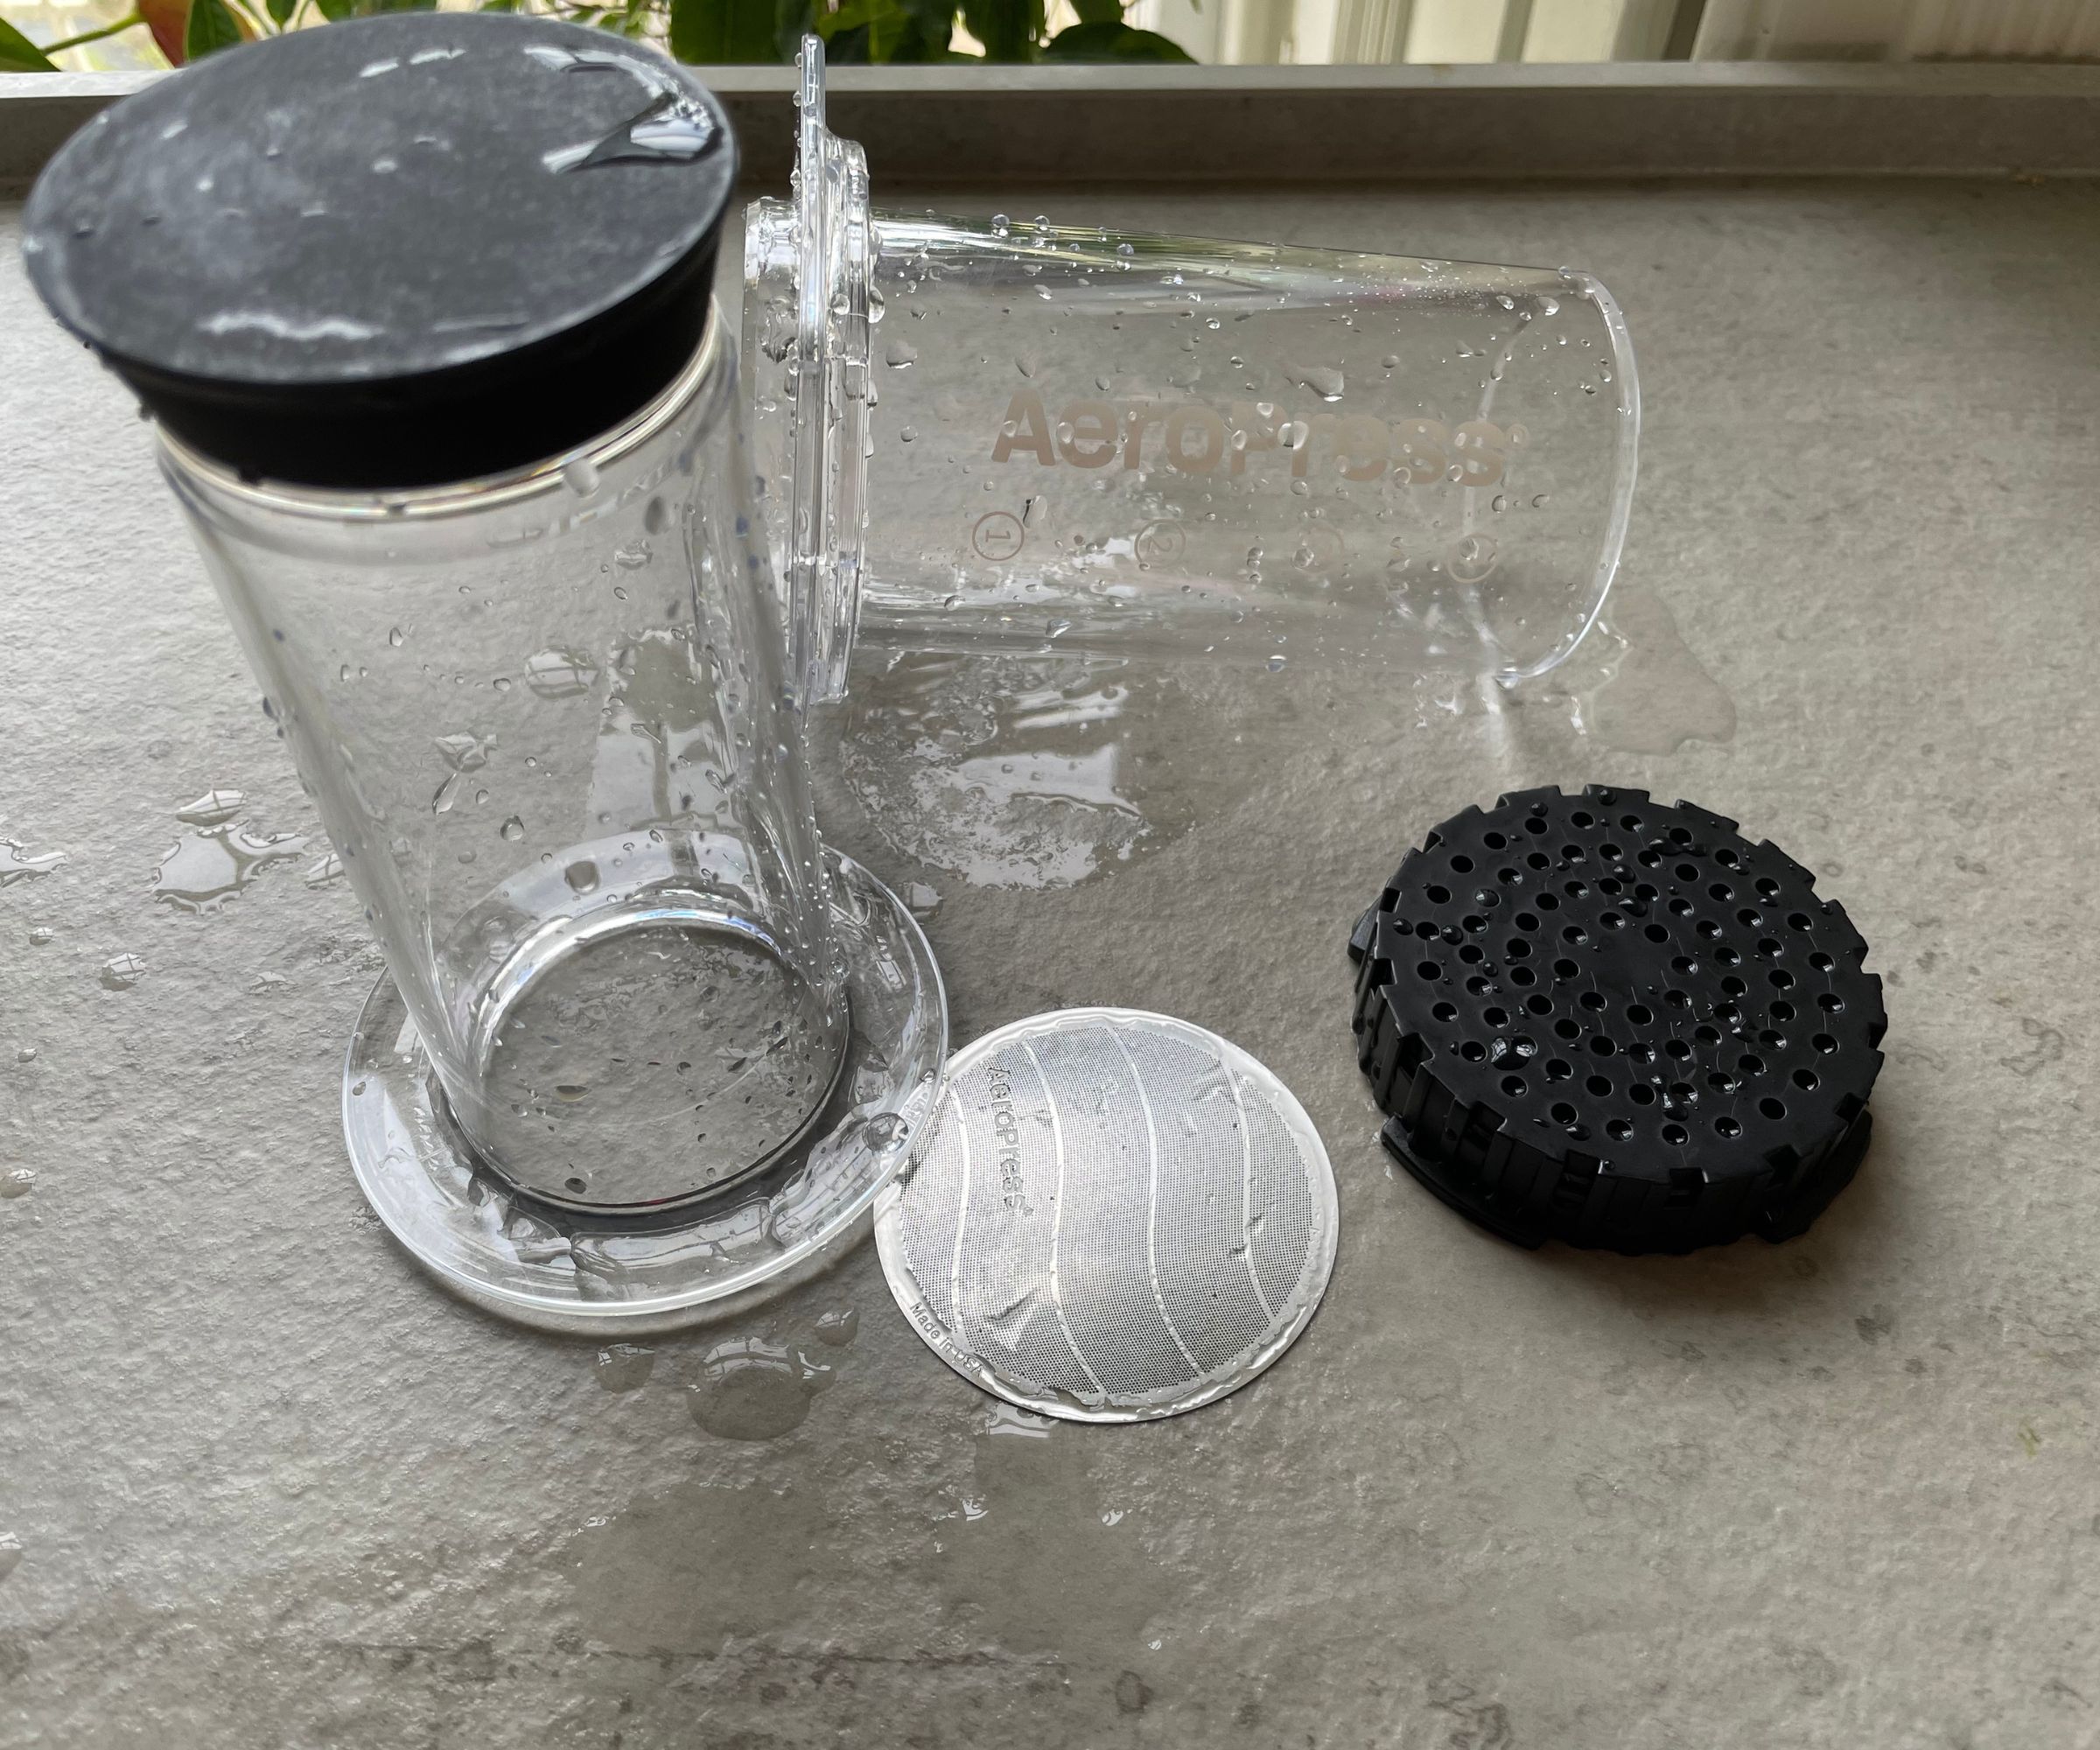
Although the AeroPress is dishwasher safe, I would recommend that you hand wash yours. There are plenty of places for coffee grounds to get stuck and if you don’t clean these out properly, you’ll end up with a slightly stale or sour taste to your coffee (coming from the oversaturated grounds).
It's really easy to hand wash the AeroPress too. Take the base off, filter it out, and then use warm soapy water and a gentle detergent. It's that simple. Once you’ve washed and dried it up, storing your AeroPress is easy. It would fit in a drawer or cupboard, so is really convenient for small spaces. I probably wouldn’t build a whole coffee station around one, since it’s not exactly designed with centerpiece aesthetics.
How does it compare?
Before the AeroPress, the Wacaco Picopresso held the top spot in our buying guide for best portable espresso maker.
The Wacaco is equally portable and neatly designed. If anything, it feels like a slightly more premium model, owing to the sleek, satin finish.
Both need you to be relatively involved in the process. You generate pressure in the Picopresso with your hand and you have to push the AeroPress yourself. The benefit of the Picopresso is that you won't get any initial dripping. It's a sealed system. However, the Picopresso will only make espresso. In theory, you could make Americano and cold brew coffees too, but you'd need to add more water to your coffee outside of the Picopresso system.
The AeroPress is well-suited to beginners because the scoop and numbers on the side help you to measure, if not a little loosely. I really liked this casual, accessible approach. What I liked about the AeroPress even more is the price tag. You could buy two and a bit AeroPresses before you could break even with a Picopresso. If you're money-conscious, it's a no-brainer.
Should you buy it?
If you need tasty coffee on the go, you won’t do better than this. The AeroPress well and truly lives up to its reputation. It makes a delicious espresso, unbeatable Americano, and decent cold brew. Once you've learned how AeroPresses work, you won't want to go back. For $50, you won't find a better coffee maker.
How we test
At Homes & Gardens, we have a rigorous testing process for all of our coffee makers. This enables us to score coffee makers both individually and against other models on the market.
We start with our research. As H&G’s coffee expert, I’m always on the lookout for the latest and greatest coffee makers on the market. Once I’ve found one that I think you, our readers, will like, I call it into our test kitchen.
Once I have the coffee maker in my hands, I’ll get testing. The first thing I make with any espresso machine is an espresso. This is a way of testing how good a coffee maker is at the basics. A good espresso should be between 1.25-2 oz. It should be 190-205 degrees and full of flavor. A big giveaway is the crema on top: that should be thick with a hazelnut hue.
The AeroPress couldn’t do any more than make an espresso, so I made a load of these to ensure that it was consistent. Then I made notes on the clean-up process as well as how I would recommend storing the AeroPress.
I triple-checked that I had notes for everything: the clean-up, the aesthetics, and what this is like to use, before taking a look at all of our other coffee makers to see how this compares. I also looked at online reviews to see what other experts thought, so that I could bring you a holistic sense of what this is like to use.
If you’re interested and want to find out more, you can read all about the process in our how we test coffee makers page.


