
If you’re more of a visual project planner, Google’s new AI tool Mixboard might be the creative partner you didn’t know you needed.
Mixboard is where Pinterest meets AI — a canvas built for exploring ideas through images generated from your own prompts. Designed as an AI-powered concepting board, it lets you map out inspiration visually. You can expand on any AI image by generating similar variations or else editing the ones that you think have potential.
At the time of writing, Mixboard is only available as a public beta in the US. If you’re interested in trying it out, our quick guide will get you started. I used the premise of designing my own RPG and mapped out some initial concept art. Let's dive in.
1. Go to Google Mixboard

First things first, you’ll want to head on over to Google Mixboard. Then click get started.
2. Sign in
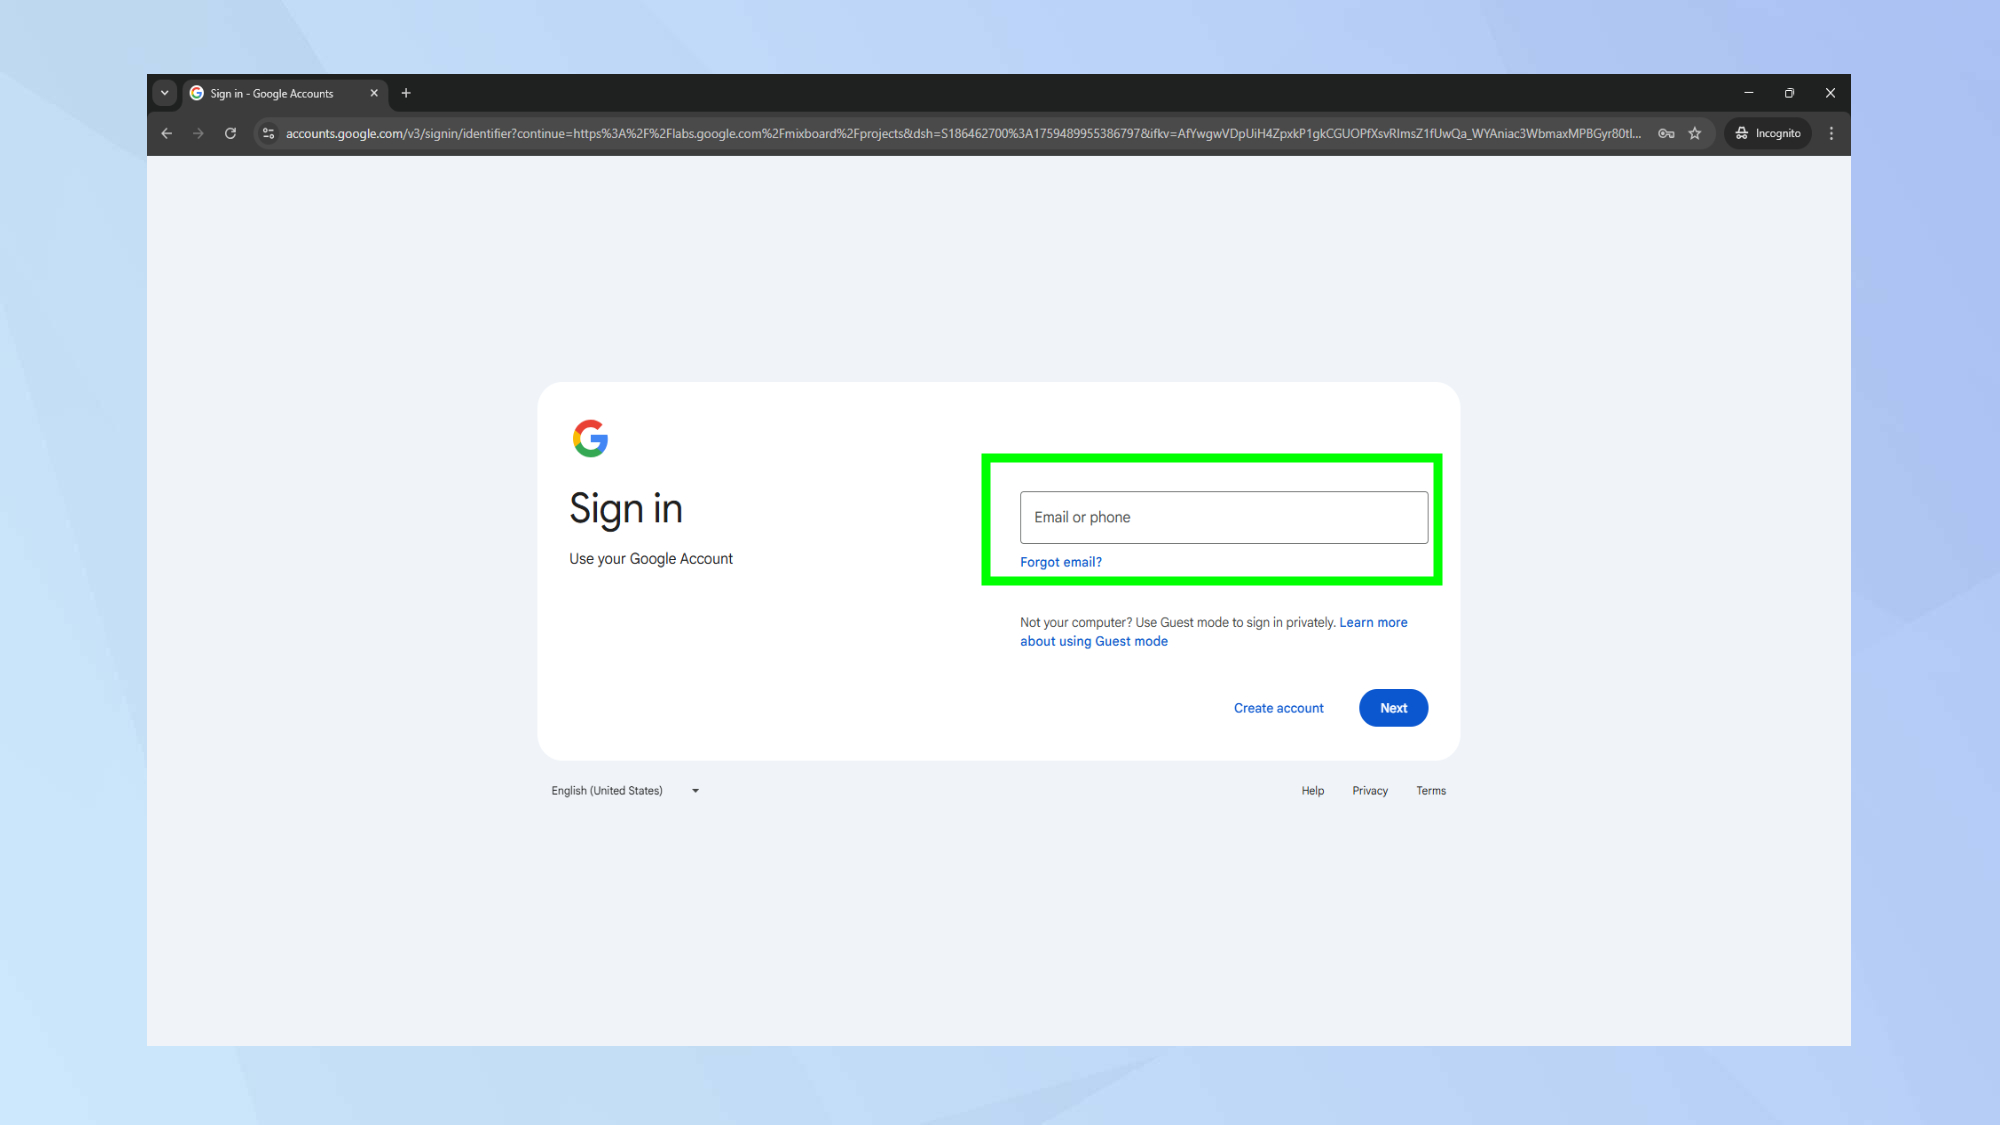
If you haven’t signed in to your Google account yet, now is the time to do so. Enter your email address and password and hit next.
3. Create a new Mixboard
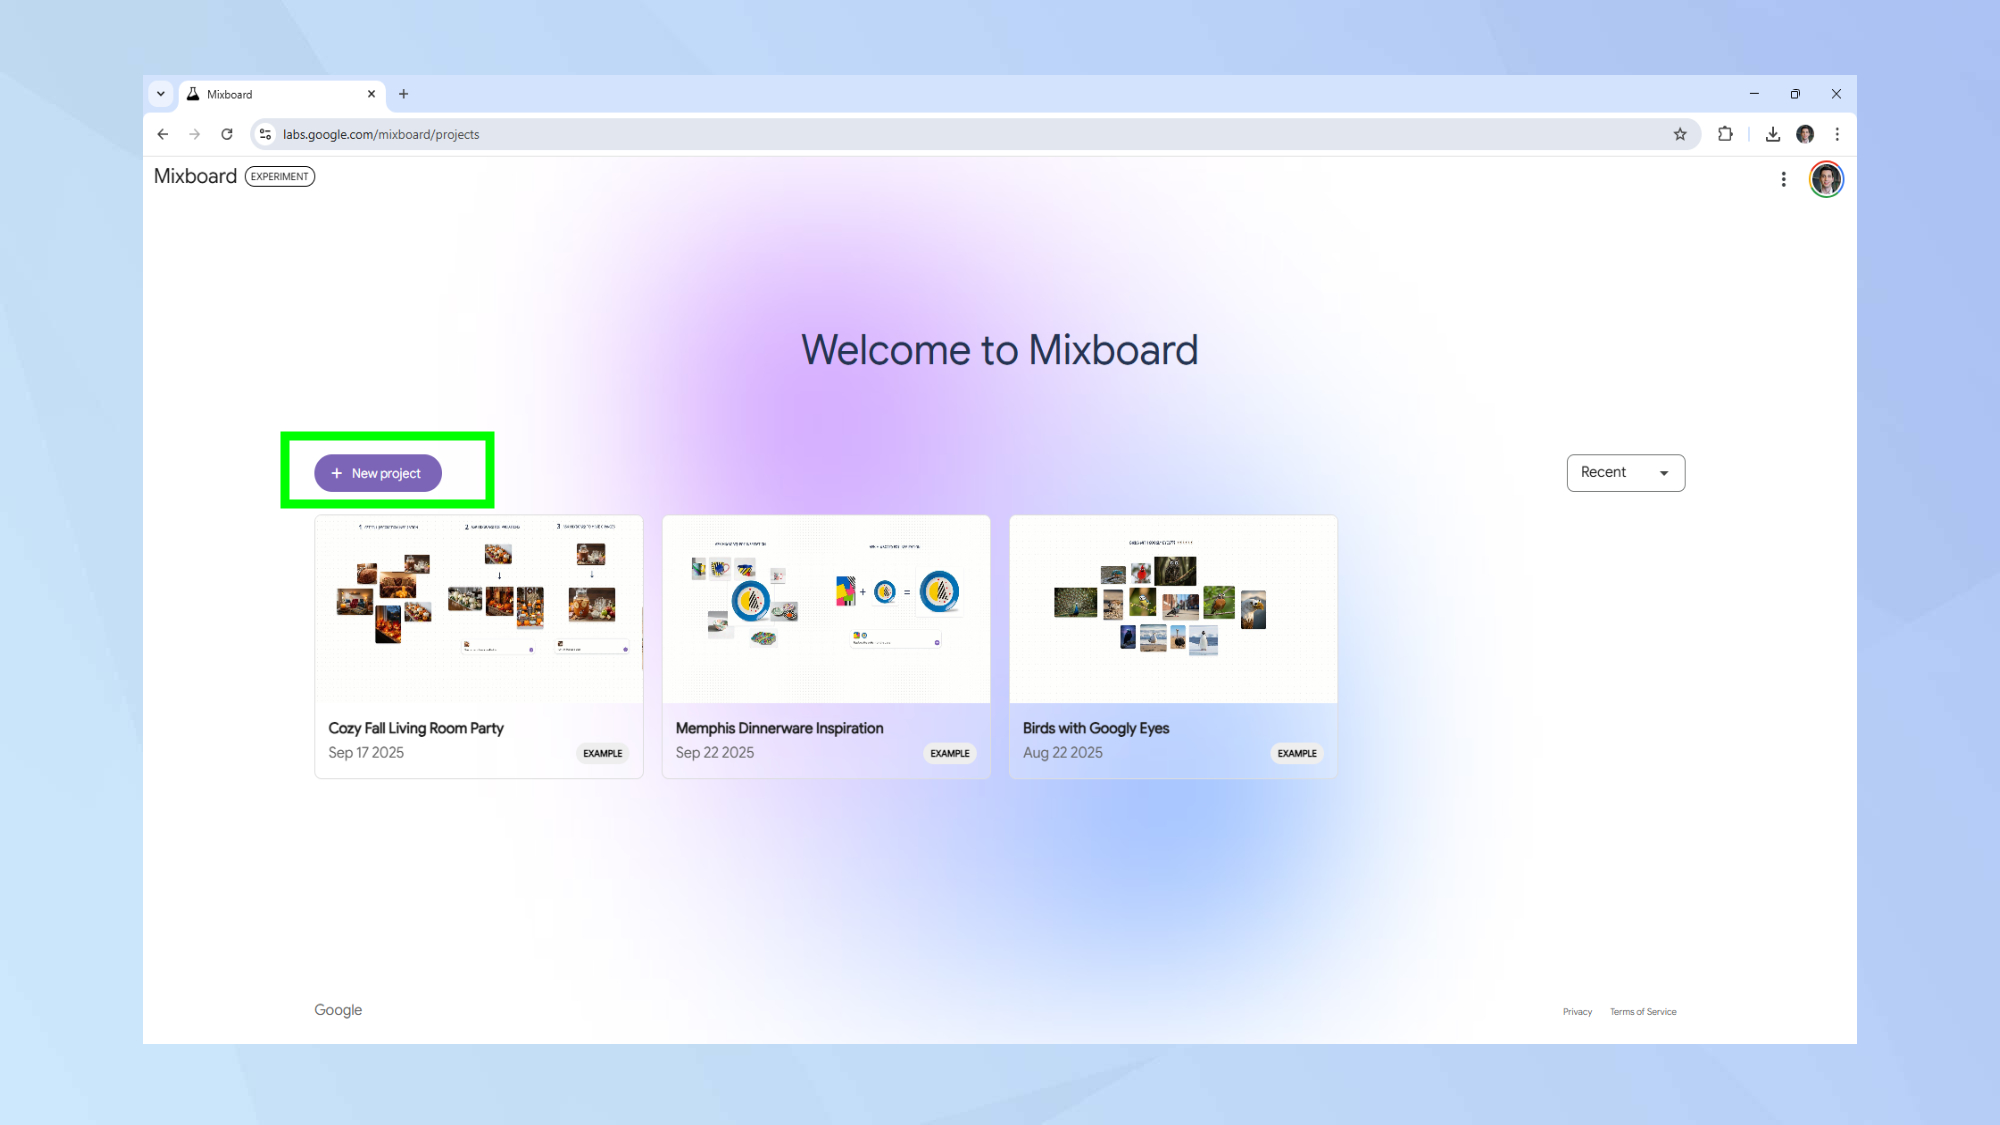
Once you’re logged in you’ll be presented with a couple of example mixboards you can explore. To create your own, click on new project.
4. Giving your Mixboard a title
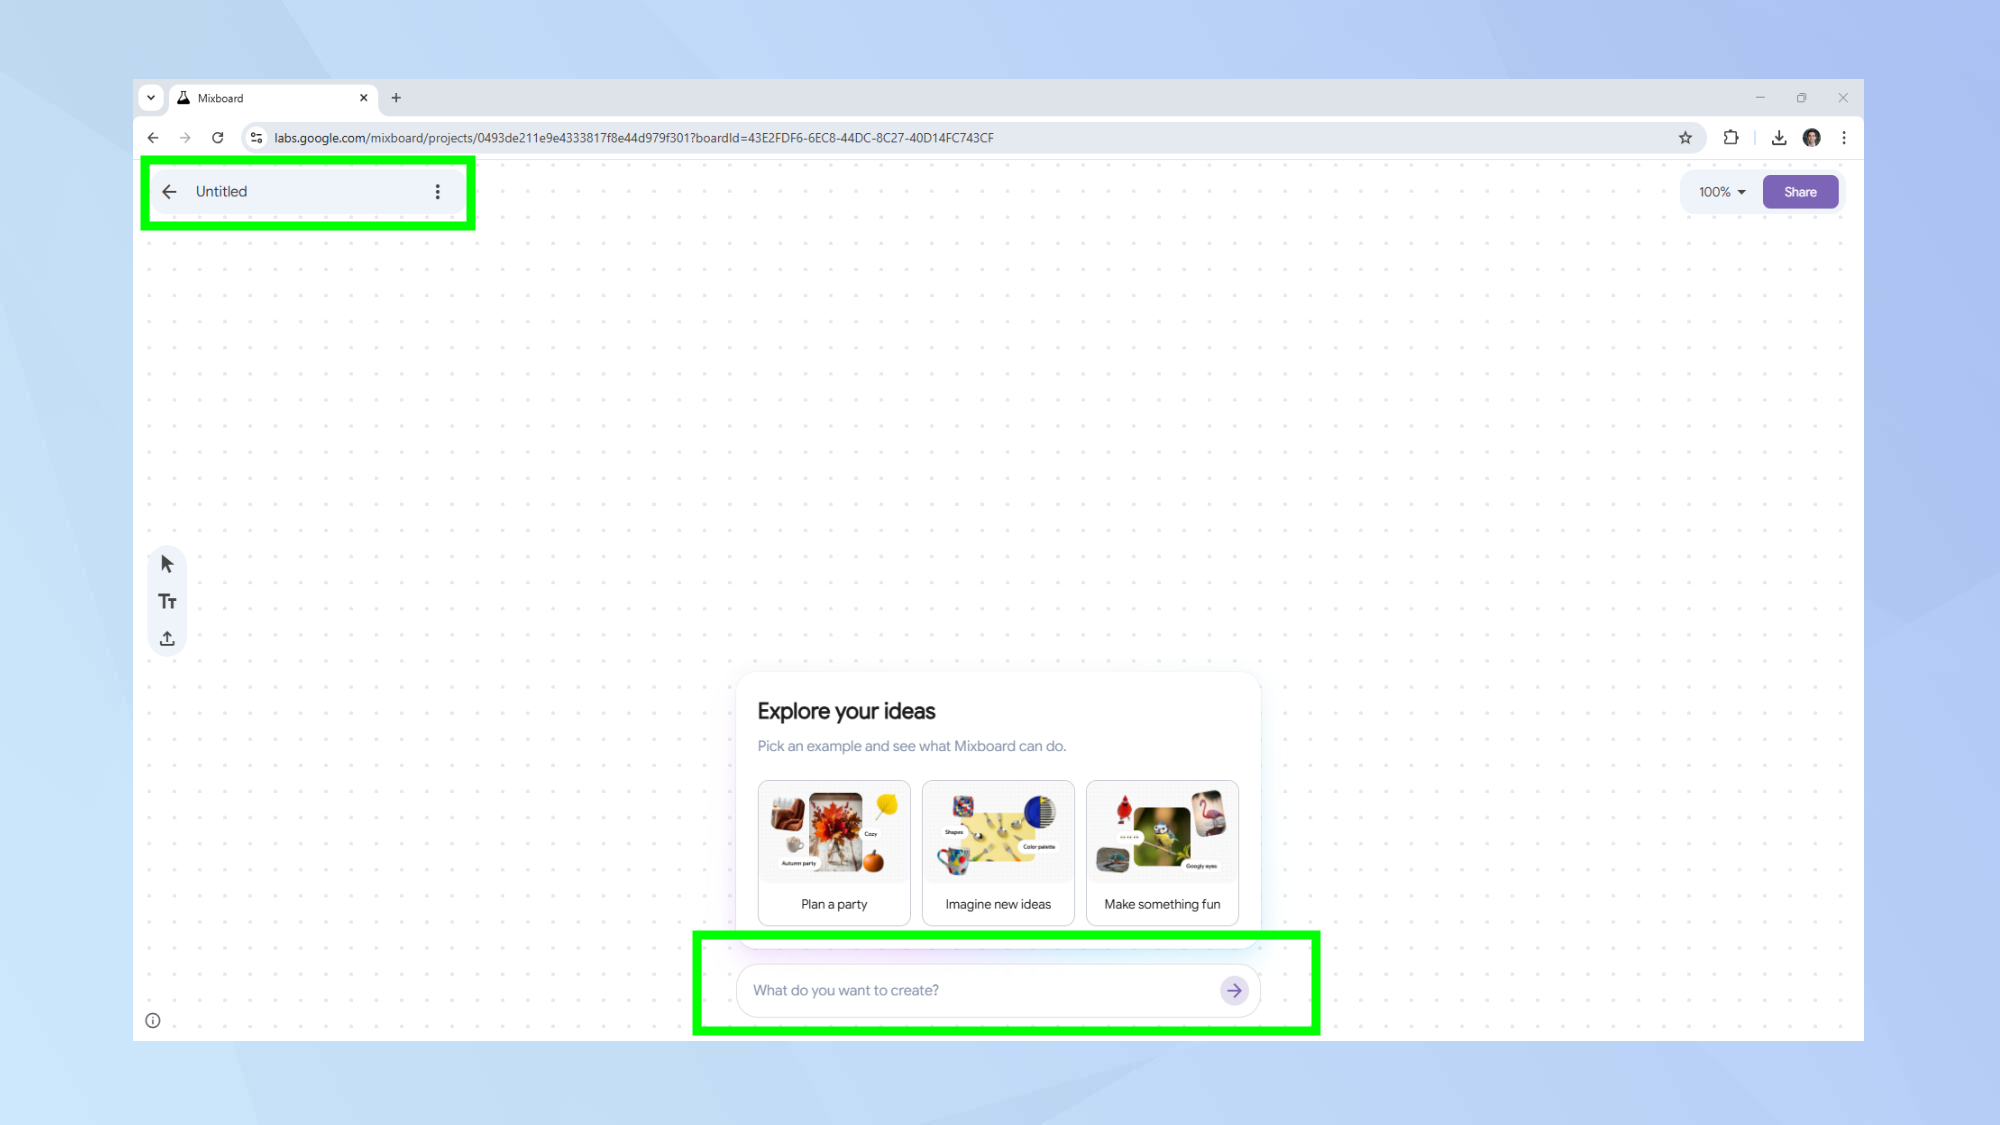
In the upper left corner, you’ll see a text box that you can use to give your own Mixboard a title. Click on it and type in your desired title.
Toward the bottom of your screen, you’ll see a prompt box that you can use to describe the Mixboard you want to create.
Since we’re creating the concept for a new RPG, I went ahead and typed in the prompt: Create different art styles for a new indie RPG set in medieval times.
Once you’re happy with your prompt, hit enter or click on the arrow. Mixboard will then analyze your prompt and present you with your first set of images.
Mixboard is great to get the ball rolling on projects, so if you see an image that inspires you, go ahead and click on it. A menu bar will then pop up. Select the icon with two images to create another image like the one you selected.
Since this is meant to serve as the concept board for a simple indie RPG game, I went ahead and selected one of the simpler designs to work with.
Alternatively, you can also upload your own images using the toolbar on the left.
5. Curate your board
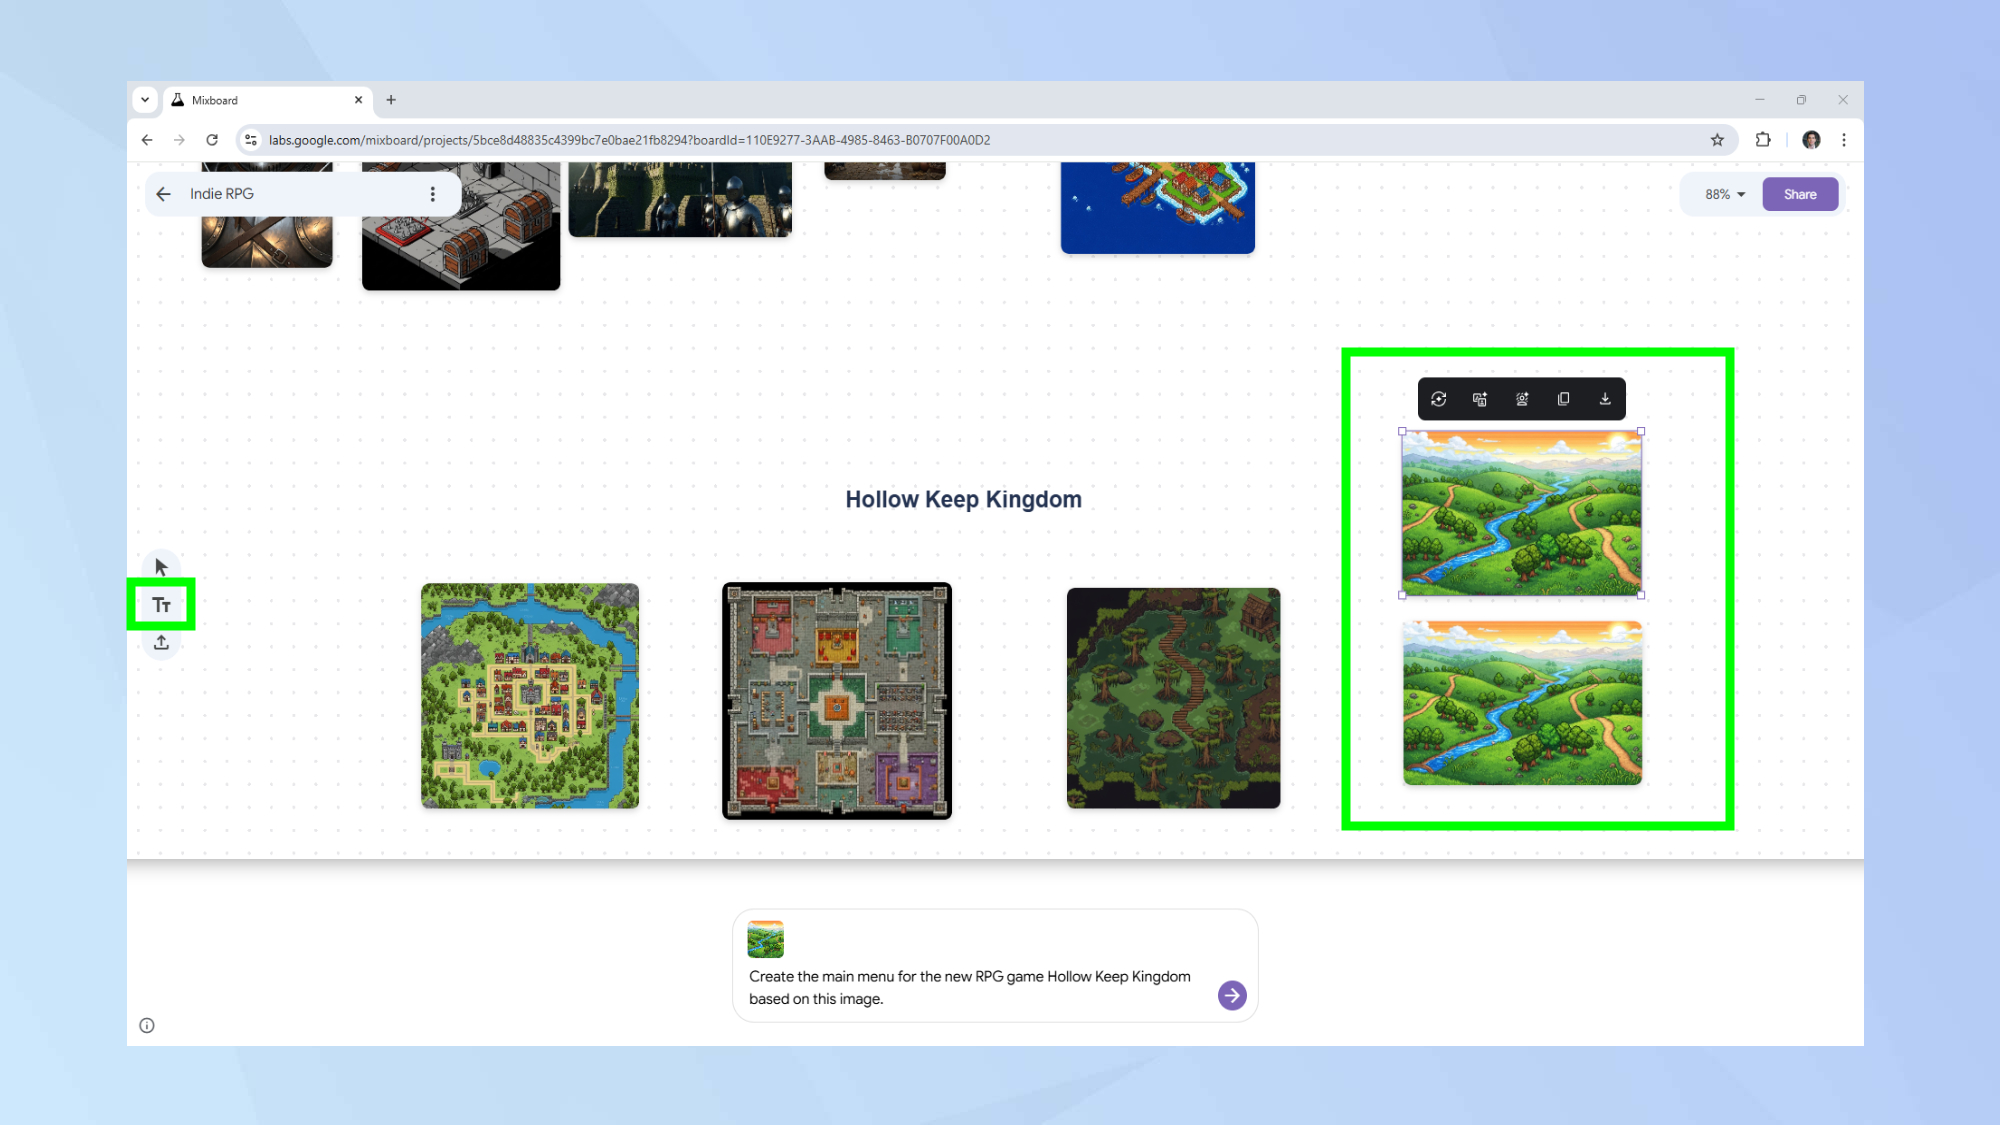
With new images created, it was time to start organizing my Mixboard. To move an image, click on it and then drag it to your desired location.
You can also add text to your board to add notes or titles to different sections. Click on the text icon in the floating toolbar on your left to add your own text.
Next, I want to create a first draft of the game’s main menu. The bright image of the sprawling countryside seems like a good starting point. Since I still want to keep the original image in the main section of the board, I’ll go ahead and duplicate this.
To duplicate an image, click on it. Then select the copy icon from the toolbar that pops up.
6. Editing an image

I could now edit the freshly created copy while still preserving the location of the original image. To edit an image, select it. Then describe your edits via the prompt box at the bottom of your screen.
I used the prompt: Create a draft of the main menu based on this image.
7. Removing the background

Image editing in Google’s Mixboard is powered by Nano Banana, making the process a breeze. Click on an image and then select the remove background option that appears in the toolbar.
For this example, I first created a character card for a knight. Then I asked Mixboard to remove the sky from behind him.
Follow Tom's Guide on Google News and add us as a preferred source to get our up-to-date news, analysis, and reviews in your feeds. Make sure to click the Follow button!