I recently undertook my very first upholstery project - creating a bespoke headboard and upholstering it from scratch, and it's safe to say it's given me the bug.
So, I decided a footstool for my living room was the next DIY project on the agenda. I've long admired upholstered footstools, mainly in designer fabrics, but with prices starting from £500 and going up to £1000, I knew that trying it myself was the only option.
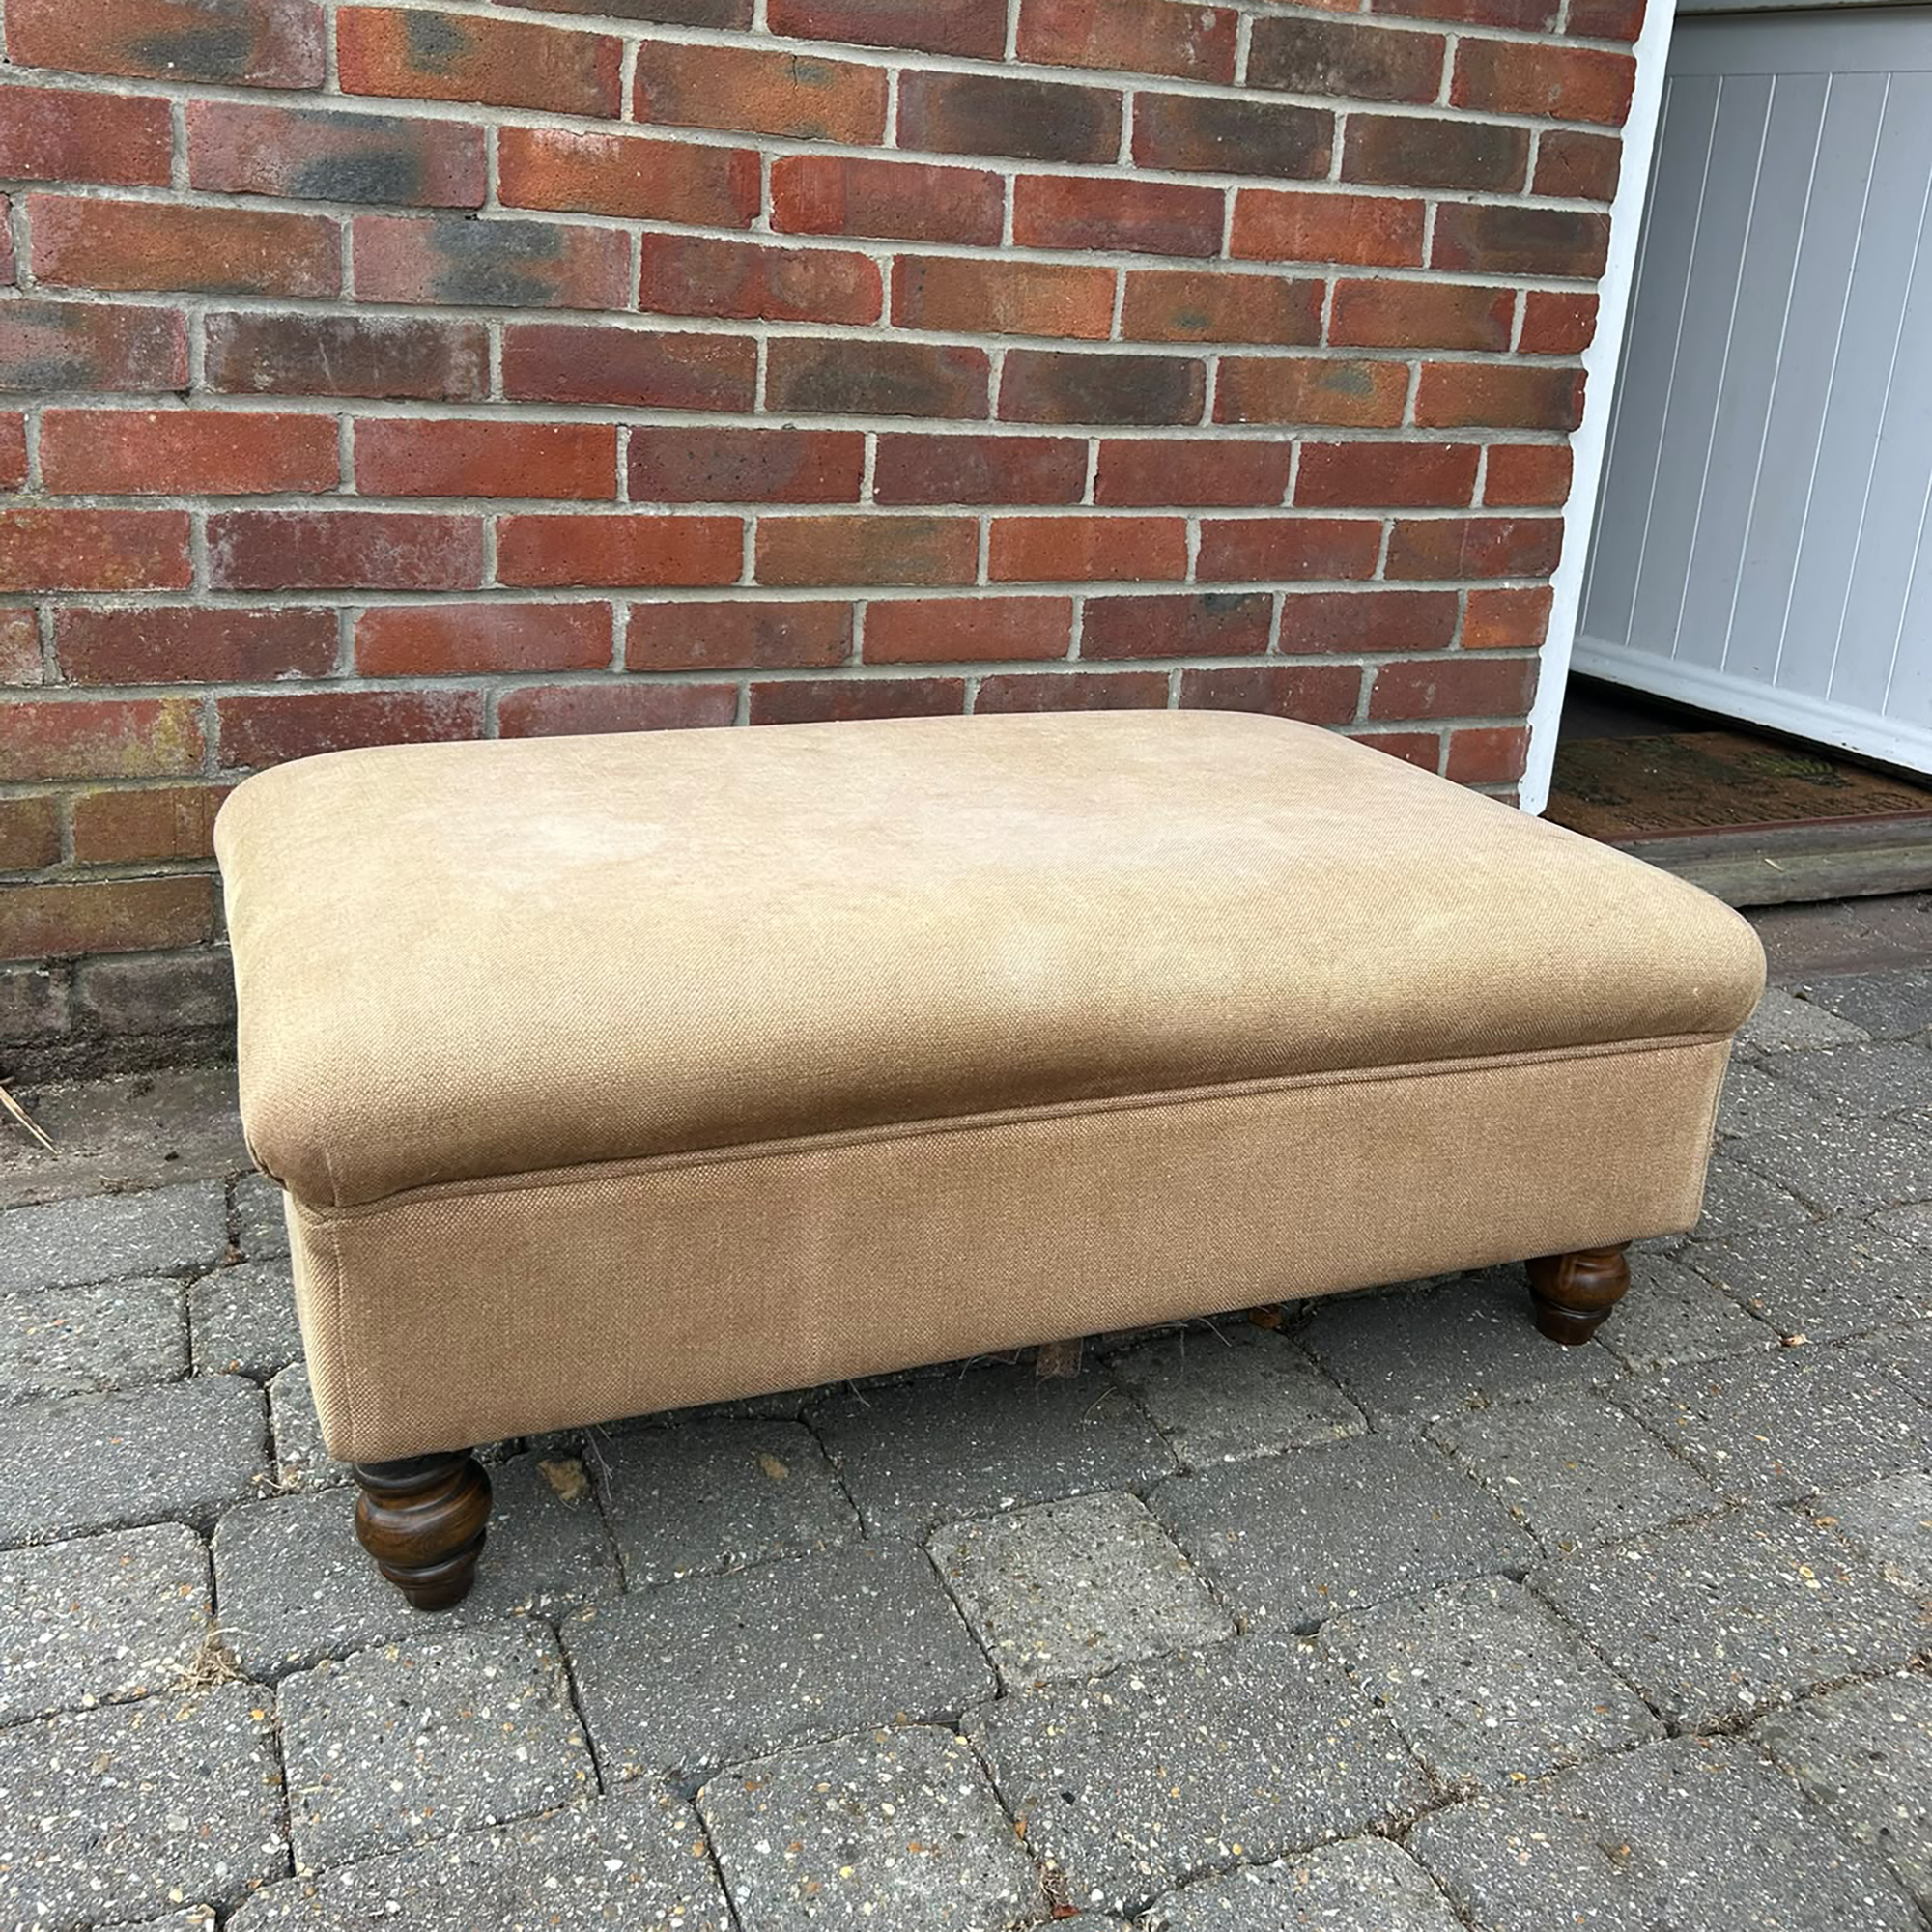
After watching countless DIY tutorials on YouTube, I decided to buy a worse-for-wear £20 footstool from Facebook Marketplace to use as the base for my project. I sourced everything else needed secondhand apart from the tools, which ended up costing me around £100. Here's how I did it, and what I learned.
What you'll need
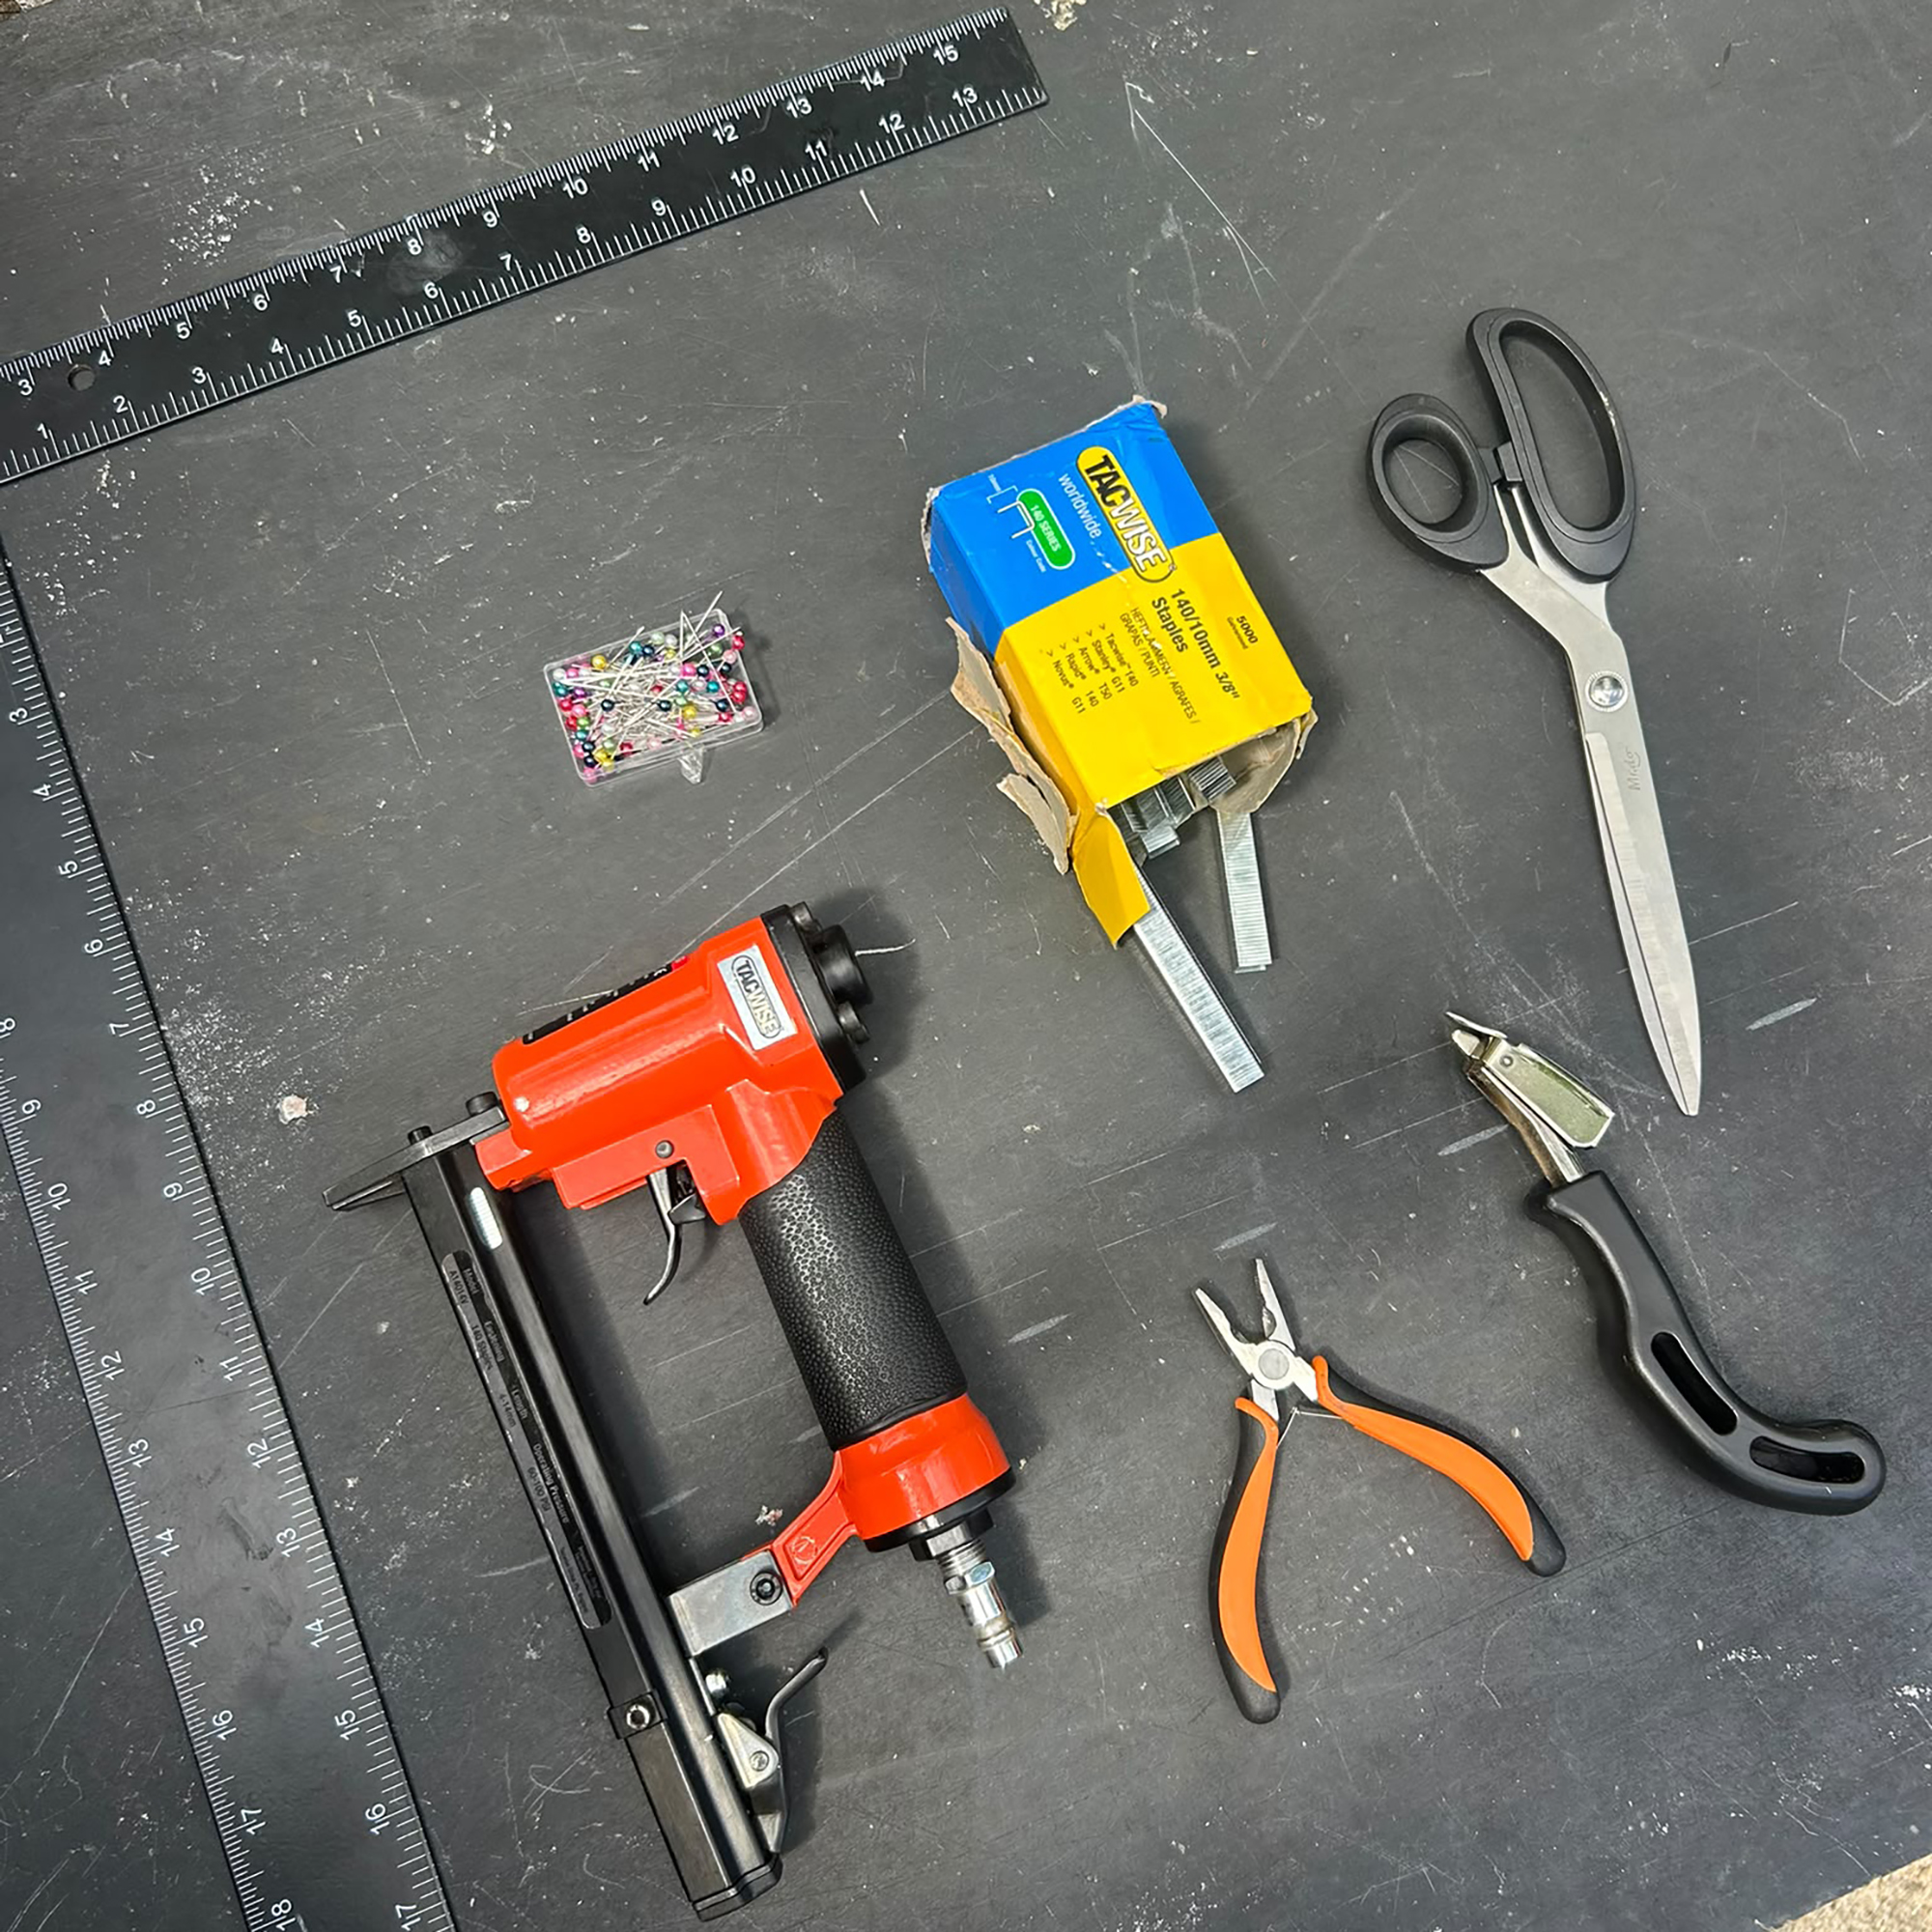
- Staple gun & 10mm staples (Amazon)
- Air compressor (Amazon) (optional)
- Ruler (Amazon)
- Upholstery foam (Dunelm)
- Polyester wadding (Amazon)
- Piping cord (Amazon)
- Sewing machine (John Lewis)
- Flexible metal tack strips (Amazon)
- Pliers (Amazon)
- Staple remover (Amazon)
- Cardboard back tacking (Amazon)
- Spray adhesive (Amazon)
- 2m fabric of your choice (I got mine on Vinted)
1. Strip the footstool
I found this footstool on Facebook Marketplace, and aside from the unappealing brown colour, it was also stained, so it had to be fully ripped apart.
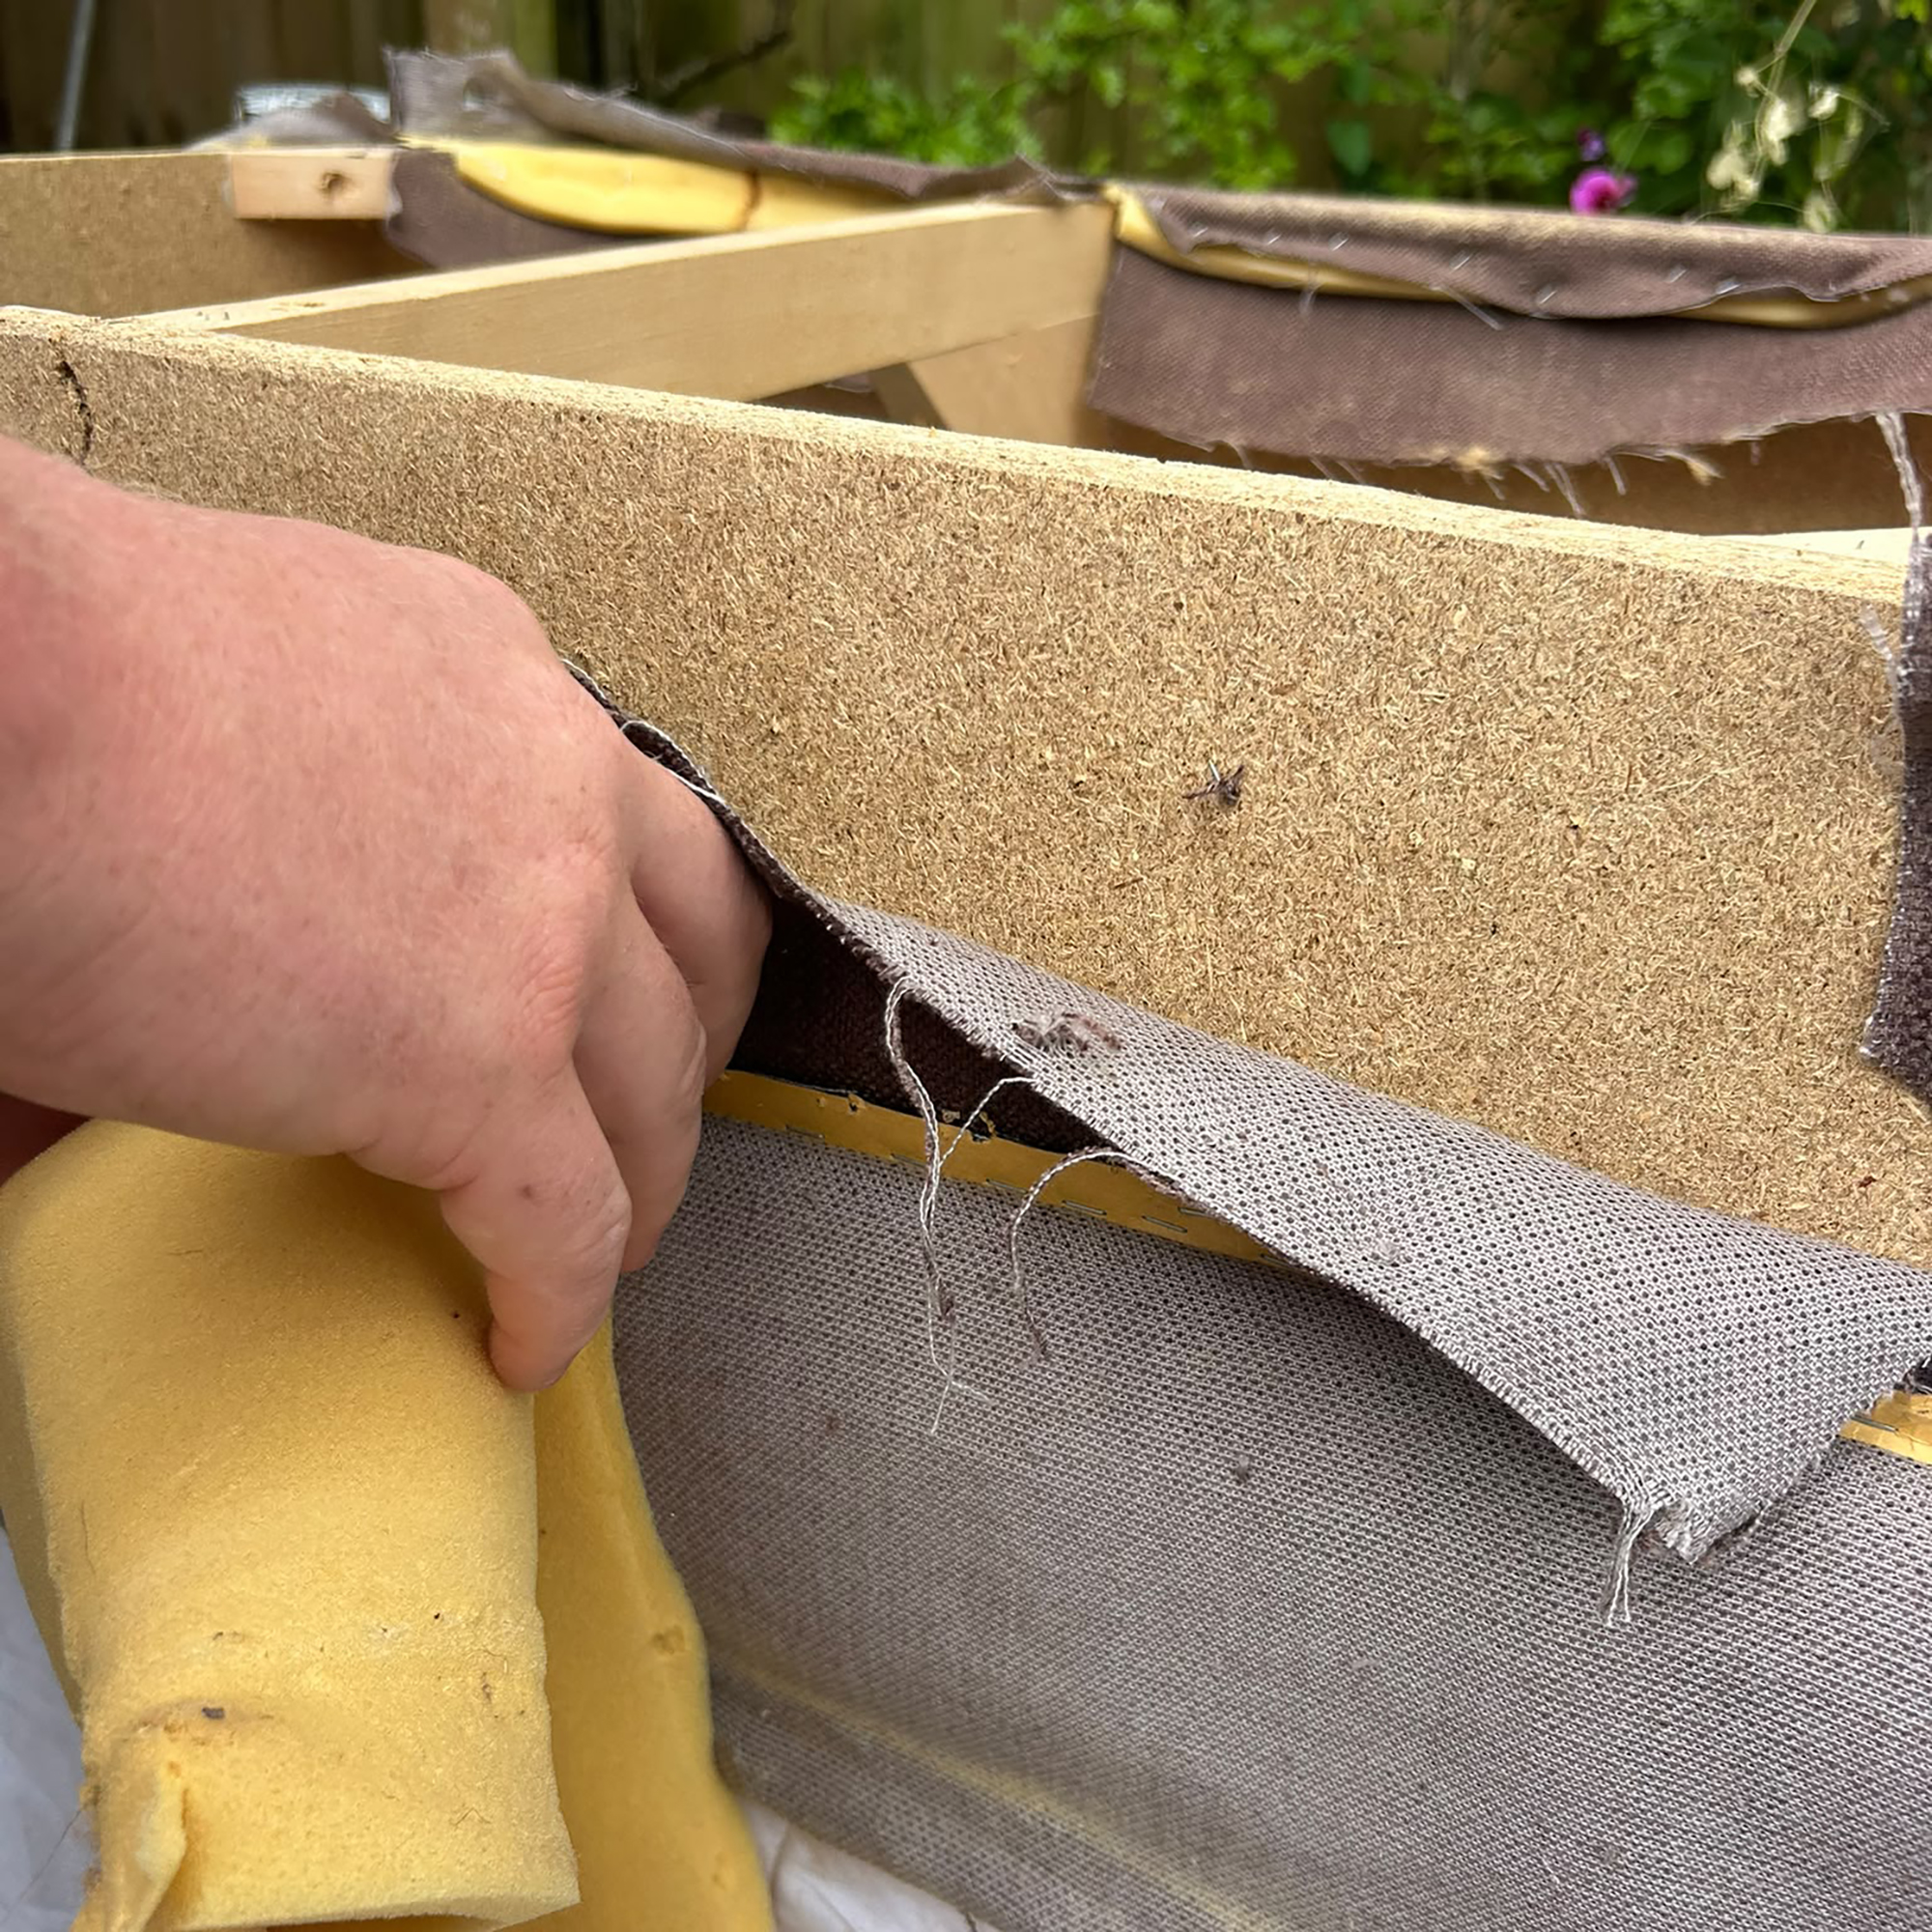
I started by unpicking the staples and peeling back the layers of fabric, foam and wadding underneath. I will warn you - this was a long part of the process, so leave plenty of time to fully take it apart. I was tempted to cut corners, but I knew the result would be better by fully unpicking all the staples.
The staple remover was essential for this part. You can pick one up from Amazon for around £5, it's worth it for how much it will save your nails.
At this stage, I also removed the feet and left them aside for later.
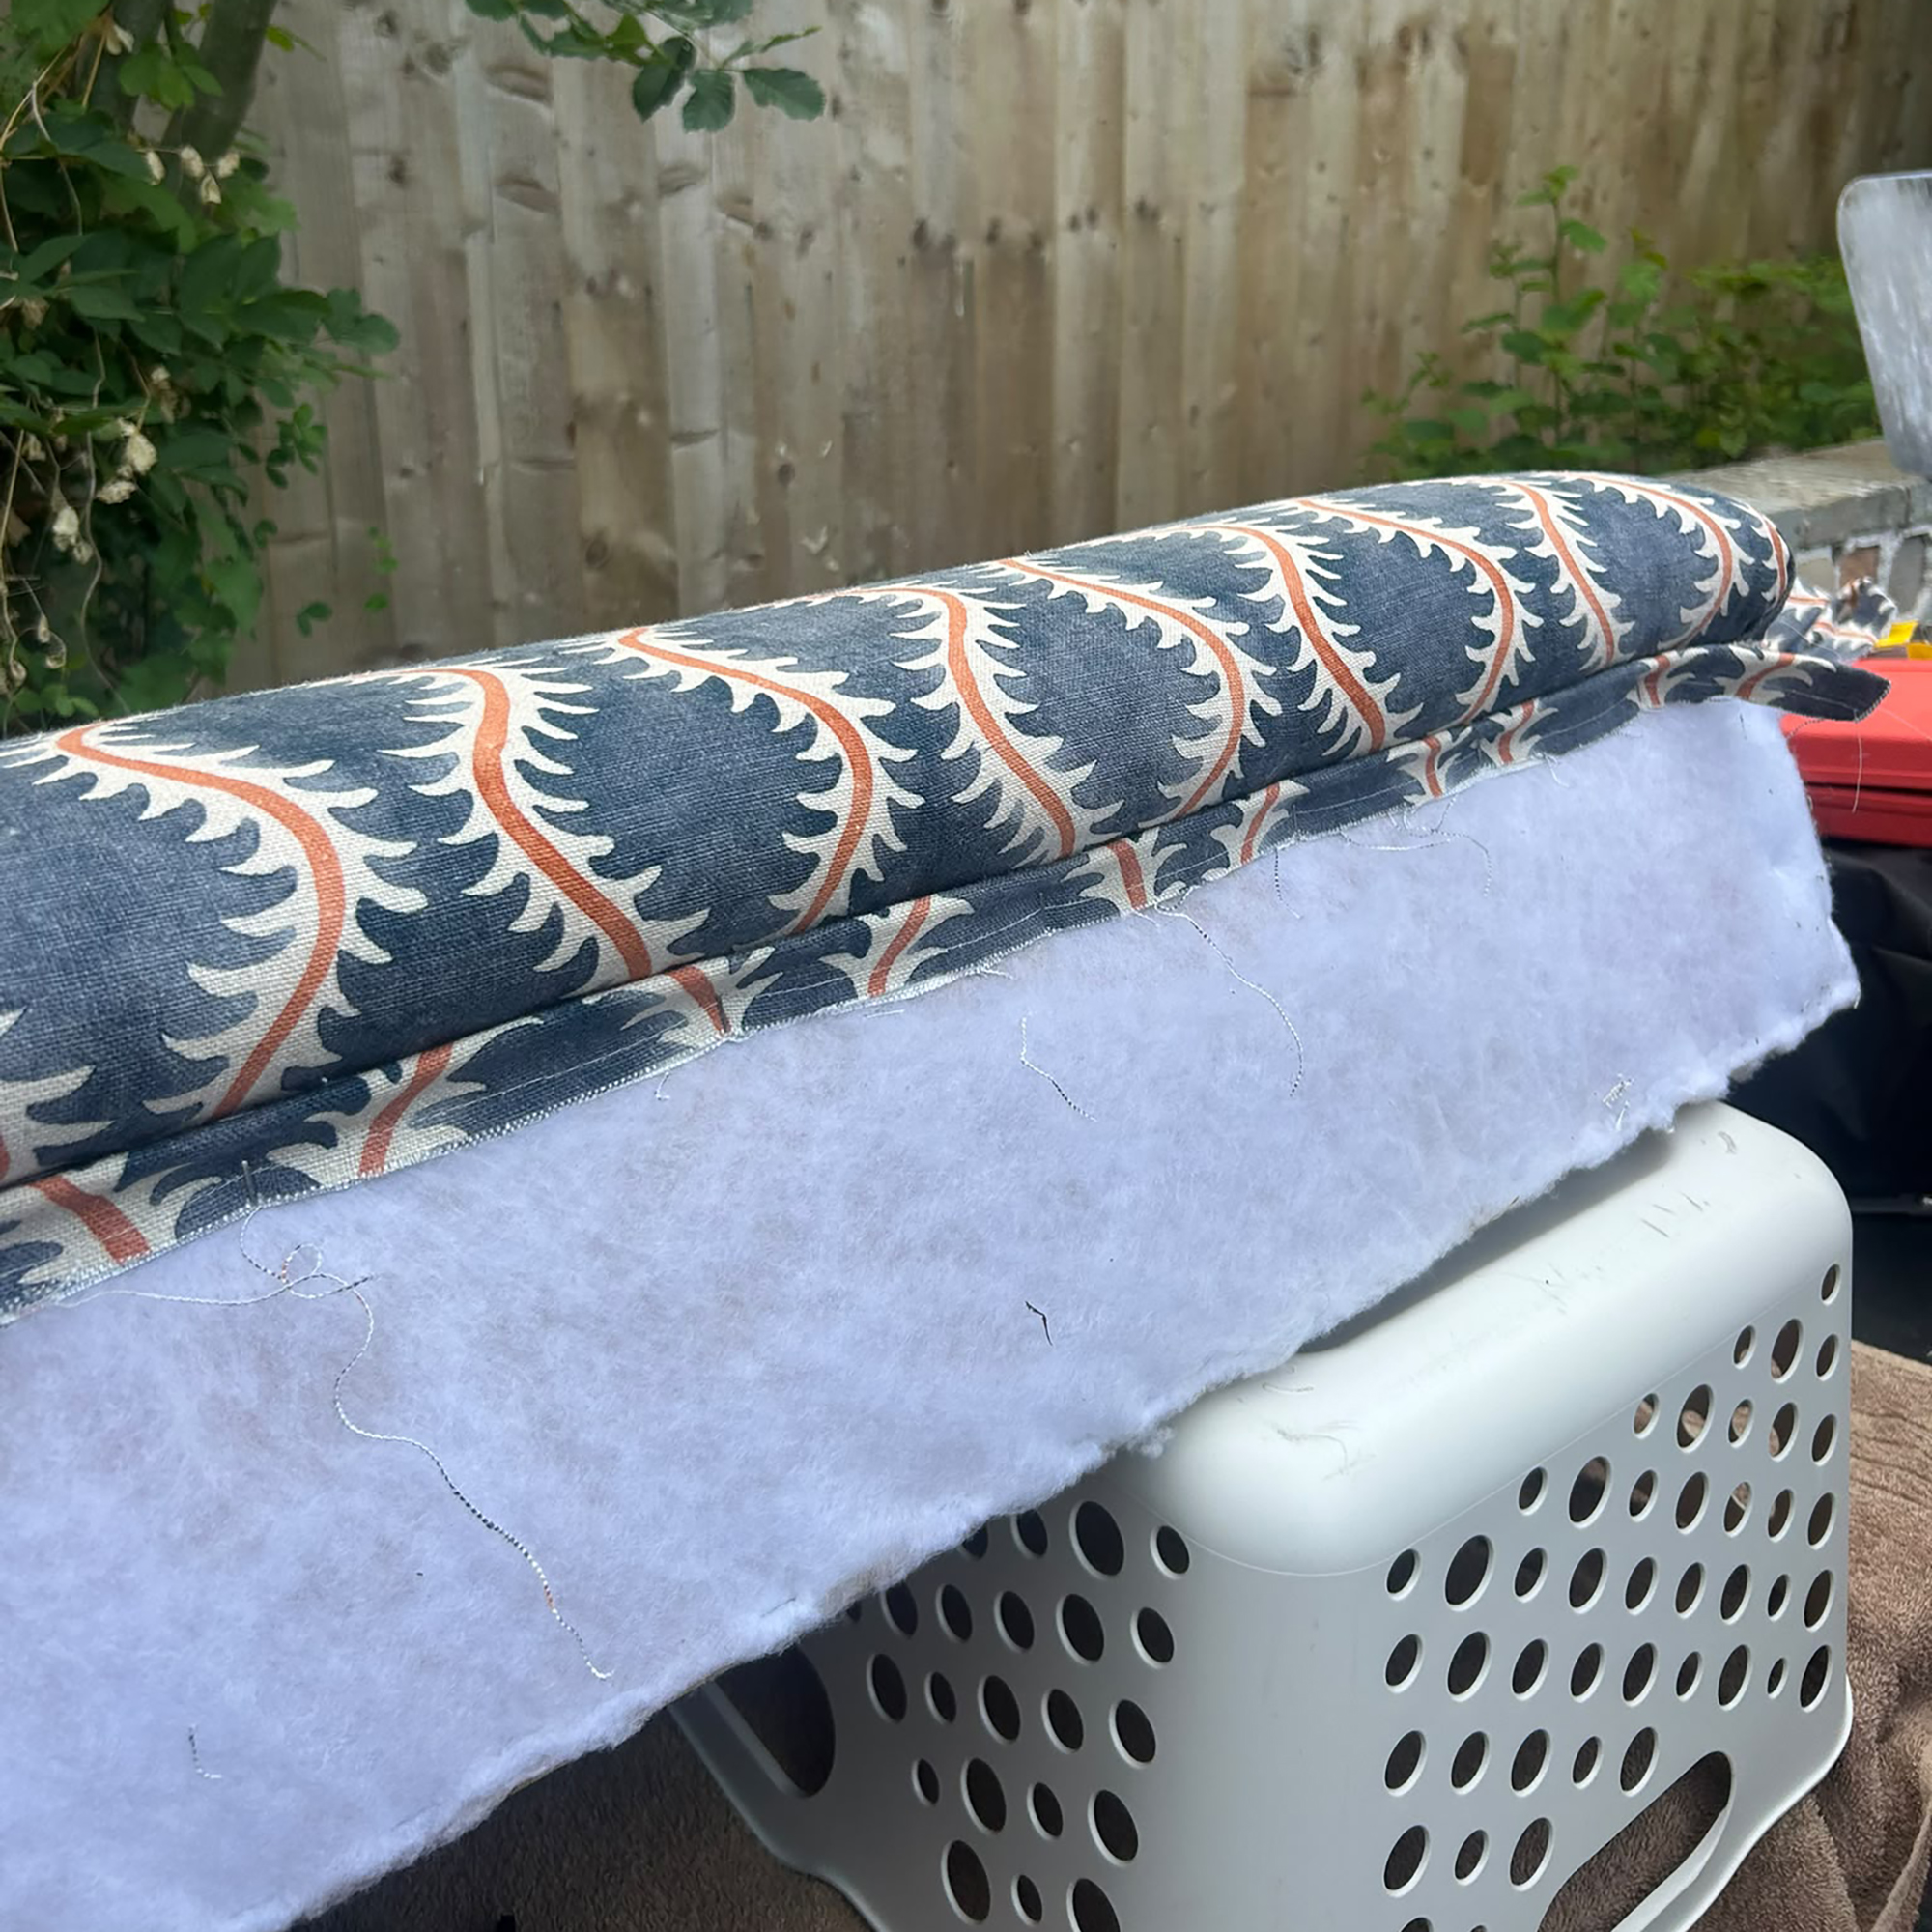
2. Adhere the foam and poly wadding
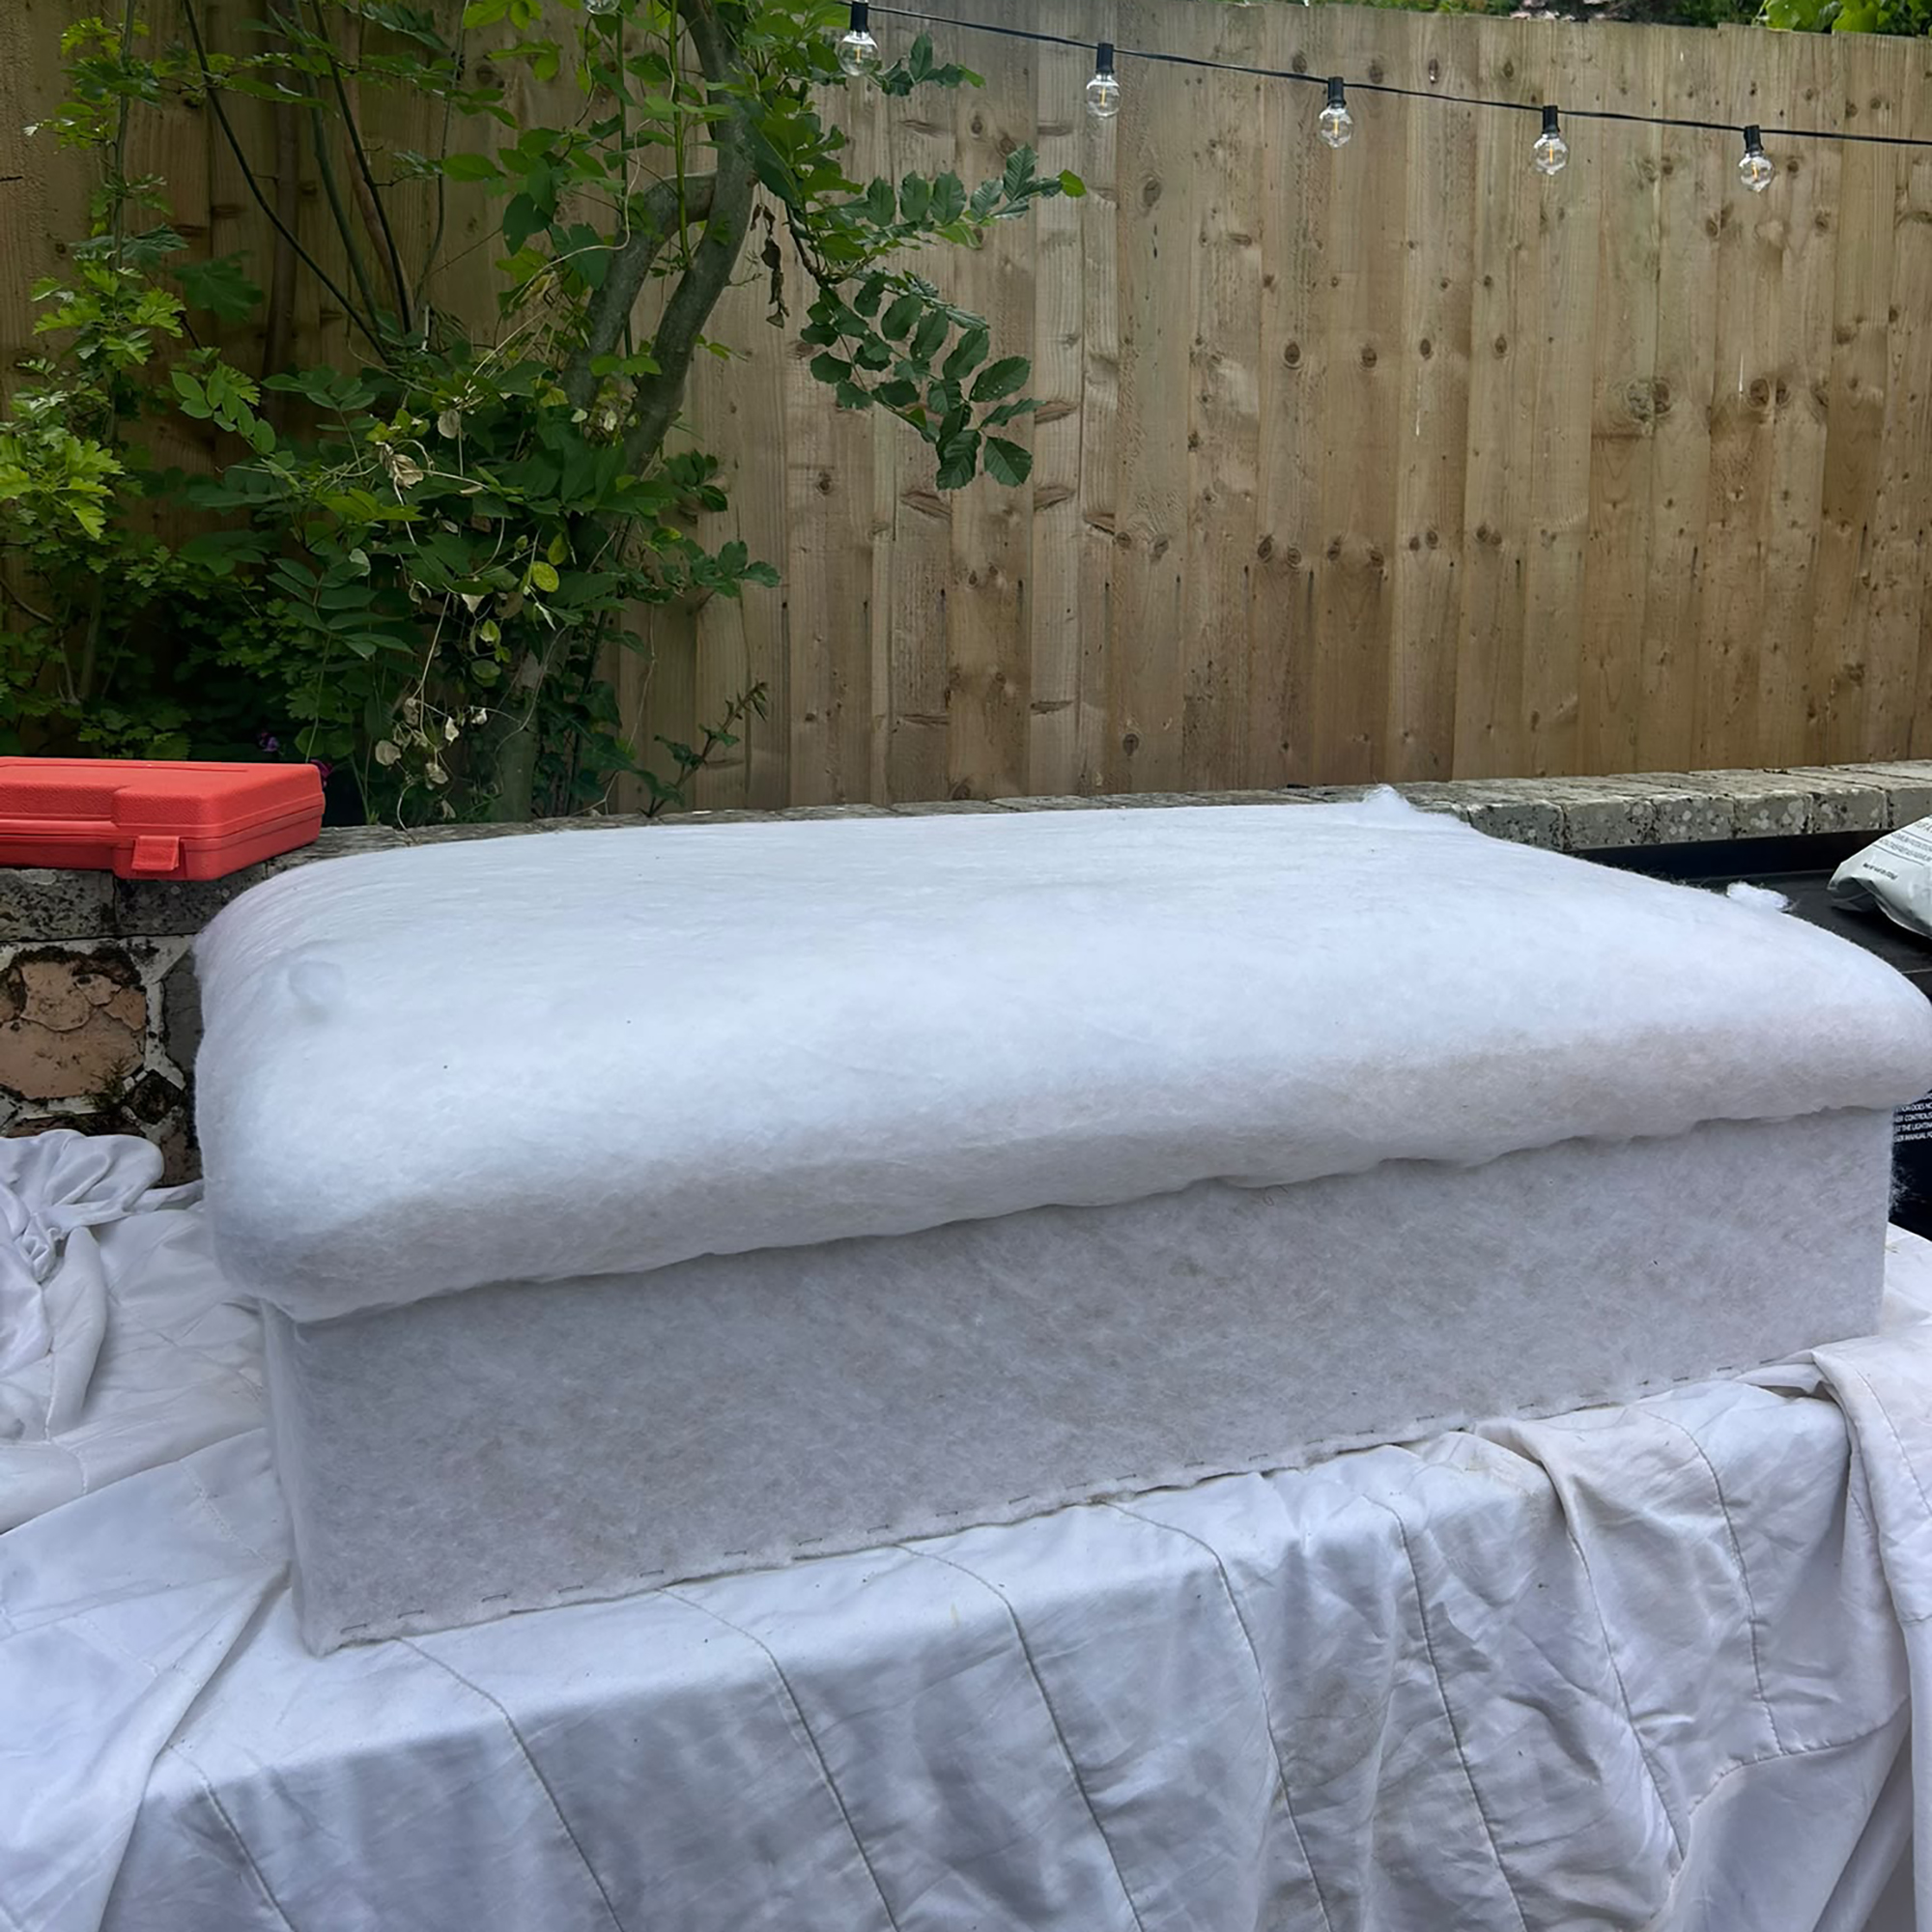
Once the footstool was stripped back to the wooden base and hessian top, it was time to add my own foam and polyester wadding. You can buy these from upholstery wholesalers online and high street stores like Dunelm, but I found a bundle of each on Facebook Marketplace for around £10 each.
Using spray adhesive, I glued the base and the foam top then pushed down to adhere the foam to the base. I then cut the excess foam off using a sharp knife so that it fit the size of the base perfectly.
Polyester wadding is then used to create the soft edges that you see on footstools. I simply laid this over the foam top then used my staple gun to staple beneath the top section, to create the shape. I then stapled along the very bottom of the wadding and base.
3. Attach the top fabric panel
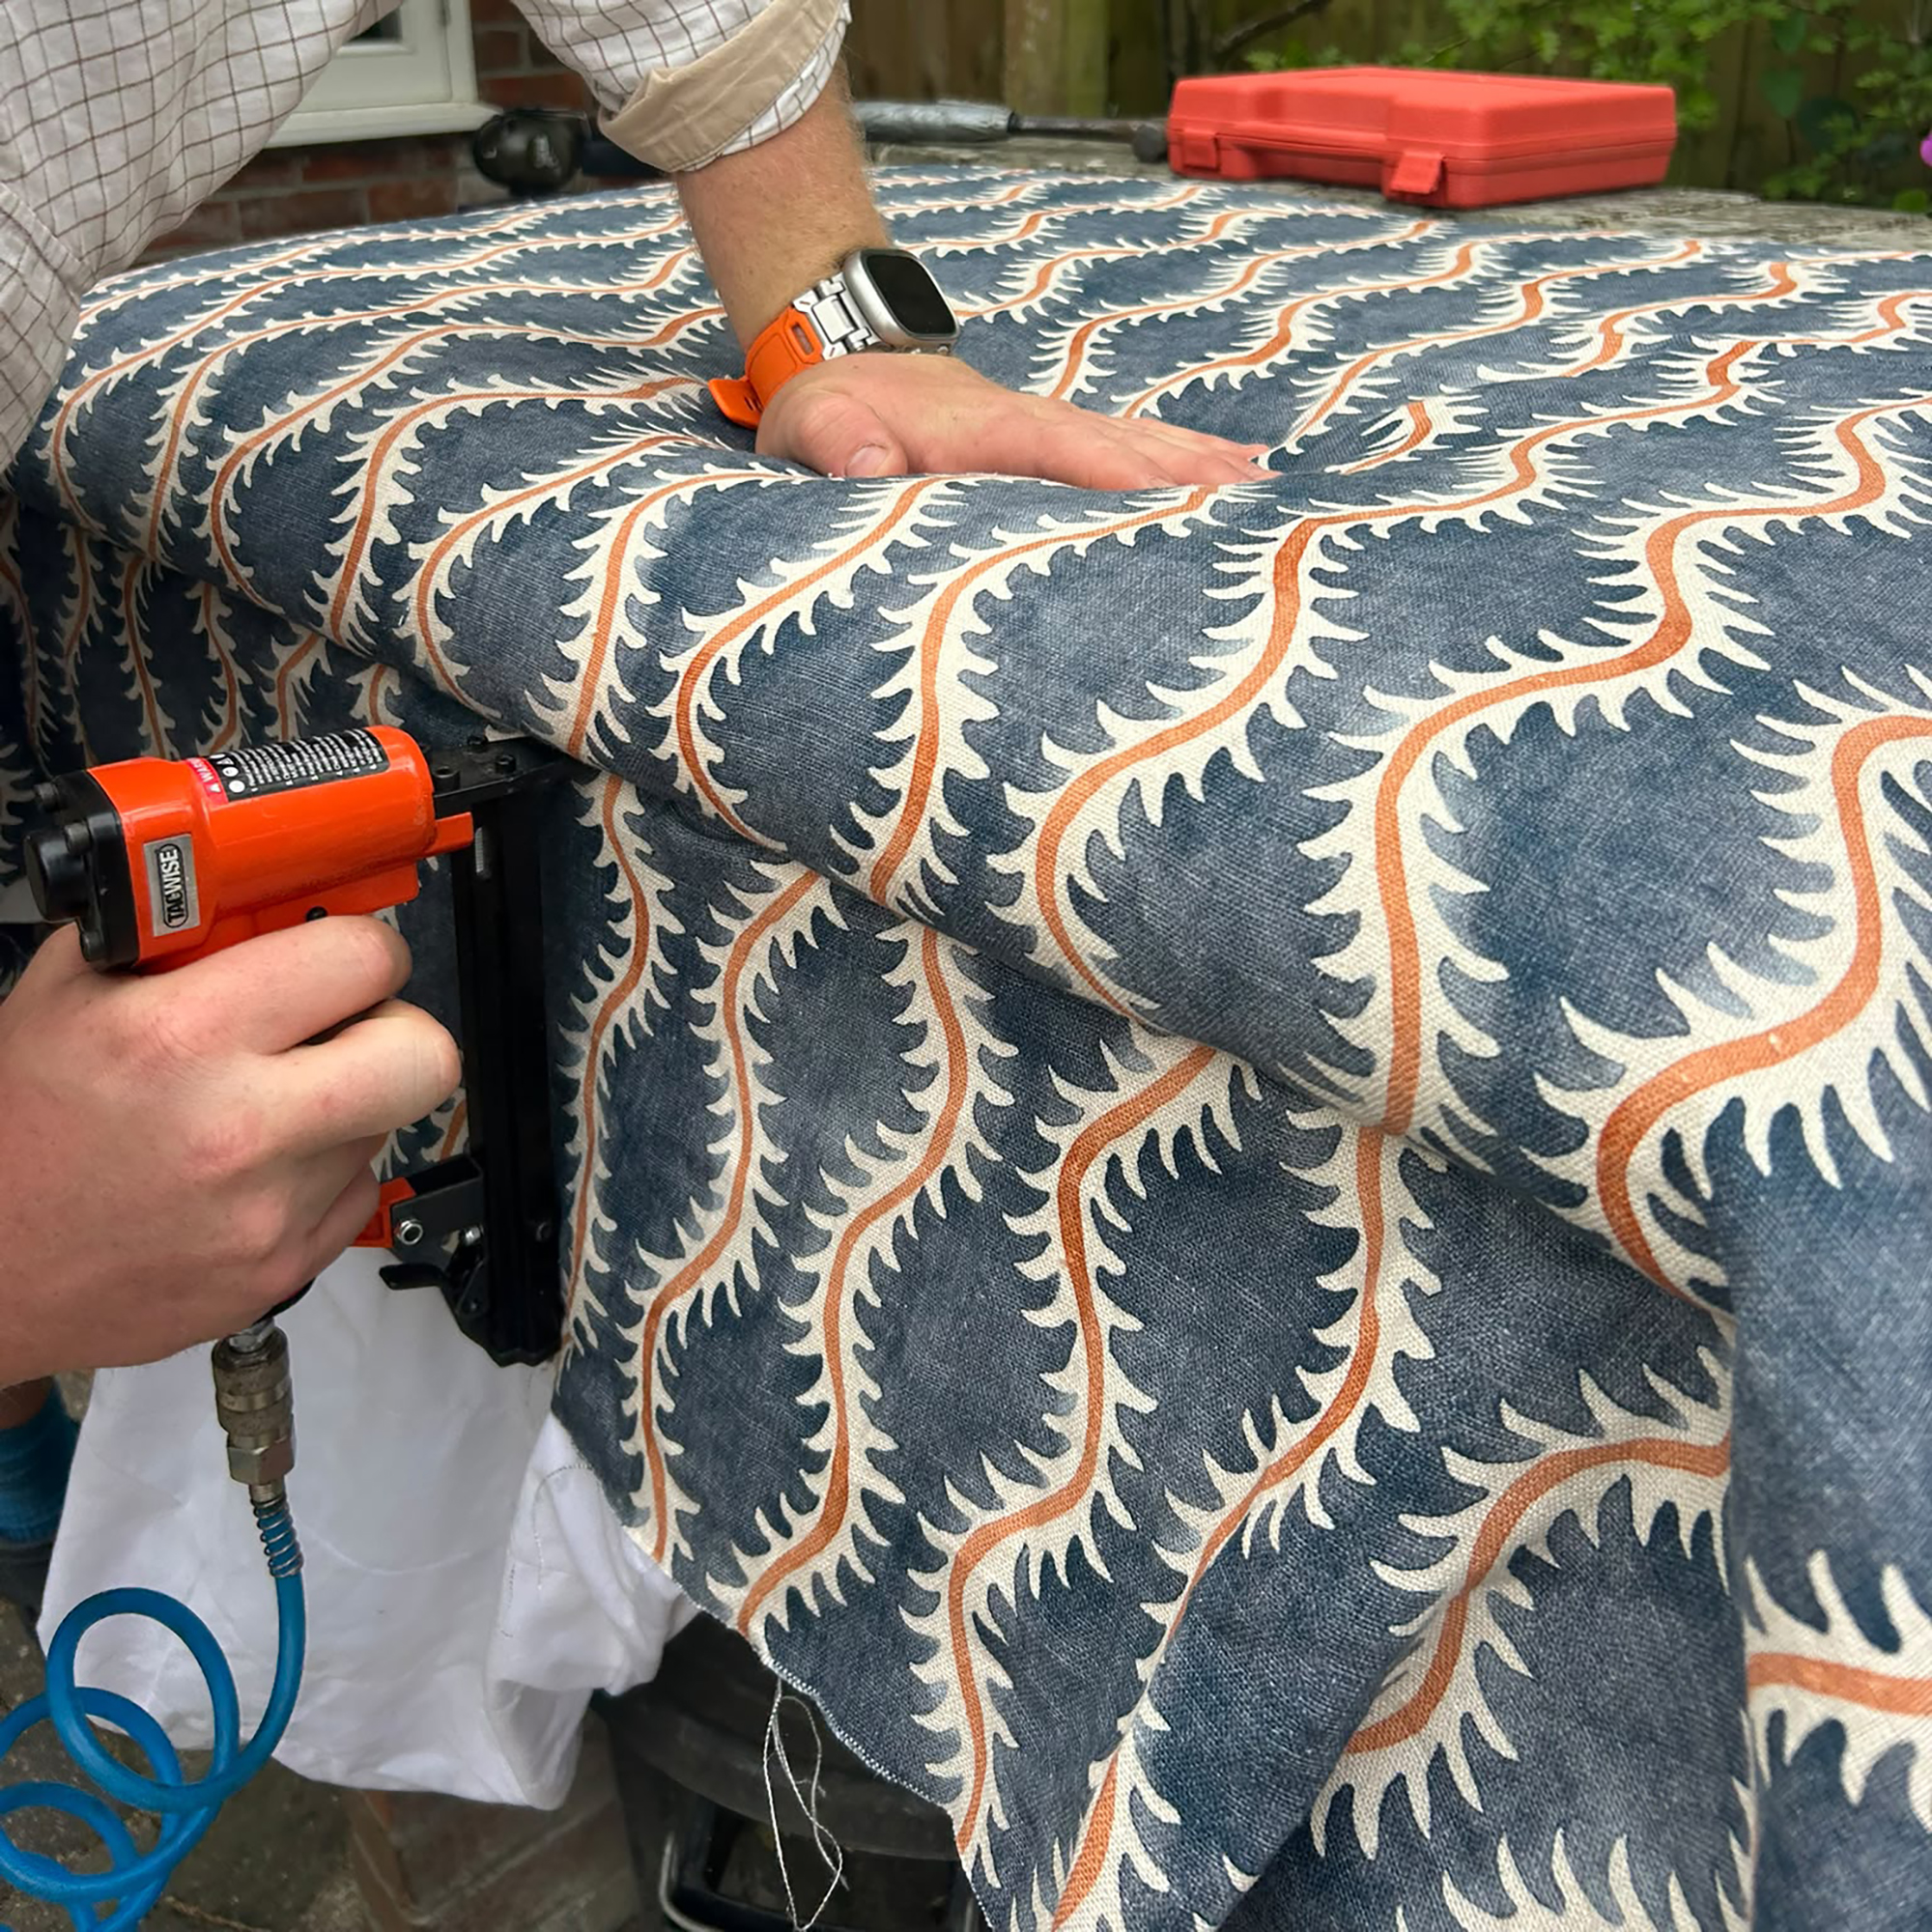
Now for the fun part! I used Linwood's beautiful Helter Skelter fabric for my footstool. I found around 1.5m of this on Vinted for £13, which was an absolute bargain and covered most of the footstool. The rest I sourced directly from Linwood. 2m overall should be enough - but you may need more if you have an intricate pattern that requires matching.
I laid this over the footstool, making sure to position the pattern evenly. I then used the staple gun to tack it in place on either side, before repositioning and stapling all along the edge to secure.
You will need to pull the fabric tightly, but make sure that you are checking how the pattern looks each time you do this.
4. Create the piping
After trimming the excess fabric away, I set to work on creating the piping. I cut out 4 x 2.5 inch strips which I measured along the edges of the footstool.
Placing a length of piping cord within each of these 2.5 inch strips, I then sewed along the edge to secure the cord with a sewing machine.
It was then a case of attaching this piping to the footstool. I positioned it piping side-up, as shown above, making sure to cover the raw edge of the top fabric. I then stapled it down.
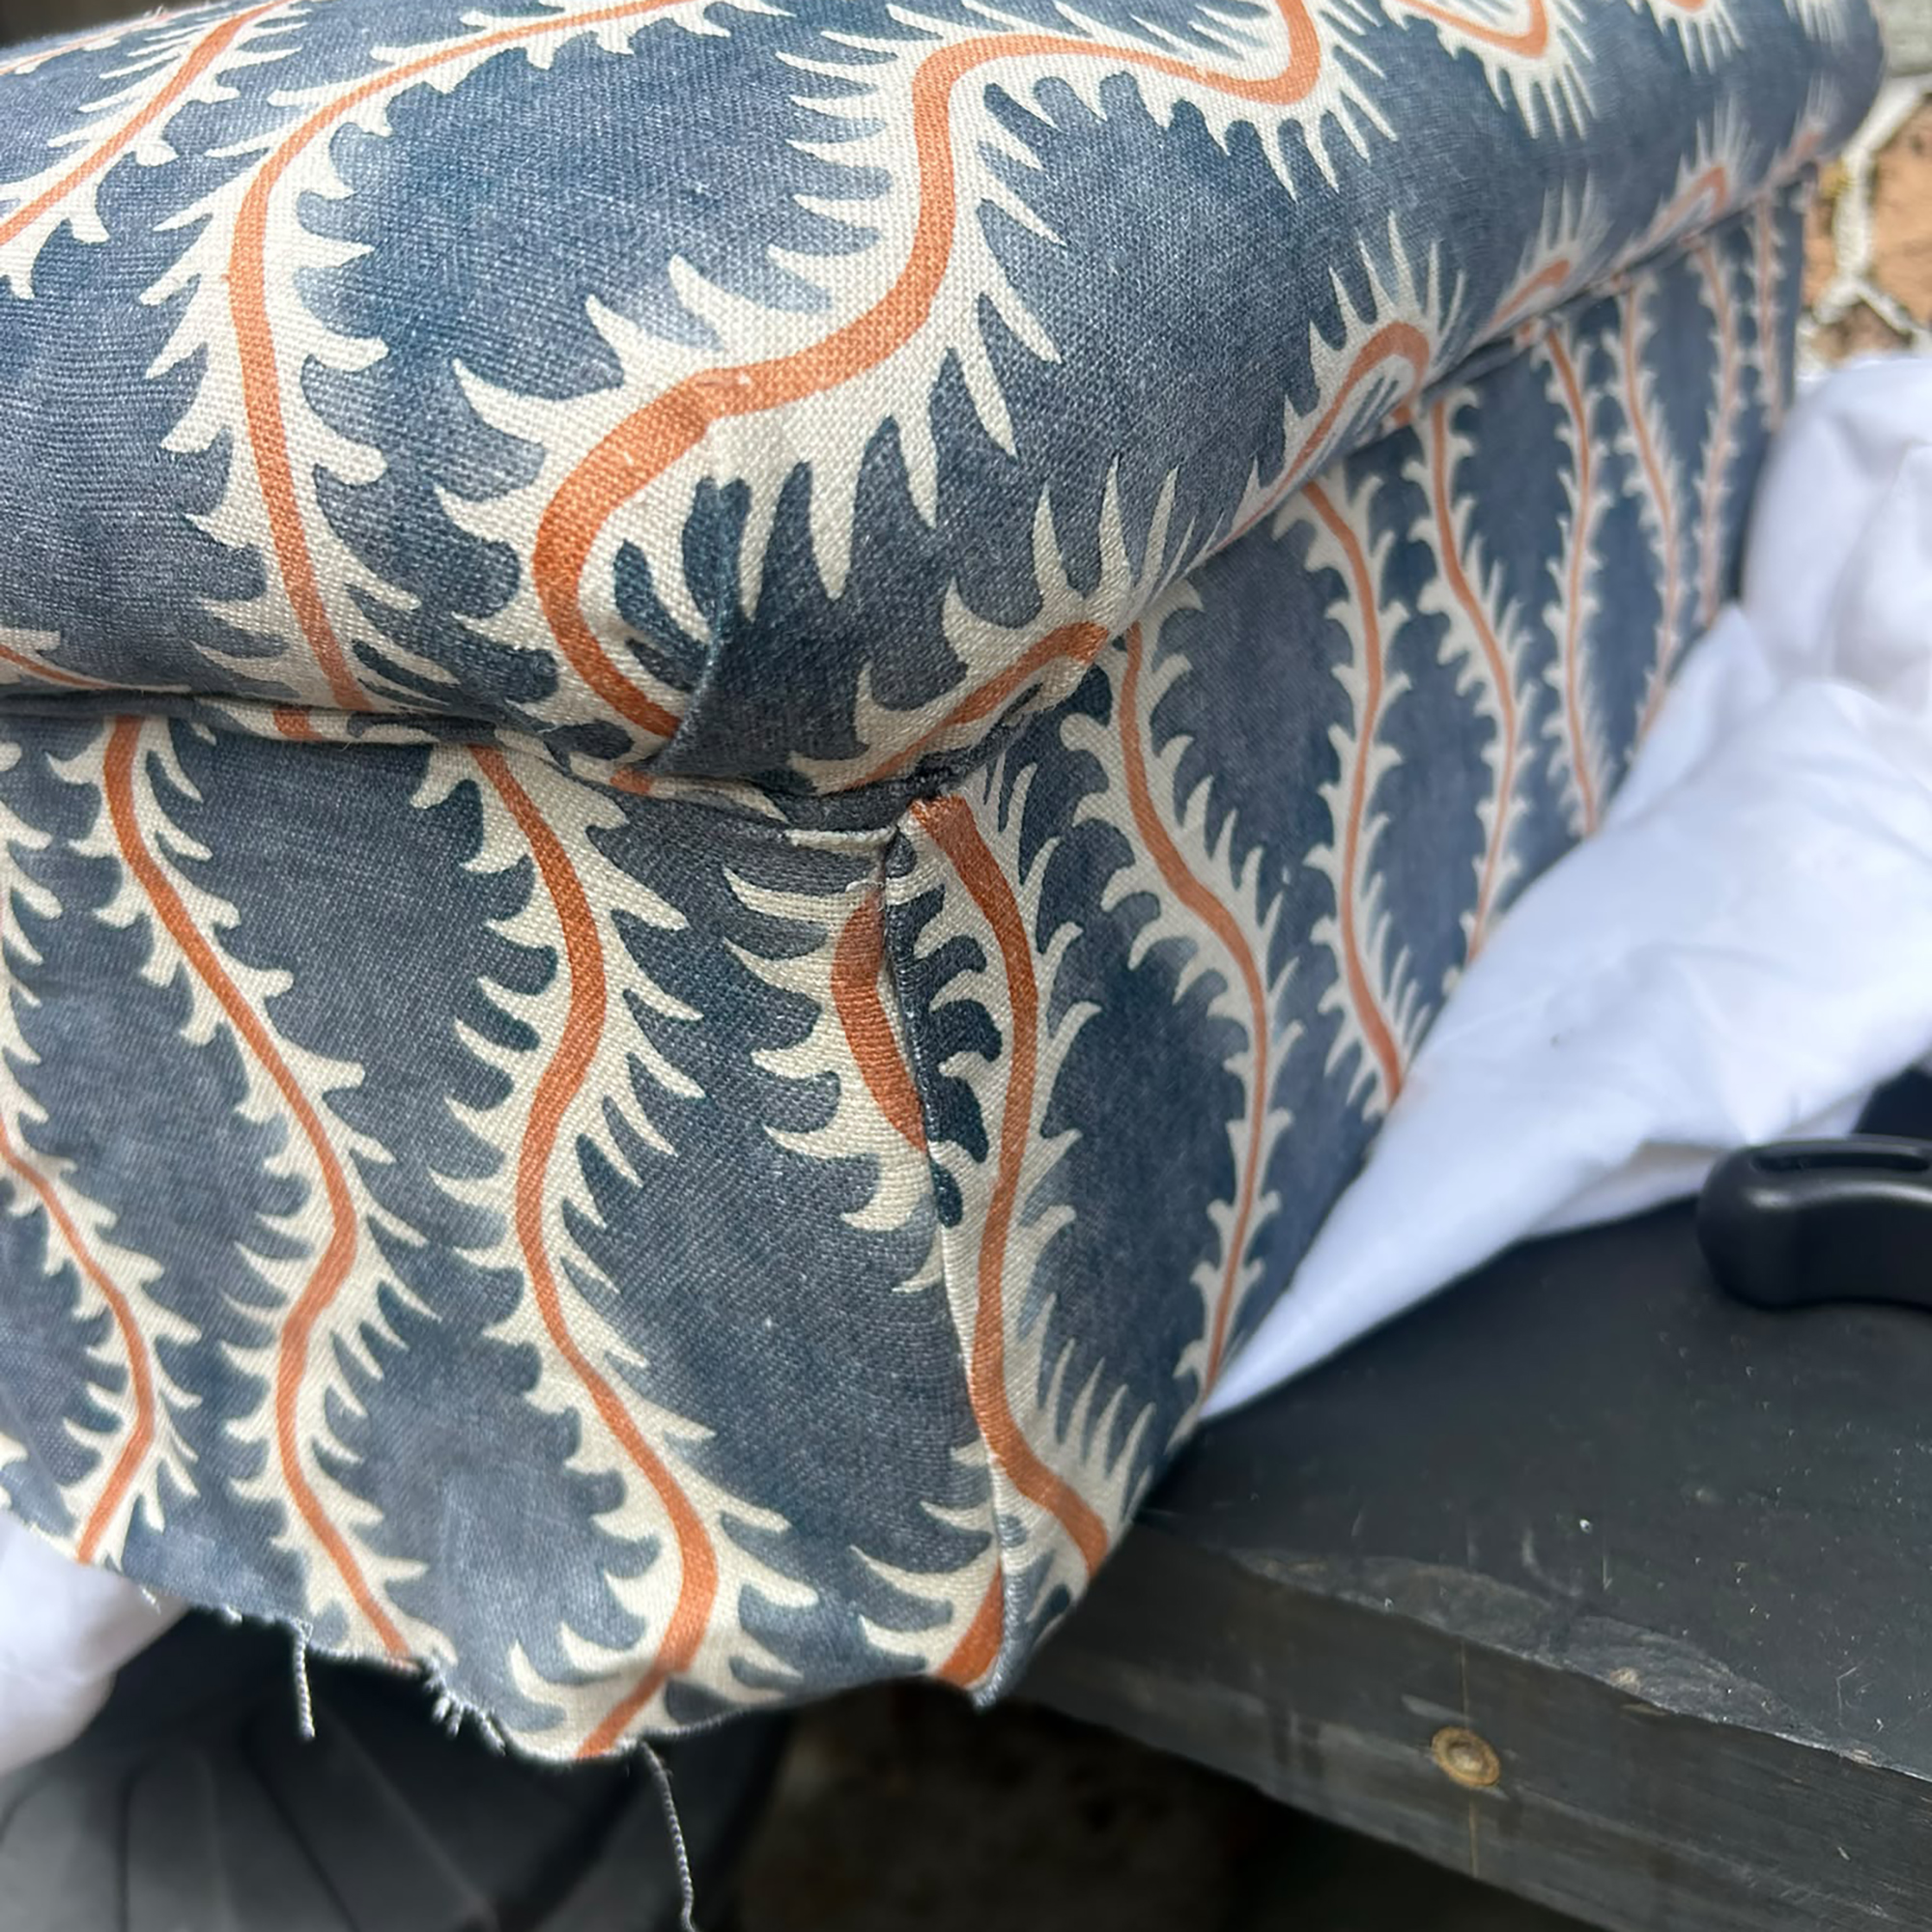
5. Attach the side panels
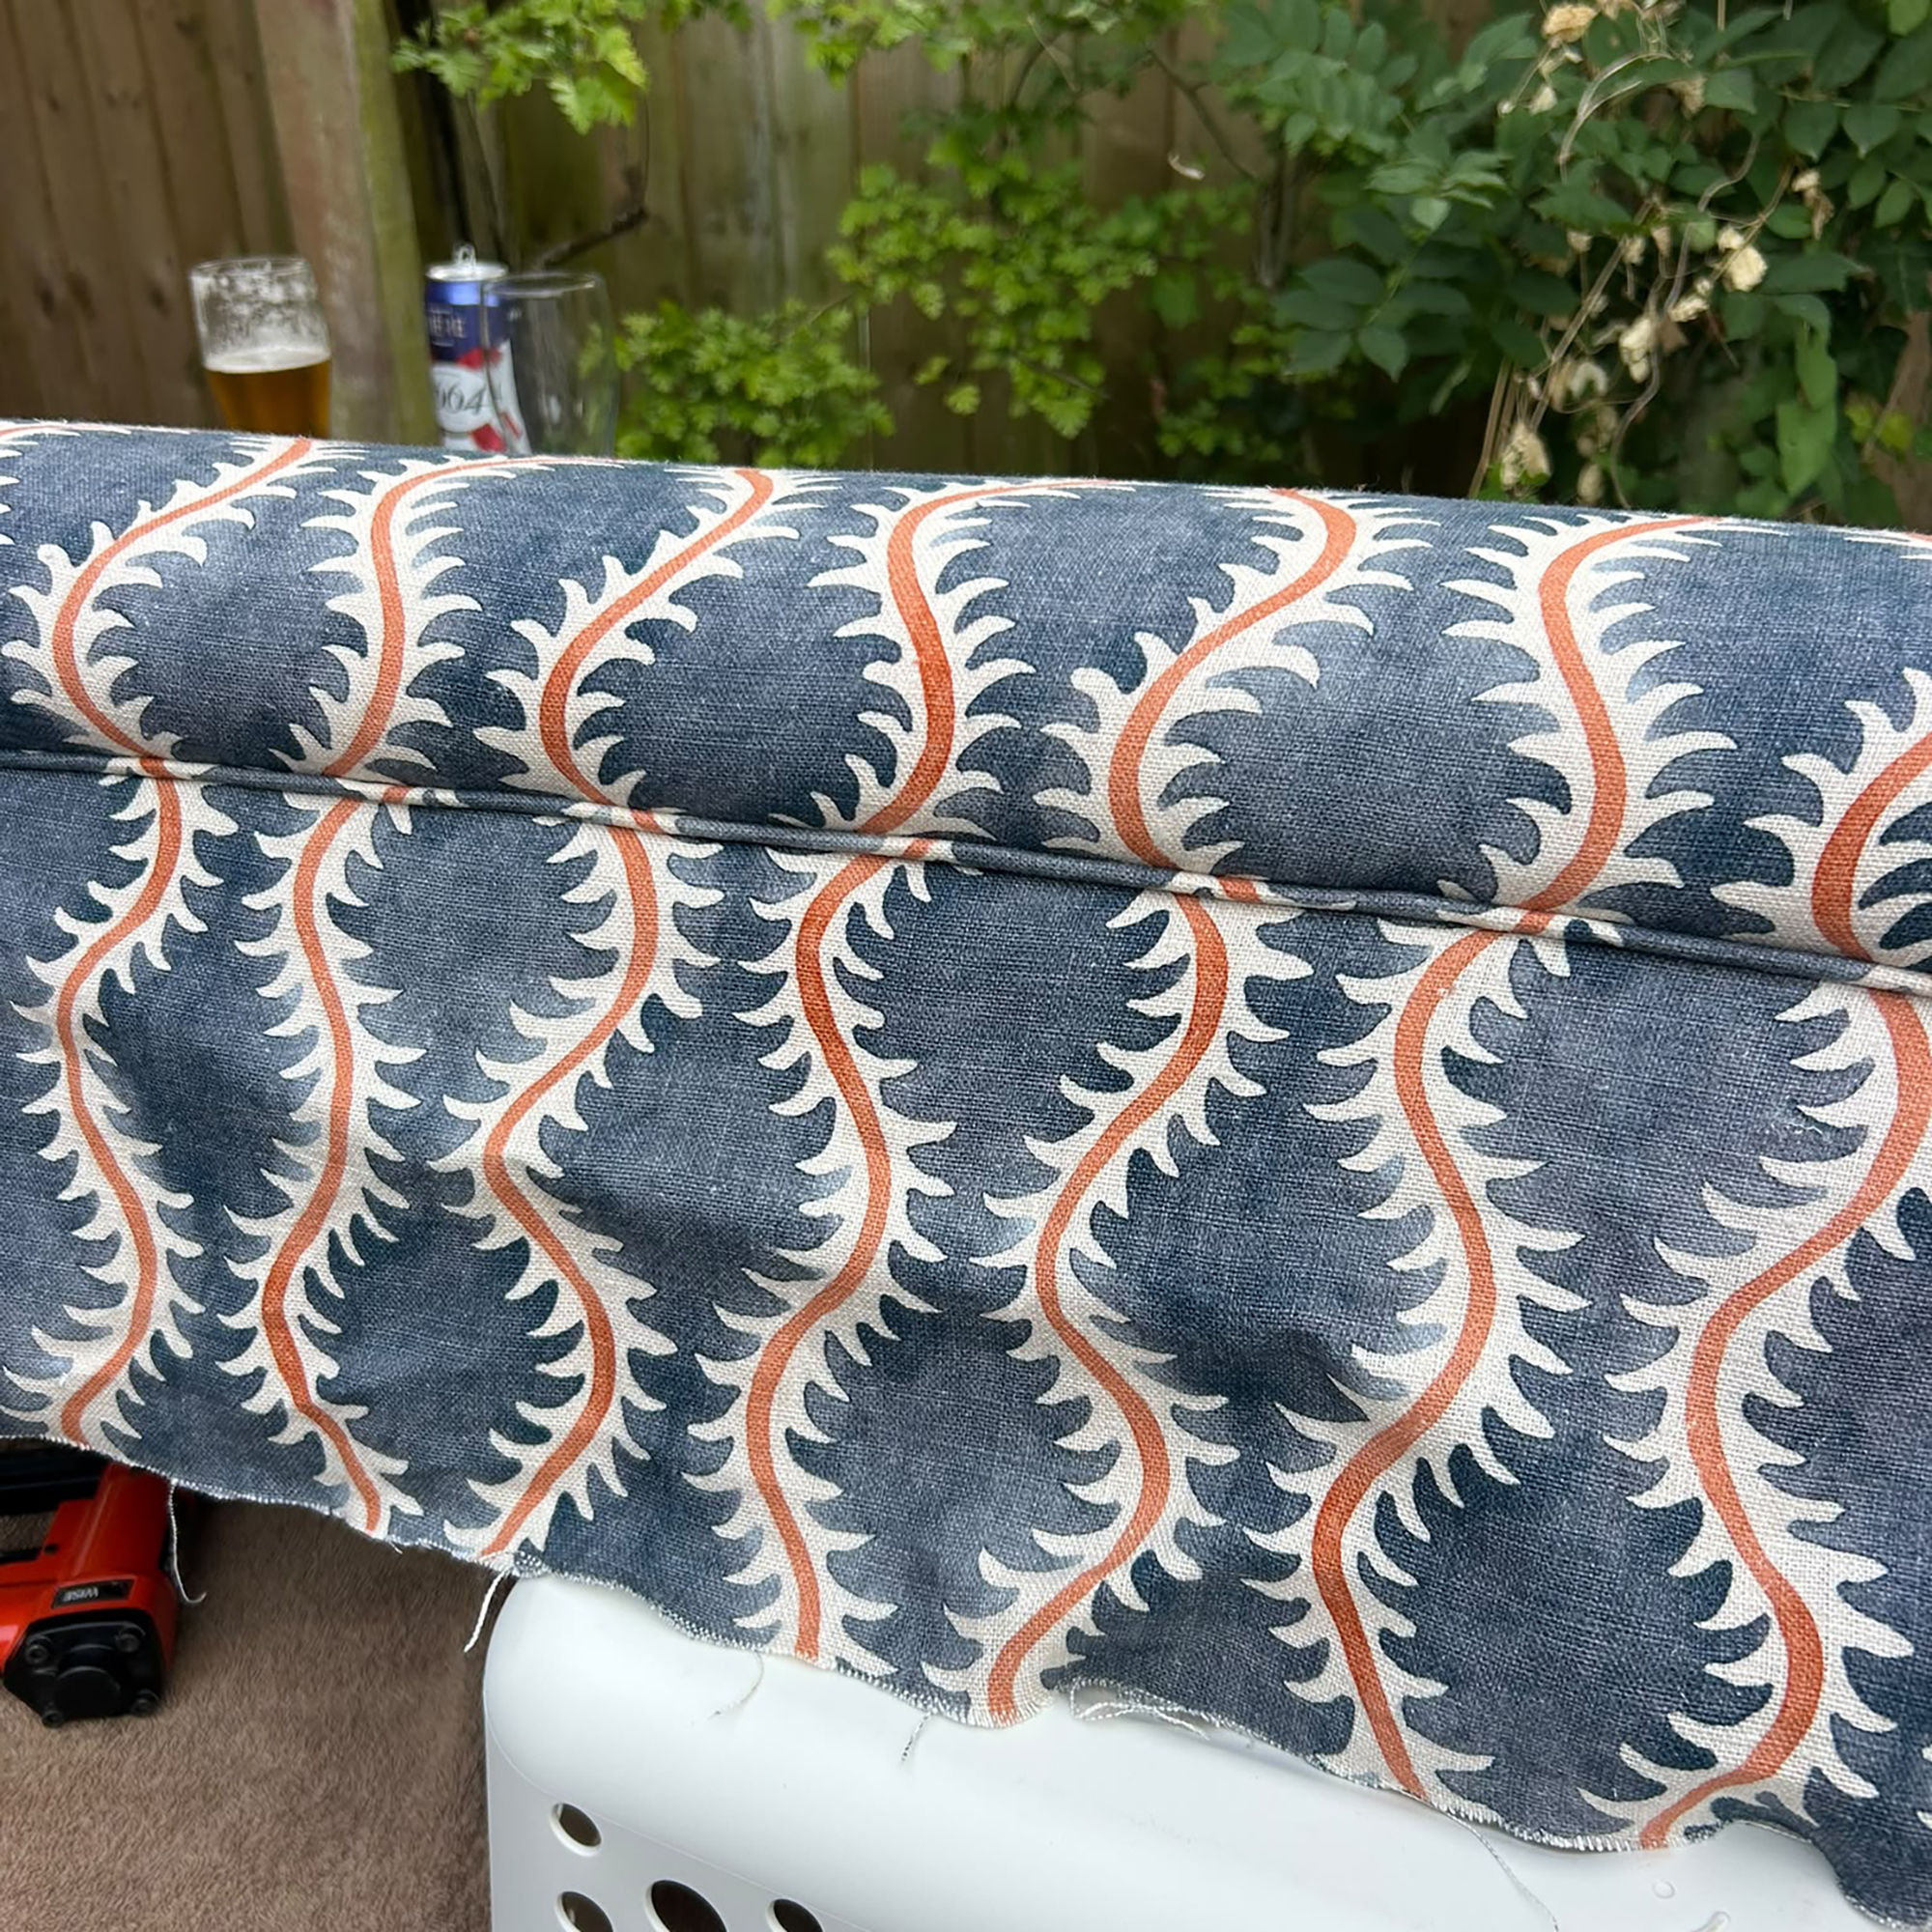
The side panels were the trickiest part. Matching the squiggle detail of Helter Skelter meant carefully lining up the fabric before cutting each panel, and then folding over and pinning in place.
This is the fiddly part - using the cardboard tacking strip, place this within the folded down edge and staple along, as close to the piping as possible. This prevents there from being any gaps between the piping and the side panels.
Keep checking that the pattern matches as you staple along, adjusting as you go.
6. Secure the sides
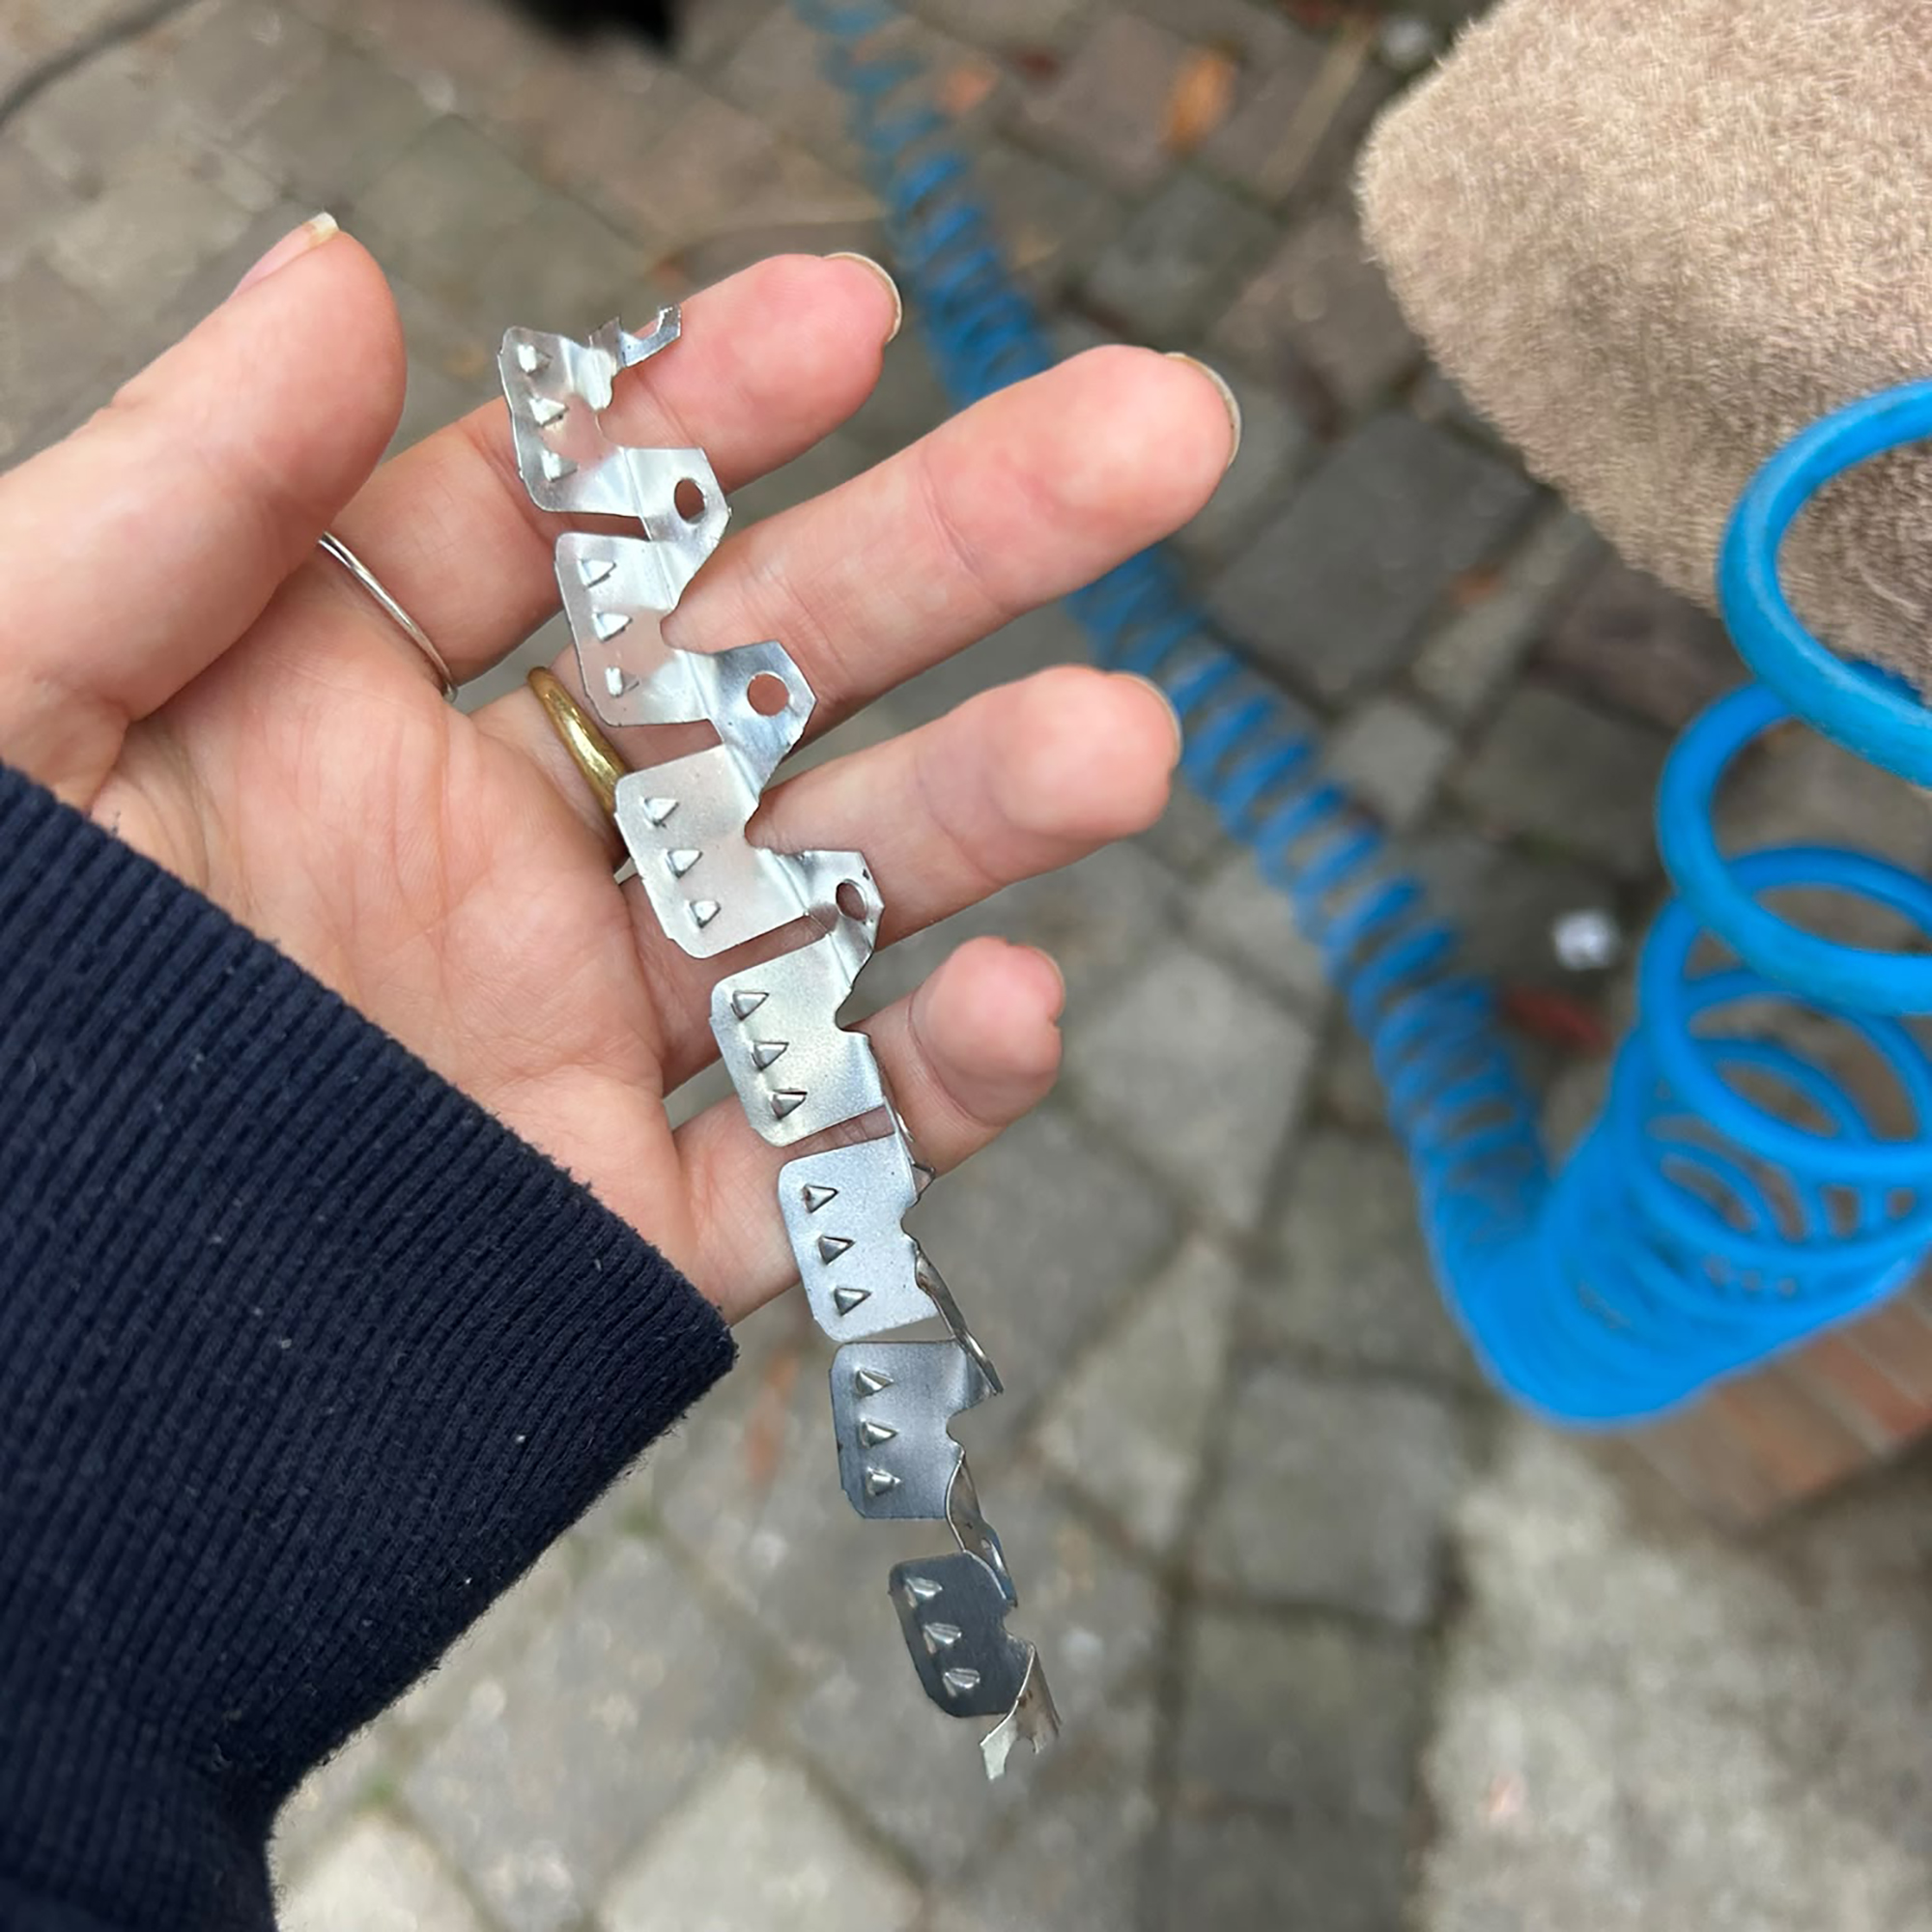
When I unpicked the footstool in step 1, there were these metal tacking strips in each corner, so I decided to reuse them.
When creating the seams between each corner, you staple down the right side of the tacking strip which sits on top of one piece of fabric. After trimming the opposite side, you then fold this over the left of the tacking strip and hammer down (make sure to hammer over a towel).
This creates a super neat seam on the corner and means you don't need to handsew it closed.
7. Attach the base & feet
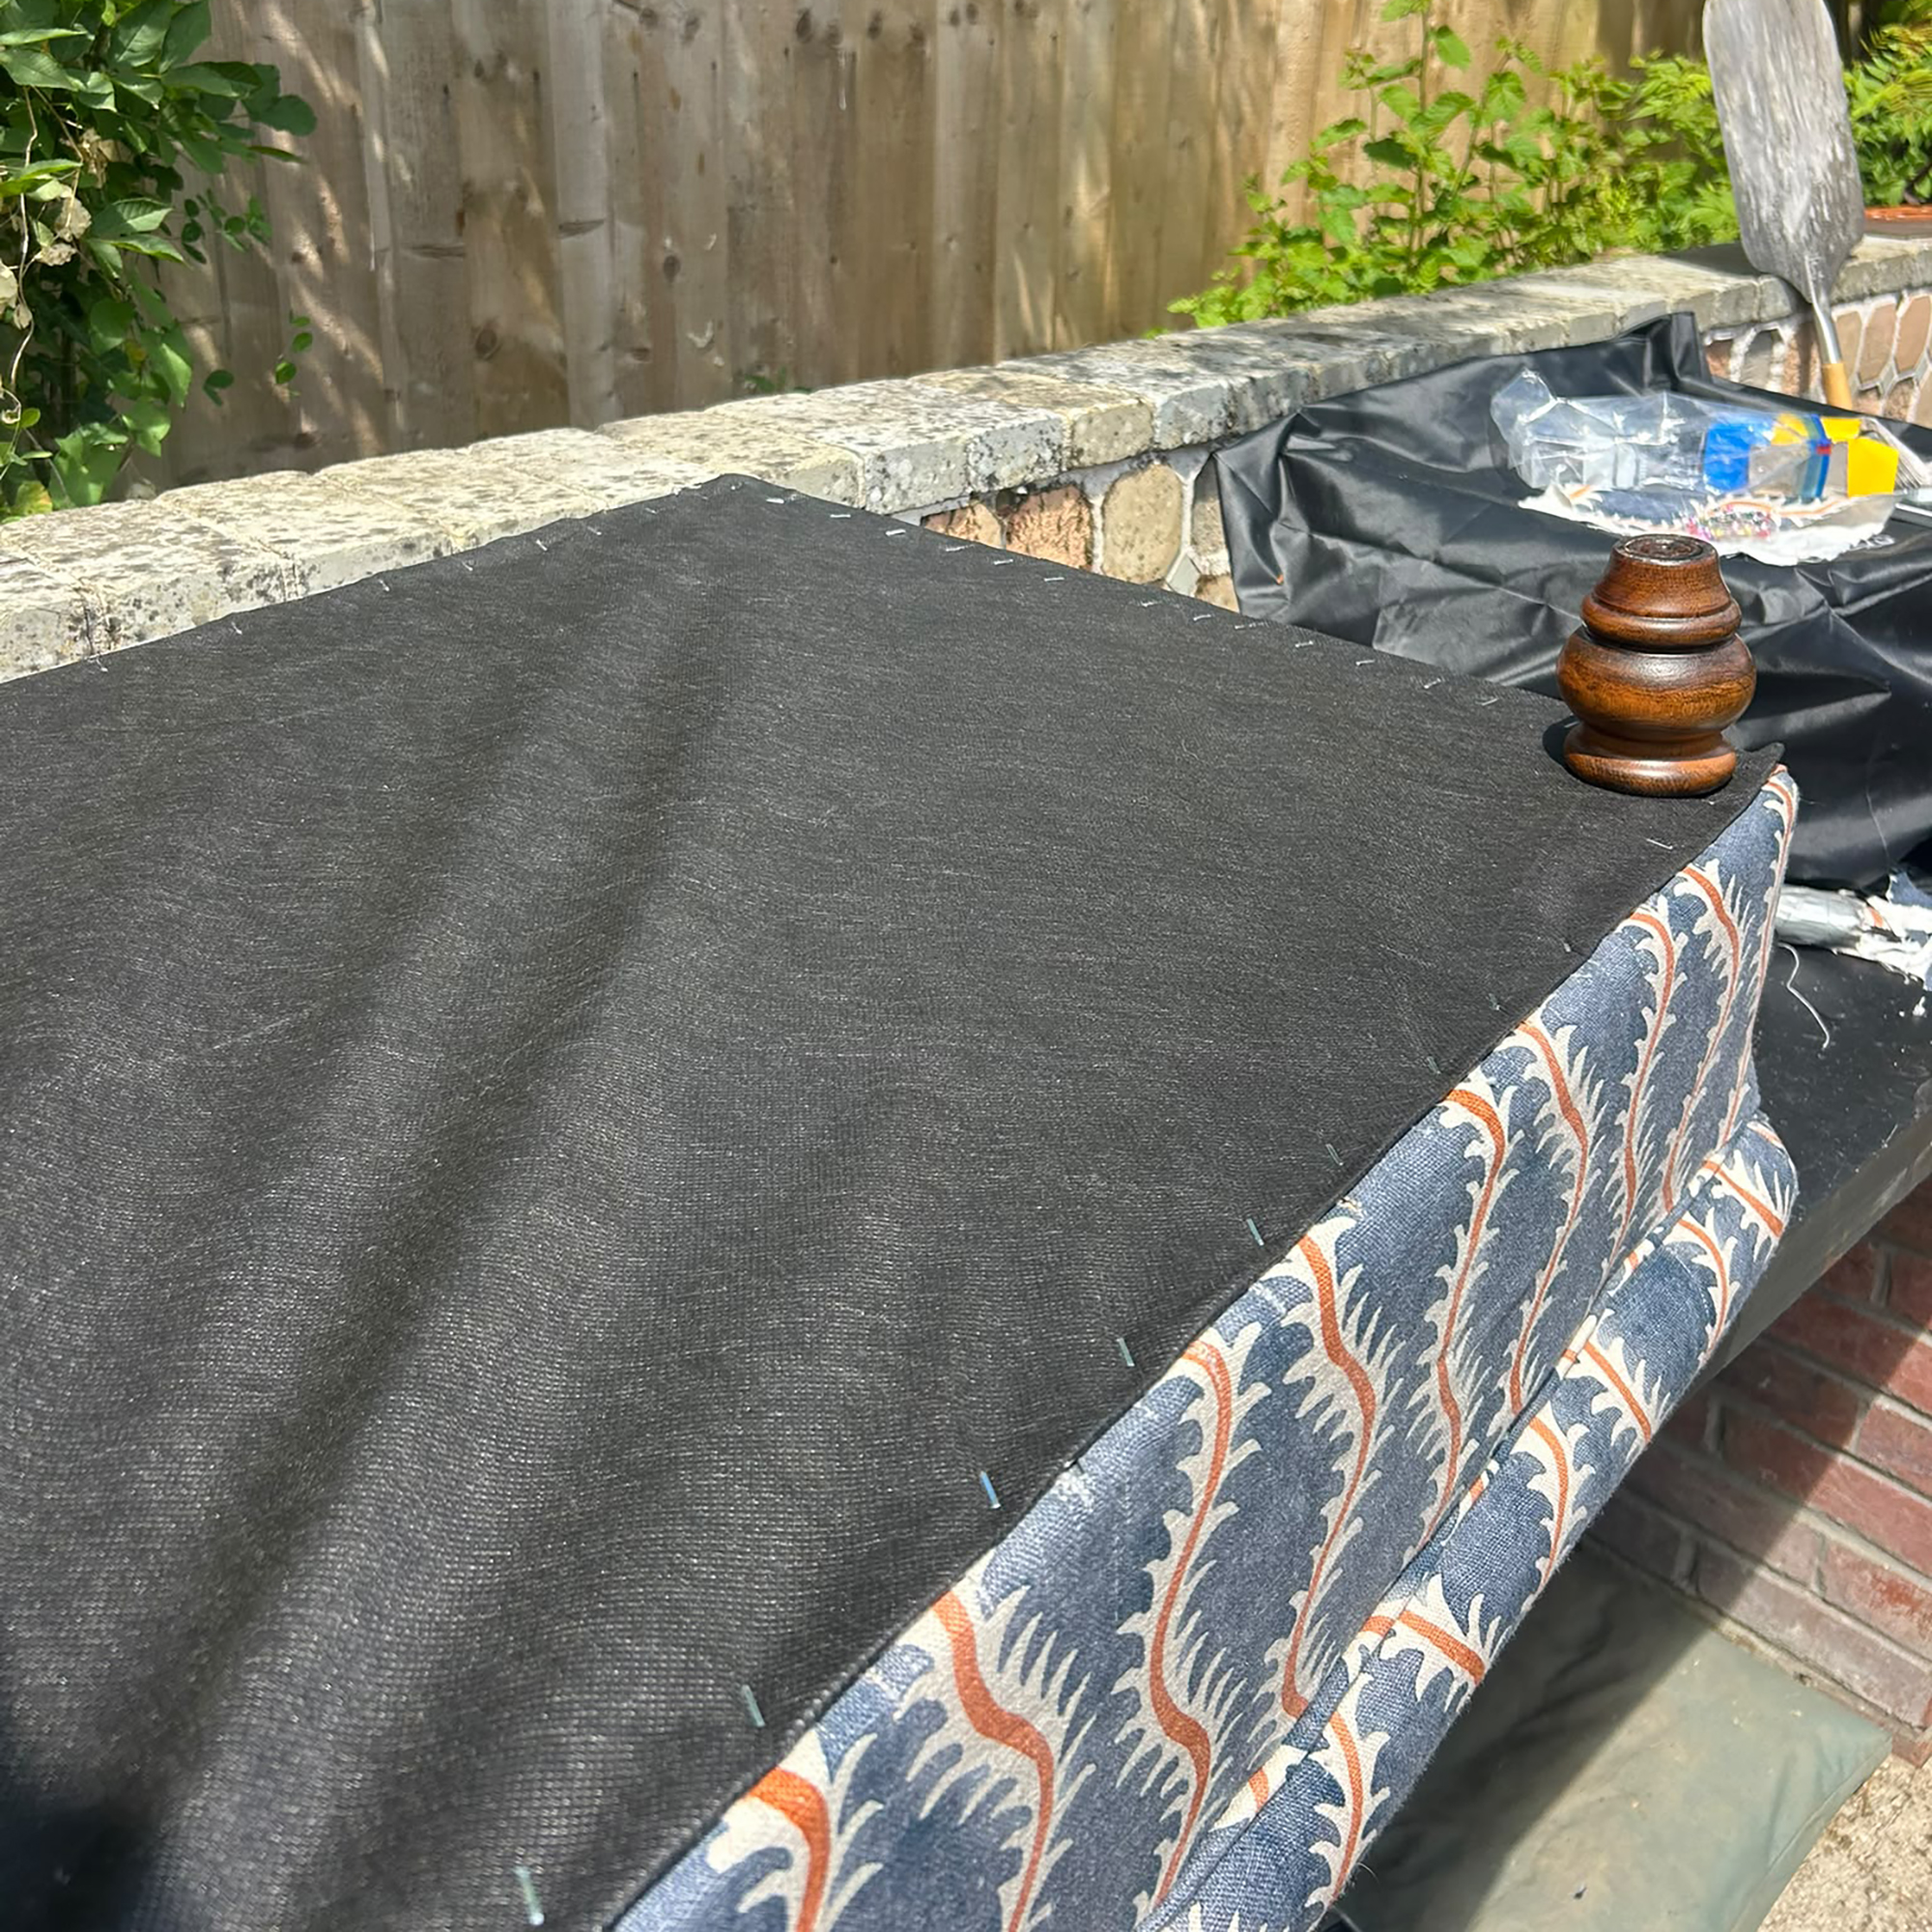
The final step is to attach the backing fabric and screw on the feet. I bought this roll of black upholstery backing from Amazon which I cut to size, then stapled along the edges of the base.
I pierced a hole using scissors in the same place that the original foot-hole was, then hammered in the back plate and screws. It was then a case of simply screwing the wooden feet back in.
The finished product
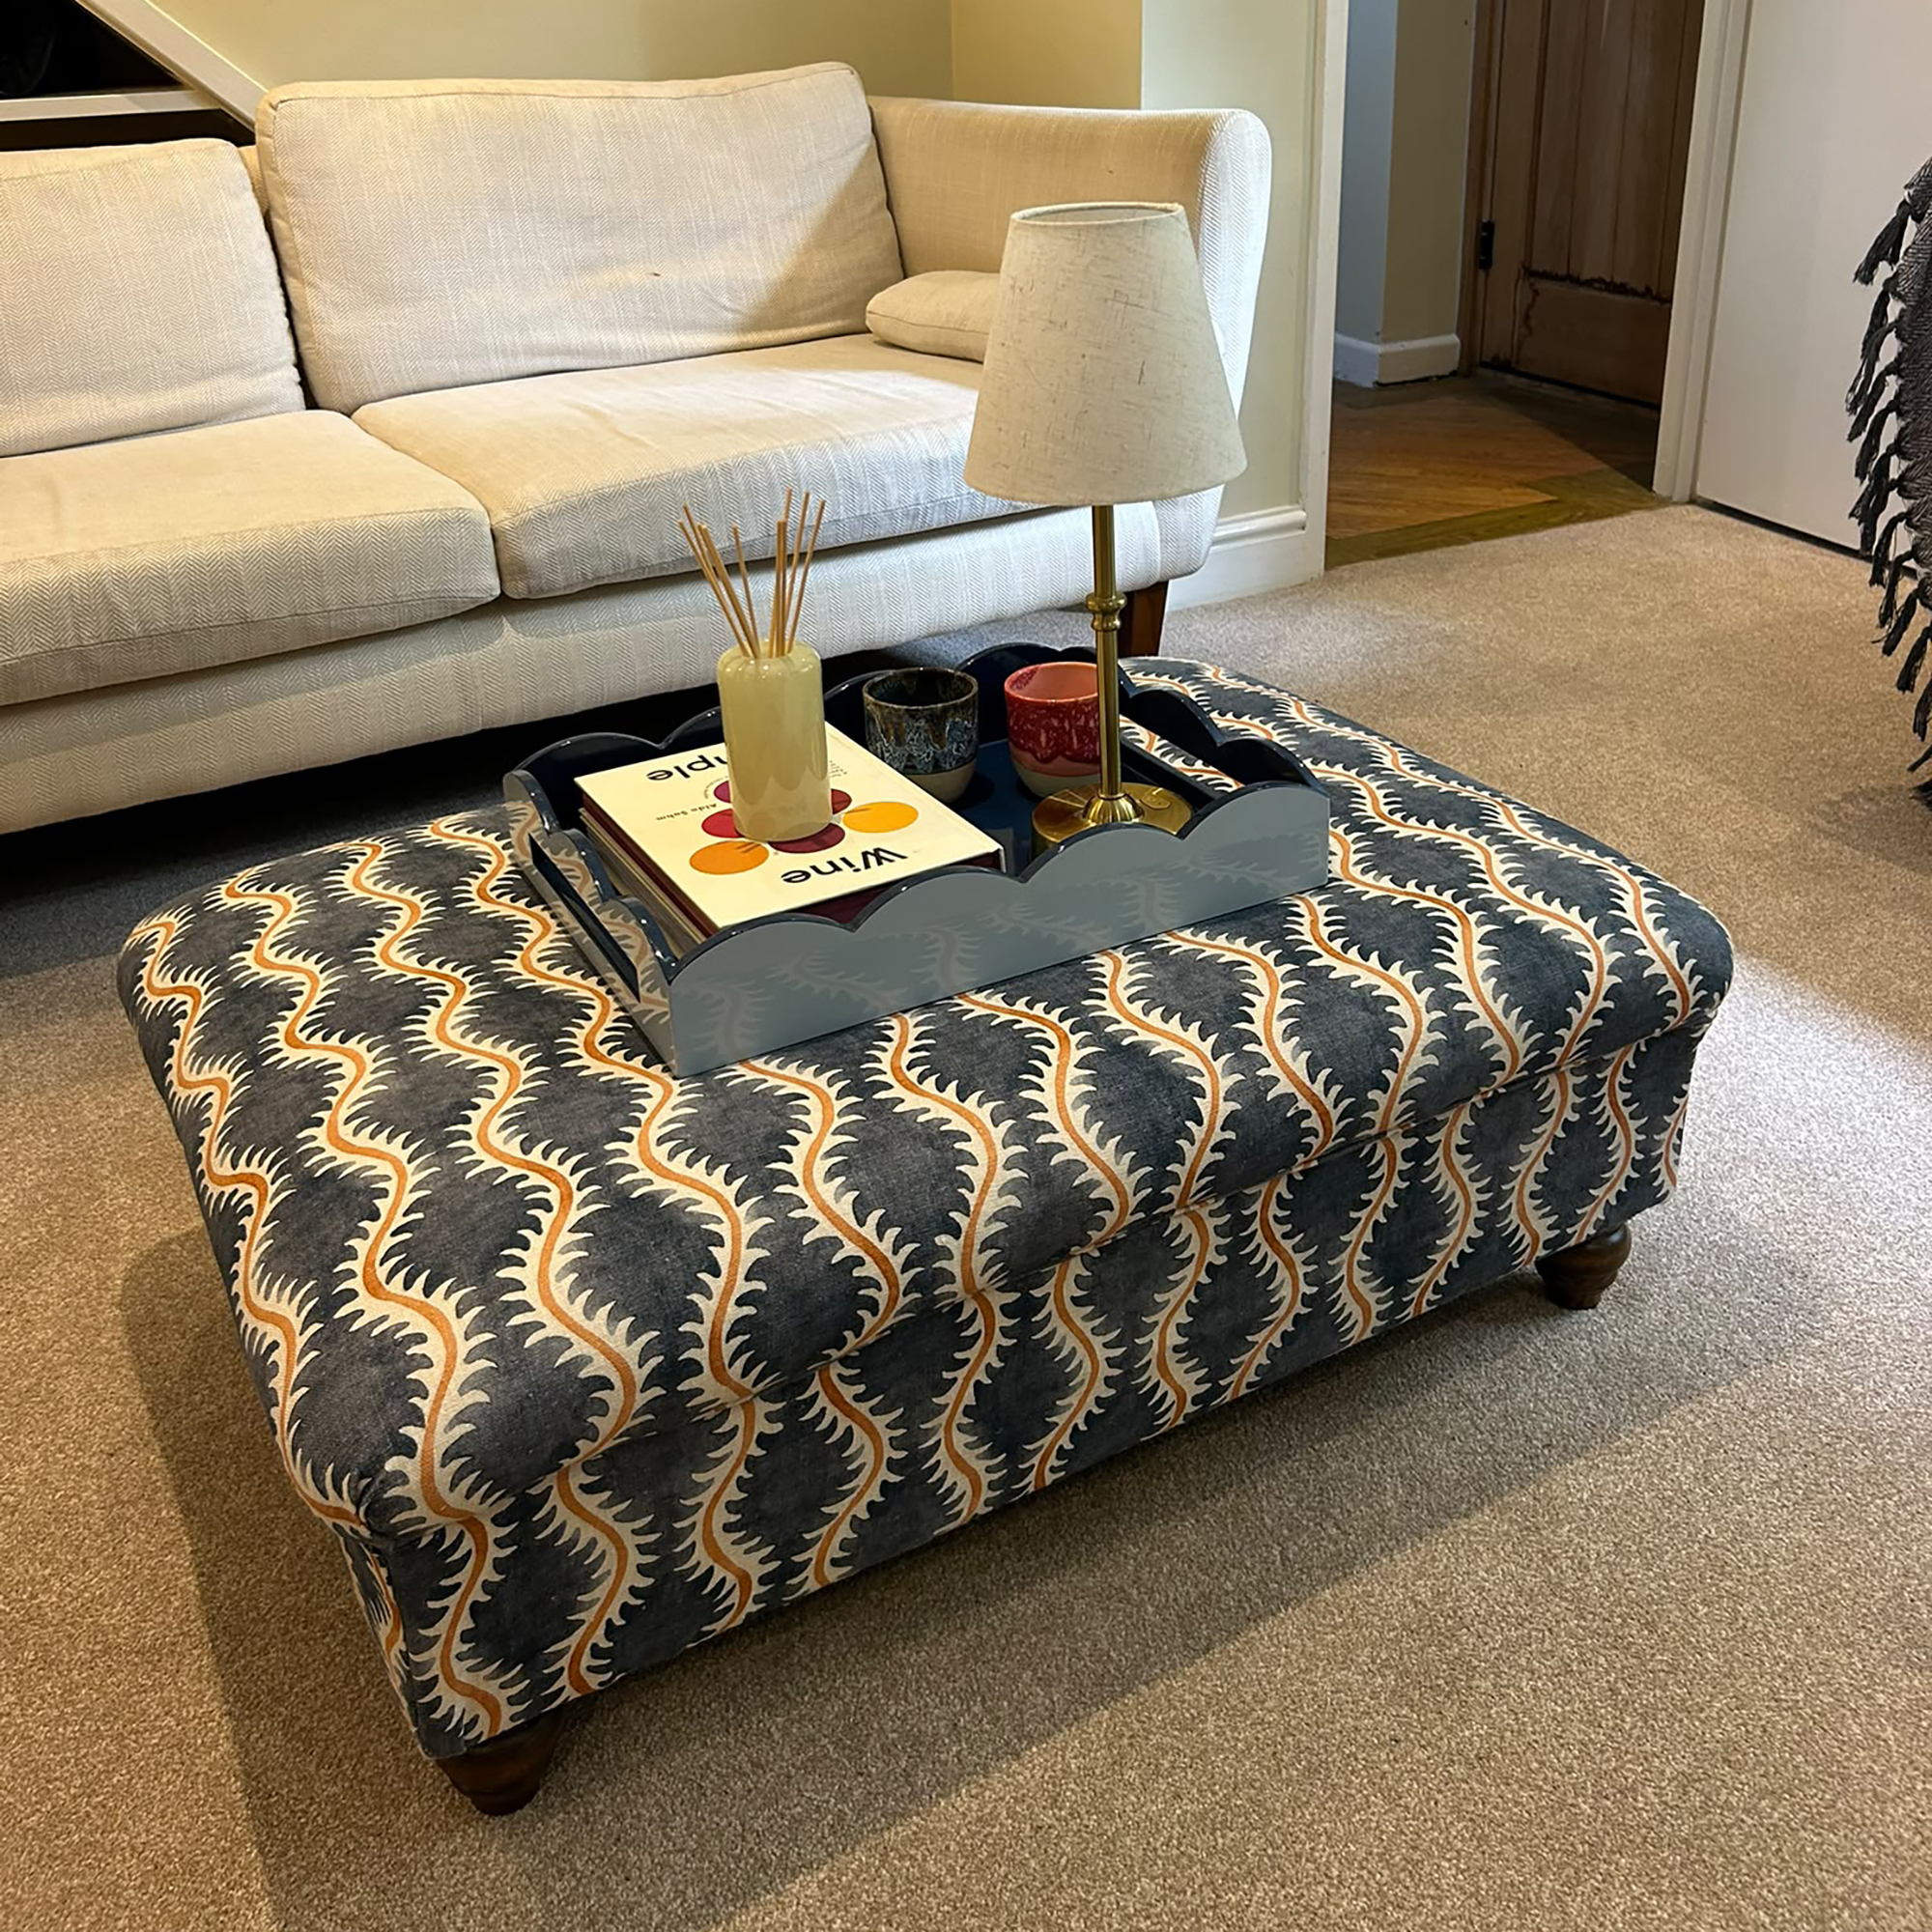
And voila! Is it a little rough around the edges if you look closely? Sure. But for the sake of saving £500, if not more, I am thrilled with the result.
It feels super plush and comfortable to rest your feet on, but looks equally as chic styled up with my Addison Ross tray.
It goes to show that it's entirely possible to create something that looks shiny and new using only secondhand resources. I didn't include my tools in this cost as I already owned them, but you can buy a staple gun for around £20 from B&Q, or head to your local Library of Things to borrow one.
Shop the project
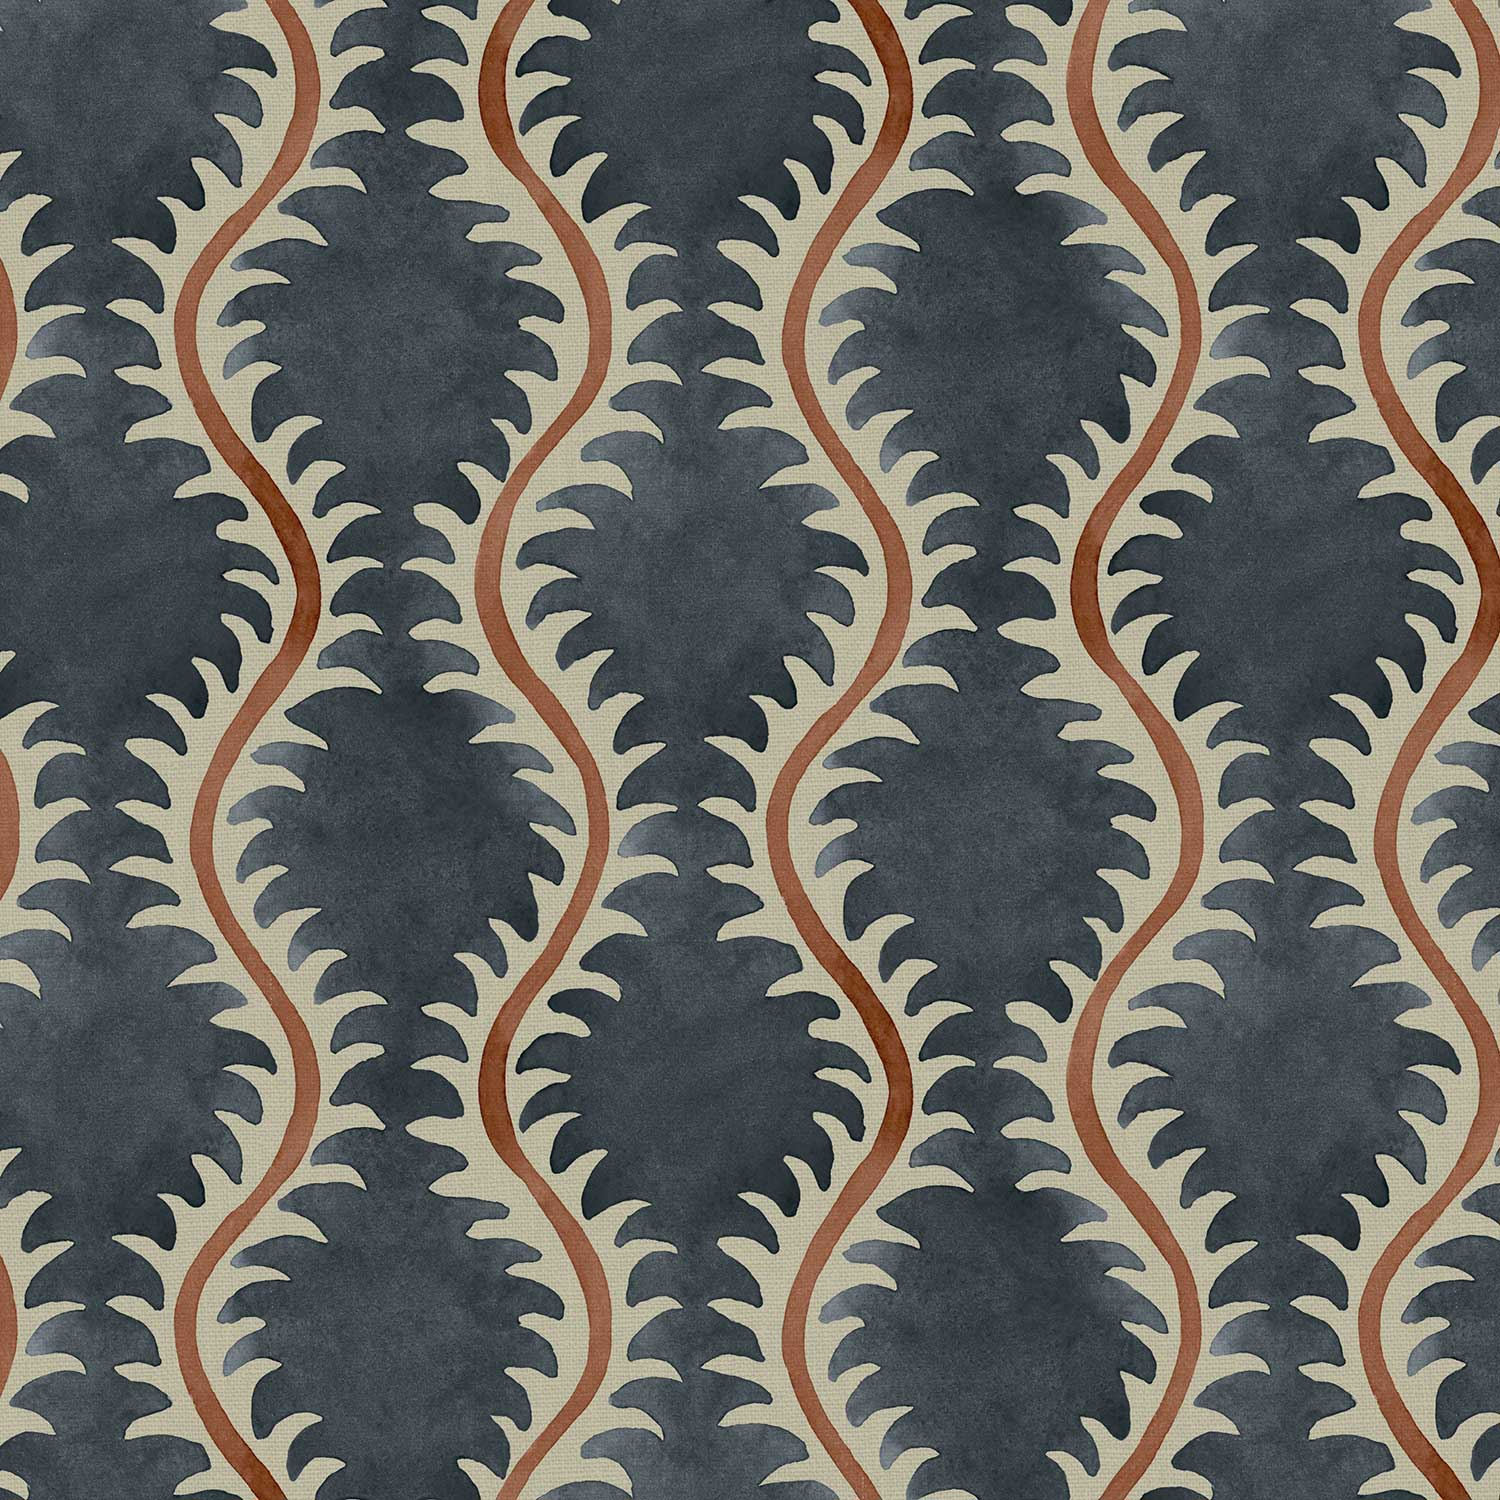
I've long admired Linwood's Helter Skelter print - it comes in so many colours as well as a velvet finish, so you can tailor it to match your interior.
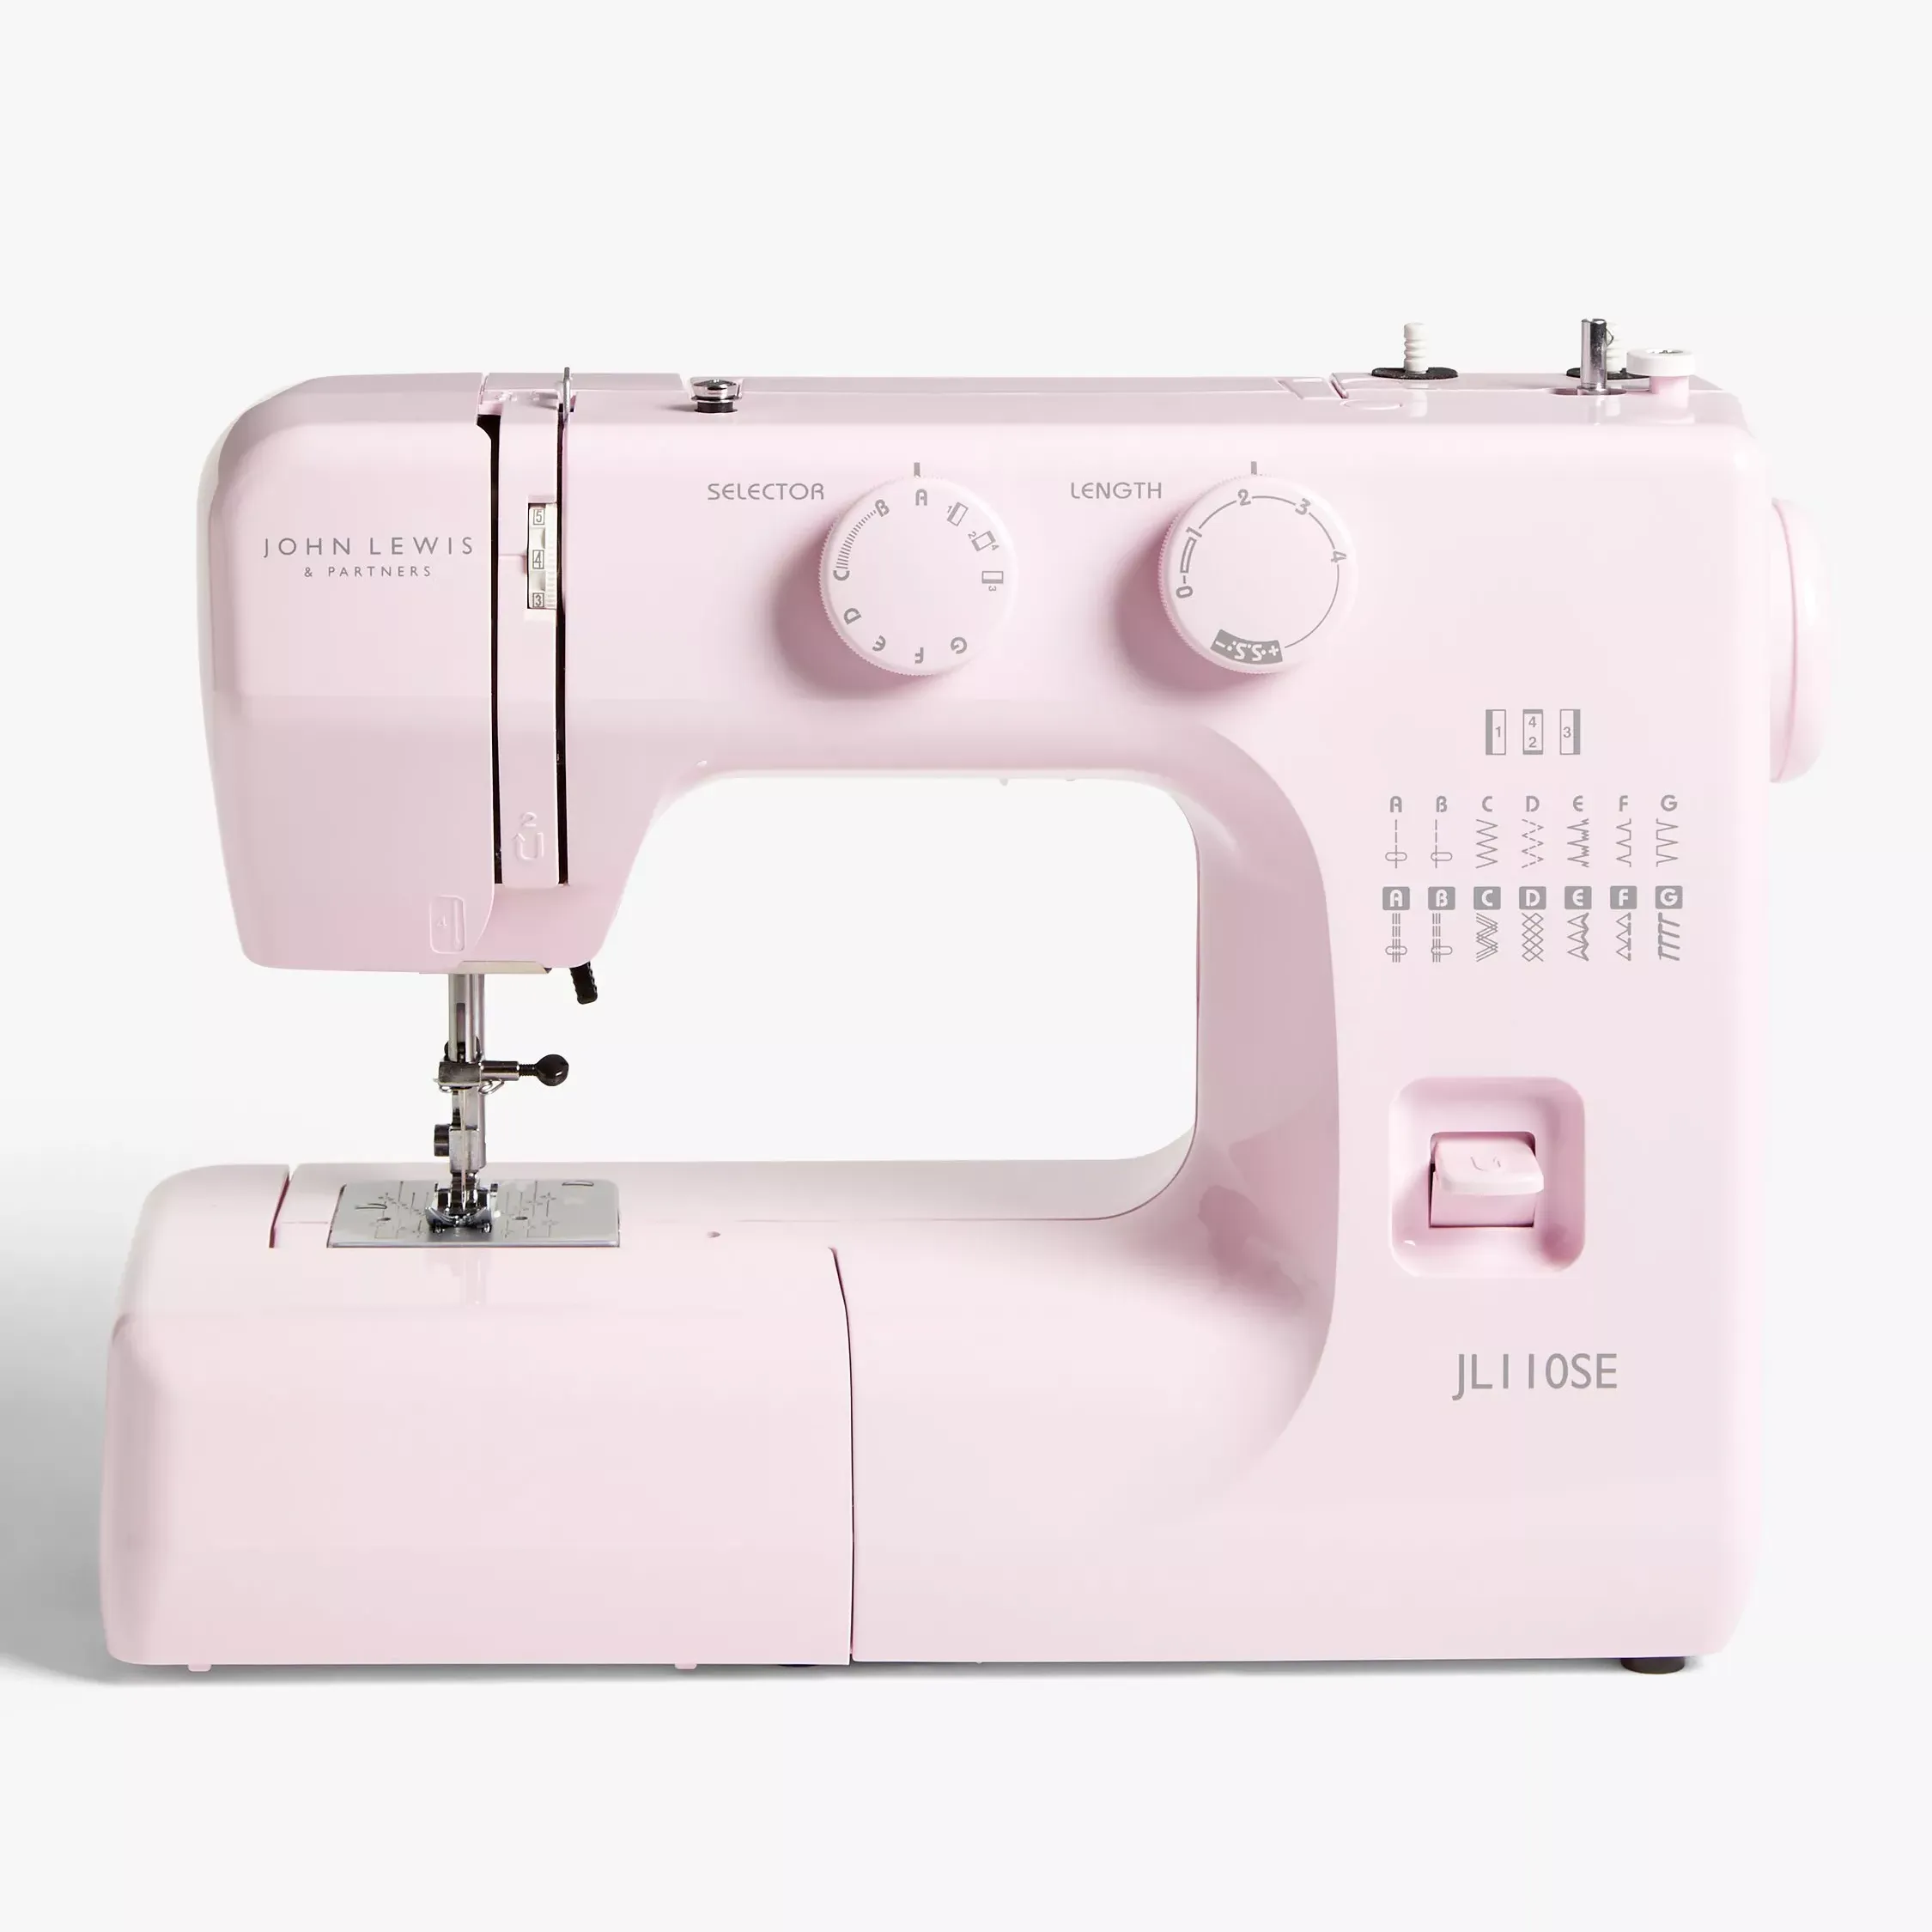
This is the sewing machine I own - it's simple and fuss-free but does the job. I love how many colours it comes in too.
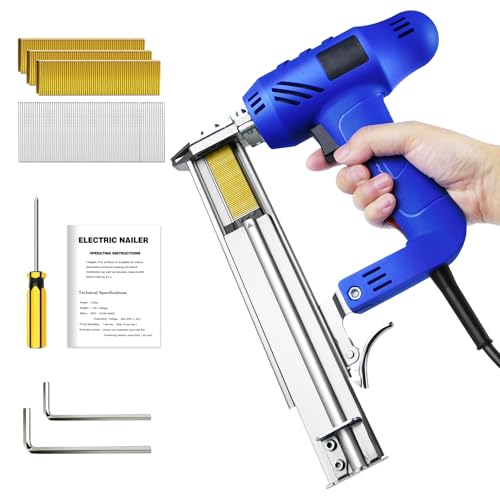
I used a staple gun with an air compressor as I already owned it, however, an electric staple gun will do the job just as well.
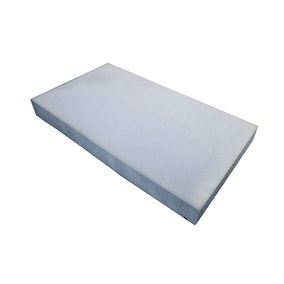
These sheets of upholstery foam from Dunelm are exactly what you need - make sure you measure before you buy and choose the right thickness for your desired footstool height.

Check your local resale sites for offcuts of poly wadding like I did - but if not, this roll from Amazon will do the job.
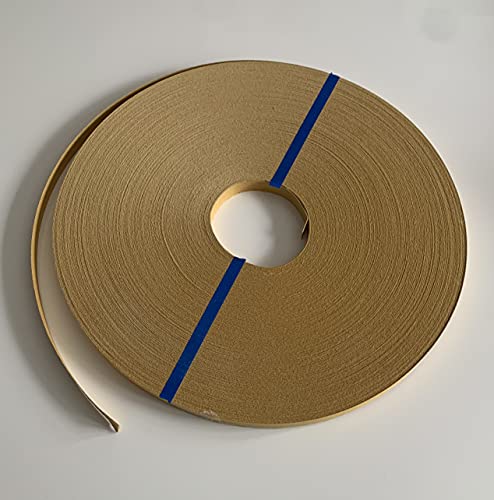
Cardboard tacking strip is essential for an upholstery project so don't cut corners by skipping this step.
There are so many resources online to learn the skill of upholstery - I particularly loved Pucci Upholstery on Instagram and picked this project up by following her videos.

If you enjoyed reading this, sign up for the Ideal Home newsletter for all the latest home decor trends and inspiration delivered straight to your inbox