As our design editor Daniel John recently stated, Substack is the best place on the internet. I happen to agree, and after much deliberation, I recently started my first Substack about having bipolar disorder.
Unfortunately the process of setting it up wasn’t as easy as I thought it was going to be, thanks to some hidden settings and slightly odd choices in Substack’s UI. Though in Substack's defence, a lot of other blogging platforms are also quite confusing (I'm looking at you, WordPress).
When you start a new Substack, the interface supposedly guides you through the process, and encourages you to turn on paid subscriptions (Dan recently wrote about why you should turn on paid), but if you want to make your Substack look good and really personal, there are actually more steps to this process, which are hidden within Substack’s UI.
These are the steps that Substack misses out of its guided introduction, but which I think you need to make your Substack a success:
01. Add your Substack to categories
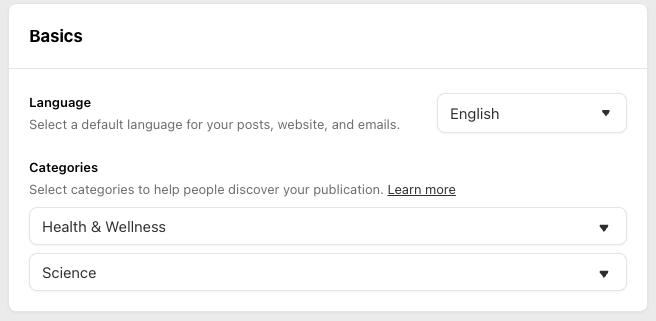
Categories help people discover your publication, so you need to select which category your Substack sits in. This is tricky if it only really fits in one. For example, my Substack, about having bipolar disorder, sits neatly in Health and Wellness but there isn’t any other category that it really works with.
I think you can actually leave the second category blank but once you’ve selected one thing, there’s no way to go back to having nothing selected. I put mine first in Education and then wanted to switch it to nothing, but I didn’t have the option. It’s now sitting in Science, which isn’t ideal, although it does cover psychology.
Note that it's the first category you choose that is most important. I could be a 'bestseller' in my first category of Health and Wellness, for example (keep your fingers crossed for me), but not in Science.
To find these categories, go to Settings, Basics, Categories
02. Change website settings
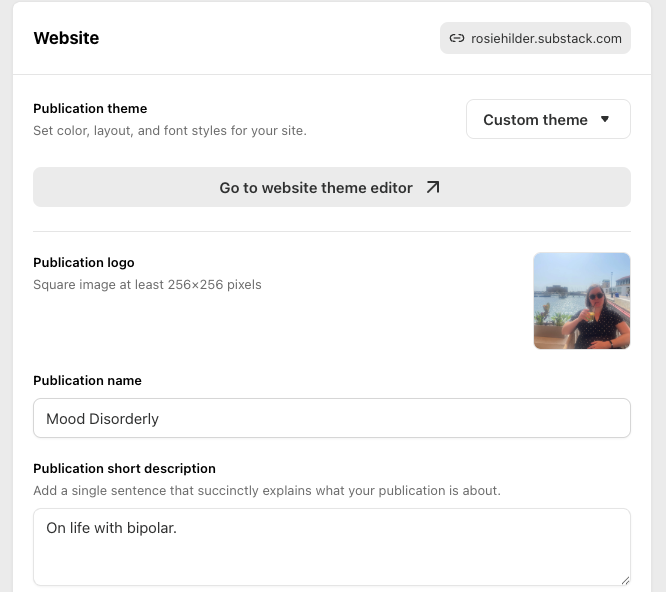
There are several settings under ‘website’ that need attention. First up is Publication logo. This is a bit confusing as it’s different to your avatar – your avatar is round and shows up on your right when you’re in Substack and your logo is square and shows up on the left.
This is also where you can add your publication name and short description and you can add a wordmark, which is also different to your logo, which again, can be a bit confusing.
Under Pages and Navigation make sure you change your About page. This is also where you can add Custom pages and where you can change your tags. Here's a piece that explains Substack's tagging process very clearly.
03. Change your About page
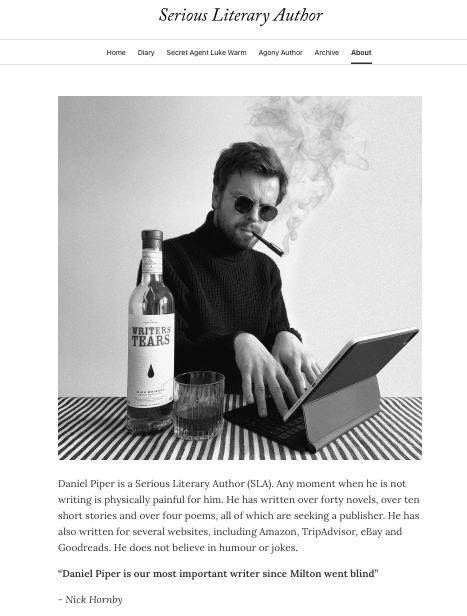
I didn't even realise I had an 'About' page at first, and I still need to get round to changing mine (maybe I'll have done it by the time you read this). You can change it in Website, Pages and Navigation, About page.
If you don't update your About page it will have generic Substack text in it. If you do update it, it can be a wonderful resource to show your readers what your publication is about. See Daniel's aka Serious Literary Author's About page above as an example of a page done well.
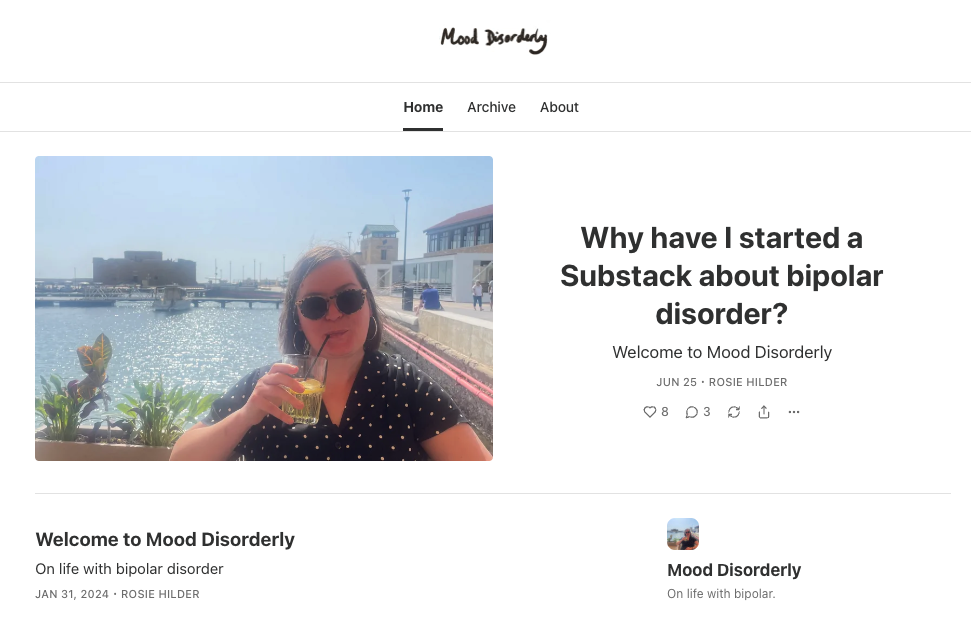
04. Sort out your Welcome page
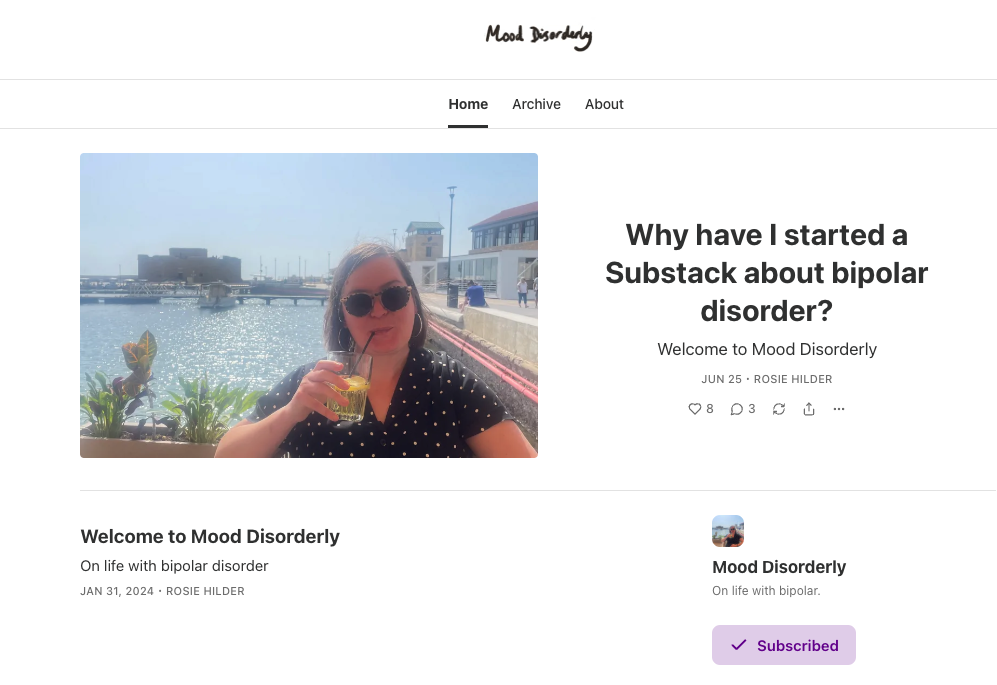
Your Welcome page is different to your About page and your Welcome email. It's what people will see when they go directly to your Substack. Mine looks like this (above). In these settings you can change your Welcome photo.
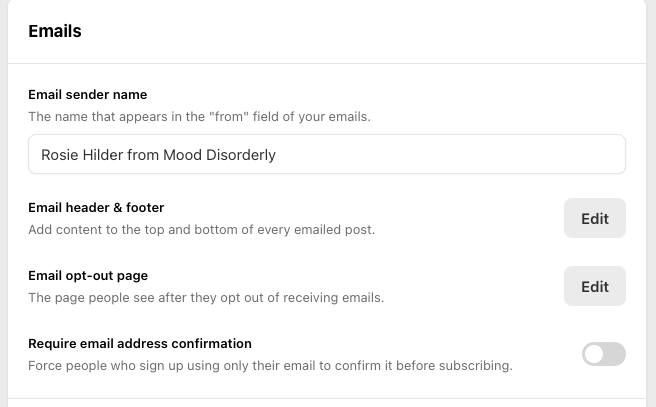
05. Set a personalised email header and footer
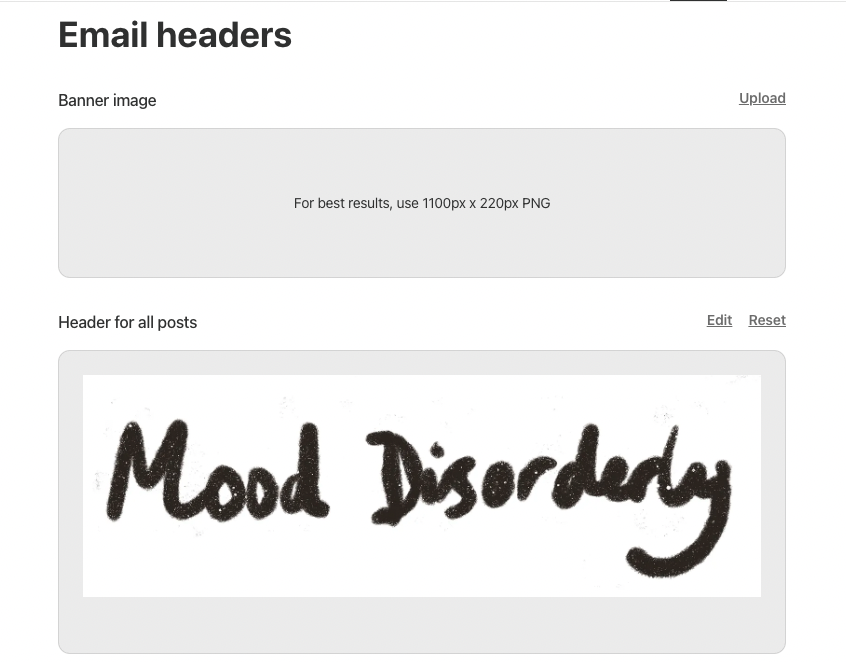
This is where you can add a personalised header and footer to your emails. I've added my Substack's logo as the header above.
Substack will automatically add a footer to your posts that encourages people to sign up or pledge money to your publication. This means that if you use the 'button' function in posts to add a 'subscribe' button then people will see a double button at the bottom.
You can add your own personalised footer to encourage people to do whatever you want them to do, subscribe, share or upgrade to paid, for example. This will appear on all posts and then you don't have to keep repeating yourself/add a button at the bottom of your posts.
Find these settings in Emails, Edit header and footer
06. Set up custom Welcome emails
It can be quite hard when you set up a Substack to see what your subscribers are getting when they sign up to you. I didn’t even realise Welcome emails existed until I’d already got several subscribers. I then signed up to someone else’s Substack, immediately got a Welcome email and wondered what mine looked like.
I discovered (thanks to Serious Literary Author) that you can customise your Welcome email that subscribers get when they sign up to you under Emails, Welcome emails. There are different settings for paid and free subscribers and I accidentally updated the wrong one, so watch out for that.
07. Organise your notifications
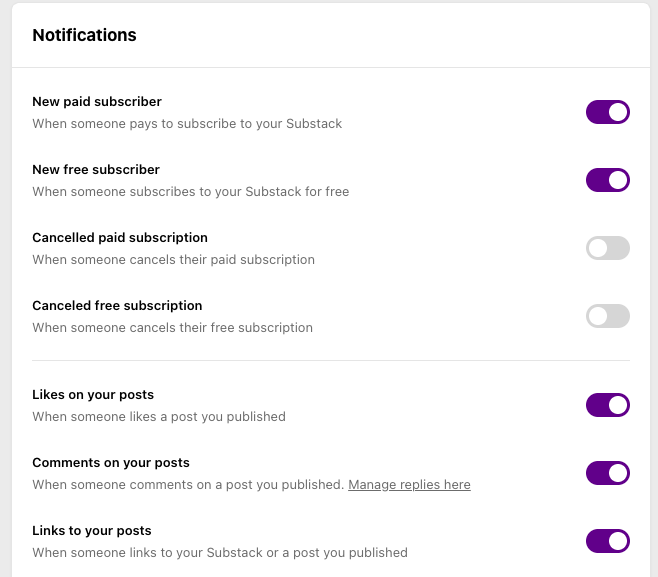
Depending on how popular your Substack is, you may get a lot of notifications. Settings, Notifications is where you can choose which ones you get. Note that confusingly it's not clear which notifications are coming via email or which ones are in-app, although looking at the UI again I think the top half are email notifications and the second half are in-app.
For more, see Daniel's piece on how to become a Substack bestseller.
And if you want to be an early adopter to my Substack, sign up to Mood Disorderly.